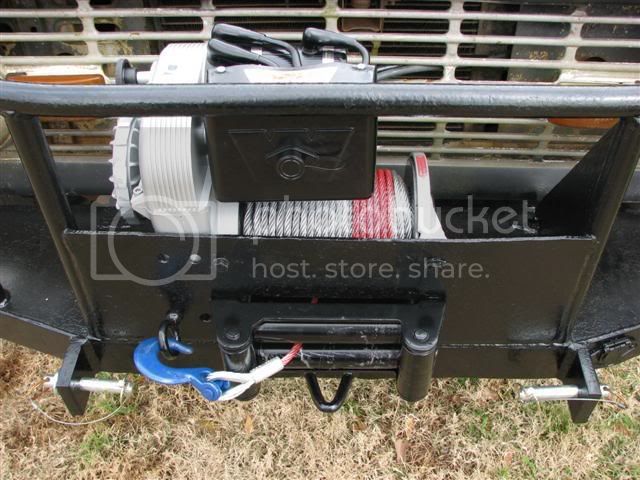
I have a WARN 8274 rebuild that I have started to rebuild, however, I am having difficulty getting the brake assembly disassembled.
Is there a trick to getting the brake assembly apart?
Did you remove the brake axle from the housing (i.e., replacing the shaft seal)?
Any guidance/suggestions would be appreciated.
Steve
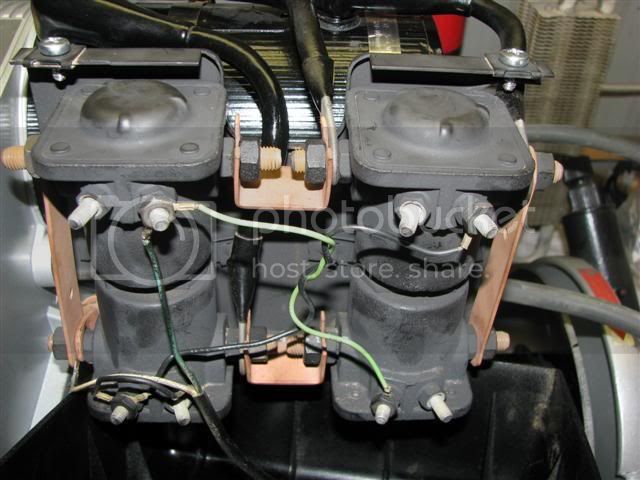
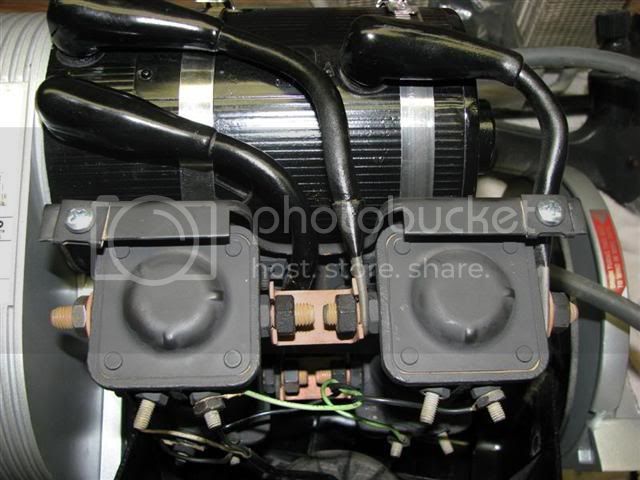
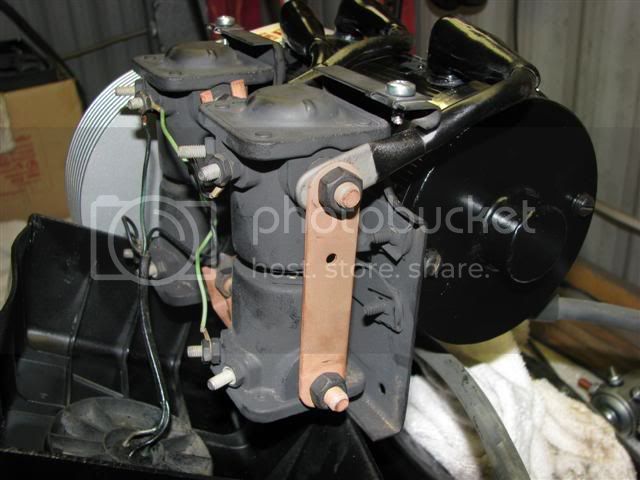
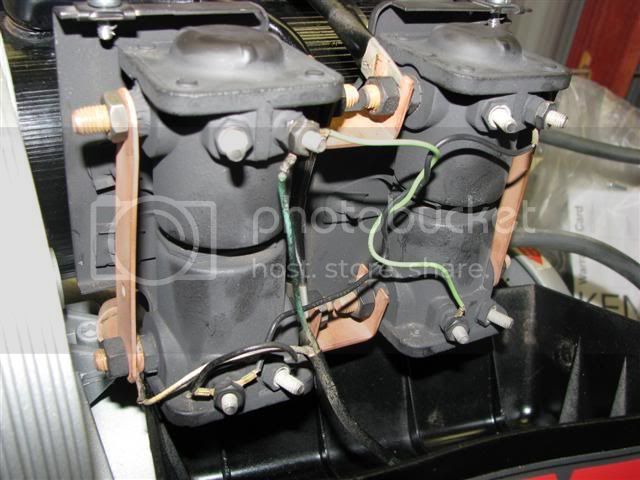
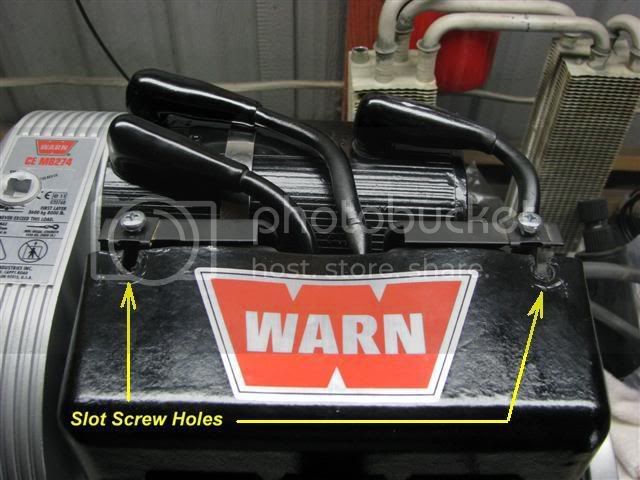
The brake assembly should come apart pretty easily UNLESS you have a build up of rust on the shaft or around the two key-stocks.
Remove the cir-clip, use a piece of emery cloth to smooth and clean up the main-shaft. Spray the "key stocks" as best you can with penetrating oil.
DO NOT use anything to “pry” the brake assembly off (using the case as a support).
If necessary… a small 2 jaw puller behind the rear brake disc should make easy work of it. The brake system is spring loaded...so it’s already trying to come apart.
Warning: As the "outer" brake disc moves off the shaft you will have 21 (count 'em) steel balls fall out. Do not lose any of these.
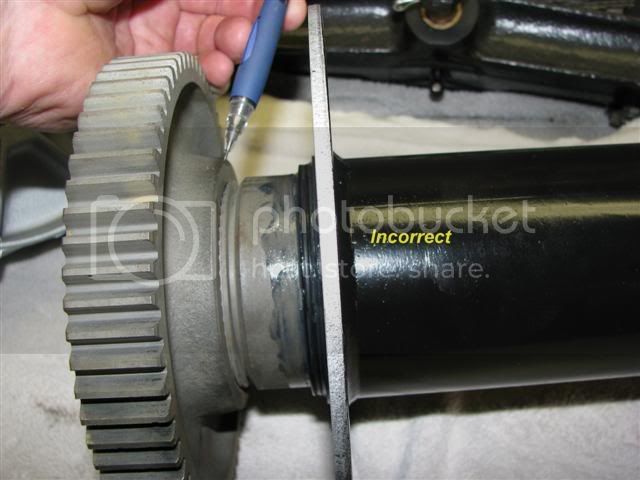
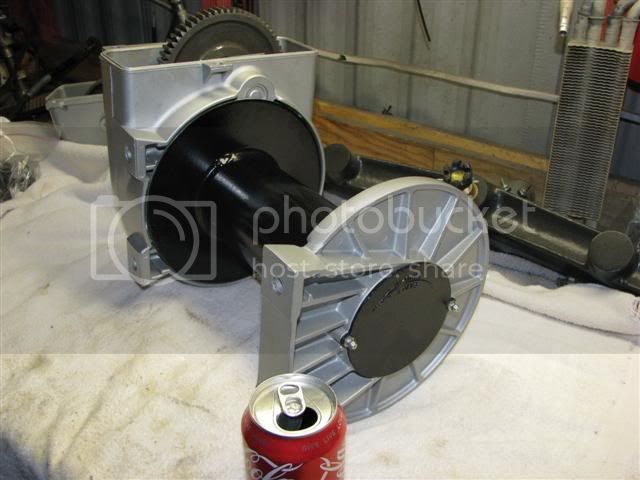
As the brake assembly comes apart, note the relationship of the parts to one another (very simple and self explanatory).
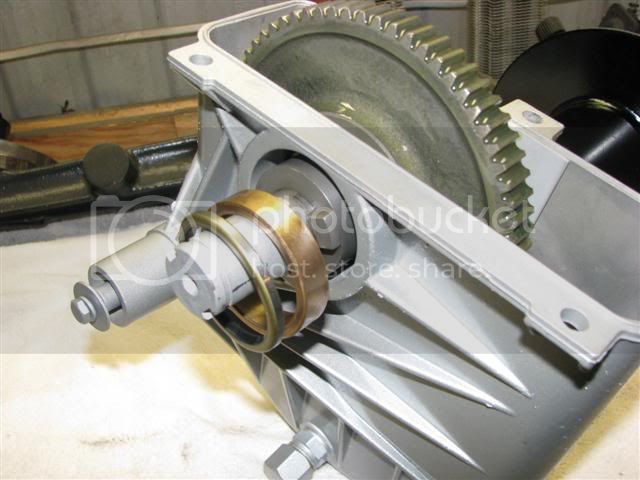
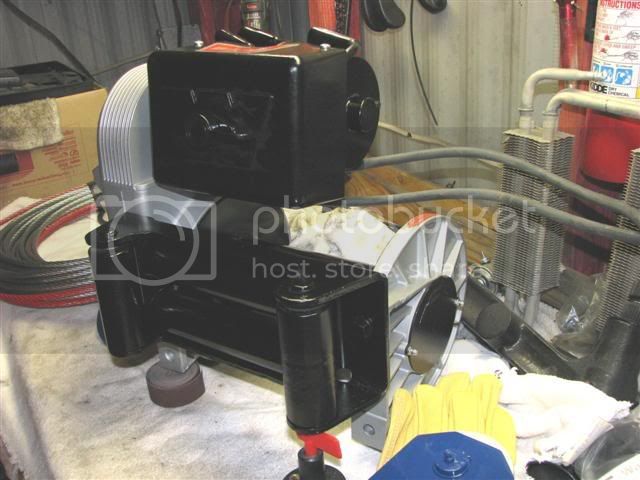
I did remove the Brake/Main-shaft on my winch in order to get to the main-gear in the bottom of the case. But, as long the needle bearing is in good shape and your current main-shaft seal is not leaking (not likely it would be) then there is no reason to disassemble/remove the main-shaft. The brake system comes off independently, just so you’ll know.
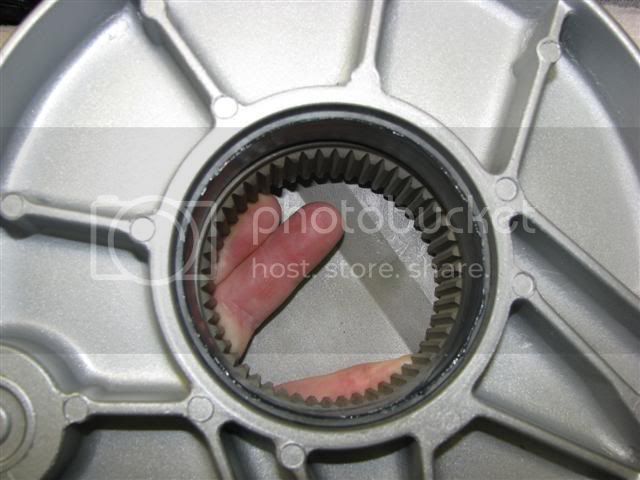
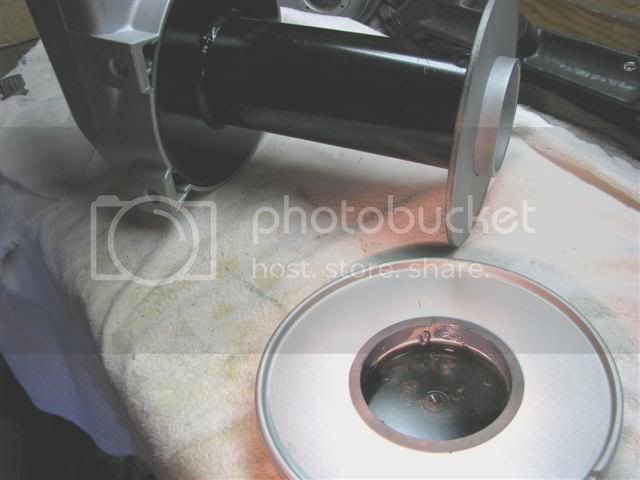
This is the needle bearing that the end of the main-shaft fits into (motor side of case)
And…this is the bronze bushing and seal (brake side of case).
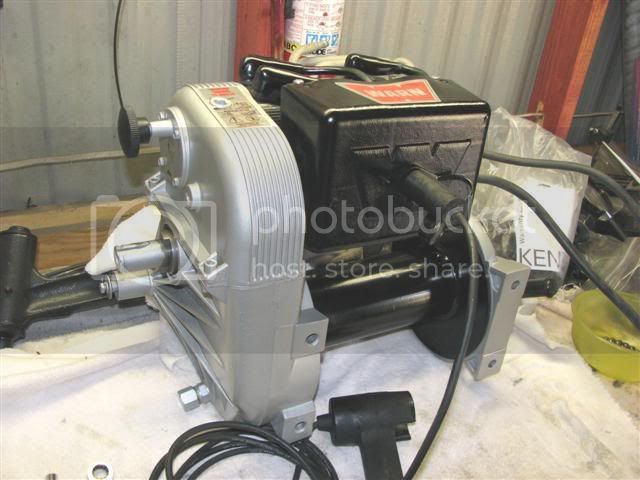
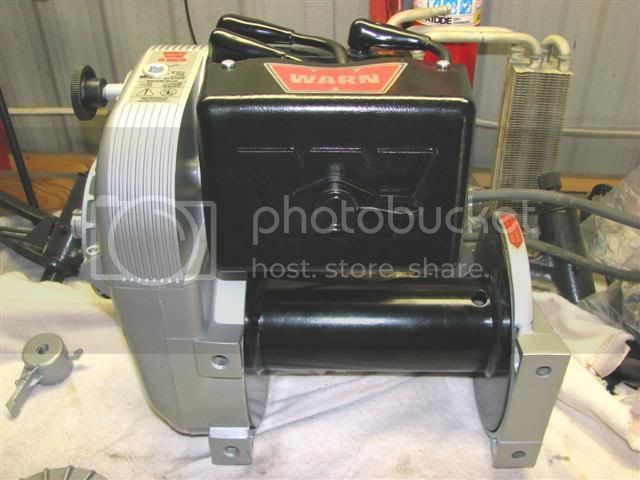
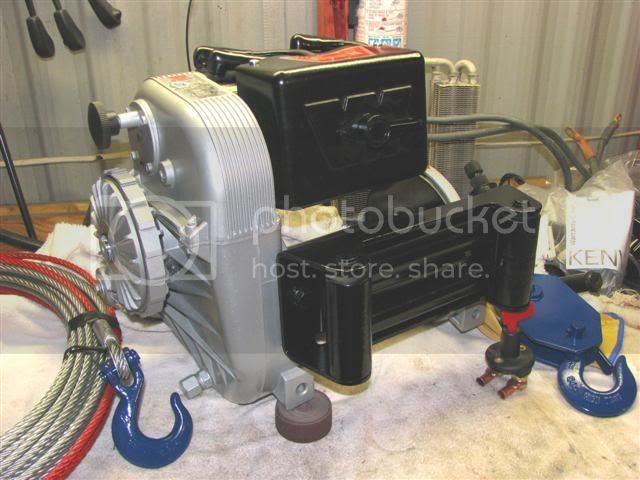
You can see it all reassembled (just as it would be when you take your brake off) if you go back to post #24 where I “bench tested”.
Let me know if you have other questions or need additional pics.
Flint

")