Hey guys, after reading so many threads about HIDs on our trucks I decided to take the plunge and try it out myself. I was really tired of looking at my old yellowed and cracked plastic headlights, and also really tired of their abysmal light output. I read all of Lou's thread on his bracket that he was making and I was sold, he did really solid work. So here is what I bought:

Ballast Mounting Kit:

When I started I had the luxury of taking my time, because I didn't actually need to finish them in order to drive my car since these were new headlights. I started with the passenger side headlight, took it all apart, and started to investigate how all the parts would fit together etc. I kept thinking of a way to trim the shroud to fit the projector, and nothing was going to be easy. So I started doing some more digging. And what I decided was that the shroud didn't really need to be trimmed at all if you place the projector far back enough in the housing. I know there is a large range of mechanical skill levels between the average user on this forum, and I probably fall on the more advanced side. I decided that while the kit was VERY well put together, I just didn't want to trim the shroud, especially seeing as the glass eye of the projector fits in the shroud no problem.
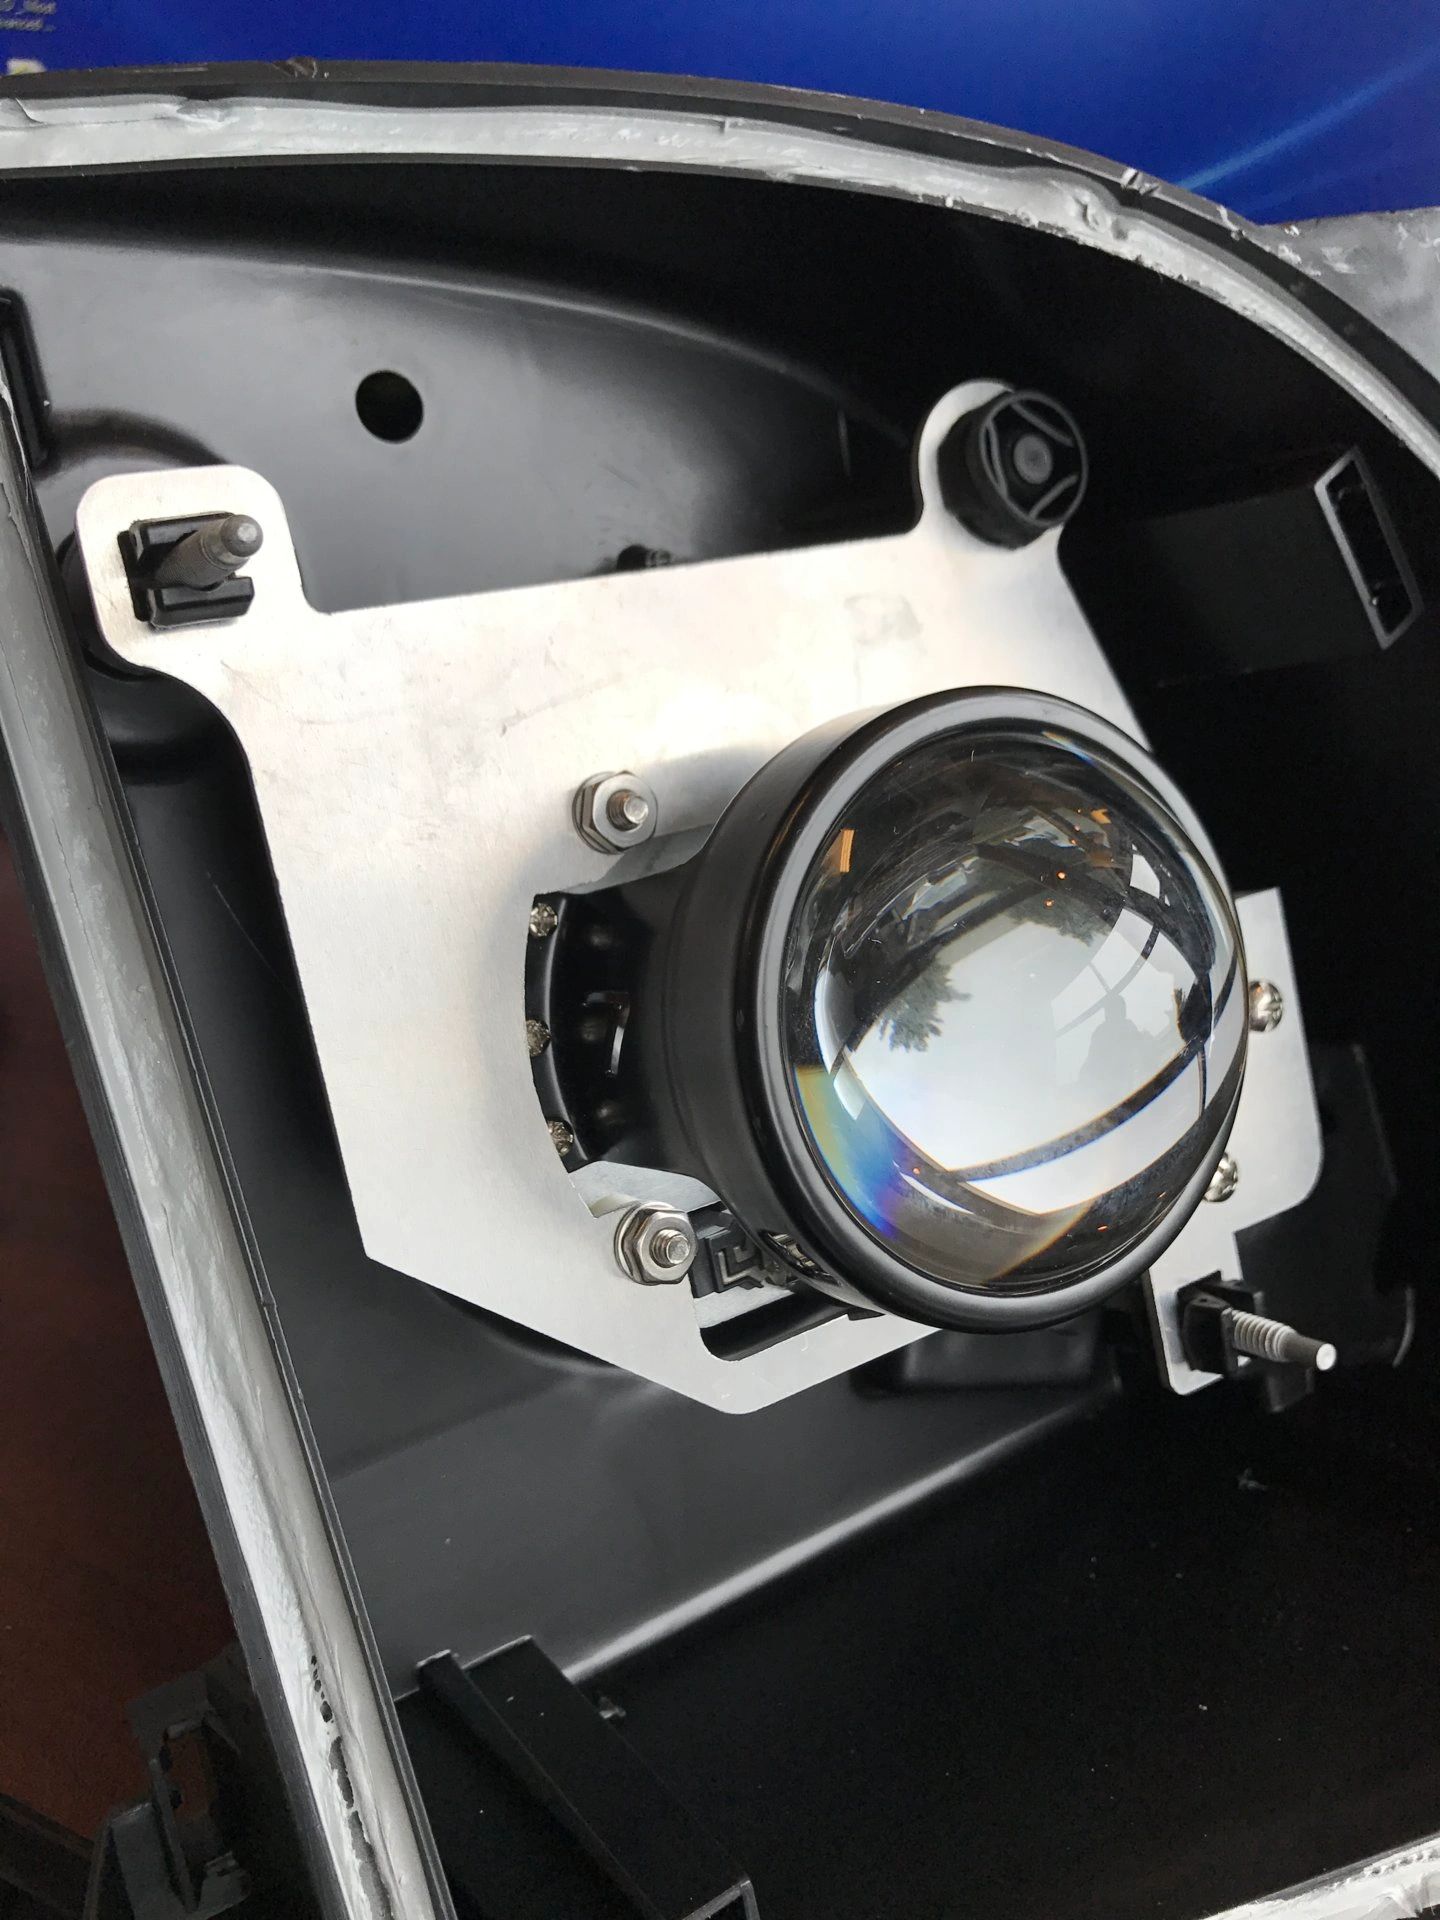
Okay, so I went to work. I made some templates out of paper first, then as I felt they were fairly on point, I started making some prototype brackets out of wood. I went through a lot of iterations, but the wood cuts fast and it was cheap. It took a lot of trial and error to get a single piece bracket that would clear everything and use all the factory hardware, but in the end, I got it.
Then I decided I didn't want to mount the ballast the way everyone else was doing it. I wanted to attach it to the bottom of the headlight. So I made some brass bushings to press into the housing, and used those to attach an aluminum plate to mount the ballast to. I also didn't want to use a relay harness since I was using a 35W ballast, so I wired the ballast directly to the OEM harness.
Here was my Process:
Step one, remove the vertical adjustment piece and the 4 metal clips that help secure the glass to the housing.


- New OEM glass headlights
- Morimoto Mini D2S 5.0 projectors
- Morimoto XB 35W ballasts
- Osram 66240 CBB bulbs
- Two H1 to 9006 adapters
- Two High Beam Splitters (9005/9006)
- Extra sealant in case I needed it (TRS calls it RetroRubber)
- Two 3" PVC rubber end caps
- Headlight Protection Film from XPEL
Ballast Mounting Kit:
When I started I had the luxury of taking my time, because I didn't actually need to finish them in order to drive my car since these were new headlights. I started with the passenger side headlight, took it all apart, and started to investigate how all the parts would fit together etc. I kept thinking of a way to trim the shroud to fit the projector, and nothing was going to be easy. So I started doing some more digging. And what I decided was that the shroud didn't really need to be trimmed at all if you place the projector far back enough in the housing. I know there is a large range of mechanical skill levels between the average user on this forum, and I probably fall on the more advanced side. I decided that while the kit was VERY well put together, I just didn't want to trim the shroud, especially seeing as the glass eye of the projector fits in the shroud no problem.
Okay, so I went to work. I made some templates out of paper first, then as I felt they were fairly on point, I started making some prototype brackets out of wood. I went through a lot of iterations, but the wood cuts fast and it was cheap. It took a lot of trial and error to get a single piece bracket that would clear everything and use all the factory hardware, but in the end, I got it.
Then I decided I didn't want to mount the ballast the way everyone else was doing it. I wanted to attach it to the bottom of the headlight. So I made some brass bushings to press into the housing, and used those to attach an aluminum plate to mount the ballast to. I also didn't want to use a relay harness since I was using a 35W ballast, so I wired the ballast directly to the OEM harness.
Here was my Process:
Step one, remove the vertical adjustment piece and the 4 metal clips that help secure the glass to the housing.
Last edited:

 Might need to save a few more scheckles for a new set.
")