JT's FJ40 build (6 Viewers)

This site may earn a commission from merchant affiliate
links, including eBay, Amazon, Skimlinks, and others.

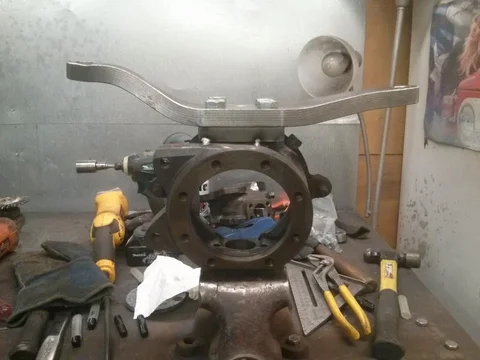
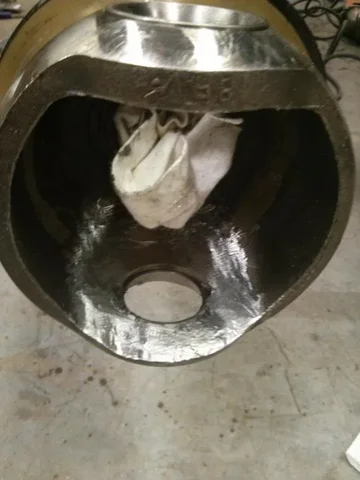
With the cut widened (basically the width of a grinding disc) you can clearly see a concentric ring where the housing and the sleeve of the ball meet. For those interested, that ring is precisely at a depth of 6 mm. Once we made a couple of touch up cuts where that ring was not visible, the ball finally turned.

The conclusion was that we cut too close to the middle of the factory weld and never really separated the material. The final touch up cuts were towards the diff. We also cut too deep (for those keeping score).

On the passenger side ball, this process was used:

With a cut off wheel, cut a groove on the diff side of the factory weld (not in the center of the weld in any way) just deep enough to see after the housing is ground smooth.

Grind off the factory weld bead so the housing is smooth all the way around.

Go back and take the initial cut to a depth of 6 mm.

Open up that cut to the width of a grinding disc.

At this point you could see the difference in the housing and ball sleeve material. I took the cut off wheel and cut just a hair deeper all the way around. With a little force and no heat, this ball turned right away. After a very tough learning process on the driver's side ball, the passenger side was pretty easy.
 
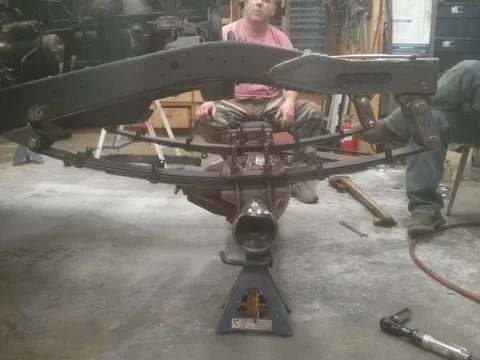
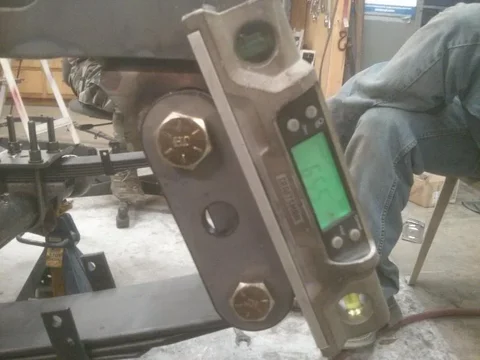
With the balls free, the next step was to put the housing back under the front springs and begin adjusting the pinion angle:

IMG_20131228_152954.webp

IMG_20131228_160059.webp

IMG_20131228_152954.webp


IMG_20131228_160059.webp
 
With the balls turned and everything burned in, this is where we ended up:

IMG_20131228_153034.webp

IMG_20131228_153110.webp

IMG_20131228_160411.webp

IMG_20131229_003450.webp

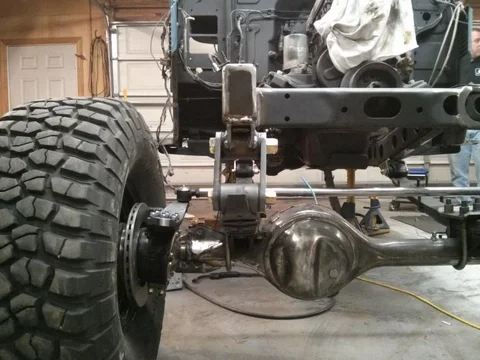
With the full weight on the front end, the shackle angle should be right at 60* at rest. With the spring completely flat the shackle angle is at 45*. This should allow the spring go into negative arch and pull the shackle back down if necessary...at least that's the theory we were following when putting this together.

IMG_20131228_153034.webp


IMG_20131228_153110.webp


IMG_20131228_160411.webp


IMG_20131229_003450.webp
 
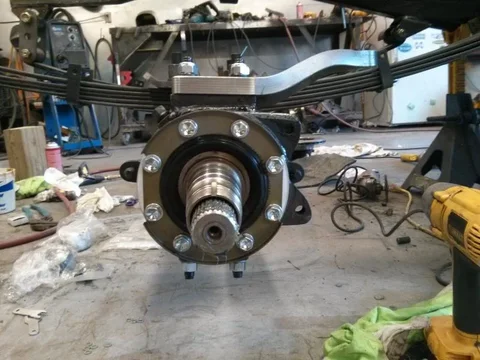
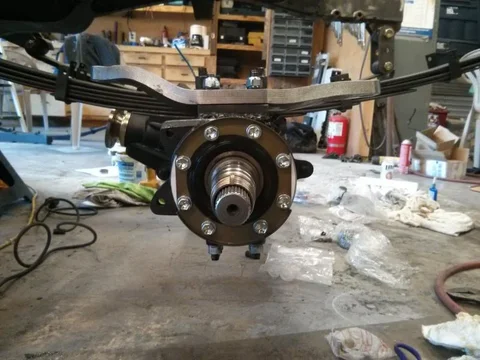
Next step was to convert the FJ-60 knuckles into six shooters using Luke's (4x4 Labs) blocks. Had to grind a bit of the knuckle to get the fit just right.:

IMG_20131228_211544.webp

IMG_20131228_211558.webp

IMG_20131228_204208.webp

IMG_20131228_211544.webp


IMG_20131228_211558.webp


IMG_20131228_204208.webp
 
Some random pictures of the front axle going back together...

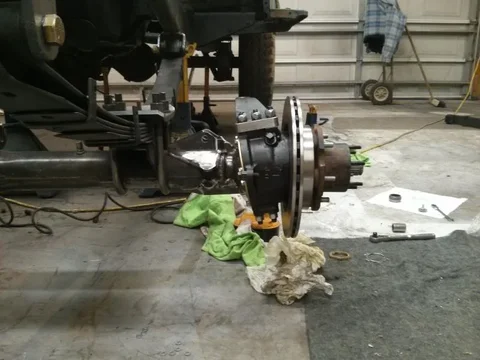
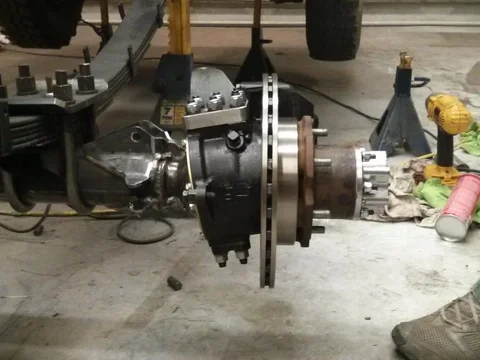
FJ-60 vented rotors and new (a bit longer) wheel studs:

IMG_20131229_113729.webp

Balls clearanced for Longfields:

IMG_20131229_142427.webp

A couple shots of the ball gussets:

IMG_20131229_142953.webp

IMG_20131229_143056.webp

Lots of grease:

IMG_20131229_160258.webp

IMG_20131229_113729.webp


IMG_20131229_142427.webp


IMG_20131229_142953.webp


IMG_20131229_143056.webp


IMG_20131229_160258.webp
 
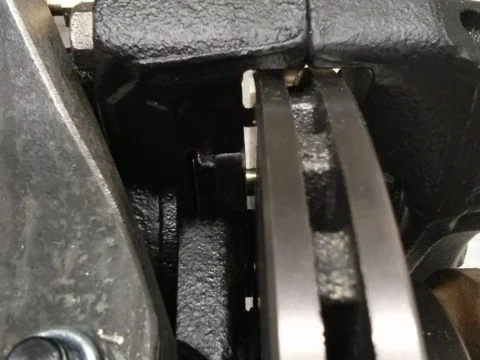
Preloaded V6 4-runner calipers...

There was some gap between the pads and the rotors with the pistons fully compressed...just a couple of shots as there was some initial concern:

IMG_20131229_184402.webp

IMG_20131229_184416.webp

IMG_20131230_132131.webp

IMG_20131229_184402.webp


IMG_20131229_184416.webp


IMG_20131230_132131.webp
 
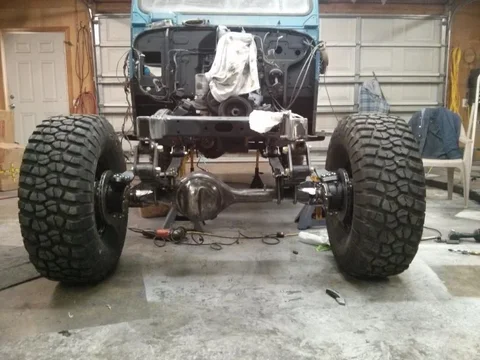
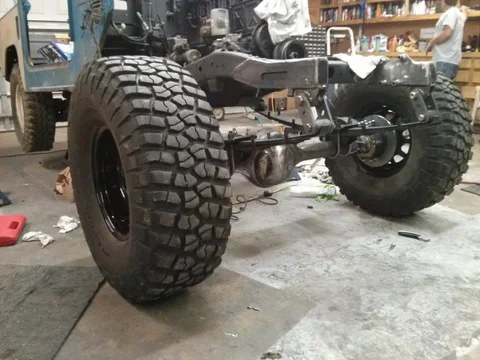
Finally, after borrowing some wheel spacers from Srob, the front wheels/tires were on:

IMG_20131230_131140.webp

IMG_20131230_131156.webp

IMG_20131230_131222.webp

IMG_20131230_131354.webp

Y'all tell Srob to rest easy...I ordered some new spacers this morning. These will be returned to their proper home shortly.

IMG_20131230_131140.webp


IMG_20131230_131156.webp


IMG_20131230_131222.webp


IMG_20131230_131354.webp
 
Without even stopping to catch his breath, Jrob grabbed the plasma, and then this happened:

IMG_20131230_141617.webp

IMG_20131230_163406.webp

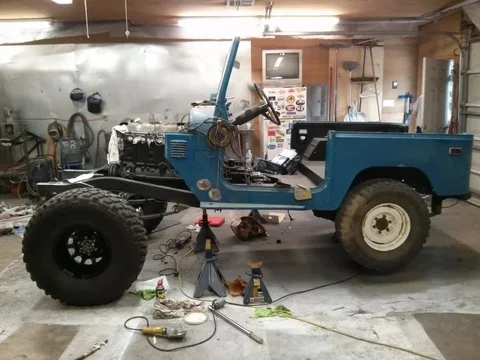
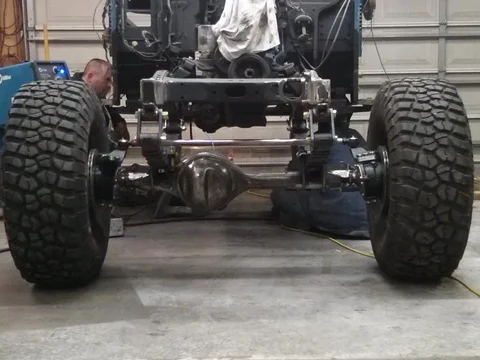
After a bit of figuring, grinding, and welding, we had the rear axle back under there with the truck level and the pinion turned up:

IMG_20131230_213209.webp

IMG_20131230_141617.webp


IMG_20131230_213209.webp


IMG_20131230_163406.webp
 
Right now the rear housing is on the bench getting cleaned up. The perches have been burned in, the factory perches have been cut off, and the axle bearings and seals have been driven out. Next step is to finish cleaning it up, get the new bearings and seals in, get the new third installed, get it back under the truck, and do the RDB conversion.
 
Again, a huge thanks to Jrob and Bodean for all the help over the past few days! An inordinate amount of work took place, and these guys logged a lot of hours in the shop. Lenny, thanks for your help Saturday too! We even had GT running around town trying to find us some drill bits.

Also, a special thanks to the thunder talkers (Bossman and Georg). We had to phone/text a friend on multiple occasions...typically at the most inopportune times - late in the evenings, on the weekends, etc.
 
Wow you guys made a serious amount of progress! looking real good. I was glad to help out JT. Let me know when you guys need a hand and i will do my best to get there.

With this much progress.. when is the goal "completion" date?… by " completion" I mean "wheel able"


It has been my experience that a 4x4 is never completed.

; )
 
That is looking really good. Nice work y'all!!!!!!
 
Very nice build thread and insight to the cut and turn.
Are you planning to trim the rear panels or does the SOA give you enough room for those 37's?
 

Users who are viewing this thread

Back
Top Bottom