Trucking the body...
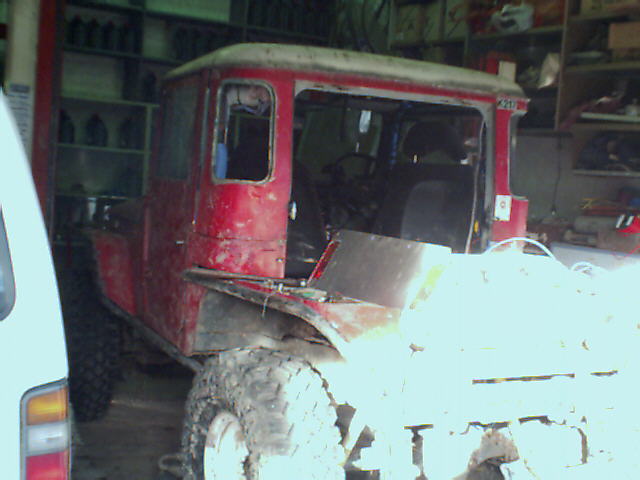
I decided to cut down the body to a cab - I was never carrying more than one passenger.
The cab would be lighter, and the new rear would be higher, fixing the rubbing I was getting on full flex.
Also, I was hitting a lot of trees, especially at the rear, so loosing the high roofline at the rear coners would prevent damage to the roof.
The cab etc took about 6 hours - really easy - the hard part was all the fiddling around little bits to finish it (as it always is) - about 40 hours total to completely finished.
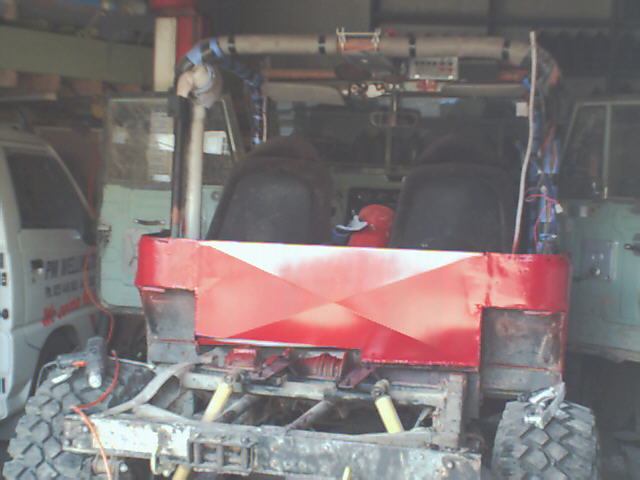
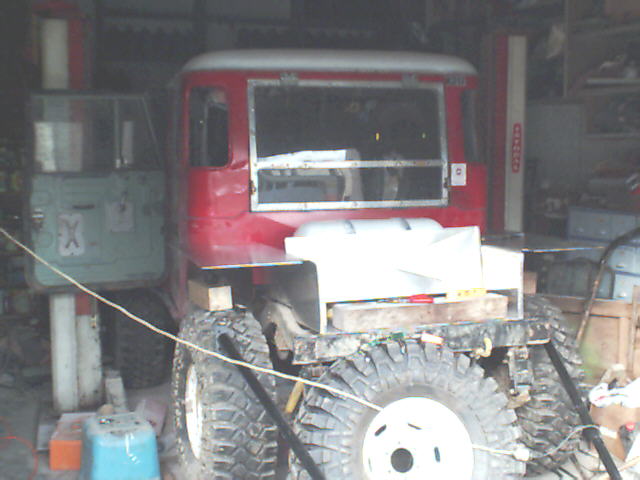
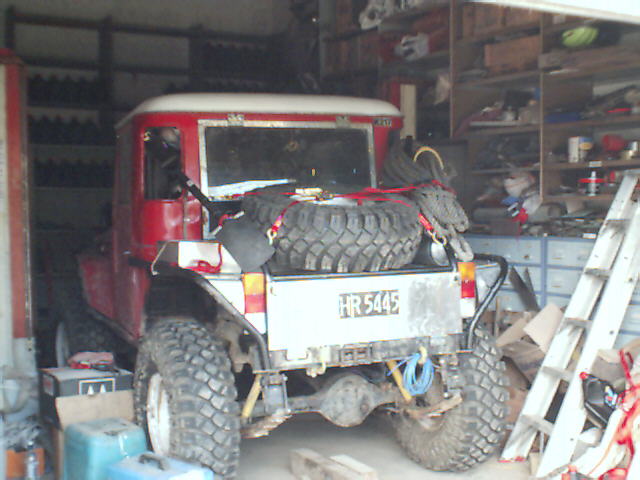
Tailgate removed
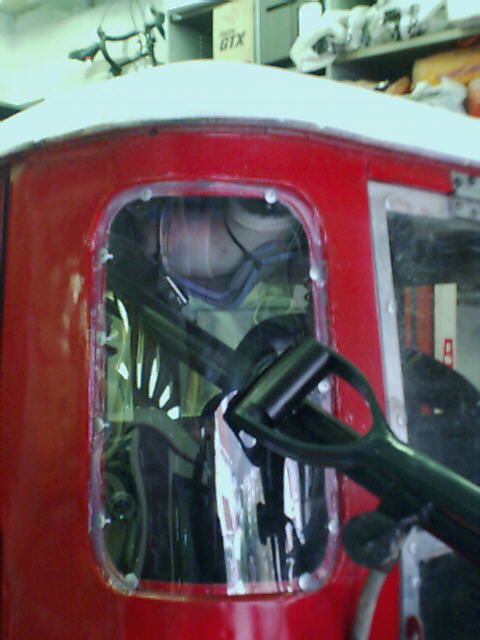
Glass removed, lines drawn - ready to start cutting...
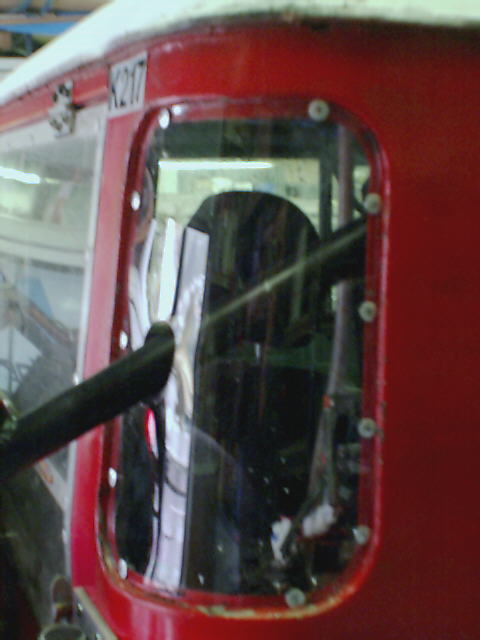
I cut down along the lip each end of the side window - this gave me an easy weld to put in back together later...
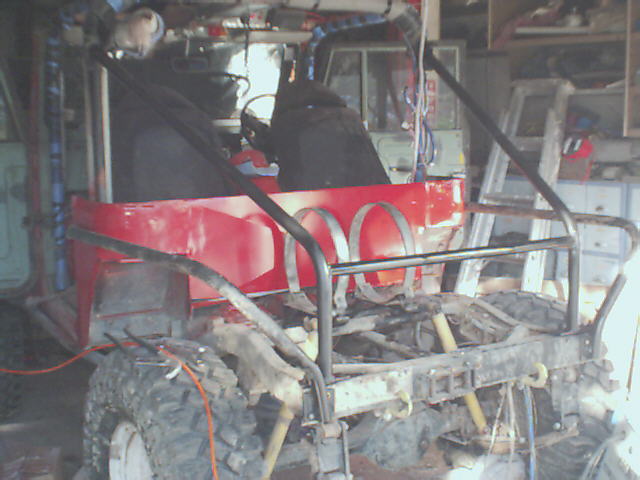
After the first cut - the backs off and stored now...
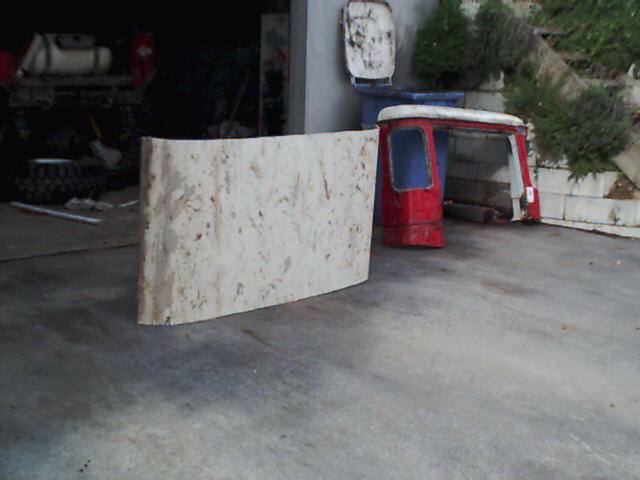
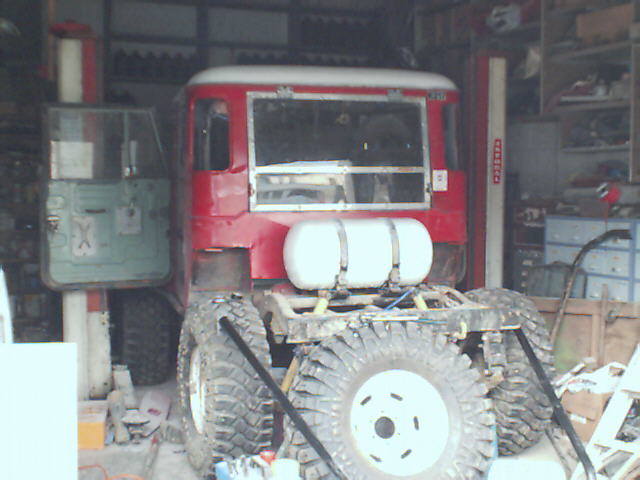
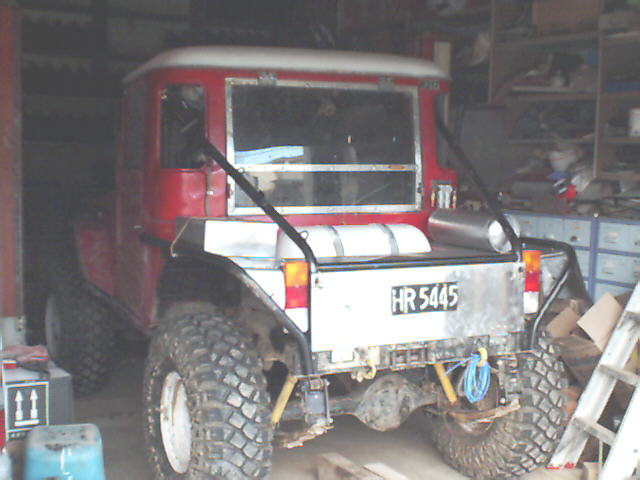
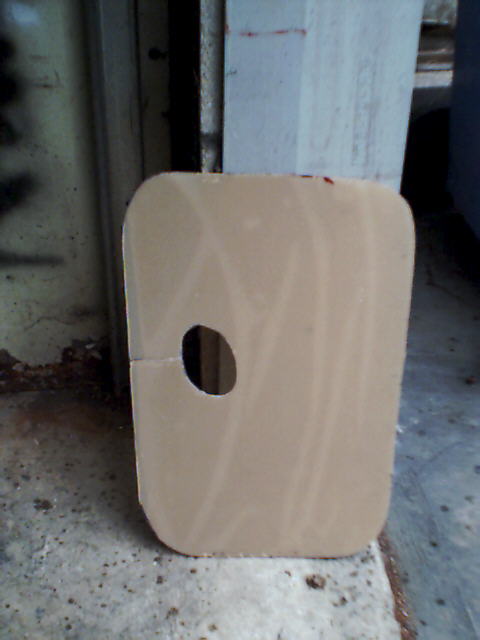
This is how much I chopped out of the body - the final build is about 4" longer than an FJ45 cab, giving some room behind the seats for storage etc.
I slowly cut out the bits I needed - the top of the rear corner was removed then welded back on at the rear of the cab.
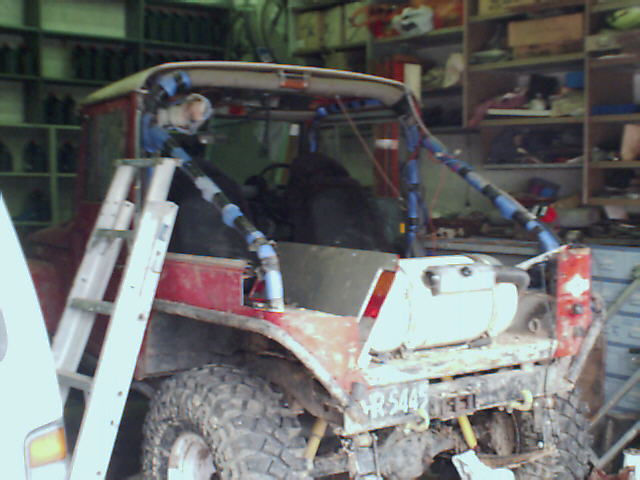
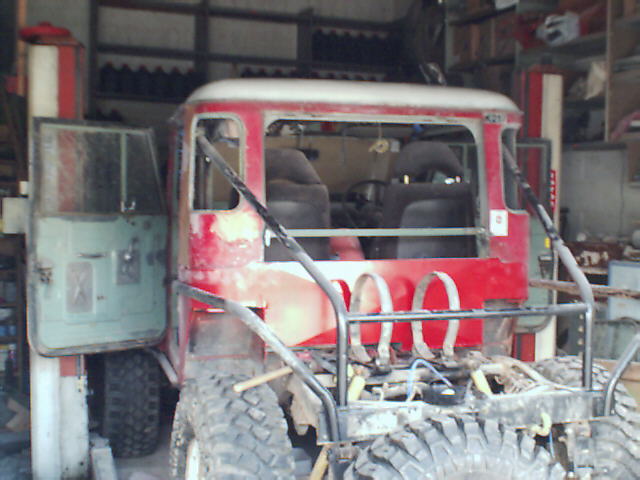
First rough fit of the cab rear - fitted Ok so welded up then off to have the roof fibreglassed up (I could have done it but I hate the itchy bits!)
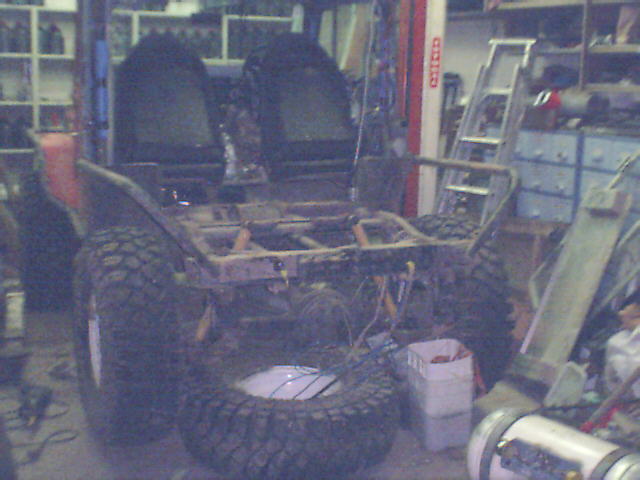
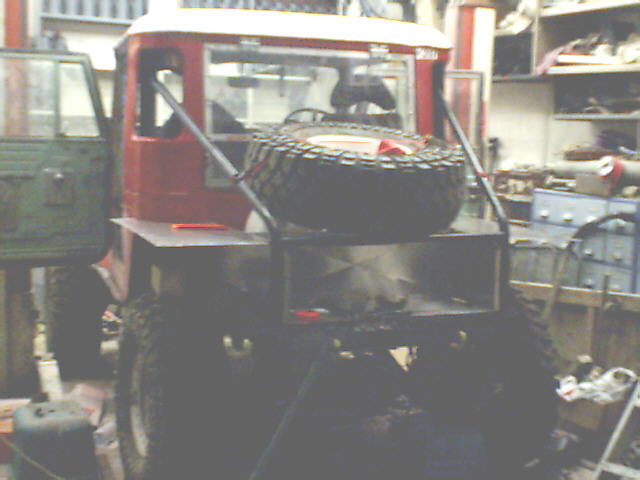
Yes it was dark when I took this one! These are the old rear sidebars - you'll see in later pics I had to lift them, and change the connection to the rear xmember...
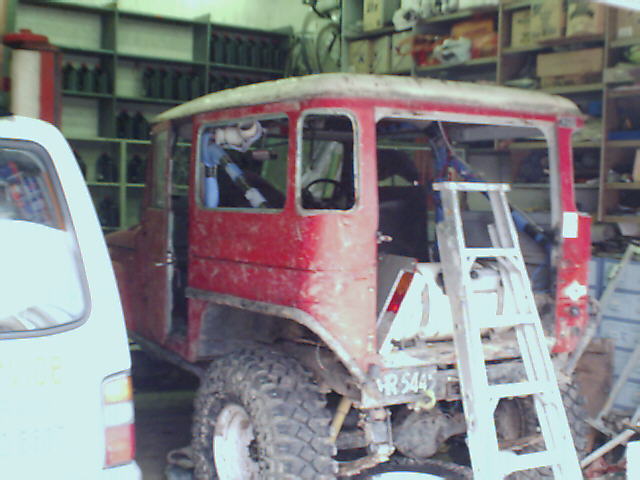
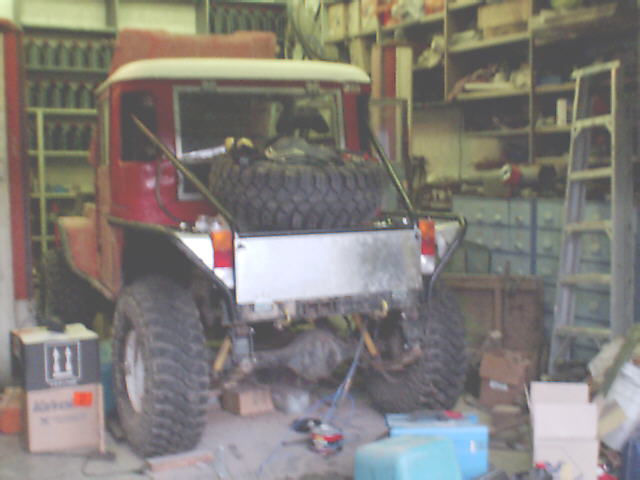
This is as dissassembled as it got - now the work starts...
I decided to cut down the body to a cab - I was never carrying more than one passenger.
The cab would be lighter, and the new rear would be higher, fixing the rubbing I was getting on full flex.
Also, I was hitting a lot of trees, especially at the rear, so loosing the high roofline at the rear coners would prevent damage to the roof.
The cab etc took about 6 hours - really easy - the hard part was all the fiddling around little bits to finish it (as it always is) - about 40 hours total to completely finished.
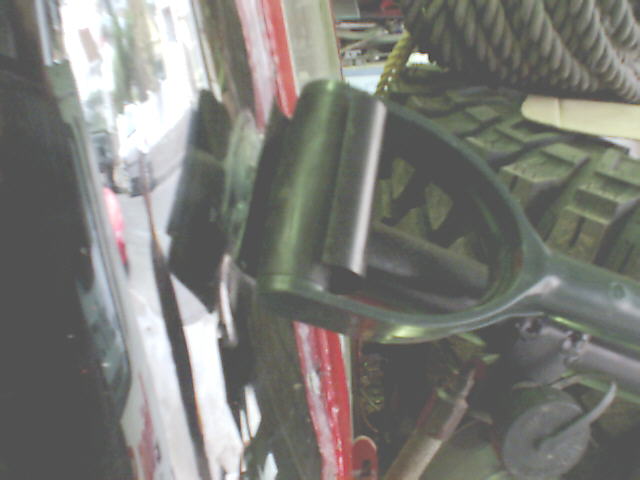
Tailgate removed
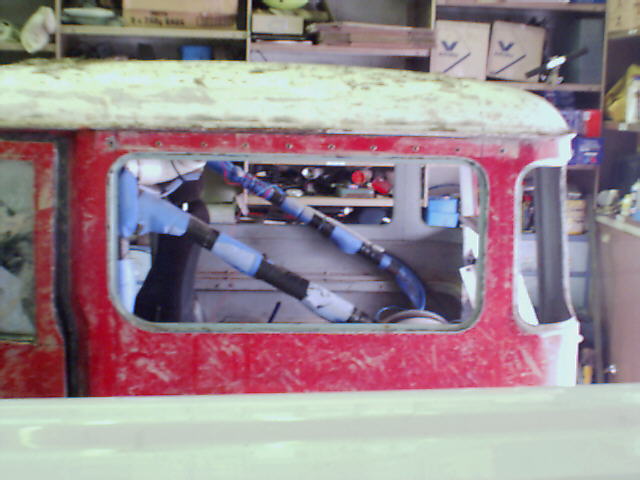
Glass removed, lines drawn - ready to start cutting...
I cut down along the lip each end of the side window - this gave me an easy weld to put in back together later...
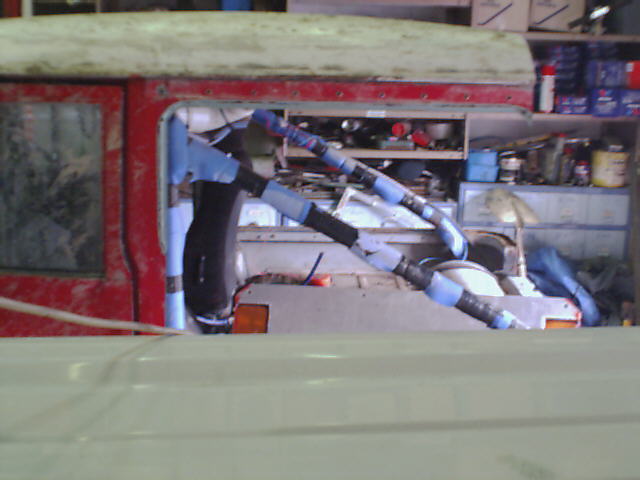
After the first cut - the backs off and stored now...
This is how much I chopped out of the body - the final build is about 4" longer than an FJ45 cab, giving some room behind the seats for storage etc.
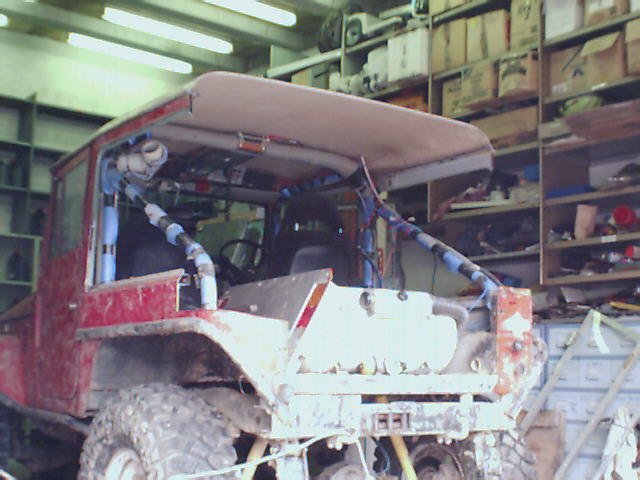
I slowly cut out the bits I needed - the top of the rear corner was removed then welded back on at the rear of the cab.
First rough fit of the cab rear - fitted Ok so welded up then off to have the roof fibreglassed up (I could have done it but I hate the itchy bits!)
Yes it was dark when I took this one! These are the old rear sidebars - you'll see in later pics I had to lift them, and change the connection to the rear xmember...
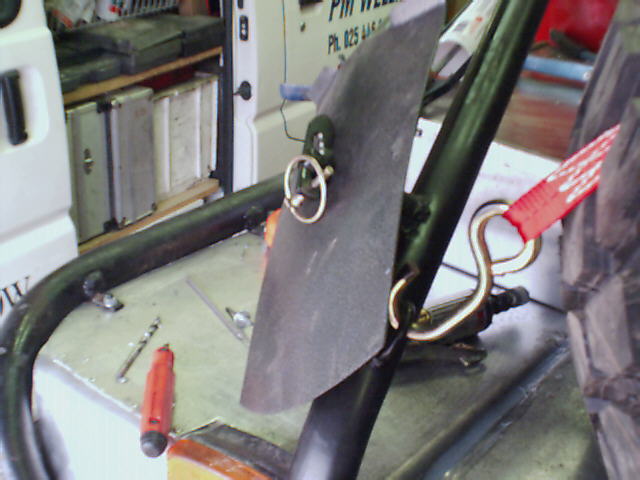
This is as dissassembled as it got - now the work starts...

")