Builds Evolution of a Land Cruiser: My 80's build thread (5 Viewers)

This site may earn a commission from merchant affiliate
links, including eBay, Amazon, Skimlinks, and others.

Great work so far! And some good ideas I can copy :p And one happy gunner I see there.... If my dog were a little more dog friendly, they could get together... his name is Ranger ... interesting duo if it worked. Kind of a Army theme.

Looking forward to what else you get done your 80.
 
Man, you're doing a great job!
Do you have a mechanical background?
I've learned to do a lot of stuff like this (head gasket and cam chains etc) on my old motorbike. But the cruiser looks a lot more difficult!
 
Awesome dog! Lucky guy gets to ride in a sweet truck. It should be a law to use only HD photos, they look awesome.

Thanks! He's a really neat pup. Can't wait to get the LC running again. And I agree about the pics. This was actually taken with my cell phone :)

Gunner looks so happy. Do the blocks go bad? I thought the Aluminum head would warp before the cast block?

That's my understanding too, but I want to be sure. I'd hate to blow a head gasket again because the block was warped and couldn't seal correctly. I've read a few comments about the deck usually being bad around cylinder #6. Visually it looks fine, but I need a precision straight edge to confirm. Cross your fingers!

Great work so far! And some good ideas I can copy :p And one happy gunner I see there.... If my dog were a little more dog friendly, they could get together... his name is Ranger ... interesting duo if it worked. Kind of a Army theme.

Looking forward to what else you get done your 80.

Thanks, glad you enjoy the thread! I'm trying to get this guy to be very well socialized with other dogs. He did great at the dog park with a pack of other large dogs.

Here's another pic, just because :)

IMAG1501-picsay_zps2de489a3.jpg


Man, you're doing a great job!
Do you have a mechanical background?
I've learned to do a lot of stuff like this (head gasket and cam chains etc) on my old motorbike. But the cruiser looks a lot more difficult!

Thanks! No, never had any real training. I did take a few years of auto-shop in high school, but it was was mostly just screwing around. A head gasket is not difficult, it's just very time consuming with all the parts you need to remove.
 
Ok just wanted to give an update of what's being going on with the head gasket repairs...

I've cleaned the block and all the pistons. It's a tough job, being hunched over for long periods of time. It's been the worst part of the whole job so far!

The block looks pretty good. No major pitting and no corrosion marks at the very back of the block. I ordered a 36" precision straight edge so I can check the block for warping. FSM says it can be warped a max of 0.0020" (two thousandths). I really really hope I don't have to pull the block to get it decked.

Here's a blurry pic of a cleaned piston. I'll get some high-res shots for the next update:

picsay-1363926278_zpsa04755c4.jpg


I posted another thread to get some better opinions of the head gasket condition and to see if anything looks out of the ordinary. Some folks think the head has been off before. Here's the full discussion: https://forum.ih8mud.com/80-series-tech/718141-head-off-need-initial-diagnosis.html

We also had a lot of discussion over the head bolts, and whether they can or should be reused. Here's my post on measuring the head bolts to see if they're within spec:

Thanks for the suggestions so far. Let's add some more info :)

I used a digital micrometer last night to check the diameter of the bolts, specifically this model here: http://www.amazon.com/gp/product/B001PTGBR6/ref=oh_details_o03_s00_i00?ie=UTF8&psc=1

The FSM says the diameter needs to be 10.85mm to 11mm, with a minimum width of 10.6mm. I quickly measured a few bolts and they're all within that spec. The problem is the FSM doesn't say HOW to measure, or where to take the measurement from. Does anybody know?

Here's a few pics. This is same bolt, measured in various different sections of thread:

8575747029_c3f3f166af_b.jpg


8575746899_8f803536d3_b.jpg


8576844408_bca8286ac9_b.jpg


Now this bolt however, was trashed. This is the one from the very last bolt hole on the passenger side. If you look at the gasket around this bolt, it was very deteriorated. You can actually see the section where threads are thinner than the rest, and you can feel the difference if you run your finger across it:

8575748583_4097b7e74e_h.jpg


Here's how it measured on the thinnest section. This one is without a doubt not reusable.

8576844150_9c8039fc74_b.jpg

After all was said and done I decided to not reuse the stock head bolts. The OEM head bolts are very expensive. $13 each x 14 bolts = $180! So I decided to go with some ARP studs which are stronger, cheaper and don't stretch like the OEM bolts so they can be reused multiple times.

After searching here on MUD, I went with the Opel V6 kit, #209-4702. They came out to $168 shipped from clutchflywheel.com. The 2 front studs need to be trimmed about 1/4" to avoid interfering with the cam gears, but aside from that they work perfectly.

Yesterday I placed the order for all the OEM Toyota parts I'll need. I ordered from Lowe Toyota and toyomotorsports.com. Total was right at $600 which includes a few other items I want to take care of (water pump, belts, pulleys, clean out oil cooler, fix leaking PS hose and a few other misc bolts, nuts and seals.

I also called around to get quotes for the head service. I'll be going with Parrish Automotive in North Highlands. For the full head service and valve grind/adjustment with new valve seals I'll be looking at about $500. So if all goes well I'll be looking at almost $1300 total in parts and labor :censor:

Stay tuned for updates :popcorn:
 
OEM Toyota parts are starting to arrive :clap: This is the main one I've been waiting on; the Engine Valve Grind Gasket Kit since it comes with the valve seals. Now that I have the valve seals I can drop the head off at the machine shop.

Not pictured is the head gasket, valve cover gasket, exhaust manifold gaskets and lower intake manifold gasket. I was trying to take an inventory of the smaller parts at my desk. They just toss all this in one big plastic bag and nothing is labeled!

Good thing the parts diagram is a nice help

IMAG1512-picsay_zps40b1e75d.jpg


7517619012_f4648c8840_b.jpg
 
You having anything special done to the head? Cams? Port & polish?
Nah, don't think I'll bother. I doubt I'll get any noticeable power out of this forklift motor and I don't plan on going forced induction anytime soon. Just going for a slow, reliable engine :)
 
HEAD GASKET - DAY 5~9

Alright! Time to give an update with some good photos. This is about 4 days worth of work (2hrs each day). Head will be going to the machine shop tomorrow. Let's hope for good news!

First off was to clean the block and pistons. This job SUCKED! Used a gasket scraper, razor blade and 400 grit sandpaper to clean the block. For the pistons I used brake cleaner and a wire brush. Here's the finished result, and some closeups of the block. Pitting looks worse in pictures, you really can't feel anything when running your finger across the surface; feels smooth to the touch. Next up will be to clean all the surrounding ports and chase the head bolt holes with a tap, making sure they're completely clean.

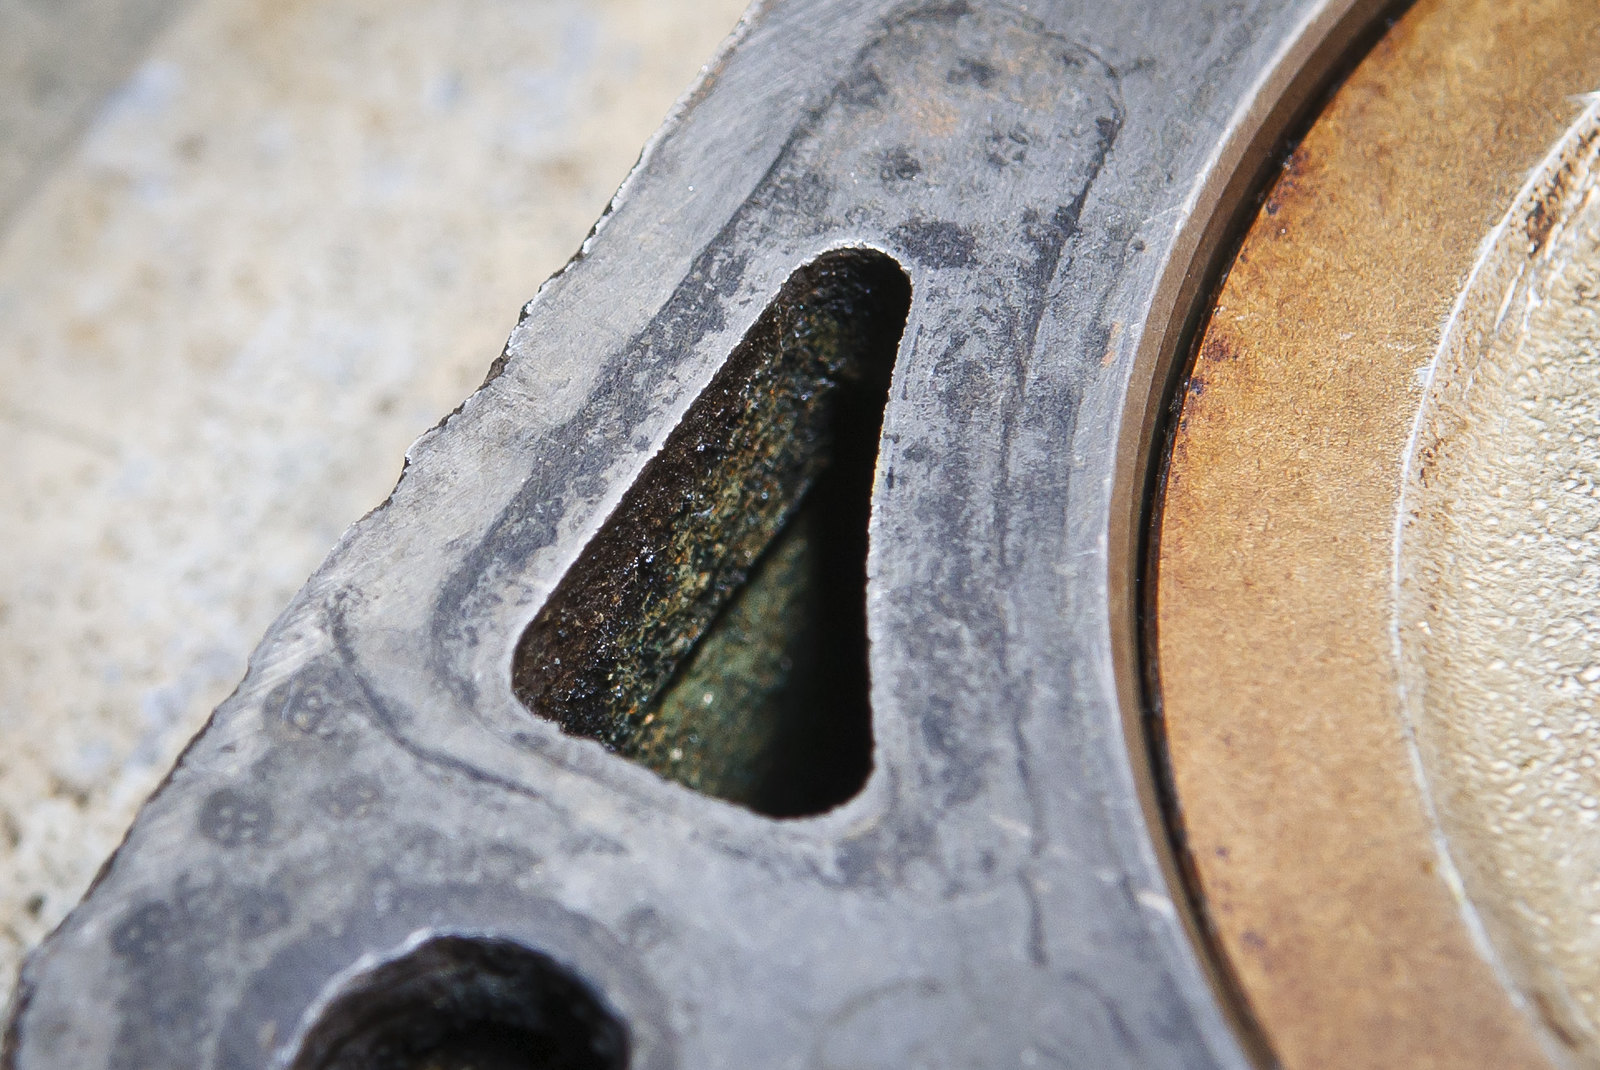
I also checked the block for warping with a 36" precision straight edge. FSM specifies a maximum warpage of 0.0020" so I used the 0.0025" and 0.0030" feeler gauge. 0.0030" wouldn't fit anywhere. 0.0025", well there may have been a few questionable spots. Maybe it was my technique. If I pushed down on the straight edge with considerable pressure 0.0025" would not slide under in those 'questionable' areas, or would slide in with difficulty. So I decided I'm just gonna leave it be. If the head blows again I'll know the block is warped and needs to be decked. And at that point the entire engine is coming out. I'm hoping the new gasket can do a good job of sealing.

The whole thing

8620240947_316b9ca09f_o.jpg


Closeup of a cylinder. They look pretty good. Very minor scoring. I'm sure they'll be good for a long time to come.

8620240787_c0e1403cc6_k.jpg


8620240509_691ae317ce_h.jpg


Area around cylinder #1

8620240235_88c0b255b7_k.jpg


8620240035_a0b97a86df_k.jpg


#6

8620239817_fea439b04d_k.jpg


8621339632_0f774349b4_h.jpg


Some deterioration at the back edge of the block. I'm assuming this will be fine since it's at the far outer edge. No other issues can be felt by hand.

8620239577_8f40b7acf2_h.jpg


This very last head bolt hole had the worst pitting. I'll probably fill some of the pits in with JB Weld and a razor blade.

8621339832_c3dbc6dcd1_k.jpg


Onto some head gasket carnage. #6, top side

8621339338_73b5ba6301_o.jpg


#6, bottom side

8620238977_1de1fce28f_o.jpg


#1, top side

8621339030_c6591a1fa4_o.jpg


#1, bottom side :eek:

8620238585_fcc31bcccb_o.jpg


And the purtty new head gasket. Note the change in shape/pattern of the rear water ports. #6, top side

8620239221_f1af31d380_o.jpg


#6, bottom side

8620239173_3b081c8e3d_o.jpg
 
Last edited:
HEAD GASKET - DAY 5~9 (cont.)

Since I had a ton of access room I decided to open up the oil cooler and check for wear and build-up. A few bucks in gaskets and a few minutes of labor. Oil cooler out, everything was in really good shape. Nice and clean, just a tiny bit of sludge.

8621343646_184db18e71_h.jpg


Oil cooler separated from the cover

8620243117_6f70928c87_h.jpg


After making sure everything looked good I cleaned it up, put in new gaskets and seals and bolted it back up.

8621343150_00ddfe2bfc_h.jpg


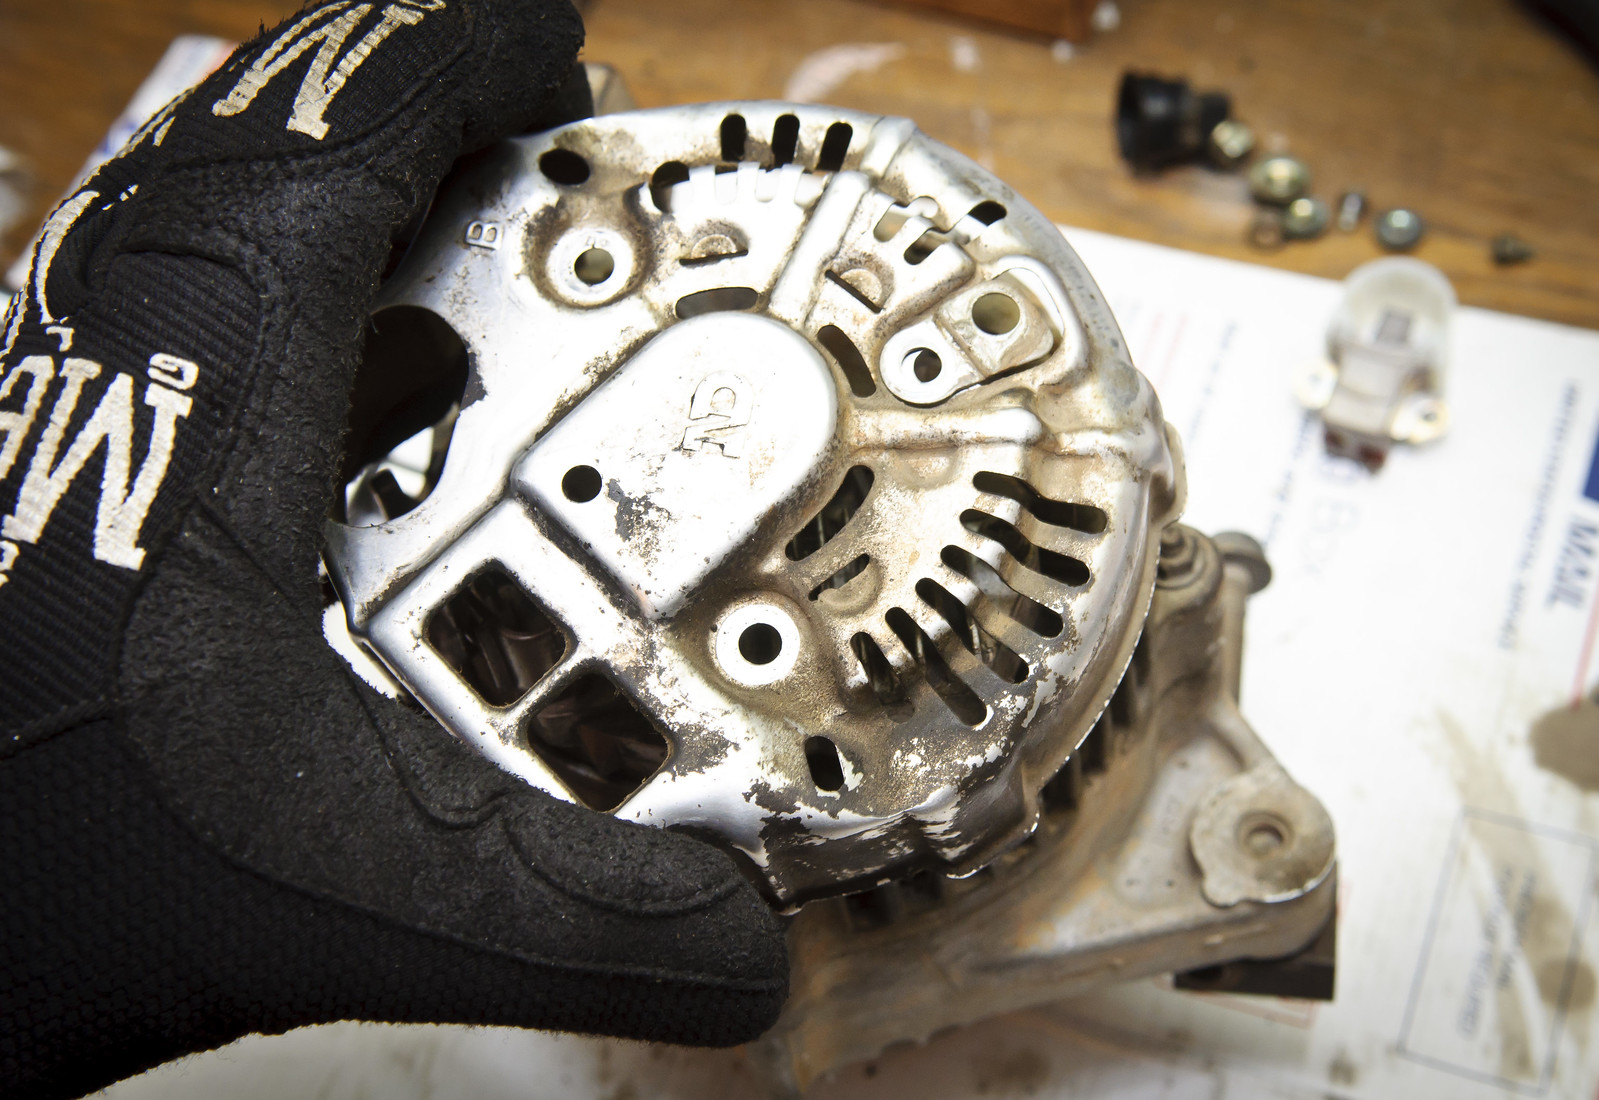
Up next was the alternator overhaul, well just the brushes at least. $14 and 5 minutes of your time. All it takes is to remove the rear cover:

8620242791_7db81fe473_h.jpg


Remove the 2 screws holding the brush assembly and remove.

8621342706_fe298ba069_h.jpg


Check out the wear after 167k miles! Glad I swapped them out. I should be good for another 20 years now :rolleyes:

8620242311_6e7917a8a0_k.jpg


New brush assembly in place.

8620242303_ad7679d731_h.jpg


Next on my while-I'm-in-there list was the water pump. It was working fine but was starting to make a nasty raspy squeaky sound when turning it slowly. No better time than now to replace it.

Water pump out, everything looks nice and clean inside.

8621342020_510b00571f_h.jpg


Old vs new

8620241713_e9b907c87a_h.jpg


No visible wear. Old pump was in great shape minus the noise. Maybe a sign of its impending doom.

8621341516_38b1e68760_h.jpg


All done, shiny parts :clap: Stay tuned for moar updates!

8621341434_ae4a158cf1_h.jpg
 
I don't mean to jack your thread, but I know a lot of guys on here who have a blown hg will be checking it. So if anyone needs the engine valve grind gasket kit, I accidentally ordered one for the 1FZFE. Thought I'd see if someone needs it before I try to return it.
 
I don't mean to jack your thread, but I know a lot of guys on here who have a blown hg will be checking it. So if anyone needs the engine valve grind gasket kit, I accidentally ordered one for the 1FZFE. Thought I'd see if someone needs it before I try to return it.

No worries! You're a few days late, for me at least :)
 
CB RADIO INSTALL

Now that my antenna mount came in I can finally post up the details of my CB install :clap:

I wanted a basic budget CB radio for simple trail communication with the guys in our group. Time to get away from the toy walkie-talkies. Maybe one day I'll go the HAM route, but for now this will work. Here's the list of all the parts I used:

- Uniden PRO520XL radio
- FireStik 5' II antenna
- W/SO-239 stud mount
- Firestik SS-3H antenna spring
- RoadPro RP-8X18CL 18' coax cable
- RoadPro RPSP-15 external speaker
- RoadPro RPSWR-2C SWR meter
- 2' coax jumper cable
- SoCalFrank's antenna mounts

I decided to mount the radio on the left side of the center console. I wanted it somewhat 'portable' so I opted not to go for the in-dash install. That way it will be less hassle if I decide to switch radio, add a HAM unit, etc. It works well and doesn't interfere with the parking brake or opening the console. The unit is wired straight to the auxiliary fuse panel I added. Overkill for such a low-power accessory but oh well, that's what the fuse panel is for!

8628752504_b37e39a4b5_h.jpg


8628752436_935102d1fc_h.jpg


External speaker mounted to the overhead console. I had to extend the wiring a bit to reach the radio. Routing the wiring down to the console was a total pain in the ass.

8627642937_13b52bdfa1_h.jpg


I decided to permanently mount the SWR meter and leave it always connected so I could quickly check that it's properly tuned. Used a 2ft jumper coax cable for this....

8628752096_3f4cf31e93_h.jpg


Routed the wiring under the carpet and out to the passenger side fender panel. Here's how I routed it to the outside. Will there be any issues with leaks the way the cable wraps around the seal?

8627642797_c8835d2ad2_h.jpg


To the mount:

8628751710_450383574e_h.jpg


SoCalFrank's / yodaTEQ's antenna mounts are a thing of beauty. I debated buying them because of the price and almost went with the universal mounts out there. These were expensive and took a while to arrive but in the end I'm very happy with them. The fit and finish is absolutely perfect and they are very very very stout and sturdy. I can't say anything bad about them.

8627642183_a6e51193a5_h.jpg


The 5ft Firestik which I can't install in my garage. I wont be able to tune the radio until the head gasket is done so I can drive out into an open area.

8627642485_8284668699_h.jpg


Here's the little contraption I made so I can quickly remove/install the antenna as needed. That way I don't have to deal with fumbling around looking for tools :)

8628751132_84e6138fdf_h.jpg


Antenna mounts...I actually ordered the pair. Here's what's going on the other side. More on this when the rear bumper is installed :cheers:

8627642255_1f46f2d0cd_h.jpg
 
SEAN'S / HUSTON FABRICATION REAR BUMPER

It's here! Man what an awesome bumper. This has to be one of the coolest things I've bought. Like everybody says, it's a work of art. Everything is very well thought out and put together and sturdy. I love how rock-solid the swing outs are. Huge thanks to Sean for continuing to build these for the community. He's a great guy to deal with.

The bumper will be left bare steel. When I get the time, I'll be polishing it up then slapping on some clear coat. I've never been a fan of black armor because you lose all the awesome detail that makes up the bumpers. I still need to order a new rim and get a spare tire mounted. I'll probably run the factory spare just so it doesn't look empty. The issue will be seeing if it all fits in my garage since I don't feel comfortable leaving this thing in the driveway with all the money I've put into it.

I also need to figure out the license plate lighting. That's TBD. Bolting this thing up was pretty difficult since access to the bolts inside the frame is very limited. Had to use some tape on a wrench and get creative.

First step was to cut off the factory cross member. Also removed the factory tire carrier.

8635836005_51b6f415fb_h.jpg


Here's what was left of the cross member

8636942290_e7d20d05a1_h.jpg


The monster crate you get from Sean, picked up at a local freight terminal

8636942206_a2600ce61b_h.jpg


And it's installed! Did this all by myself so it took me a few hours. I'm in love :eek:

8636942152_7997264ede_k.jpg


8635835619_88ed1277a1_k.jpg


8636941894_b03f116489_k.jpg


8635835421_6795eba2cf_k.jpg


8635835333_43a406a68b_k.jpg
 
Just curious, but why don't you paint or coat the armour you install?

Part of some master colour plan?
 
Just curious, but why don't you paint or coat the armour you install?

Part of some master colour plan?

It will be bare steel with a clear coat over them. Hoping to do it the same time I do the Monstaliner...
 
Man I am so jelouse right now! I want that bumper badly! Congrats!!!
 
Last edited:
Man I am so jelouse right now! I want that bumper badly! Congrats!!!
Thanks! I knew I wanted this specific bumper even before I bought the LC. It's a big purchase, but when you see this thing in person you'll know it was worth the price. I can't imagine the work and planning that goes into making this bumper. I'd have to charge a lot more if I were building them :flipoff2:
 
Can the jack be mounted with the lift point facing the bumper, so it does not block part of the right brake light? Or is it that way because it should be heavy side down?
 
You know I'm not sure. Didn't really mess it with it much last night. I'll give it a try. I may also be able to raise the the lift point so it's not in the way. I'll report back...
 

Users who are viewing this thread

Back
Top Bottom