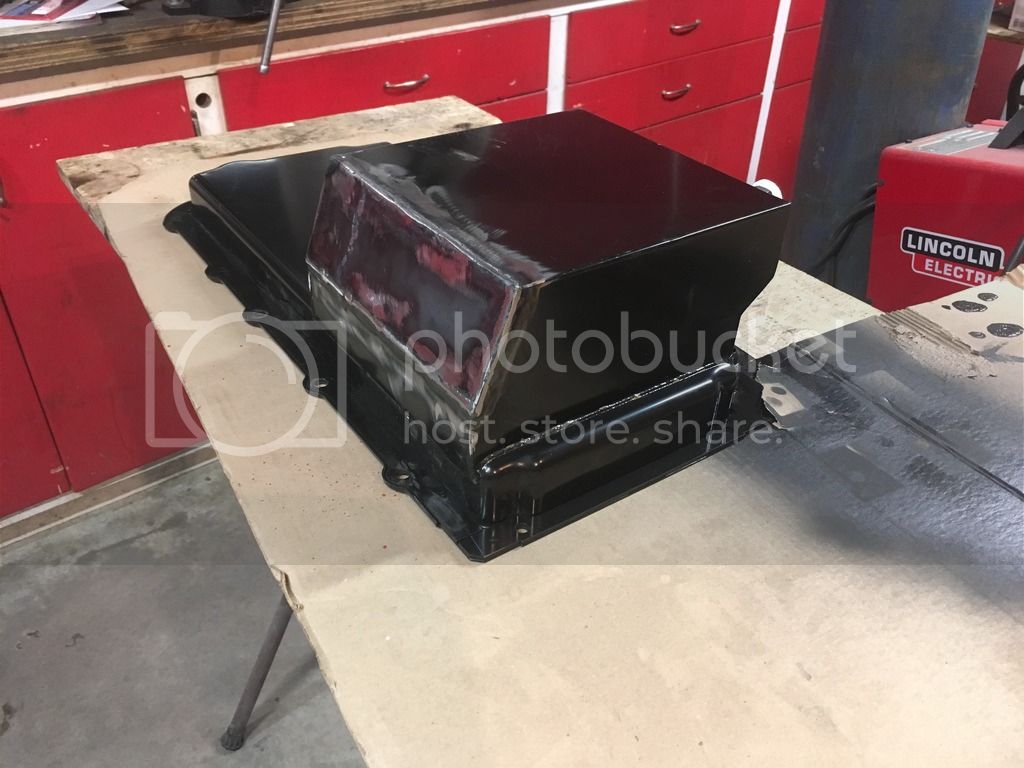
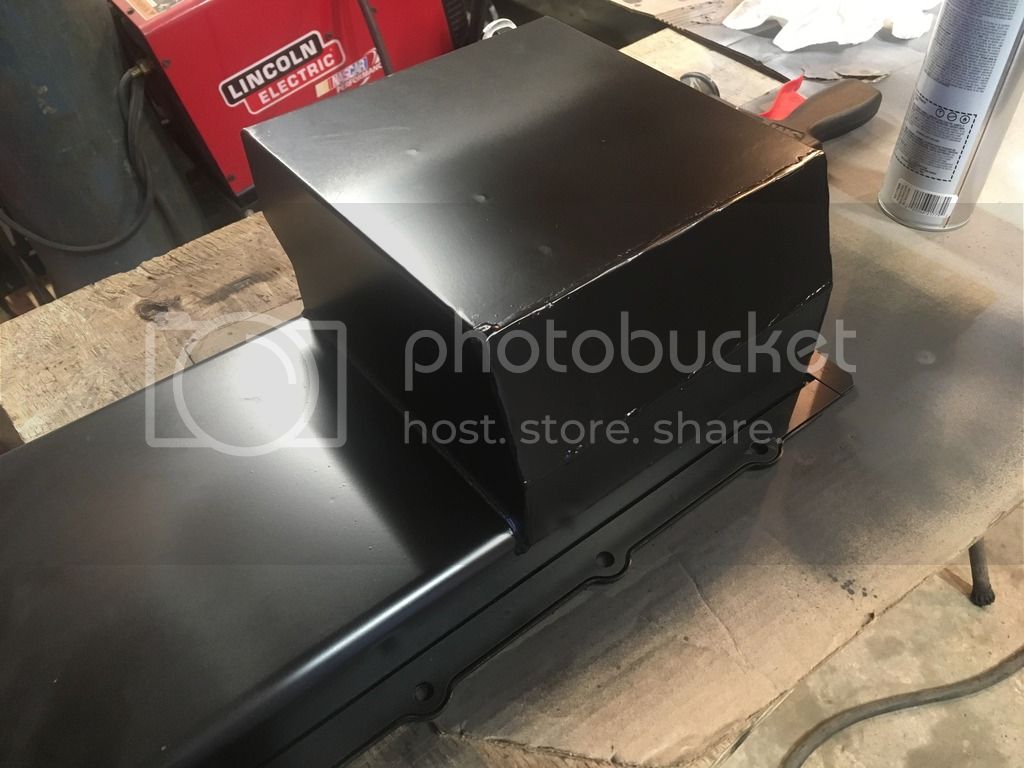
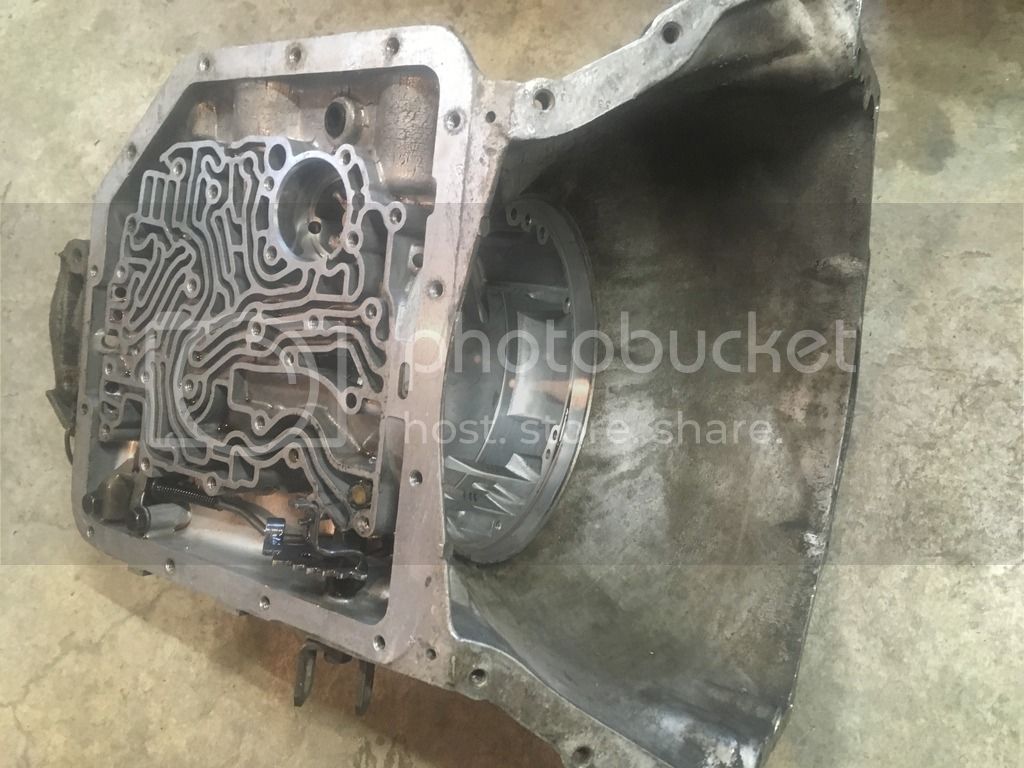
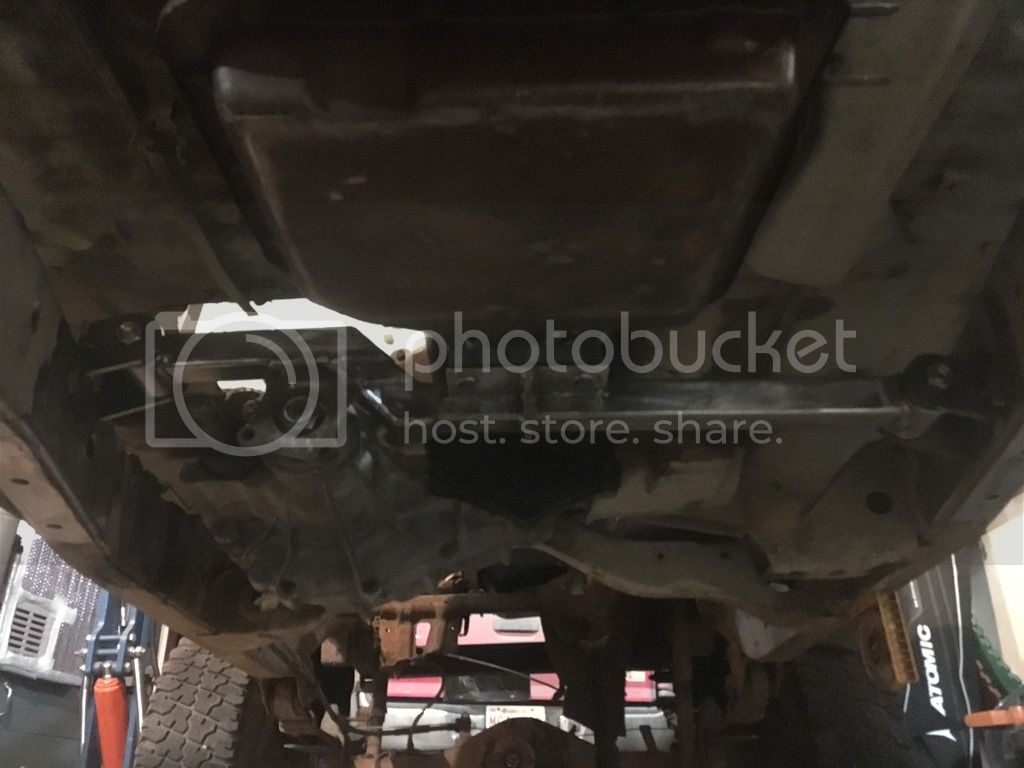
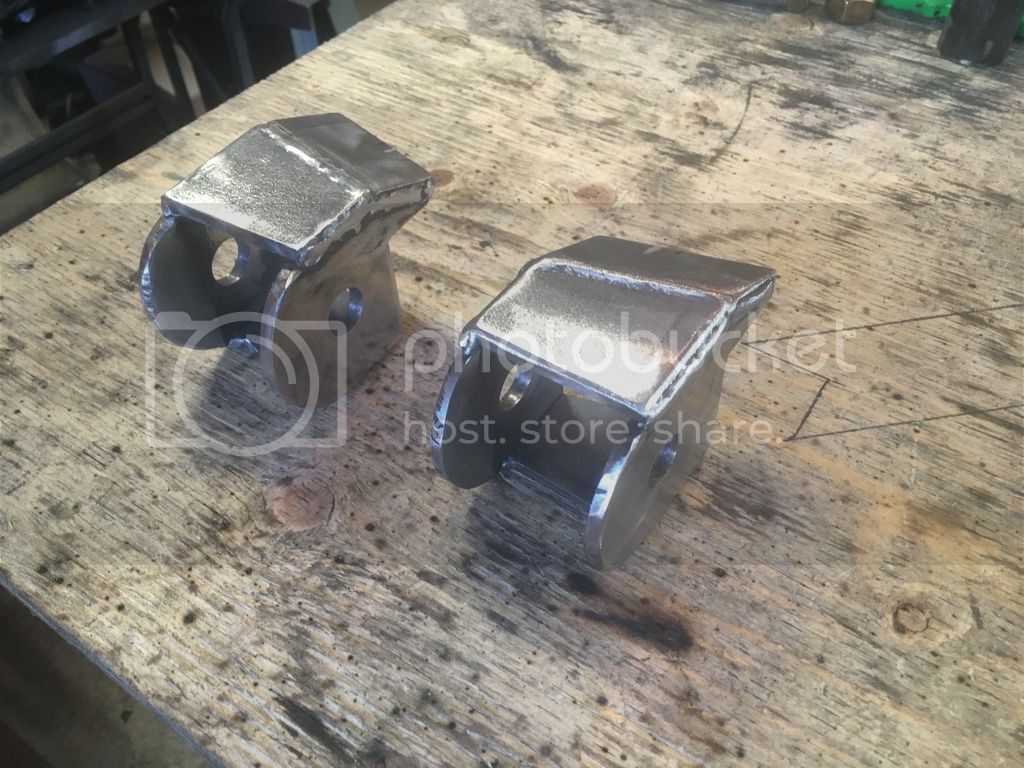
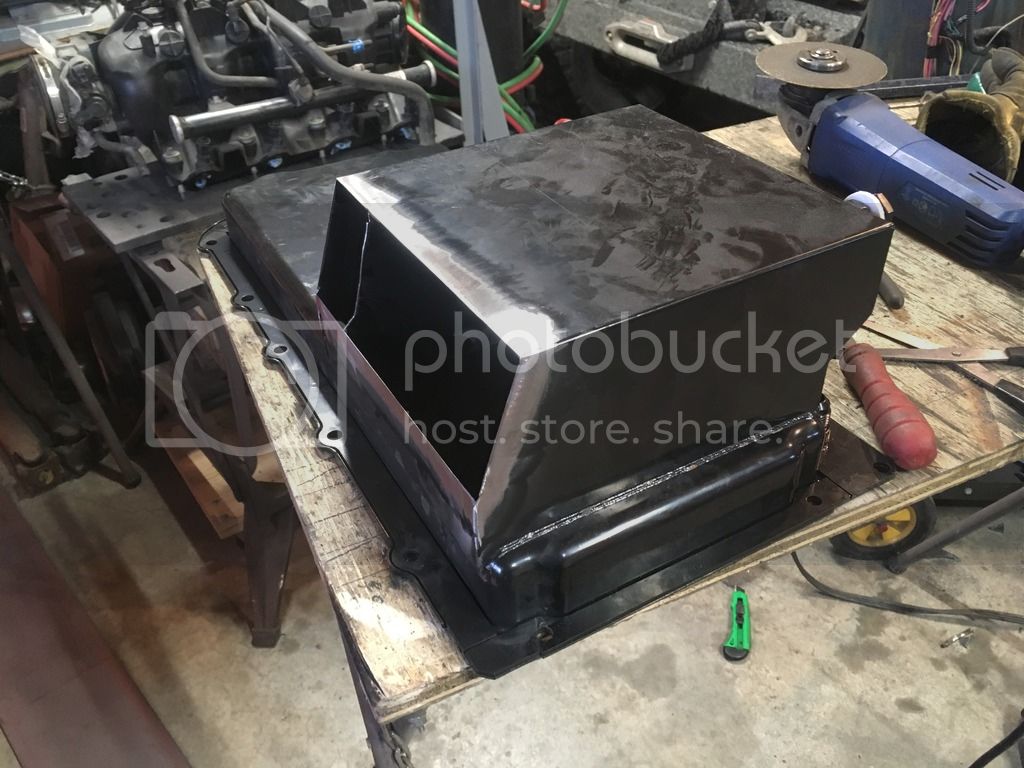
Here is the completed oil pan mod:
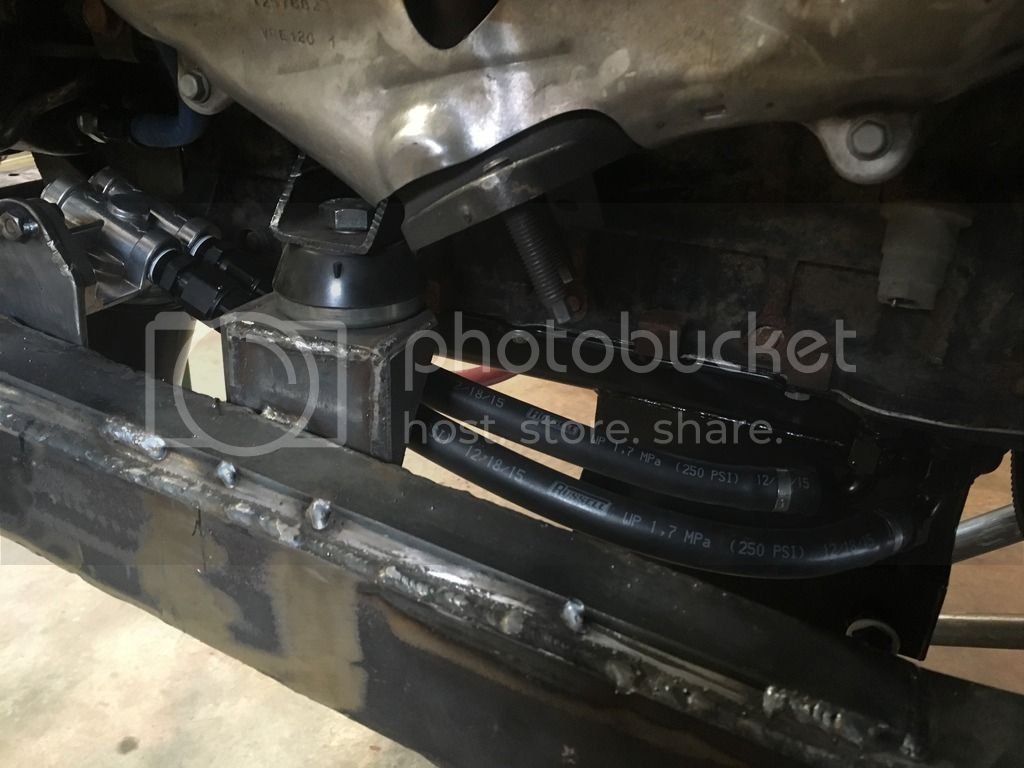
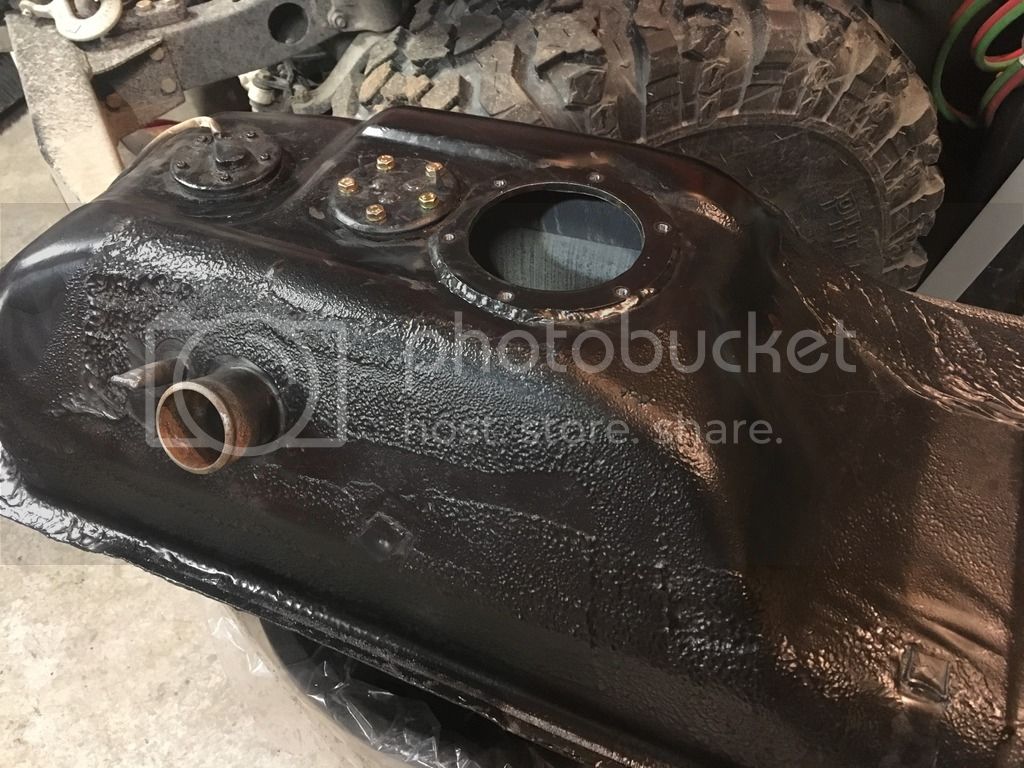
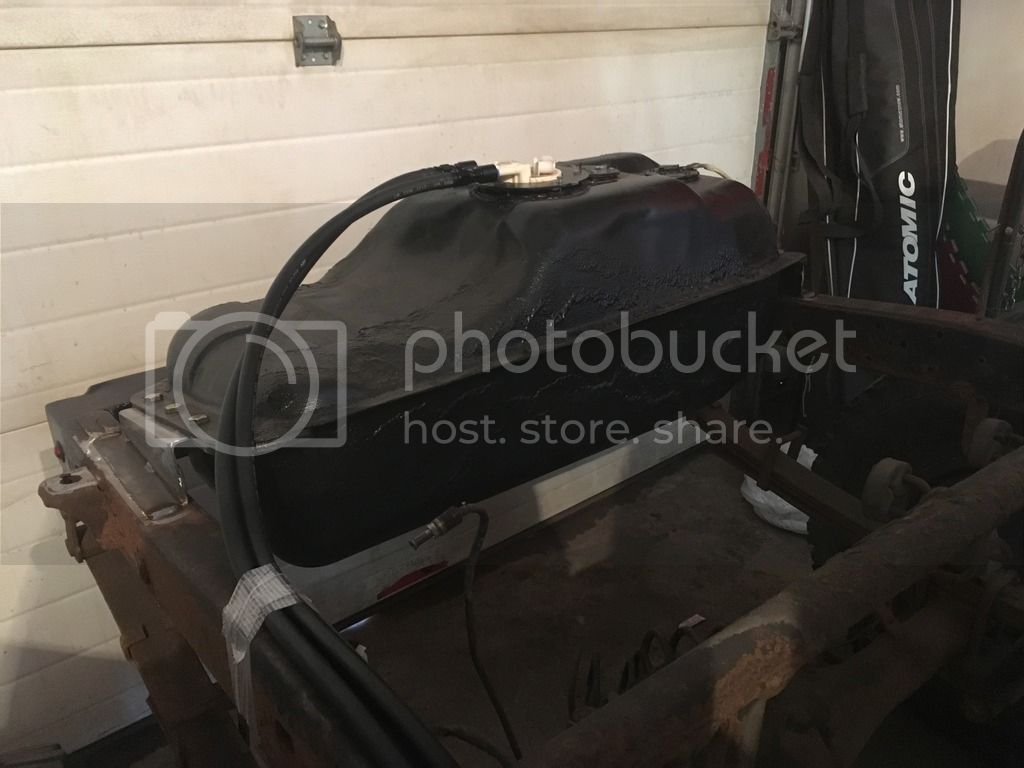
For the gas tank I went back and forth about buying a fuel cell but I always got held up at the fact I wanted to use a factory GM pump and pick up assembly. It didn’t seem right to buy a new cell and cut a hole in it so I cut a hole in the factory tank, welded a 3/16 steel ring I cut out to the tank, then drilled and tapped it to pull down on the another ring I cut out which will secure the factory GM pump assembly. I started out with m4 bolts but after twisting of 3 of them at different times I redrilled and tapped them to m6. The smaller factory bulk head just got welded up and retapped to m6 bolts to seal it up. The hose is Red Horse -6 AN push lock, the location of the tank was chose to move its weight rearward and make room for the rear 4 links. I also learned that newer GM senders are 40-240 ohms, when I thought they were 0-90 ohm which was the gauge I bought. Darn it. The easy fix will me to buy an after market 0-90 sender and attach it to the plastic pump sump in the same spot as the 40-240 ohm sender.....or just go with a gauge that is reads 7/16 of a tank when it is empty.
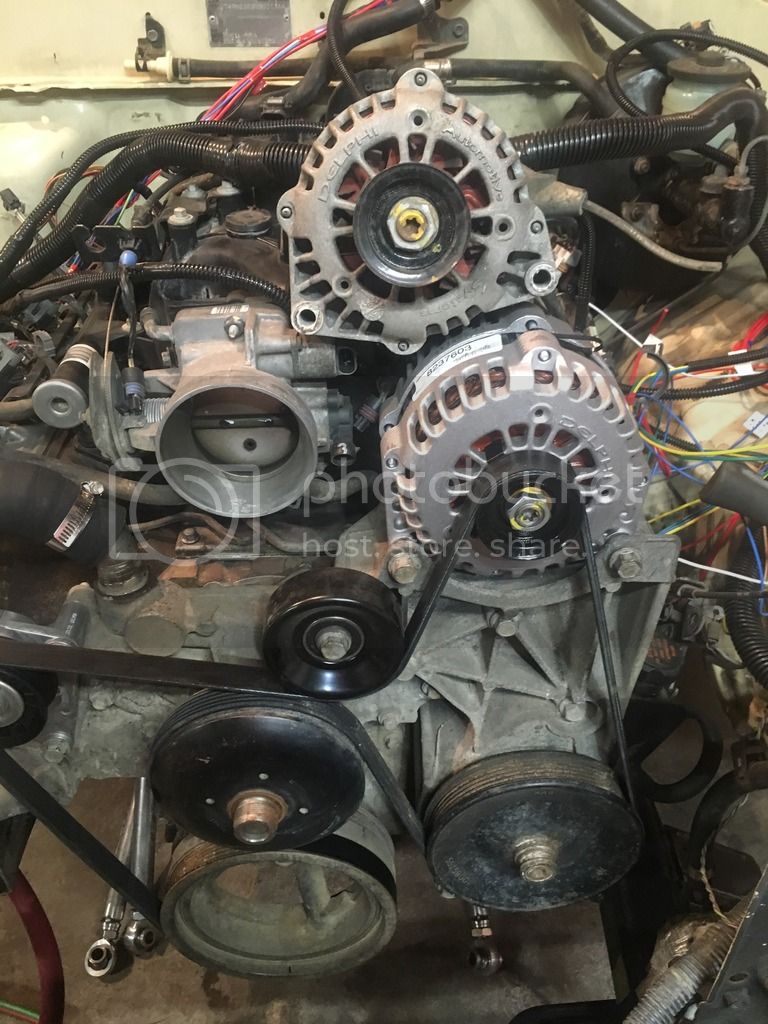
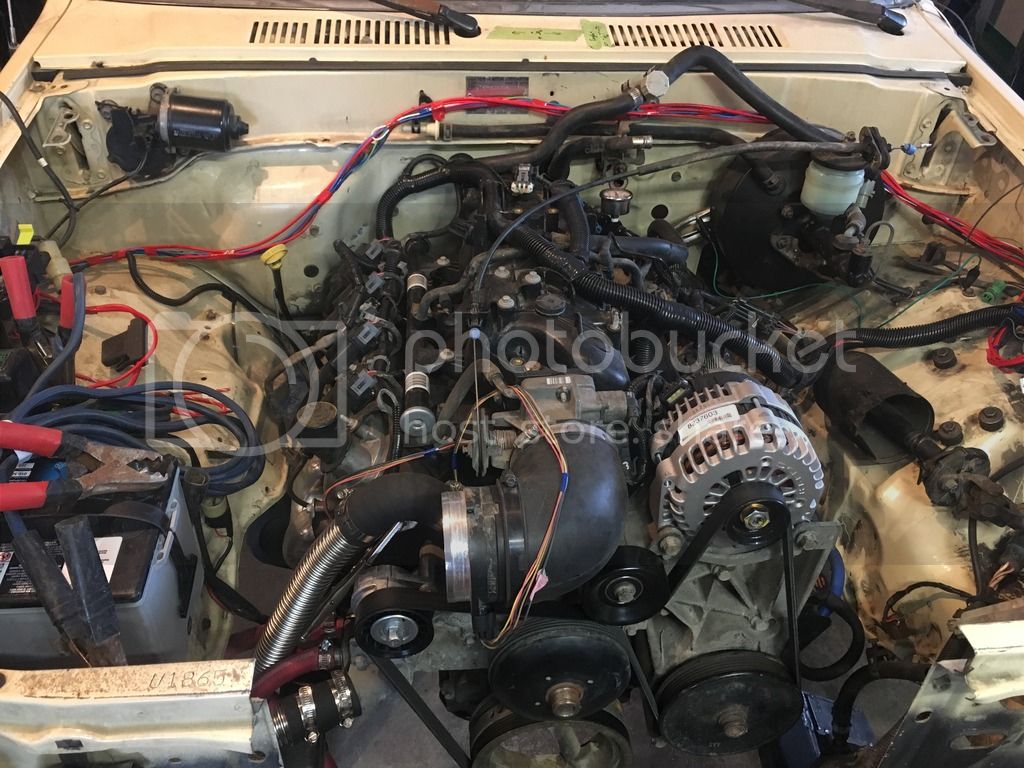
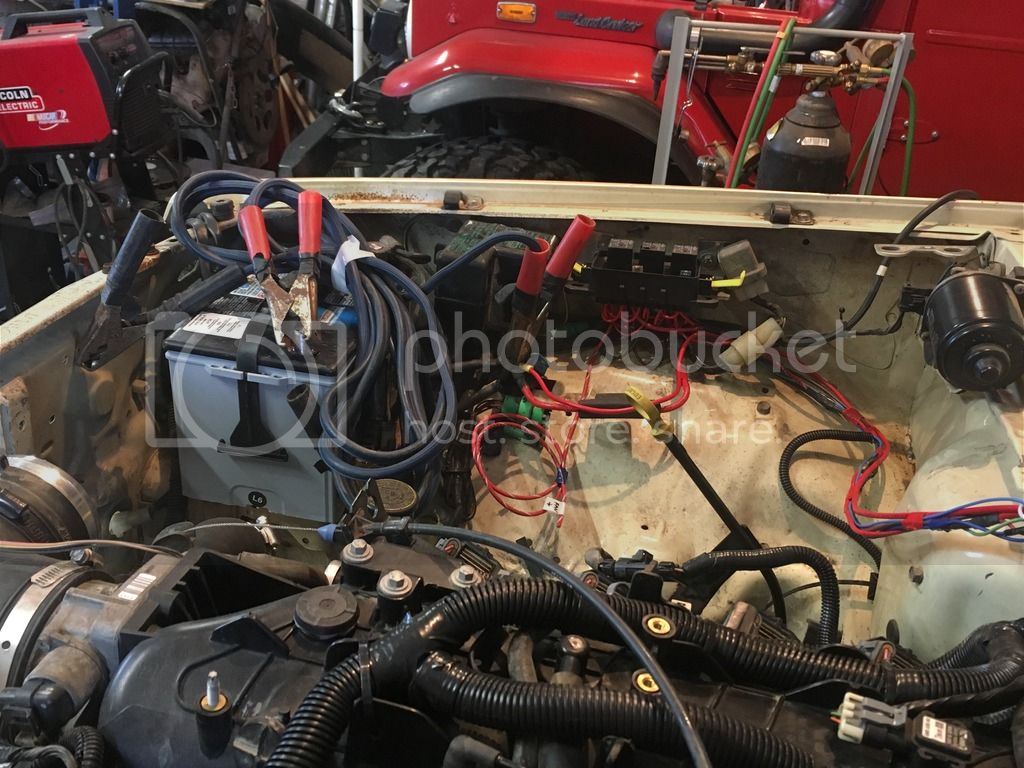
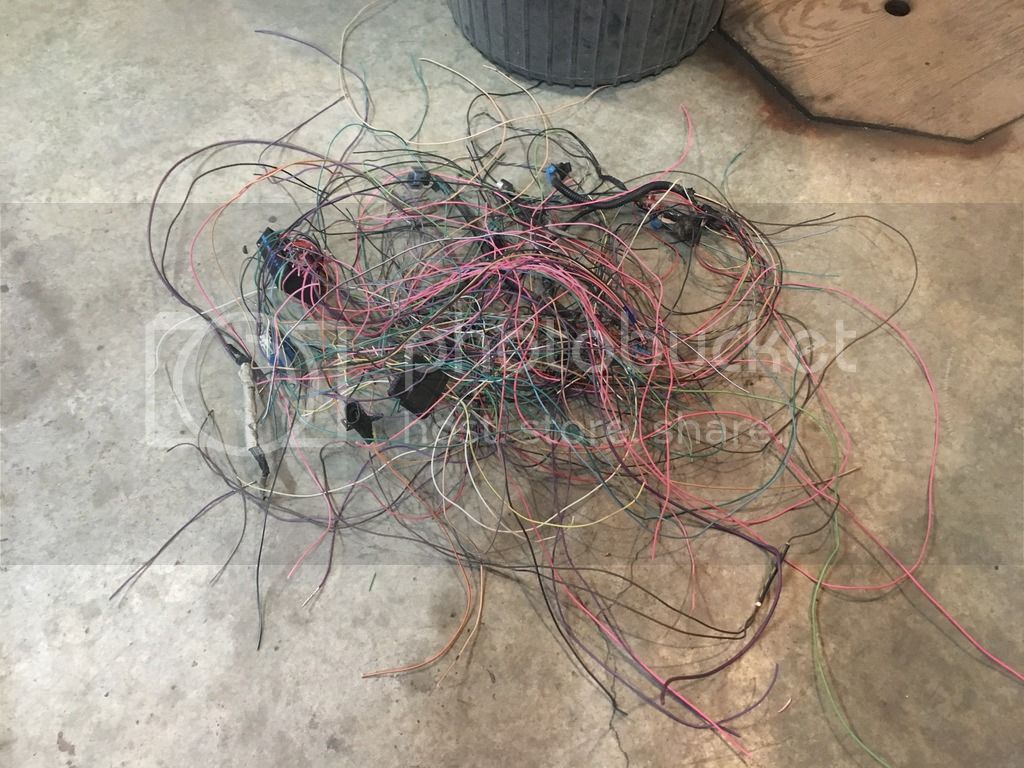
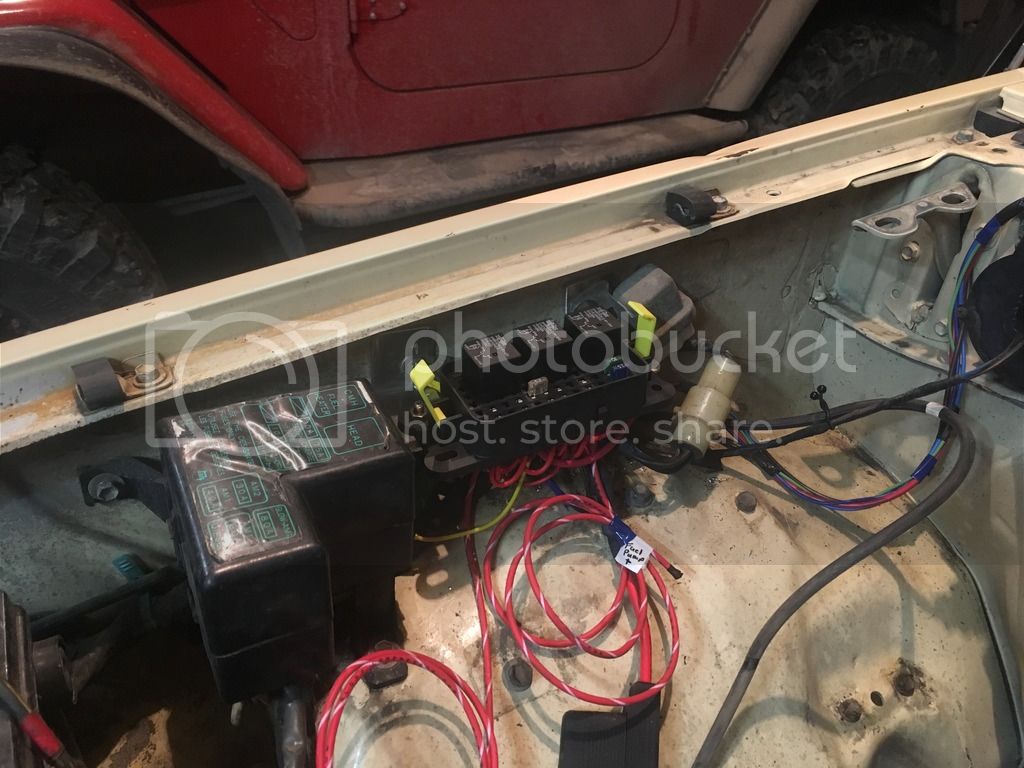
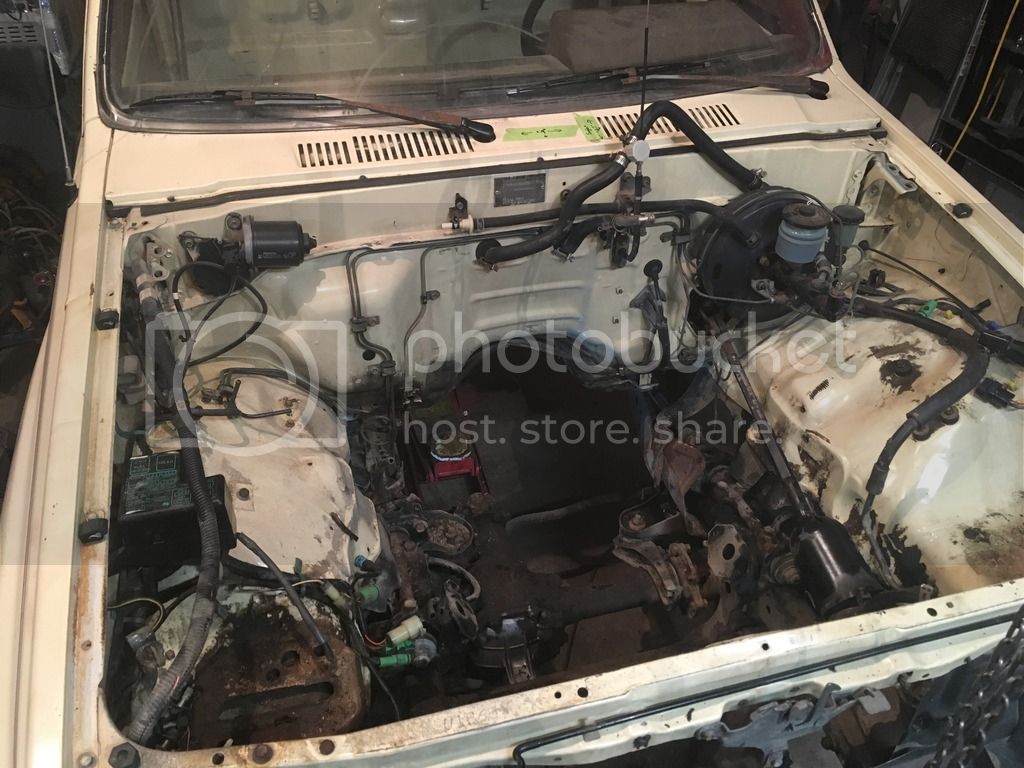
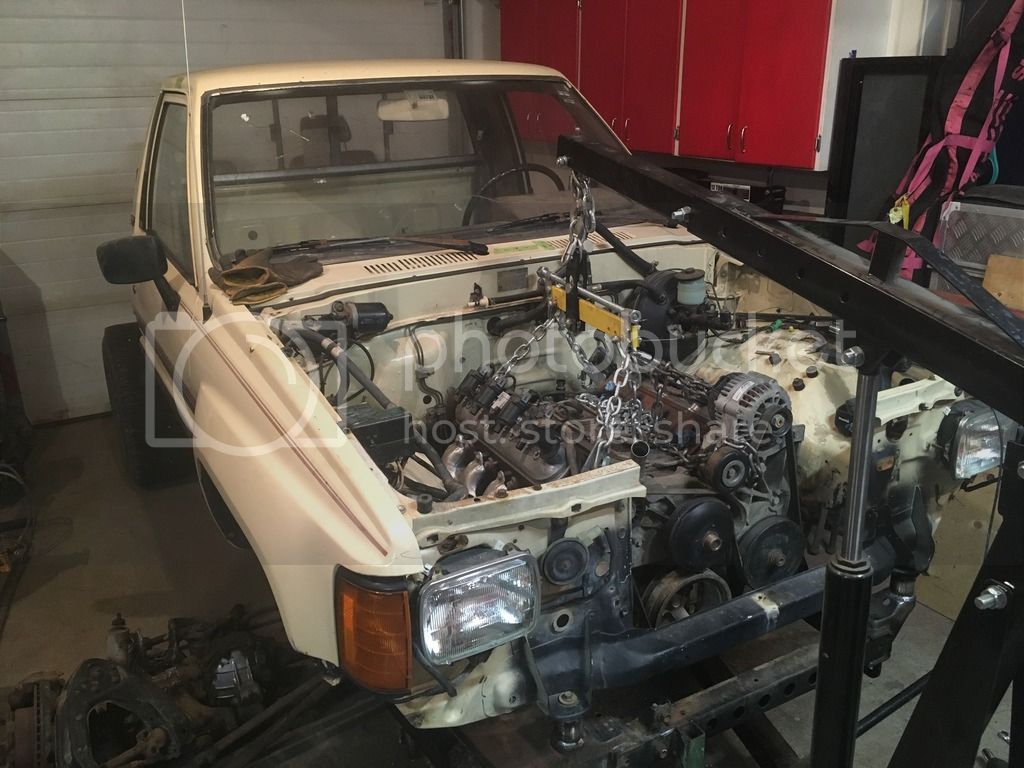
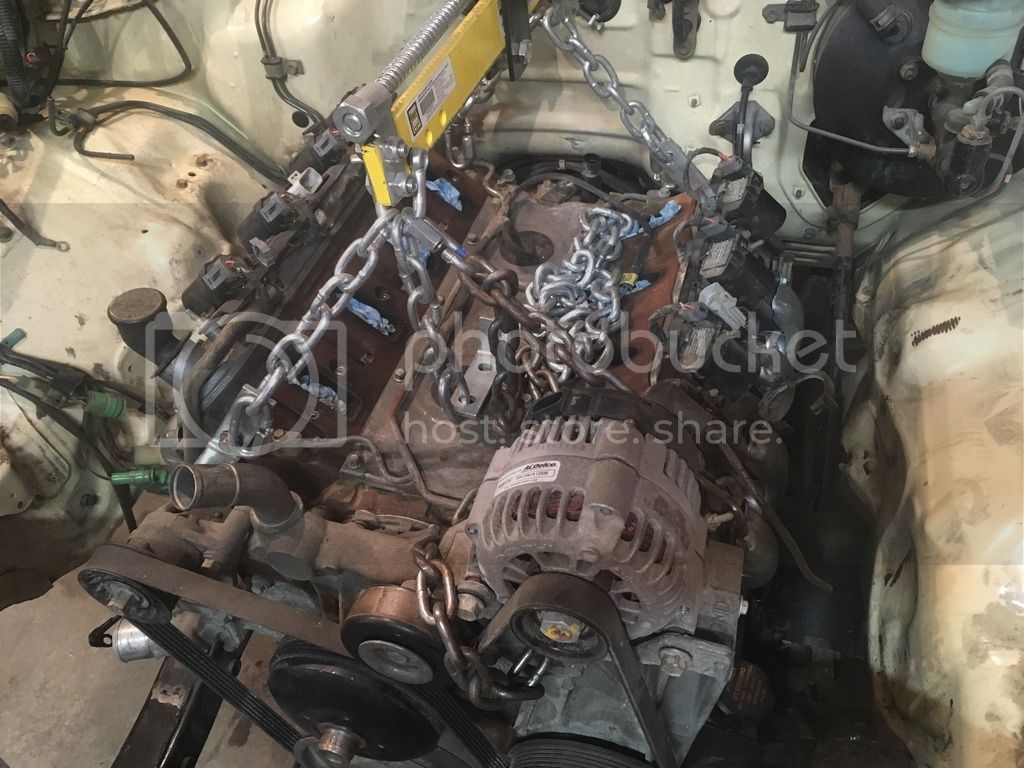
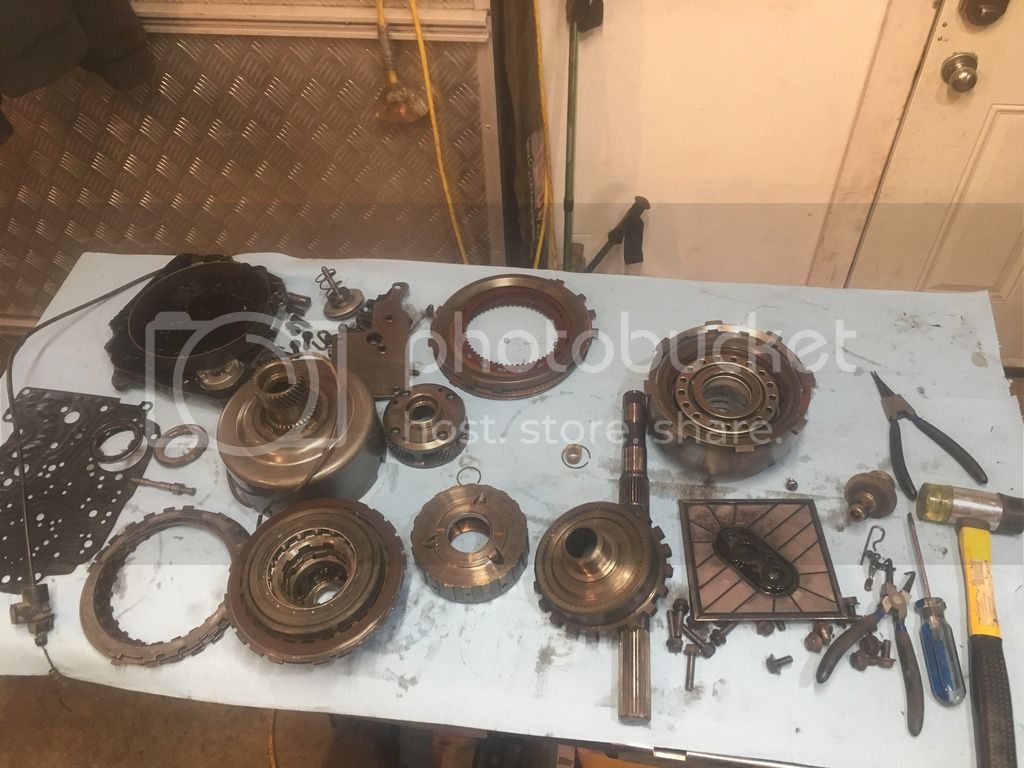
Next up was cutting down the lq4 harness. Not much detail here, it is covered lots of other places on the net. I will say the second time you do this it is super easy and I actually enjoy wiring I think....the planning and execution part of it. The fuse block is a littlefuse unit that is fully customizable with metripack 280 female ends, very nice piece. I set up the fuse block for 6 battery + and 6 ignition + but left them so I can just stick a another metripack connector up in it when I need a new circuit. As I learn about and use these high quality connectors like metripack and weather pack (and the proper crimpers) wiring has actually become enjoyable. Waiting on the oil pump pick up tube and ecu reflash (2nd time because I changed VSS plans) to fire it.
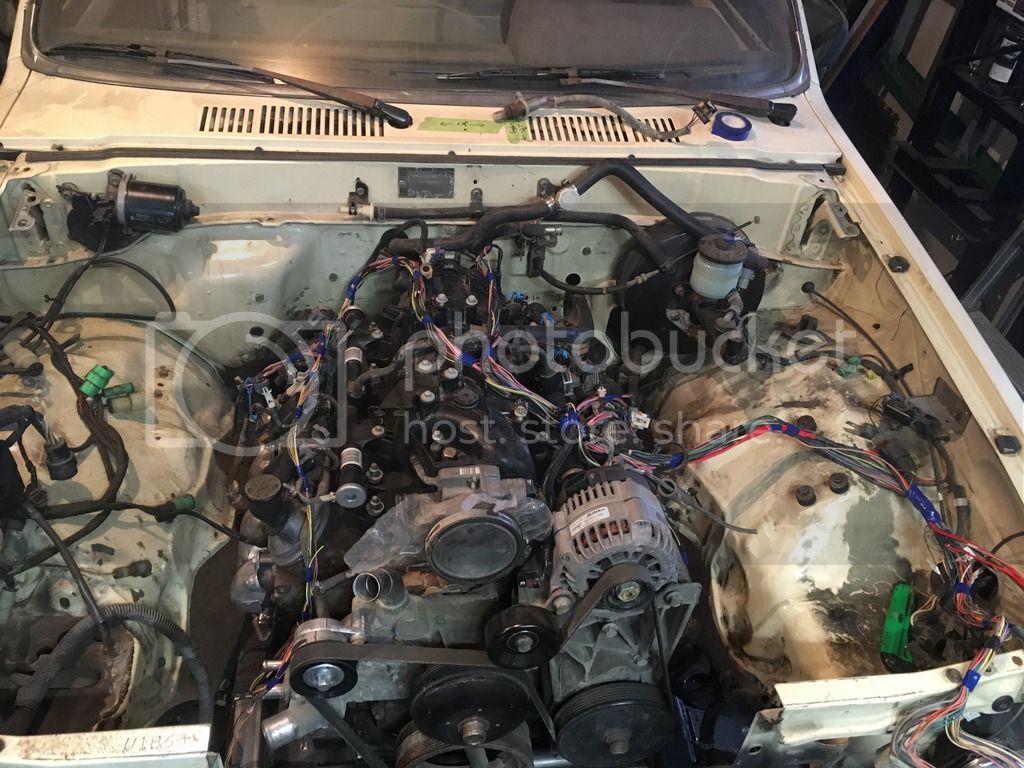
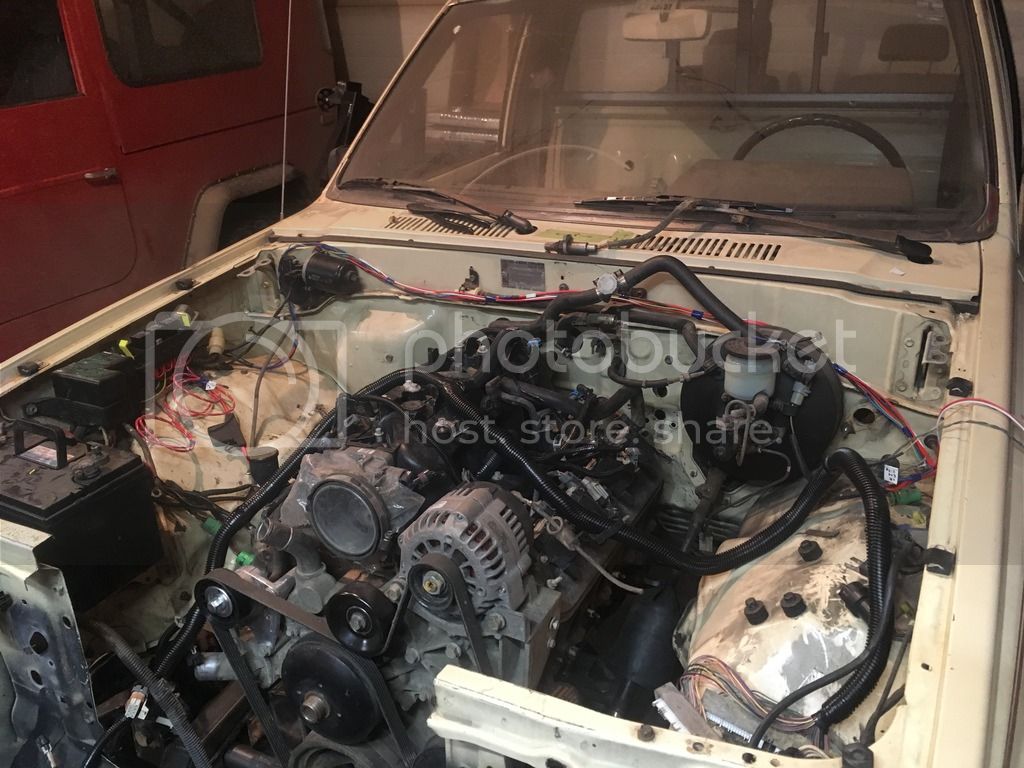
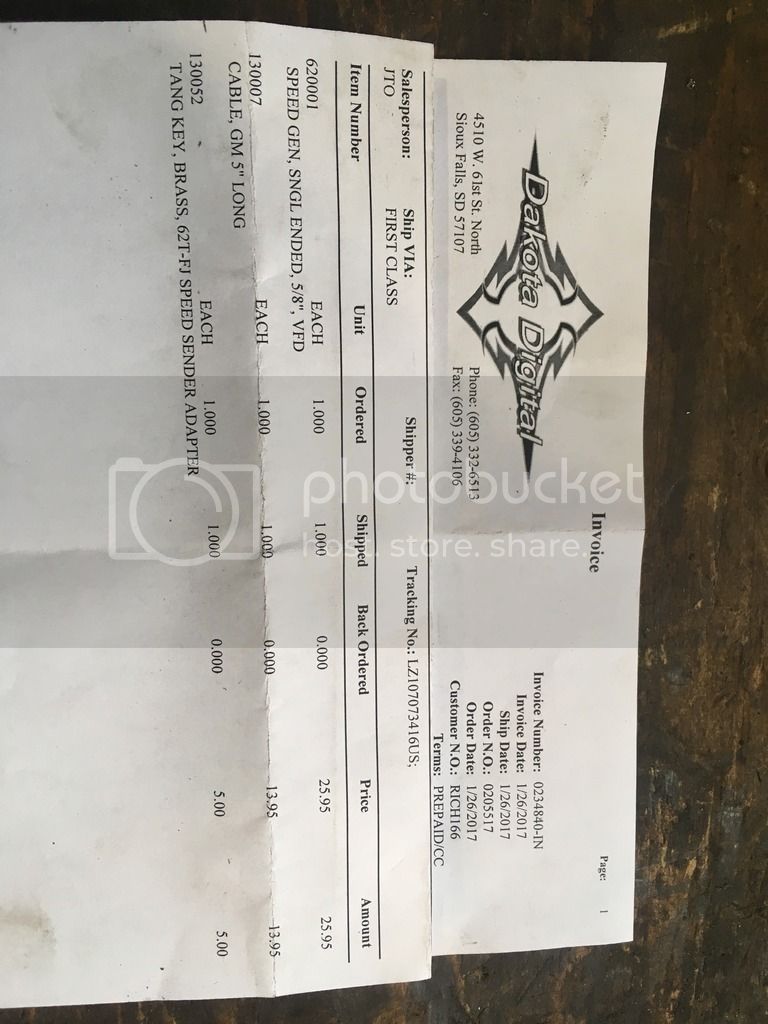
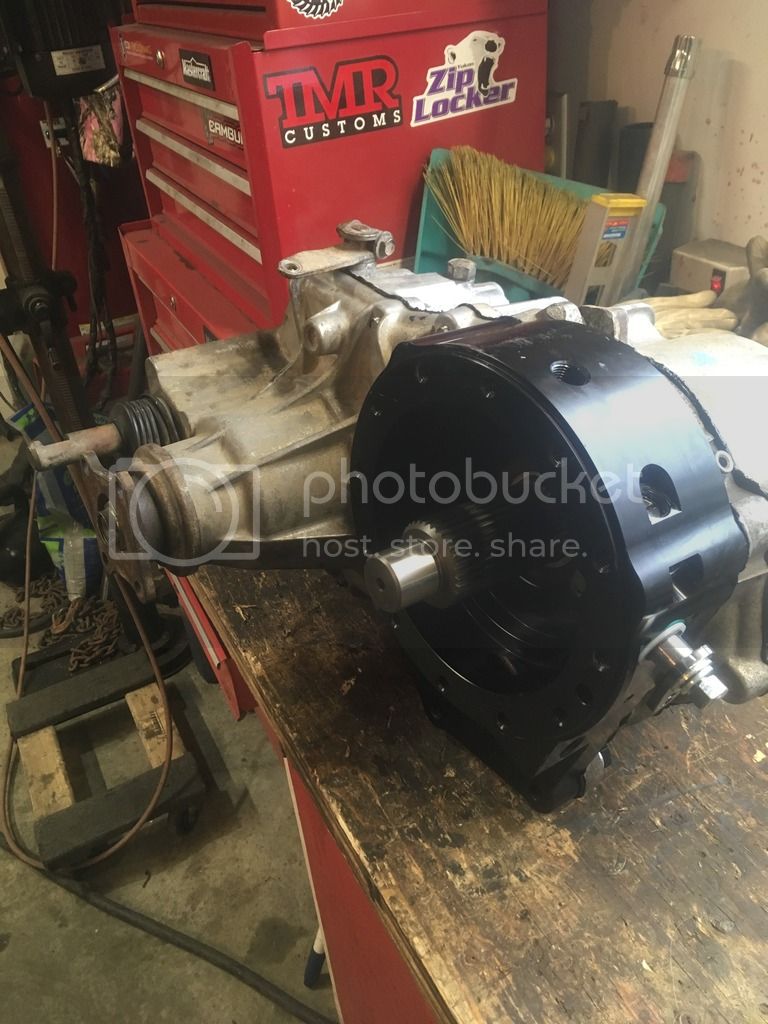
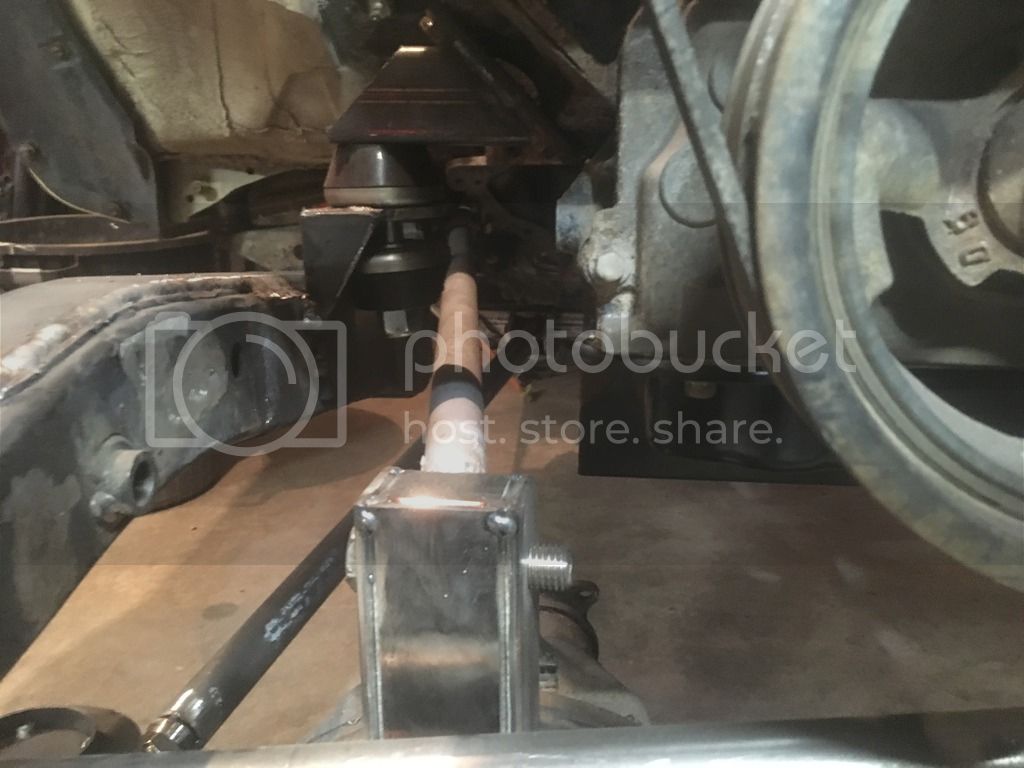
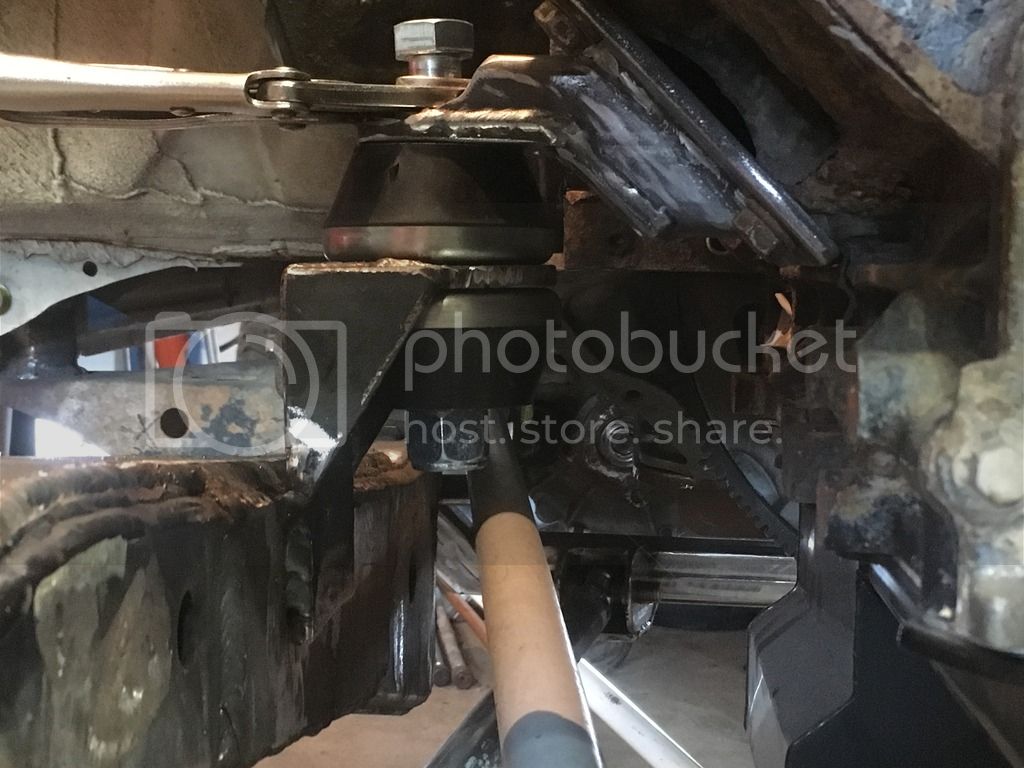
A little info about the VSS: As you likely know, these gen 3/4 GM engines need a vss even if you are running a manual or a old auto like I am. I guess the ecu needs to know if the vehicle is coming to a stop so it can switch fuel maps, or something like that. If you skip it they say the engine will stumble coming to a stop or leaving. My original plan was to stick a 40 tooth reluctor in the tail housing of the th350 but the governor gear made that a pain (there is lots more room in a 4l60e tail housing fyi). Then I was going to build a mount to mount the same 40 tooth reluctor on the back of the T case where the trans out put comes through the Tcase on all cruiser T cases. But given this is a split case that shaft is a little shorter than the older T cases so that became a pain too. I settled on the simplest solution of all, although it was hard to find. Dakota Digital makes an 8k pulse generator that goes into a gm speedo coupler, and an adaptor to make it go into a toyota speed cable coupler. I just needed to get my ecu reflashed to know the new 8k pulses per mile rather than the 128k pluses per mile the 40 tooth reluctor ring gives off. The guy doing the tuning said this will work fine given I’m not attempting to shift an electronic 4l60e, just manage the idle. I searched the net a lot on this topic, it seams the combo of lq4 LS, TH350 and split case is not that common, hopefully this works and anyone looking for info on this type of set up in the future will find this when they are searching.

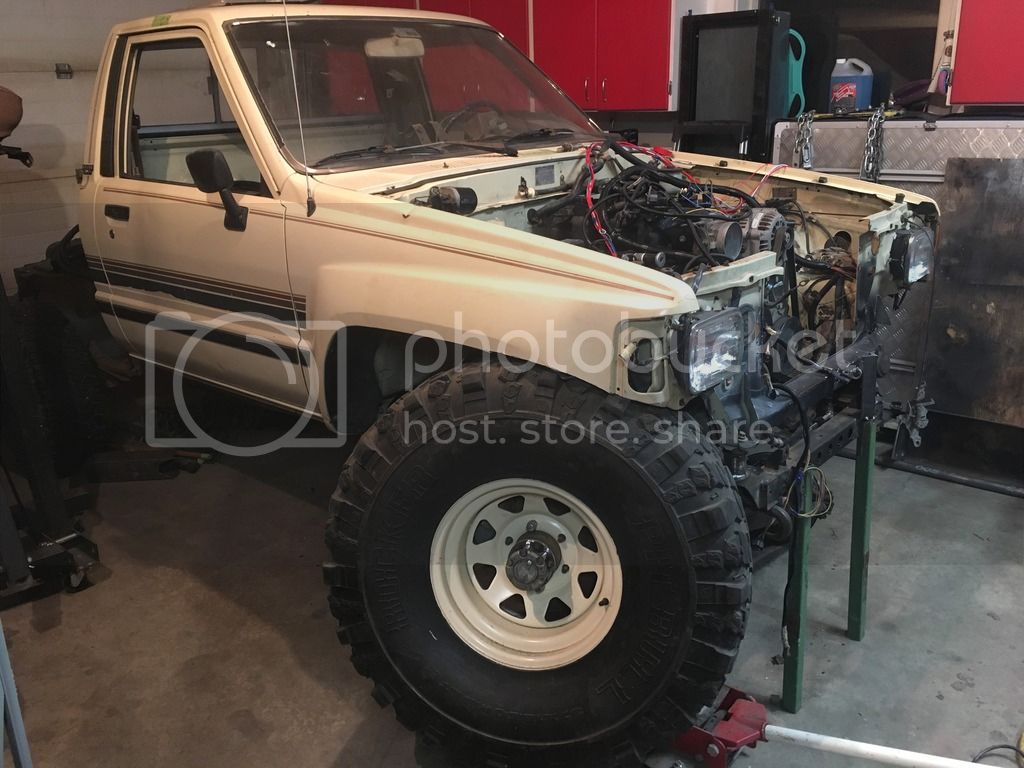
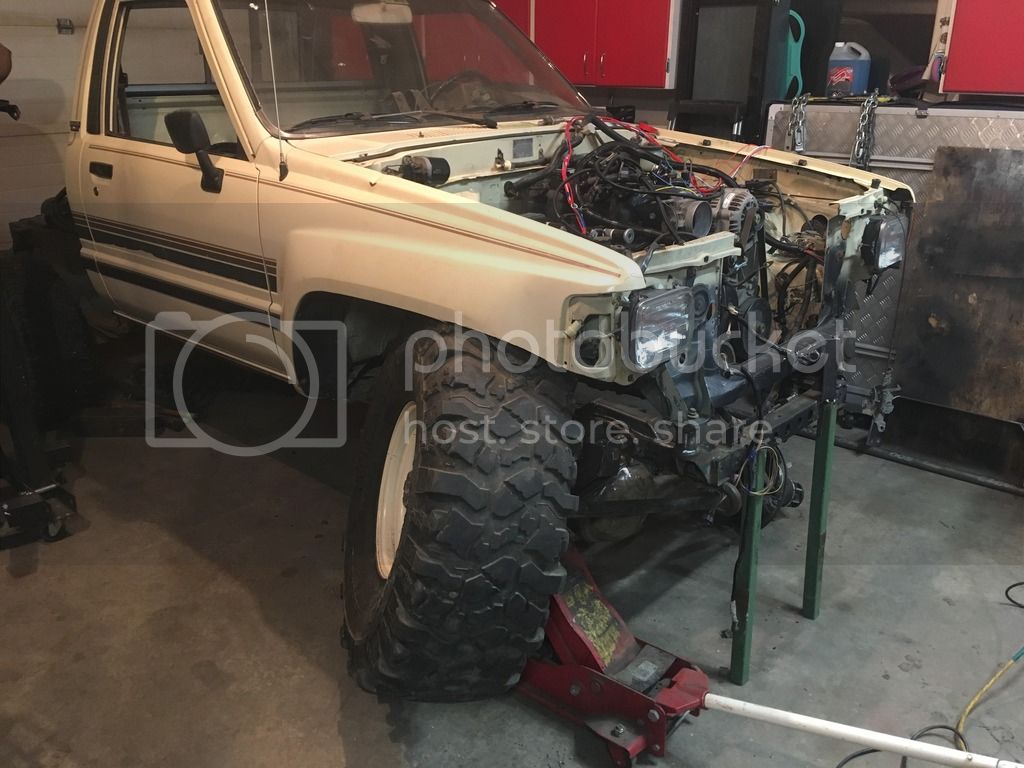
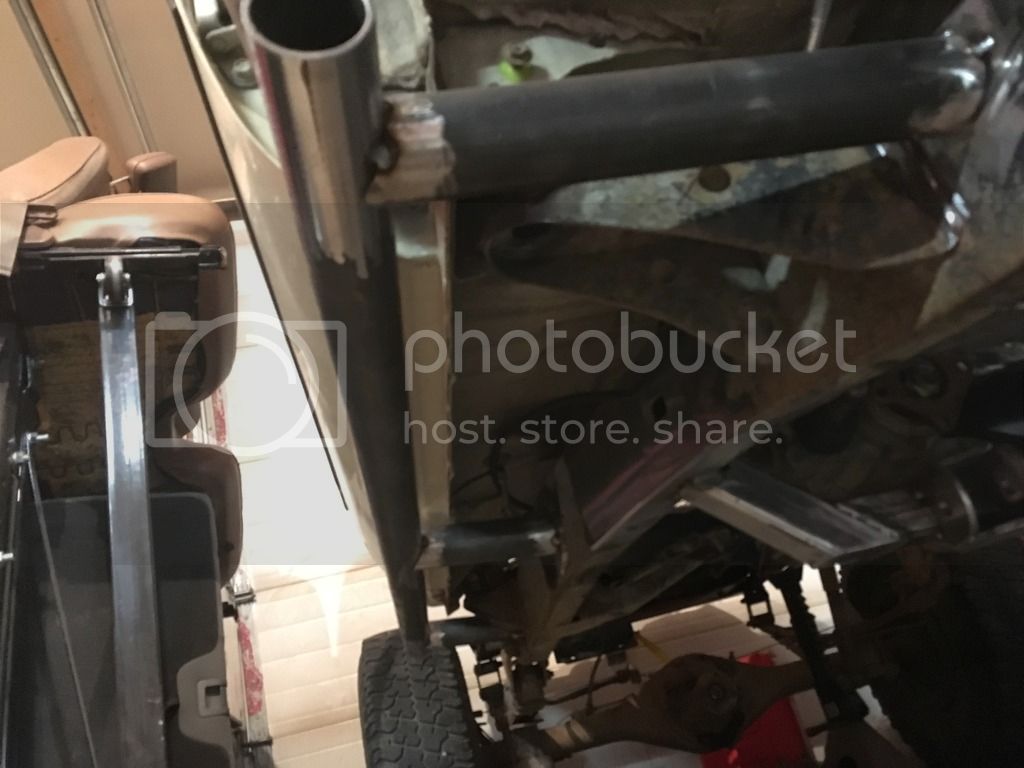
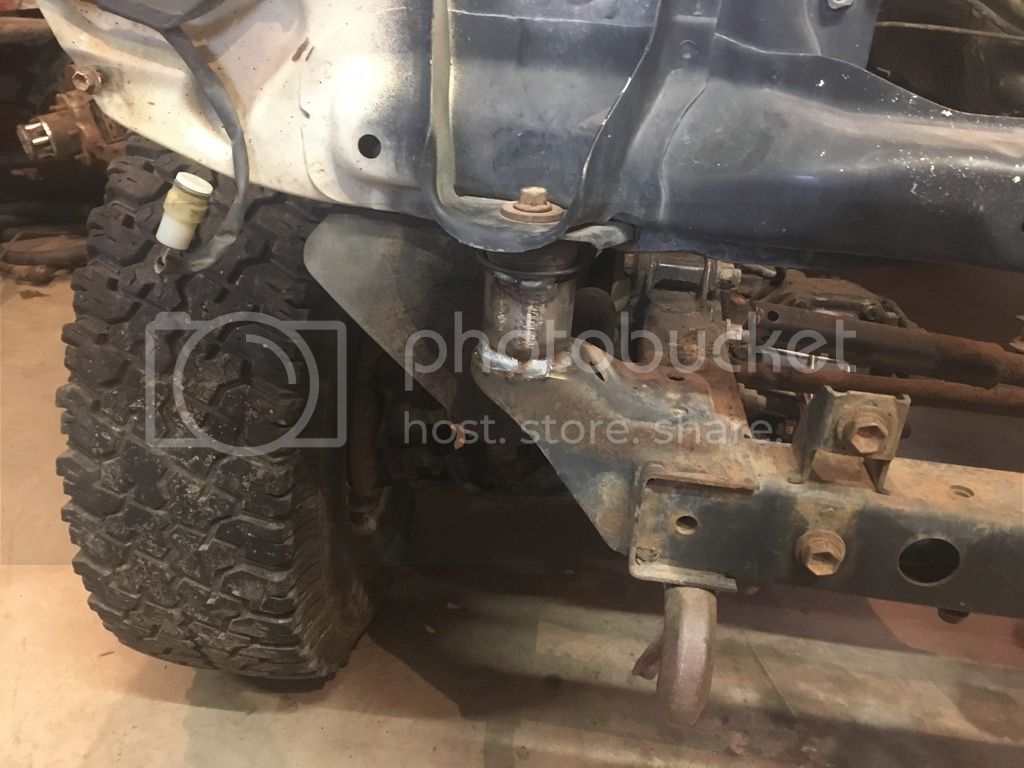
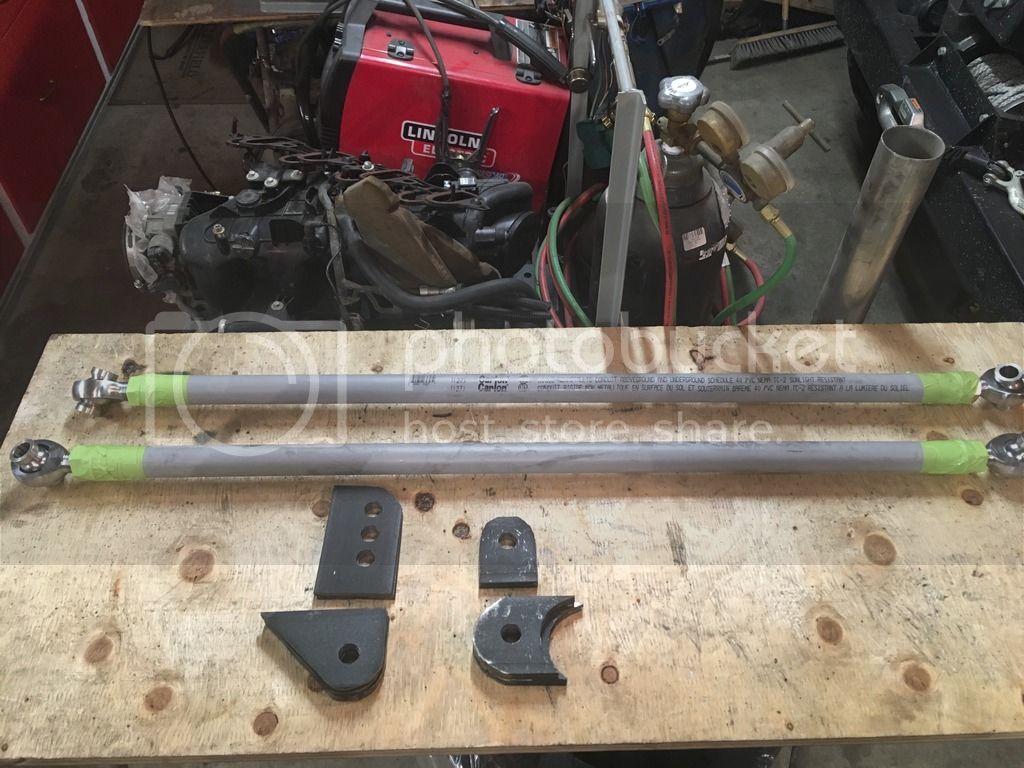
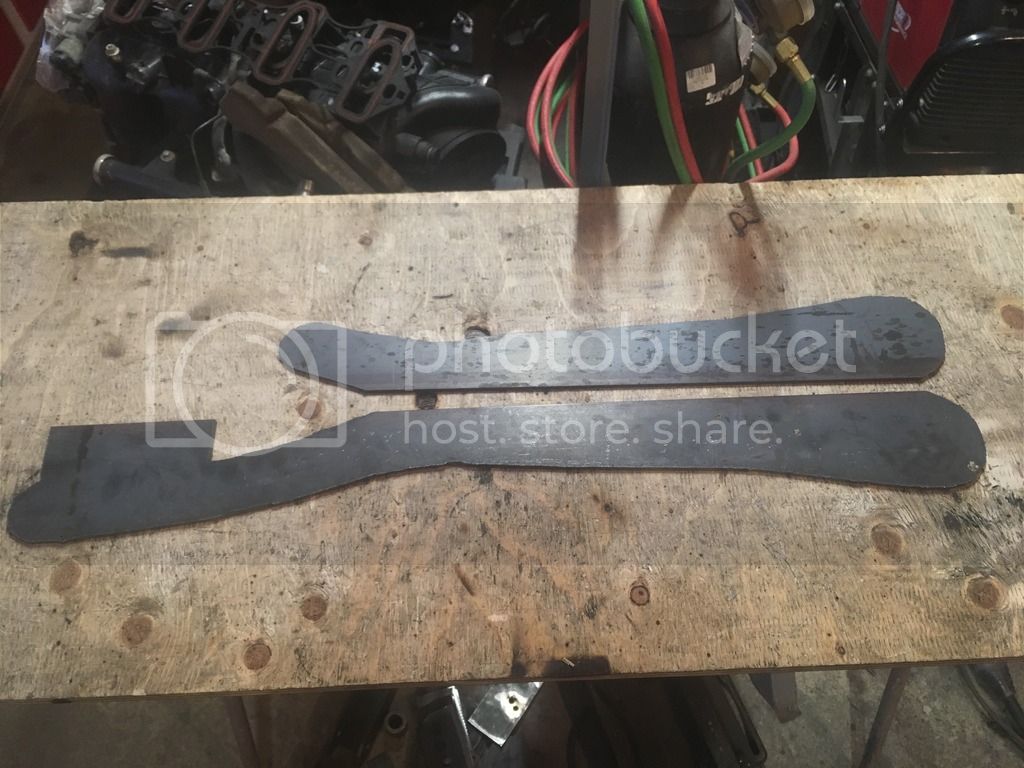
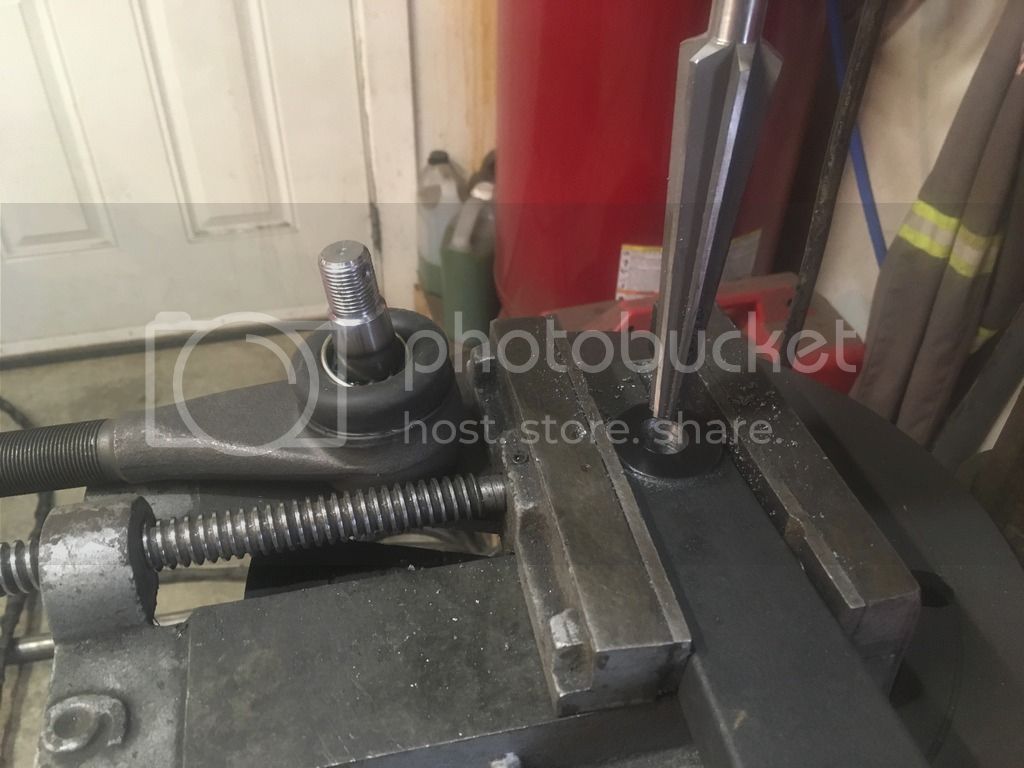
I picked up a set of PBR 37-12.5R15 rockers used. Here is one mounted to what is going to be the spare rim and mounted for clearance testing and timing. I forgot to take a before triming pic, it went to full bump with no articulation without triming. When I dropped the DS down about 14” at the theoretical shock mount the PS tire got into the fender big time. I cleared out some fender sheetmetal with a sawzall and tin snips. The horizontal portion of the inner fender up at the front where the stock battery goes will need to be pounded up and the body mount will need to be trimmed about 1/2” but other than that clearance is good. Will defiantly be sticking with 37s, 40’s would be too much inner fender work.
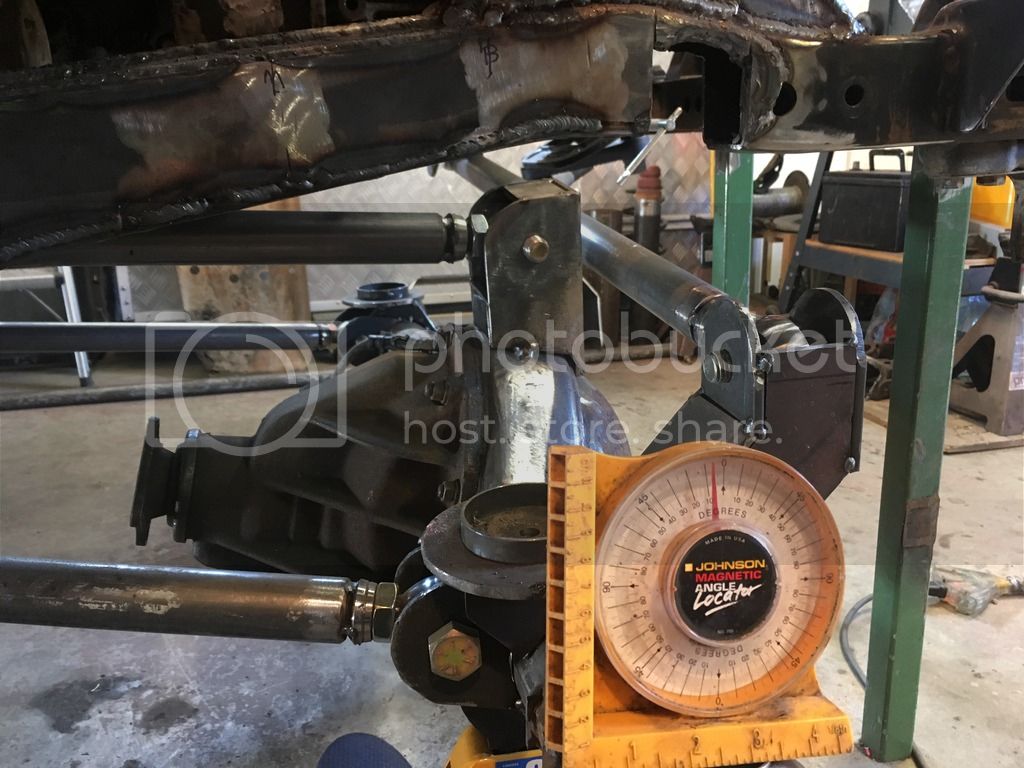
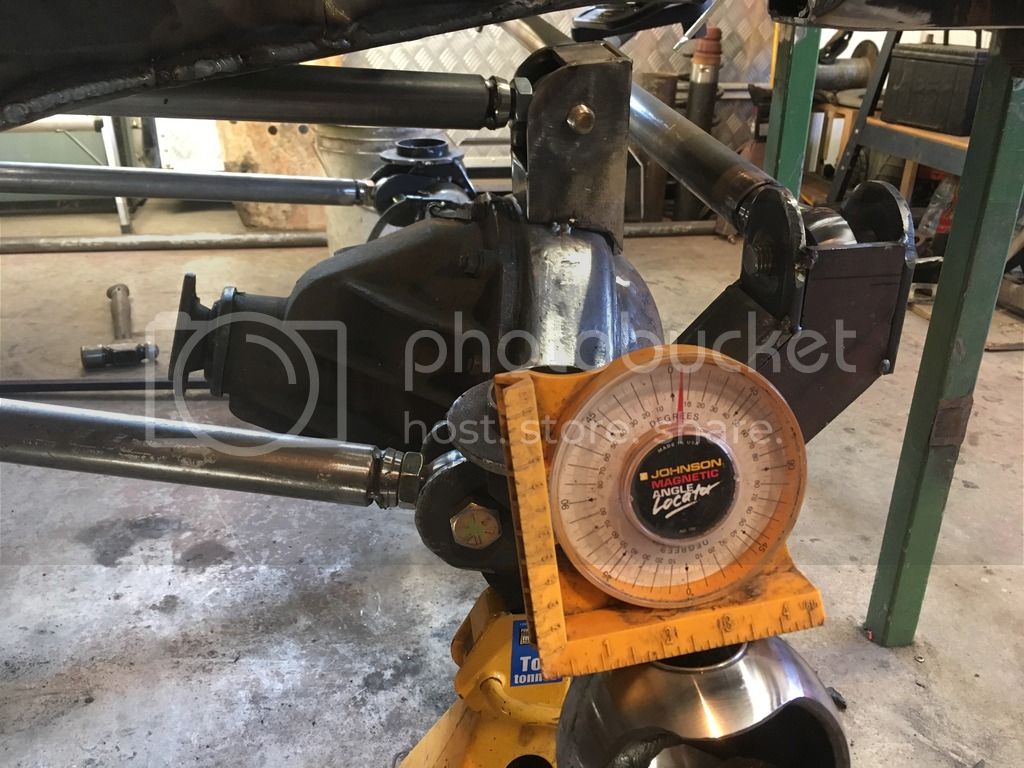
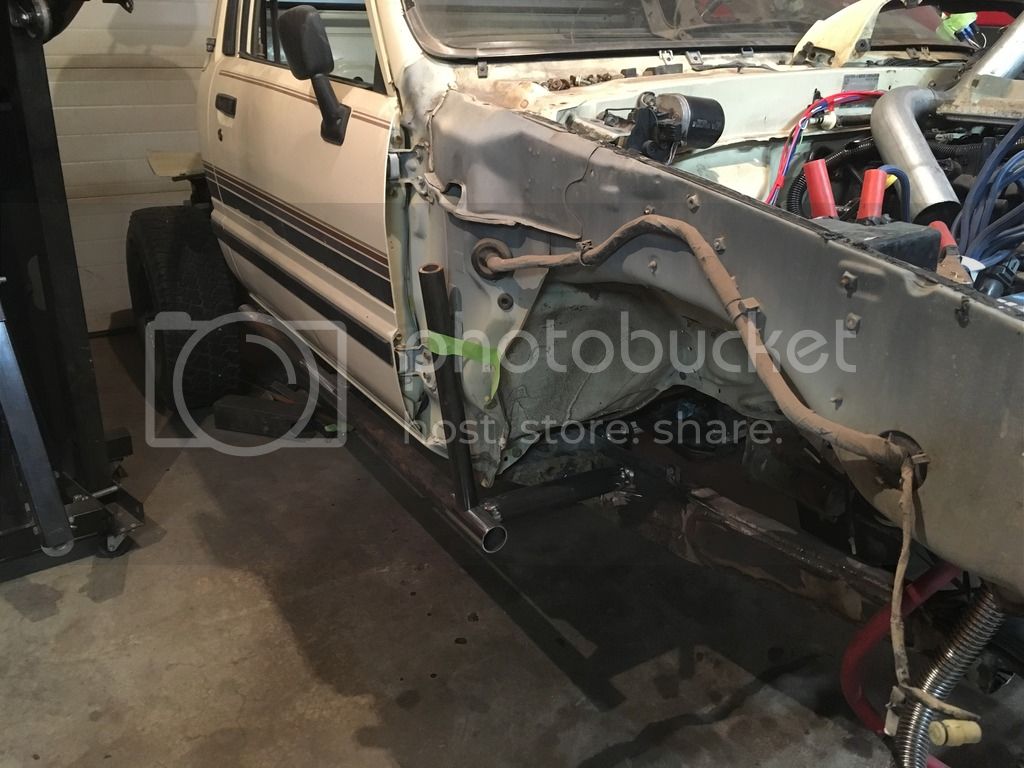
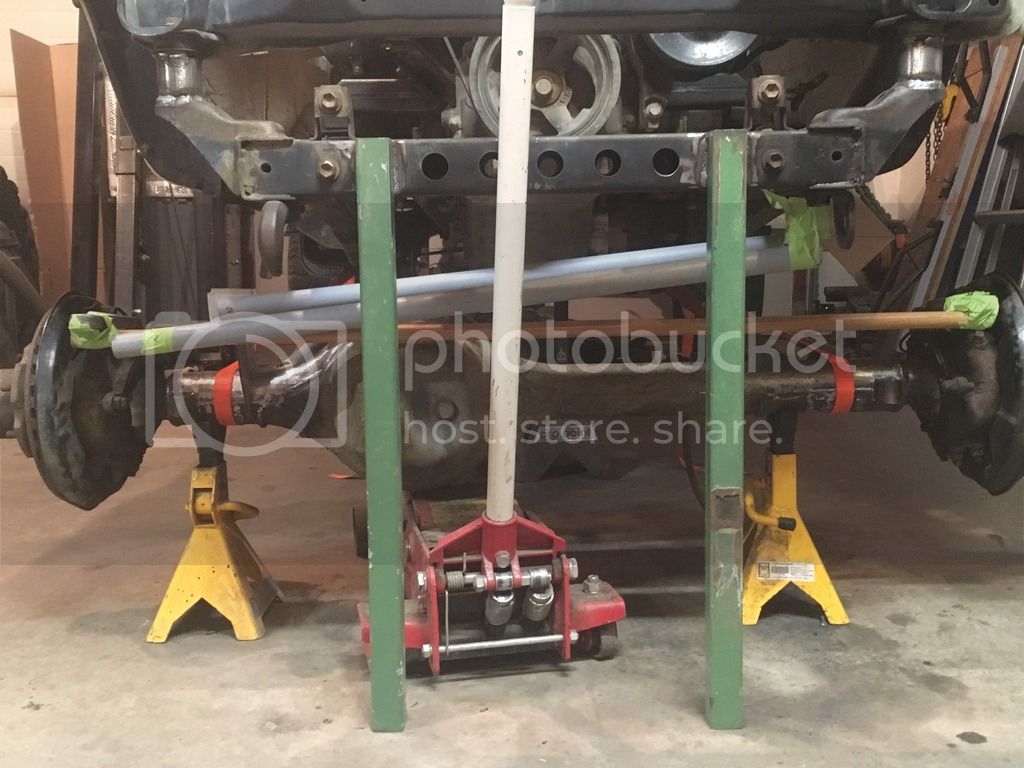
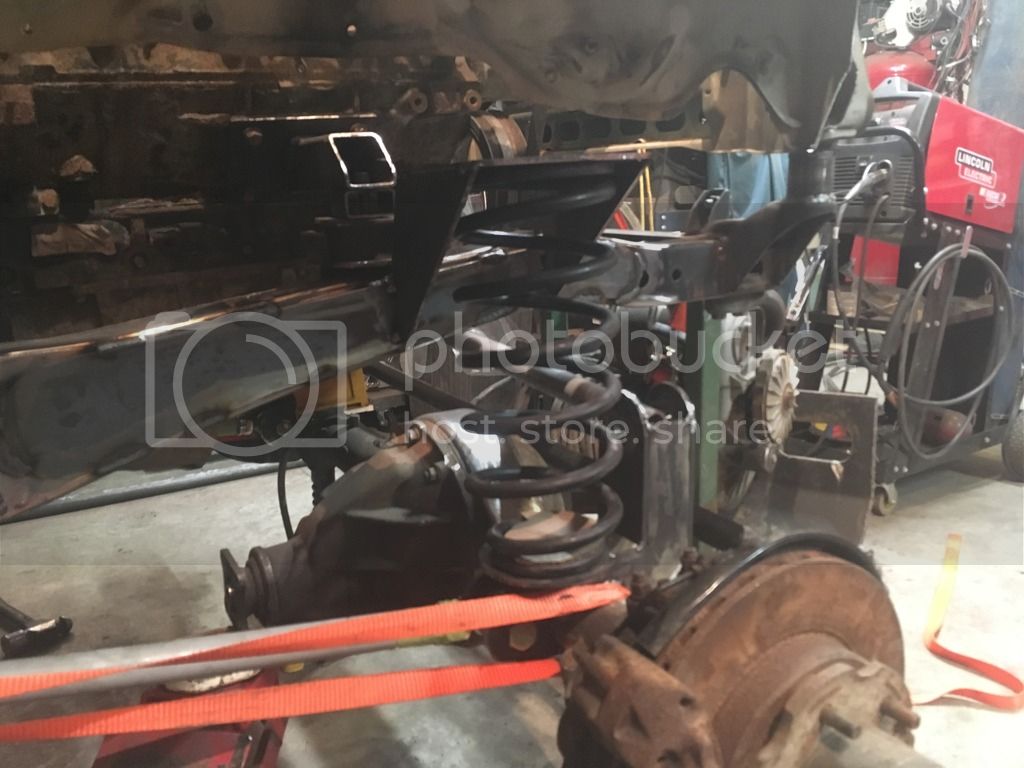
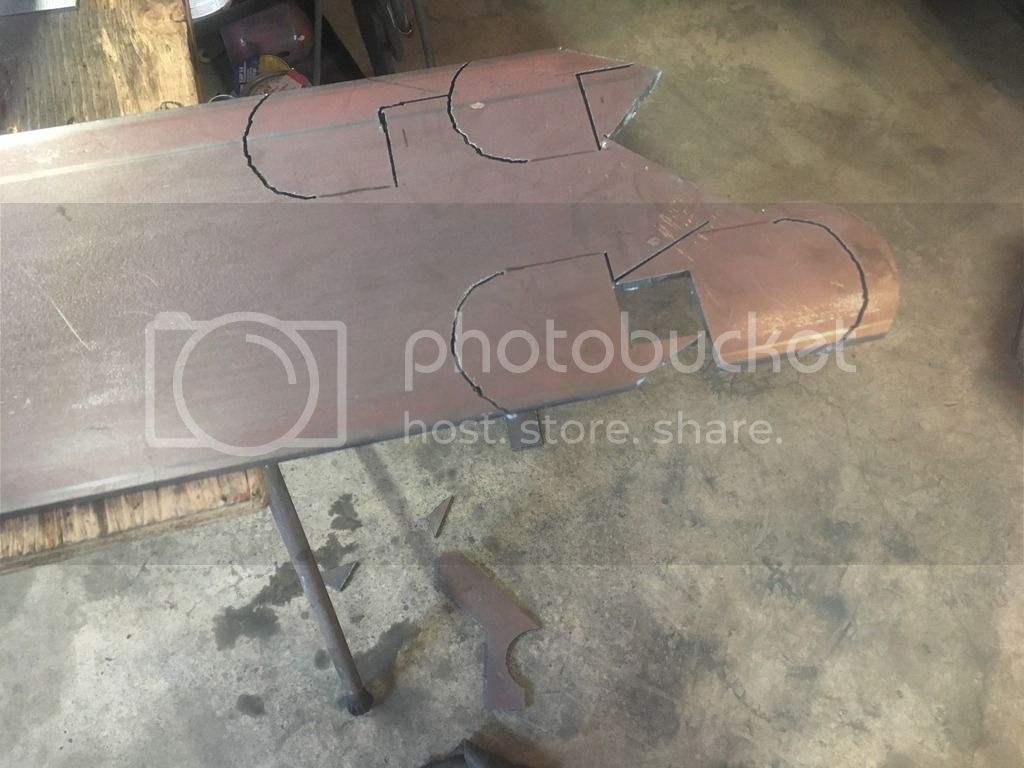
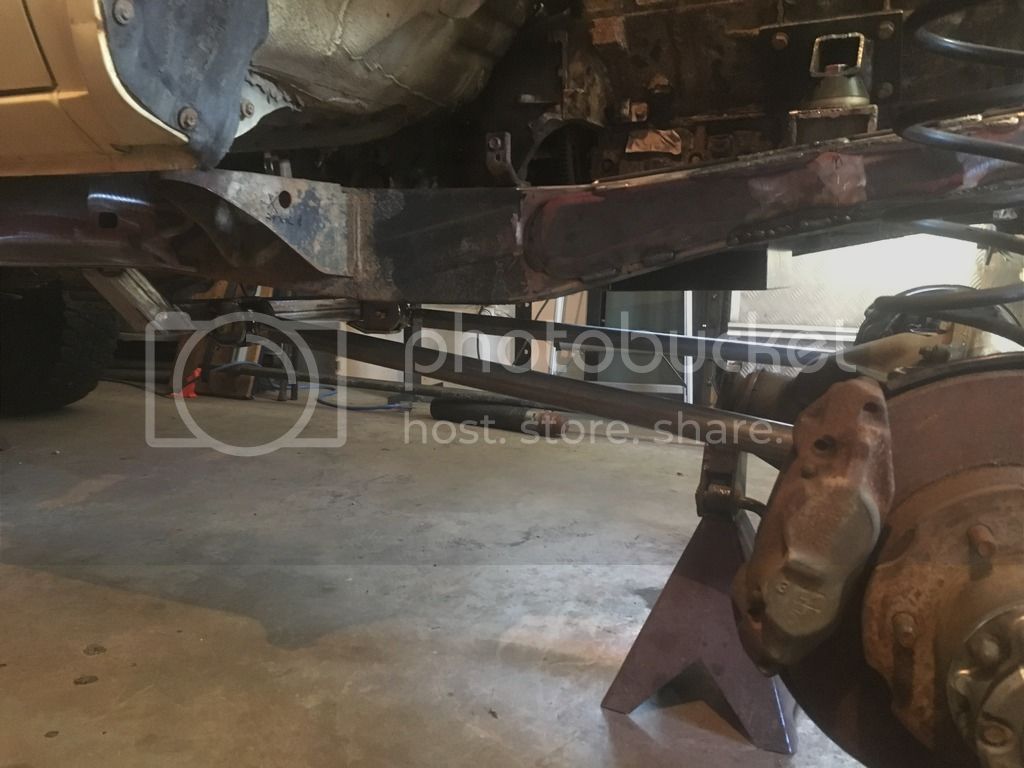
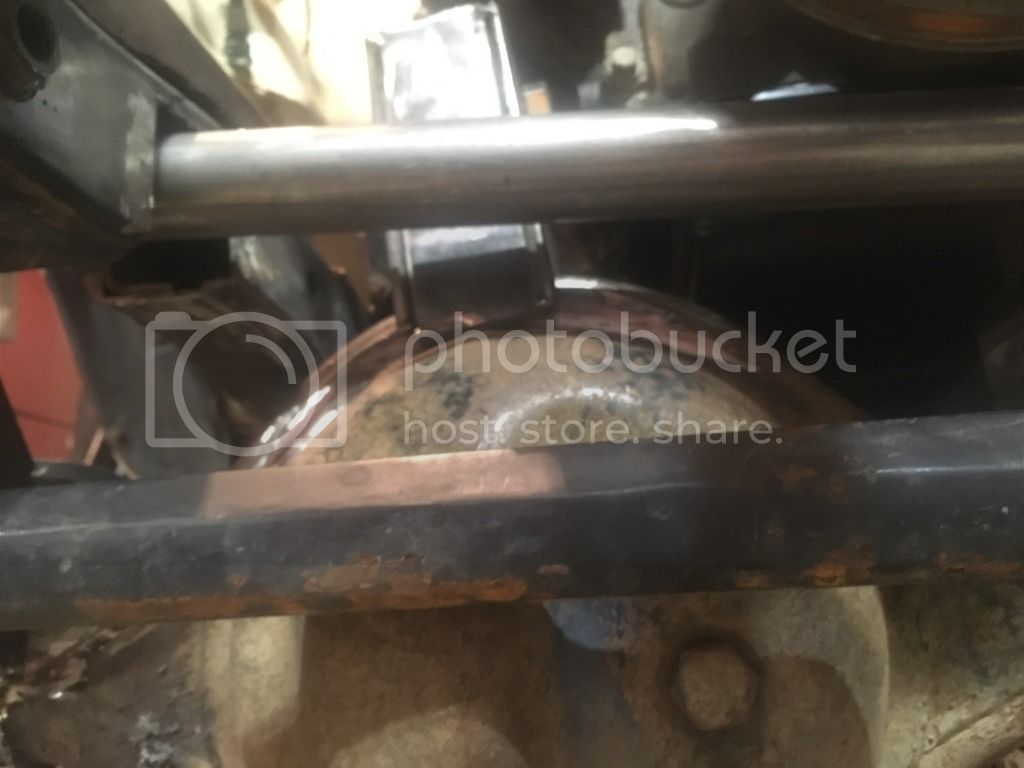
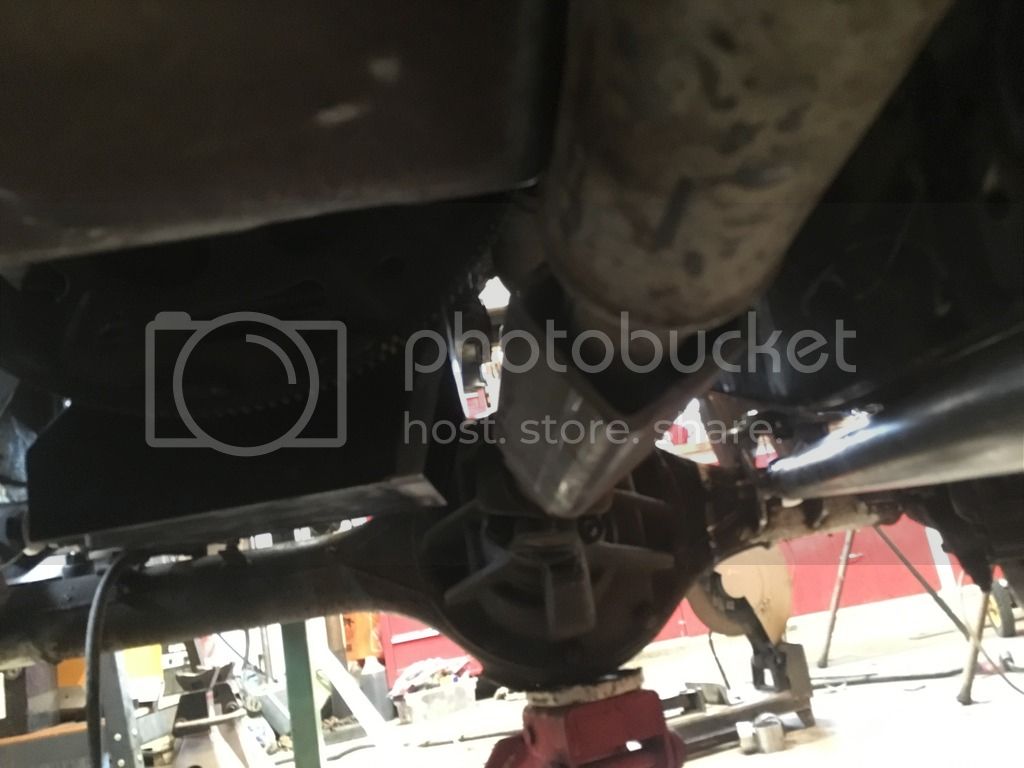
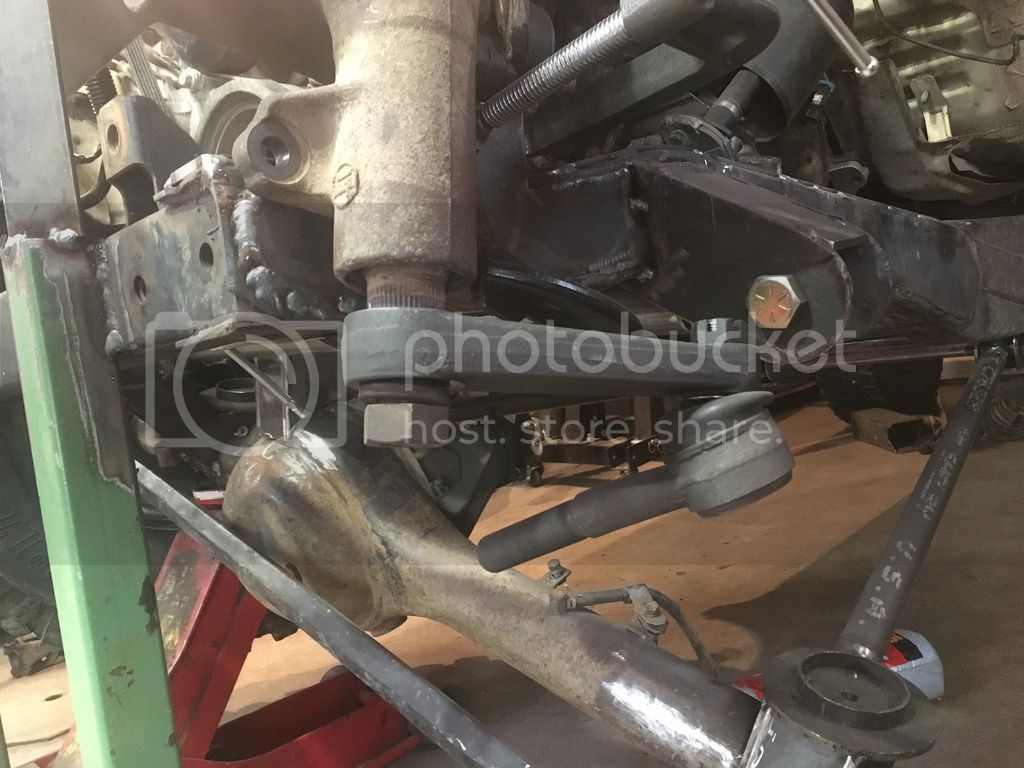
Now that I’m happy with front clearances I did the cut n turn to get the castor correct with the diff pointed up. This was new to me but it went well with advice on 2 pass welding the tube from a welder bud of mine. Before:
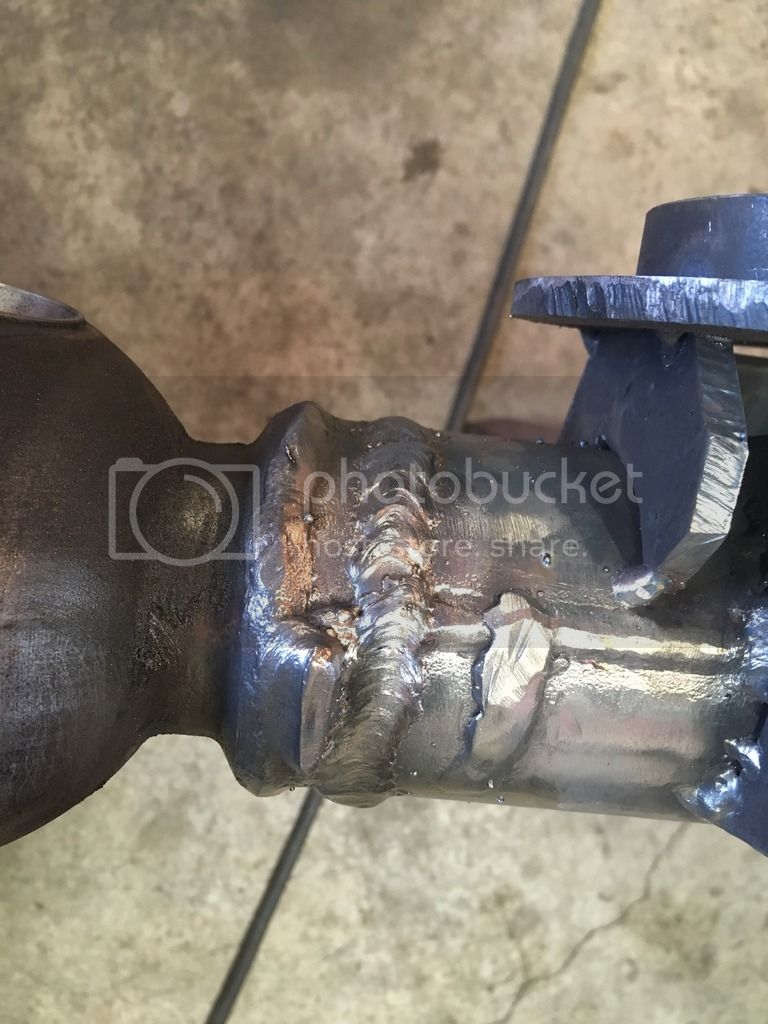
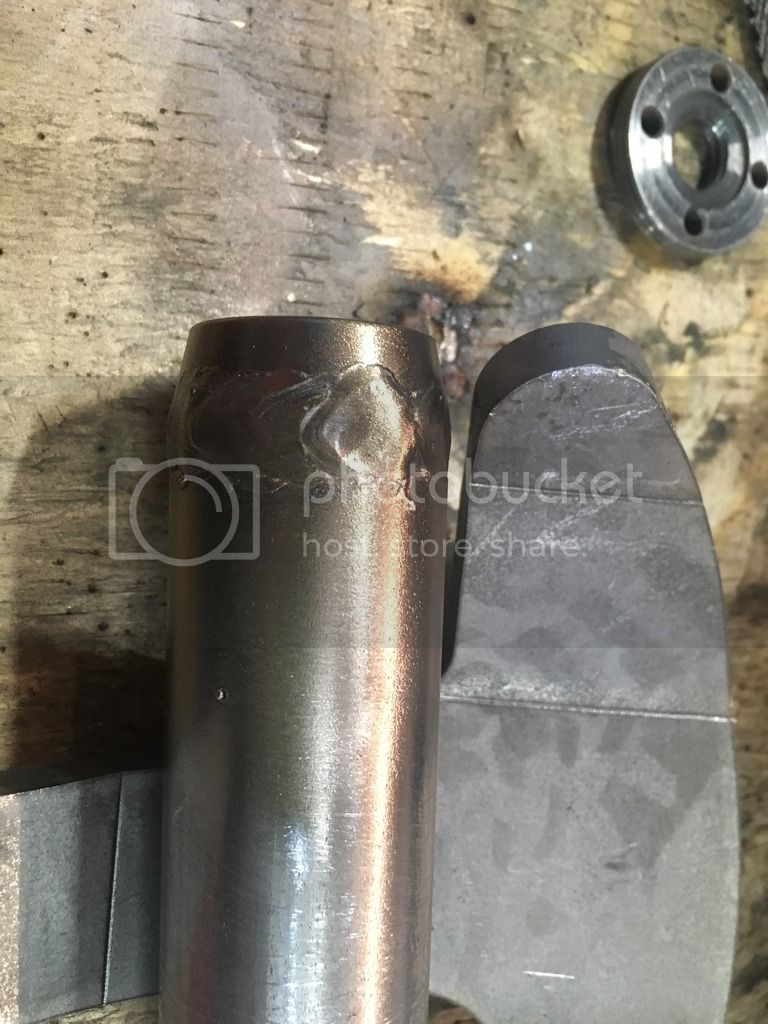
Cut and turned and preped for the root weld:
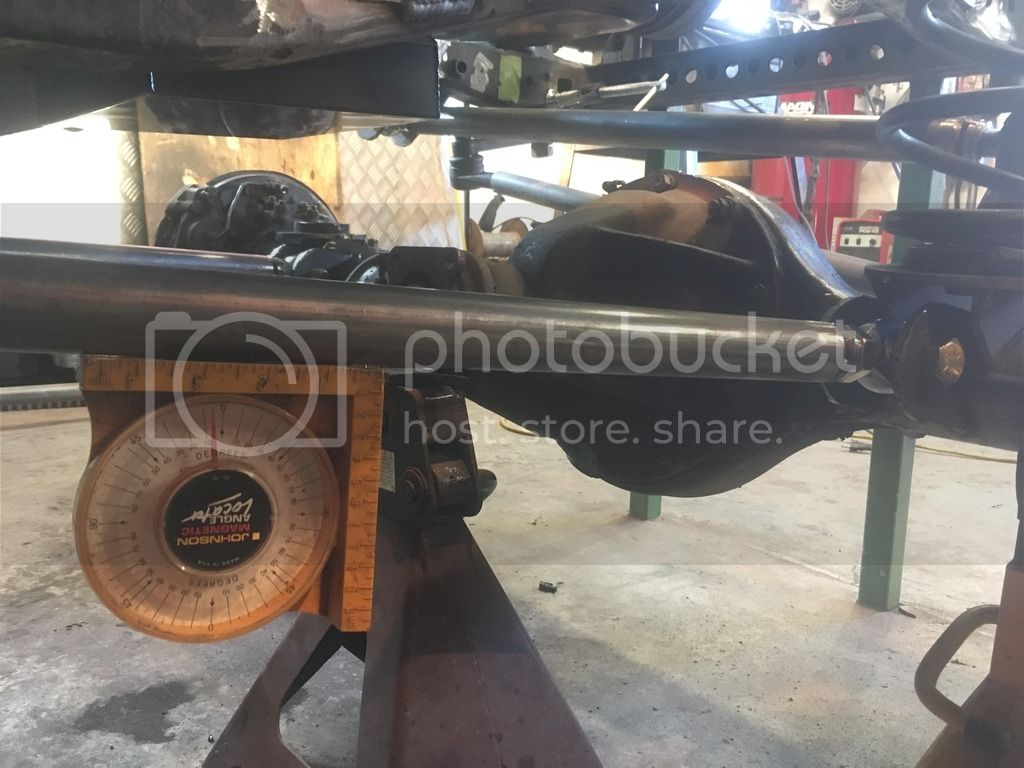
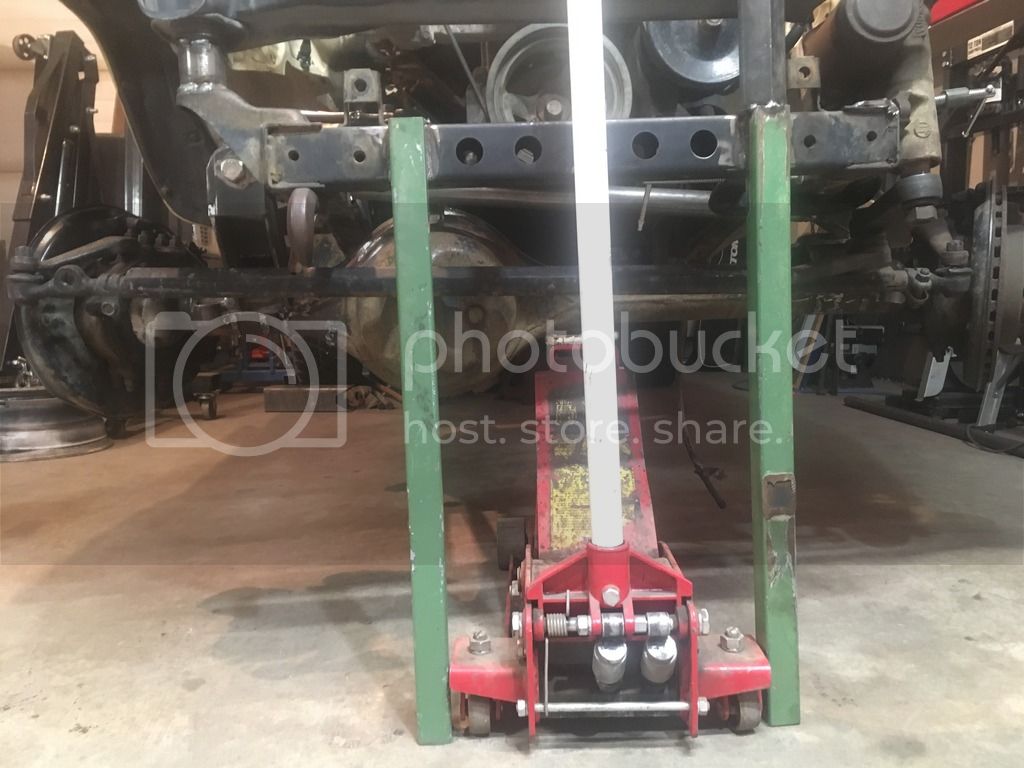
After: This says 7*, my iPhone app says 6.5*. The truck is pointed up 2* in the position the green tube supports are holding it so I should be just 5.5* once the rear axle swap and 4 link is done.
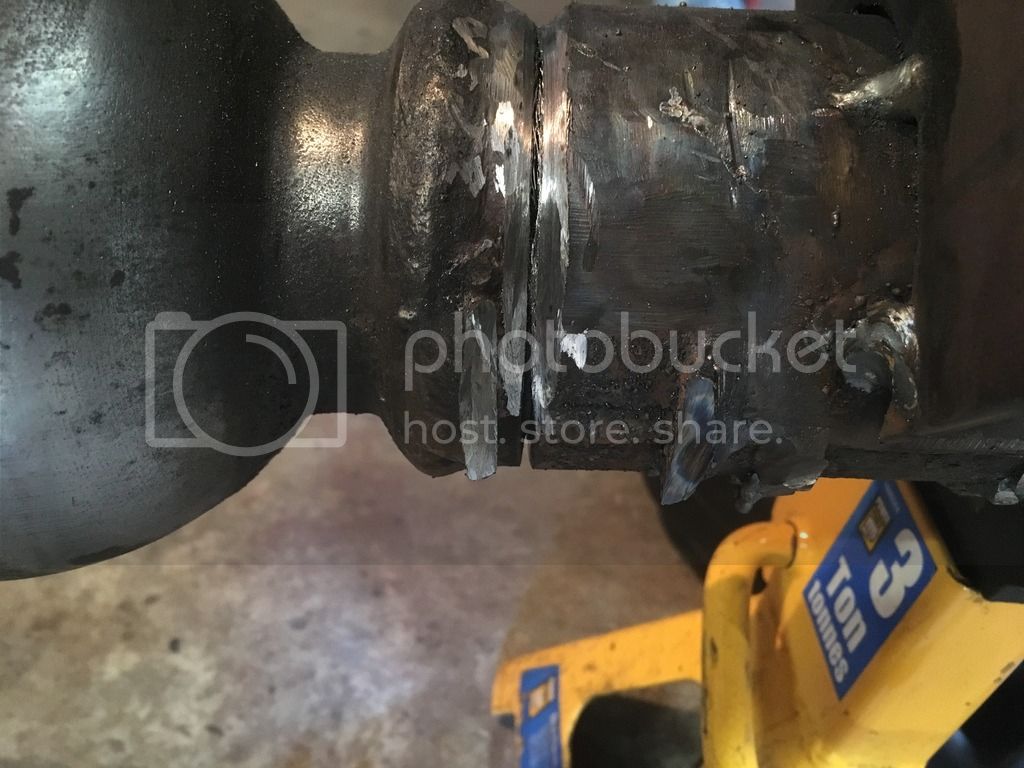
Not straight but no undercut and just enough build up to be sure it is strong enough....or so I’m told.
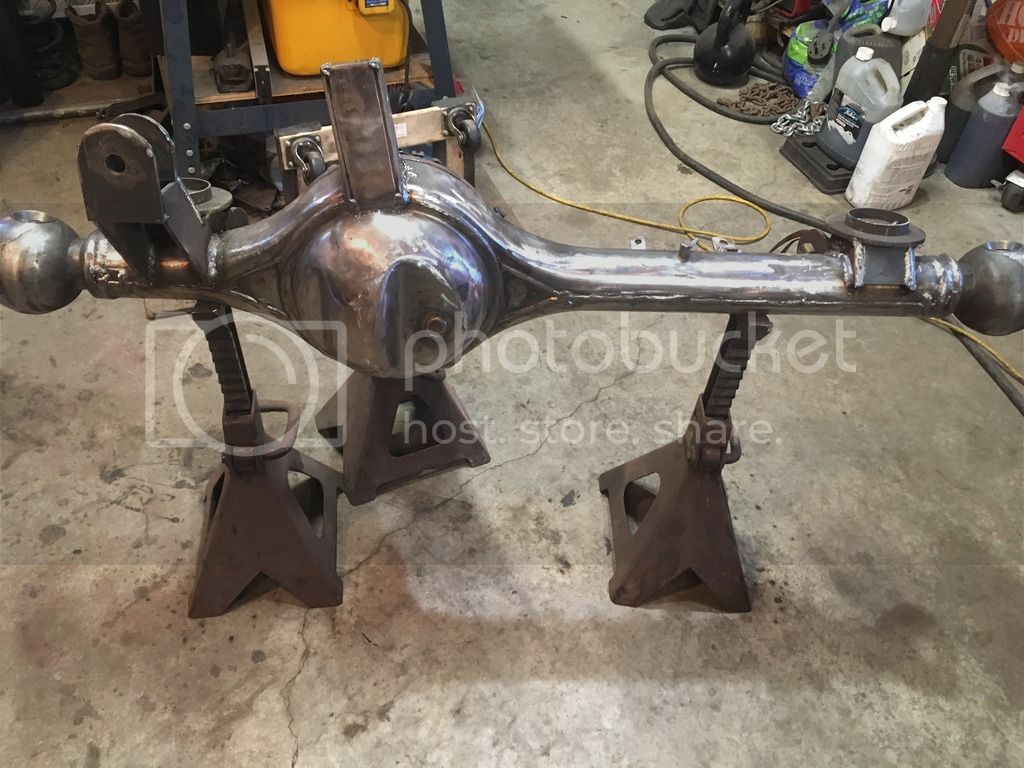
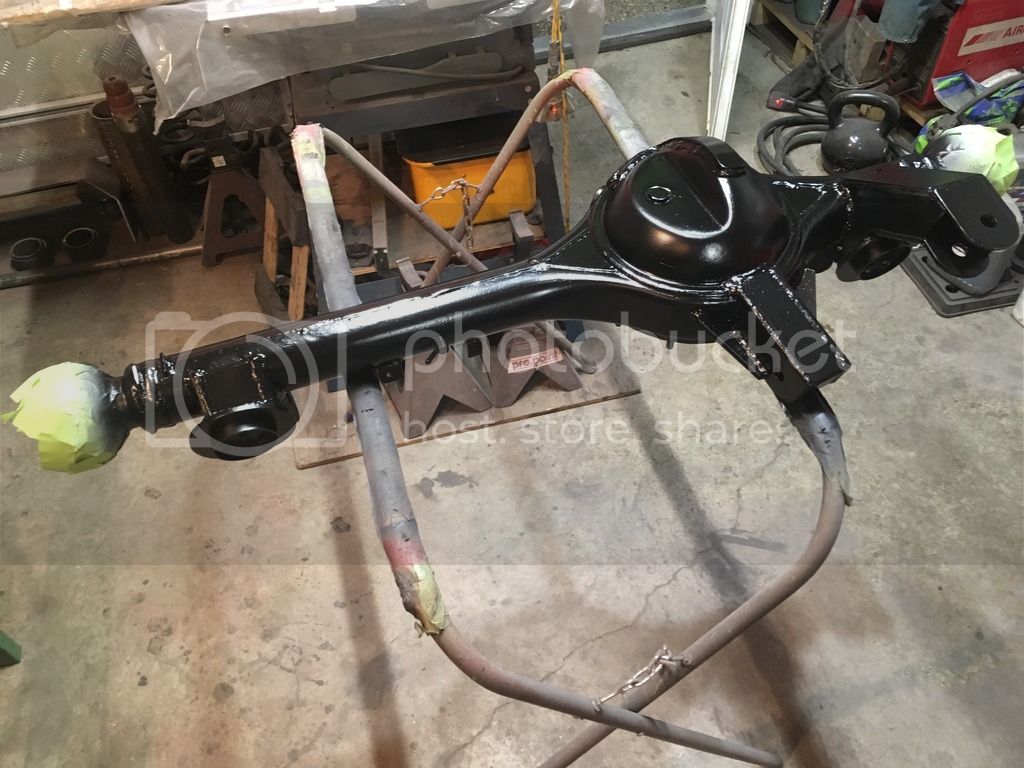
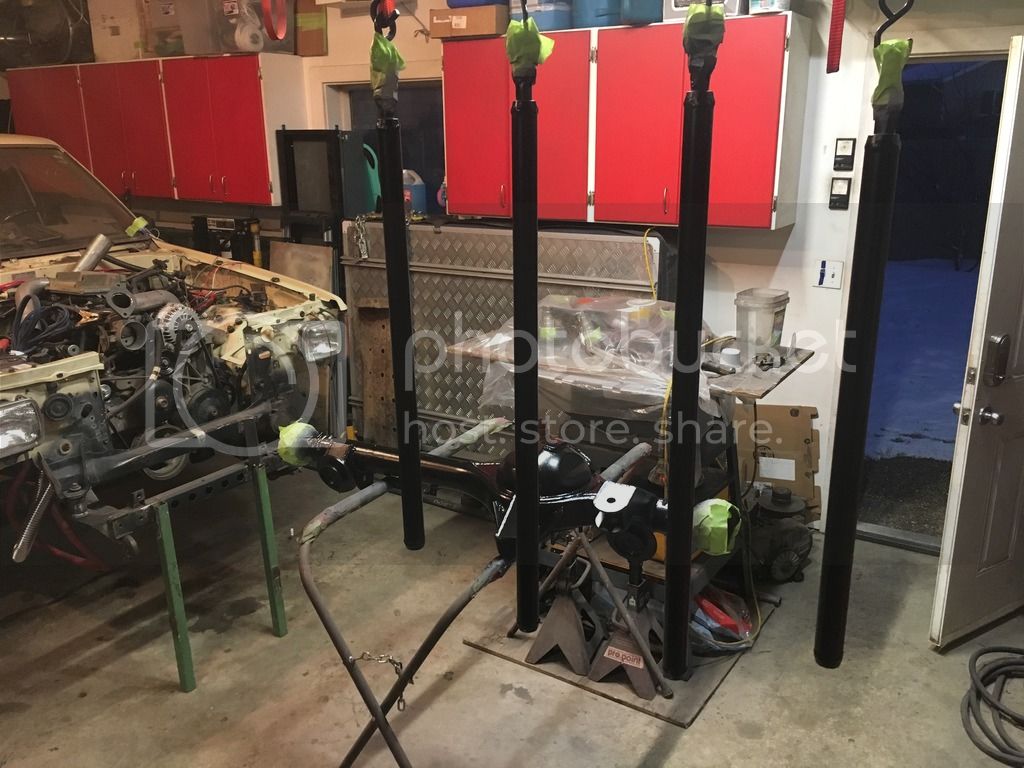
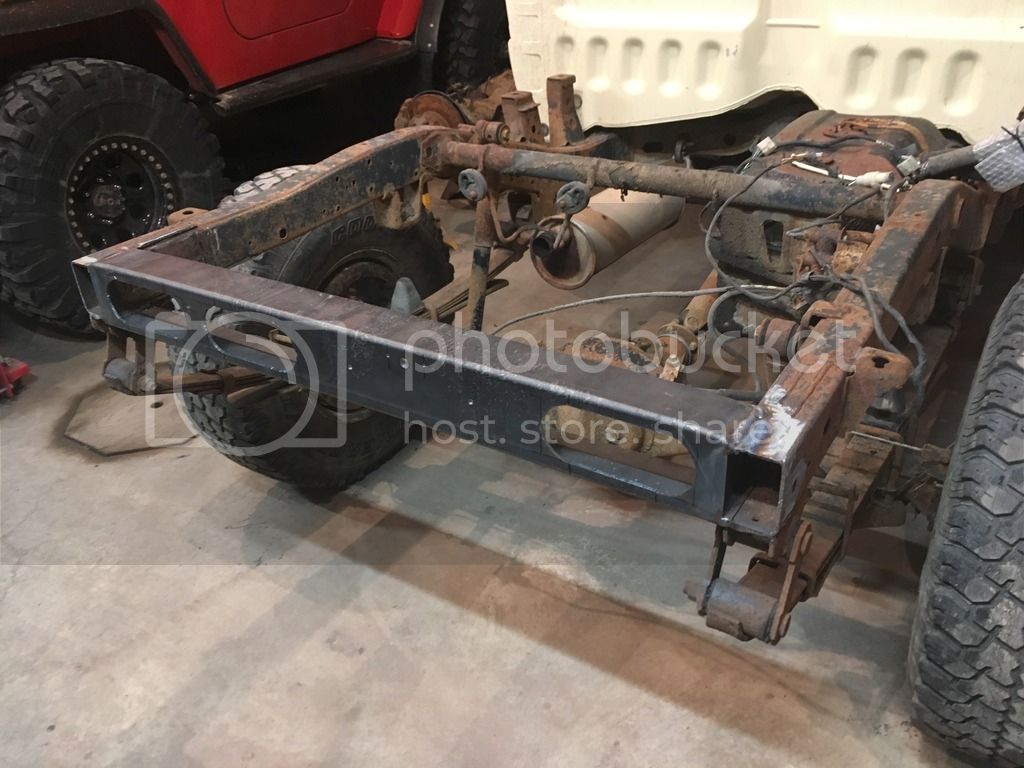
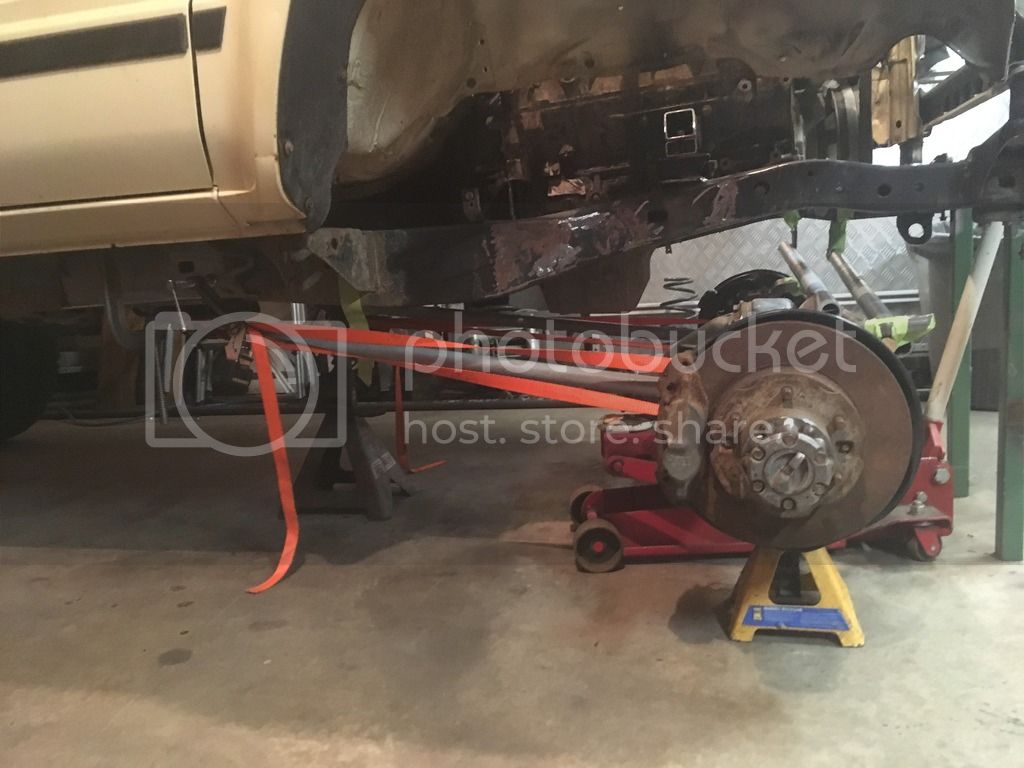
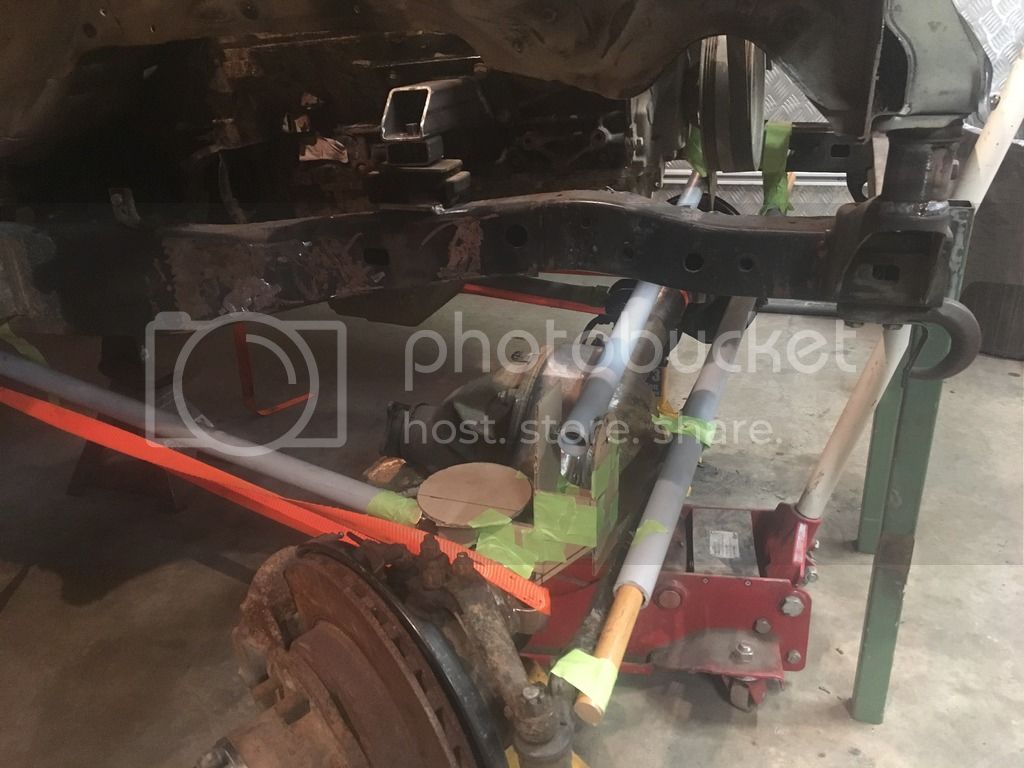
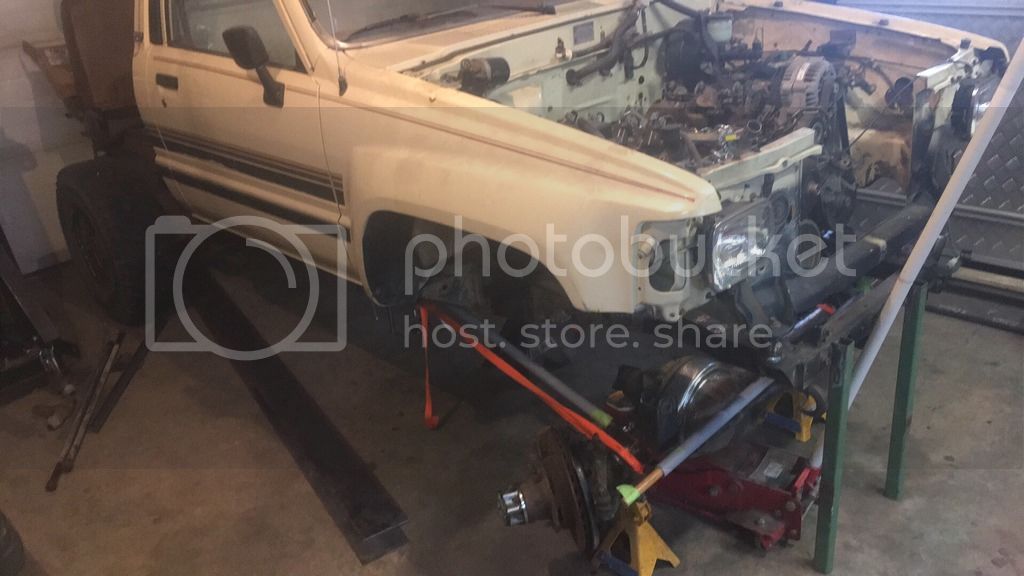
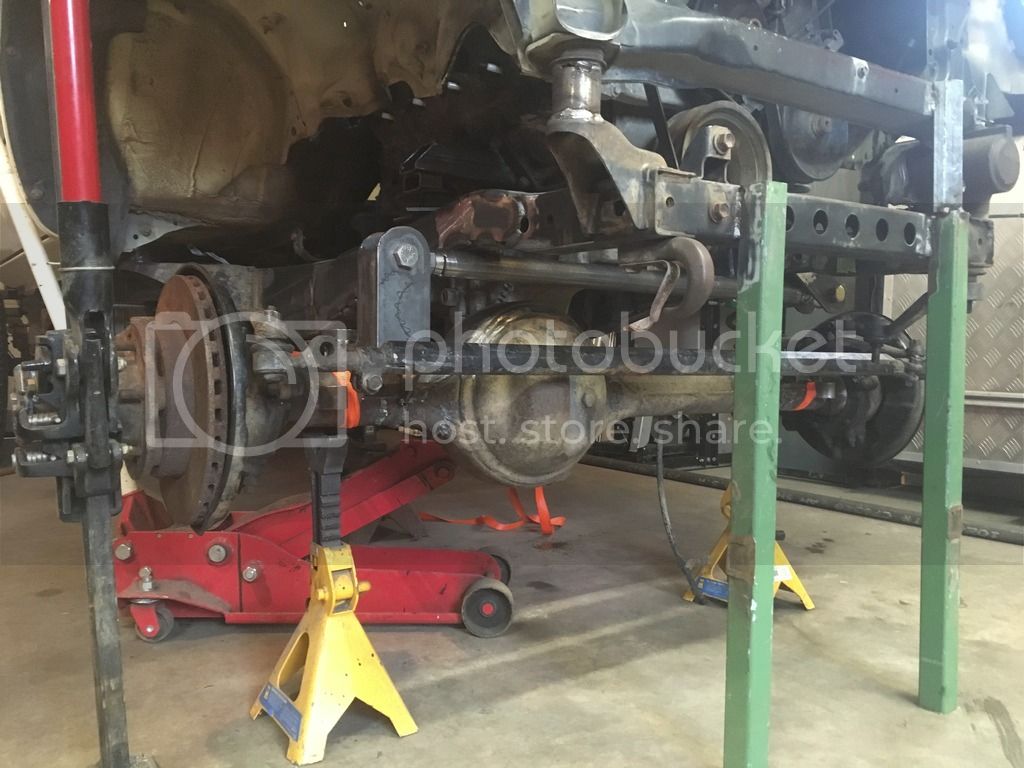
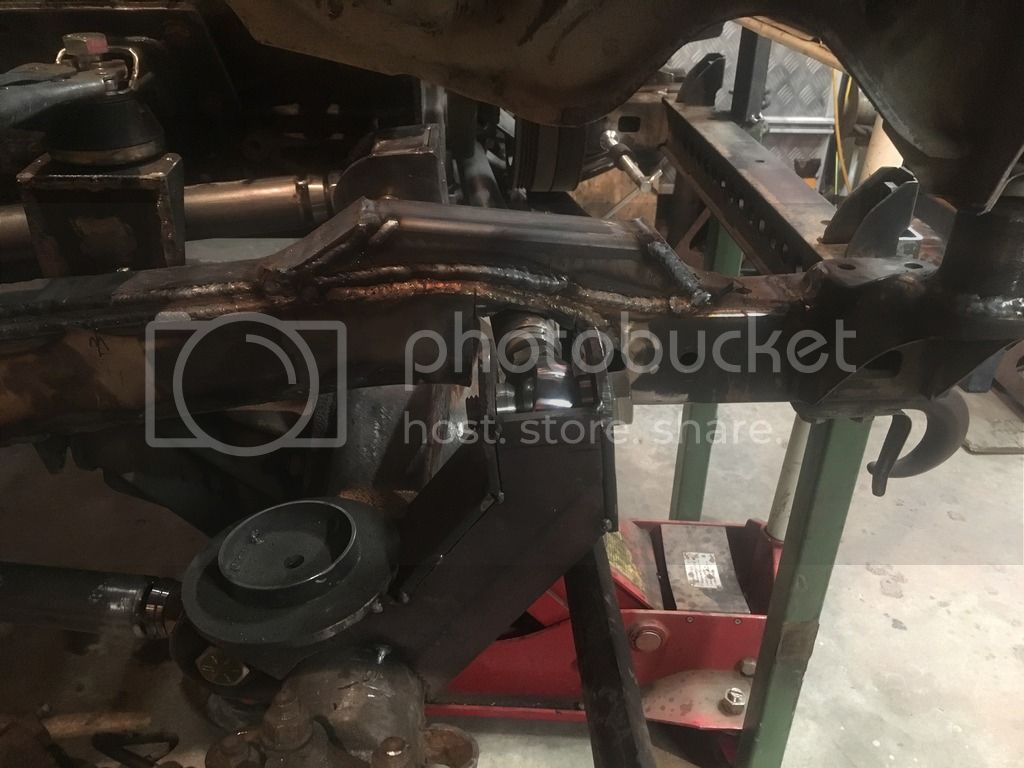
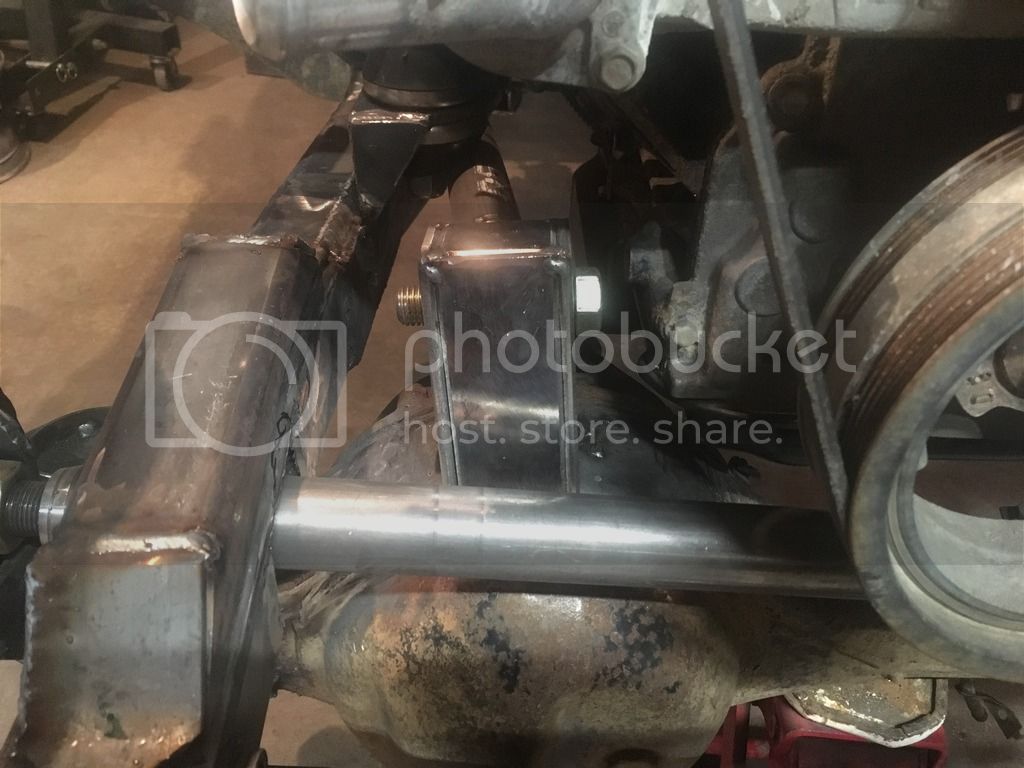
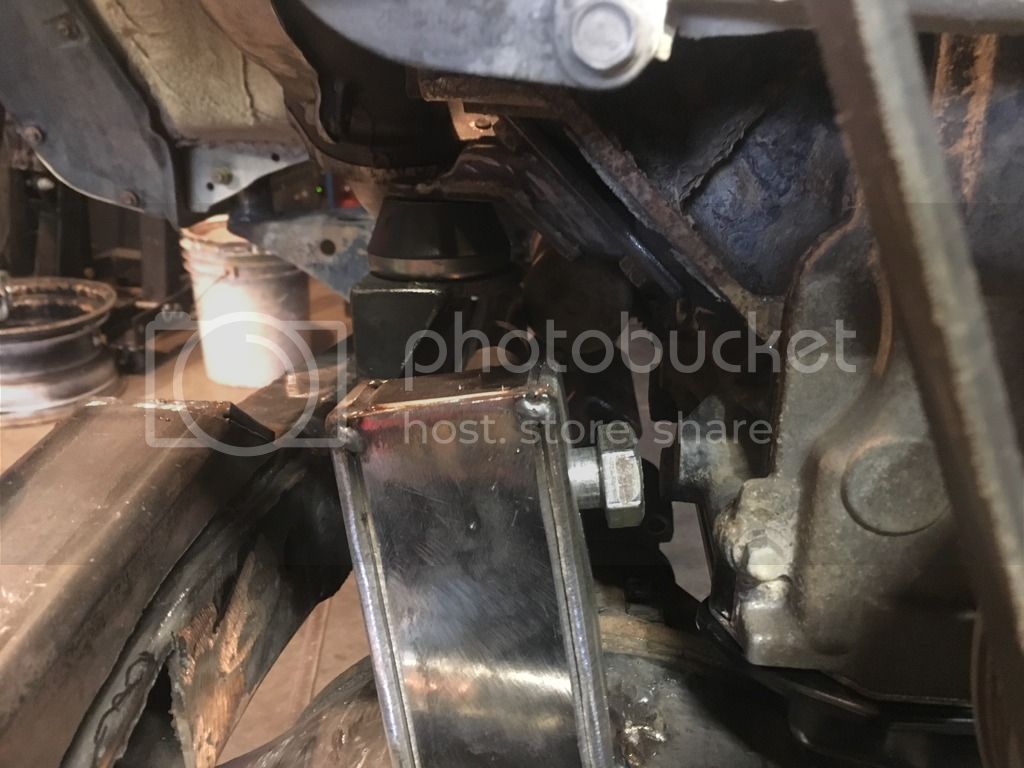
Then I pulled the front axle out to final weld all the brackets. Still working on this, going to take my time to keep too much heat out of it.
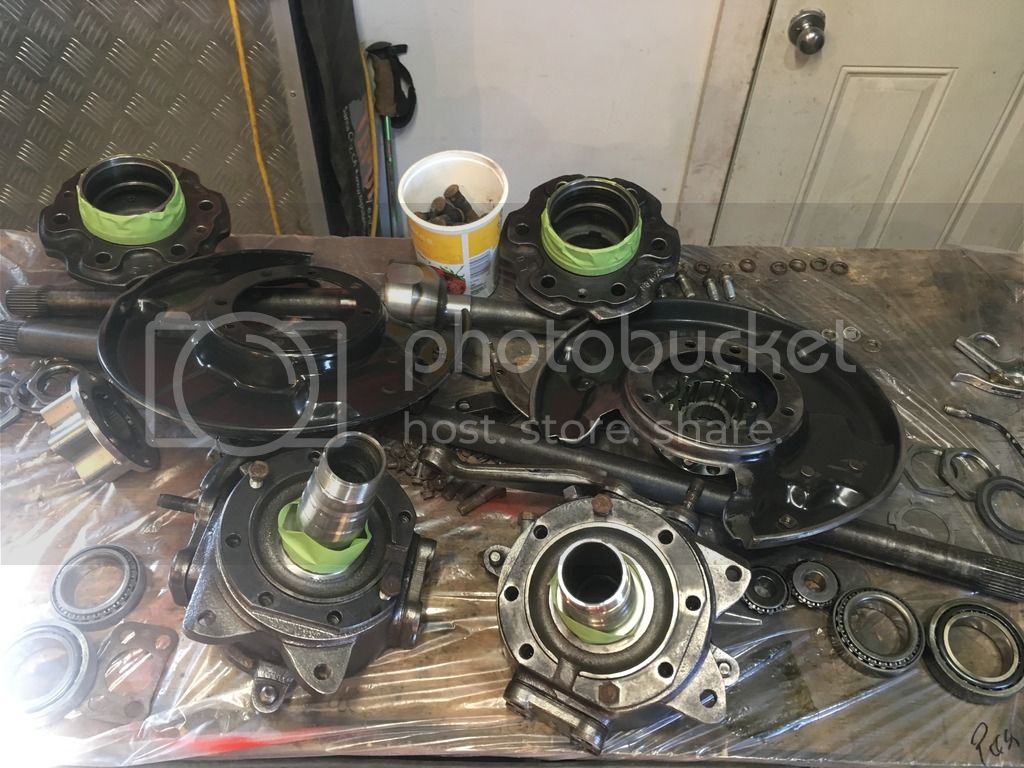
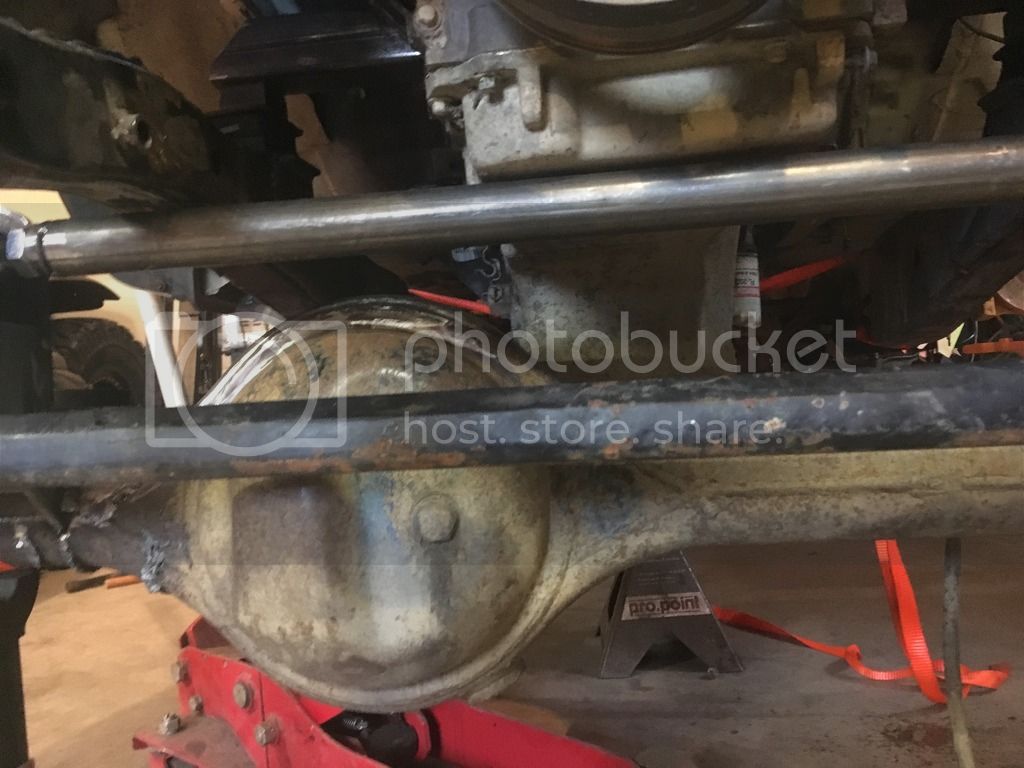
Cleaned all of the grease and rust scale off the hubs etc and peeped for paint:
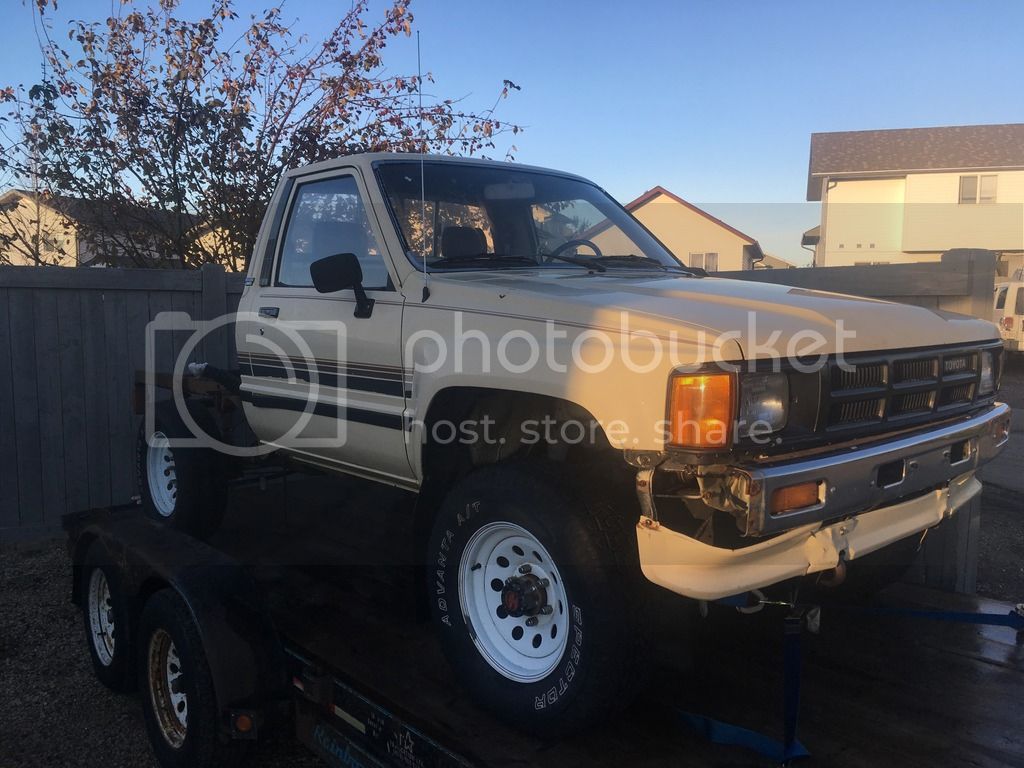
That brings this thread up to date to where I am at on the build, just a week past 3 months since I started on it. Maybe the updates will have more detail in real time going forward so I don’t have to rely on my 39 year old memory!!
Thanks for reading!


")