Builds Build thread - Japhy the Canadian FJ62

This site may earn a commission from merchant affiliate
links, including eBay, Amazon, Skimlinks, and others.

diesellibrarian

SILVER Star
Joined
Sep 30, 2013
Threads
12
Messages
1,124
Location
Where the prairies meet the Rockies
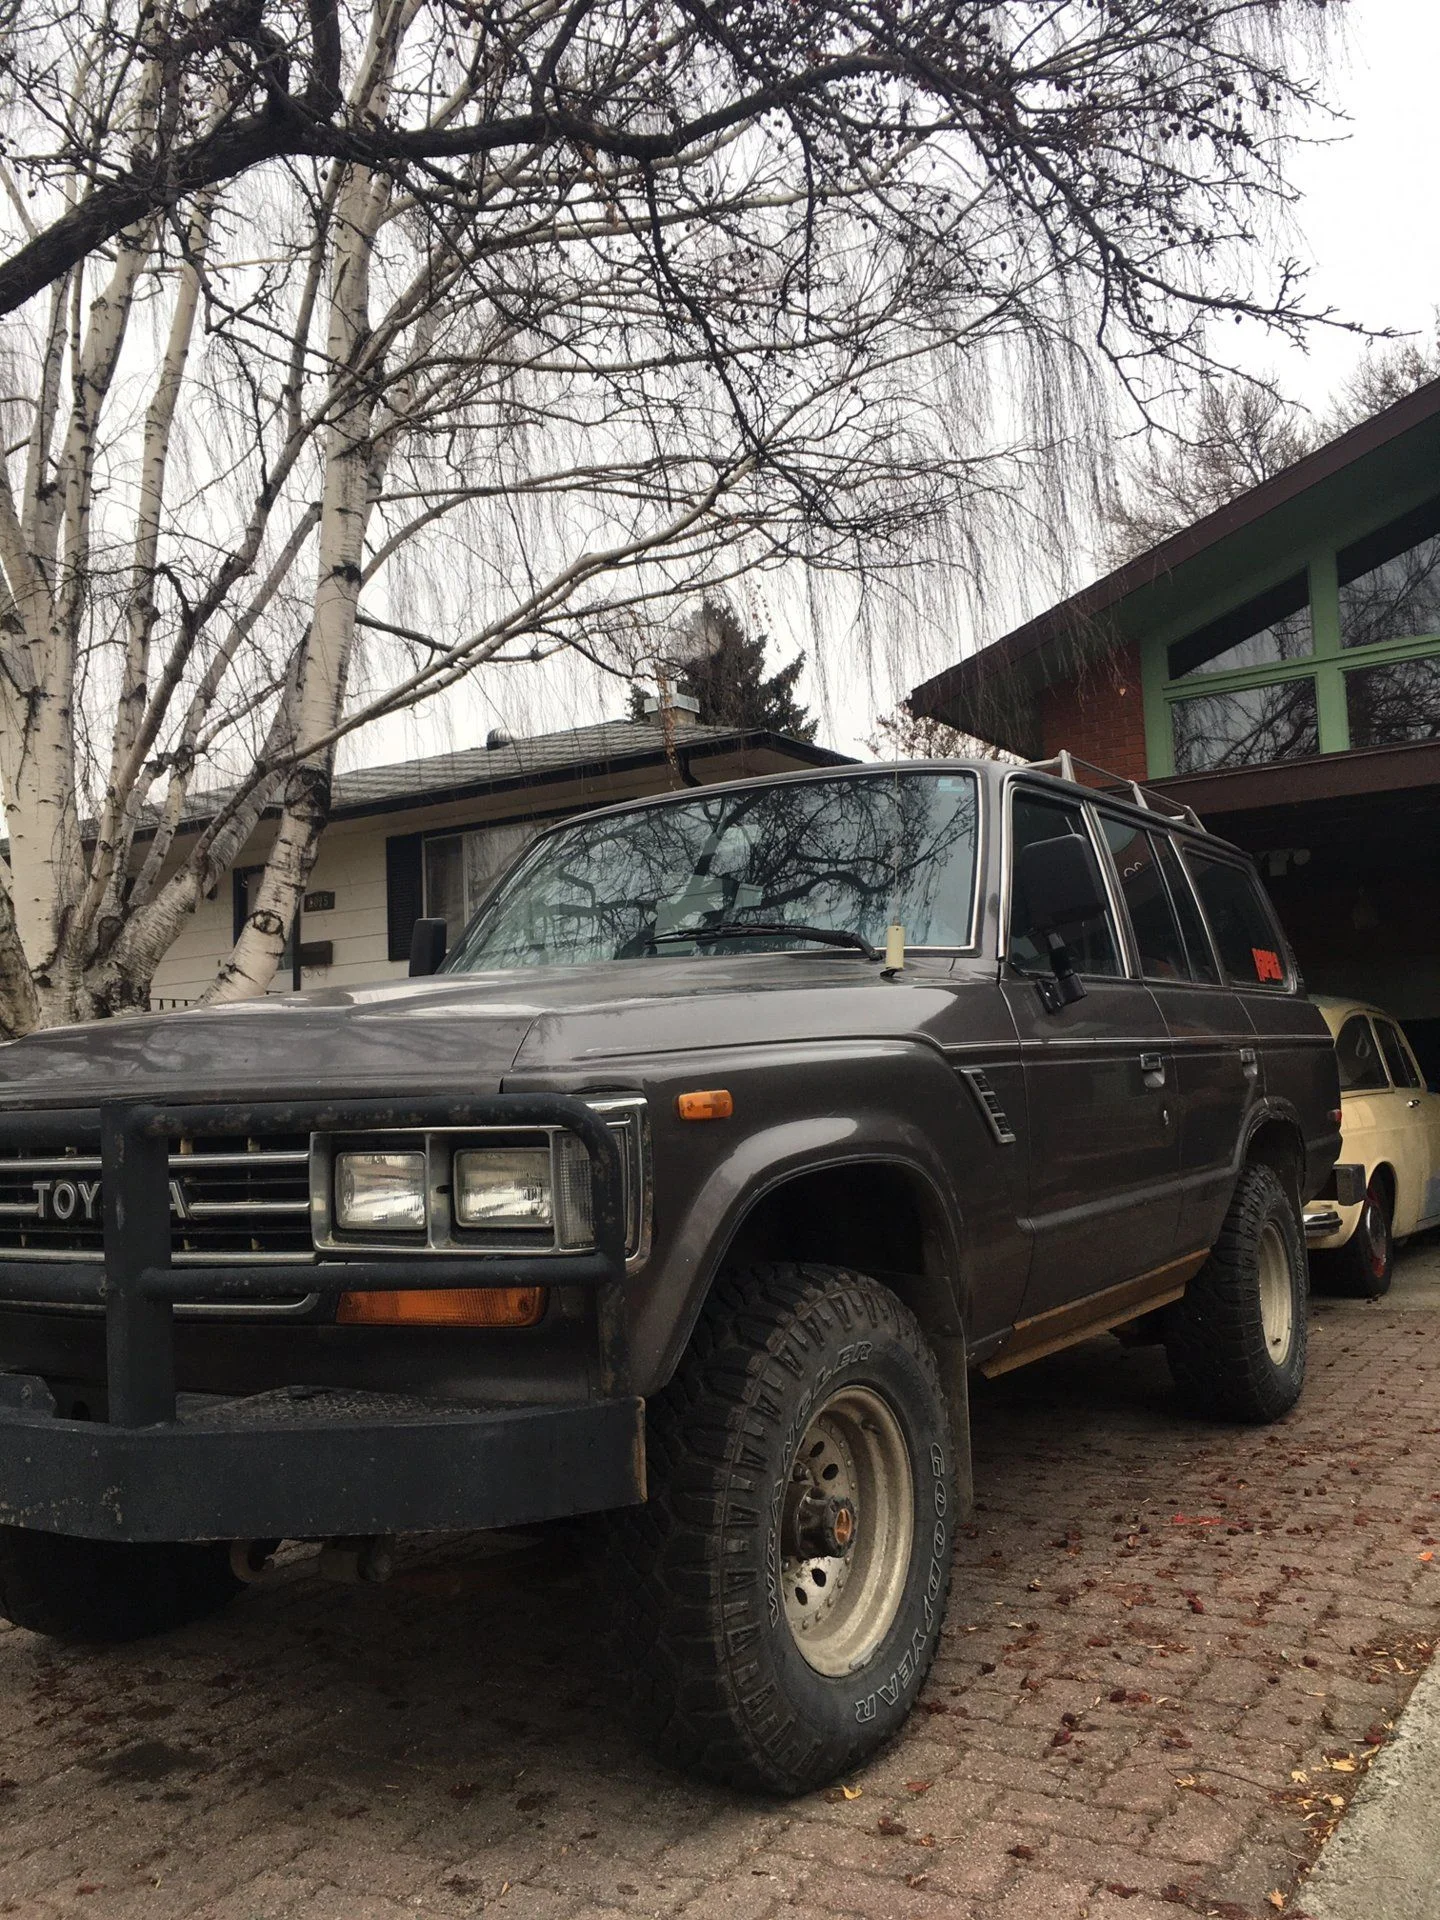
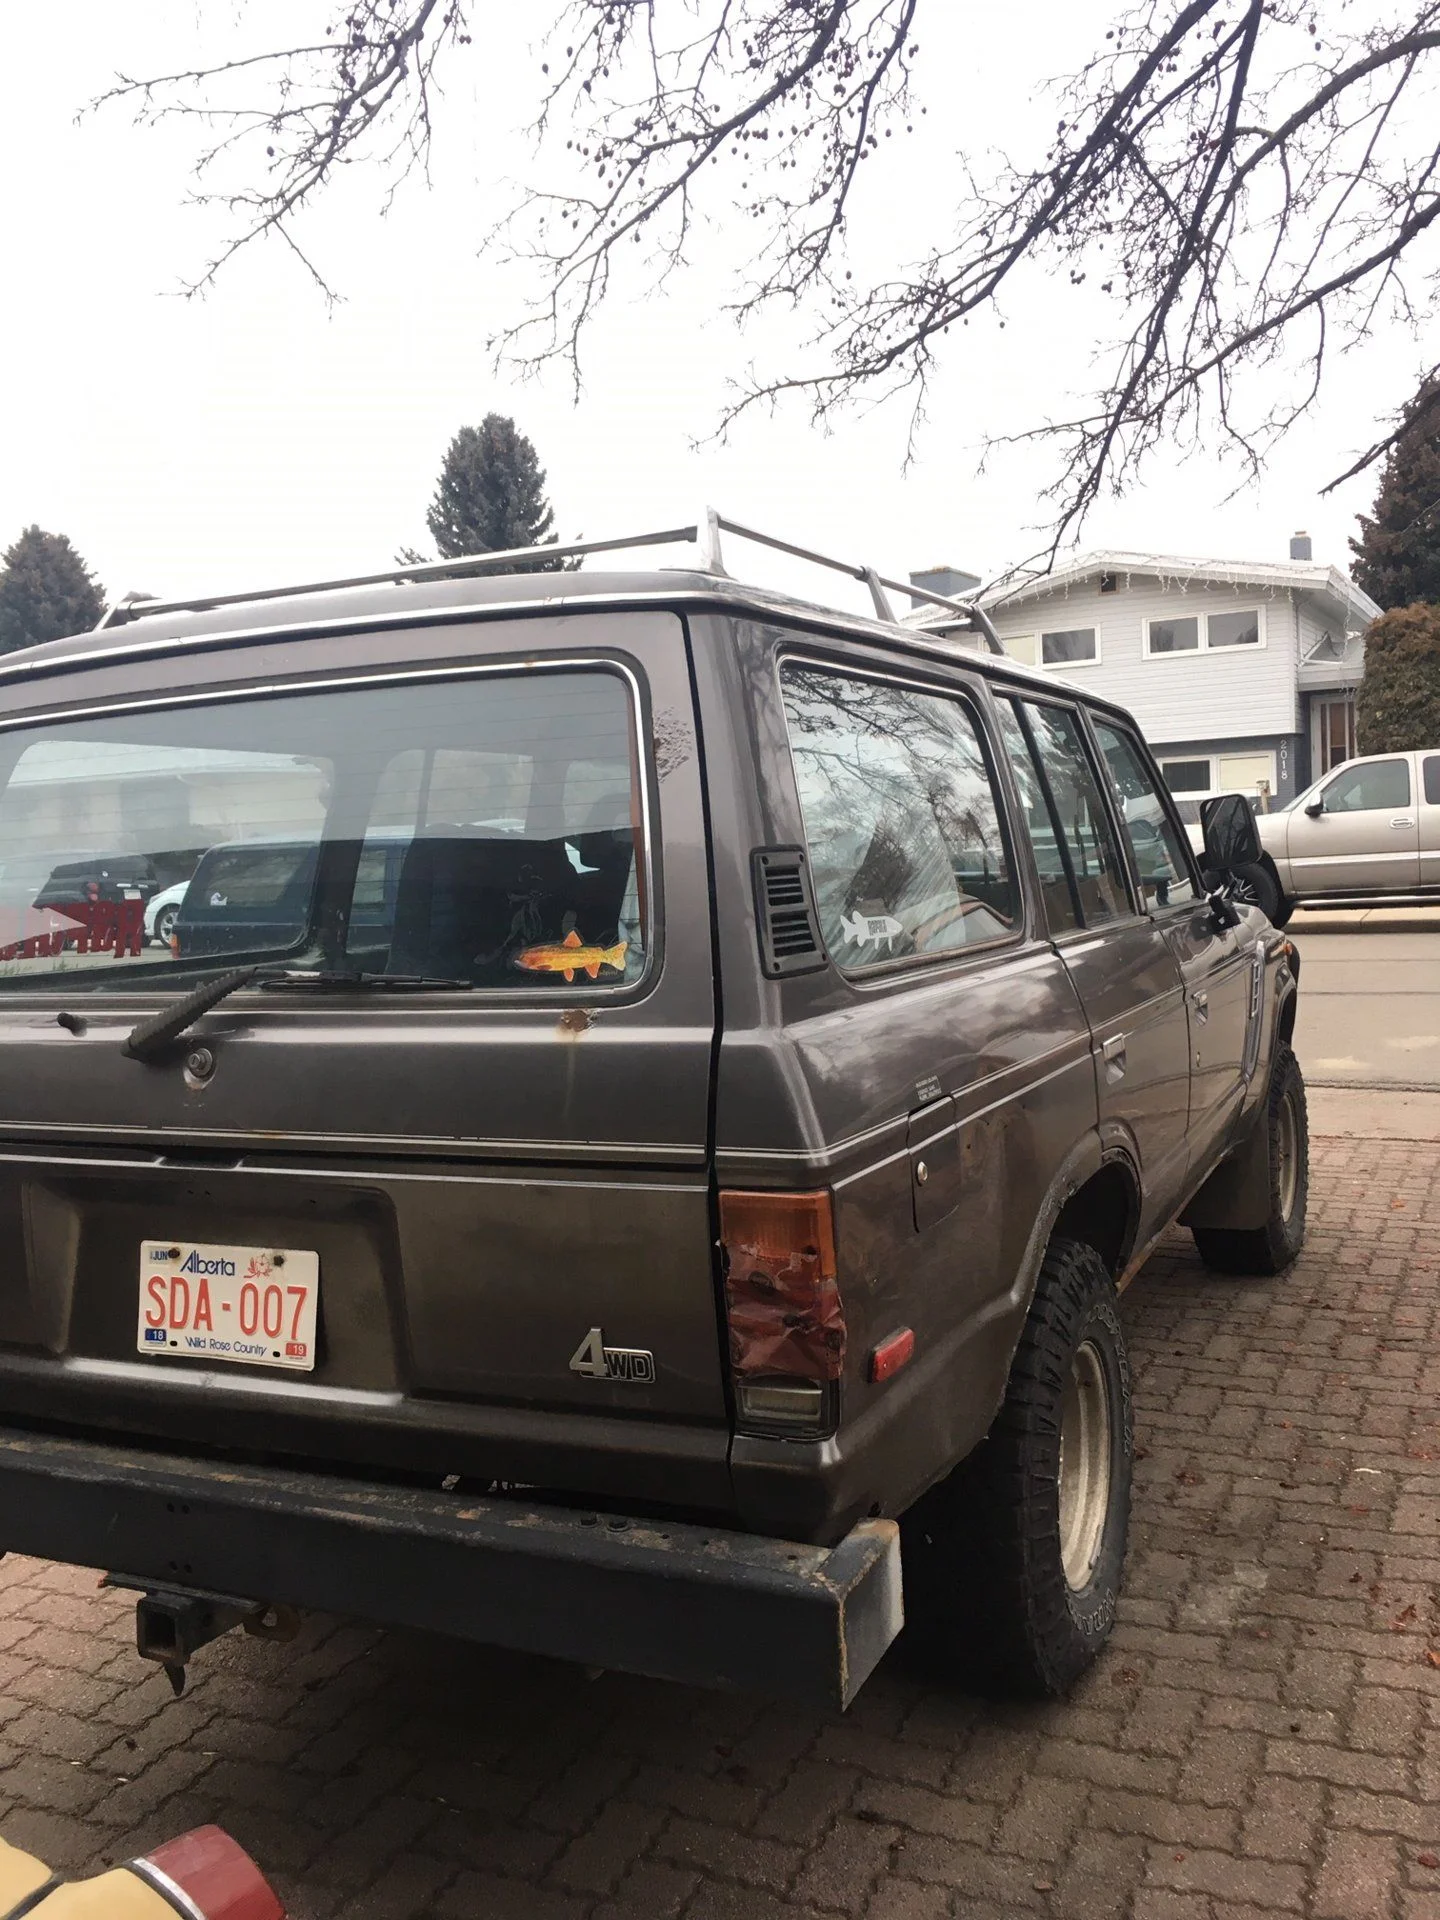
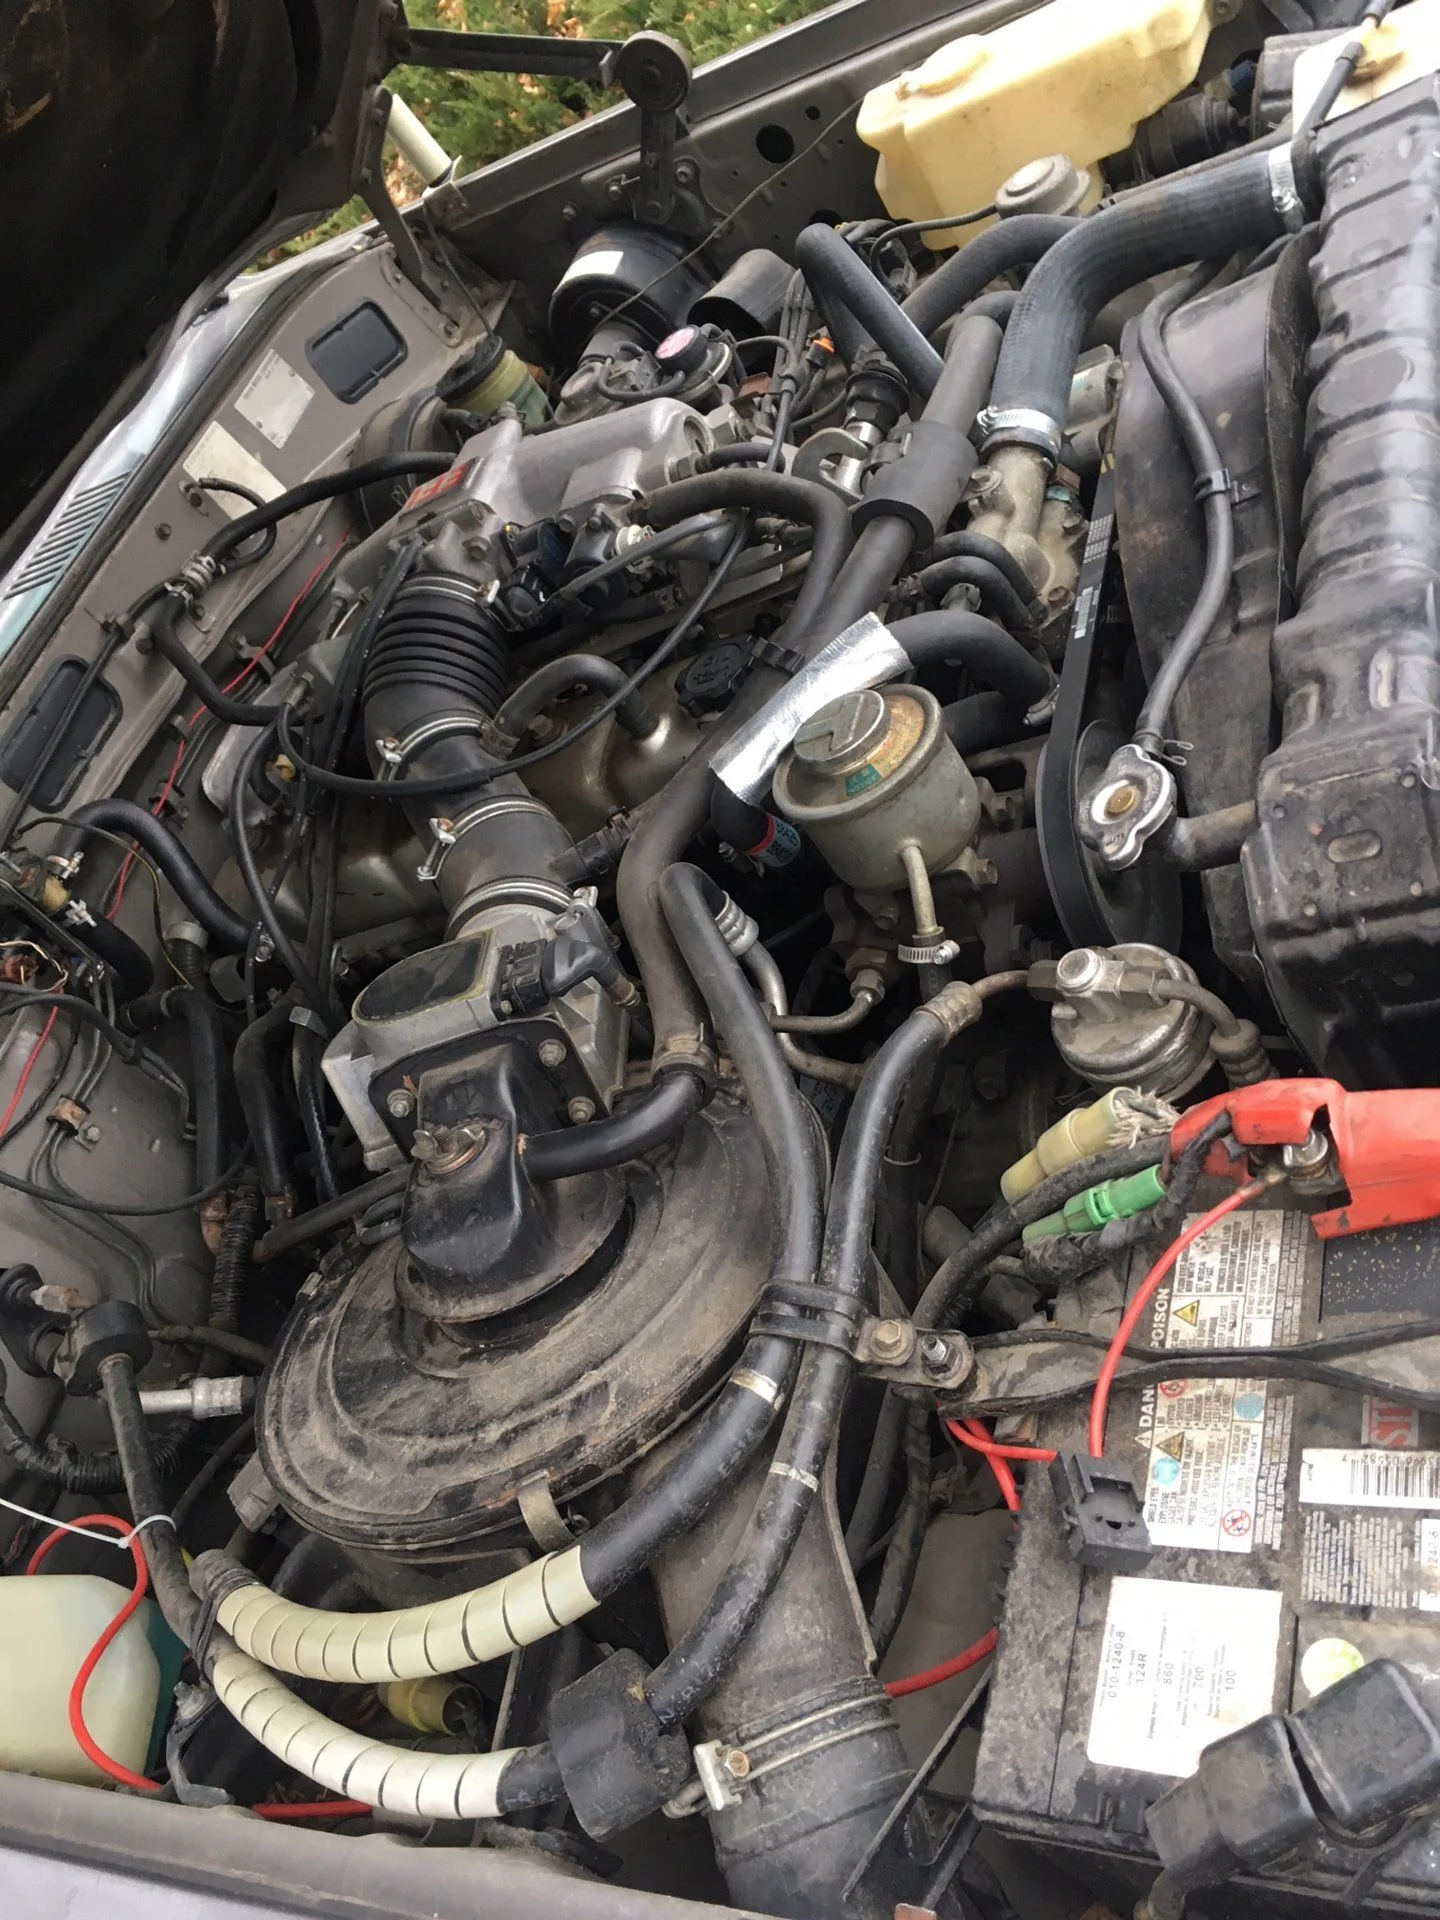
Hi everyone, I just picked up an 88 FJ62, so I thought I'd say hello. I've been wanting a 60-series wagon for at least 2 decades. I've owned a LWB 70-series (light duty) and a 2nd gen 4Runner, but they didn't scratch the 60 series itch. Anyway, after a year of fruitless kijiji alerts, this one popped up in my hometown. 320,000km (200,000 miles) on the odo. Has less body rust than most others I've seen, and just a bit of frame rust on the inner "C" channels. I think it's been lifted slightly - the springs are not stock, but from some Canadian company (can't make out the name). PO upgraded the rad and started on some body repair. My plan is to go over the whole thing, swap out all the fluids, etc.

As a new 62 owner, is there anything that I should look at specifically? Any other advice?

i paid $3600 CDN (about $2700 USD). I feel like I got a pretty good deal?

I've already spent a ton of time on this forum, and I appreciate the good vibes here.

Anyway, here are some pics of my new rig:


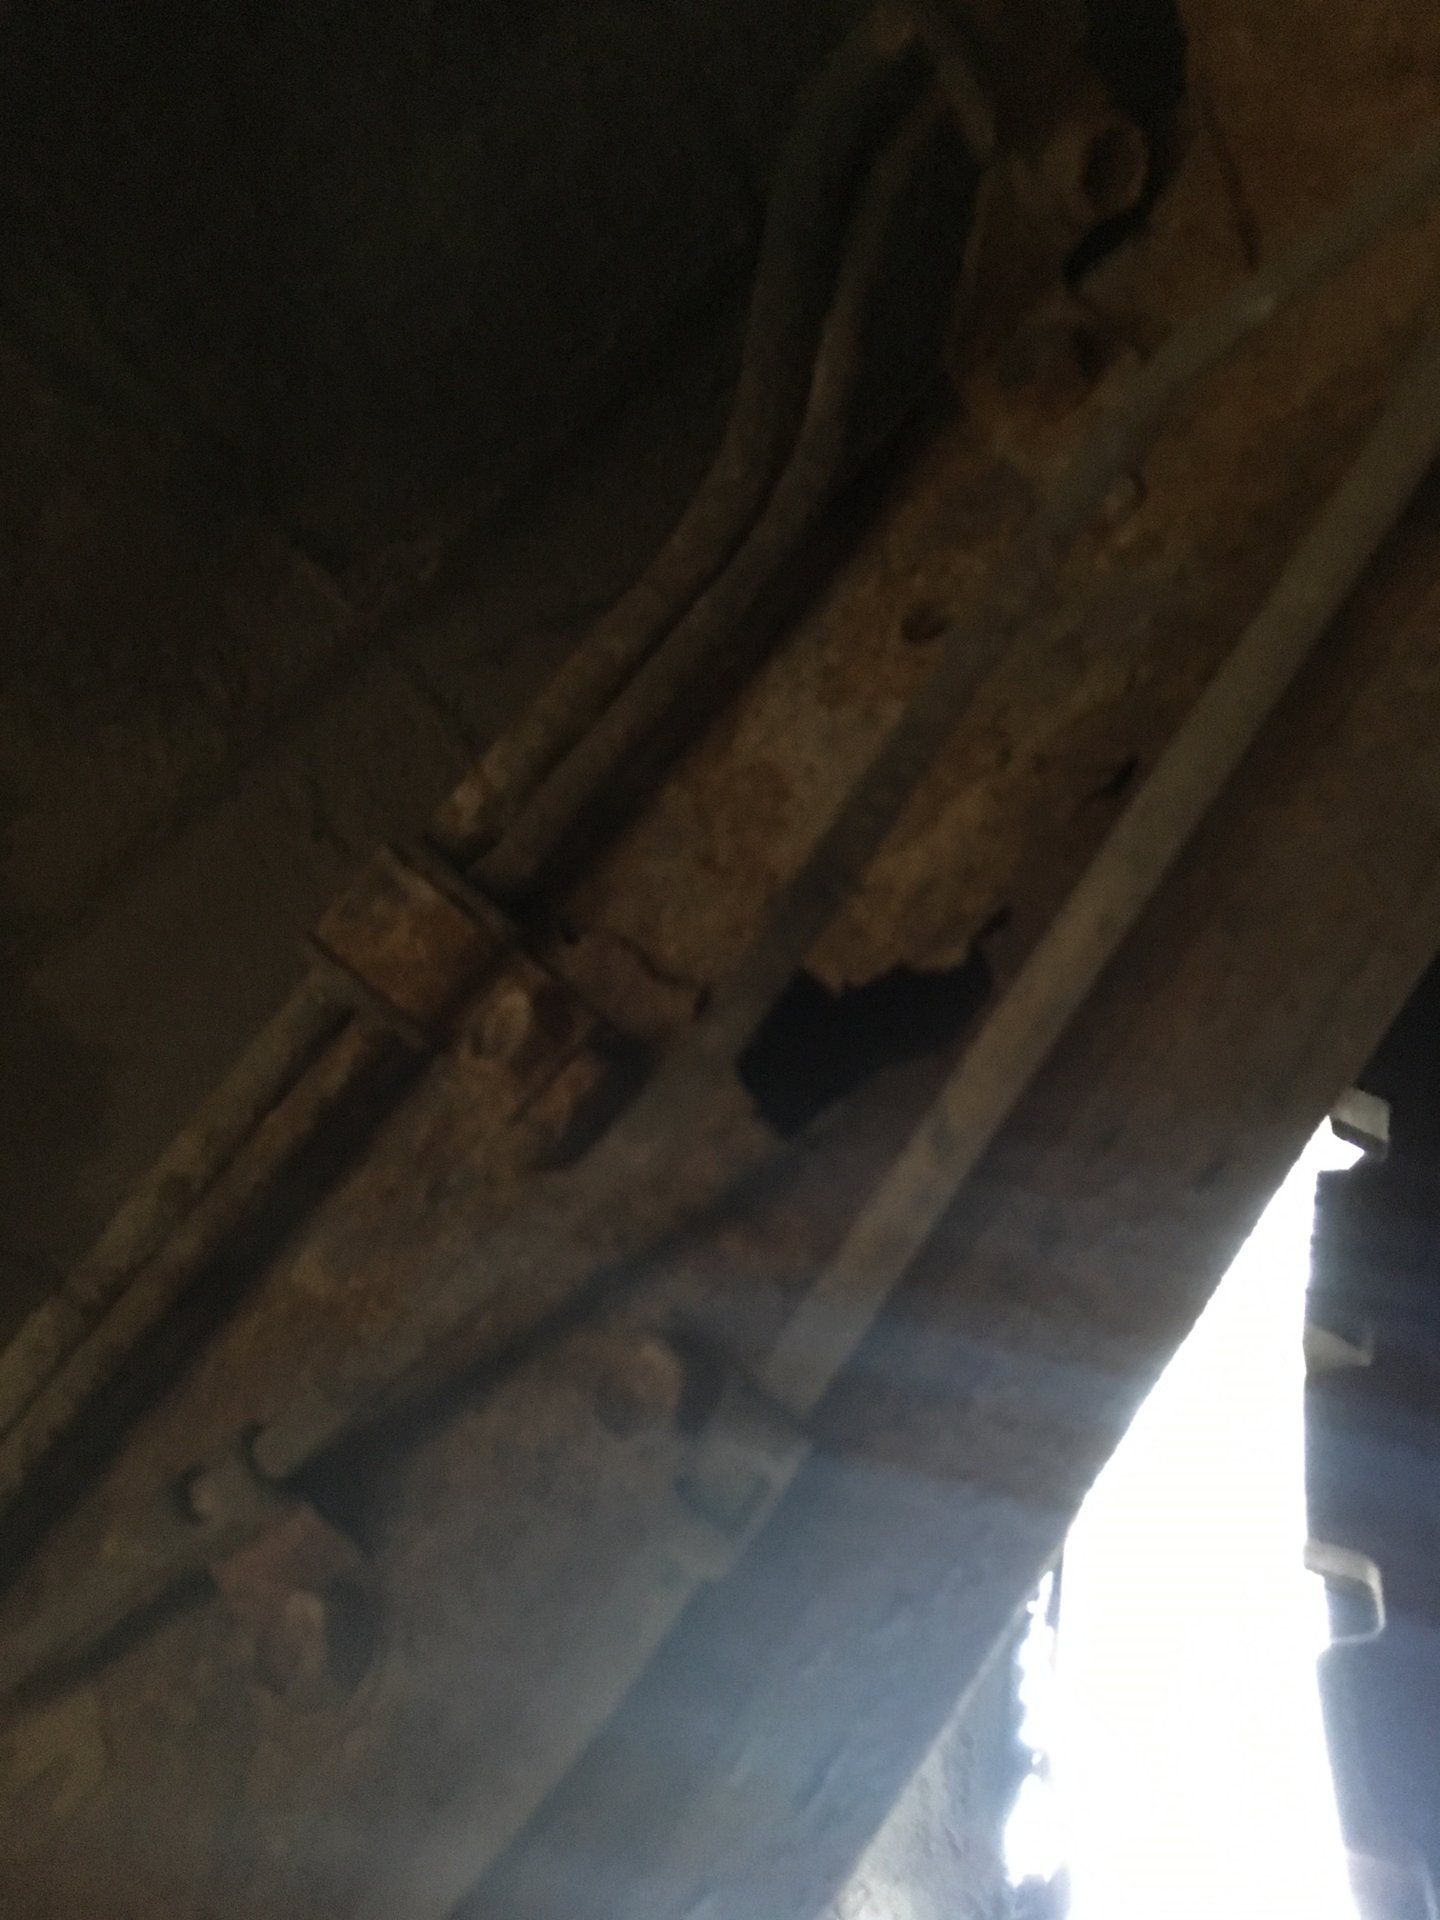
Crappy pic of the rust on the inner C channel.

Cheers!
Robin
 
Oil galley plug fix check out the faq in this section ot will answer alot of questions you might have or don't know about.
 
The inner C channel rust people talk about is on the last few feet of the frame, where there is a C channel riveted into the unboxed section of the frame. What you show there looks like a hole through the boxed section further up? Funny how different geographical regions rust and corrode so differently, holes in the frame and yet the aluminum on (and the rest of) your engine looks really good.
 
I decided to add to to this album as a way to keep track of the work I've done on this truck. I'm a reasonable amateur mechanic, but having no experience with welding and body work, I had started to wonder if this truck was too much of a project for me. I considered selling it and buying a 4th gen 4Runner, but after driving a couple of those, I decided that I'm just a Land Cruiser guy, and that's all there is to it. I'll learn the skills I need to keep it on the road, just as I did with my previous Cruiser and my aircooled VWs.

Things I've done over the past year or so:

- Front axle and hubs rebuilt
- Reman calipers installed, full brake system bleed
- Fixed non-functional 4wd system (was stuck in 4wd, previous owner just drove with hubs unlocked)
- Valve adjustment
- New fan blower motor
- Coolant/rad flush
- Fixed some dodgy wiring, including the worst stereo install I've ever seen

I also installed some front seats from a Isuzu Trooper. The PO had installed a seat from a Dodge Caravan?? in the driver's position, and it was held in place by a single weld and a hose clamp. The Isuzu seats fit (with some adapting) and look close to stock.

Next steps include:
- Repairing the rusted-out box sections of the frame
- Replacing the rear quarter panels (planning on using Wolf panels)
- Dealing with other rust minor rust patches around rear windows. Thankfully, this truck has no rust in the pillars, around the windshield, on the roof, etc. so I think it's manageable for a beginner with no garage

Here's a couple photos, nothing too exciting.
cruiser1.jpg
cruiser2.jpg
cruiser5.jpg
 
Yesterday I popped out the lift gate window to attack some rust that had been spreading. I'm reasonably happy with it, for a first go at rust repair. The upper section probably should have been cut out, and I suppose the rust may come back, but at least it's been dealt a setback that should last a few years anyway.

Before:
rust.PNG


After:
IMG_2110.jpg
 
I'm starting into some of the frame repair work on my 62. I've never welded before, but a friend is going to give me a lesson or two. I figure that even the best welders on this forum had to start somewhere, and I've decided that "somewhere" for me is this rear cross-member.

As many of you know, this section has two layers of steel, and I'm wondering if I could instead weld in a single layer of heavier-gauge plate instead of two thinner layers.

I still have some more clean-up work to do, but before I do any more cutting I was hoping for any advice you might have. Thanks!

IMG_2258.jpg
 
I've been slowly picking away at this truck. It's running great these days, but the rust is getting me down, so even though it's getting to be winter and I don't have a garage, I'm doing what I can. Today was my FIRST GO at sheet metal repair using the little Lincoln 140 MP welder I bought earlier this fall. Decided to start with the tailgate, since I figure if I f*cked it up, I could probably find another one somewhere. Thankfully, I think it turned out ok.

This is what I was dealing with:
rust1.jpg


Wasn't surprised to find rust on the inner lip or whatever it's called:
rust2.jpg


Made up a little patch for that section:
rust3.jpg


I'm making my own patch panels from this piece of hail-damaged roof that I scavenged from a body shop scrap bin. Can't beat free!
rust6.jpg
 
Last edited:
Patch panel tacked into place:

rust4.jpg


I used a technique that I learned from a great youtube channel called Fitzee's Fabrications - check it out if you're interested in body work. Anyway, it involves cutting the patch a bit larger than the the hole you're patching, tacking it in place, and then cutting under the patch at a 45* angle, and then re-tacking it once they're flush. I'm not explaining it very well but check out Fitzee's videos.

Here it is after the first round of welds.

rust5.jpg


Formed the panel lip by folding it over a stainless steel ruler with my little cross peen hammer.

rust8.jpg


Here it is after grinding. Far from perfect, and I did manage to blow one decent hole in the thing. Need practice filling the holes I make haha. All in all, pretty happy.

rust7.jpg
 
Last edited:
Yesterday I popped out the lift gate window to attack some rust that had been spreading. I'm reasonably happy with it, for a first go at rust repair. The upper section probably should have been cut out, and I suppose the rust may come back, but at least it's been dealt a setback that should last a few years anyway.

Before:
View attachment 2414571

After:
View attachment 2414572


This looks great and I have the exact same rusty spot, albeit much much worse. What did you use to fix this, fiberglass body filler?
 
This looks great and I have the exact same rusty spot, albeit much much worse. What did you use to fix this, fiberglass body filler?
Yup. Ground it down to shiny metal, then treated with a rust converter, then filled the pits with body filler - just the regular stuff, no kitty hair or anything like that.
 
Learned how to make my own hard brake lines. Found this pretty satisfying.View attachment 2414561


nice work on the brake lines but look close at your flares. they are different flares and the ones you made will not seal correctly. metric/japanese vs european flare i believe

you need a tool like this...

ADF7DC69-14AC-47EC-8CA9-7CD4160A214F.png


it’s the one i used and i love how easy it is to work with
 
Last edited:
nice work on the brake lines but look close at your flares. they are different flares and the ones you made will not seal correctly. metric/japanese vs european flare i believe

you need a tool like this...


it’s the one i used and i love how easy it is to work with

Ha, I was wondering if someone was going to notice that. I realized that I bought the wrong flaring tool, so I took it back and made lines with the correct flare, but I didn't take any pictures of the new ones.
 
Did some more work on the tailgate today. I pulled the license plate off to sand the whole thing in prep for primer, and i noticed some pitting around the plate mounting bolt holes, so I decided that there was no time like the present to deal with that. There was a fair bit of corrosion in that whole area, so it ended up being a pretty big patch.

I cut the mounting nuts off the old panel and welded them on the back of the new panel, along with the wire retainer for the license plate light.
plate3.jpg


Again, I'm using sections of that salvaged roof panel, which is why there's paint on there.

Here's the patch welded in, welds ground, and then a second round of welding to get the bits I missed the first time. I created the raised sections of the panel by laying it over a 1/8" hardboard template and working it with a cross-peen hammer.
plate1.jpg
 
Last edited:
Here's one more pic of the repair, along with the piece welded in yesterday (the bottom of the tailgate, right hand side of the photo - after one layer of filler). A lot of backyard cutting and grinding over the past couple days -- sorry neighbors. :meh:

plate2.jpg
 
Last edited:

Users who are viewing this thread

Back
Top Bottom