
If that does not work, I had Control cables make me a custom length cable for my UTE project. I needed one 9" longer.
Navigation
Install the app
How to install the app on iOS
Follow along with the video below to see how to install our site as a web app on your home screen.
Note: This feature may not be available in some browsers.
More options
Style variation
You are using an out of date browser. It may not display this or other websites correctly.
You should upgrade or use an alternative browser.
You should upgrade or use an alternative browser.
Build Blender, My LX450/FZJ80 + FJ45esk + GM + Land Rover crazy concoction
- Thread starter Mieser
- Start date
Member Builds and Stories
This site may earn a commission from merchant affiliate
links, including eBay, Amazon, Skimlinks, and others.


- Thread starter
- #585
Hey look, more TIG welding on the #LX45 tub. No way! I actually enjoy it, so much less drama than mig welding. The other side is gonna be easy compared to this one, it had all the seams from cutting out the fuel tank sump. I also tried tig brazing for the 1st time on another section, that seems to be a neat tool to have for non structural fill.


- Thread starter
- #586
Some shop tech, how to make sheetmetal patches for stuff like the firewall...

Cover the area you want to fill in two layers of crossed masking tape. Then cut out the template with an sharp small razor knife.

Transfer you sticky template to some sheetmetal that is close to the same thickness of material as what you are trying to fill.

Cut the shape out roughly. I use my HF 4x6 bandsaw in the vertical position.

Sand it down to the edge of the tape.

Remove the tape, clean off any glue residue, and fit into your hole.

- Thread starter
- #589
Patching holes on the #LX45 floor. Cutting wafers out of bar stock to match the hole opened up with a step bit is the best way I have found to do this. I use a magnet to hold the wafer in place for the tack weld with the TIG welder.


- Thread starter
- #590
Trying to get caught up....

More TIG brazing with Silicone Bronze on the upper door seal area. I dig it, but I think I get it a little hot. Always trying to learn.

I did like it much better when the tub was on the chassis. I'm really looking forward to getting it back together.
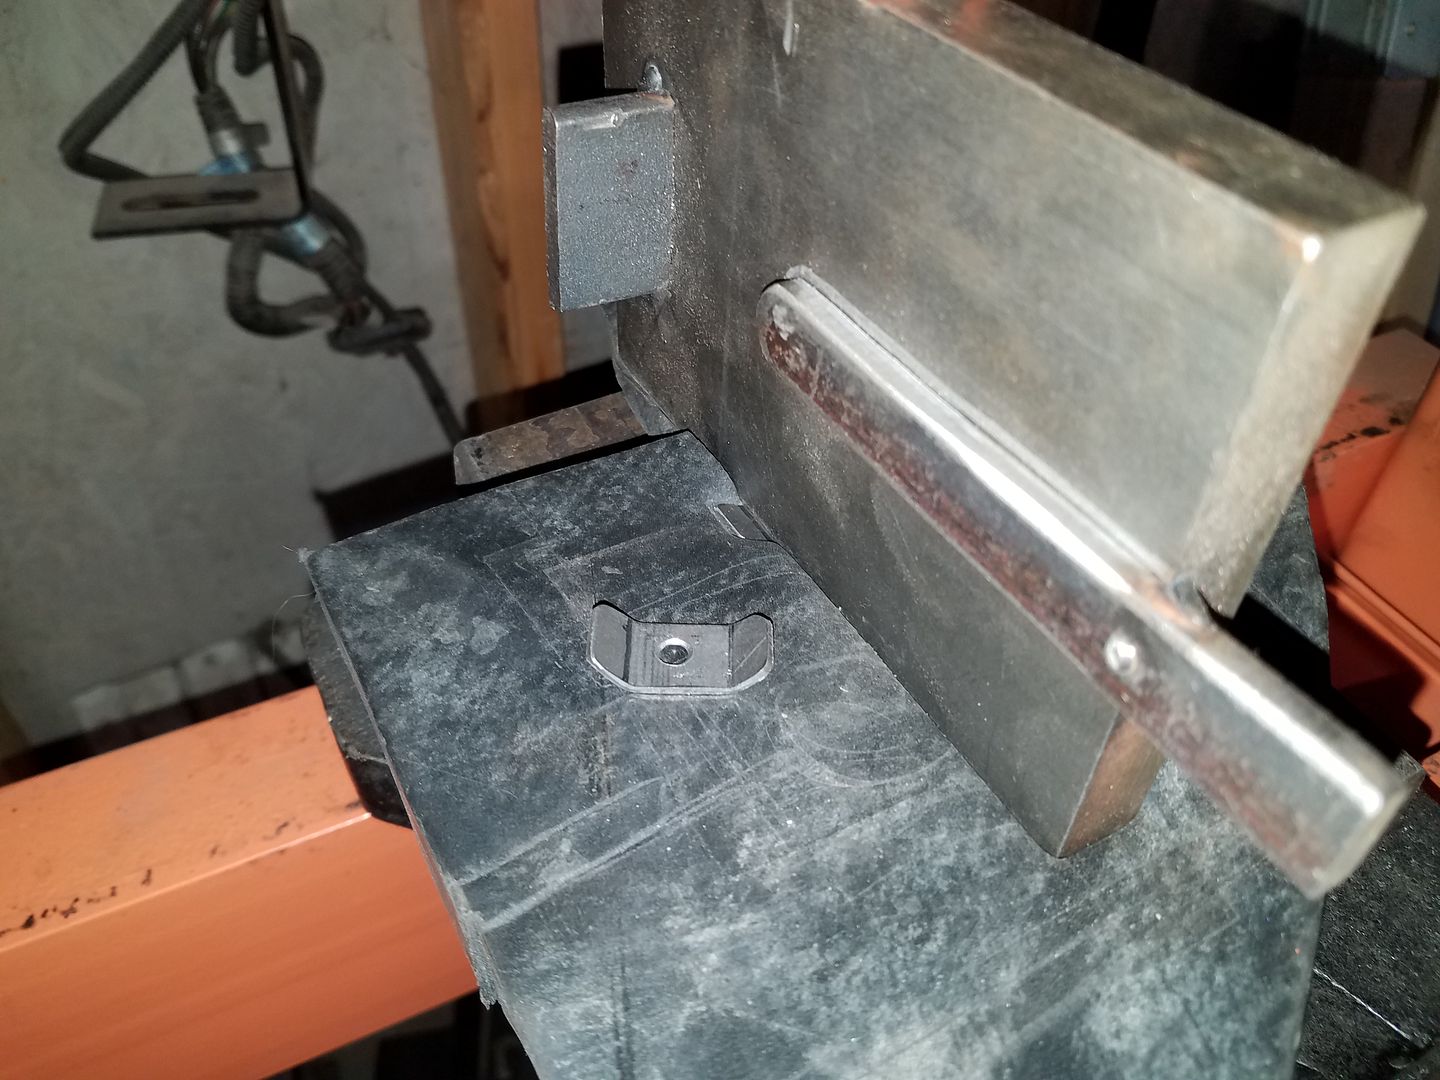
Experimenting with some soft lower die forming in the press. I needed to make some small tabs to weld on the air cleaner mount to retain the hose clamp a little better. You basically form the part into a piece of rubber using a male upper die out of scrap....it can be square, round, or whatever.

I got all the bolt on brackets from the tear down cleaned up to head off to powder coat.

I have a tubing bender? How do I work this thing again?

I bent up the A to C spreader finally. This was a fun part to bend up and cope. One end was a pretty simple 90. The other end was a wierd cope on the bend transition to square tube.

I can't say I have TIG welded much tubing stuff yet. I rather enjoyed it vs the MIG honestly. There is so much less noise and fuss.

An interesting shot up under the dash. It is kinda neat to see it at this angle with the tub stood up on its back.
- Thread starter
- #591
Details Details

With the tub sitting up on its back I was able to weld up all the holes on the bottom of the dash lip. These would have been near impossible for me to get access to in the vehicle. With the tub in this position it was easy to just sit in the tunnel hole and use the TIG. I never would have thought about that really. I still have a few new ones from the inside bracket removal on the face ( now pointing down ) that I will need to get later...

My steering box came back from West Texas Offroad promptly after being ported for hydro assist. I will probably need at least one swivel 90 npt adapter, but I knew that going in. I did have much to work with for clearance to the grill.

I also took a pass over the bottom with the flap wheel to knock down the high spots a little bit on all the weld seams, then I hit everything with a wire brush.
That is all for tonight....
- Thread starter
- #592
Weekend weather window mission accomplished on the #LX45 tub. I was able to get the bottom and firewall of the tub sprayed in some epoxy primer on this fine day.


If you are spraying paint, roll up a little masking tape and stick it in all the threaded holes so you don't have to clean them up later. The only problem was I had about 50 of these buggers.....


If you are spraying paint, roll up a little masking tape and stick it in all the threaded holes so you don't have to clean them up later. The only problem was I had about 50 of these buggers.....
- Thread starter
- #593
Nothing crazy....

I've been trying to button things up on the frame before I stick the tub back on. I think for everything I do, I think of something else that I should be done. I did manage to get a few things going...
-Lots of final welding on the rocker and motor mount frame pads.
-I built and tuned the linkage for the transmission shift lever.
-Started painting some of the front bumper and crossmember.
-Started on the pattern for the belly pan skidplate.
You'll run out of things to do eventually... and then remember some more just after you slam the body home.Nothing crazy....
I've been trying to button things up on the frame before I stick the tub back on. I think for everything I do, I think of something else that I should be done. I did manage to get a few things going...
-Lots of final welding on the rocker and motor mount frame pads.
-I built and tuned the linkage for the transmission shift lever.
-Started painting some of the front bumper and crossmember.
-Started on the pattern for the belly pan skidplate.
Please show off your work on the shifters, looks good!
- Thread starter
- #595
Trying to do something every day ( and not slack at thread updates!)

I cleaned up a few things on the grille and bezel. I'd like to at least get these parts painted before assembly so I don't have to remove them later. With the grill mounted I can have the entire cooling system all closed up and working for the engine, trans, and steering.
There are a still a few things to do. I need to make a mount for the grille 'screen' on the bottom edge....and make a screen

I was able to find the perfect little 'delete' plug for this sensor hole in the LT230 case. It is a 14mm fine thread replacement drain plug with gasket that has been set in place with Loctite 242 blue.

I spent the rest of the night working on my magic skills. I started making the weld seams disappear on the grill. I have a pretty good system worked out now I think. I need to document it on the other half.
I also noticed something interesting about hole filling. Filling the hole from the BACK side of the panel if possible is much easier to clean up typically. I am finally at the point where I can fill about a 3/16 hole with out a plug on 18-20 gauge steel. I basically build up a bead of filler with low amps till it connects, then I collapse the bulge with with a bit more heat. This seams to only give a little bit of overfill on the visible side that is easy to clean up.
- Thread starter
- #596
You'll run out of things to do eventually... and then remember some more just after you slam the body home.
Please show off your work on the shifters, looks good!
The shifters should be back in this monster thread somewhere....
I also noticed something interesting about hole filling. Filling the hole from the BACK side of the panel if possible is much easier to clean up typically. I am finally at the point where I can fill about a 3/16 hole with out a plug on 18-20 gauge steel. I basically build up a bead of filler with low amps till it connects, then I collapse the bulge with with a bit more heat. This seams to only give a little bit of overfill on the visible side that is easy to clean up.
Will definitely have to try that!! Thanks for the tip!
- Thread starter
- #598
This evening I made a big expensive piece of 1/4 inch thick 6061-t651 aluminum into a belly pan for the #LX45 using some common hand tools and a little wax. Weight is 30lbs so far but I need to add a few ribs to it. Overall not terrible for oil pan to past the transfer case coverage.


- Thread starter
- #599
Panel seam dressing how to....

This is what the seam stared out as. This seam was tacked with the MIG way back when and then TIG welded between tacks. I then dressed the seam down with a 4" flap wheel just to knock the top off the high spots. As soon as I see the flap start to touch the sides anywhere I stop.

The next thing I do is hit the seam with a 3" cut off wheel in this orientation. I think the crown of the wheel helps get JUST the proudness of the weld down. I just go light on pressure and stop right when the plateau disappears. This leaves a bit of a rough finish, but not that bad really. This seems to make the most progress in the quickest time.

Next I hit things with a 36 grit 2" rol-loc disc on an air powered angle grinder. This gives things a nice consistent finish. At this point I will usually start trying to make sure things are as level as possible with a little hammer/dolly work if anything has pulled.

A follow up with 80 grit.

I stop with a brown scotchbrite rol-loc pad.
- Joined
- Jul 22, 2012
- Threads
- 639
- Messages
- 17,566
- Location
- Winter Park, Florida
- Website
- www.cruisermatts.com
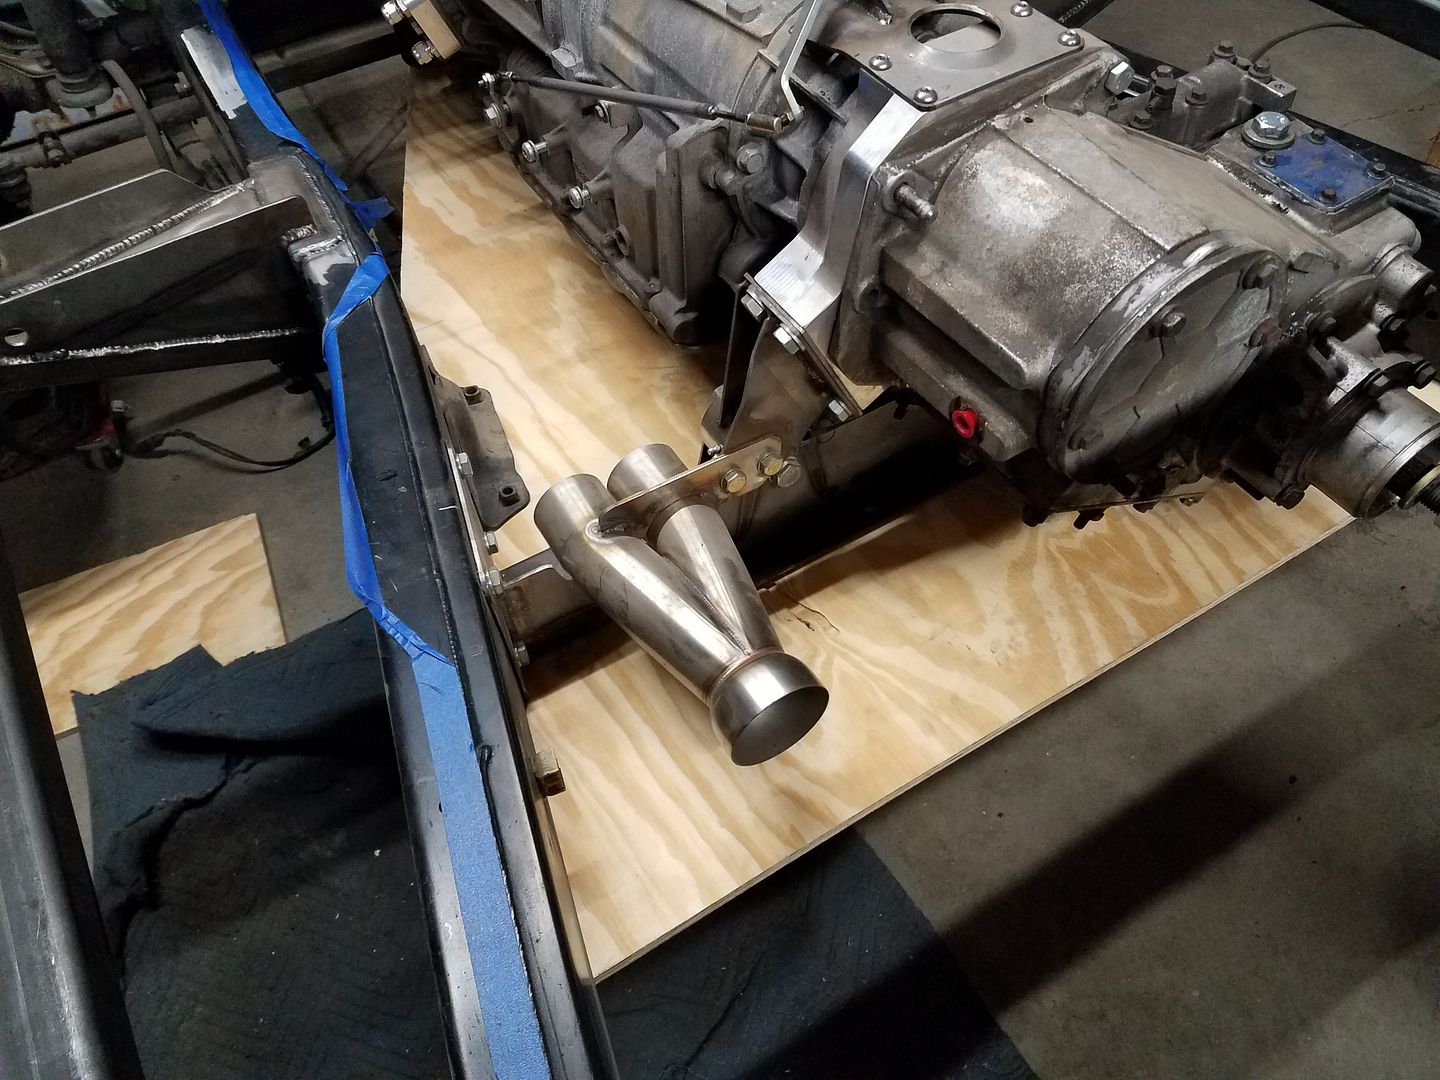
Great idea using the driver’s trans mount on the adapter for the exhaust ! It would really stick out if you didn’t use that spot for something ")