3FE refresh - doing a reboot on my '92 (7 Viewers)

This site may earn a commission from merchant affiliate
links, including eBay, Amazon, Skimlinks, and others.

Joined
Jan 18, 2013
Threads
14
Messages
178
Location
NM
So I picked up my 92 earlier this year off of CL. Rig hailed from WA originally and seems to have been taken care of. From what I can tell she was used as a family hauler/camping/kayaking rig. A few maintenance records were in the glove box and included some Napa receipts and whatnot. Nothing exciting. Mileage at the time I bought it was right around 187k. Paint is great except for the smallest clearcoat fade on the upper tailgate. Body/frame is straight. Interior is excellent. And most importantly, NO rust - except for some exhaust crust, but I don't count that.

When I first got brought her home.

LC.jpg


Did a lot of the initial PM things, mainly fluids and small stuff, and then just drove the beast as is. The more I drove it, the more I started to love the 3FE for its simplicity and character. To me, the FJ80 has a lot of soul. Anyway, I started noticing some things that were going to need to be addressed in short order. A couple of small 'seeps' from underneath, a radiator that was starting to blow a seam up top, some beginnings of fray on the belts, brittle hoses, weak battery, etc...
So put speed dials in for CDan and Beno and started collecting box after box of Mr. T goodies. Got a radiator, water pump, fan clutch, hoses, belts, studs, bolts, more hoses, gaskets, hose clamps, oil seal, plugs, wires, rotor, cap and finally some more hoses. And then some factory shocks. Thanks Dan and Beno! It took couple of months but I finally got all my loot put together. My goal was to dig in for a few days and do it all at once.
I was able to arrange 4 days off work. More importantly, and I know a lot of you guys will appreciate this, I was given the all clear from the Mrs. to disappear to the garage without any expectation of being an involved father or husband. WOOT!

My entire goal with this is to have a reliable truck that will last me a long time. I've never tackled anything like this before and I'm hoping that by doing all this myself I'll learn some things AND save a lot of $$$.
...I'm also hoping to earn a full :banana:. Right now I'm a 1/2 :banana:, unless I've been drinking too much and then I'm a five :banana:.


Tear down begins. I first went to a local A/C shop and had all of the R12 sucked out of the system so that I could remove my condenser. I wanted easy access. I only found ONE shop in town who was certified and willing to work on R12.

Don't worry, the pics will get better than this.
60.jpg

I have a feeling this picture will be worth the proverbial thousand words.
59.jpg

Jason

LC.jpg


60.jpg


59.jpg
 
Last edited:
Digging in deeper.

They really packed things in here.
90.jpg

87.jpg

Lots of nasty crud.
86.jpg

Wasn't at all prepared for how long it takes to clean all of these misc parts and pieces. In between taking everything apart, I was running back and forth to the parts washer. I started off with 3 gallons of Simple Green, 4 gallons of kerosene, rolls and rolls of shop towels and a couple of boxes of zip-loc bags which I labeled and put all of the component nuts/bolts in.

Jason

86.jpg


87.jpg


90.jpg
 
Last edited:
You go girlfriend!
That's the way to do it right. Not to say that other issues won't pop up, but you're taking care of the heart of the beast.
Don't forget the oil cooler coolant hoses below the dissy. They get overlooked and get real nasty over time.
 
Thanks Jon. And yeah, those are on the list!
 
Excellent thread. I'm embarking on a similar mission over the holidays, adding a head gasket to the list & complete head / intake / exhaust refurb.

Please continue to document for our help as well as a pictorial guide you can refer back to if issues arise during reassembly.

Best of luck!
 
I was a little concerned with the removal of the crank pulley nut. I've read all the threads and decided to give the bump start method a shot. My battery is pretty old and weak so I wasn't too confident that it would work. Disconnected the dizzy wire and strapped my shiny new 3/4" breaker bar/socket to the frame. Hopped in and turned the key and got...nothing. It sounded just like the starter does when she's about to crank over. I was expecting some clang bang and scary ruckus but only got a whrrrrr. When I got out and checked the nut, it litterally fell off in my hand. Yay. It was as if it wasn't on tight enough. Anyway, that was a huge psychological hurdle for me that turned out to be a non-issue, so hell yeah to that.

The timing cover came off with ease. The bolts were all barely just finger tight. :eek: The hard part was getting the oil seal out. Using a seal puller, I pried on that puppy with a lot of force and it wouldn't budge. Finally put the timing cover in the oven and turned it on to 250 degrees & let it 'bake' for 10 minutes. The old seal literally fell right out at that point. Took a long ass time to get the old gasket off of the cover. The old cork was fused pretty good.


image.jpg

image.jpg
 
Last edited:
Excellent thread. I'm embarking on a similar mission over the holidays, adding a head gasket to the list & complete head / intake / exhaust refurb.

Please continue to document for our help as well as a pictorial guide you can refer back to if issues arise during reassembly.

Best of luck!

Wow! At this point, being as deep as I am, I can't imagine tackling the head gasket. Nice! :beer:
 
Oil seal doesn't appear to be leaking but felt good to change it out anyway.
70.jpg


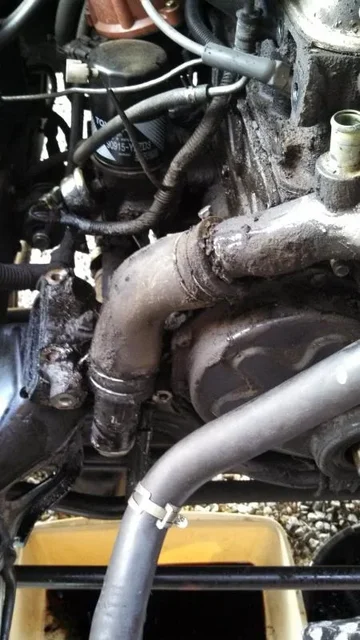
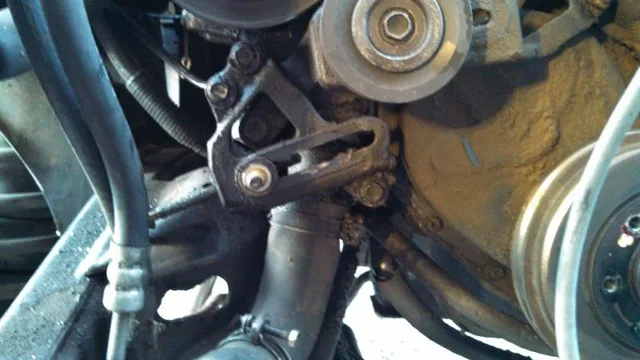
Can't imagine getting this hose off without first taking off a/c compressor and pulleys/tensioners. NOT easy to get to. This looked like it was about ready to blow.
79.jpg


Was careful to document everything with pictures to make sure I could put it all back together.
68.jpg


Realized I was missing some things at this point so called up Onur and placed another order.

70.jpg


79.jpg


68.jpg
 
Took a break from dismantling and focused on getting some parts clean. TIME CONSUMING.

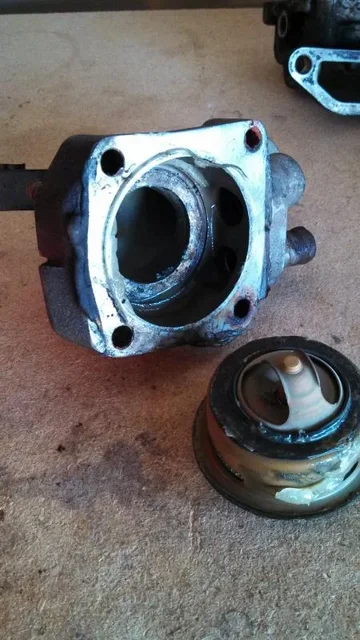
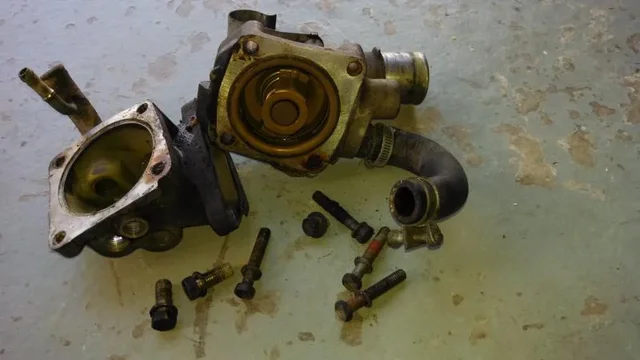
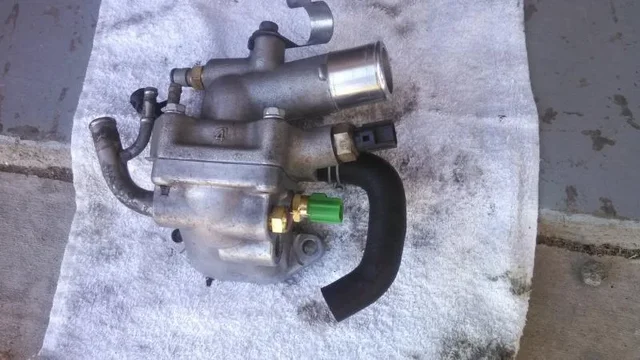
Thermostat housing was NAST. I'm not even sure what the snot-looking stuff is. Could my coolant have gelled??

43.jpg


81.jpg


Got the dremel out and polished off some of the scale. Replaced the gaskets and thermostat. Swapped out the hose and clamps. Buttoned it back up with some nice new bolts. Even replaced the water temp sensor and senders.

217.jpg

43.jpg


81.jpg


217.jpg
 
Have you taken the valve cover off? Kinda curious if you have coolant milkshake under your valve cover after looking at the gel on your thermostat.
 
Have you taken the valve cover off? Kinda curious if you have coolant milkshake under your valve cover after looking at the gel on your thermostat.

Yep, cover came off. Nothing that resembled the dreaded milkshake. Just a lot of baked-on carbon deposit over everything. The rocker arm assembly was caked in black tar. Coolant also looked pretty good. PO had been using green and when I drained the system most of what came out was bright and clear.

Jason
 
:clap:

Very nice work.

And I can't think of 2 better parts guys to buy your stuff from!

;) :lol:

Thanks Onur - You and Dan have been a great resource!

Jason
 
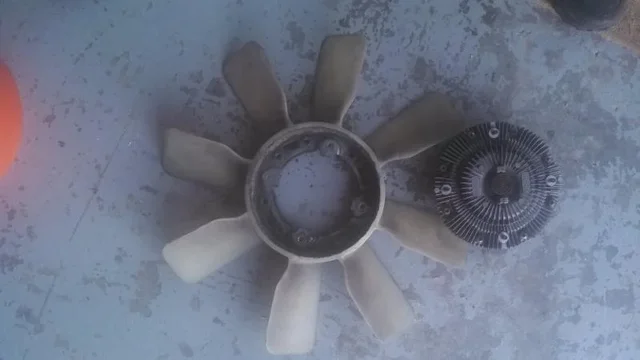
Next up was the fan & clutch assembly. The old fan clutch wasn't quite dead yet, I could still spin the shaft...but it was rough. It definitely had seen better days. I also noticed that over the past few weeks I hadn't been hearing the 'roar' on start up. Time to go!

Dirty fan and old clutch.

56.jpg


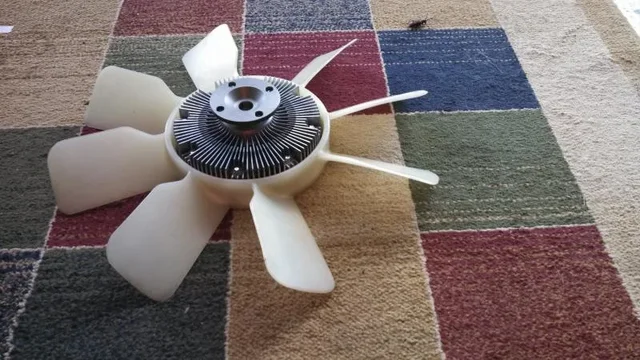
Nice new aqua hub! Purdy. :D

100.jpg


Mounted up and ready to go. Took a lot of elbow grease and Simple Green to get those fan blades clean. I guess 21 years will do that.

104.jpg

Jason

56.jpg


100.jpg


104.jpg
 
Yanked the PS pump and A/C compressor. The compressor was pretty gunked up. Whatever leak I was having nailed everything pretty good. Wasn't sure how to go about cleaning the compressor so I ended up just wiping it down with a little kerosene. I was careful about all the 'ports' but hope I didn't damage anything.

Can't see in the pic, but the belt chewed into the PS hose at one point, leaving a pretty nasty gouge. I didn't order any steering 'refresh' parts this go-round but have made a mental note.
64.jpg


85.jpg

Old water pump. Adios!
83.jpg


Jason

64.jpg


85.jpg


83.jpg
 
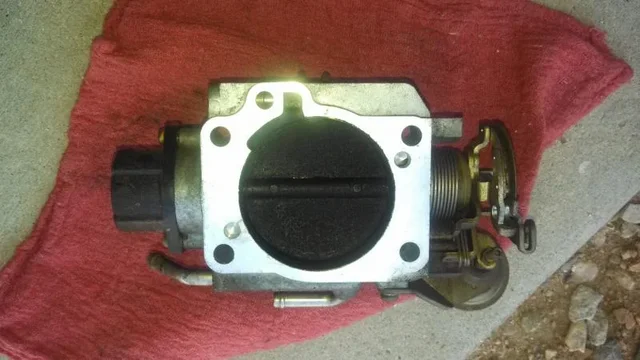
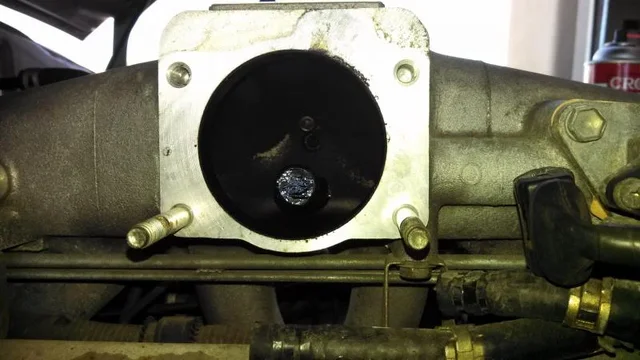
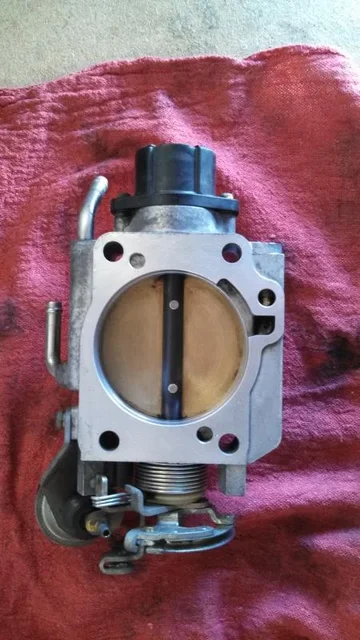
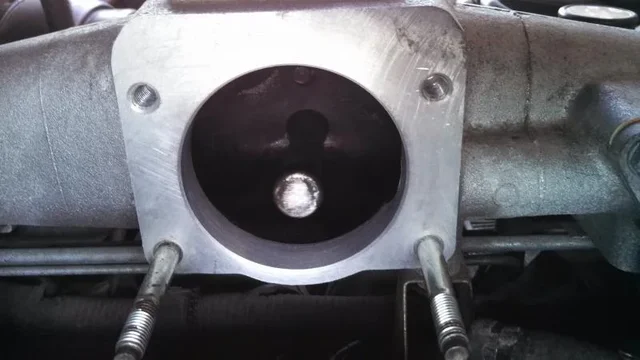
Time to turn my attention to the throttle body. Doesn't look too bad from this side, a little gummy.

114.jpg

Other side was nice and grimy.

119.jpg


123.jpg

Cleaned everything up the best I could with some throttle body cleaner and a toothbrush. Took some time. Oh, and green Scotch brite pads are my new best friend!

127.jpg

128.jpg


Replaced all the hoses that run underneath the intake and the hose on the back side of the intake. Looked to be part of the PCV valve/hose assembly?? Blew some compressed air down the pipe and got a LOT of oily crud. Must have been pretty choked. Already had a couple of new t-body gaskets on hand (one for a spare). NLA from Toyota, so I went with Fel-Pro. Also learning through this that silicone really helps with getting the old hoses off. Just a quick spray and let it sit for a few seconds and they slip right off.

Jason

114.jpg


119.jpg


123.jpg


127.jpg


128.jpg
 
Last edited:
What are you using to polish those surfaces?

You mentioned dremel, what tip?
 
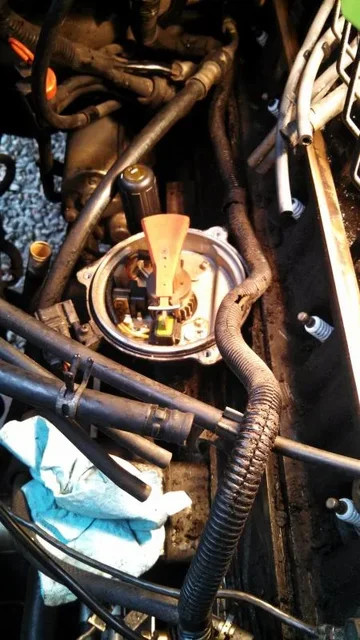
In the middle of all this I decided to switch gears and tackle the distributor. Wasn't expecting this to be as much of a PITA as it was! Had to come at it from underneath with a wooden dowel and hammer and tap it up and out. Tried to mark the orientation as best I could.
This is also when I started to think about the pushrod cover gasket. I didn't figure that in to my first version of this little project. Out comes the speed dial! Also ordered a distributor o-ring since I forgot to pick one up.

148.jpg


151.jpg

Pretty filthy here....as everything else.
149.jpg

Didn't get a picture, but I cleaned the dizzy up pretty good. Had a new cap (with 'packing' o-ring), rotor, plugs and wires all ready to go.

Jason

148.jpg


151.jpg


149.jpg
 
What are you using to polish those surfaces?

You mentioned dremel, what tip?

Used a green Scotch Brite pad soaked in a little kerosene to get the flat surfaces. Have to be careful not to scrub too hard, though. To get the scale off of the thermostat housing I used the dremel and a wire/brush tip. Worked pretty good.

Jason
 
Just my .02

Hi Jason, great job on the refresh. I've been doing the same thing, but have stretched it out over a few months. My :princess: isn't as allowing as your :princess: when it comes to husband/daddy duty.

Anyway, I saw where you said that your PS hose was damaged by a belt. I would encourage you to replace the high and low pressure lines NOW. The way that they have to wrap over the front frame cross-member and under the radiator, make them impossible to get out unless you remove the radiator. As many before me have had to do, I removed the radiator to get to my PS hoses that were leaking. It is a PITA, so do it while you've got it out if you can.

Good luck!!

My next job will be the push-rod gasket and a PS pump rebuild...never ending, but fun! :cheers:
 

Users who are viewing this thread

Back
Top Bottom