3D Printing Parts for the 80

This site may earn a commission from merchant affiliate
links, including eBay, Amazon, Skimlinks, and others.

1. OBDII Clock Replacement Bracket
2. All the Scanguage posts on iH8mud
3. 1.75mm PLA Brown (Inland)
4. Remove the .pdf extension.

First You need to be okay with getting something like this cheap and taking it apart.
Amazon product ASIN B07L8HMKKG (I used the x50 version)
Amazon product ASIN B07P37WY1R some additional info with configuration options available.

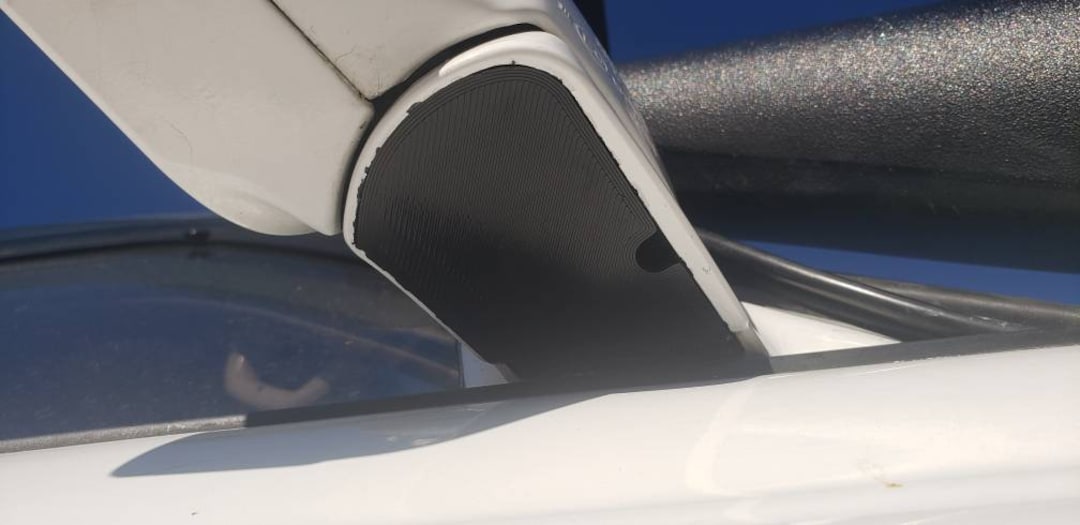
You can relocate the menu/input switch and the light sensor but i didn't bother. I just set the information in the system before sticking it in the dash. I connected my with double sided tape, but really just wrap some electrical tape around it and be done. Some improvements to the bracket would be to put tabs on the lower flat part to hold the screen in position but it was easier to just use a little adhesive tap between the bracket and the backing on the small LCD so it doesn't move.

FZJ80_OBDII_BCKPLT_CLX16_IMG.png


20191220_124746.jpg


20191220_125842.jpg
 

Attachments

I’ve evolved since then. Prefer IPV67 rated enclosure and I’ve learned it’s not a good idea to have the USB ports on the doors. Folks, big and Little, will open doors with things plugged in and tethered stuff tends to get flung. It’s why I dropped it as a potential product.
X2. I made a door 12volt plate and ran it in my 80 for a couple weeks. My kids destroyed their tablets and my wifes phone by yanking the door open before unplugging their devices. I decided not to release that product and yanked it from my 80. Went back to useless ashtrays.
 
With the help of a colleague I designed a speaker spacer handle for the rear doors. Bigger speaker and a handle for the lil's to use.
Printed with PETG,
I can print some for people if needed.
Thingiverse Link


full
That’s awesome dude! I need that.
 
1. OBDII Clock Replacement Bracket
2. All the Scanguage posts on iH8mud
3. 1.75mm PLA Brown (Inland)
4. Remove the .pdf extension.

First You need to be okay with getting something like this cheap and taking it apart.
Amazon product ASIN B07L8HMKKG (I used the x50 version)
Amazon product ASIN B07P37WY1R some additional info with configuration options available.

You can relocate the menu/input switch and the light sensor but i didn't bother. I just set the information in the system before sticking it in the dash. I connected my with double sided tape, but really just wrap some electrical tape around it and be done. Some improvements to the bracket would be to put tabs on the lower flat part to hold the screen in position but it was easier to just use a little adhesive tap between the bracket and the backing on the small LCD so it doesn't move.

View attachment 2170036

View attachment 2170040

View attachment 2170041

That's rad. but the PLA aint gonna cut it out on the west, here in AZ all the PLA parts I printed for the interior of my 100 have warped something awful.

I've had some good luck with Ninjatek Armadillo. Prints just as easy as PLA but handles temperature much better.


My cubby slot in in armadillo. Held up through AZ summer no problem. My model needs some tweaking to reduce the gap along the top, but it works just fine
1577832446131.png
 
Cupholder for the @Delta VS shifter cosole
Now with or without phone holder.

20191231_150028.jpg


Ninjatek Armadillo
Oh i may need to pick your brain about that some more. I will do some research and bug you with what i don't figure out. I have been thinking petg would be better than pla but this having a tested material where you are makes it easier on me.
 
Last edited:
Oh i may need to pick your brain about that some more. I will do some research and bug you with what i don't figure out. I have been thinking petg would be better than pla but this having a tested material where you are makes it easier on me.

happy to help, may not be the best material if you only need it for these types of projects (it’s not cheap) and PETG would probably be a better option
 
Nice thread with many cool ideas. I picked up a printer a couple of weeks ago; have been busy in printing lathe parts, cordless battery mounts etc...
 
Not sure how I like this but working to fill that spot where I Removed the CD Changer on the LX. There is so much room back in there, I might change this to include 120AC and put an inverter in there. Interestingly the hole isn't square at all so I need to adjust this quite a bit.

LX450CDChngholeCLX16.png
 
Still working on the above design but found this and figured I would share it (NOT MY WORK). I am not sure it isn't cheaper to just modify an existing blank that you could get here (Late 80 Series Toyota Switch Blank but still a cool idea.

80 Series Land Cruiser Switch Blank USB/AUX Panel by ProjectsInMotion
Published on December 1, 2018
www.thingiverse.com/thing:3249145
 
I've been too busy to do any more work on this but I did find a few posts that would be good to be listed here:
Lock for box between seats in Land Cruiser 80

Floppy vent fix:

If you trust a plastic lower tailgate lever that you can print:

Something for LC80s for owner that speak French :)

and of course some @bhicks stuff

 
Nalgene size cup holder for the armrest console.

20180926_082852.jpg


20200107_054450.jpg


Users who are viewing this thread

Back
Top Bottom