1991 fj80- the offroad station wagon build. (1 Viewer)

This site may earn a commission from merchant affiliate
links, including eBay, Amazon, Skimlinks, and others.

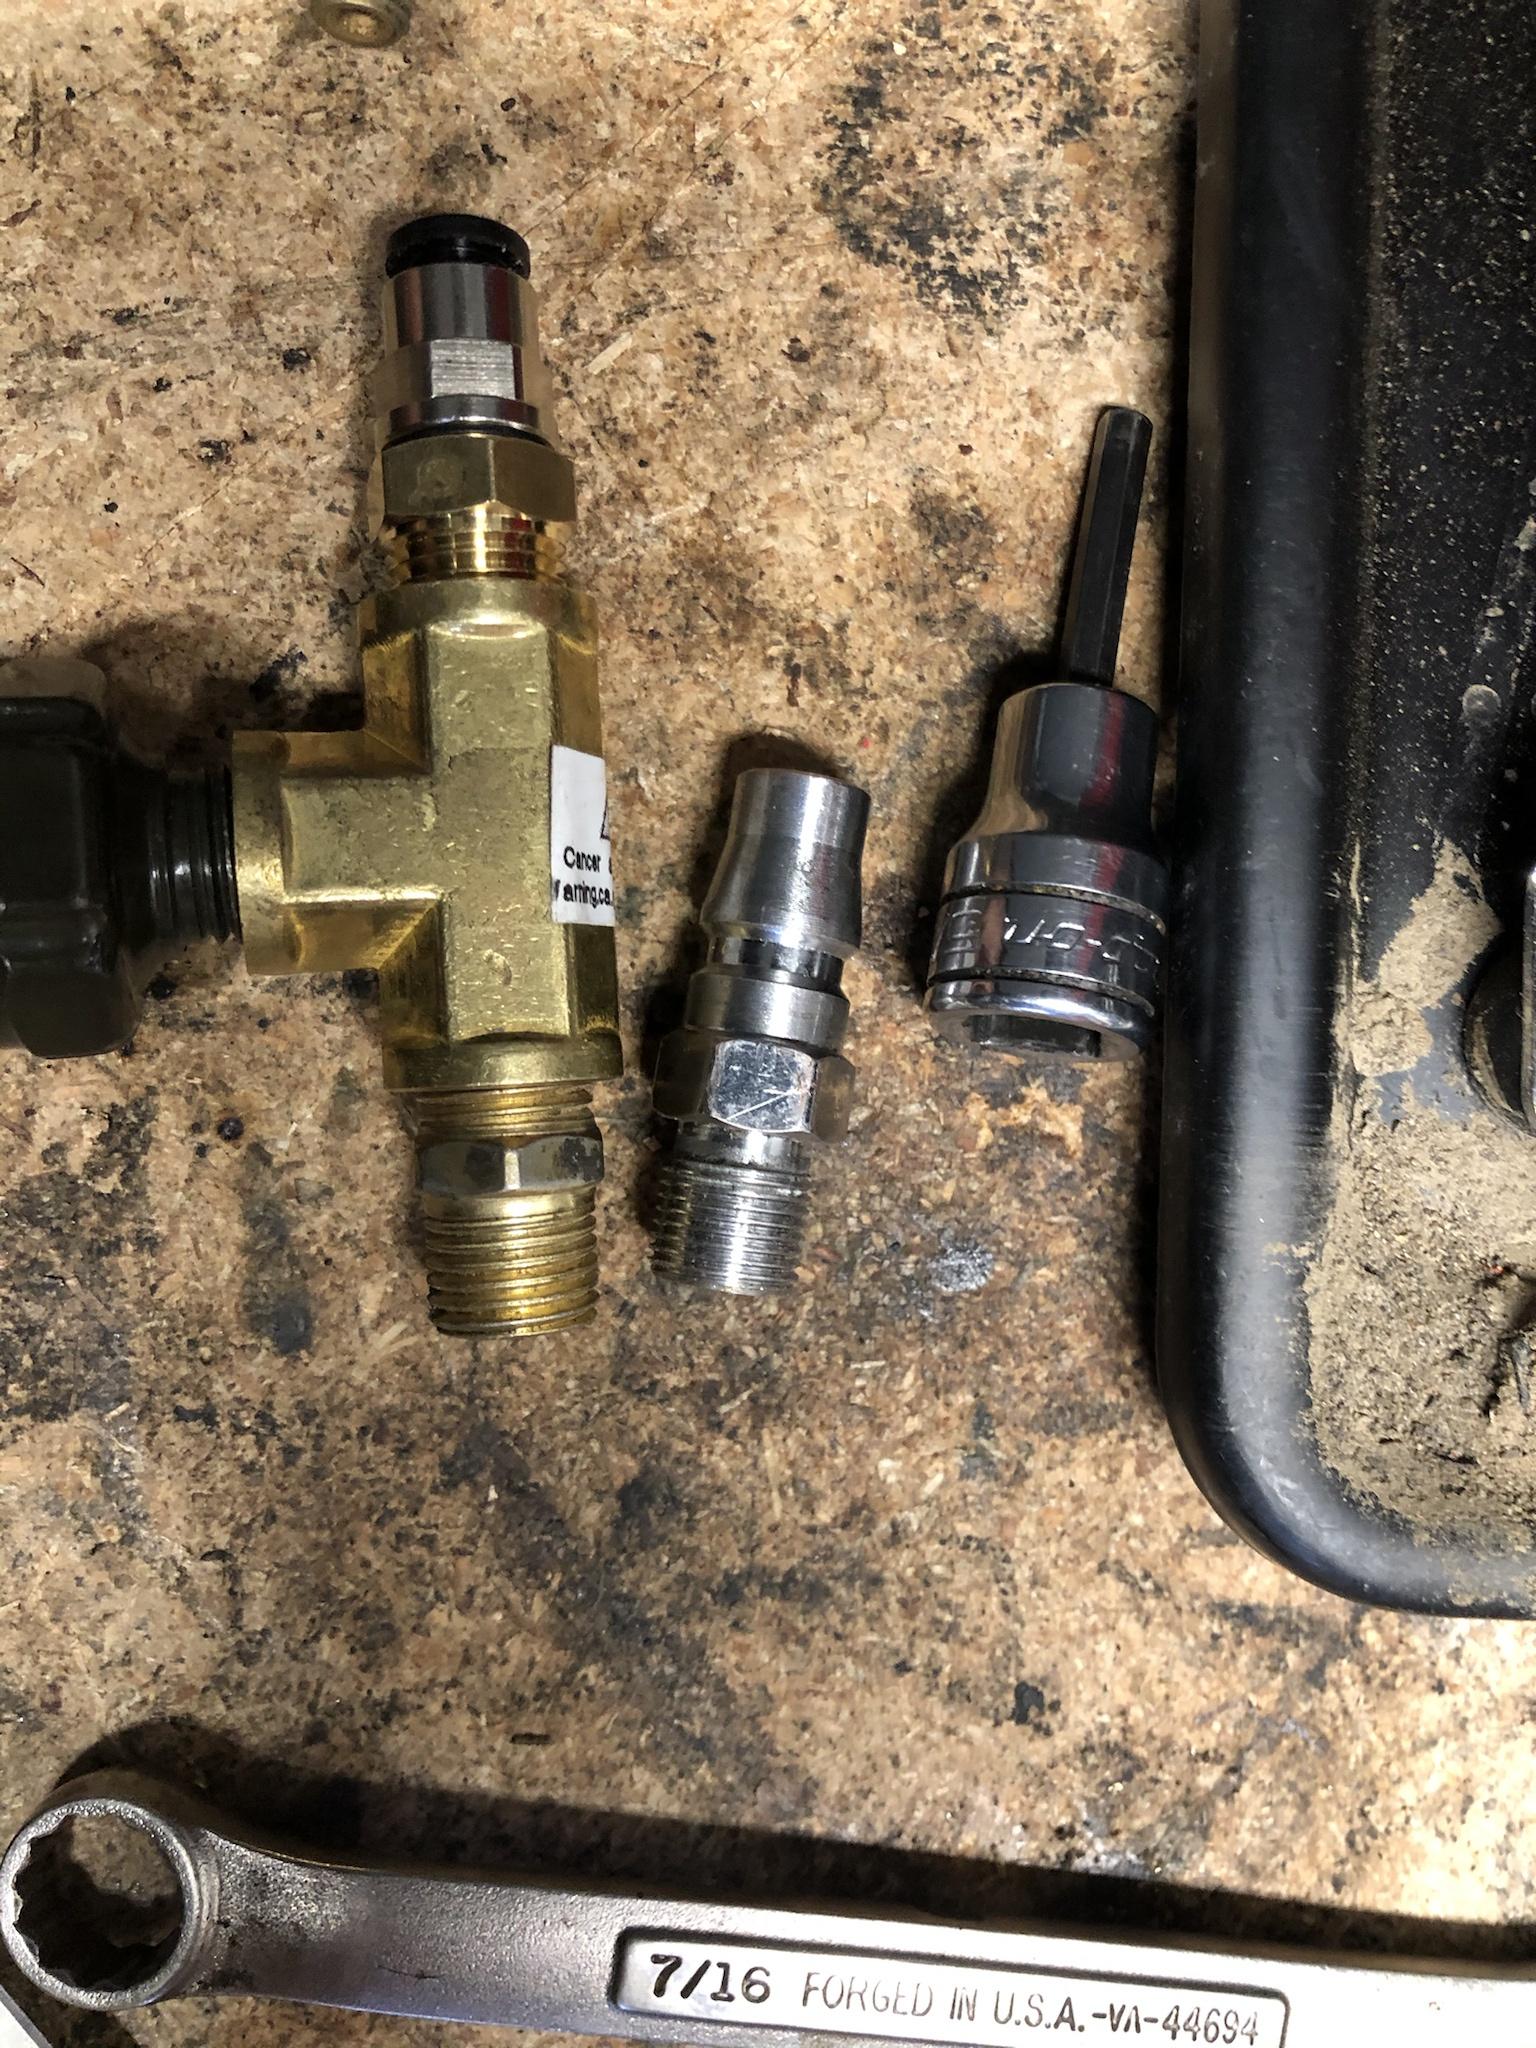
sorry I have been lacking on the updates so here is a blast of stuff.
finally got the gears installed. instead of pulling the diff with the spartan in it i used another third i had from a fj60 and put in the detroit i had laying around for the fj40 project. ended up having to clearance the housing some for the gears to fit well and then had to do alot of work on the detroit to make the center pin go in and out and work with my semi float axle. really made me wish i had a full float, this job would have went alot quicker.

Instead of grinding on the gears a bunch i decided to modify the center pin on the sides that dont touch the axle shaft when installed. i still had to trim the gears a little but nothing even close to the pattern. I also had to shorten the retainer bolt that holds in the center pin to clear the end cap.
bSf98UR.jpg

mZfelqC.jpg

clE0Smx.jpg

lvlVCQt.jpg

glHCizt.jpg

BHkP0Vu.jpg

the pin moved more than i liked after clearancing so i added some little welds to help keep it from walking around and then filed them down to fit tight
04vXBYR.jpg
 
i installed the pinion with a solid pinion spacer and took a long time there to get it right and ended up with an acceptable pattern.
2N41Rhp.jpg

1wkn0RA.jpg
 
on to the front.

I ordered new bearings and gears from marlin with gift cards i had saved up and a good friend of mine from alaska sent me a new in the box ARB locker he never had a chance to use and had sold off the project.
0VLKjDk.jpg

sneLMLy.jpg

this is the new 29 spline 8"HP pinion vs the old 27 spline. MORE BEEF!
MbnbVMB.jpg


definietly going to get the 29 spline stuff when i build the diffs for the fj40. 2 splines does not sound like much in thickness until you see them side by side.

setup here with a solid spacer as well went smoother without all the carier massaging for the center pin. gear pattern turned out ok
1bHvBlL.jpg

VKzuVBi.jpg
 
now i needed air for the locker. iwas too cheap for the ARB unit so i went on amazon and found one that would go to a high enough PSI for the locker. ended up on this unit for around 45 bucks
uyIUwC3.jpg

also added a pressure switch to control on off by pressure
cUh1J4h.jpg

plumbed in on the outlet of the compressor head.
0SKlrxS.jpg

it was a metric thread so i took the compressor apart and tapped it for 1/4" NPT to use standard fittings. this was delicate work as it was a cast aluminum part and it was soft but i achieved good results and it ended up sealing up well. been running it for a couple months now with no bad results.
1ctogIO.jpg

X8Wadkb.jpg

NgwkvTa.jpg
 
snow wheeled that a little then realized my shocks were drastically limiting the down travel with the 2" spacers so i looked up the part numbers for the cheap procomp shocks and ordered some from summit.
overall added about 3" of travel and 5" of droop. still really soft shocks and it is not ideal for the road but does great at moderate speeds on the forrest roads getting to trail heads and works well on the couple trails i have hit so far with them. well worth the roughly 45 dollar a piece price tag.
XWaFXwV.jpg

1AqS3JQ.jpg

LEFgoSO.jpg

o0SFgSp.jpg

GHzoJXl.jpg

pin/pin shocks are the fronts, pin/bushing are rear. all mounted in stock locations.
 
fronts are about perfect bump stop location, maybe could even raise them back up a little and get a little more out of the front. I also dropped the front sway bar to help get it to flex a little more.
pB6JK48.jpg

BmEekM5.jpg

lWmCWHf.jpg


rear needs the bumps dropped a little or a little more fender trimming. once i get time i am going to try and open the rear fenders a little more before i paint the whole truck one color.
8QkXh40.jpg

6uJE4oH.jpg
 
I have decided to try and end my unemployment by starting my own business:
DmewJAT.jpg


I am opening my own Craft Distillery in Naches Wa inspired by Motorsports. I don't want to give to much away until i have actual label approvals but i am hoping to do some wheeling inspired spirits including a over-lander gin.

Please follow and like on social media to help me get the word out!!!
 
sorry not much of an update on the fj80 yet, been busy enjoying the summer, trying to get the business in order, and working a new job.

Have been getting out wheeling with my crew here and there.
here was one trip up Darland mountain area.
U75e8vX.jpg

CJZJQjb.jpg

Sd2RRnf.jpg

and this trip up toward Naches Pass and then over to Manastash ridge with @Borrego and his crew (thanks again for letting us crash the guys weekend)
6RsZ9Pp.jpg

PY8llnH.jpg

3eercVN.jpg

5Rfx3lV.jpg

wM8AiJD.jpg

(Kids wanted to draw art on the truck so what the heck. kept them happy)
DZNhCWw.jpg

5E24DdS.jpg

GhEO2xh.jpg

j4hi5k7.jpg

I6uuyYI.jpg

1masTLf.jpg

could still see some of the snieder springs fire in the distance
SS26LxZ.jpg

this one slept for a good hour while we bounced over rocks and bumped along. she was tired.
sdlwzCe.jpg
 
I think right now with winter snow wheeling season coming up i am going to try and work on the old girl some. i am trying to save up for some 30 splines for the front as my birfs are clicking and i thing it is only a matter of time.

I am also planning on Copying @Broski 's rock slider design and looking at redoing the exhaust to make it flow better but also redo the header some to get it tighter now that the cats aren't there.

I am going to try and get her desmogged and tuned up for snow season as well for a little extra power while pushing through the snow. I still need to finish the trimmming on my rear fenders too so i can seal them up and keep the wet out.
 
well, Christmas came early for me this year:
mLZ4mWk.jpg

Nl6UgxA.jpg

CcWUNbF.jpg


My wife encouraged me buy these RCV's to help make sure the girls would be able to enjoy the snow wheeling season without breakdowns. She is a keeper!!

they had initially said 6-8 weeks and they showed up in 2. now to get them in there.
 
well, thought i only had a twisted sector shaft from tagging a tree last time i went out but turns out the damage was a little bit more severe.
LIwV87N.jpg


looks like it is time to plate the frame and gusset the panhard mount while i take the front axle apart to install the RCV's
 
Sorry it has been a long time since an update. I went ahead and welded up the frame and swapped in my spare steering box with a good sector shaft. unfortunately shortly after it started leaking so now i have to pull it back out for a reseal it. i have been doing the lazy thing and just topping it off once in a while.

TfqofTz.jpg

not the best picture but you can see how i added a little angle iron gusset to the back of the panhard mount to ensure it doesn't crack again.

then took her for a quick trip up to Funny rock to watch the shenanigans on the 4th of July with my buddy mike who is a photographer.
x5GBz5a.jpg

gMDi4lG.jpg

dMxr5Ho.jpg
 
also went and desmogged the old girl fully. I went cheap and just cut the nuts off the air injection manifold and welded up the holes.
uIHkhIR.jpg

I also just added a circle of steel welded to the nut on the exhaust manifold but I seem to have misplaced that pictured.........
Only cost here was the new belt to remove the air injection pump.
 
next improvement was thanks to @Marco Lau and @baldilocks. I messaged Marco and asked how he had liked his Icon springs and he told me he was taking them off because they were a little soft for his setup. He said i could have them if I would cover the shipping! turns out he was meeting up with Baldilocks at KOH so Steve brought the springs back to Washington with him. Fast forward a couple months, i was in the area and stopped by to go shooting with Baldilocks while on the beach vacationing and picked up the coils from him and brought them home with me. fast forward a couple more months and i finally had time to install them. while I had her in the garage i figured it was a good time to install the RCV's and upgrade the front to the newer FZJ disc brakes.

Again I cant Thank @Marco Lau enough for the springs and @baldilocks for bringing them back to Washington with him and holding onto them for all those months until i could get down there.

Now on to the pictures:
rotor comparison shots
hbc9LIR.jpg

De6d2oH.jpg


rear spring comparison shot:
K3BvK5F.jpg

front spring comparison shot
zta0iuP.jpg


This shows you how little up travel i had with the stock springs and the welded spacers up front.
JT4R7vc.jpg


and with the Icon 3" spring:
ICvA4c6.jpg

not only did i gain some lift i gained even more clearance to the bump stop and a lot more up travel.

before:
WQPMRE4.jpg

After:
7XhM4Wc.jpg


in the rear i left the bump stops as they were configured but still gained some lift. again, working in the middle of the night and forgot to take pictures.
 
mom was away the other weekend visiting friends so i took the kiddos to the nearby dunes to play around a little. new springs did great, but i need to do some more tuning on the motor, got a total average of 8.5 MPG on the way there and back at only 60-65 MPH and no AC on.......
4YECg8Z.jpg

djEzDXN.jpg

u7h7GnG.mp4
<blockquote class="imgur-embed-pub" lang="en" data-id="q2TBNfN"><a href="">View post on imgur.com</a></blockquote><script async src="//s.imgur.com/min/embed.js" charset="utf-8"></script>
<blockquote class="imgur-embed-pub" lang="en" data-id="u7h7GnG"><a href="">View post on imgur.com</a></blockquote><script async src="//s.imgur.com/min/embed.js" charset="utf-8"></script>
q2TBNfN.mp4

also let the girls do a little drivers training while in low range in the dunes.
 
fast forward to this last weekend.
a little playing in the snow.
xtyiMso.jpg

XgsXrF8.jpg

<blockquote class="imgur-embed-pub" lang="en" data-id="p48UY8b"><a href="">View post on imgur.com</a></blockquote><script async src="//s.imgur.com/min/embed.js" charset="utf-8"></script>
<blockquote class="imgur-embed-pub" lang="en" data-id="cSO6EbQ"><a href="">View post on imgur.com</a></blockquote><script async src="//s.imgur.com/min/embed.js" charset="utf-8"></script>
<blockquote class="imgur-embed-pub" lang="en" data-id="arfGqcr"><a href="imgur.com - https://imgur.com/arfGqcr">View post on imgur.com</a></blockquote><script async src="//s.imgur.com/min/embed.js" charset="utf-8"></script>

only truck mod is i cut out the stock muffler and added a cherry bomb so it would not hang down so far. it was a quick late night addition so i am not 100% happy with the placement but it worked out and was not too loud. seemed to be more peppy but i still need to do a full tune up to really get the most out of the motor.
 

Users who are viewing this thread

Back
Top Bottom