peytonkristen
SILVER Star
I bought my wife a 2008 Lexus GX470 about a month ago. It's a one-owner, like new with 80,000 miles, has all maintenance records from the dealership, and seriously.... is like new. Not a dent or scratch or any wear.
So yesterday the alternator goes out before I've had a chance to do much of anything to it, much less get a good look at it, mechanically speaking. All the records indicate recent service on everything but the timing belt and water pump and that's planned in the near future.
In looking for references for the alternator job I don't find much. So I thought I'd add a little about how I did mine.
I took the alternator out through the PS fender well (unlike some of the videos and apparently the FSM and others instructed).
Tools needed (that I can remember).. Sockets: 10mm, 12mm, 14mm. Phillips Screwdriver, several various extensions and accessories. An air ratchet with extension and knuckle is helpful.
To begin:
1. Unhook the battery.
2. Remove all of the covers over the radiator, top of engine, and left side over air canister.
3. Remove overflow tank (its just in the way)
4. Release pressure on serpentine belt by way of tensioner.
5. Loosen lug nuts on PS front tire
6. Jack up and secure with jack stand, remove wheel (don' forget to chock rear wheels).
7. Remove front splash guard (in front of strut tower)
At this point you can see the Power Steering Pump through the hole above the frame. This is where most of the magic happens.
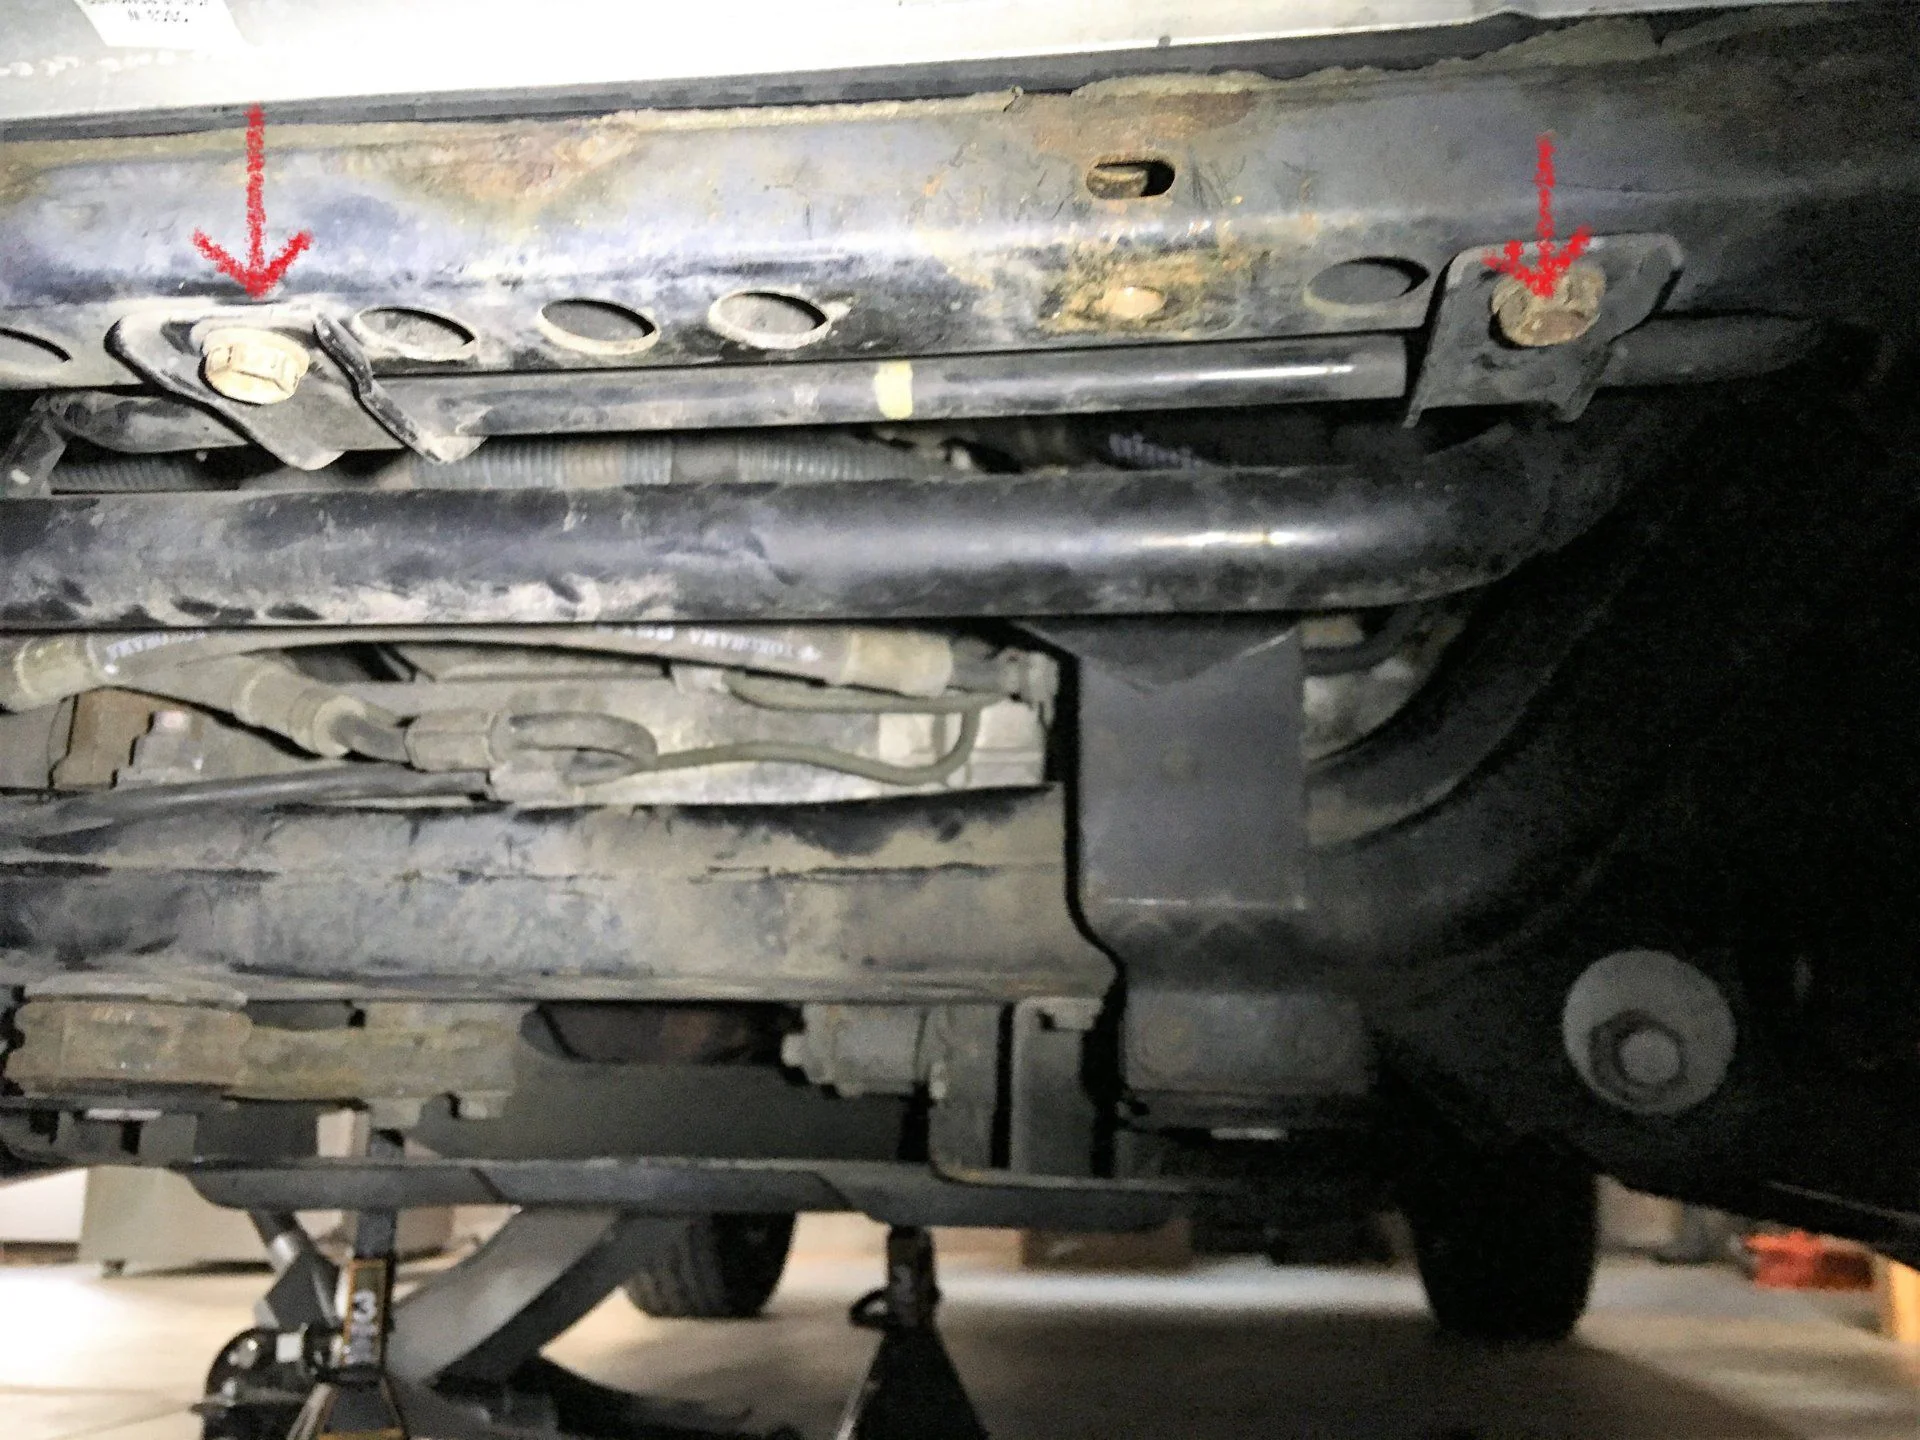
8. Remove the front skid plate.
9. There is a hose directly in front of the lower alternator bolt that is held in place by a bracket. Loosen the bracket so the hose can be moved a few inches. The bracket is held by a 10mm bolt/phillips head.
10. Through the holes in the Power Steering pulley you can access the nut and bolts that attach the Power Steering pump to the backet. Remove these to access the pump bracket. The pump will not come all of the way off until the bracket is removed. Loosening the pump allows you to access all of the bracket bolts.
11. There are four bolts holding the Power Steering bracket. I did the bolts facing left with 14mm sockets and extensions. Knuckles help on the lower one. The bolts facing forward were loosened with ratcheting wrenches. There is very little room and I actually used a large box-end wrench over the open-end 14mm wrench as an extension here. Remove the bracket completely and the pump will move out of the way enough to allow the alternator room to come through the hole.
12. Unhook the electrical on the alternator. One is a plug and the other is a nut. Under the alternator is a bolt holding the wires in place, remove this from underneath the truck.
........Continued......
So yesterday the alternator goes out before I've had a chance to do much of anything to it, much less get a good look at it, mechanically speaking. All the records indicate recent service on everything but the timing belt and water pump and that's planned in the near future.
In looking for references for the alternator job I don't find much. So I thought I'd add a little about how I did mine.
I took the alternator out through the PS fender well (unlike some of the videos and apparently the FSM and others instructed).
Tools needed (that I can remember).. Sockets: 10mm, 12mm, 14mm. Phillips Screwdriver, several various extensions and accessories. An air ratchet with extension and knuckle is helpful.
To begin:
1. Unhook the battery.
2. Remove all of the covers over the radiator, top of engine, and left side over air canister.
3. Remove overflow tank (its just in the way)
4. Release pressure on serpentine belt by way of tensioner.
5. Loosen lug nuts on PS front tire
6. Jack up and secure with jack stand, remove wheel (don' forget to chock rear wheels).
7. Remove front splash guard (in front of strut tower)
At this point you can see the Power Steering Pump through the hole above the frame. This is where most of the magic happens.
8. Remove the front skid plate.
9. There is a hose directly in front of the lower alternator bolt that is held in place by a bracket. Loosen the bracket so the hose can be moved a few inches. The bracket is held by a 10mm bolt/phillips head.
10. Through the holes in the Power Steering pulley you can access the nut and bolts that attach the Power Steering pump to the backet. Remove these to access the pump bracket. The pump will not come all of the way off until the bracket is removed. Loosening the pump allows you to access all of the bracket bolts.
11. There are four bolts holding the Power Steering bracket. I did the bolts facing left with 14mm sockets and extensions. Knuckles help on the lower one. The bolts facing forward were loosened with ratcheting wrenches. There is very little room and I actually used a large box-end wrench over the open-end 14mm wrench as an extension here. Remove the bracket completely and the pump will move out of the way enough to allow the alternator room to come through the hole.
12. Unhook the electrical on the alternator. One is a plug and the other is a nut. Under the alternator is a bolt holding the wires in place, remove this from underneath the truck.
........Continued......
Last edited: