The Mule.

This site may earn a commission from merchant affiliate
links, including eBay, Amazon, Skimlinks, and others.

Status
Not open for further replies.
I think it's fixed

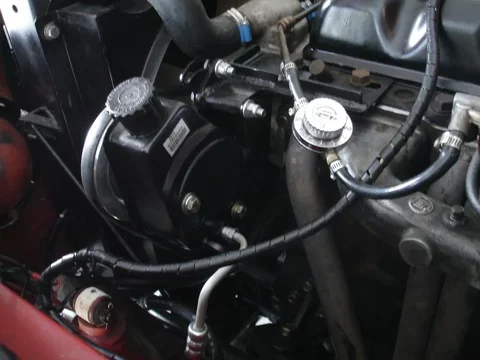
Got a remanufactured pump at Autozone (Part 7011).

Was a quick easy install and It looks like I am all good.
It has been cold here so nothing is too viscous right now but below you can see a weeks worth of static leaking.
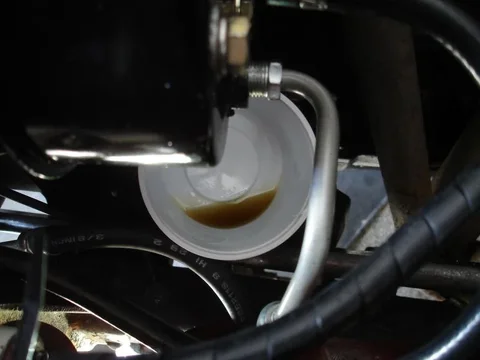
DSC01547.jpg

And the new pump.

DSC01549.jpg

DSC01550.jpg

I also replaced the temp sender with the correct one. I need to call Kurt and let him know that I think his catalog is wrong. He sent me another short one and those will not work in the early model trucks. Not sure why. I got fed up and bought the right one from CCOT.
DSC01547.jpg
DSC01549.jpg
DSC01550.jpg
 
Hugh Heifer; Next on the list is to adjust the valves and then restore a set of doors.[/QUOTE said:
Chris,
Looking great. After what you have done, adjusting the valves will be a cake walk. Congratulations. The truck is showing all your hard work.
 
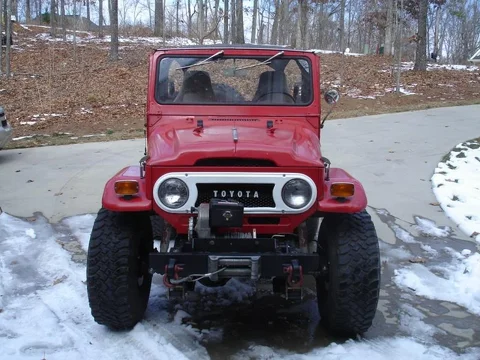
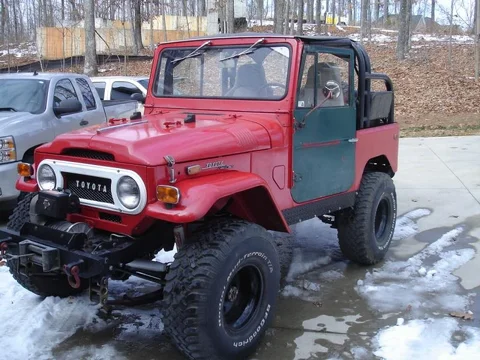
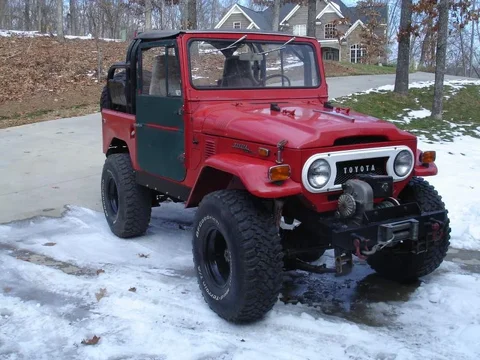
sweet pics man! what size wheels are you running? 15x10? I just wonder what a 7~8" wide wheel would look like with those BFG's.

IMO, don't trade the 40! as nice is that 62 is, you are so close man. you've rebuilt just about everything on that 40 when you get the 62, you'll tear it down probably to fix/change stuff you don't like. just my $0.02:beer:
 
Yeah. MH was on board for the 62 as she thought it would be great to have the diesel, something different and it is in great shape but it has a smoking on start up issue that sounds like it could be bad. She asked, "What is wrong with the 40 right now?" I had to tell her, "Nothing I can think of."

I started rebuilding on of the many doors I have in the basement last night. It has been a bitch but I think I will end up with a decent driver's side door. The one that is on the truck is rusted through inside and out.
 
Finally - Front Doors

I have been kind of putting this off but since I had a chance to trade this and took those pics, I realized the front doors looked like s***. So.

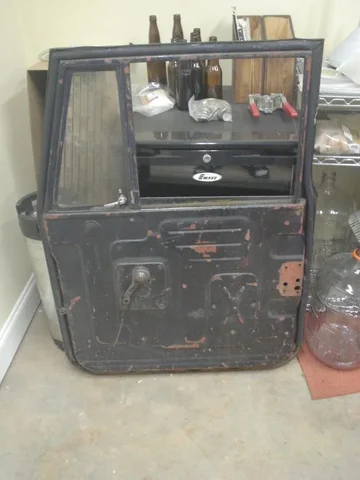
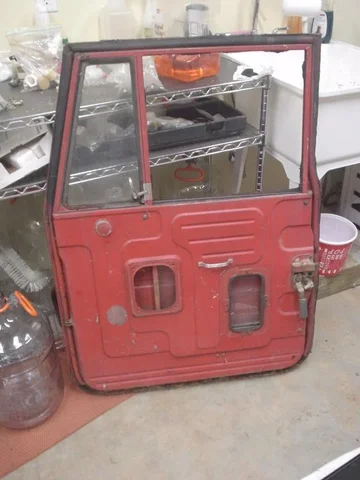
I got three doors for next to nothing from L.C.Junky up in Nashville some time ago and realized I only got one driver's side. I started into it without taking pics but here are the other two (both passenger side).

DSC04346.jpg

DSC04347.jpg

DSC04348.JPG

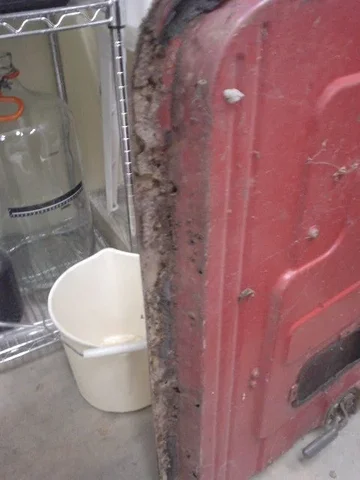
The bottoms are rough and the red one even has a bullet hole in it.
DSC04346.jpg
DSC04347.jpg


DSC04348.JPG
 
Front Doors...continued

Bottom of the red door.

DSC04349.JPG

The passenger door on the truck came from Canada before I found Mud but it seems pretty solid.

DSC04351.JPG

DSC04350.JPG

Notice it has a door panel. The driver's side does to. I plan on using them on the frame off. Kind of thought that would be pretty neat. I will use the horribly disfigured fiber board as a pattern and then cover them with something to match my seats. After all the metal bezels are what is difficult to locate.
DSC04349.JPG
DSC04351.JPG
DSC04350.JPG
 
The driver's door that came from Canada is a mess.

DSC04352.JPG

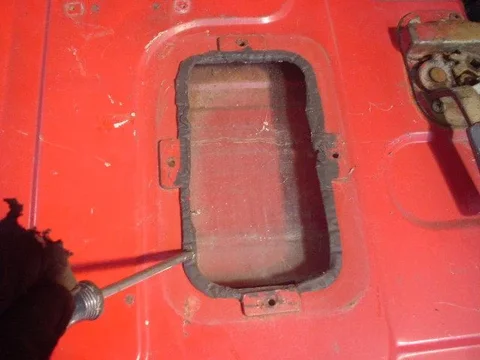
Notice the packing around the access panel. If you have a door like this, I think it likely had plastic over it and door panels. I have not seen this packing behind the access panels that have the big X on them.

DSC04358.JPG

The gray plug at the top on the inside covers the access for the nuts and spring that holds the vent window in place.

DSC04357.JPG

If you can save them good for you. I found mine to be very brittle and they are no longer available anywhere.
DSC04352.JPG
DSC04358.JPG
DSC04357.JPG
 
Front Doors...continued

This was the best I could do as far as saving one of the plugs. I will likely be able to reuse this one.
DSC04364.JPG

To remove all the rusty screws, I use something I learned in the Army. A speed wrench with a good appropriate sized Phillips (cross tip) screw driver tip. The speed wrench gives great pressure and leverage to pop the screws free. Of course a little PB Blaster doesn't hurt.
DSC04359.JPG

And there ya go!
DSC04360.JPG
DSC04364.JPG
DSC04359.JPG
DSC04360.JPG
 
Front Doors...continued

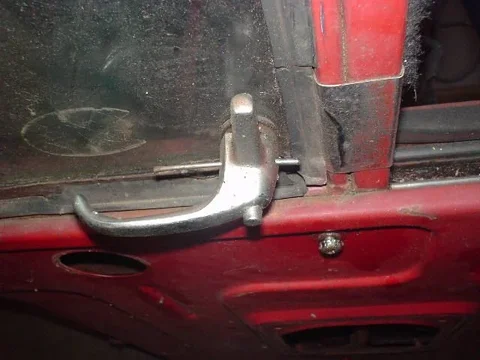
To remove the lock on the vent window, I used a 1" brad to drive out the small pin that holds it in place.
DSC04361.JPG

DSC04362.JPG

Once the lever is off, you can access the wave washer and nut and threaded pin. Once you take this out, the window can carefully be removed from its frame.
DSC04363.JPG

If you are doing all this, you will want to take the window out of the frame / sash. I found all the sashes to be very rusty. I am going to go to the neighborhood glass company to see what they recommend to reseat the glass in the frame.
DSC04361.JPG
DSC04362.JPG
DSC04363.JPG
 
Front Doors...continued

This is the rubber that held the vent window in place. I can not tell for sure form the $OR catalog but it may actually be available.
DSC04367.JPG

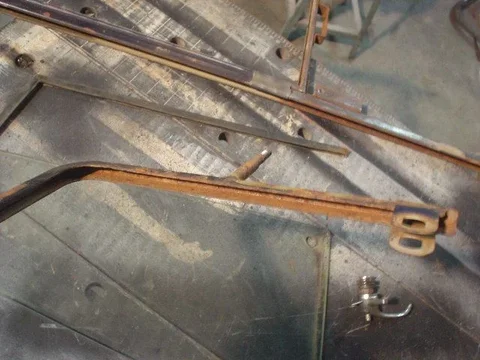
Once all the screws are out the top frame can be removed from the door. This is pretty much what you get. I think I already tossed some small bits in a bag.
DSC04365.JPG

\As you can see, the vent window frame looks pretty rough. I sand blasted it and,after some paint it turned out good.
DSC04366.JPG
DSC04367.JPG
DSC04365.JPG
DSC04366.JPG
 
Front Doors...continued

Bottom of the frame where the vent window attaches.
DSC04368.JPG

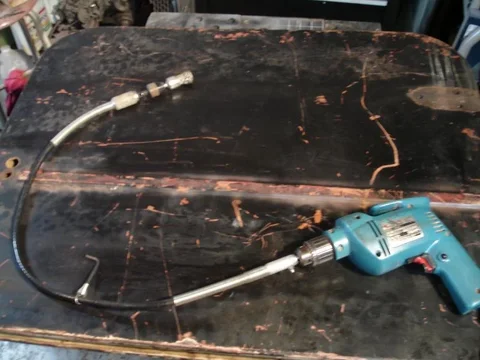
I cleaned the door and the upper frame and used a kind of snake and wire brush on a drill to get inside the door.
DSC01585.jpg

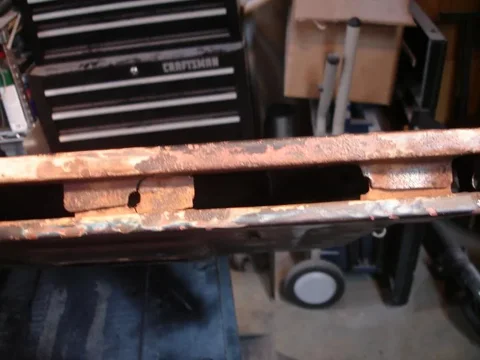
As you can see, the door is going to need some TLC. All the banging closed seems to have taken a toll and the inside is cracked.
DSC01584.jpg
DSC01585.jpg
DSC01584.jpg
DSC04368.JPG
 
Front Doors...continued

One of the hinge bolts was broken off and the nut plate on the inside of the door was all twisted so I cut and access hole, removed the buggered one and made anew one.
DSC01582.jpg
Whoa...that pic suck.

I also removed the window stops. These keep the windows from going too far down and are held in place with two screws toward the bottom of the inside of the door.
DSC04369.JPG

The pads are glued in place to prevent them from pivoting so be careful trying to remove them. They also have a little NIPPLE on them to hold them in place that can be easily torn away.
DSC04370.JPG
DSC01582.jpg
DSC04369.JPG
DSC04370.JPG
 
Front Doors...continued

This is where it gets kinda cool. Another Mudder sent me two sets of s***ty barn doors, I was able to rebuild a set leaving me with one and a half s***ty rusty barn doors. I discovered that the corner of the barn door was the same radius as the corner on the bottom of the front door!

DSC01575.jpg

DSC01576.jpg

So I cut a couple pieces to fit.
DSC01577.jpg
DSC01575.jpg
DSC01576.jpg
DSC01577.jpg
 
Front Doors...continued

Pretty good fit...
DSC01579.jpg

I started welding the pieces in place and ran out of welding wire...
DSC04375.JPG

Plus, it was time to go to the new Mellow Mushroom we got here in Rome for beer and the NFC Championship.

BTW, the Mellow Mushroom is the best thing we have seen here in Rome in a while. Great food and service, 36 taps and over a hundred bottled beers. YIPPEE!!!

So stay tuned. On the way to Mellow Mushroom I stopped at Home Depot and bought a couple cans of Rustoleum that matches the red on the truck really well. I plan on spraying the doors. Hope that works. :cheers:
DSC01579.jpg
DSC04375.JPG
 
I think something has gone seriously wrong

Well....

Don't know what the problem is.

I adjusted the valves today. That took me like 4 hours. Between reading about it, getting the truck up to temp, going to get gas, smashing my knee, tacoing my gas cap after running over it, cutting my finger, hitting my head and realizing that the dizzy may be 180 out it has been a s***ty day.

I no longer have any speed. When CBT and I drove to Roger's we cruised at about 65 the whole way with a little left in the pedal. Now the truck will barely go 55 on a flat.

When I was adjusting the valves, I determined that the dizzy may be 180 out. At TDC the number 4 cylinder will have compressed springs and the number one will be totally loose. My rotor was pointing 180 from where it should be at that point.

I did the valves and then put the dizzy back in where I thought it was right and tried to fire the truck. Nothing until it back fired through the carb so I turned it back around and it started no problem

Drove the truck after timing it at 9 degrees at 950 rpm. Just a bit advanced. It runs smooth but occasionally misses with a burp out of the carb (like twice) until it is warm. Then it purs like a kitten. No issues. Plenty of power on the bottom end but now the top end is totally robbed.

I have no idea what the problem is at this point. I am about to throw in the towel.

I thought I was so close. I guess I should check the compression. All I can think is that I could have lost a cylinder. I think if the valves were too tight that could cause an issue as well right? Also, this is a Non-US dizzy with Pertronix. The manual says for the non-US model, put the flywheel on the timing mark and stick it in then static time it. The US model says put it in at TDC so there may be a disparity there. I just do not think it would run so evenly if it was 180 out.

Valves have always been my nemesis. When I had air cooled VWs (and I had a bunch) it seemed like I could never get them right and would inevitably take the car somewhere to get them done. I am concerned to drive it at all at this point and there is no way I can bring it on the highway now.

Any suggestions from the peanut gallery? I really could use some help here.
 
Status
Not open for further replies.

Users who are viewing this thread

Back
Top Bottom