I did some searching on the best way to remove the plastic dust boots that now come on the OME shocks. I did not find anything that described how to remove them but I did find several posts looking for information on doing such.
Well my newly acquired lift came with OME NitroCharger Sport shocks and while they have limited miles, they did look a little worse-for-wear.
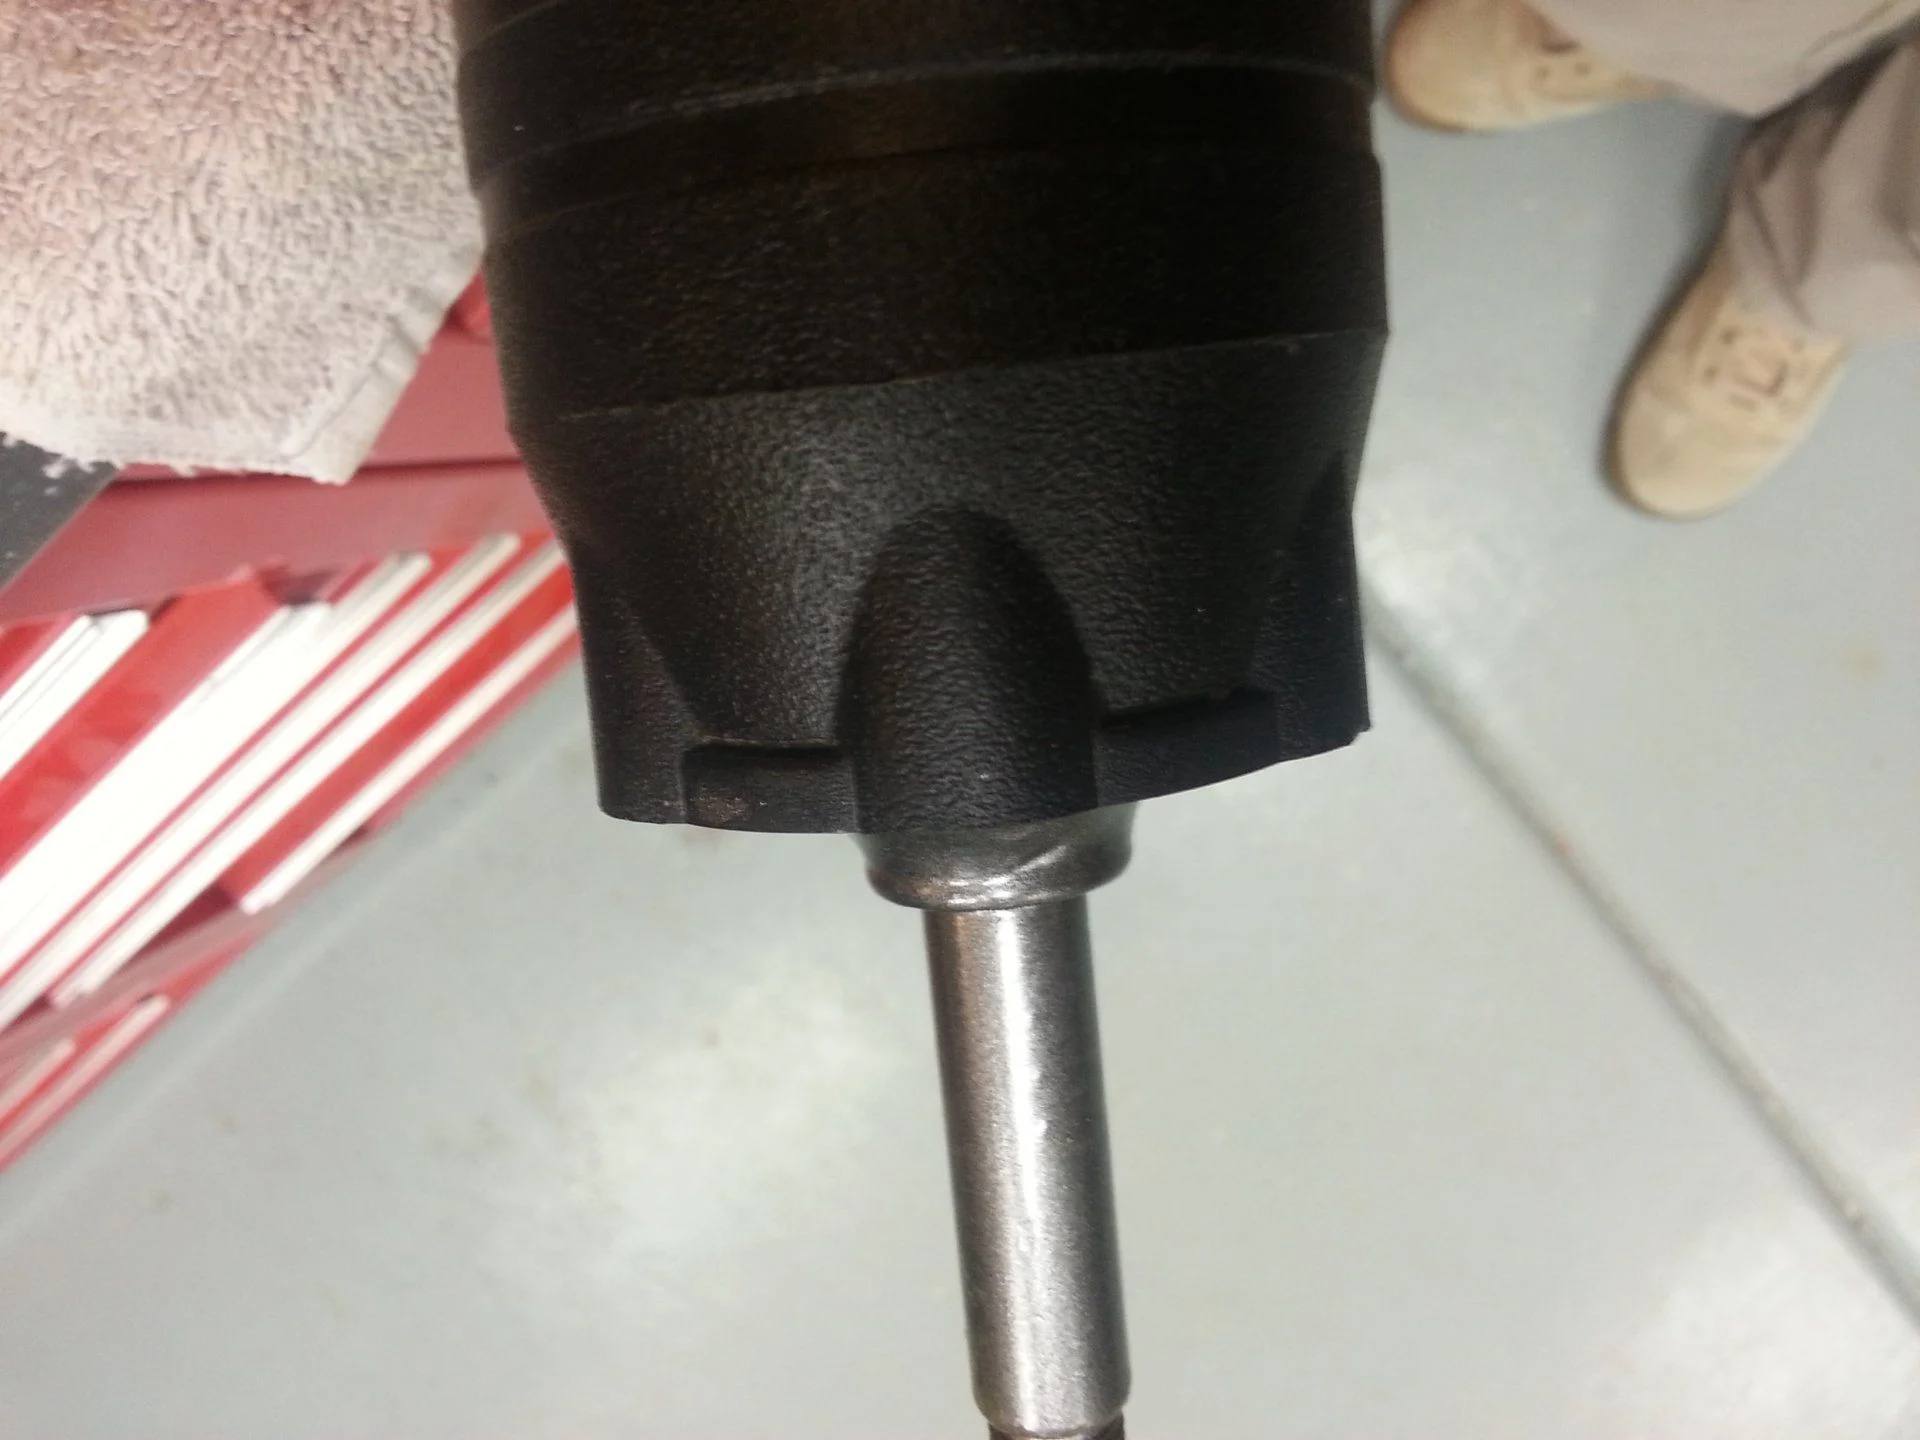
Can't install them looking like this:
After trying a couple things to remove the boots I set upon a plan.
Step 1- Measure the outside diameter of the shock body, right at 2 1/4"
Step 2- Make a removal tool to evenly (as possible) force the boot off in the direction opposite how they were installed. This means back over the stem.
Step 3- Assemble accessory tools.
Step 4- implement plan.
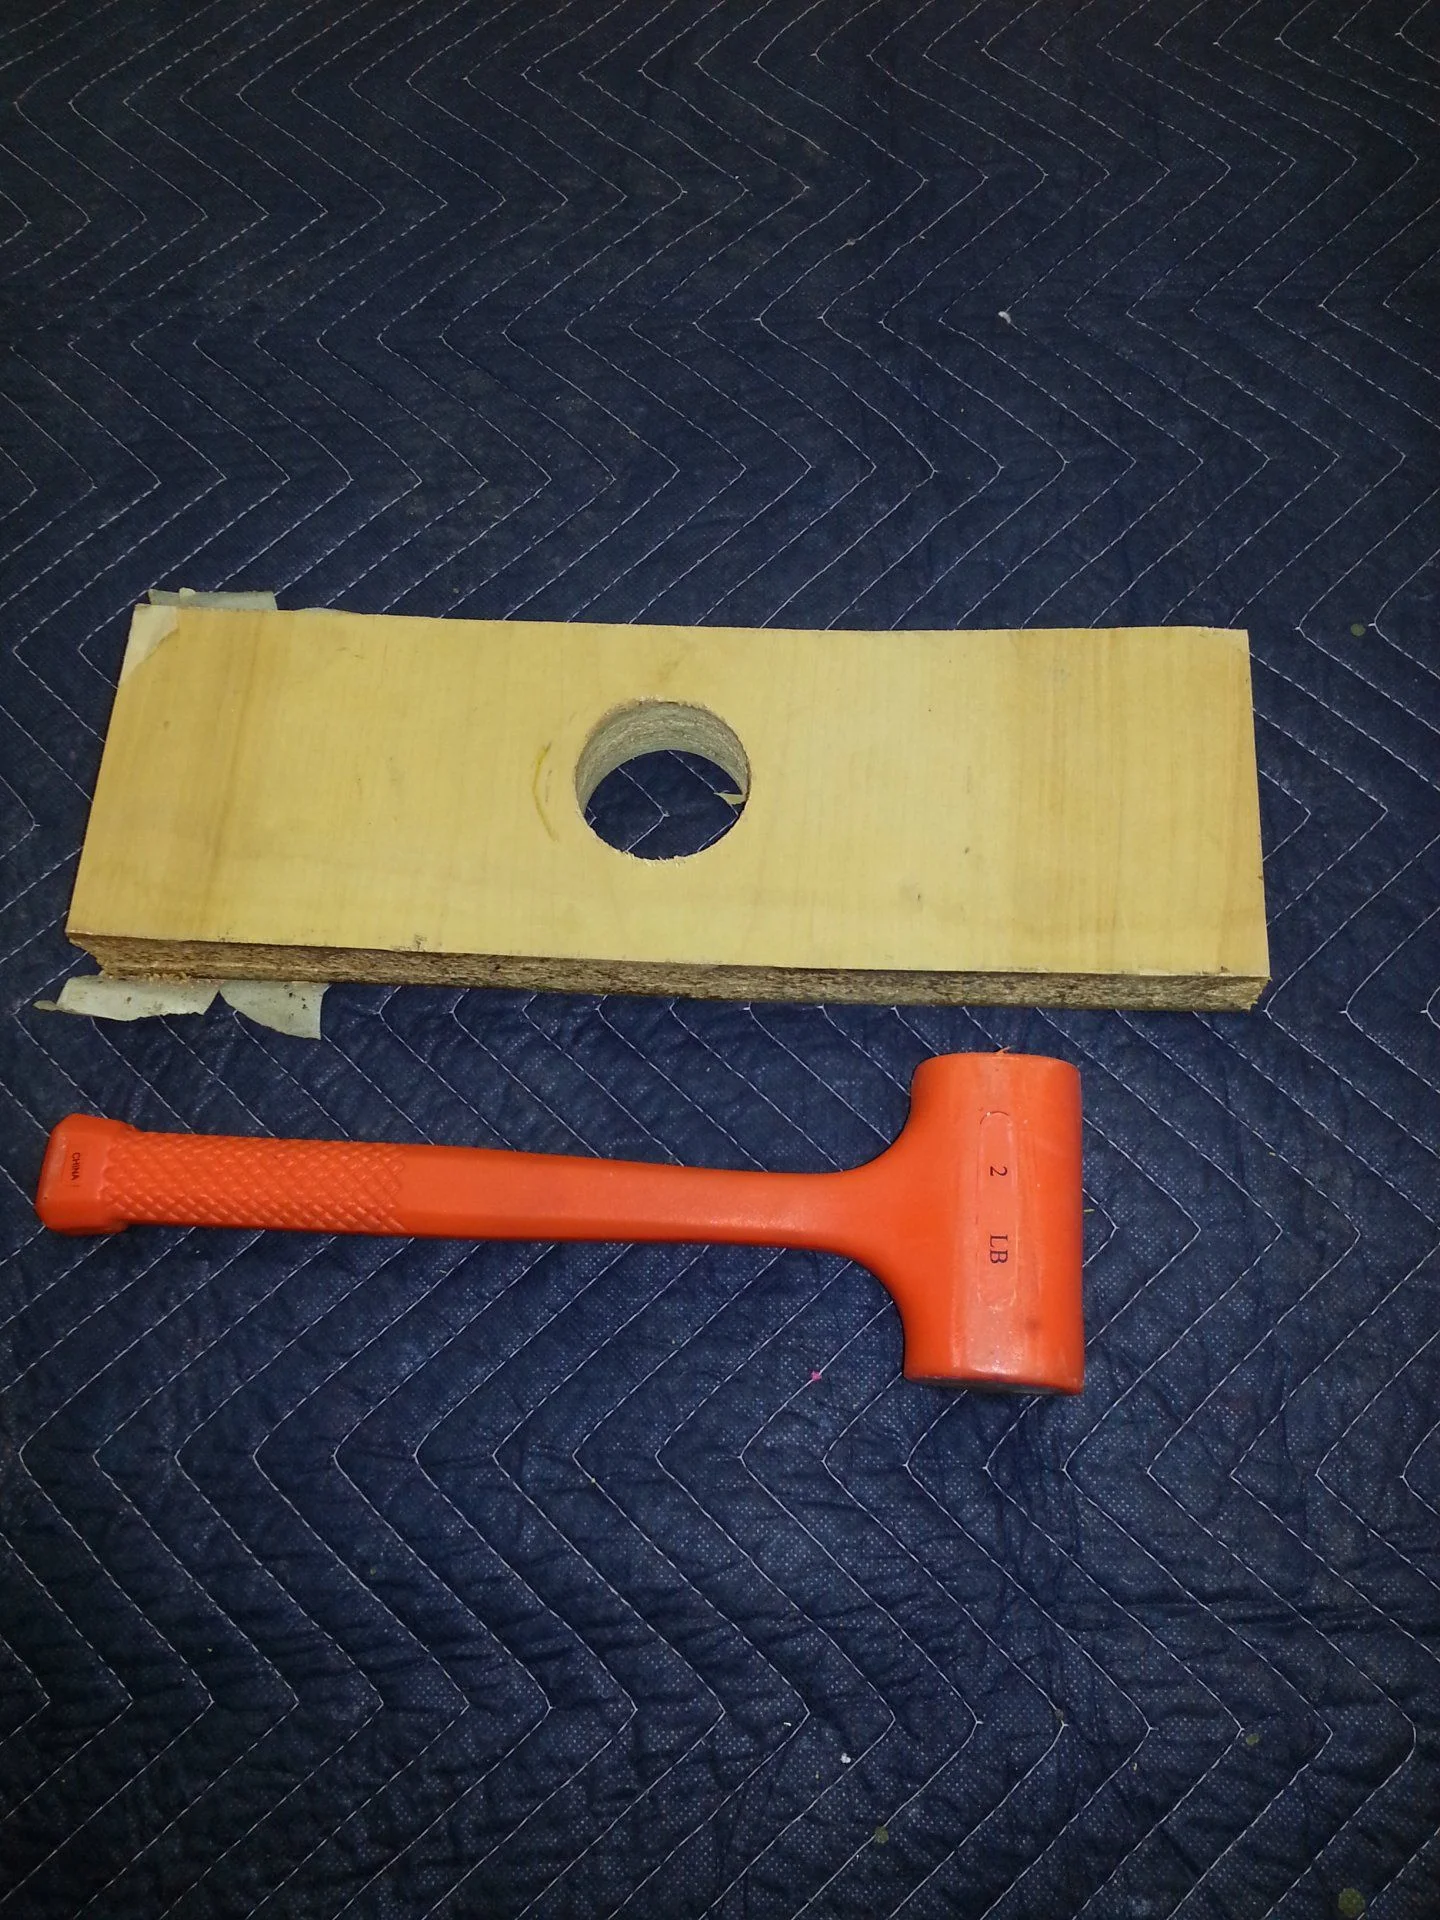
Plan begins with finding a bit of scrap wood and drilling a 2 3/8" hole in it. This is big enough to fit over the shock body but tight enough to evenly rest on the plastic boot. Next, find my 2lb. dead blow hammer and lay things out for the operation.
Removed the bushings and bushing plates from the stem and reinstalled the nut to protect the threads since this end will be placed on a semi hard surface for the procedure.
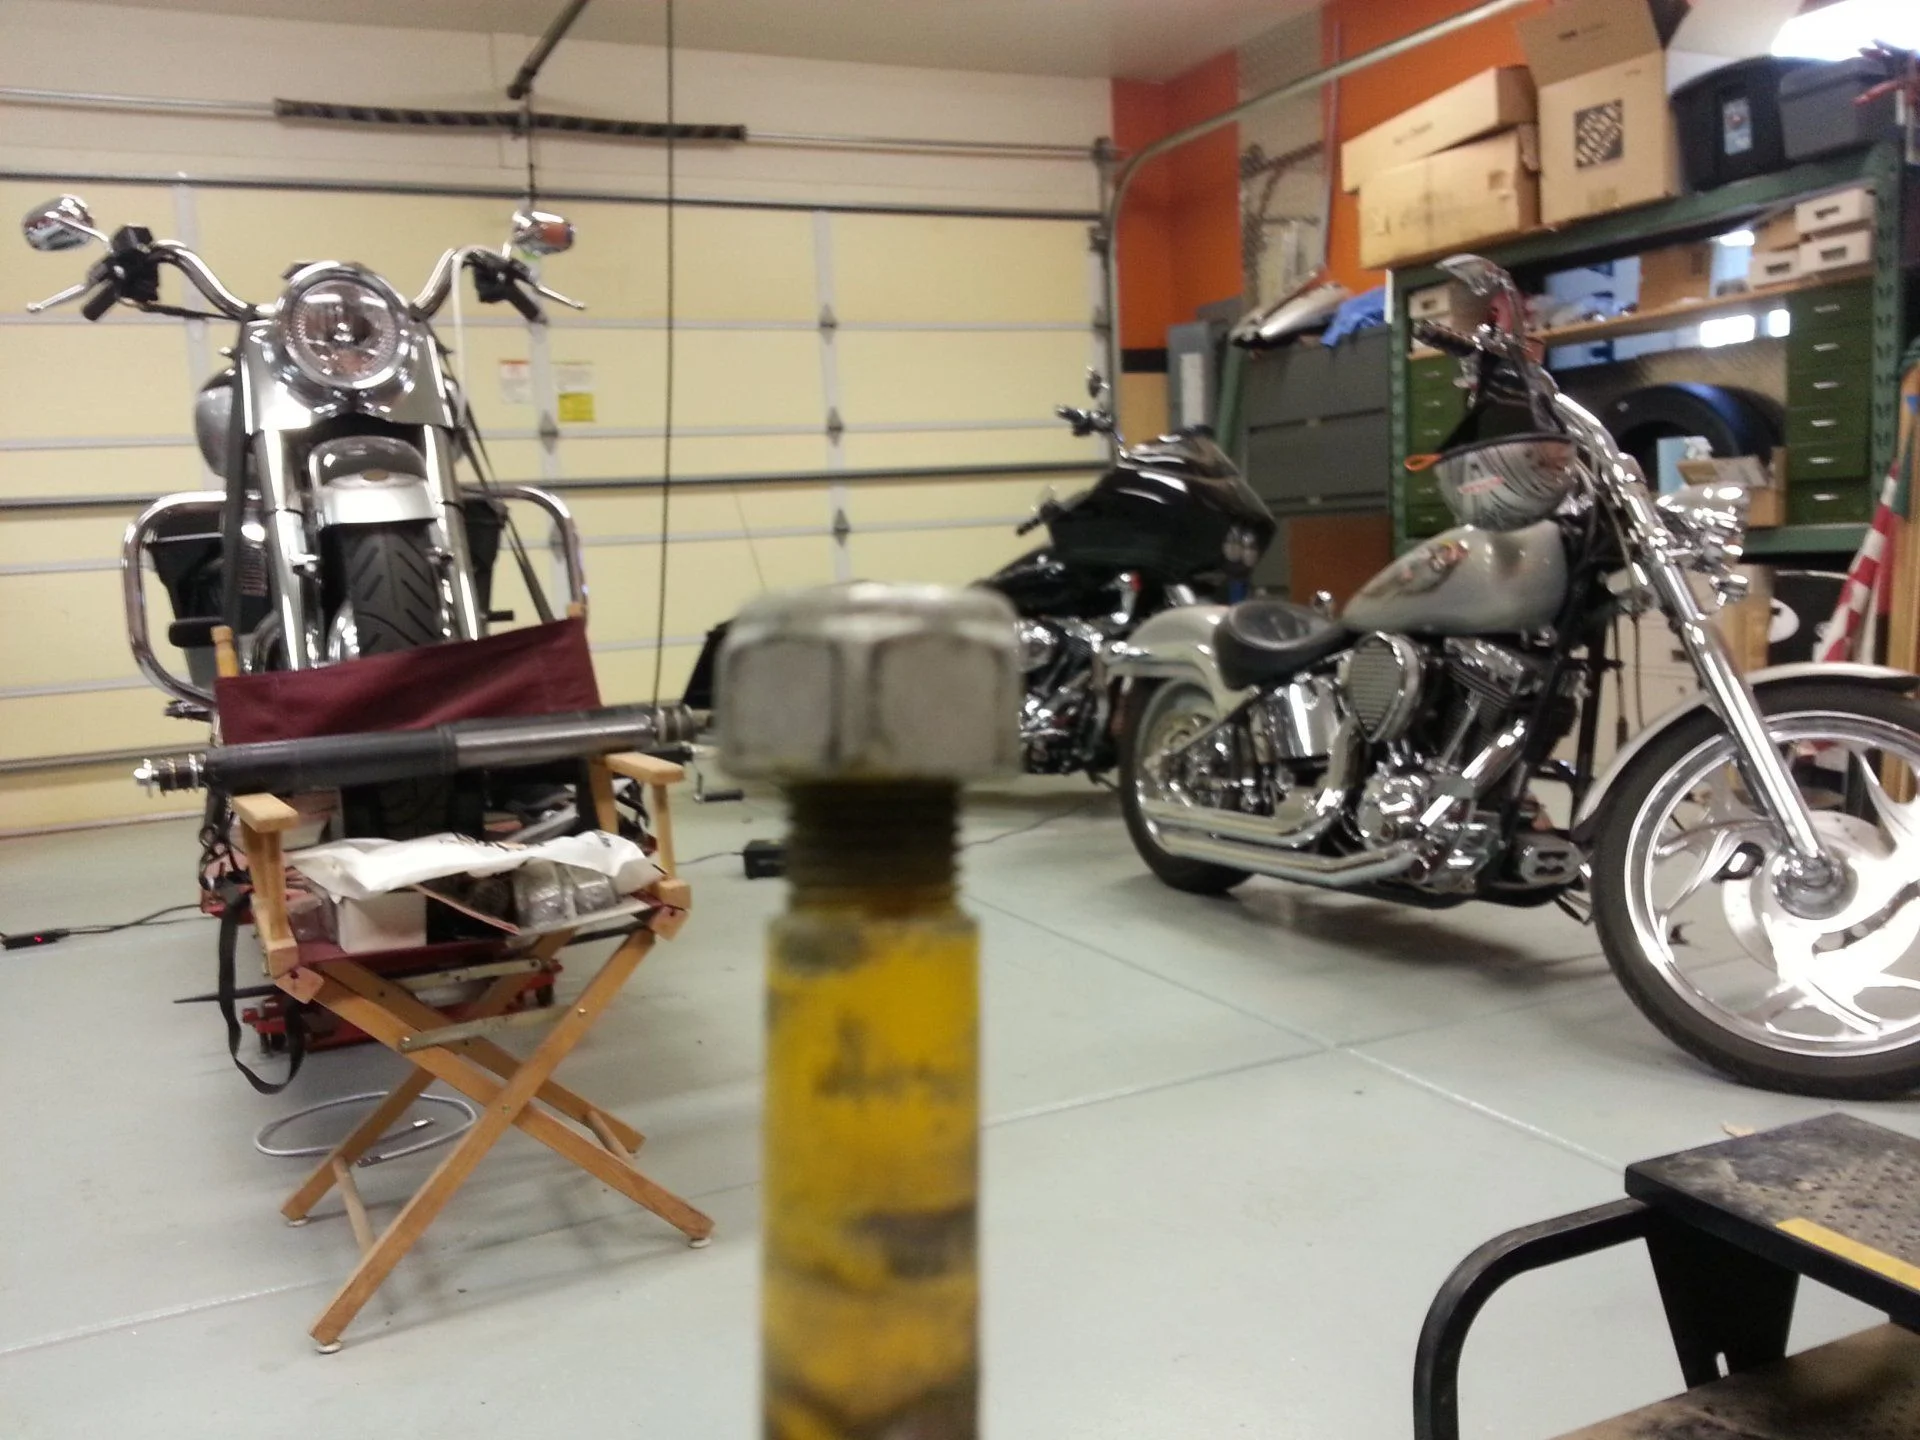
Place the shock with the stem down and the open end of the dust boot that surrounds the shock body facing up. Slide the newly mads tool over the shock body and place the stem on a block of wood or other semi soft surface. Hold one side of the new tool and whack the other side in close to the shock body with the dead blow hammer. Dont be gentle, one solid, committed blow is all it takes so don't peck at it with small taps. Off it comes.
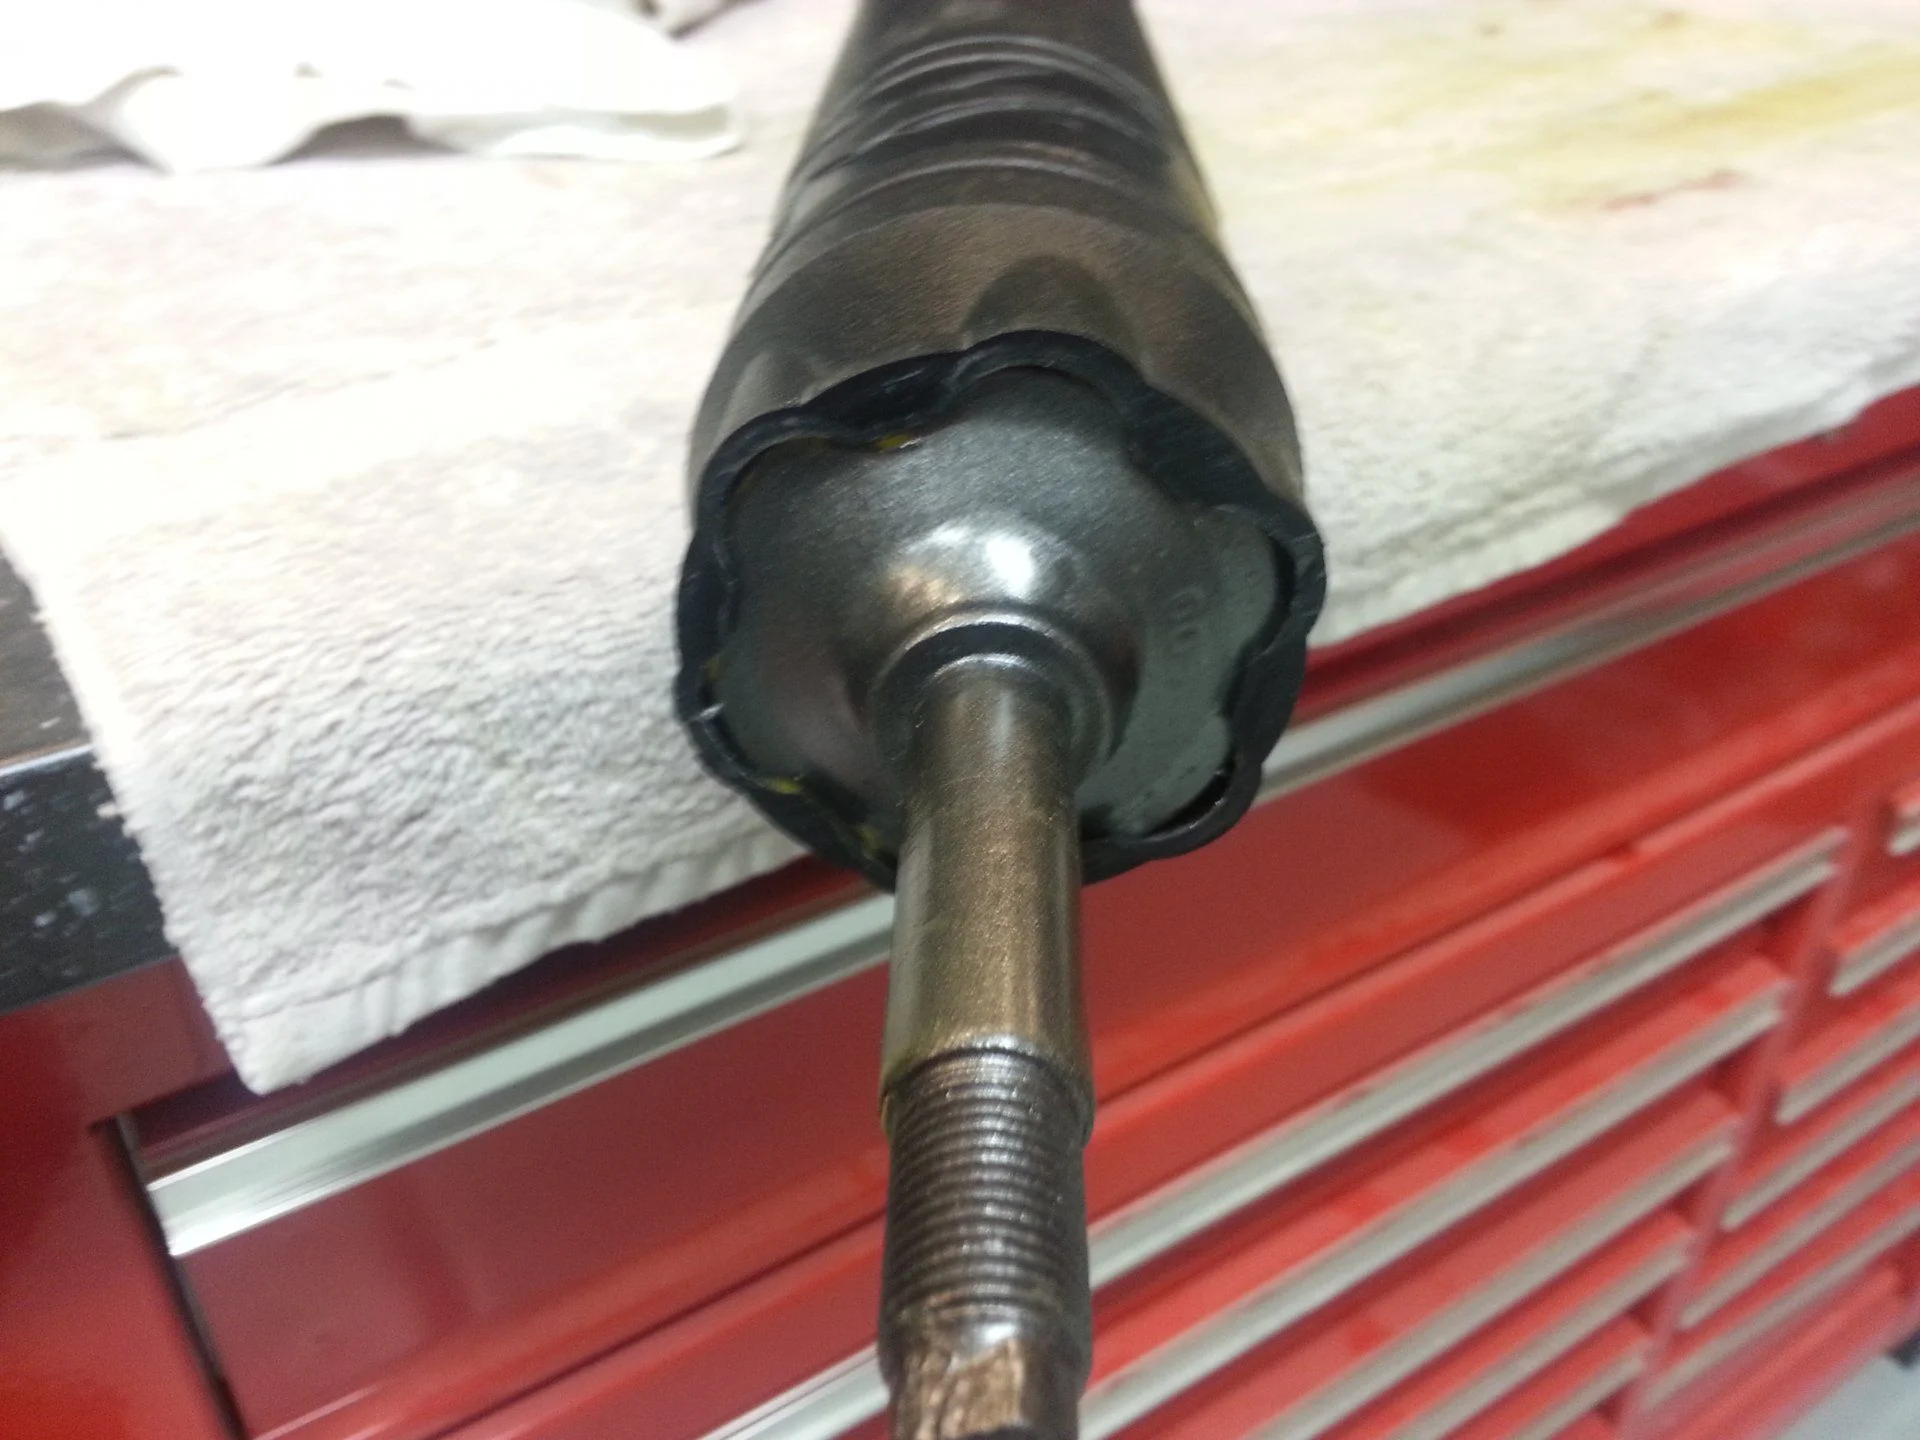
No damage to the stem or the stem ring and ready for paint.
Side note: You want to remove the bushings and washers from the stem before doing this so the dust shield does not come off the stem cap and then lodge itself on the first washer on the stack. Don't ask me how I learned this...I just did.")
Not to bad with a fresh coat of Gunmetal. Awaiting a new set of shock decals from OME now.
Well my newly acquired lift came with OME NitroCharger Sport shocks and while they have limited miles, they did look a little worse-for-wear.
Can't install them looking like this:

After trying a couple things to remove the boots I set upon a plan.
Step 1- Measure the outside diameter of the shock body, right at 2 1/4"
Step 2- Make a removal tool to evenly (as possible) force the boot off in the direction opposite how they were installed. This means back over the stem.
Step 3- Assemble accessory tools.
Step 4- implement plan.
Plan begins with finding a bit of scrap wood and drilling a 2 3/8" hole in it. This is big enough to fit over the shock body but tight enough to evenly rest on the plastic boot. Next, find my 2lb. dead blow hammer and lay things out for the operation.
Old Man Emu (OME) plastic shock boot removal tools
The tools for this job are a dead blow hammer and a piece of sturdy scrap with a 2 3/8" hole in it.
Removed the bushings and bushing plates from the stem and reinstalled the nut to protect the threads since this end will be placed on a semi hard surface for the procedure.
Place the shock with the stem down and the open end of the dust boot that surrounds the shock body facing up. Slide the newly mads tool over the shock body and place the stem on a block of wood or other semi soft surface. Hold one side of the new tool and whack the other side in close to the shock body with the dead blow hammer. Dont be gentle, one solid, committed blow is all it takes so don't peck at it with small taps. Off it comes.
Ready, Set...whack
Just slide the newly mad dust cap removal tool over the shock, place the nutted end on a semi...
No damage to the stem or the stem ring and ready for paint.
Side note: You want to remove the bushings and washers from the stem before doing this so the dust shield does not come off the stem cap and then lodge itself on the first washer on the stack. Don't ask me how I learned this...I just did.
Not to bad with a fresh coat of Gunmetal. Awaiting a new set of shock decals from OME now.
Last edited: