My 80 Evolved (1 Viewer)

This site may earn a commission from merchant affiliate
links, including eBay, Amazon, Skimlinks, and others.

COMMs upgrade : Installation of Yaesu FT-8800R

I got my HAM technicians license so it was only reasonable to update my in cab comms. I have a Cobra 75WXST CB radio, so I wanted to add my HAM radio installed similar, I didnt want any cables anywhere so i tried to make it as stock as possible. I purchased a JDM overhead console and integrated my FT-8800 faceplate into it. I installed the radio body on to my storage system. I also went with a lip mount NMO for a Diamond NB73 NMO Antenna. I used the Yaesu detachable kit and ran the control cable to the faceplate. Since the mic hooks up to the faceplate I purchased a RJ6 cable, looks like a phone cable, and ran that back down to the DS where I have the mic holder. i used a RJ6 to RJ6 coupler and plugged in the MIC. I also trimmed my sun visors in order to fit the overhead console. The console was gray and I used some rattle can paint that matches the tan paint perfectly. Here are some pics.


Removed MAF drop down brackets:

I decided to remove the MAF Drop down brackets and went with some SLEE Caster plates. Install was pretty straight forward. I wish I had taken pictures, but when I removed my front control arms, 4 of the 6 bushings were shot, so call Sam Stewart and ordered 6 OEM bushings, got them installed and finished up my caster plates installation.


Quick Simple Mod: DIY Jumper Cables

I had some pretty heavy duty jumper cables that were very long. So I remembered NLXTACY's thread on the most expensive jumper cables. I didnt go to the extent he did with an in cab switch. But I did order some Anderson plugs and spliced them into my jumpler cables. Then I was to find a mounting place for the plugs. I opted up into installing it on top of my winch. I connected up to my spare battery running up 2 gauge wire.


Armor update: Sean Huston Rear Bumper

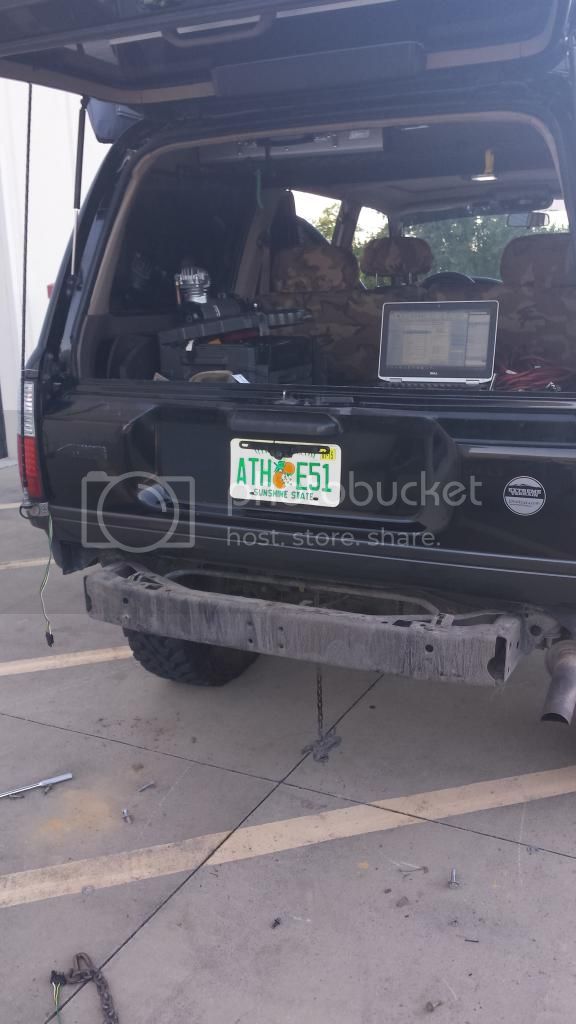
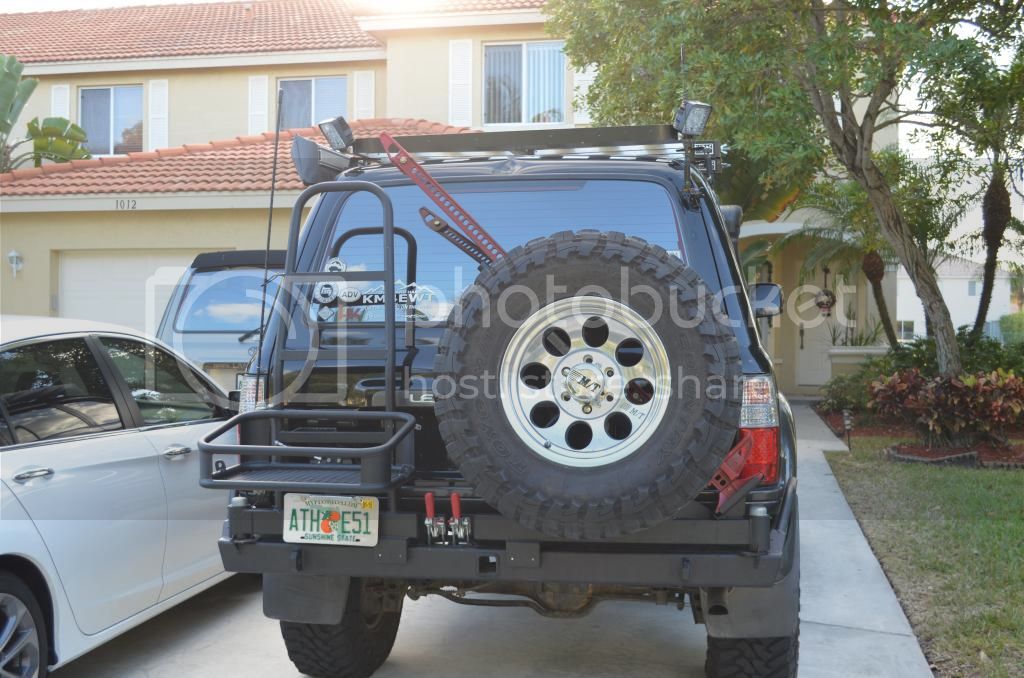
So I had always wanted a rear bumper for my rig. I was always torn between the SLEE and the Sean Bumper. I liked the Slee because I didnt have to cut my crossmember, but working on other projects I gained some experience with a cut off wheel so I wasnt to afraid to tackle the install. I called up Slee and they were about 6 weeks back order on their bumpers. I called IPOR and they werent building bumpers until February 2015. I then called up Sean, and he had a bumper where someone had backed out at the last minute and was ready to ship. He had created a new design for the jerry can/ladder mount with some hinges, its a door type basket that opens giving you access to the ladder. No need to remove anything. Really ingenious on his part. So I was on board immediately. A week later the bumper arrived. I live in a small townhome community with an HOA and I need this was a noisy job with the cutting of the crossmember. So a buddy and I picked up the bumper a the freight terminal, we drove around and found an empty warehouse parking lot and setup shop. We went at it for approx 6 hours until the bumper got installed. This thing is amazing. It was love at first site when I opened up the box.. Now for the pictures..


Purchased a Matching tire and wheel:

Now the rear bumper is complete!!

 
Suspension Upgrade: Dobinson 4" Heavy Duty Springs

So with the added weight of the rear bumper and all the accessories I had added in the rear. The OME J springs were awesome but I wanted some more lift. So I have a buddy who became the Dobinson Distributor in the US and he said try these out, if you like them you can pay for them. So I took them and installed them.

First impressions: These things are beefy and heavy. Look at the pictures and you be the judge. only have about 5 miles on them and driving manners are retained, no wondering around. I will be going wheeling in a few weeks so I will update on how they hold up.


Comparison between the 850J front spring and the Dobinson rear spring:


Comparison between the 863J rear spring and the Dobinson rear spring.

 
Here are the before and after shots of my rig. This lift added around 1.5" all around on top of my J spring setup with 1" spacer in the front.

Before pictures:

No Gear


With Camping gear no rear bumper


After Pictures


Last edited:
I might have to add a trim packer in the rear.. not sure what size to go with.
 
Truck is looking great!! Man I miss having time to read the threads..
 
cool build !!.......now that you are where you want to be suspension wise, how is the flex maxxed out? can you tuck those tires deep in the wells? I only ask because i see you went piece by piece instead of a "complete" kit....Did you gain max articulation and highway manners going piece meal vs. blowin the whole nut on a kit? Thanks...........
 
I ended up building the suspension as many on here have. I havent flexxed it to see how it tucks the tires. But I can say I am happy with the look.

I ended up selling the LX and I bought a 40th anniv, as you can see in my sig. I transferred all my gear to the new rig. Been a huge project for the last 4 months. I still havent driven the 40th more than 1 mile so the anticipation is burning.

Here is my LX before it went to its new home.

20150121_173832.jpg
 
I hop you're not offended but I am going to be completely unoriginal and copy everything you have done. I now have my wish list... I'm sure the wife will love me!
 
Do you remember what all you had to do to the frame when installing that rear bumper? I know cutting the cross member, but what about the frame? Do you use existing holes to mount or did you have to drill new ones? I am sorry for all the questions but I have just about settled on this bumper and I want to get as much prep work done ahead of time in order to install quickly. Did it come with instructions or did you just figure it out?

Thanks a ton for your help!

Smitty

We just removed the rear crossmember. No other cutting needed. I installed this same bumper on 2 rigs and on the second one I used a plasma cutter and it was a lot easier than the grinder. Very simple after cutting the cross member and yes it did come with instructions.
 

Users who are viewing this thread

Back
Top Bottom