
- Thread starter
- #61
Try pismo though. Instant rustI built my sliders Oct'15 and never painted them, they are still bare. They have finally developed a few specks of this weird orange stuff.
Follow along with the video below to see how to install our site as a web app on your home screen.
Note: This feature may not be available in some browsers.
This site may earn a commission from merchant affiliate
links, including eBay, Amazon, Skimlinks, and others.
Try pismo though. Instant rustI built my sliders Oct'15 and never painted them, they are still bare. They have finally developed a few specks of this weird orange stuff.
Yes but he doesnt even have a skid plateJose is a bit more polished and he does have a better attention to detail.
I wouldnt say that... i am pretty intentional in spite of what may come acrossYour truck is sweet too though and I like how you don't really have a handle on how it will all end up.
For those of us in the rust belt, it's sort of like watching surfing. We can surf on our waves, but your waves and the way you surf them is much more interesting.
The fact that I don't see any rust in any of these photos is astonishing to me.
Well, the plot thickens.Yes but he doesnt even have a skid plate
I wouldnt say that... i am pretty intentional in spite of what may come across
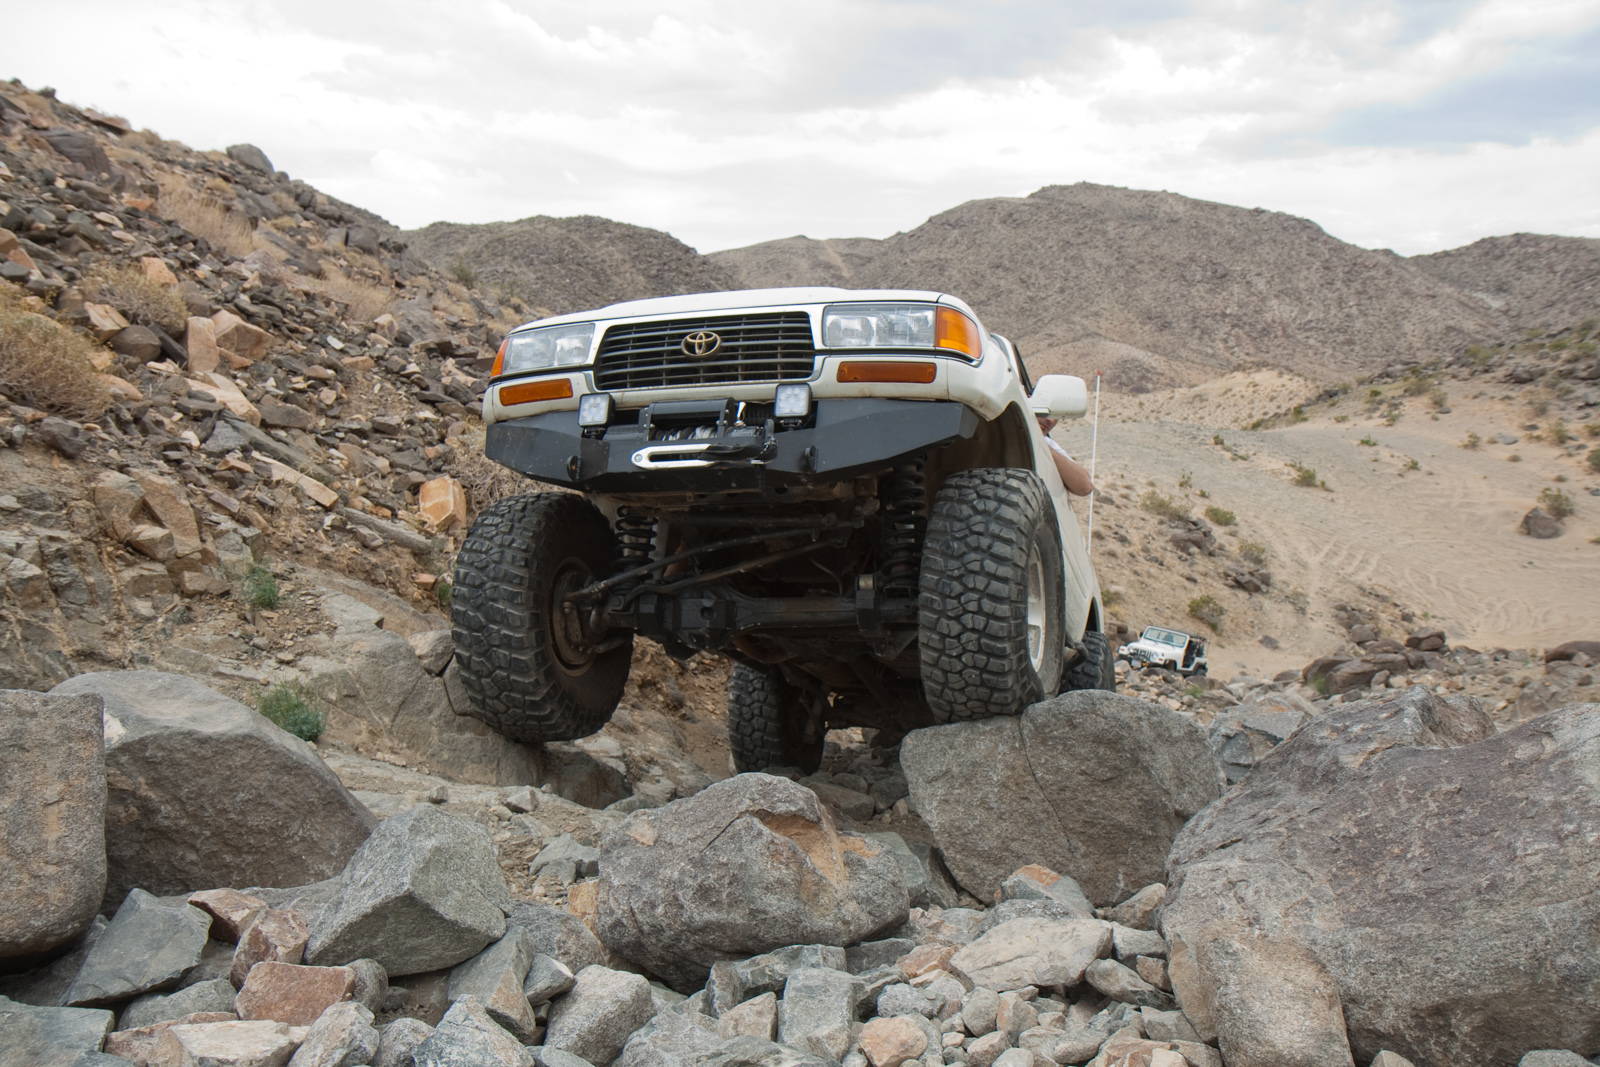
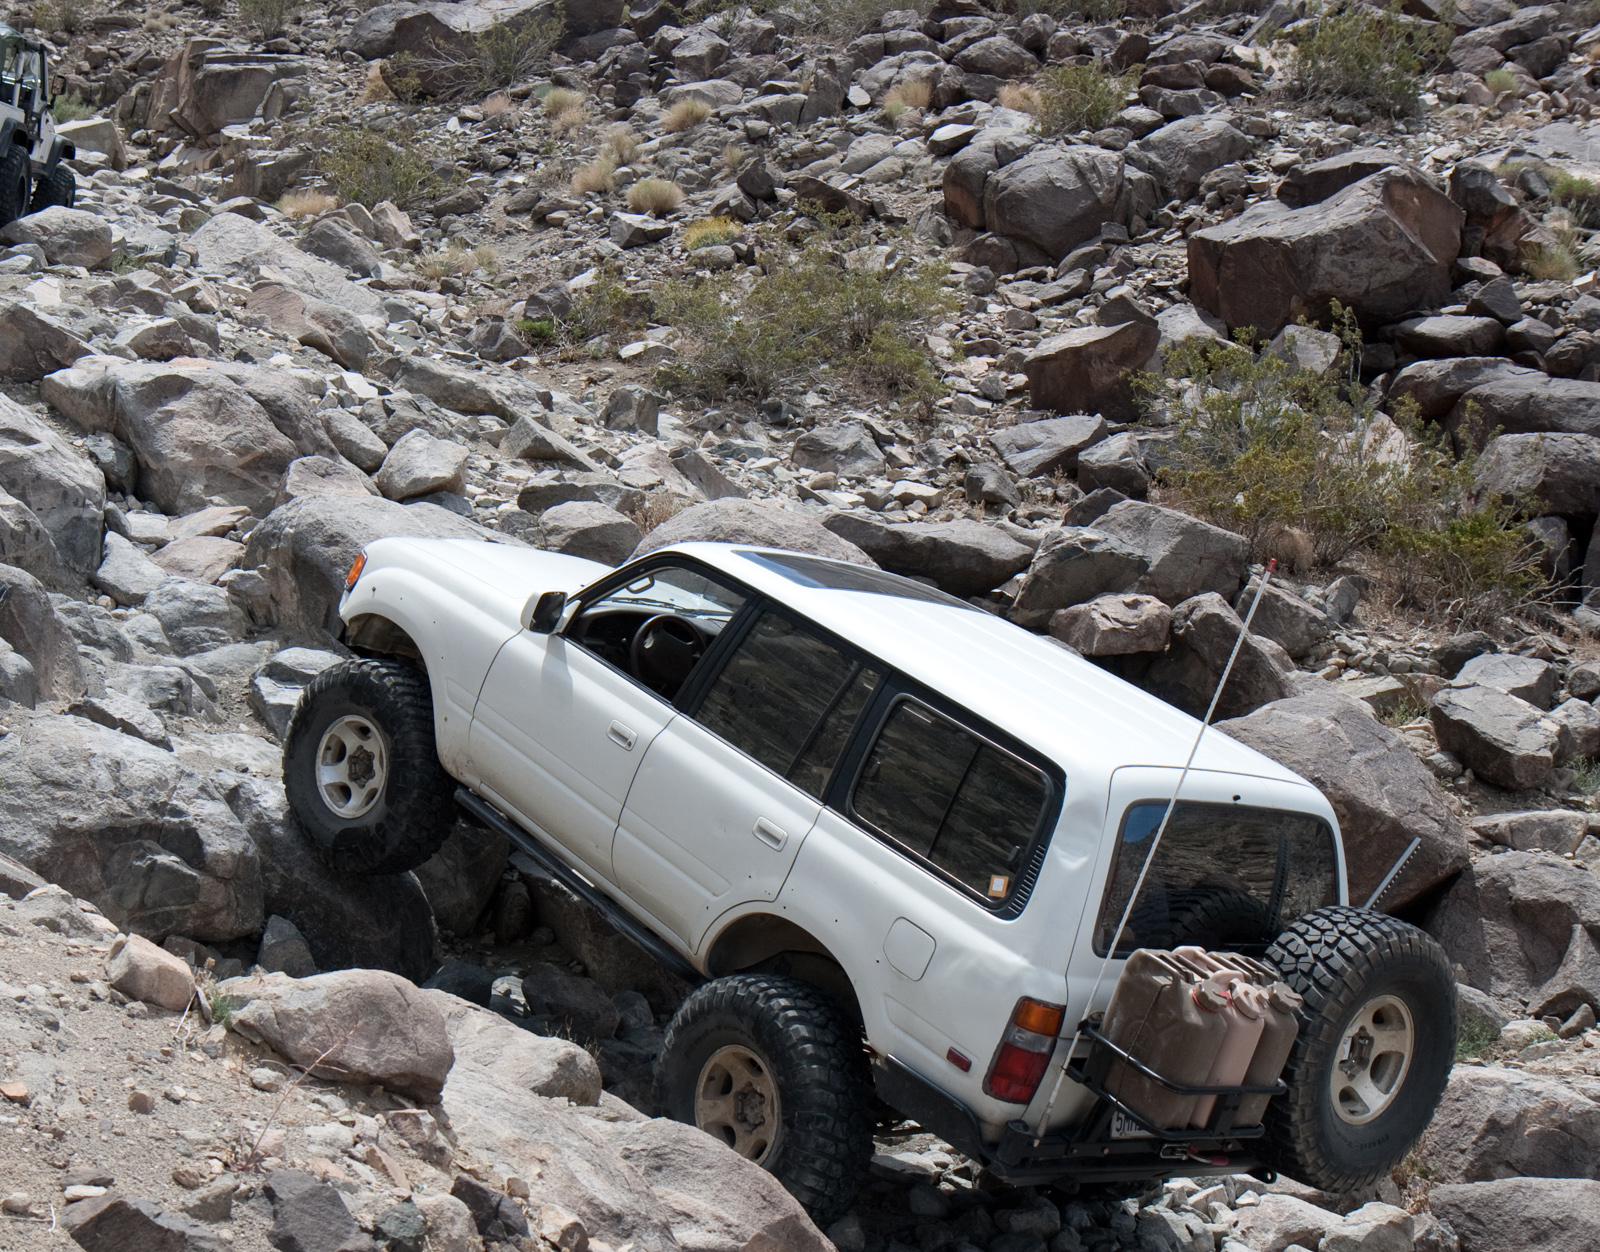
Note to self add 1/14 galvie pipe to "spare" box. good call man2nd hammers trip didn't start so great. After feeling a bit overwhelmed by Sledgehammer, we started with the "easiest" hammers trail (tackhammer) which somehow I got high-centered on:
Then lower big johnson was fine:
Then upper big johnson was significantly harder (no pics, but a lot steeper and more rock stacking).
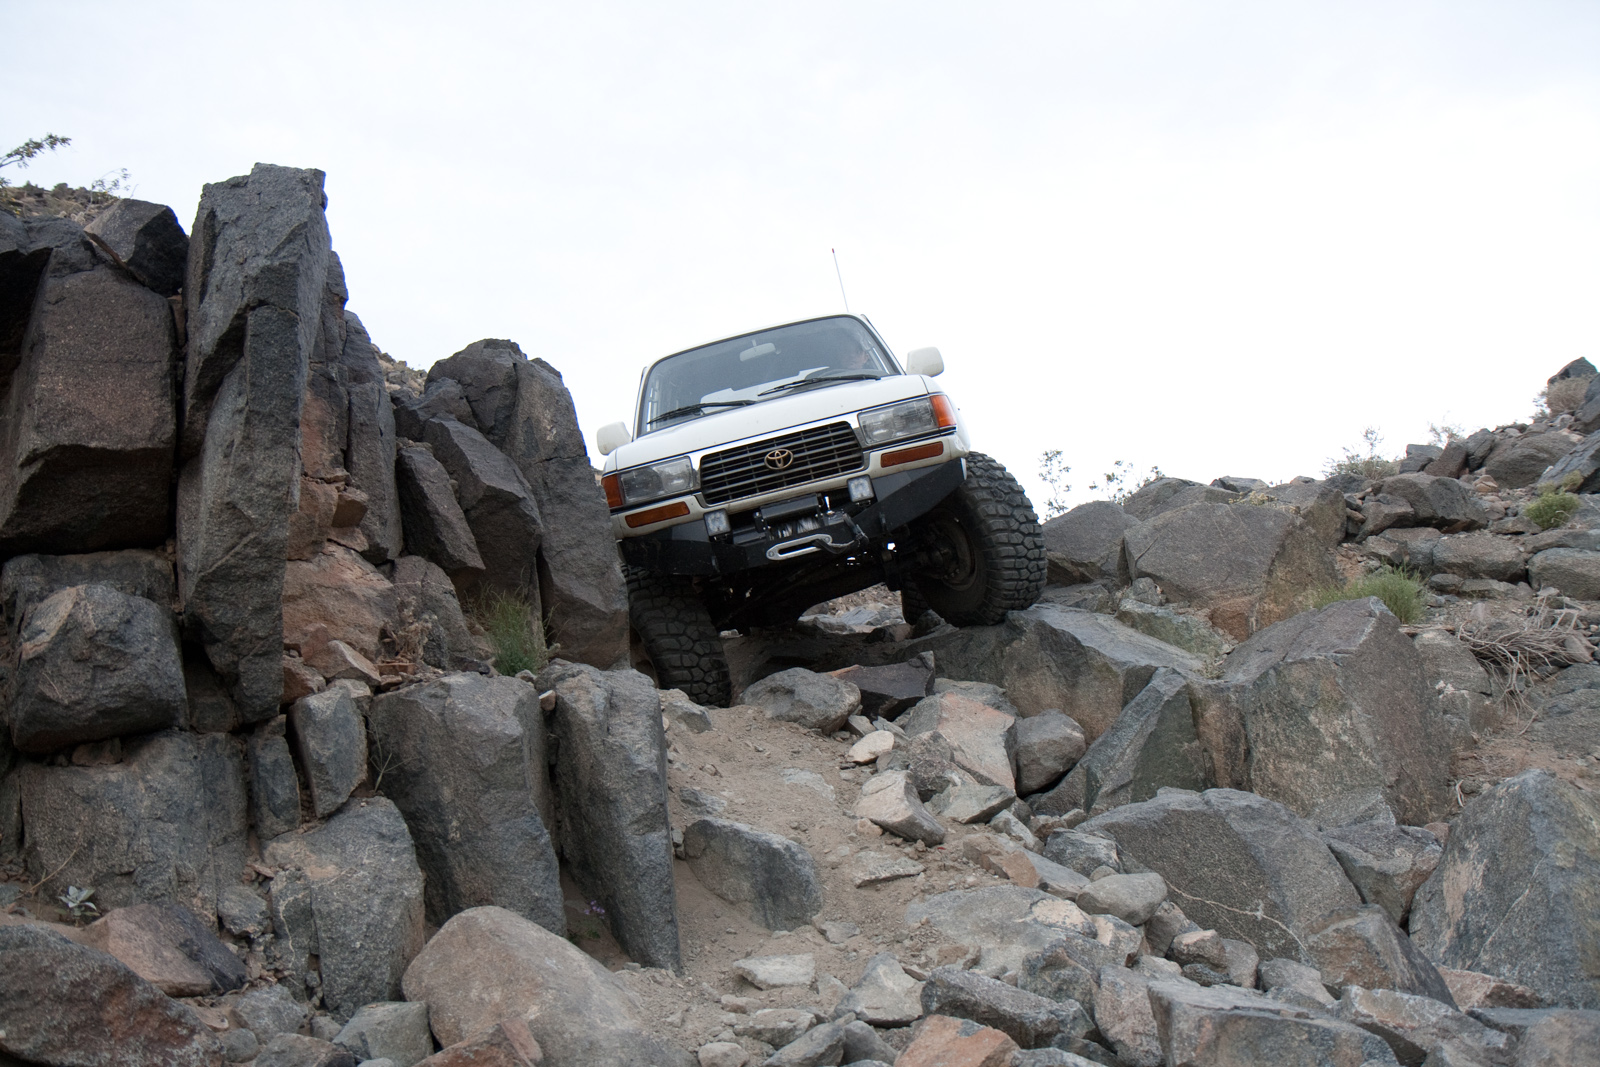
Then coming down boulderdash was tricky and tight and super sketchy:
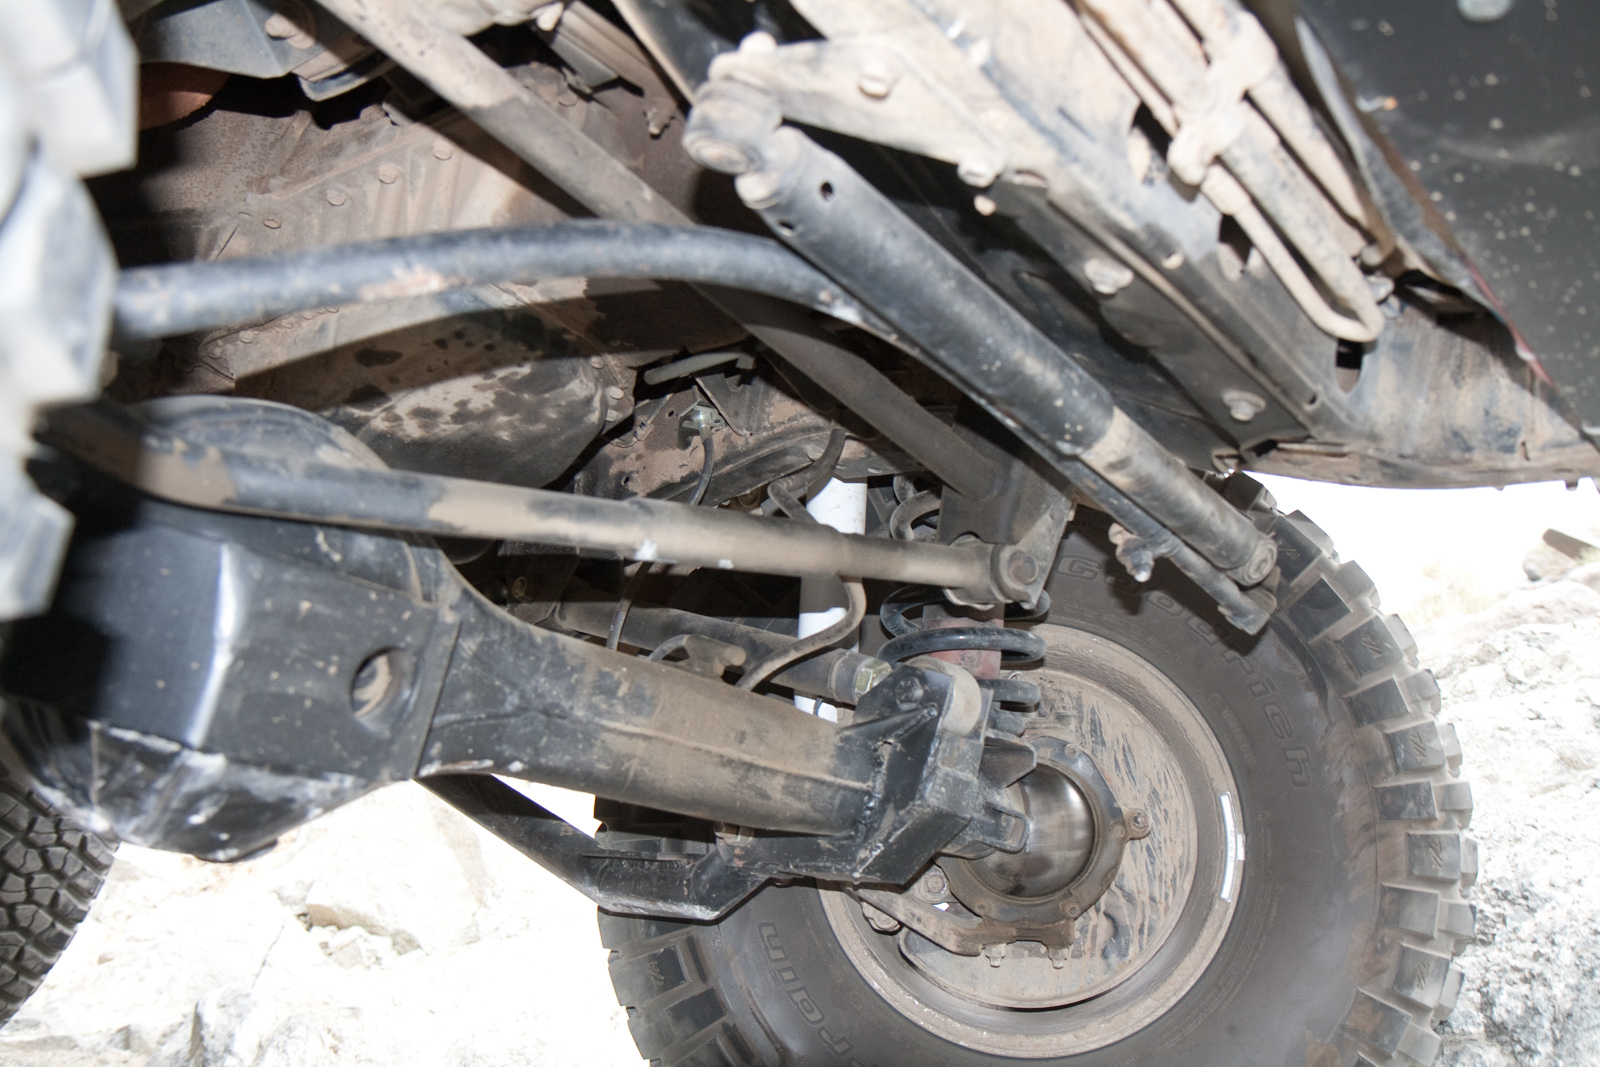
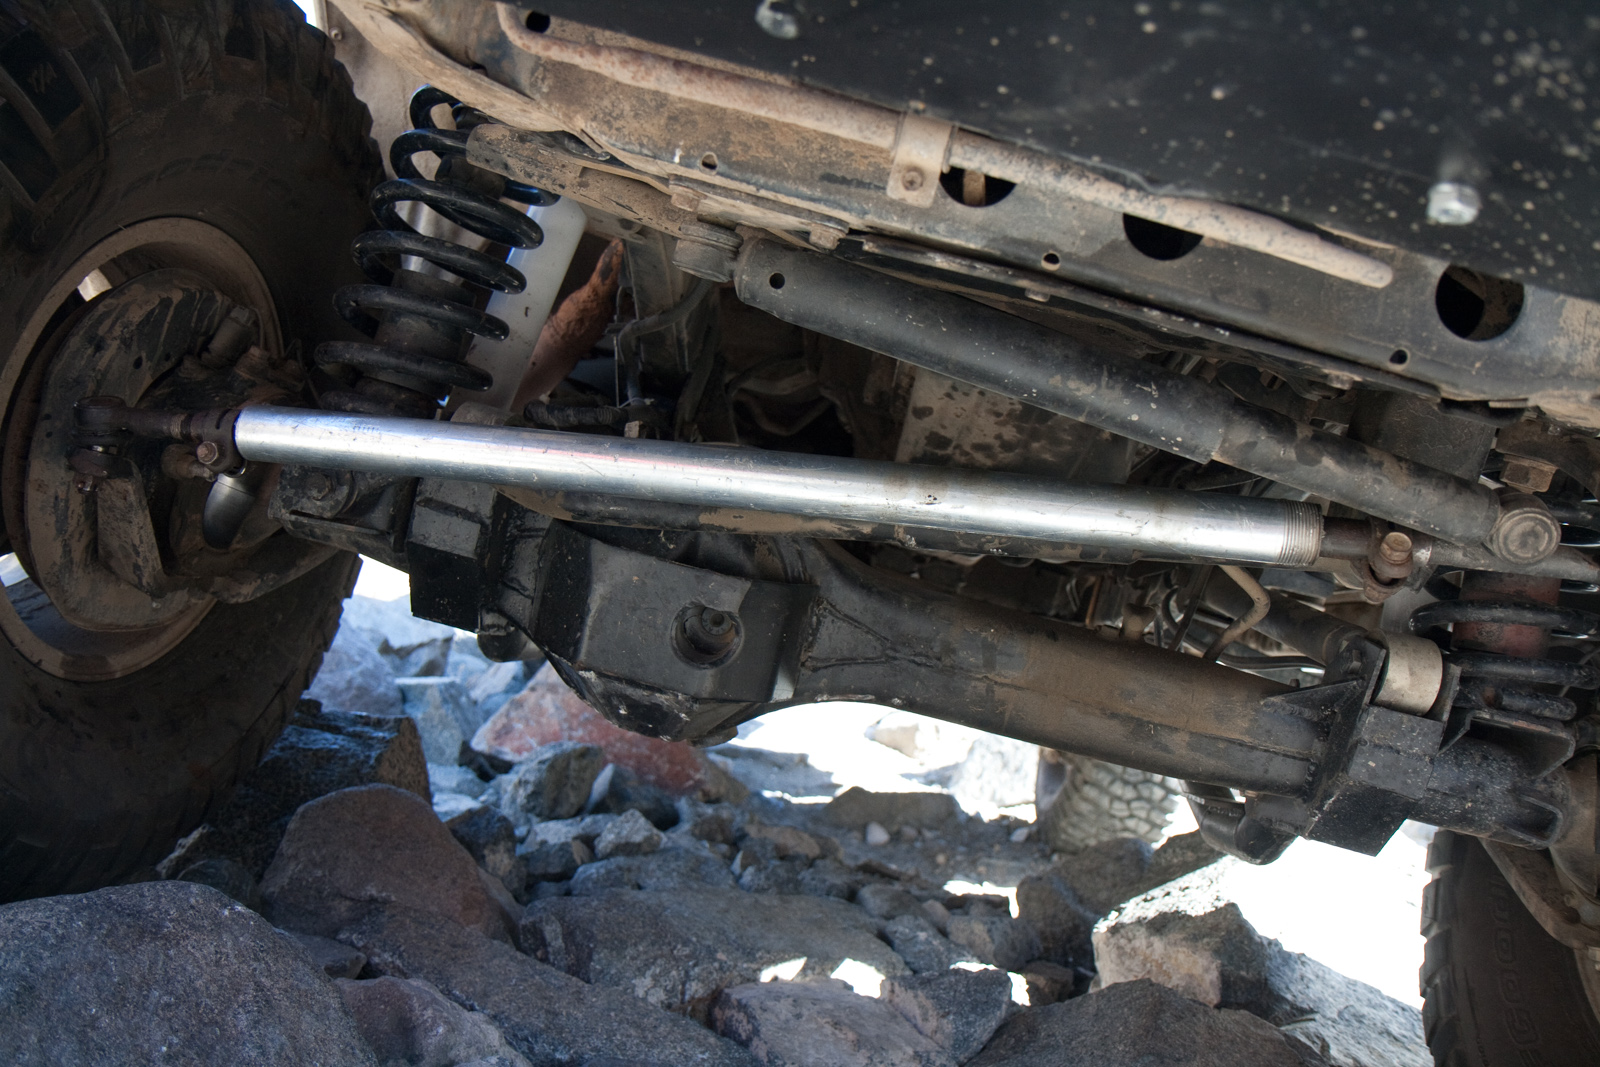
Then this happened, which IMO is because of wheel spacers and/or scrub radius - the downhill + obstacle + fatness of land cruiser = forcing the steering box one way. The drag link yielded its happy way up into the engine. You can see more of the 5-link here.
Fortunately, a little "SLEEve" offroad action got 'er working again:
Then the next day we hit clawhammer, which is a great trail.
proper is a gross understatementOK, well, I might as well hit the Dusy. At like midnight:

Aaaand there wasn't many pics at this point because after 9 miles of mild bumpy dusty road, my upper link mount broke off. The entire front part of the tower wasn't welded on (I uhhhh... forgot? Not sure how it survived as long as it did) and it decided to take a vacation from the axle.
But the fix was to borrow a flux core welder some guys had with them and sort of weld a piece of angle to the bracket and then run a bolt with a ratchet strap through the lower mounting hole and around the axle tube. Then creep back out of there. I'll go back and finish the trail but this is really not my style of wheeling overall. Plus I was fairly sick and ended up coming home and sleeping for several days. But it sucked. I had to fix the rig to take a trip to pismo so the next weekend I put on a proper upper link tower:

Aaaand correct. @richardlillard1 can rest safe on this one:

I am a big fan of carrying spare tubes. They can do all kinds of things. The hi-lift handle is one that most people already have, of course, but sleeving things is super useful. Imagine detroying a tie rod? you can sleeve, drill holes, run bolts as pins to connect sleeved things, etc. Tubes are great.Note to self add 1/14 galvie pipe to "spare" box. good call man


Yeah, word. I'm not even into camping. If you finish the Rubicon in one day, you can just stay at the Hampton Inn in Truckee and get a complimentary breakfast.I hear ya. This summer's heat is making me rethink cutting off any part of the rig that would expose me to the elements. Driving in 110° temps without AC sounds miserable. Having a desk job and being indoors all day has made me such a yuppie.