LX470 corner light mod to accept larger turn signal socket 90075-99106 (1 Viewer)

This site may earn a commission from merchant affiliate
links, including eBay, Amazon, Skimlinks, and others.

Joined
May 16, 2017
Threads
13
Messages
135
Location
SE Michigan
I recently converted the corner lights on my LX to dual-function turn/marker lights. I used the excellent writeup by prwillard2 which was spot on: LX470 corner light to turn signal conversion

Instead of buying new LC corner lamps, I decided to modify my LX lamps to accept the larger bulb socket. I took some photos along the way for those who want to give it a go. I attempted to prevent debris from entering the lamp, but it's inevitable some bits will get in there. Vacuum & shake out what you can, remove the vent caps, flush the lamp out with soapy water, rinse it clean, then let dry.

1) Here you can see the difference in the bulb sockets, LX single-function (2 wire) on top and LC dual-function (3 wire) on bottom.
1.JPG


2) This boss needs to come off to get down to the base for the larger socket mounting surface.
2.JPG


3) I used a cutoff disc to remove the boss, be careful not to gouge the surface of the base.
3.JPG


4) Sanding drum to take down closer to the base, again try not to damage the surface (minor scuffs can be polished out).
4.JPG


5) Sanding disc to flatten the base surface. I used coarse & fine grits.
5.JPG
 
6) Polish the surface by wet sanding with a block. You want a smooth flat surface for the sealing gasket on the socket. Do this again at the end of the procedure.
6.JPG


7) Use a step bit to enlarge the hole. You may also need to bring the sanding drum back out if you step bit isn't large enough for the socket... keep the hole as round as possible.
7.JPG


8) Insert the new socket and trace the tabs onto the base. I used a paint marker to allow it to flow into the areas I couldn't reach with the tip. Note that there's a stopper tab already molded onto the backside of the base... position the new socket tabs so you don't cut off this stopper tab, it helps the socket lock into position.
8.JPG
 
  • Like
Reactions: KTP
9) I used a hacksaw to make the initial cuts for the tab slots. This ensured nice clean edges.
9.JPG


10) A milling bit on a Dremel quickly cut the tab slots. I first went in horizontally from the top to cut the sides, then went in vertically to shape the outer edges.
10.JPG


11) Finally, I used a file to clean up the tab slots. Last step was wet sanding the face one more time to remove the paint and polish the plastic smooth.
11.JPG
 
Have Video of them Working? Would love to see them in action.
Great Write-up. Do you Have the 3 wire socket part # ?
 
Have Video of them Working? Would love to see them in action.
Great Write-up. Do you Have the 3 wire socket part # ?
I don't have a video, but if you put your corner lights on and blink you eyes a few times you'll get the idea ;)

The part number for the 3 wire socket (and other parts) is in the link in my first post.
Corner light socket, bulb (3 Prongs): 90075-99106 x2​
Housing connector (3 Prongs): 90980-11020 x2​
If you can get the wire terminal pins out of the original plugs (corner light & turn signal), you don't need to splice or crimp anything... just transfer the pins to the new plugs.
 
Additional tips on the turn signal conversion:

1) If you can get the wire terminal pins out of the original plugs (corner light & turn signal), you don't need to splice or crimp anything... just transfer the pins to the new plugs. I used a terminal pin tool. Be sure to pull out the terminal locks/covers on the plugs before trying to remove any pins!

2) To avoid excessive wire tension & kinking with the converged plug, I ended up unwrapping the wire harness tape and pulling the turn signal wires out to get more slack. I rewrapped the main harness and put some split conduit over any exposed wiring.

3) As mentioned above, you're probably going to end up with plastic debris inside the lamp lens. Best way to get it out is to flush with water and float out the shards. Remove the vent caps to prevent them from getting clogged. Shake out the water and let it dry. Heat from the bulbs will finish the job.

4) To remove the corner lamps, the lower tabs need to be pushed outward with a flathead screwdriver. If (when) you break a tab, I was able drill(*) a lateral hole through the slot & tab and secure with a small hitch pin. Works great! (* I used a right angle driver adapter with a hex shank drill bit)
 
  • Like
Reactions: KTP
Another cool trick: If you've converted your LX turn signals to install aux lighting, you can recycle your old 2-terminal bulb socket to connect to your OEM fog lamp harness plug. My foglights came with a pigtail harness, so I cut open the old bulb socket and soldered the wires to the terminal prongs. After potting with epoxy I now have a harness adapter that plugs directly into the factory fog plug. Since the new LED lights are only drawing 26W and the stock wiring handled 55W I should be OK without a relay.

Start by cutting the bulb end of the socket to expose the terminal prongs. Plug this into the fog light plugs and mark the prongs +/- based on the polarity (use multimeter or wiring diagram).
20201011_201259650_iOS.jpg
20201011_201343118_iOS.jpg


Solder your aftermarket harness to these terminals and pot the whole thing in epoxy. I used a piece of tube to make a mold around the socket, then filled with 5 minute epoxy.
20201104_141036936_iOS.jpg
 
  • Like
Reactions: KTP
The gaping hole left after removing the OEM foglights didn't work for me, so I made some blockoff plates using textured black ABS. Used a sheet of paper and a crayon to trace the opening from backside, transferred to cardboard for final shaping, then cutout the ABS. Get one right then mirror it for a quick perfect second one.
20201014_011514970_iOS.jpg


Here's what they look like behind a set of Diode Dynamics SS6 6" light bars.
fog 11.jpg
fog 12.jpg
 
  • Like
Reactions: KTP
Digging up this thread, i'm thinking of doing something similar, i want a lot of light from my fog lights and the oem ones suck. You have more pics of the t ruck from far away, i want to see how the lights look in that spot, and if you have pics of the fogs on at night that'll be great too. Thanks
 
Digging up this thread, i'm thinking of doing something similar, i want a lot of light from my fog lights and the oem ones suck. You have more pics of the t ruck from far away, i want to see how the lights look in that spot, and if you have pics of the fogs on at night that'll be great too. Thanks
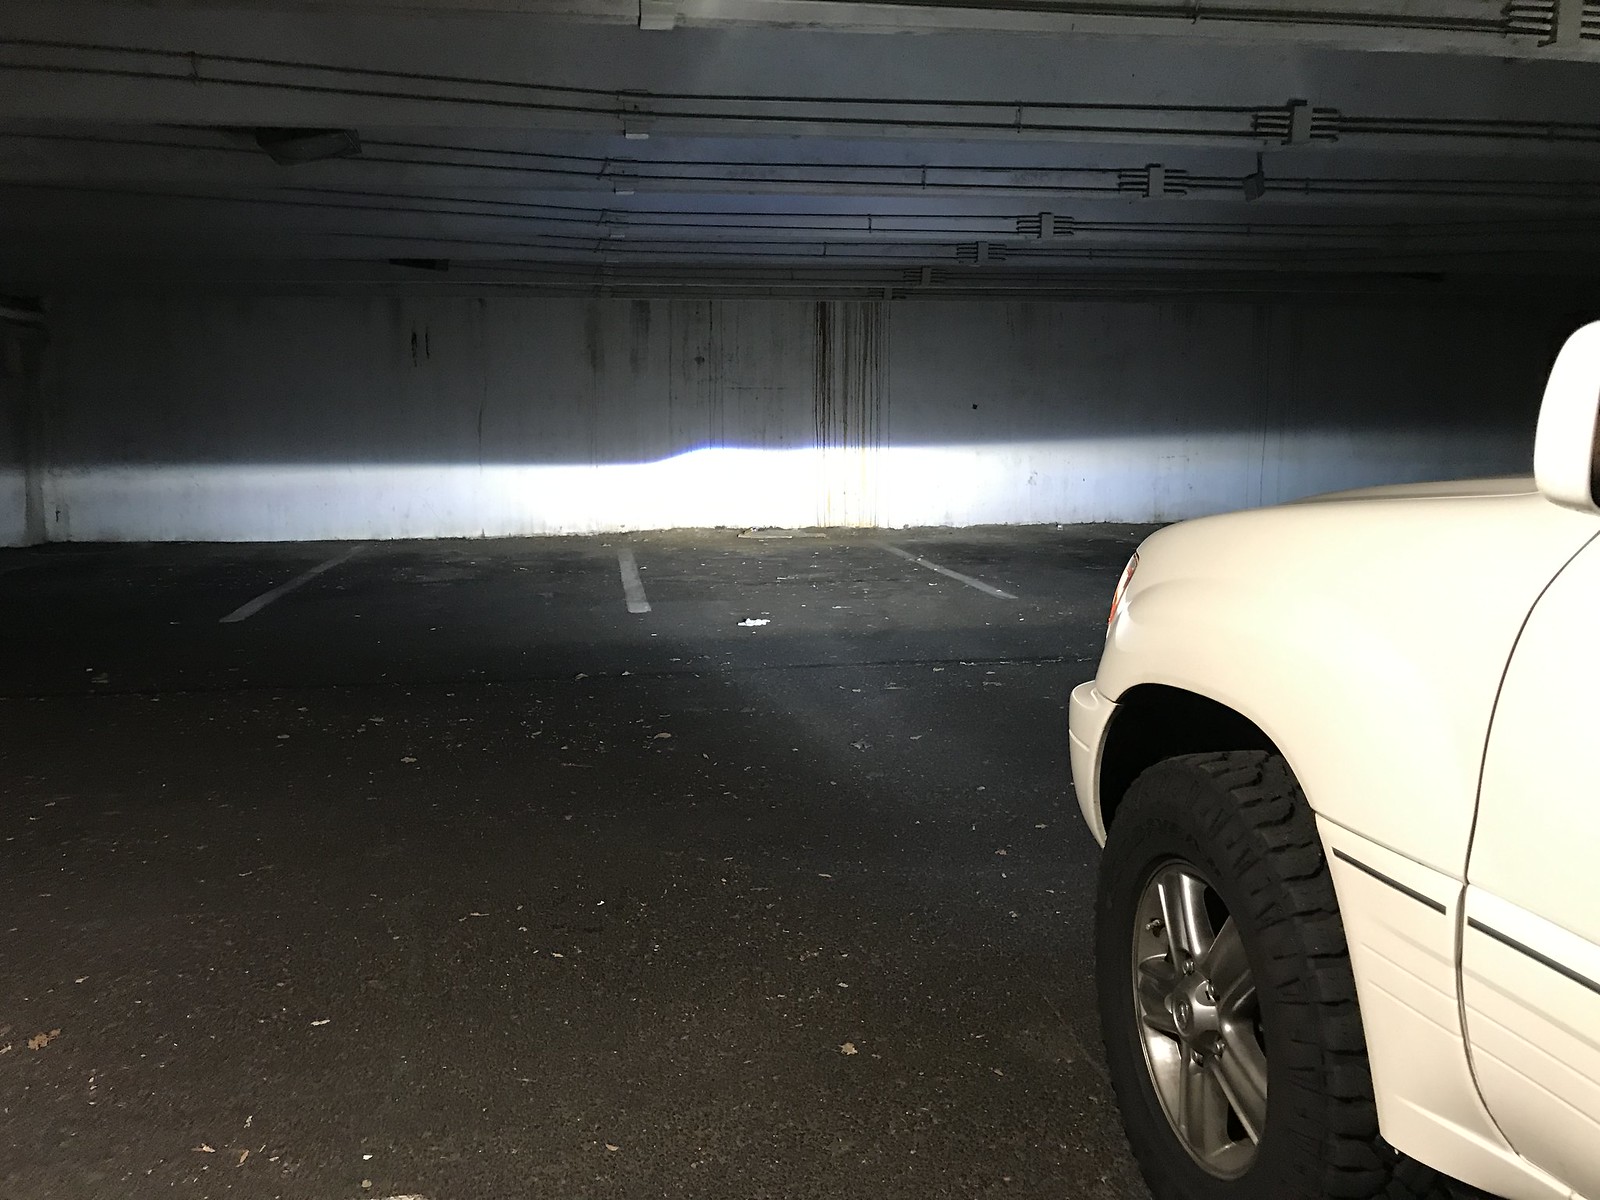
The Diode Dynamics SS6 light output is incredible and the pattern is very clean. I got the white SAE/DOT fog lenses and the pattern completely fills the voids left by my H1 Mini HID projectors directly in front and peripherally. In fact when I turn them off it feels like my headlights are out! I aimed them from 25' using the "4 inches below center of light" method and haven't received any complaints from oncoming motorists. For the price ($180) the DD SS6 lights are a great deal for SAE/DOT approved fogs.

The only complaint I have is the stainless steel brackets allow more adjustment when mounted below light; to mount above light, I had to file some clearances into the brackets to permit enough downward rotation for aiming.
1609167924670.png


I'll get more photos including light output, check back tomorrow.
 
I know what you mean, i have the same setup, Mini H1 8.0 projectors and the area right infront of the bumper has a little void, probably because we are so high up. I'd imagine a lower car would get an even flood of light right there that we lack.

50189868283_b43e391a20_h.jpg
 
  • Like
Reactions: KTP
I ordered a pair, but instead of mounting it in the OEM fog light/turn signal spot, i'm going to put them behind the bottom grill, adjacent to the foglights. I'll wire that as running lights because they hardly draw any power and they have an 8 year warranty so if they ever burn out i'll replace it. The fog lights i will throw amber in there, and ill turn that on when it's foggy, if not i'll just use the DD lights and main headlights for illumination
 

Users who are viewing this thread

Back
Top Bottom