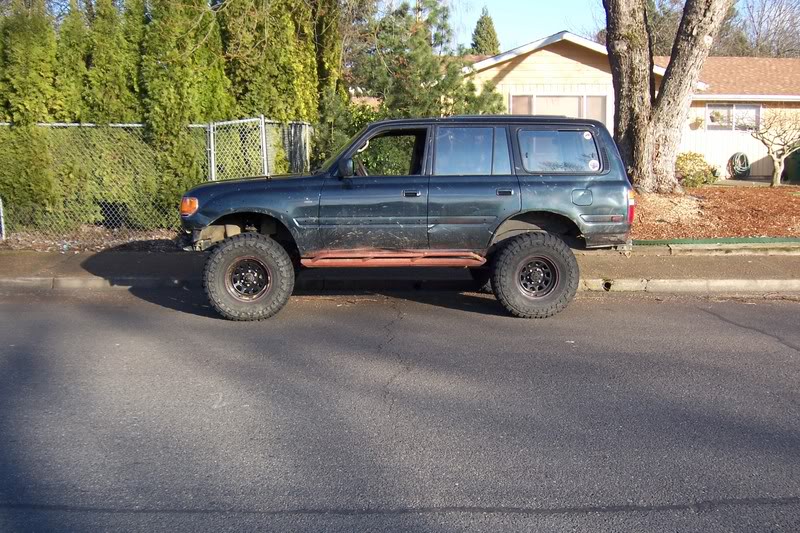
Saturday, I picked up my new MetalTech 2” front coil spacers! These things are beefy…
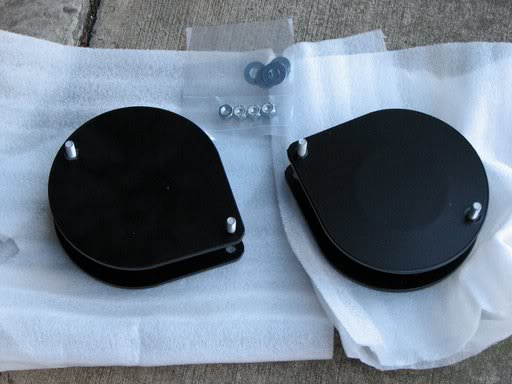


I decided to do a DIY install so that everybody can see how easy it is to get rid of your stinkbug stance...
The Install:
Tools required- floor jack, jack stands, basic socket set.
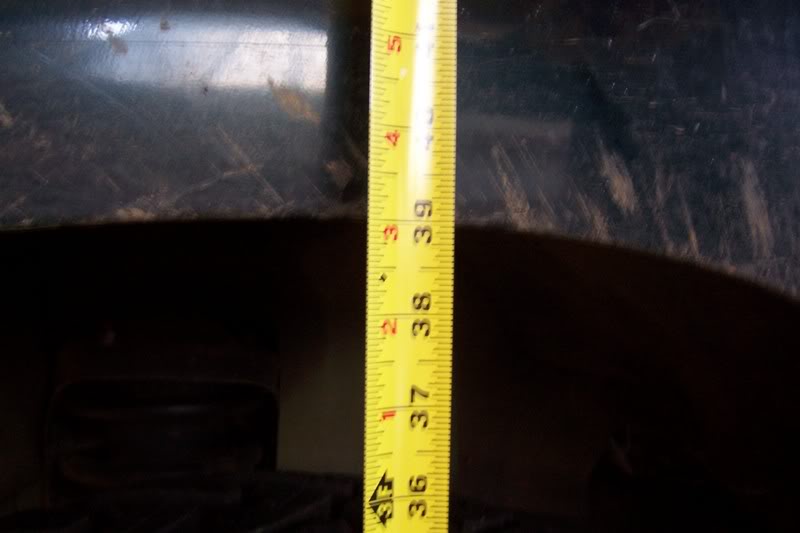
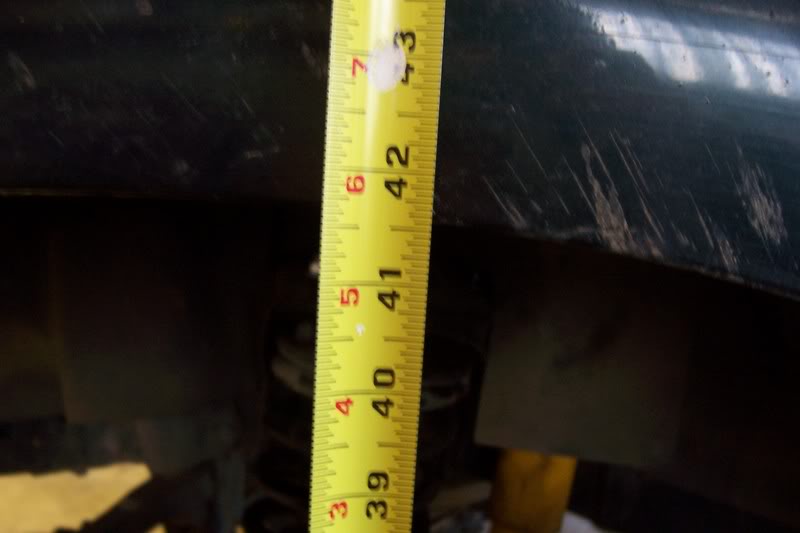
The first thing I did was do a base measurement. From floor to fender was 39”.
Then I got the truck on jack stands.

And removed my tires.

Note- I don’t have my swaybars anymore, but if you still do, I would recommend disconnecting them from the axle.
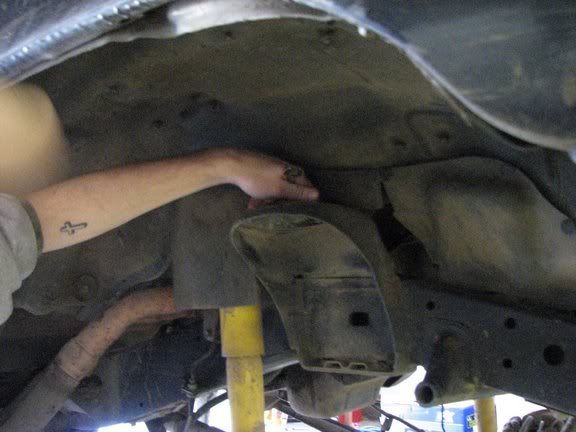
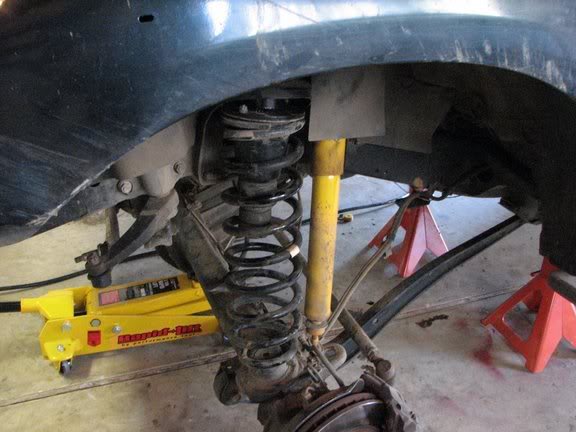
Next step was to remove the shock at the bottom mount.
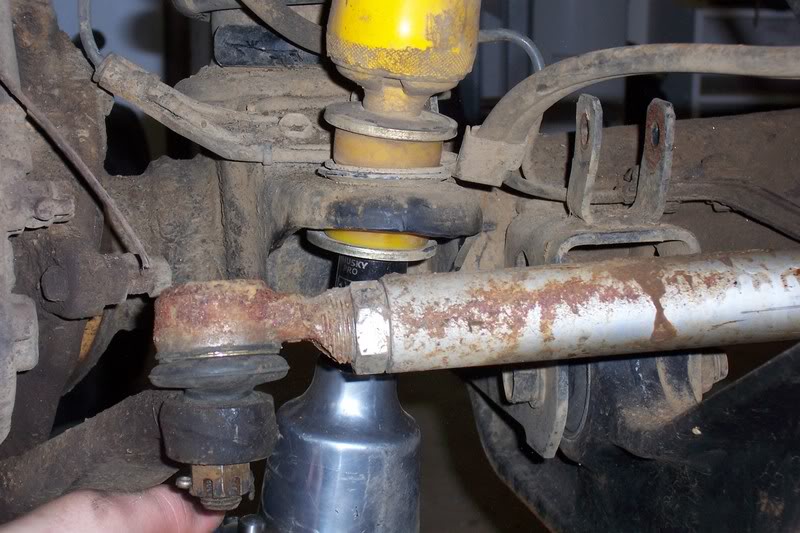
Note- At this point, the only thing that is holding up your axle is the friction in the bushings. Make sure that you don’t over-extend your break lines!!! I never had a problem with my 4” longer SS lines, but I did keep my floor jack under the pumpkin just in case.
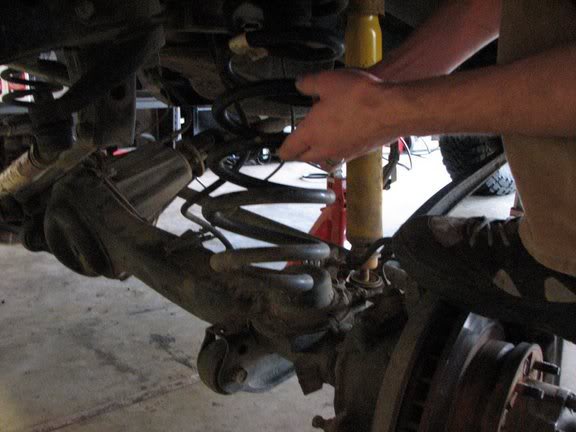
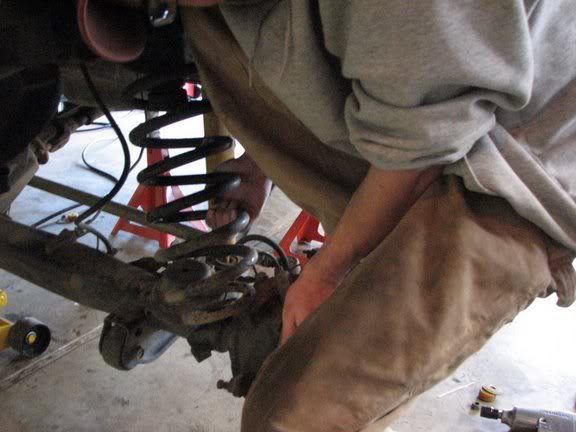
Then you need to get the springs out. I am running OME “J” springs, so I have to step down on the rotor a bit to get enough room to pull the spring out.


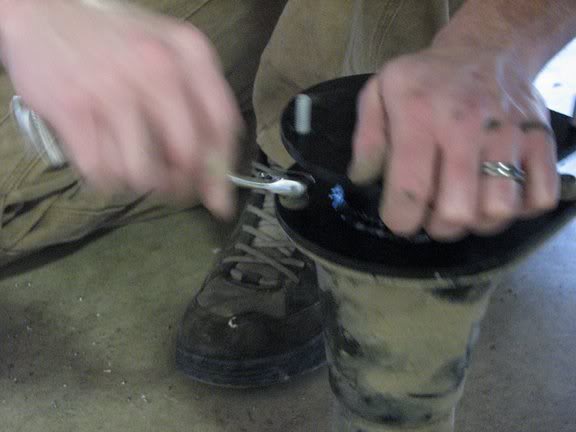
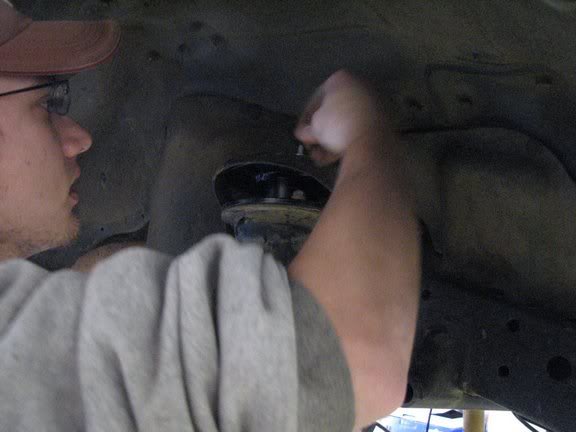
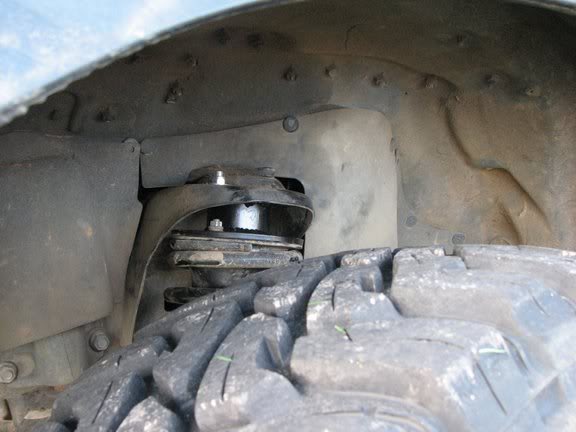
Next you will remove the bump stop at the top spring mount. Just two nuts and it falls.

Now attach the bump stop to the spacer. I used the original hardware for that.

I decided to do a DIY install so that everybody can see how easy it is to get rid of your stinkbug stance...
The Install:
Tools required- floor jack, jack stands, basic socket set.
The first thing I did was do a base measurement. From floor to fender was 39”.
Then I got the truck on jack stands.
And removed my tires.
Note- I don’t have my swaybars anymore, but if you still do, I would recommend disconnecting them from the axle.
Next step was to remove the shock at the bottom mount.
Note- At this point, the only thing that is holding up your axle is the friction in the bushings. Make sure that you don’t over-extend your break lines!!! I never had a problem with my 4” longer SS lines, but I did keep my floor jack under the pumpkin just in case.
Then you need to get the springs out. I am running OME “J” springs, so I have to step down on the rotor a bit to get enough room to pull the spring out.
Next you will remove the bump stop at the top spring mount. Just two nuts and it falls.
Now attach the bump stop to the spacer. I used the original hardware for that.


")
 man a little encouragement and hope.
")


