- Thread starter
- #41
Navigation
Install the app
How to install the app on iOS
Follow along with the video below to see how to install our site as a web app on your home screen.
Note: This feature may not be available in some browsers.
More options
Style variation
You are using an out of date browser. It may not display this or other websites correctly.
You should upgrade or use an alternative browser.
You should upgrade or use an alternative browser.
Hood repaint
- Thread starter lostmarbles
- Start date
This site may earn a commission from merchant affiliate
links, including eBay, Amazon, Skimlinks, and others.
More options
Who Replied?- Thread starter
- #42
- Thread starter
- #43
brooklyn
SILVER Star
Part by Part
I really like your approach to disassemble the truck part-by-part and then really get into the rust prior to painting. I am following your approach and have started with the hardtop doors. Completely took them apart, removed all the rubber and felts. Took care of the rust inside the doors with POR and now I am completing the outside of the door.
The nice thing about your approach is that the truck stays drive-able, you start small and learn from your mistakes, and you can really fix all the small stuff, and you don't go broke - at least I think so.
My next step is to follow your hood instructions and then fenders - keep it up as I am stealing all your good ideas. I am figuring it will take about a year for me to do the complete truck.
Heck it might be like the Golden Gate bridge in San Francisco, they start at one end and paint the complete bridge, when they finish it is time to start at the beginning again. Start at the front of the FJ40 and then when you reach the back it is time to start at the front again. I hate rust.
- Thread starter
- #45
- Thread starter
- #46
- Thread starter
- #47
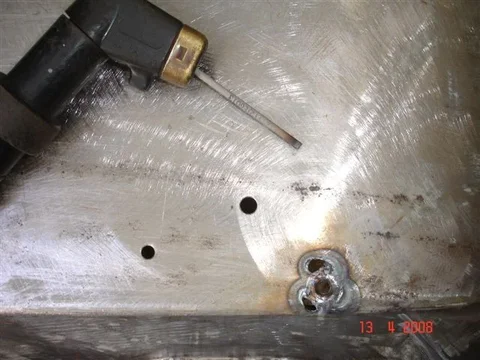
Ooopps. Damn. Did I show you my "burn though" welding holes?
Anyway it was only after painting was finished and during final assembly that i realised that bolt-hole held the coolant reservoir support. So the cracks were actually from metal-fatigue due to the reservoir dancing to the beat of my 4-banger diesel:
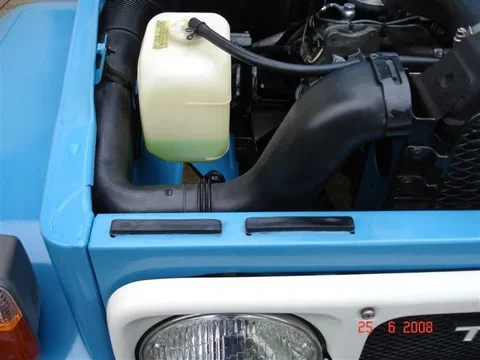
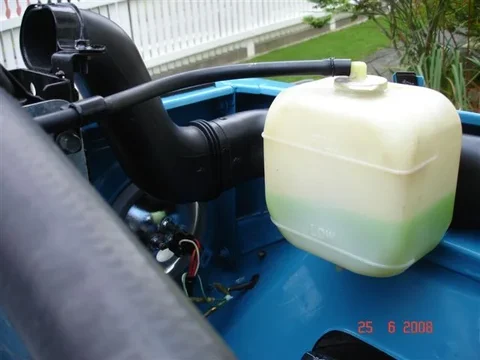

Too late to strengthen the area now........ Damn Damn Damn


Anyway it was only after painting was finished and during final assembly that i realised that bolt-hole held the coolant reservoir support. So the cracks were actually from metal-fatigue due to the reservoir dancing to the beat of my 4-banger diesel:


Too late to strengthen the area now........ Damn Damn Damn

- Thread starter
- #48
What's next? 
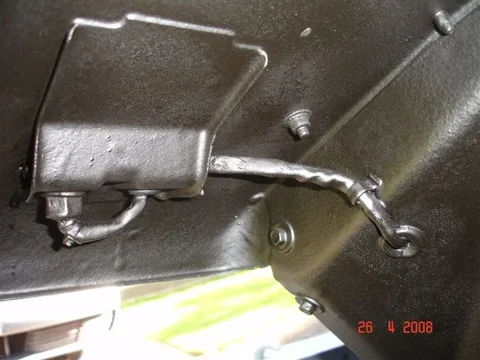
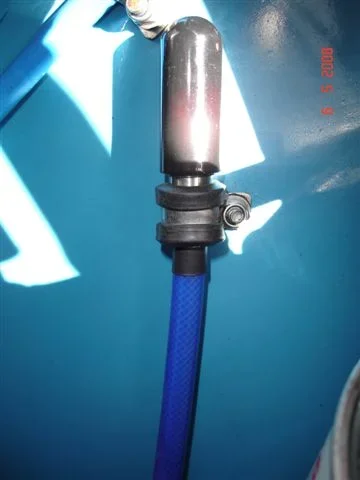
Well here's the washer reservoir bracket after receiving POR15 primer and a topcoat. Both were "silver" because I always like to use the same colour primer as topcoat wherever possible. It stops scratches and chips from becoming instantly ugly.

Of course the pump got stainless screws and the paint treatment too:
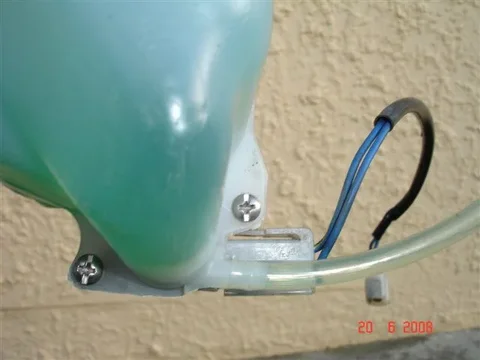

That's the original pump - Still going well after almost 30 years!


Well here's the washer reservoir bracket after receiving POR15 primer and a topcoat. Both were "silver" because I always like to use the same colour primer as topcoat wherever possible. It stops scratches and chips from becoming instantly ugly.

Of course the pump got stainless screws and the paint treatment too:


That's the original pump - Still going well after almost 30 years!
- Thread starter
- #49
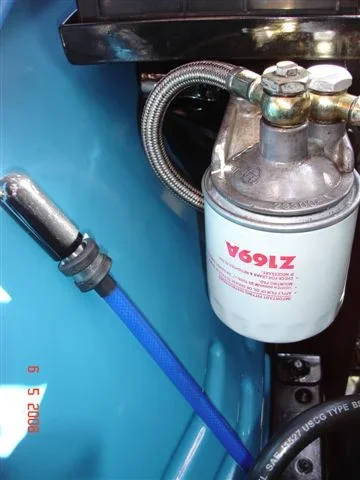
And here's a photo of the reservoir as it appears right now:

What else?
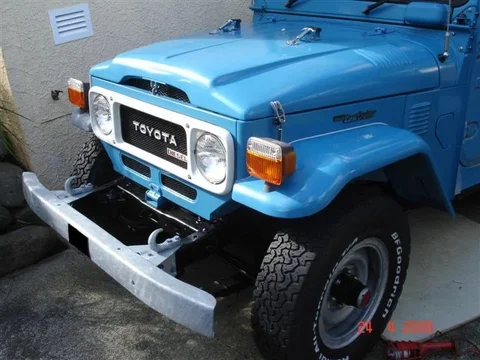
Here's a photo of the grille. The mesh is not so coarse (probably the wrong word - I mean the diamond-shaped holes are smaller) to stop radiator damage because I've found the original larger holes can let stones through that are capable of puncturing the radiator tubes. This mesh is also "expanded and flattened" rather than simply "expanded". It looks better and is more easily painted in my view.

You can also see how I have modified the way the mesh is held in place------- Stainless bolts of course - but more of them too:
Oh yeah - I welded all around that "strengthening angle" that Toyota had spotwelded to the base of the bib panel. Water had been able to get inbetween to make this area one of the most "rust-prone" on our cruisers. --- But not anymore on mine! Also to prevent rust there, I relocated the wiring off the bottom lip (where it held water against the panel to promote rust) and onto brackets that I had welded onto the front crossmember.


What else?

Here's a photo of the grille. The mesh is not so coarse (probably the wrong word - I mean the diamond-shaped holes are smaller) to stop radiator damage because I've found the original larger holes can let stones through that are capable of puncturing the radiator tubes. This mesh is also "expanded and flattened" rather than simply "expanded". It looks better and is more easily painted in my view.

You can also see how I have modified the way the mesh is held in place------- Stainless bolts of course - but more of them too:
Oh yeah - I welded all around that "strengthening angle" that Toyota had spotwelded to the base of the bib panel. Water had been able to get inbetween to make this area one of the most "rust-prone" on our cruisers. --- But not anymore on mine! Also to prevent rust there, I relocated the wiring off the bottom lip (where it held water against the panel to promote rust) and onto brackets that I had welded onto the front crossmember.
Last edited:
- Thread starter
- #50
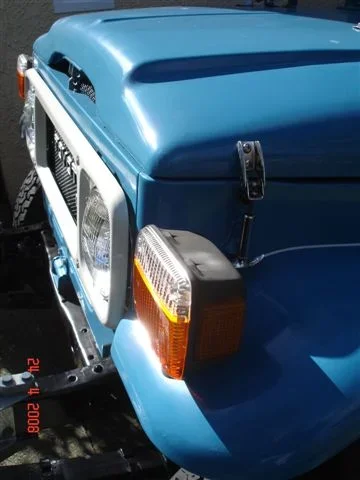
Oh yes..... I wasn't happy with the way my hood hooks sat. (Having multiple sleepless nights worrying about it in fact. ....And the possibity of more birds sh#tting on my lovely new paintwork .... Andddd..... oh never mind)

So, out came the wad punches to cut some thick plastic disks and out with the hacksaw etc to cut some stainless disks too:


So, out came the wad punches to cut some thick plastic disks and out with the hacksaw etc to cut some stainless disks too:


- Thread starter
- #51
- Thread starter
- #52
- Thread starter
- #53
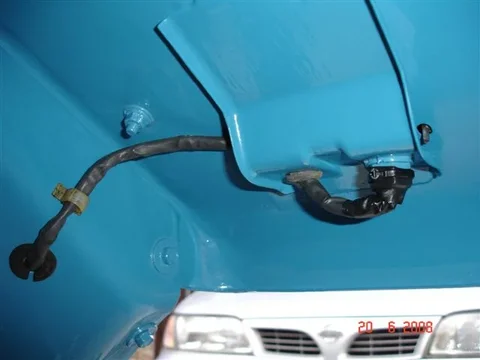
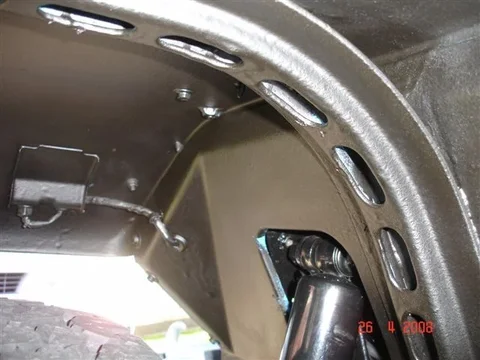
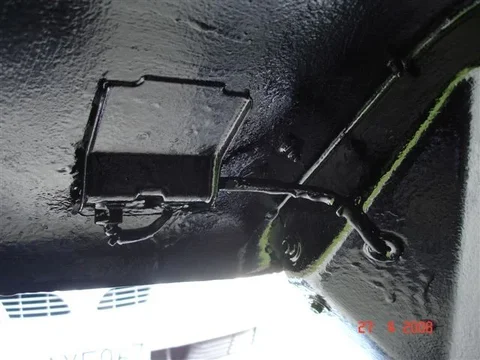
And tidy electrical wiring = reliable electrical wiring.
So here's some stuff related to that.......
Stainless brackets are easy to make yourself. Grab a drill bit slightly smaller than the diameter you want, use a vice and soft hammer etc to bend a piece of precut sheetmetal around it. Drill a hole in it. Tidy it up...... and hey presto ----- You have a better-than-bought stainless bracket:

Here's a couple of photos of the fender-sitting wiring:
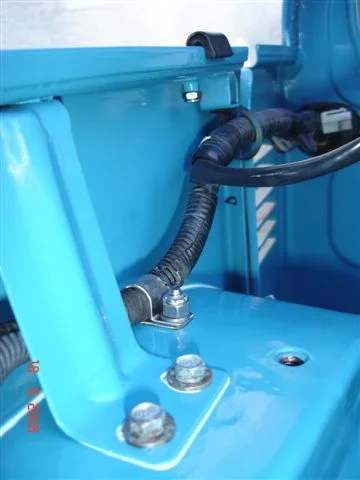


So here's some stuff related to that.......
Stainless brackets are easy to make yourself. Grab a drill bit slightly smaller than the diameter you want, use a vice and soft hammer etc to bend a piece of precut sheetmetal around it. Drill a hole in it. Tidy it up...... and hey presto ----- You have a better-than-bought stainless bracket:

Here's a couple of photos of the fender-sitting wiring:


- Thread starter
- #54
- Thread starter
- #55
You could free up some space in your garage by sending those Triumphs to me. I'd be more than happy to help you out.He He! Nice job on the cruiser looks great!
- Thread starter
- #57
- Thread starter
- #58
I really like your approach to disassemble the truck part-by-part and then really get into the rust prior to painting. I am following your approach and have started with the hardtop doors. Completely took them apart, removed all the rubber and felts. Took care of the rust inside the doors with POR and now I am completing the outside of the door.
The nice thing about your approach is that the truck stays drive-able, you start small and learn from your mistakes, and you can really fix all the small stuff, and you don't go broke - at least I think so.
My next step is to follow your hood instructions and then fenders - keep it up as I am stealing all your good ideas. I am figuring it will take about a year for me to do the complete truck.
Heck it might be like the Golden Gate bridge in San Francisco, they start at one end and paint the complete bridge, when they finish it is time to start at the beginning again. Start at the front of the FJ40 and then when you reach the back it is time to start at the front again. I hate rust.
I actually don't think I'm capable of doing something like a "body-off" restoration Brooklyn. The sheer magnitude of work involved would overwhelm me I think.
And I'm such a fussy bastard that I don't think I'd be happy with my end result - even if I were capabale of going down that road.
For instance - A key job I set myself here was to fill all the "surplus holes" in the fenders. I was able to mark all the unused ones with little bits of masking tape so I knew which ones to fill. Such attention-to-detail is much easier when you tackle little bits at a time.
I even did the LH fender before the RH one (rather than removing them both together). Crikey - I had enough labelled zip-lock plastic bags of bolts and stuff lying around even doing it that way!!!!!
And as you say - with the "piecemeal approach" you're never that far away from having it driveable again. So you can take a break from the "restoration" almost whenever you feel like it without feeling under any pressure. And it's easier to work within your budget as you also mention.

PS. I'm not looking forward to tackling the insides of my doors. (I have rust-holes in the outer skins of both doors now.)
- Thread starter
- #59
You could free up some space in your garage by sending those Triumphs to me. I'd be more than happy to help you out.He He! Nice job on the cruiser looks great!
Actually the one on the right is a 1949/1951 Matchless 500 single.
I've never even had it running yet. No damn time available.
 But I'm really looking forward to doing so. (It's got no muffler and a bent magneto shaft.) Hopefully it won't be too long before I terrorise the neighborhood with it
 Might join the Ulyses Club. I like their motto - "Growing old disgracefully" as I remember.

nice work
Cutting out the holes was a great idea they look like they belong there! Looks Good, Love the color
Great Photos
How do you like the diesel?
I am thinking of one in the future but After all the work on my FJ it will be a while before I could give her up and start over
Cutting out the holes was a great idea they look like they belong there! Looks Good, Love the color
Great Photos
How do you like the diesel?
I am thinking of one in the future but After all the work on my FJ it will be a while before I could give her up and start over
Similar threads
Users who are viewing this thread
Total: 1 (members: 0, guests: 1)


