- Thread starter
- #21
Thanks for all the positive comments everyone.
I often question my motives - And I was questioning my reasons for posting this thread.
I think there is probably a bit of "showing off" (as with everyone else who posts threads on work that they're proud of). But I also posted this cos I don't really care anymore if anyone thinks I'm a dickhead. I think this "not caring" attitude comes with age cos I was certainly sensitive to criticism in my younger days. Not caring has given me "new-found freedom" (and I wish had adopted that attitude at a much younger age).
Anyways - Surprise surprise - I don't seem to be getting much negative feedback anyway.

Thanks Hedgehog. (I've run over a few :whoops
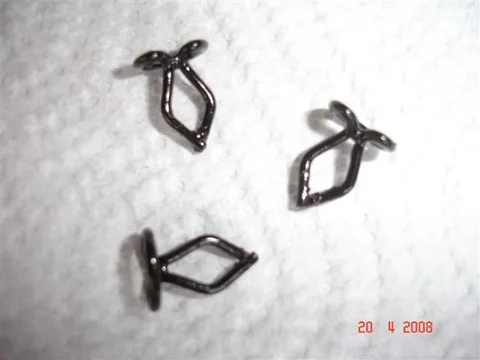
The hooks came from "Cool Cruisers of Texas" (CCOT). I can't remember the cost. It wasn't too bad anyway. But the freight getting them here to NZ was a killer (so I rarely buy anything from the USA now). They're quite good quality. The worst feature is that the internal springs are too strong. So it takes the thumbs of BOTH hands to unhook them.
Oh - Another thing bad (for me) was the "minimum purchase limit" and their refusal to accept creditcard or Paypal.
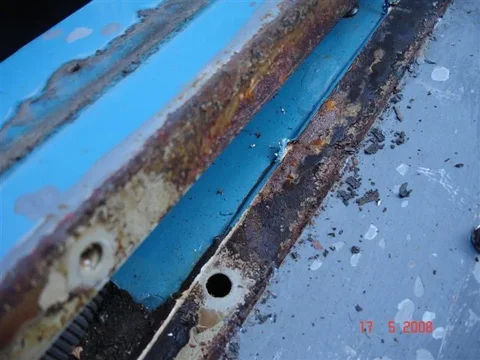
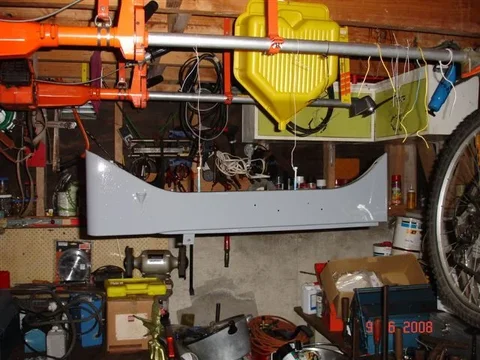
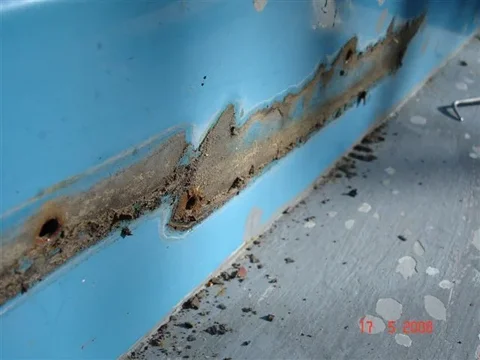
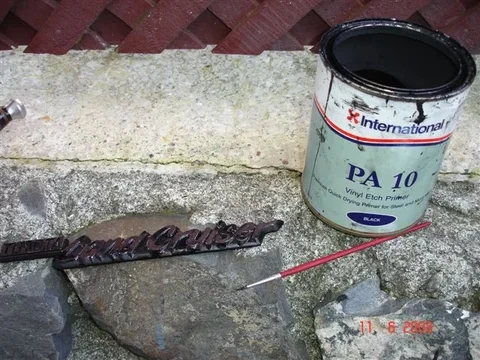
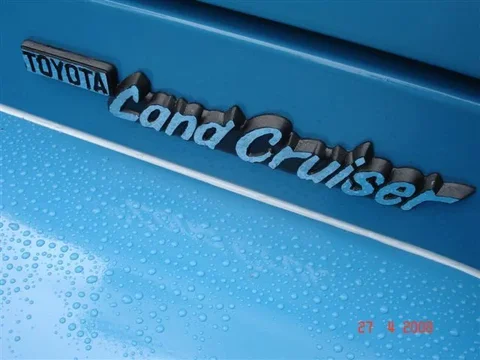
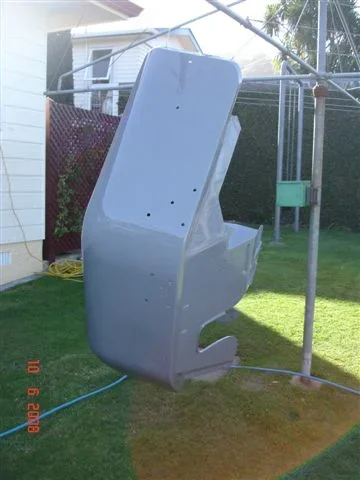
The hood was primed with gray POR15 (brushed on). Then topcoated with Dulon (a brandname used by PPG Paints) mixed to the formula for "Sky Blue 854".
Thanks Brooklyn
I made the components (except the lock and fasteners of course).
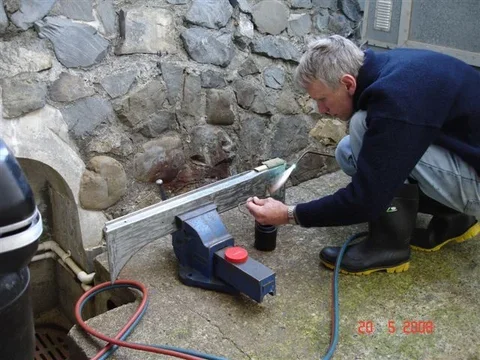
I welded up the two halves and then had them hot-dip galvanised. The idea of the galvanising was so that I wouldn't have to worry about scratching paint when I fit or remove the padlock.
I'll add a link here to another thread on "hood locks" where I supplied more details. (Soon and if I can find it.)
Here's that link (post No.16):
https://forum.ih8mud.com/40-55-series-tech/197022-bonnet-hood-lock.html
I often question my motives - And I was questioning my reasons for posting this thread.
I think there is probably a bit of "showing off" (as with everyone else who posts threads on work that they're proud of). But I also posted this cos I don't really care anymore if anyone thinks I'm a dickhead. I think this "not caring" attitude comes with age cos I was certainly sensitive to criticism in my younger days. Not caring has given me "new-found freedom" (and I wish had adopted that attitude at a much younger age).
Anyways - Surprise surprise - I don't seem to be getting much negative feedback anyway.
Great post. the paint came out great. what did you use for hardware , and for paint. dont forget to add to this when you do the front fenders toodid i say great job?

Thanks Hedgehog. (I've run over a few :whoops
The hooks came from "Cool Cruisers of Texas" (CCOT). I can't remember the cost. It wasn't too bad anyway. But the freight getting them here to NZ was a killer (so I rarely buy anything from the USA now). They're quite good quality. The worst feature is that the internal springs are too strong. So it takes the thumbs of BOTH hands to unhook them.
Oh - Another thing bad (for me) was the "minimum purchase limit" and their refusal to accept creditcard or Paypal.
The hood was primed with gray POR15 (brushed on). Then topcoated with Dulon (a brandname used by PPG Paints) mixed to the formula for "Sky Blue 854".
Now I have to do my hood! I also like your hood lock, where did you get the hardware for that nice trick? I am doing my hard doors as my first step in body work and sanding and painting. It seems prep is very important - I am now re-doing after being lazy with the prep.
Thanks Brooklyn
I made the components (except the lock and fasteners of course).
I welded up the two halves and then had them hot-dip galvanised. The idea of the galvanising was so that I wouldn't have to worry about scratching paint when I fit or remove the padlock.
I'll add a link here to another thread on "hood locks" where I supplied more details. (Soon and if I can find it.)
Here's that link (post No.16):
https://forum.ih8mud.com/40-55-series-tech/197022-bonnet-hood-lock.html
Last edited:

