This build has already been posted on Yotatech since I did it. Thought I'd share with the Ih8mud crowd. History to present day. Here goes.
So starting somewhere around January of 2010 I started hammering down on a truggy design... researching what i wanted, how to do it and creating dozens of extensive full featured designs until finally settling with one that satisified all my requirements.
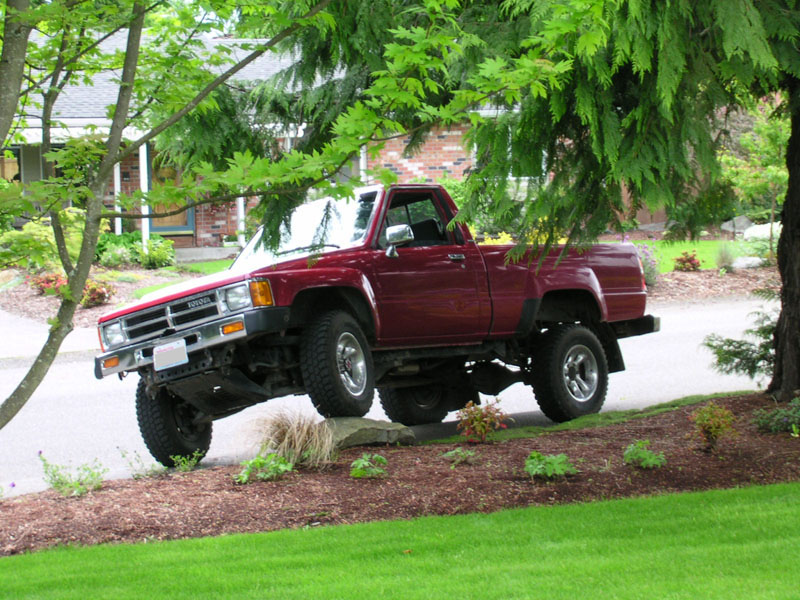
Starting the story from the beginning.
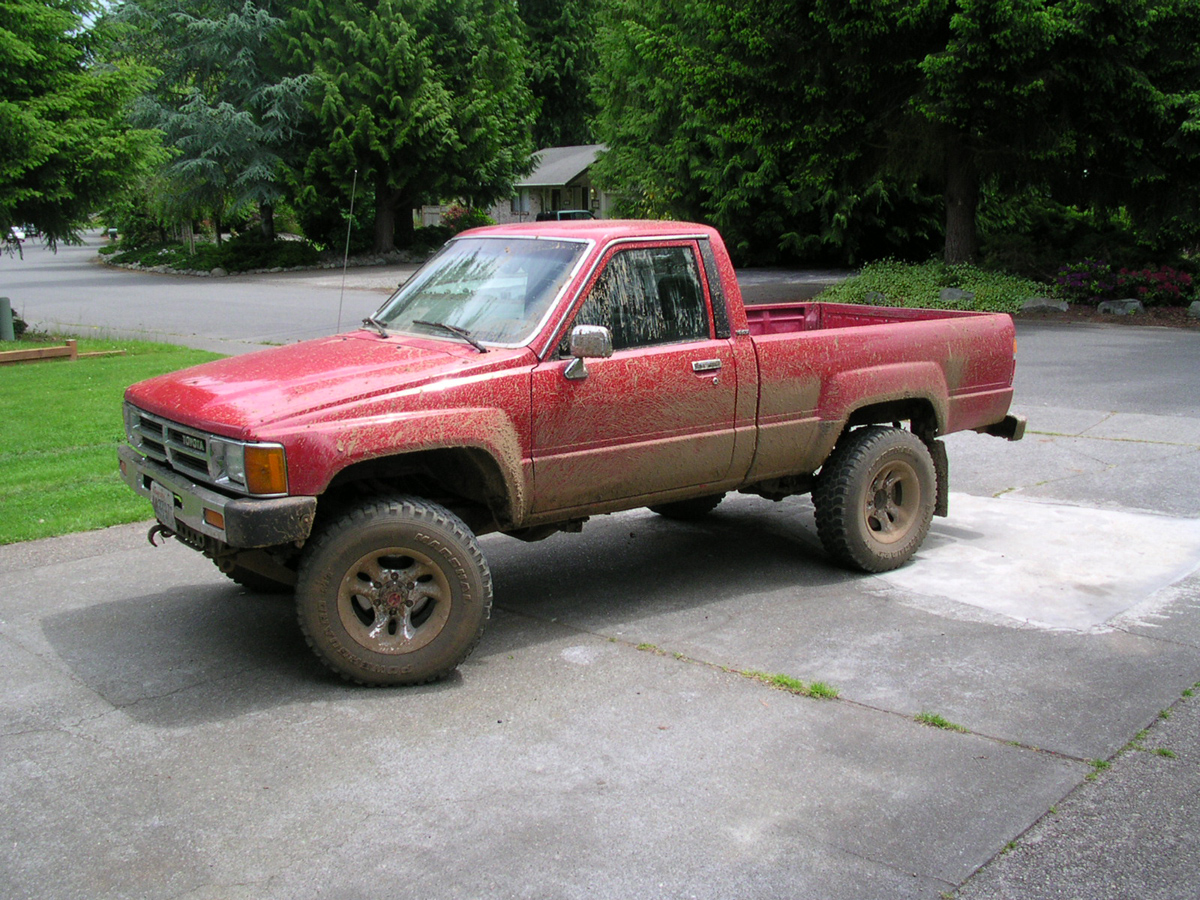
Stock pile of **** on a bent frame no exhaust crappy tires pile of dog ****")
[URL="http://www.dojodesign.com/toyota/pic/orig_3.jpg"][URL="http://www.dojodesign.com/toyota/pic/orig_3.jpg"][URL="http://www.dojodesign.com/toyota/pic/orig_3.jpg"][URL="http://www.dojodesign.com/toyota/pic/orig_3.jpg"] [/URL][/URL][/URL][/URL]


It had a bent frame so I decided to frame swap it. Find the whole thread on it here:
Chassis Swap - Progress Thread *56k warning - YotaTech Forums
[URL="http://www.dojodesign.com/toyota/chassis_swap/day3/newframe2.jpg"][URL="http://www.dojodesign.com/toyota/chassis_swap/day3/newframe2.jpg"][URL="http://www.dojodesign.com/toyota/chassis_swap/day3/newframe2.jpg"][URL="http://www.dojodesign.com/toyota/chassis_swap/day3/newframe2.jpg"] [/URL][/URL][/URL][/URL]
Before the swap I had already junked the rear drums for a disc conversion. Thread here:
Rear Disc Brake Conversion - Writeup - YotaTech Forums
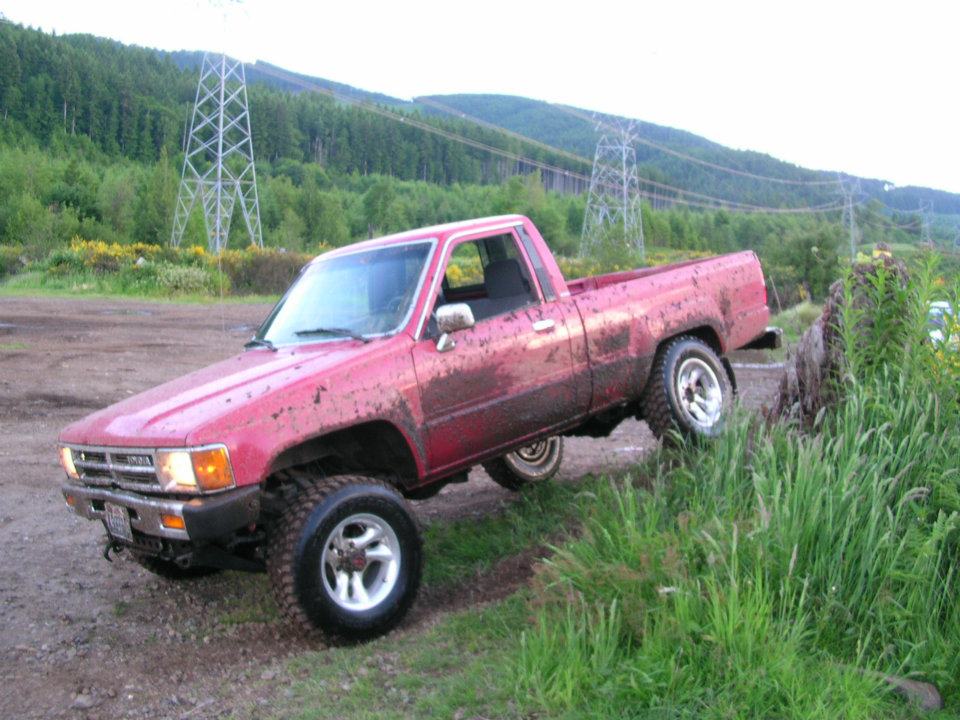
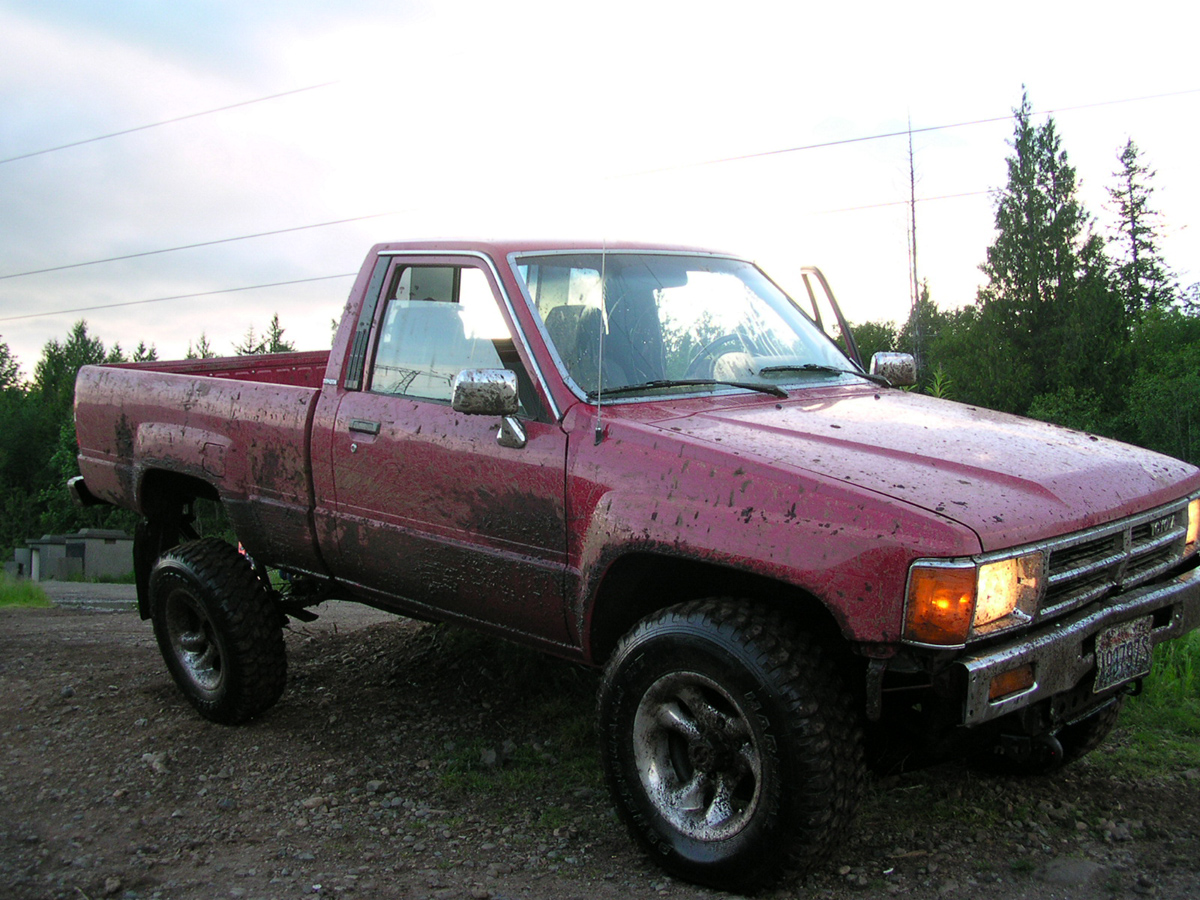
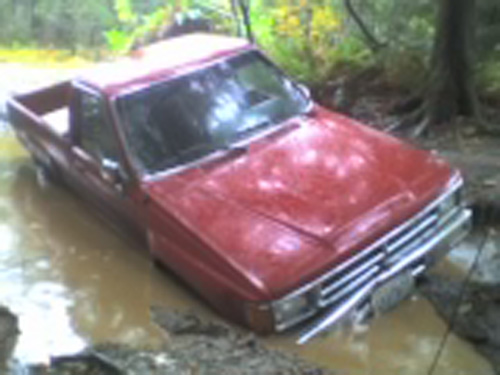
I had TONS of fun when it was still IFS... I mean tons, I beat the **** out of this truck and put it through everything it could possibly do.
[URL="http://www.dojodesign.com/toyota/misc/ohstuck.jpg"][URL="http://www.dojodesign.com/toyota/misc/ohstuck.jpg"][URL="http://www.dojodesign.com/toyota/misc/ohstuck.jpg"][URL="http://www.dojodesign.com/toyota/misc/ohstuck.jpg"] [/URL][/URL][/URL][/URL]
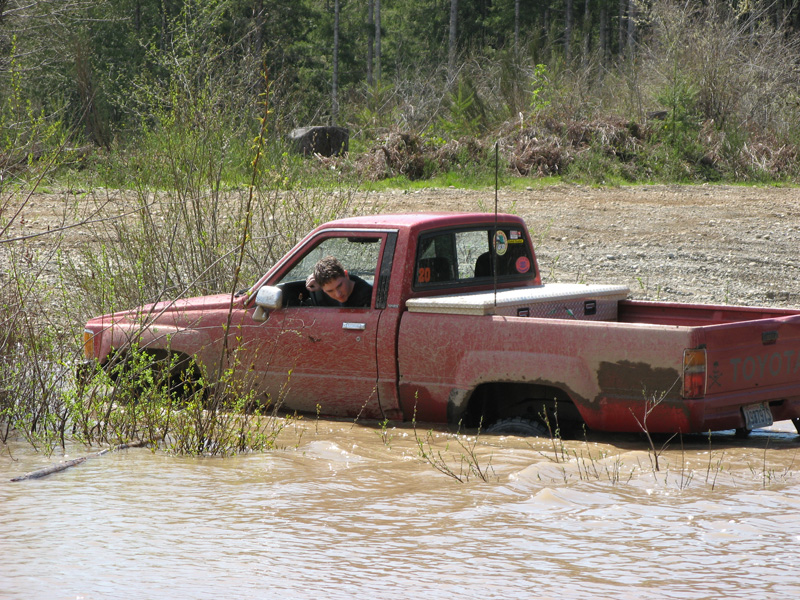
some might recognize this picture from the YT forum banner
[URL="http://www.dojodesign.com/toyota/misc/inwater09.jpg"][URL="http://www.dojodesign.com/toyota/misc/inwater09.jpg"][URL="http://www.dojodesign.com/toyota/misc/inwater09.jpg"][URL="http://www.dojodesign.com/toyota/misc/inwater09.jpg"] [/URL][/URL][/URL][/URL]
[URL="http://www.dojodesign.com/toyota/misc/oopshole.jpg"][URL="http://www.dojodesign.com/toyota/misc/oopshole.jpg"][URL="http://www.dojodesign.com/toyota/misc/oopshole.jpg"][URL="http://www.dojodesign.com/toyota/misc/oopshole.jpg"] [/URL][/URL][/URL][/URL]
[URL="http://www.dojodesign.com/toyota/misc/rockcandywater2.jpg"][URL="http://www.dojodesign.com/toyota/misc/rockcandywater2.jpg"][URL="http://www.dojodesign.com/toyota/misc/rockcandywater2.jpg"][URL="http://www.dojodesign.com/toyota/misc/rockcandywater2.jpg"] [/URL][/URL][/URL][/URL]
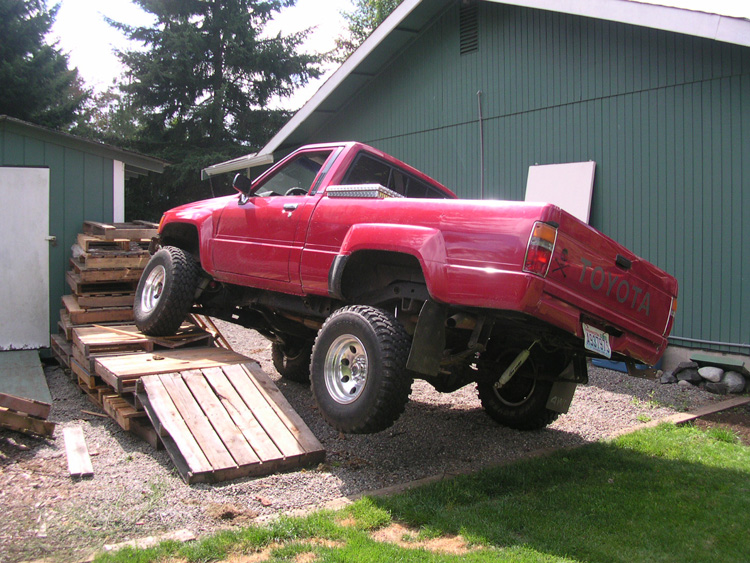
[URL="http://www.dojodesign.com/toyota/5pallets.jpg"][URL="http://www.dojodesign.com/toyota/5pallets.jpg"] [/URL][/URL]
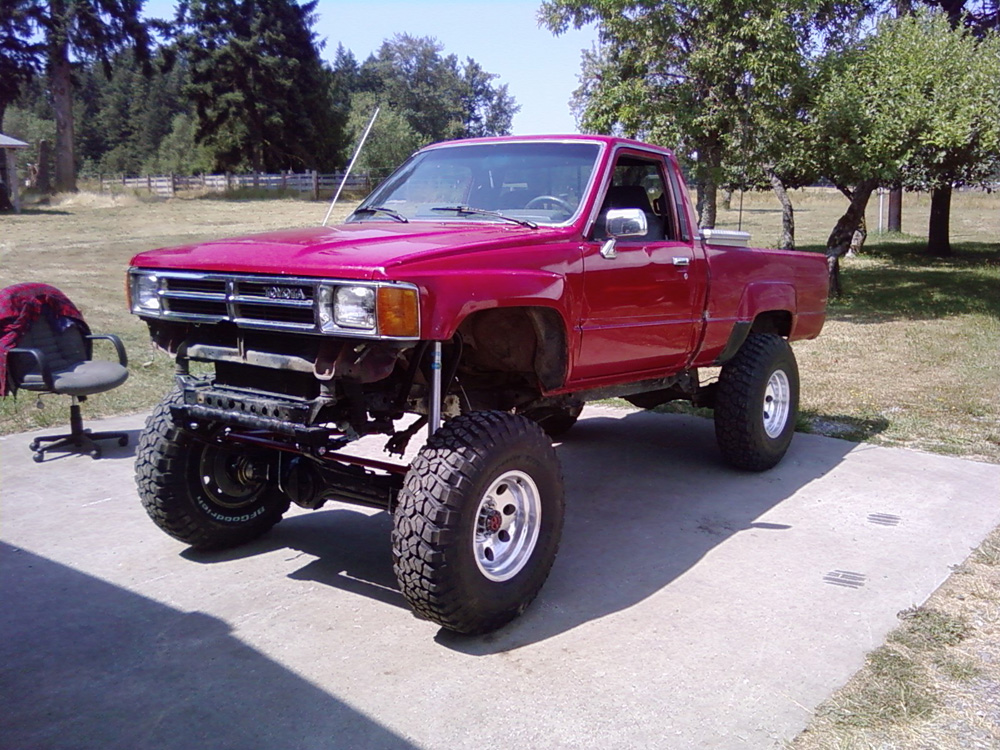
years later I SAS'd it.
Trail Gear 3" IFS eliminator Kit.
Heres the first rollout picture, 2" body lift, 3" TG kit, no rear mods done yet on brand new 33 KM2's
[URL="http://www.dojodesign.com/toyota/sas/rollout.jpg"][URL="http://www.dojodesign.com/toyota/sas/rollout.jpg"][URL="http://www.dojodesign.com/toyota/sas/rollout.jpg"][URL="http://www.dojodesign.com/toyota/sas/rollout.jpg"] [/URL][/URL][/URL][/URL]
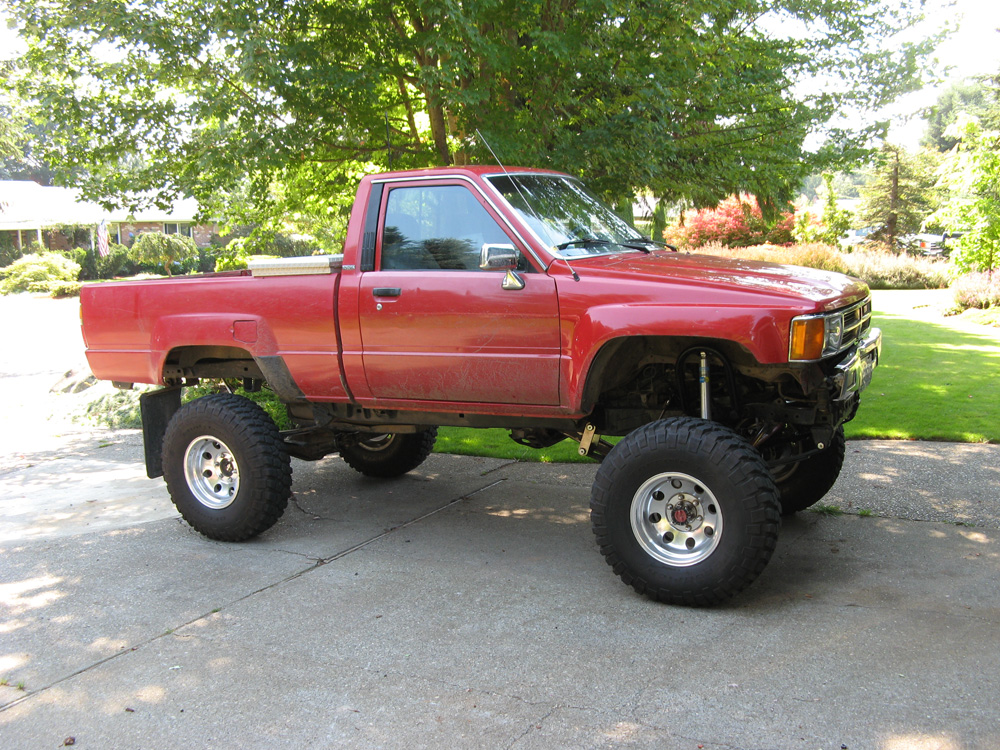
2" blocks in back and custom packs on 33's
[URL="http://www.dojodesign.com/toyota/sas/level.jpg"][URL="http://www.dojodesign.com/toyota/sas/level.jpg"][URL="http://www.dojodesign.com/toyota/sas/level.jpg"][URL="http://www.dojodesign.com/toyota/sas/level.jpg"] [/URL][/URL][/URL][/URL]
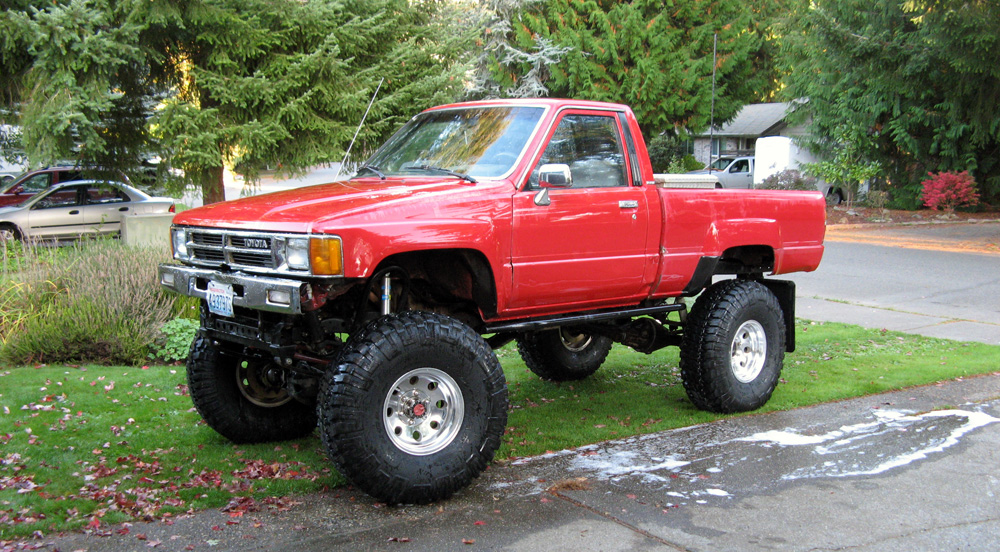
skipping ahead... 5.29 gears... Aussie Rear locker.. Detroit Truetrac in the front axle (5.29 obviously as well) and 37x12.5R15 brand new Goodyear Wrangler MT/R's x5 (spare)
[URL="http://www.dojodesign.com/toyota/37/37_2.jpg"][URL="http://www.dojodesign.com/toyota/37/37_2.jpg"][URL="http://www.dojodesign.com/toyota/37/37_2.jpg"][URL="http://www.dojodesign.com/toyota/37/37_2.jpg"] [/URL][/URL][/URL][/URL]
[URL="http://www.dojodesign.com/toyota/37/clearanced.jpg"][URL="http://www.dojodesign.com/toyota/37/clearanced.jpg"][URL="http://www.dojodesign.com/toyota/37/clearanced.jpg"][URL="http://www.dojodesign.com/toyota/37/clearanced.jpg"] [/URL][/URL][/URL][/URL]
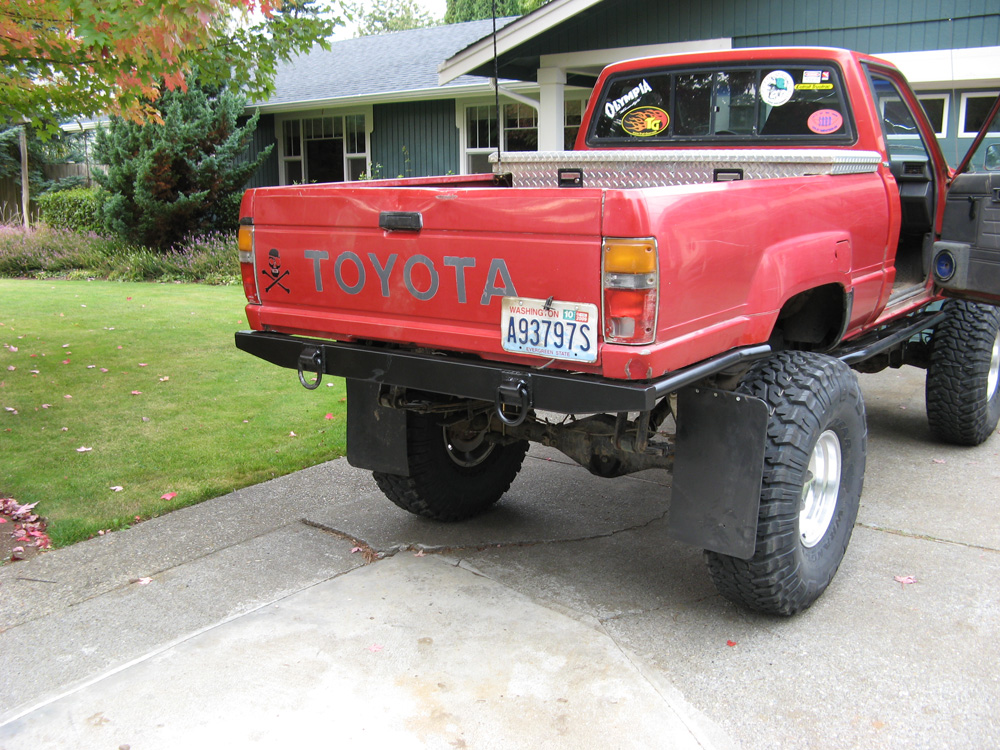
later I added a custom rear bumper... and TG sliders
thread here: Rear Bumper Build (Pic Heavy) - YotaTech Forums
[URL="http://www.dojodesign.com/toyota/rearbumper/bumper_mudflaps.jpg"]
[URL="http://www.dojodesign.com/toyota/rearbumper/bumper_mudflaps.jpg"][URL="http://www.dojodesign.com/toyota/rearbumper/bumper_mudflaps.jpg"] [/URL][/URL][/URL]
So starting somewhere around January of 2010 I started hammering down on a truggy design... researching what i wanted, how to do it and creating dozens of extensive full featured designs until finally settling with one that satisified all my requirements.
Starting the story from the beginning.
Stock pile of **** on a bent frame no exhaust crappy tires pile of dog ****
[URL="http://www.dojodesign.com/toyota/pic/orig_3.jpg"][URL="http://www.dojodesign.com/toyota/pic/orig_3.jpg"][URL="http://www.dojodesign.com/toyota/pic/orig_3.jpg"][URL="http://www.dojodesign.com/toyota/pic/orig_3.jpg"]
 [/URL][/URL][/URL][/URL]
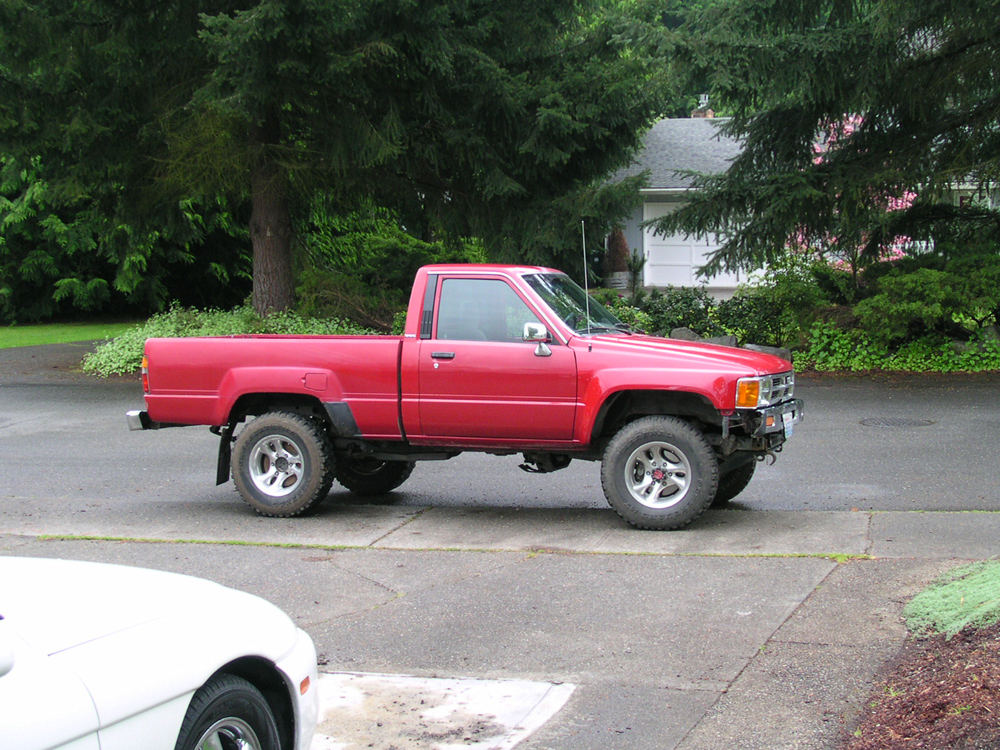
It had a bent frame so I decided to frame swap it. Find the whole thread on it here:
Chassis Swap - Progress Thread *56k warning - YotaTech Forums
[URL="http://www.dojodesign.com/toyota/chassis_swap/day3/newframe2.jpg"][URL="http://www.dojodesign.com/toyota/chassis_swap/day3/newframe2.jpg"][URL="http://www.dojodesign.com/toyota/chassis_swap/day3/newframe2.jpg"][URL="http://www.dojodesign.com/toyota/chassis_swap/day3/newframe2.jpg"]
 [/URL][/URL][/URL][/URL]
Before the swap I had already junked the rear drums for a disc conversion. Thread here:
Rear Disc Brake Conversion - Writeup - YotaTech Forums
I had TONS of fun when it was still IFS... I mean tons, I beat the **** out of this truck and put it through everything it could possibly do.
[URL="http://www.dojodesign.com/toyota/misc/ohstuck.jpg"][URL="http://www.dojodesign.com/toyota/misc/ohstuck.jpg"][URL="http://www.dojodesign.com/toyota/misc/ohstuck.jpg"][URL="http://www.dojodesign.com/toyota/misc/ohstuck.jpg"]
 [/URL][/URL][/URL][/URL]
some might recognize this picture from the YT forum banner
[URL="http://www.dojodesign.com/toyota/misc/inwater09.jpg"][URL="http://www.dojodesign.com/toyota/misc/inwater09.jpg"][URL="http://www.dojodesign.com/toyota/misc/inwater09.jpg"][URL="http://www.dojodesign.com/toyota/misc/inwater09.jpg"]
 [/URL][/URL][/URL][/URL]
[URL="http://www.dojodesign.com/toyota/misc/oopshole.jpg"][URL="http://www.dojodesign.com/toyota/misc/oopshole.jpg"][URL="http://www.dojodesign.com/toyota/misc/oopshole.jpg"][URL="http://www.dojodesign.com/toyota/misc/oopshole.jpg"]
 [/URL][/URL][/URL][/URL]
[URL="http://www.dojodesign.com/toyota/misc/rockcandywater2.jpg"][URL="http://www.dojodesign.com/toyota/misc/rockcandywater2.jpg"][URL="http://www.dojodesign.com/toyota/misc/rockcandywater2.jpg"][URL="http://www.dojodesign.com/toyota/misc/rockcandywater2.jpg"]
 [/URL][/URL][/URL][/URL]
[URL="http://www.dojodesign.com/toyota/5pallets.jpg"][URL="http://www.dojodesign.com/toyota/5pallets.jpg"]
 [/URL][/URL]
years later I SAS'd it.
Trail Gear 3" IFS eliminator Kit.
Heres the first rollout picture, 2" body lift, 3" TG kit, no rear mods done yet on brand new 33 KM2's
[URL="http://www.dojodesign.com/toyota/sas/rollout.jpg"][URL="http://www.dojodesign.com/toyota/sas/rollout.jpg"][URL="http://www.dojodesign.com/toyota/sas/rollout.jpg"][URL="http://www.dojodesign.com/toyota/sas/rollout.jpg"]
 [/URL][/URL][/URL][/URL]
2" blocks in back and custom packs on 33's
[URL="http://www.dojodesign.com/toyota/sas/level.jpg"][URL="http://www.dojodesign.com/toyota/sas/level.jpg"][URL="http://www.dojodesign.com/toyota/sas/level.jpg"][URL="http://www.dojodesign.com/toyota/sas/level.jpg"]
 [/URL][/URL][/URL][/URL]
skipping ahead... 5.29 gears... Aussie Rear locker.. Detroit Truetrac in the front axle (5.29 obviously as well) and 37x12.5R15 brand new Goodyear Wrangler MT/R's x5 (spare)
[URL="http://www.dojodesign.com/toyota/37/37_2.jpg"][URL="http://www.dojodesign.com/toyota/37/37_2.jpg"][URL="http://www.dojodesign.com/toyota/37/37_2.jpg"][URL="http://www.dojodesign.com/toyota/37/37_2.jpg"]
 [/URL][/URL][/URL][/URL]
[URL="http://www.dojodesign.com/toyota/37/clearanced.jpg"][URL="http://www.dojodesign.com/toyota/37/clearanced.jpg"][URL="http://www.dojodesign.com/toyota/37/clearanced.jpg"][URL="http://www.dojodesign.com/toyota/37/clearanced.jpg"]
later I added a custom rear bumper... and TG sliders
thread here: Rear Bumper Build (Pic Heavy) - YotaTech Forums
[URL="http://www.dojodesign.com/toyota/rearbumper/bumper_mudflaps.jpg"]
[URL="http://www.dojodesign.com/toyota/rearbumper/bumper_mudflaps.jpg"][URL="http://www.dojodesign.com/toyota/rearbumper/bumper_mudflaps.jpg"]
 [/URL][/URL][/URL]


