Differential shop in Phoenix area (1 Viewer)

This site may earn a commission from merchant affiliate
links, including eBay, Amazon, Skimlinks, and others.

Joined
Jun 24, 2010
Threads
5
Messages
28
Location
Sunnyvale, CA
Website
www.rafitography.com
Hello gentlemen,
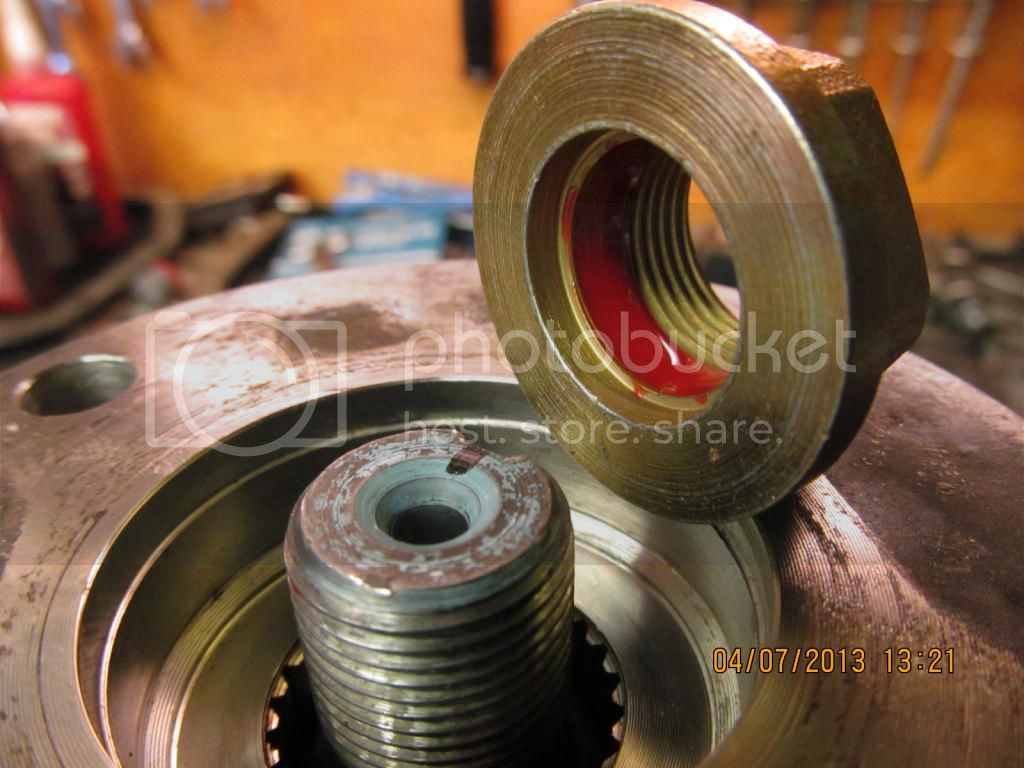
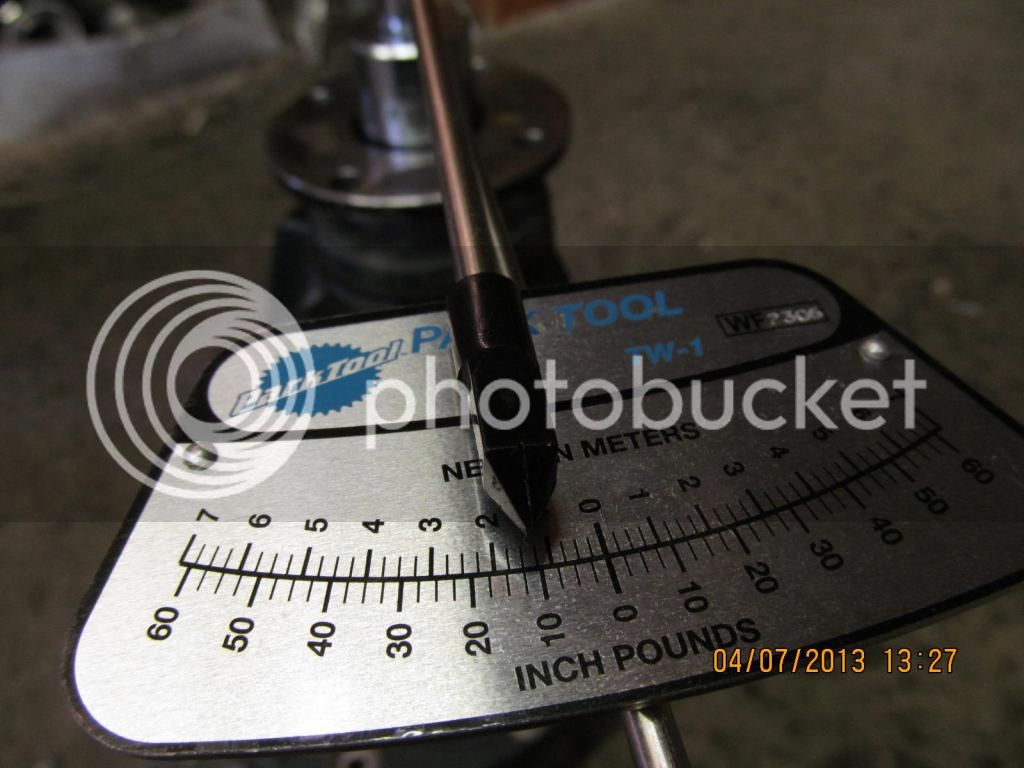
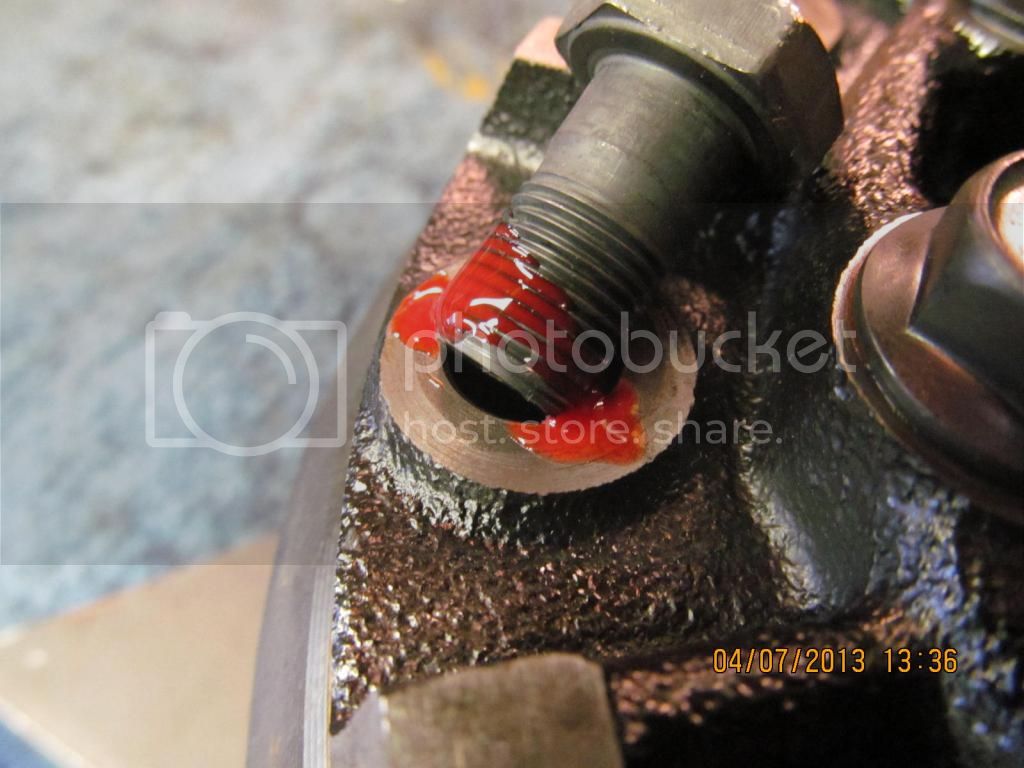
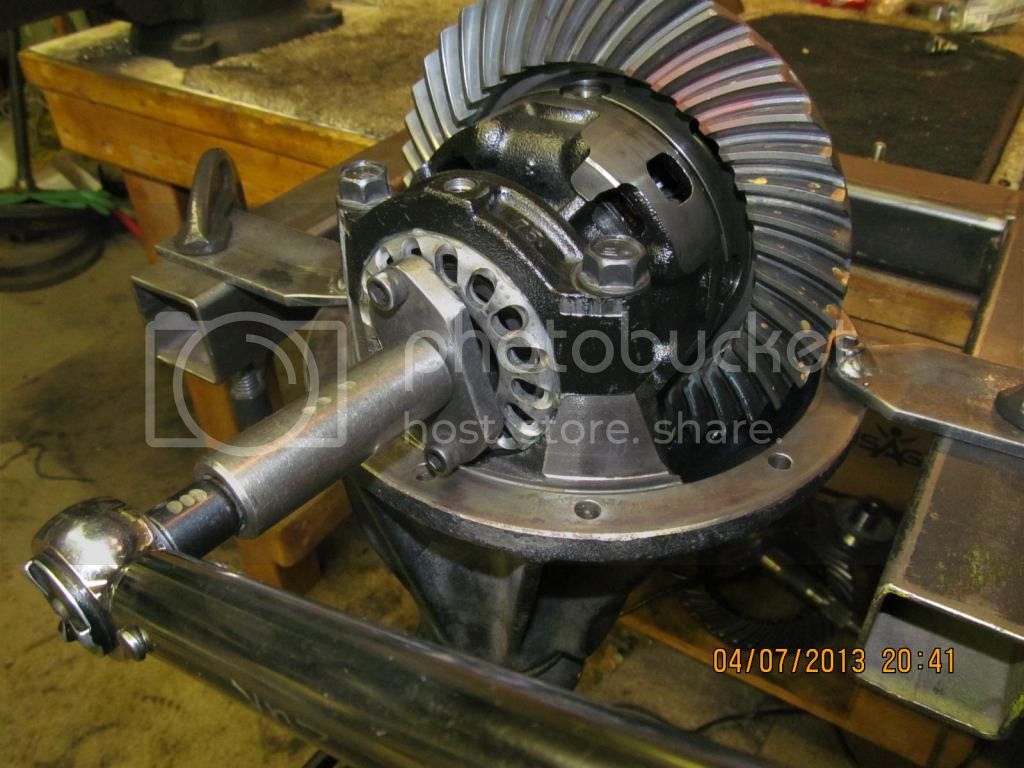
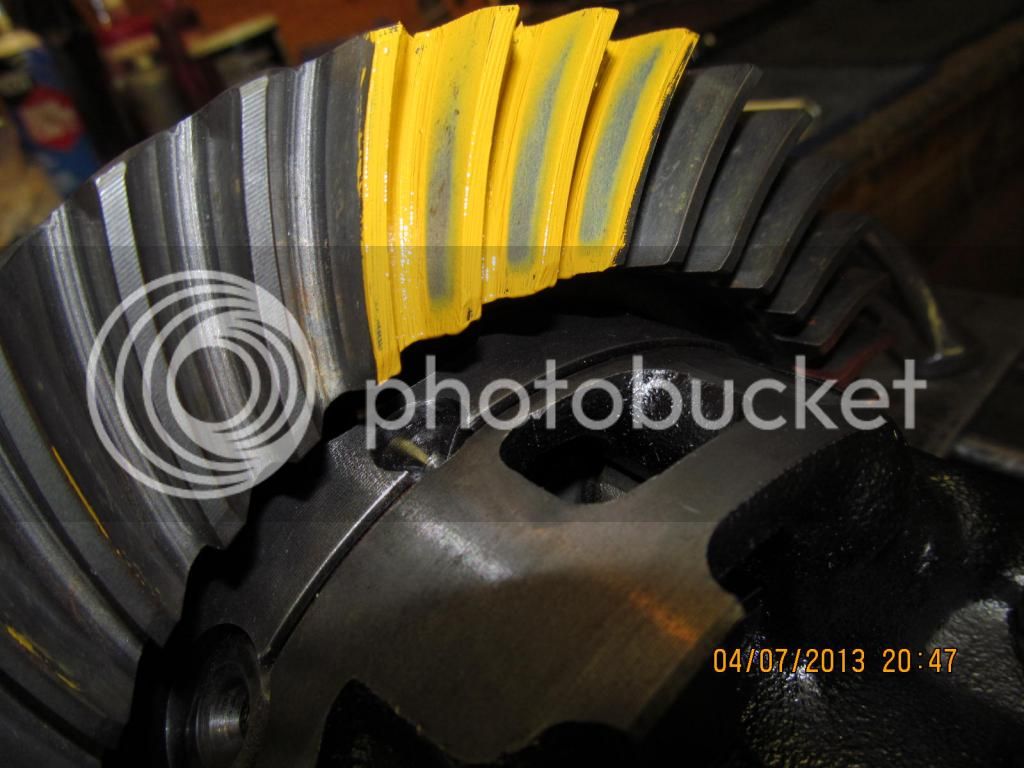
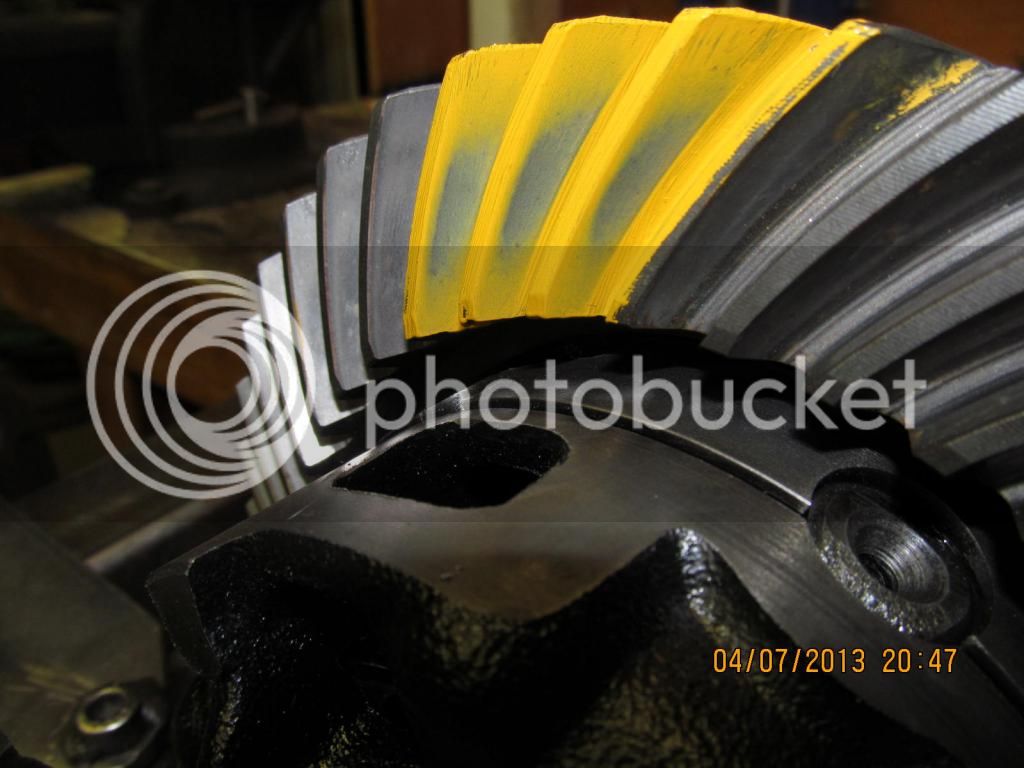
I need your advice please on a noisy rear differential on a 1999 4runner. My daughter drove her 4runner from LA to Phonix to do a film project, when the rig started to make noise. Pep Boys diagnosed it as noise from the rear differential and estimated the repair to be $2,000!.

Can you please recommend a differential shop in Phoenix AZ, which hopefully will rebuild the rear differential for a reasonable price, and in one day, so she can get back to LA

Thank you in advance,
 
might be quicker to source a used third member and swap it out. any idea what gears?

Sounds like he is in Kalifornia and his daughter is out here, probably not a DIY task.
 
murf (Eric Murphy) at Camelback Toyota is probably your best bet to get it done both quickly and correctly.
 
If it was my daughter :princess: 
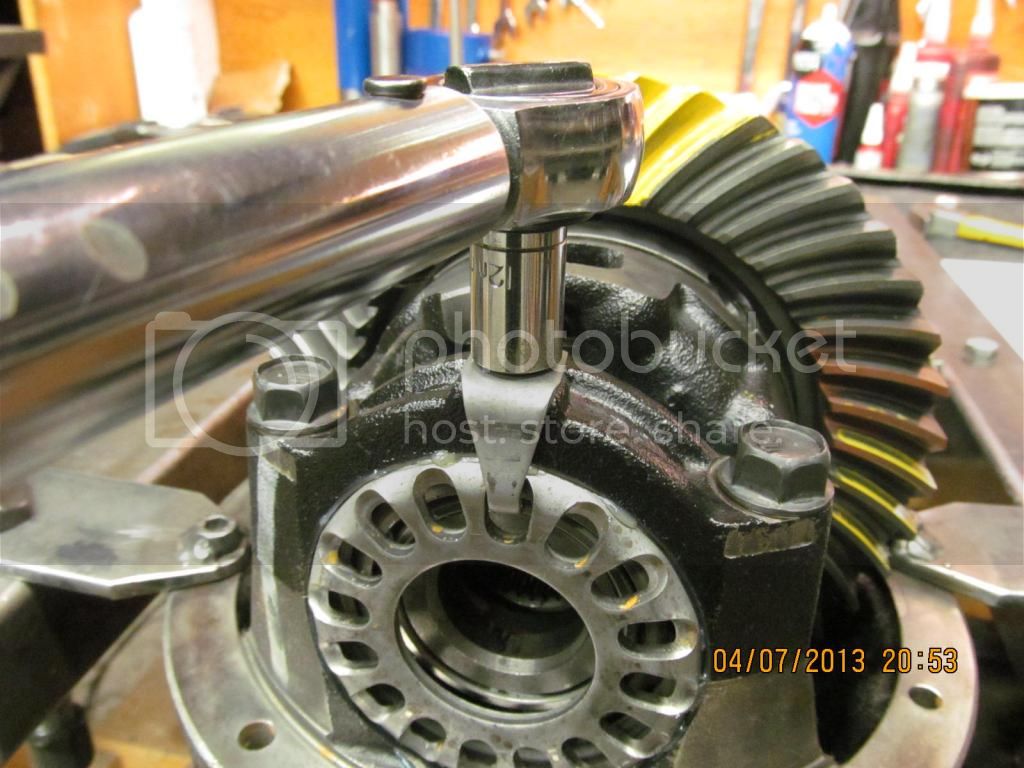
500 miles from home, I would want complete confidence that it was fixed right.

1+ for using Camelback Toyota.
 
I looked at Tali's 99 Runner....there were a couple things going on at the same time. The rumble noise I heard sounded like the wheel bearings( I felt some play in the wheel bearings when I put it on jackstands)....right side was worse. The u-joint has some visual rotational play...not too excessive but could account for some noise. The pinion bearings sounded like a high frequency jet so those will need replacing in a year or less. I told her to keep it at 60 all the way there and all should be good. Let her borrow my temperature gun to shoot some temps on her way over to LA. She said she only saw 150 degrees so that was comforting at least. Ken
 
Ken is so amazing. He checked the 4Runner and said that nothing is wrong with the differential, and even let her borrow his temperature gun to check the wheel bearings. Tali arrived to LA this evening.
Thank you so so much Ken.
 
I looked at Tali's 99 Runner....there were a couple things going on at the same time. The rumble noise I heard sounded like the wheel bearings( I felt some play in the wheel bearings when I put it on jackstands)....right side was worse. The u-joint has some visual rotational play...not too excessive but could account for some noise. The pinion bearings sounded like a high frequency jet so those will need replacing in a year or less. I told her to keep it at 60 all the way there and all should be good. Let her borrow my temperature gun to shoot some temps on her way over to LA. She said she only saw 150 degrees so that was comforting at least. Ken


Rear wheel bearings/seals are a common issue with third Gen 4Runners... Check out this thread, can be a tricky fix too. Have fun :wrench:http://www.toyota-4runner.org/3rd-g...on-replacement-thread-3rd-gen.html#post571040
 
:cool: Glad things worked out.
 
Thought I'd post a few pics of Rafi's gear install. Rafi sent me the V6 3rd and the short end of the driveshaft with a genuine Toyota u-joint. Ever looked at one up close? They are like a piece of art....well machined steel.
Rafi is replacing both rear axle bearings and also a new radiator to avoid the pink milkshake. I think he's also replacing the engine belts, water pump, and timing belt.

IMG_0552_zpsbf24d0f6.jpg

As received from Fedex from Rafi....I partially unpacked it already.


IMG_0555_zps40d0c6a5.jpg

Here's the u-joint assembly....it's in "kit form" If you separate the driveshaft at the spline which was obviously done here because Rafi sent me the short piece of driveshaft along with the 3rd, Just make sure you take a rat file or similar and rasp some grind slots at the spline junction like we did.....that way, the driveshaft can be put together exactly in phase as before....so no vibrations or strange rumbles.

IMG_0558_zps647479e2.jpg

The master kit received from http://justdifferentials.com There were a few items that did not make this picture...the brush,paint, loctite packet, and shims.
 
Last edited:
IMG_0566_zpse0e9a814.jpg

Upon dis-assembly, I rotated the pinion back and forth and could hear the jet airliner noise.


IMG_0567_zpsc380be34.jpg

The pinion was notchy....took over 20 inch/pounds before it would free up. This is on a V6 3rd with over 100,000 miles on it so this means the pinion bearing is heading towards self destruction.


IMG_0572_zpsab377089.jpg

The carrier bearings came off with just finger power. That would change as I will put the new bearings on with Loctite "sleeve lock". This loose bearing condition tends to mostly happen to the "4 cylinder" 3rds more than the V6 ones.
 
IMG_0577_zps9dbb9ba3.jpg

I'm upgrading the crush sleeve to the heavy duty solid collar.


IMG_0587_zps7ffd4ae5.jpg

The beat up outer pinion race has a glazed wrinkled pattern look that is hard to see here.


IMG_0591_zps3550ef9a.jpg

New races are pressed in.


IMG_0597_zps621c0080.jpg

The pinion end is assembled which involves re-shimming the solid collar multiple times to get the pre-load just right....then tapping in the new seal and red loctite on the new pinion nut, of course.


IMG_0599_zps8b7fc69c.jpg

With the nut super tight, I was measuring a modest 12 in/lb start torque.
 
IMG_0602_zps86ab1e1c.jpg

I removed those nasty Toyota locking tabs ...cleaned the 10 ring bolts with "ether" which seems to remove ALL oil residues,,,red loctite and 75 ft/lbs.


IMG_0606_zps5160dc95.jpg

Bearing caps can now be put on...adjuster wheels are cranked reasonably tight but not too tight as this is a highway type of rig. Backlash is tweaked while the CBPL is brought to spec...in this case, I want a minimum 80 ft/lb on the wheels.


IMG_0608_zpsa56cb246.jpg

Yellow marking compound is applied and this drive pattern is good.


IMG_0609_zps06fe2339.jpg

The coast looks really good.


IMG_0610_zpsbdd96b33.jpg

18 in/lb start torque is the combined pinion plus turning of the carrier bearings. A pretty healthy number.


IMG_0612_zps0f9b6f44.jpg

After verifying the pre-loads and backlash and all the hammer raps on the sides to make sure bearing tensions are equalized, now it's time to button it up....blue loctite and 10 ft/lb on these 2 little lock tabs.


IMG_0613_zps82991b32.jpg

Some documentation is etched on the ring gear with a diamond bit. They sound expensive but are actually dirt cheap in price but you will never do this with standard bits....night and day difference.
Rafi should see this 3rd on Friday. :)
 
Last edited:
Thanks :)
These are the only 4 pics I have of the u-joint install......

IMG_06171_zps0f7ae499.jpg

remove old caps....


IMG_06181_zpsb90d287f.jpg

Press these 2 in and snap the clips in place....


IMG_06191_zpse24e0c5f.jpg

Then install the remaining 2 caps. I did not want to destroy any of the roller pins and some of you that have done this know how easy it is to destroy that one rogue roller pin that fell out of place.


IMG_06201_zpsa457c297.jpg

Done :)
 
Last edited:
:cool:
 

Users who are viewing this thread

Back
Top Bottom