Coastal Offroad Bumper Kits

This site may earn a commission from merchant affiliate
links, including eBay, Amazon, Skimlinks, and others.

The guy in this video had to make cut outs in the bumper to fit his AC lines on his 4Runner.


My suggestion is to make sure you have clearance the bumper at the AC line. Ours looked to clear but rubbed. We ended up replacing the AC HP line. When we had it installed, the original unit had some rubbing. Might have been OK but we drive the desert, We need the AC!
 
Thanks teejnut.

Here is the summary:
"Coastal Offroad Spring 2019 Group Buy
To celebrate the launch of our new website and 5th gen 4Runner front bumper, I'm pleased to announce our Coastal Offroad Spring 2019 group buy! It will be starting on Monday, May 20th and running until the end of the last day of Spring (June 20th).

This group buy applies to all 4Runner products including our bumper, skid plate, rock slider and tire carrier kits for all gens.

The discounts we are offering for this group buy are as follows:
0-9 members: 10% off
10-19 members: 15% off
20+ members: 20% off

In addition to these discounts, when you order two or more items at once, you will receive $100 off of shipping!

We are located in Canada but all prices on the new website will be displayed directly in USD. We've done our homework to create a quick and seamless buying process for all of you guys across the line, which make up about 85% of our orders! There are no additional duties or fees to pay when receiving your bumper kits. What do see at checkout is all that you pay. And its also very quick. The average delivery time from the time it leaves our shop is 4 days to the lower 48. If you are far out east 5-6 days.


Since this group buy is starting later than originally planned, we are organizing the group buy as follows to get everyone their products as soon as possible:

1. Select the products you would like to purchase as usual. At checkout, enter the coupon code: 'T4RGB2019'
This is a 10% off coupon code that will give you the guaranteed minimum group buy discount of 10% off. If you are ordering more than one item at once, your order will also be eligible for the $100 shipping discount, which you may receive by entering the code 'FULLSEND' Also be sure to include your T4R user name in the notes section of your order so I can add you to the group buy list on here.

As soon as we receive your order, we will begin processing it and it will ship out within 2-6 business days of ordering. (please allow slightly longer for orders with swing out kits)

2. As soon as the group buy ends (June 20) or reaches 20 members, you will then receive an additional rebate to make up the rest of the 15 or 20% discount depending on the number of participants.

Go to Home | Coastal Offroad for ordering and all product details!

Don't hesitate to contact me with any questions by PM or through info@coastaloffroad.com. I typically reply to email the fastest."
 
I confirmed with Brandon that the Group buy will be tracked on the 4-Runner T4R.org website. We must register there and post:

I am in for the Front Bumper and Sliders. I’m going to start with the sliders, teach myself to weld. I’ll Tack them up and have a traveling Welder finish the seams at any point I don’t feel comfortable. Ask them if I can watch and learn a thing to two.

With the combination of both Forums, There is a good chance of the full discount being reached.
 
On the front bumper, did you guys bend the radiator lines to clear plate #12 (bottom wing plate) or did you cut a relief to accommodate them? I only had to space mine out a bit to clear pate #1 but it is a big interference with the lines and the bottom wing plate. Pictures are always appreciated :)
 
For those with the rear. Any under carriage pics? Thinking of getting the rear without swingouts for the time being and keep the spare underneath. Does the rear bumper eat into the spare tire space at all? Does it go pass the frames on the side or the crossmember on the rear? TIA!
You’ll be fine with you spare in the OEM location. My factory tow hitch encroached more than this bumper.
Here’s the only pic I have currently. You can see all 6 bolt holes for the passenger and driver sides. Same ones the tow hitch use.

96EAFF58-66D5-4726-A5C3-CACFD21E2588.webp
 
Pictures of winches installed in front bumper would be mucho helpful! The A/C line is in a terrible spot.
 
Pictures of winches installed in front bumper would be mucho helpful! The A/C line is in a terrible spot.
Not just the AC but we had an oil cooler line in the way as well. I took ours to an ac shop to have the line re routed. We did relocate the oil line too. Also we clearances the bumper where the AC line fits through.
 
You’ll be fine with you spare in the OEM location. My factory tow hitch encroached more than this bumper.
Here’s the only pic I have currently. You can see all 6 bolt holes for the passenger and driver sides. Same ones the tow hitch use.

Thanks! Does the rear part of the bumper go past the cross member at all?
 
Another situation I just realized is that once the skid plate is welded to the front, priming and painting that covered surface will not be possible. Did everyone paint that area before completing the skid plate? Is powder coating a better option for this reason?
 
I am almost done my bumper and hit another set back. There isn't much room for a winch, at least not the X20 10k. I was able to clock the gears so that the engagement handle is reachable through the front hole with about 2mm to spare before it hits the front plate. The issue I have now is how to mount the control box. This winch has a few mounting options but any which way I try it, it hits the top plate. Does everyone one just clearance the bumper to fit it or is the preferred method to do a remote mount in the engine bay?
 
I have completed the bumper (at least for now) and did not make good on my promise to create a "how to" because Brandon's instructions are sufficient. The instructions could use some clarity but they work. One thing to point out is that when lining up the plates, they are designed to meet like this |___ instead of flush. This way the weld fills the 90* valley. My headlight filler plates didn't come out very well mostly because my welding isn't pretty and i was only able to grind so much of it :(. At a later date I might have a buddy go back over it with my TIG to pretty it up. Also, I can't paint to save the world so, I have that going for me too. The only criticism I have is the bumper needs 30mm more on the winch plate and then everything adjusted to suit. I struggled like hell to fit my X20 winch in there and I still have contact with the A/C line and the power steering line to the winch. At this point I have to move on because we pack up in 2 days for TN.

Overall, I like this bumper and it looks good (except my paint job). I have no doubt that it will hold up to the abuse.
1994799
 
Just noting that I emailed Brandon and aluminum bumpers are not included in the group buy. I've got my kit and just need to find a welder in the bay area. If anyone has recommendations, PM me. (a couple said hell no, we have a big demand for welders here)
 
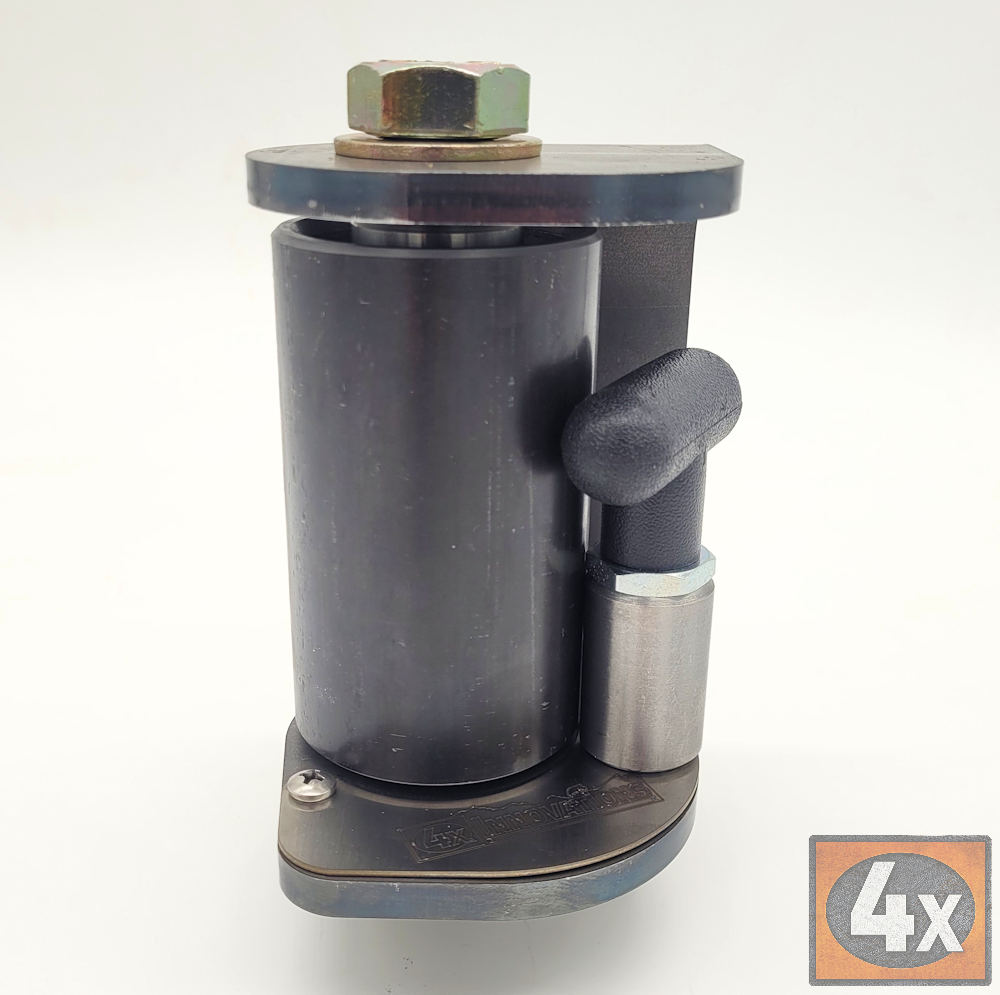
Any one else having issues with the hiem joints ? I am noticing a lot of movement of the spare tire and have had to reajust the joints several times, I am thinking of eliminating them and going with 4xinnovation set up. I have emailed with Brandon and he is saying that movement is normal, maybe I am just being picky but I just want it to be a little stiffer.

 
Any one else having issues with the hiem joints ? I am noticing a lot of movement of the spare tire and have had to reajust the joints several times, I am thinking of eliminating them and going with 4xinnovation set up. I have emailed with Brandon and he is saying that movement is normal, maybe I am just being picky but I just want it to be a little stiffer.


Holy shiznit, that assembly is badass. Makes me want to convert mine over to that one! Thanks for the heads up.
 
Just now doing my final assembly, already painted. Are you expecting anymore response from Brandon?

Any one else having issues with the hiem joints ? I am noticing a lot of movement of the spare tire and have had to reajust the joints several times, I am thinking of eliminating them and going with 4xinnovation set up. I have emailed with Brandon and he is saying that movement is normal, maybe I am just being picky but I just want it to be a little stiffer.


Users who are viewing this thread

Back
Top Bottom