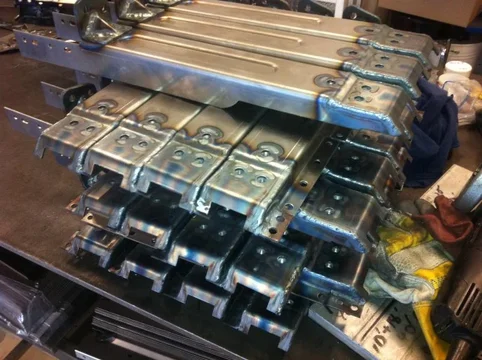
building more LPB beds... come watch

This site may earn a commission from merchant affiliate
links, including eBay, Amazon, Skimlinks, and others.

Kinda goes against what I've done before in my 45 build right?

Several reasons:
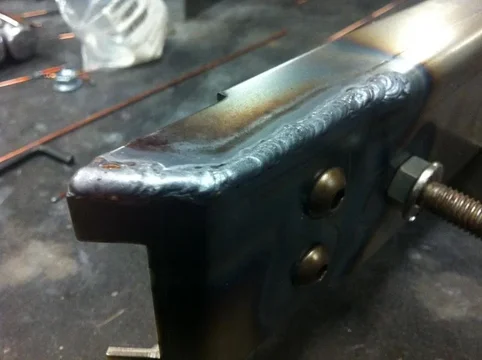
I did it this way in the past when I didn't have a MIG so to a certain extent I'm sticking to what worked before.

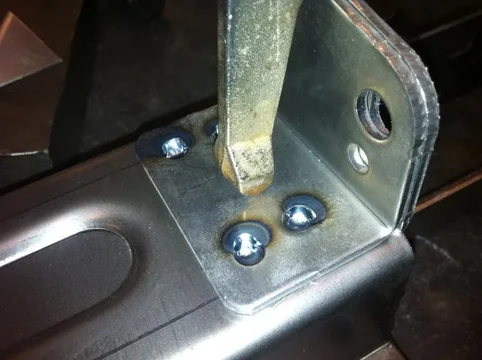
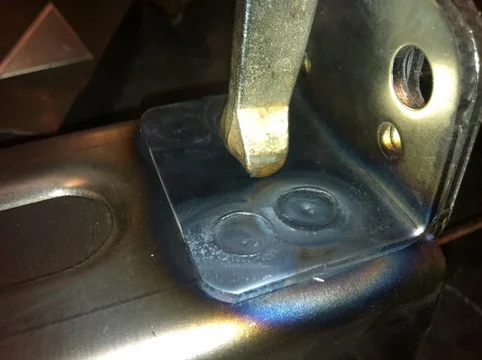
This is faster than tack, tack, tack with the MIG. I am doing a couple of inches at a time and jumping around to spread the heat.

I can clamp it to the workbench which acts as a heat sink as well as keeping it flat.

No spatter mess. Quiet, cleaner. Less bead to grind away.

And I have this new TIG to play with.

This can all be done with a MIG as well. Even without tacking but running a bead instead.
 
Another small tip - before I take all the clamps off I take the round end of a ball peen hammer and peen the weld bead to counteract the shrinkage of the weld. A smack with the hammer spreads the material and removes the stress. Both mine and the material's.
 
Haven't posted in a bit - nothing really to show, just welding, welding, welding :cheers:
 
Still here, toiling away in the garage. On my second tank of Argon already. Actually the third if you count the little 80 cu/ft I started with.:cheers:
 
Well, it's good to hear you haven't passed out in the garage from all those welding gases ;)

I was a little worried, your thread dropped off the first page there for a bit.
 
Well I did take a week off for a pre-arranged vacation for the wifes birthday but other than that I've just been too busy to bother with posting. I'll have new material for you during this weekend.


I have been meaning to send a message to all my customers to point them toward this thread cuz I'm sure some of them aren't aware of it.
 
Made this vid quite a while ago - thought I already linked it.... but I guess not


And this was shot like a month ago, just got it uploaded yesterday.... Kinda boring but those of you doing similar stuff might pick up on some technique I may be doing differently


Incredible as always Kevin, sure takes a long time when you can't stamp it all at once! But for sure faster than doing it all by hand!
 
stainless steel costs much more, is harder to weld (not insinuating Kevin would have any trouble), and is stiffer, which I'm guessing would through a huge curve ball into the mix with many of the bends necessary to produce these beds to factory specs

not sure how stainless would handle the movement of the bed on the frame either, lots of twisting might lead to early fatigue

my 2cents
 
Well, there's a guy in France making the 40 series tub in stainless, so it would seem the problems are not insurmountable. And as for cost - in respect to up-front cost you might be correct, but in terms of initial cost factoring in durability/lifespan, what then?
 
Someone asked once before about stainless. Initial cost of material is higher, though not ridiculous as is commonly thought. I would use 304L as we stock it all the time at work. Only two changes would need to be made to my production style. Any thing over 14Ga would have to be laser cut because it's too thick to punch. So the cross members and rear posts etc. The second thing would be welding as mentioned above. I've welded stainless before and it's only a little harder to weld. Toughest part is preventing the "sugar" that forms on the backside of the weld. Just a matter of technique.

Stainless is about 1.6 times as hard (as in rockwell hardness type of hard). That also means its more brittle. But in this application I doubt there would be an issue with cracking. Stainless is also about 5% heavier. So a 300# bed would be 315#. Painting would require different preparation. Just different products for priming and filling most likely. Maybe a thorough ruffing of the surface as well for adhesion.

But... as this is the "last run of beds I'll likely ever do" it may be a moot point. I'm in the 7th inning stretch right now so it would be a herculean task to get me to do anything that does not involve my own build after these beds are done.:lol: I've gone from eagerness to get started, through the interesting punching and forming, into the realization of just how much work this all is. And now the light at the end is just bright enough to see.
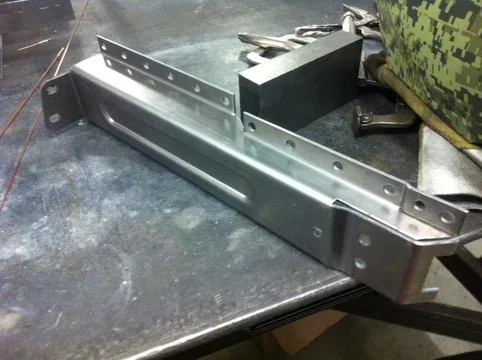
P.S. - I'm not complaining, far from it.

P.P.S. - for those of you lurking, if I have agreed to make something for you it will get done as agreed.
 
Titanium! :lol: Now THAT would be something!


So here are some shots of the welding progression of the rear corner posts.

raw part as formed
IMG_1048.webp
add nuts for the tailgate chain anchor and the gate latch hook
IMG_1051.webp
start on the seams
IMG_1052.webp
IMG_1048.webp
IMG_1052.webp
IMG_1051.webp
 
Last edited:
The other side
IMG_1054.webp
welded - will be ground down and made to look like the bent portion
IMG_1056.webp
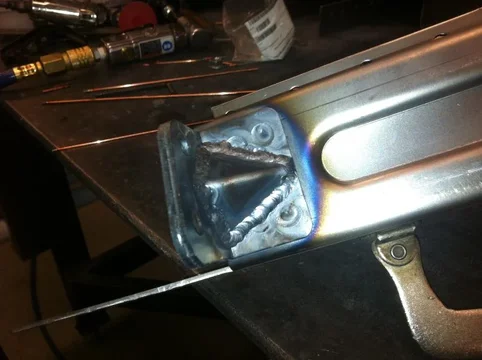
reinforcing and gusseting like the factory did
IMG_1057.webp
IMG_1054.webp
IMG_1056.webp
IMG_1057.webp
 
tack in place
IMG_1058.webp
weld and fill
IMG_1059.webp

IMG_1060.webp
IMG_1058.webp
IMG_1059.webp
IMG_1060.webp
 
tack in the gusset
IMG_1061.webp
weld it up - I still have a shaky hand - bit awkward in there and hard to hold the torch in the right orientation
IMG_1062.webp
repeat
IMG_1063.webp
IMG_1061.webp
IMG_1062.webp
IMG_1063.webp
 

Users who are viewing this thread

Back
Top Bottom