Well, it's been one day of ownership, and I'm already getting my hands dirty! But don't think I'm complaining, because I'm not! This is exactly why I wanted to get an 80 series. After driving the cruiser home yesterday, I noticed the brake pedal was super firm and it was requiring me to literally stand on the brakes to get the truck to stop. After some research I came to the conclusion it was obviously the brake booster. I am not handy at all, but I'm really inclined to learn about everything mechanical I can at this point in my life, and fixing things is becoming more and more fun for me. So I called NAPA and they had a brake booster for me in stock by noon, for $200, which isn't a bad price in my opinion.
Tools used:
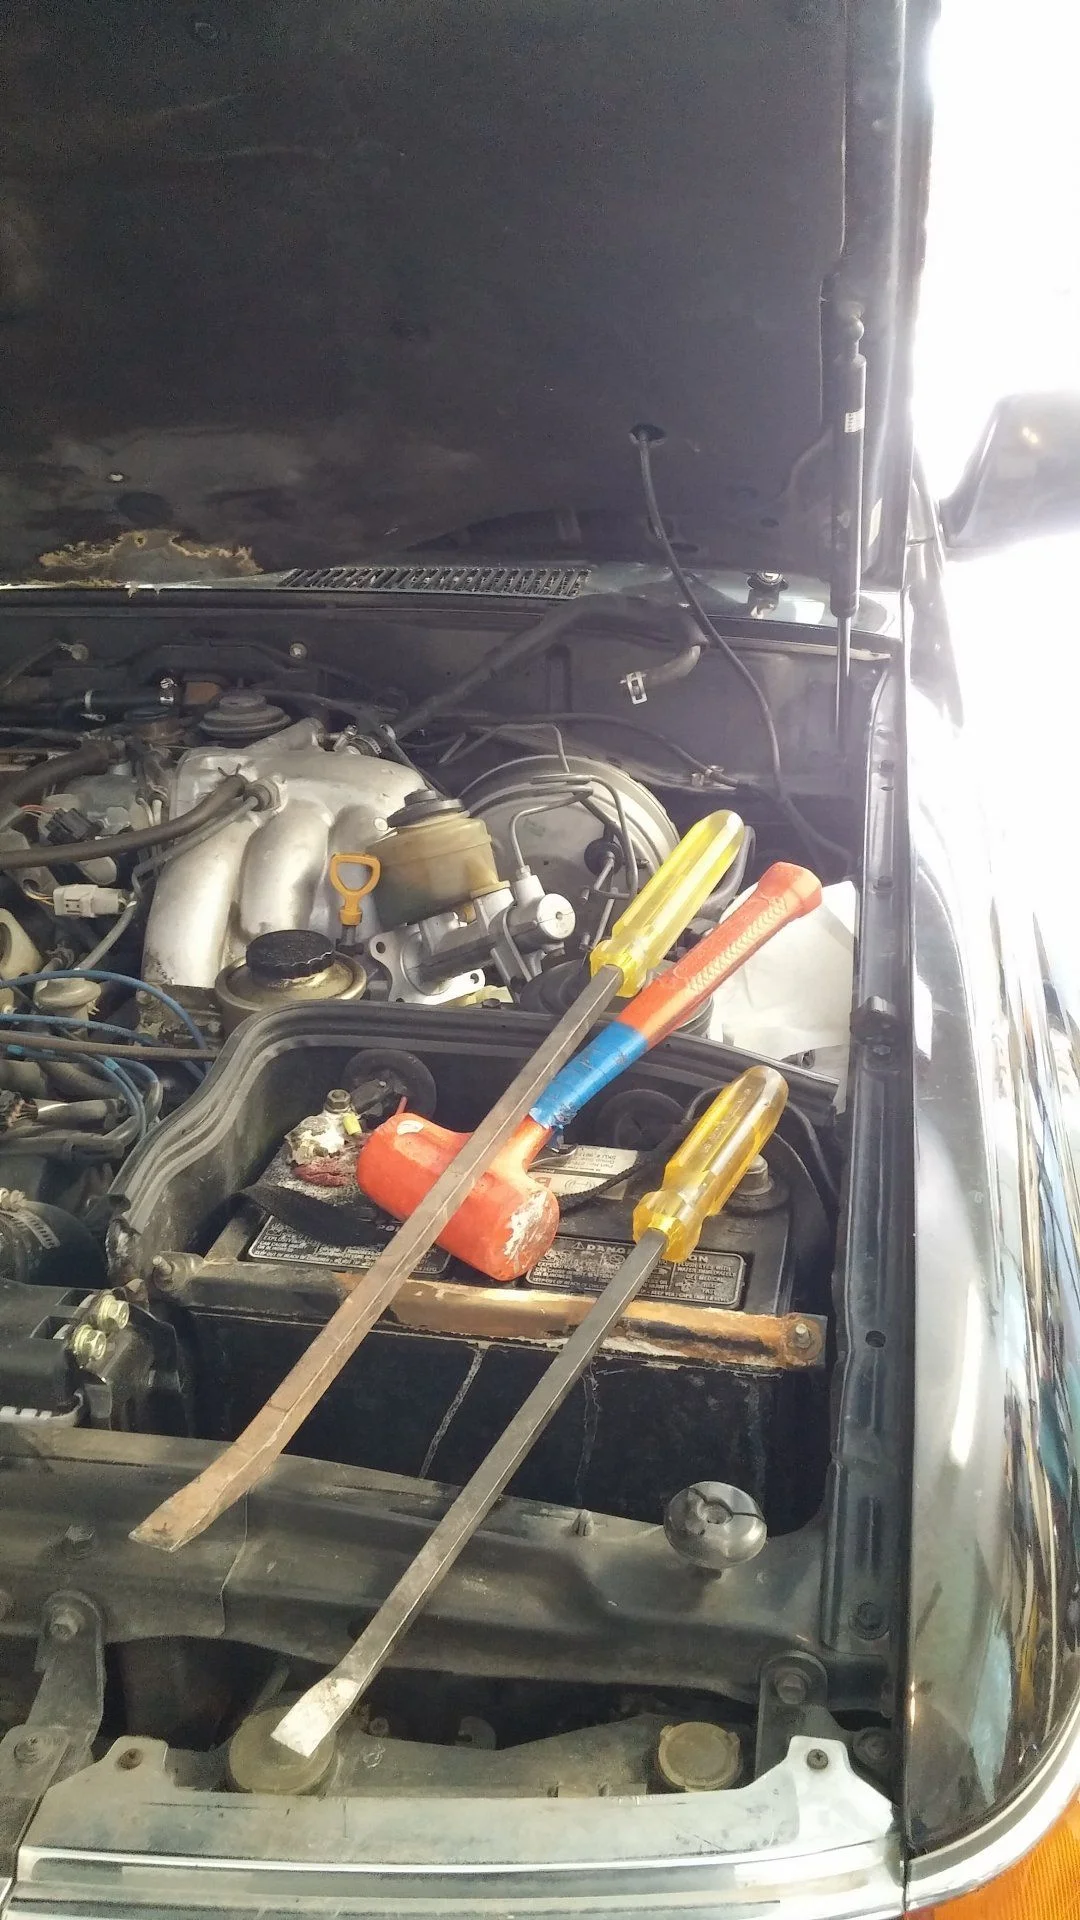
12 mm socket wrench
View media item 33719The old booster, with the master in front of it. This is held on by four nuts.
View media item 33720Closer look, with the nuts being removed and the master sliding off. I left all of the hoses connected to the master, which made it a little hard to get the booster out. It just requires a little more shimmying. Make sure you disconnect the vacuum hose connected to the booster.
View media item 33721Inside the truck, above the brake pedal, is the back of the booster, with four nuts. If you have big fingers, you can use a 10mm wrench to take the middle nut in this photo off, which holds a little black box. It makes it easier to get to the two nuts on the left side. I just left it on.
View media item 33722View of the back of the booster with the black box in place.
View media item 33723In the foreground of this photo on the right, is the bolt that slides through the pedal to keep it in place. You'll need to remove the gold pin and unhook the black spring. Then you're good to go. Rip that sucker out.
View media item 33724After finagling the booster out.
View media item 33725New vs. Old. I had to reuse the check valve and the pedal clip from the old unit.
View media item 33726The clip is still on the old unit in this photo.
View media item 33727Check valve installed on new unit.
View media item 33728Make sure you replicate the exact height of the nut on this bolt as the old unit. I chose to leave the clip off until I had the unit back in place, but it ended up being harder for me to screw the clip back on to the bolt when it was near the pedal. I would put the clip back on and secure it in the right place before you attempt to place the new booster in place.
View media item 33729After cramming that b*tch back in it's hole.
Done! Now I can brake with ease. Time for a damn beer!
Here's a photo of the truck:
View media item 33730
Cheers!
David
Tools used:
12 mm socket wrench
View media item 33719The old booster, with the master in front of it. This is held on by four nuts.
View media item 33720Closer look, with the nuts being removed and the master sliding off. I left all of the hoses connected to the master, which made it a little hard to get the booster out. It just requires a little more shimmying. Make sure you disconnect the vacuum hose connected to the booster.
View media item 33721Inside the truck, above the brake pedal, is the back of the booster, with four nuts. If you have big fingers, you can use a 10mm wrench to take the middle nut in this photo off, which holds a little black box. It makes it easier to get to the two nuts on the left side. I just left it on.
View media item 33722View of the back of the booster with the black box in place.
View media item 33723In the foreground of this photo on the right, is the bolt that slides through the pedal to keep it in place. You'll need to remove the gold pin and unhook the black spring. Then you're good to go. Rip that sucker out.
View media item 33724After finagling the booster out.
View media item 33725New vs. Old. I had to reuse the check valve and the pedal clip from the old unit.
View media item 33726The clip is still on the old unit in this photo.
View media item 33727Check valve installed on new unit.
View media item 33728Make sure you replicate the exact height of the nut on this bolt as the old unit. I chose to leave the clip off until I had the unit back in place, but it ended up being harder for me to screw the clip back on to the bolt when it was near the pedal. I would put the clip back on and secure it in the right place before you attempt to place the new booster in place.
View media item 33729After cramming that b*tch back in it's hole.
Done! Now I can brake with ease. Time for a damn beer!
Here's a photo of the truck:
View media item 33730
Cheers!
David

")