Builds Blender, My LX450/FZJ80 + FJ45esk + GM + Land Rover crazy concoction

This site may earn a commission from merchant affiliate
links, including eBay, Amazon, Skimlinks, and others.

Just a few things. I am trying to get my ducks in a row to blow it apart.


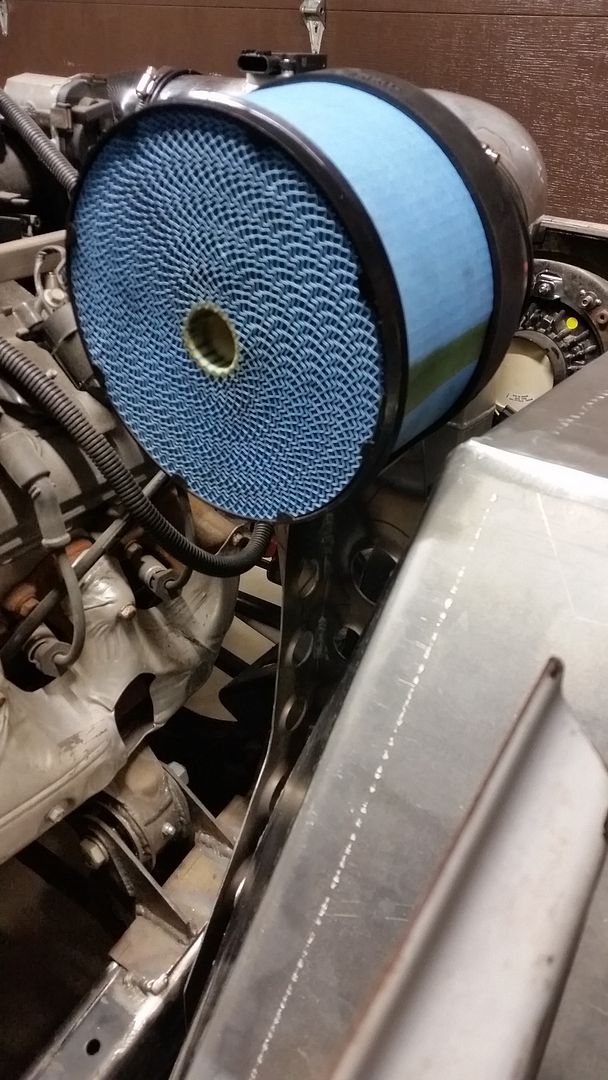
I made a mount for the air cleaner that grabs factory frame mounting bolts. That way I can remove the fender and still leave everything in place. That was one of the goals with this project was to have basically nothing mounted to the fenders if possible.


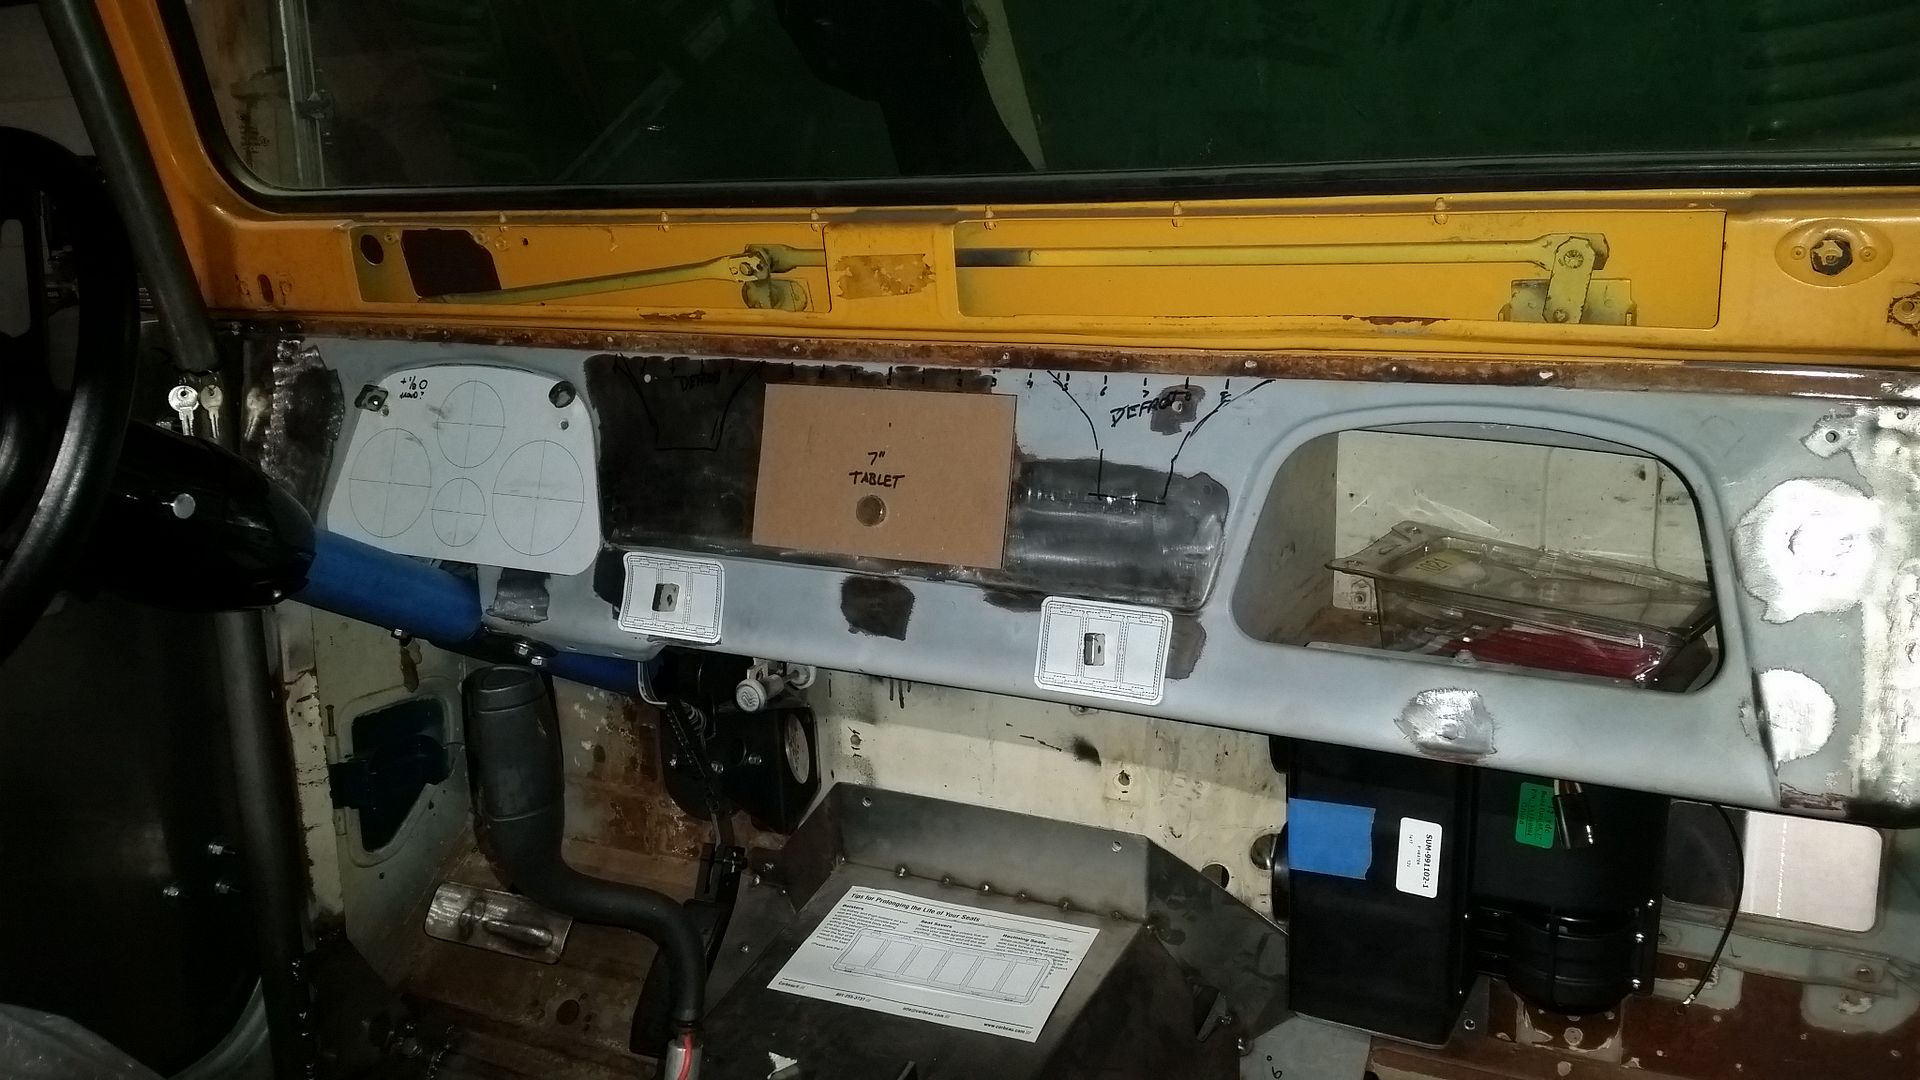
I started taking a more in depth look at the dash layout. I'm not too thrilled with anything yet. The defrost ducts get in the way a lot behind the upper part of the dash. I'm still scratching my head on where to put what....


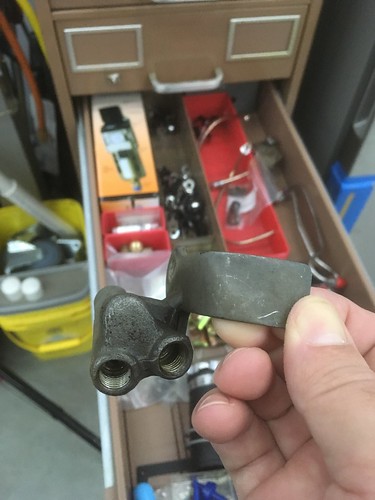
I think I am going to build a panel that goes over this old heater(?) port in the firewall to mount and pass all the wiring 'stuff' in/out of the cabin space. This should make it pretty easy to pull the entire harness if I do it right.
 
It looks like you are going to run circular style gauges. Why not something like a Dakota digital gauge? Cost?

Also - very interested in how you incorporate the tablet and what type you run. Super cool stuff! I will be leveraging / using a lot of your ideas :D.
 
Tonight...


I think I am getting close on the dash layout for the #LX45. I had to adjust my plan a little for the electric locker and defrost duct issues. I like how the new gauge cluster looks. I also found an interesting marine stereo that looks like it will work well. I had to ditch the idea of running a tablet, but overall I think this will work pretty well. I can now fit 2x3 carling switch pods. One will be for the front, center, and rear lockers. One will be for the OBA/arm, suckdown winch, and arm usb power port. Along the bottom lip I took a cue from icon and am going to run light, wiper, vent, fan, temp switches. The key will be on to the left of the gauge cluster. Anyone have any better ideas?

A few other details...


Planning out the floor mount dimmer switch mounting location so I can add a few weld nuts under the floor.


Another view of the dash layout. I am going to relocate the vent pull knob to the middle switch location. That should be easy using the spring lever that is already on the linkage under the dash.


I am trying to map out areas for storage on the vehicle. I want to add some weld nuts ( or rivet nuts ) under the floor for tie downs. On a vehicle this size, even though it is much larger than my flat fender, I want to keep as much of the weight as forward and low as possible. It looks like I have a decent amount of space outboard of the seat brackets to the door sill. I should be able to mount some tool rolls or tool bags in those locations. Each could fit a 14x6x5 bag/roll. The passenger seat has an area about 7.5x18x5 under it. The under the drivers seat is 11x18x5. Behind the seat ended up like a pretty decent spot also. A lot of this space will be used for the storage of the rear window panels, but I think I can sneak in some storage for longer items too like a spare driveshaft and perhaps a few spare axle shafts? I can make some nice hard mount for those things. I might have to trap them under the center console, but I hope to not need them that often. Pulling the console should only be a few fasteners.

That is about all for now. I am going to try and work on finishing up some details this weekend before tear down....and start ordering more of the interior electronic parts. Lots to do...
 
It looks like you are going to run circular style gauges. Why not something like a Dakota digital gauge? Cost?

Also - very interested in how you incorporate the tablet and what type you run. Super cool stuff! I will be leveraging / using a lot of your ideas :D.

I'm just not a fan of the dakota stuff. Nice enough, but just not my thing.

The tablet got axed today. I just don't have the space for it sadly. I came up with a few alternative ideas for that I might play with later, but for now I am just gong to sub in a neat round marine stereo in the middle of the dash. I think that will really change the look but give me some modern features.
 
Can anyone help decipher some toyota part numbers?

I would like to convert my front axle plumbing to the non-abs version. This would give me a Tee on the axle with a hard line to each caliper. I found this diagram surfing around, but I can't seem to make any of the numbers work. I believe I can retain the drivers side ABS parts I have now and the soft line from the frame. I just need the new distribution block on the axle and the passenger side parts?

473918A.webp
 
I don't think you need any more parts. I deleted the ABS on my 80... here is a good thread. You basically steal from rear LSPV for one of the new pieces and the block under the master for the other.

Yet another LSPV/ABS delete how to...

FYI, the page you have is page 47-08 from a 1992 80 series.

#8 is 47392-60010

#18 is 47396-60010

let me know if you need more part numbers.

I don't have any of the ABS stuff left up top because I have an FJ40 body. I am using the stock ABS master cylinder.

I am trying to delete the need for having two flex lines for the front axle. I don't want to have to run another hard line over to the passenger side frame rail. The non-ABS version of the 80 front axle had a different block on the drivers side of the front axle with another port. Then a hard line from that to the passenger side along the axle housing.

I am looking for the part numbers for that. I believe I only need two parts. The new tee on the axle housing and the passenger side brake line for the axle housing.

Basically I just want to plumb one hard line from the master to the front brake circuit. Them plumb another hard line to the rear LSPV. I may delete the LSPV or modify it for manual control.
 
After too much google-fu, I ended up here. I think I need the following parts....

The new brake line tee on the axle housing should be 47395-60040. I think this will allow me to use the existing drivers side hard line and soft line to the frame.

I also need the hard line from the new tee to the passenger side soft line. This should be 47319-60090. This will plug into the new Tee on the axle and the existing soft line fitting bracket near the passenger side knuckle.

47395-60040.webp


47319-60090.webp
 
After making almost literally everything on your truck, why skimp on plumbing?

Convert everything to -3AN and plumb it with that all the way up to the frame at least, or all the way up to the master cylinder. Inverted flare fittings are so 1970s.
 
After making almost literally everything on your truck, why skimp on plumbing?

Convert everything to -3AN and plumb it with that all the way up to the frame at least, or all the way up to the master cylinder. Inverted flare fittings are so 1970s.

I would actually like to finish this thing.

Why reinvent the wheel? The factory brake line system on the axles is pretty decent. Good brackets at the hard to soft transitions, line retainers, etc. All I really need is a few lines to simplify things and clean up from the abs nonsense.
 
I think I might have one of those funky Ts from a recent trip pulling junk yard parts. Is this it...if yes you can have it!

 
I think I might have one of those funky Ts from a recent trip pulling junk yard parts. Is this it...if yes you can have it!


Thank you for the offer. Does it have two ports or three? I believe I need the version with 3 ports. On is the soft like from the frame, then one for each size of the axle.
 
Well that escalated quickly. I started off finishing the steering shaft for the #LX45 and ended up with the front clip torn down trying to find a home for a suck down winch. I wasn't able to use all of the old I-6 motor mount pad, but I did retain some of it. Next I need to make a little winch mount plate.....


Hidden front suckdown winch mount on the #LX45 is done. It was tight, but not as bad as the pictures make it look. It has about 3/8-1/2 inch of clearance to critical bits. The weight is pretty low and forward. It will be interesting to see how much I end up using it, but adding it later would have been an even bigger pain. And nope, can't really use the main winch for this function, there is just too much stuff in the way.


I like those evenings when I get more done than I thought I would on the #LX45. I planned on basically pulling the steering box off so I could send it out for a tap job to have hydro assist. I ended up doing that AND pulling apart the front end completely and getting all the final welding done. Time for some primer and paint!

 
I am trying to figure out if a SWB 70 series would have the same style e-brake cable as a USA FZJ80 chassis BUT a shorter overall length? The 80 series cable is too long in my hybrid application. I am using the 80 series lever also.
 

Users who are viewing this thread

Back
Top Bottom