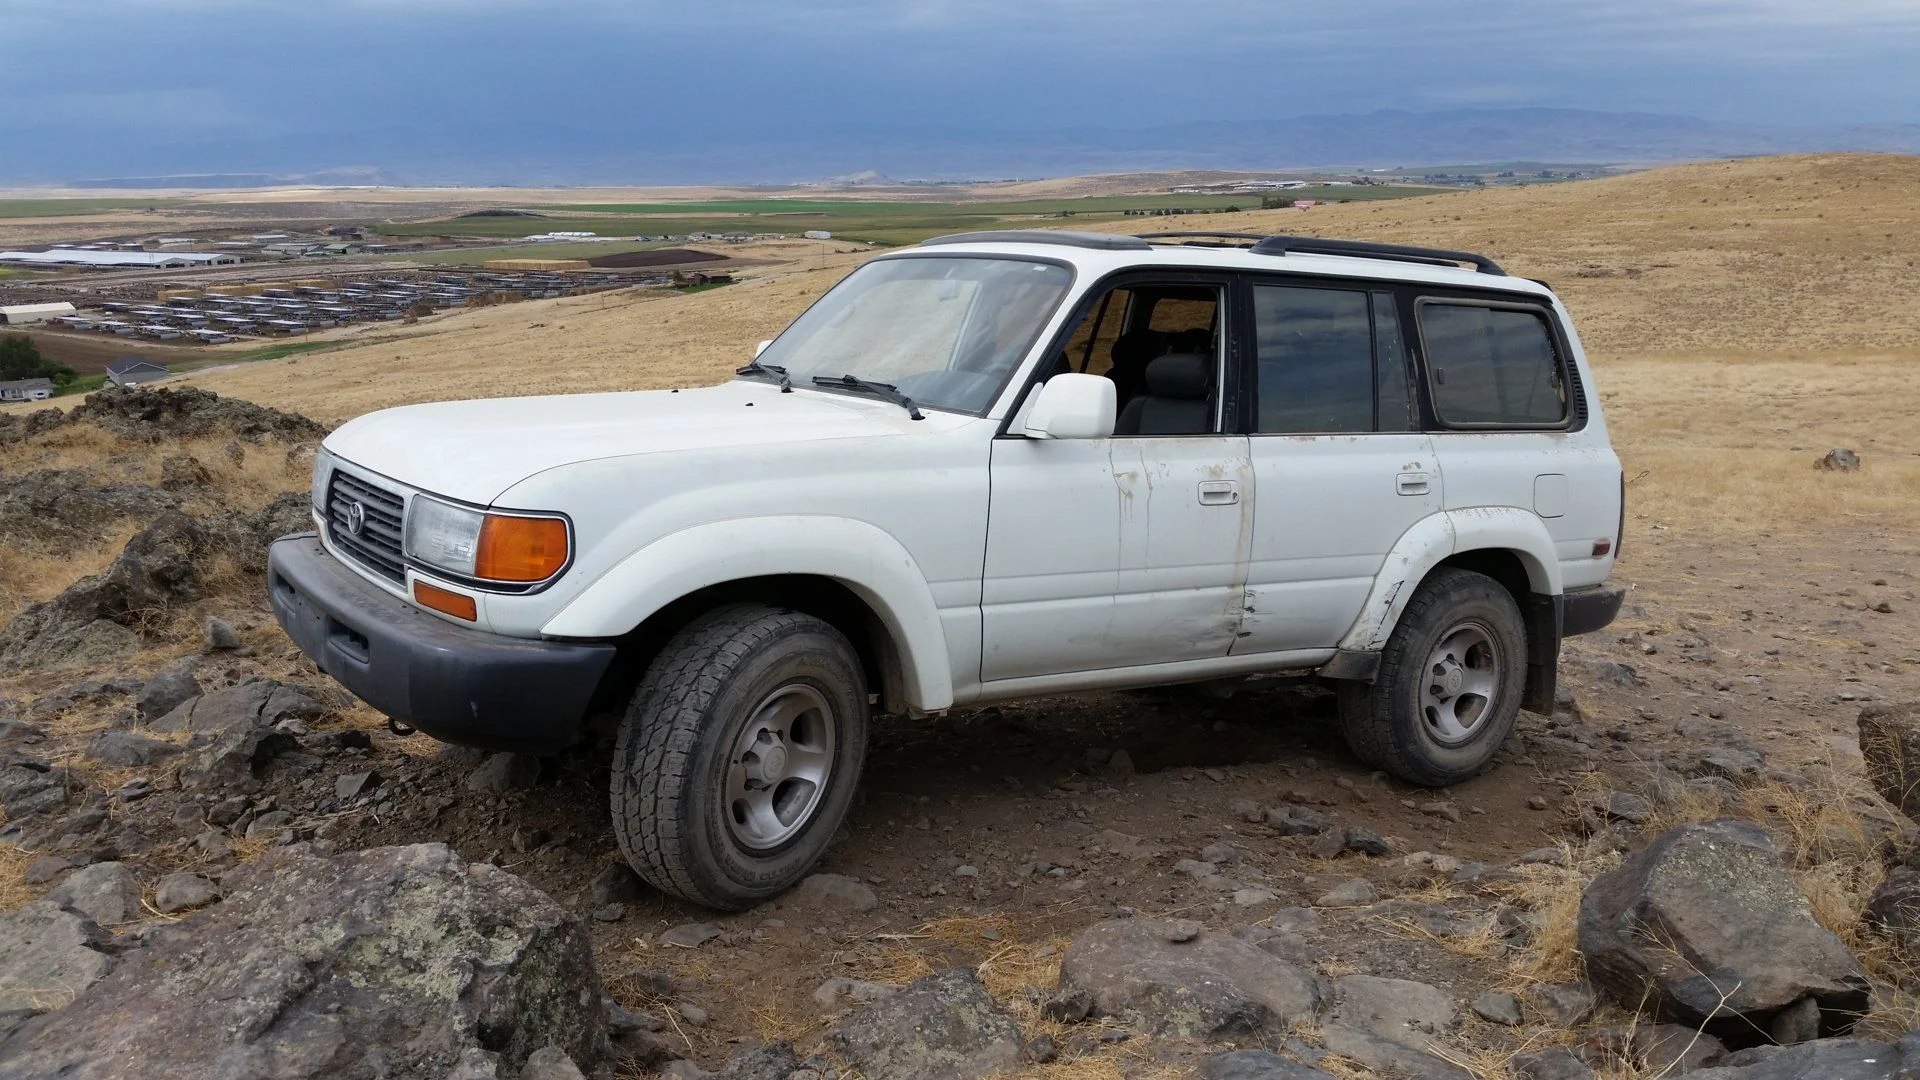
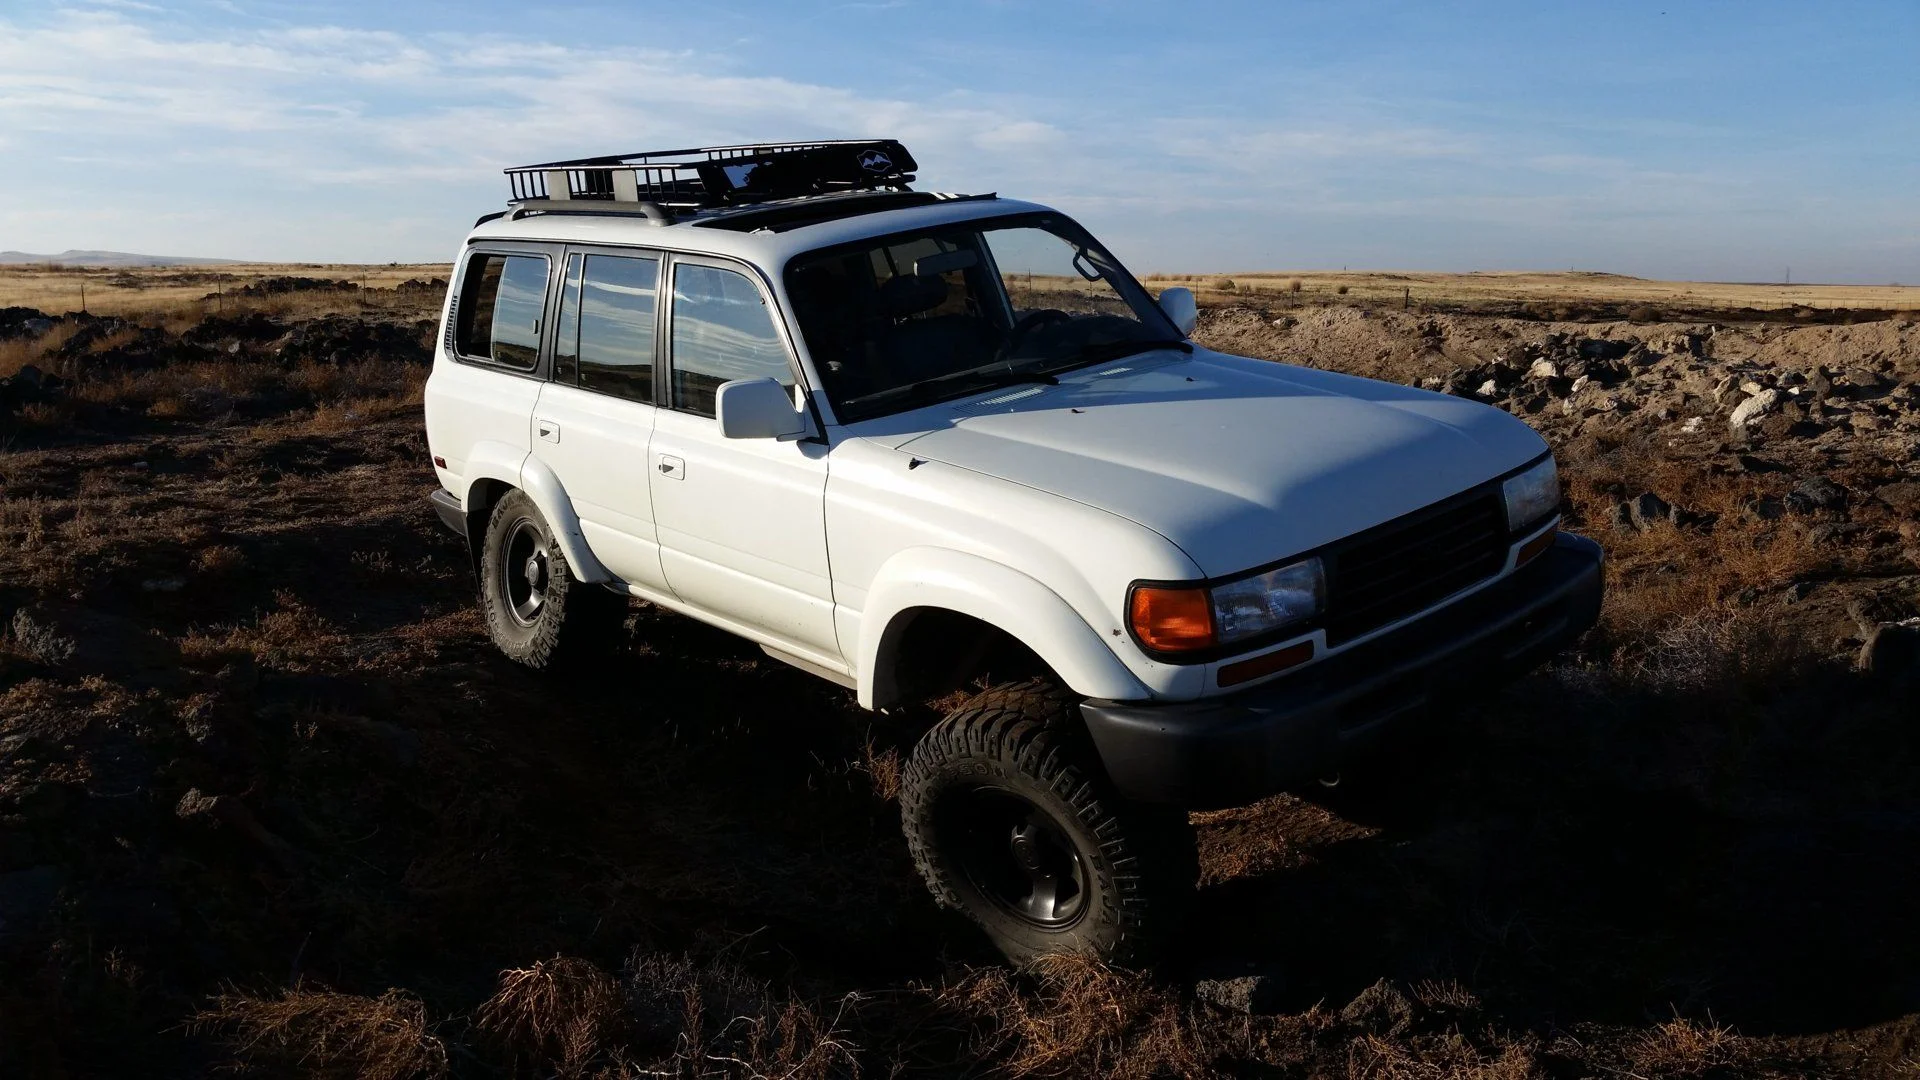
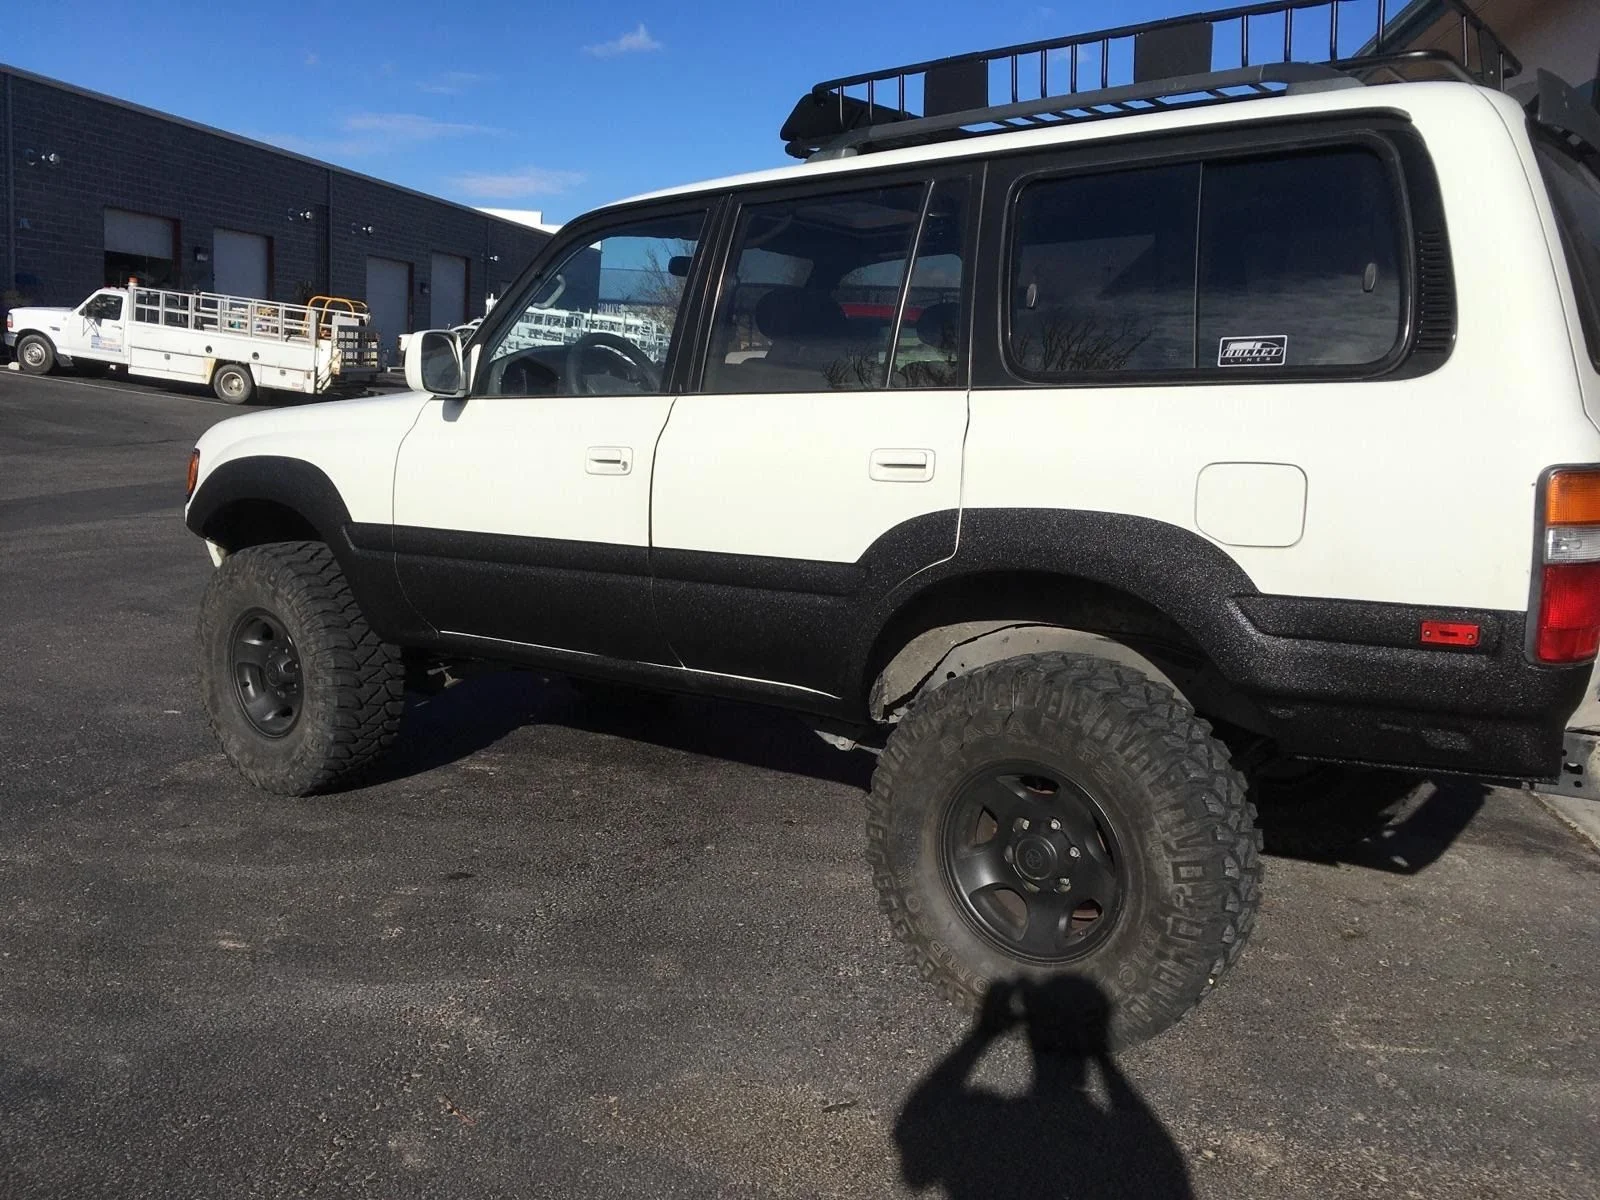
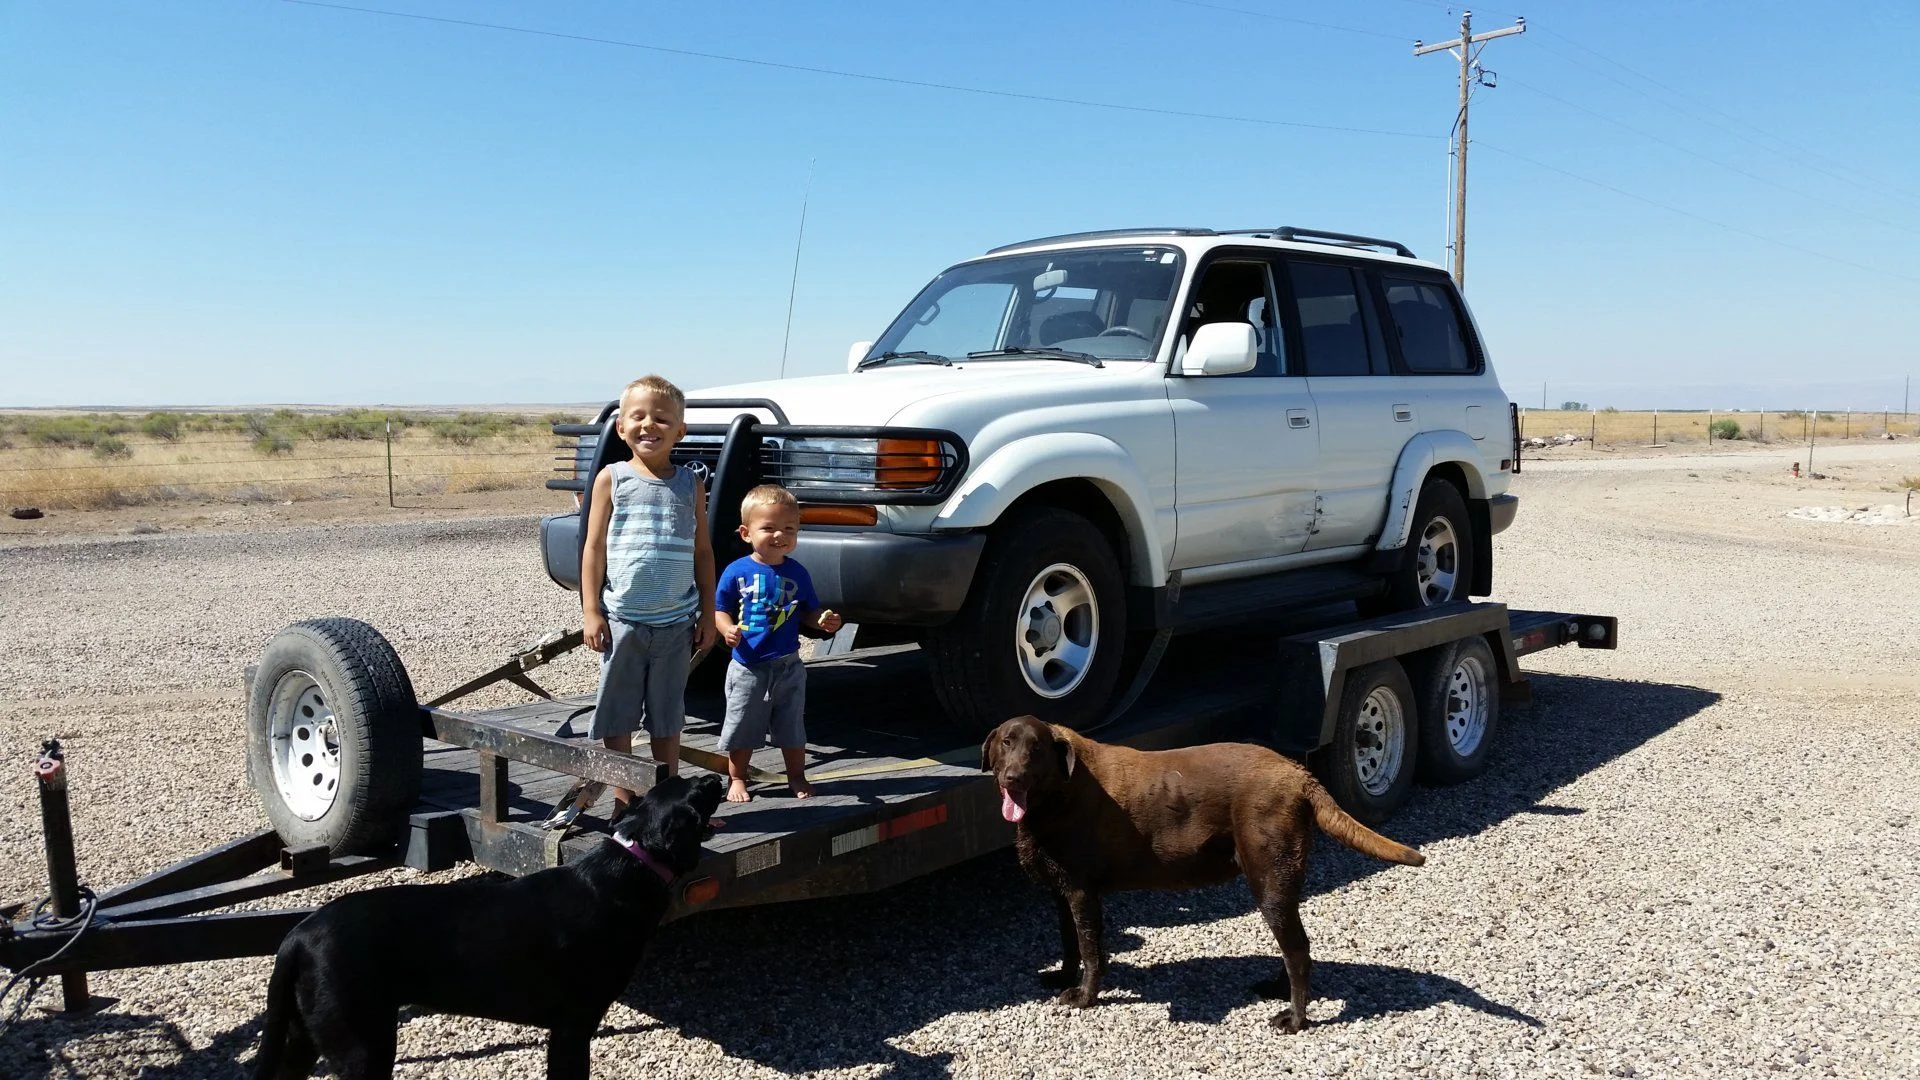
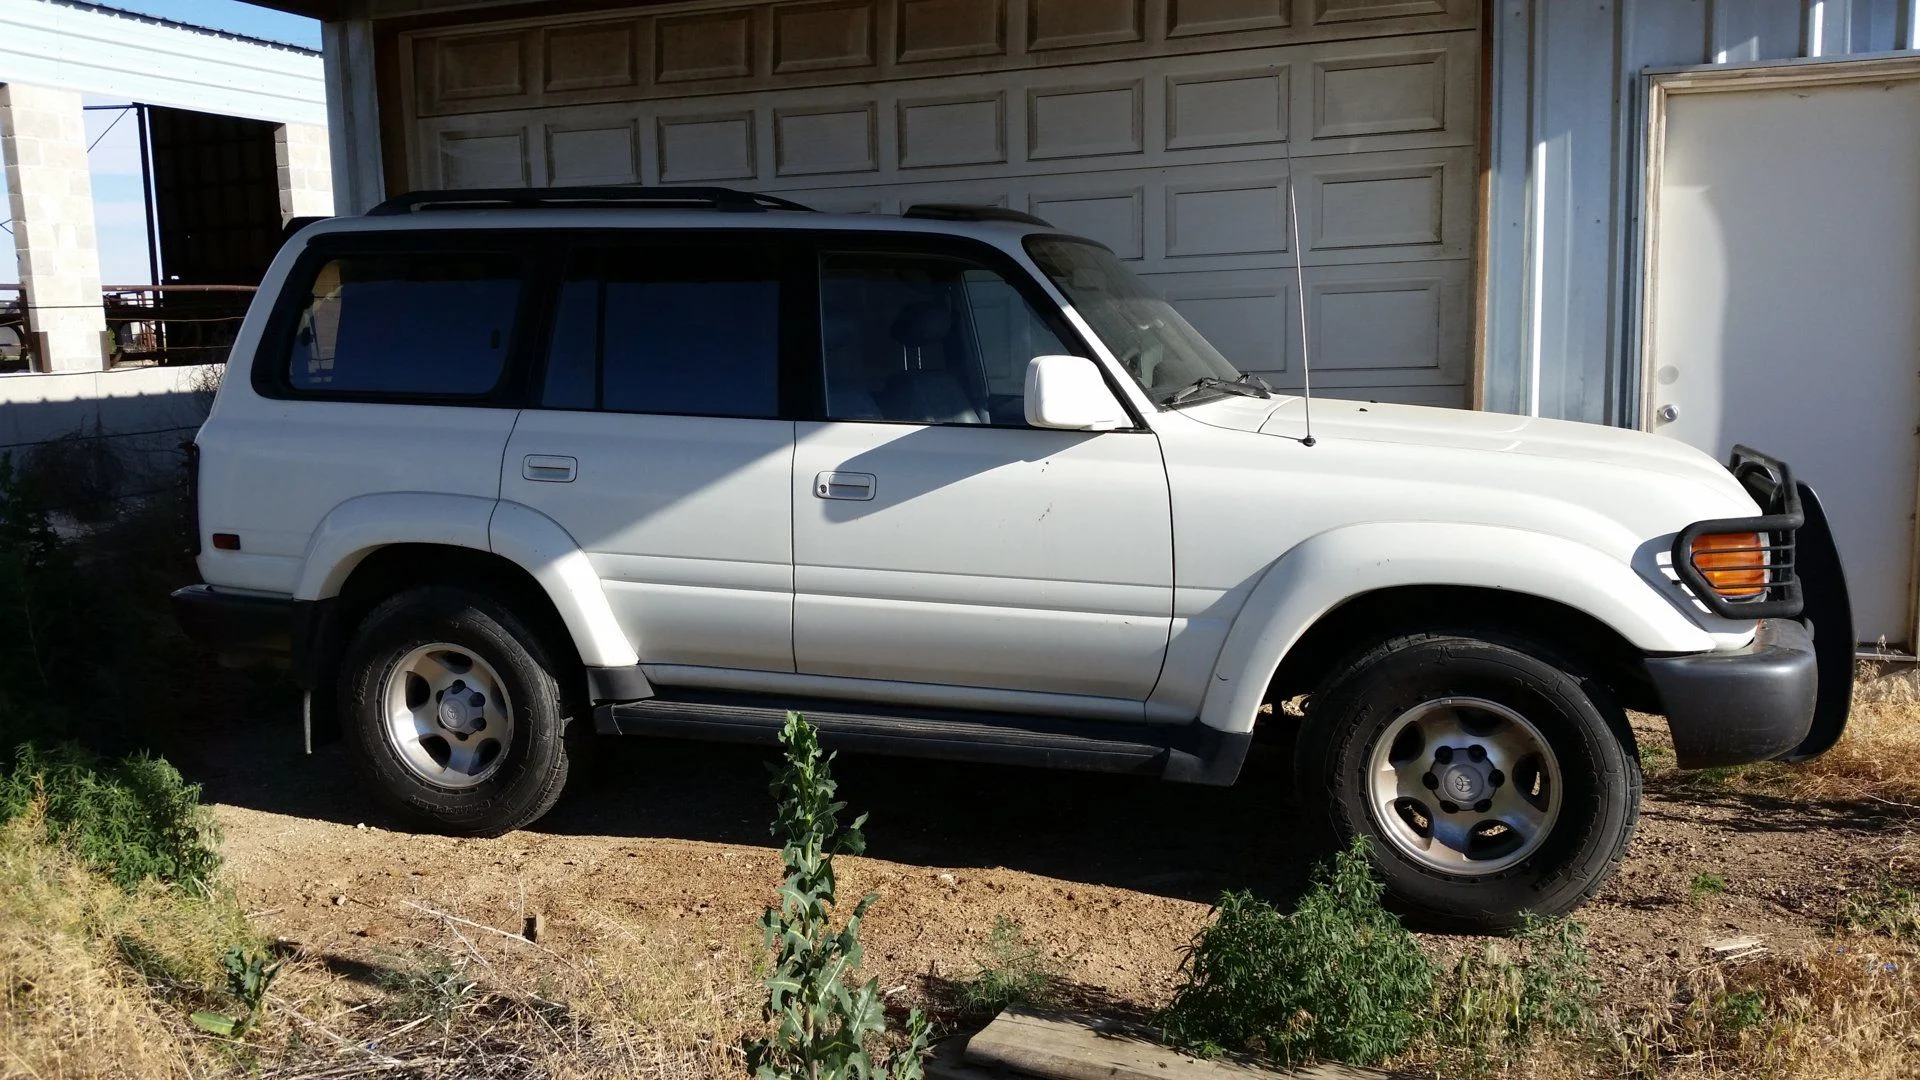
I never post on forums... I usually just use what others post on these threads and never thank them for their time they spent documenting their process that is invaluable for the rest of us. So thank you! I will say that this build thread is not going to be a step by step or a how too, but more just how it turned out the way it did. I have been a Toyota fanatic for over 15 years now and have owned everything from a Tundra to a Prius (don't laugh, I loved that car). I had a 1985 60 series that I had big plans for but at the time I didn't have the resources to do what I wanted with it so I sold it and like many of us have regretted it ever since. Especially considering how much people are wanting for 60's now. I started looking for a 60 again last year but just couldn't find a reasonable one. They are so expensive! A guy I went church with had a 1996 80 that I had told him years ago if he ever wanted to sell it to let me know. In June of last year he called me and told me his 80 of 15+ years was for sale but it had a blown engine. He told me what he wanted and I thought about for a few days and told him I would pass as I still really wanted a 60 and had no idea how much it would cost to replace the 80 engine. A couple days later he texted me and asked what I would give him for it. I told him what I would be willing to give him but by no means was it a fair price and I thought he could get way more for it. He told me to come pick it up. I headed over with a trailer on July 1 2016 and the new project began. I wasn't planning to do a build thread but I felt like it was my time to give back. So here goes...
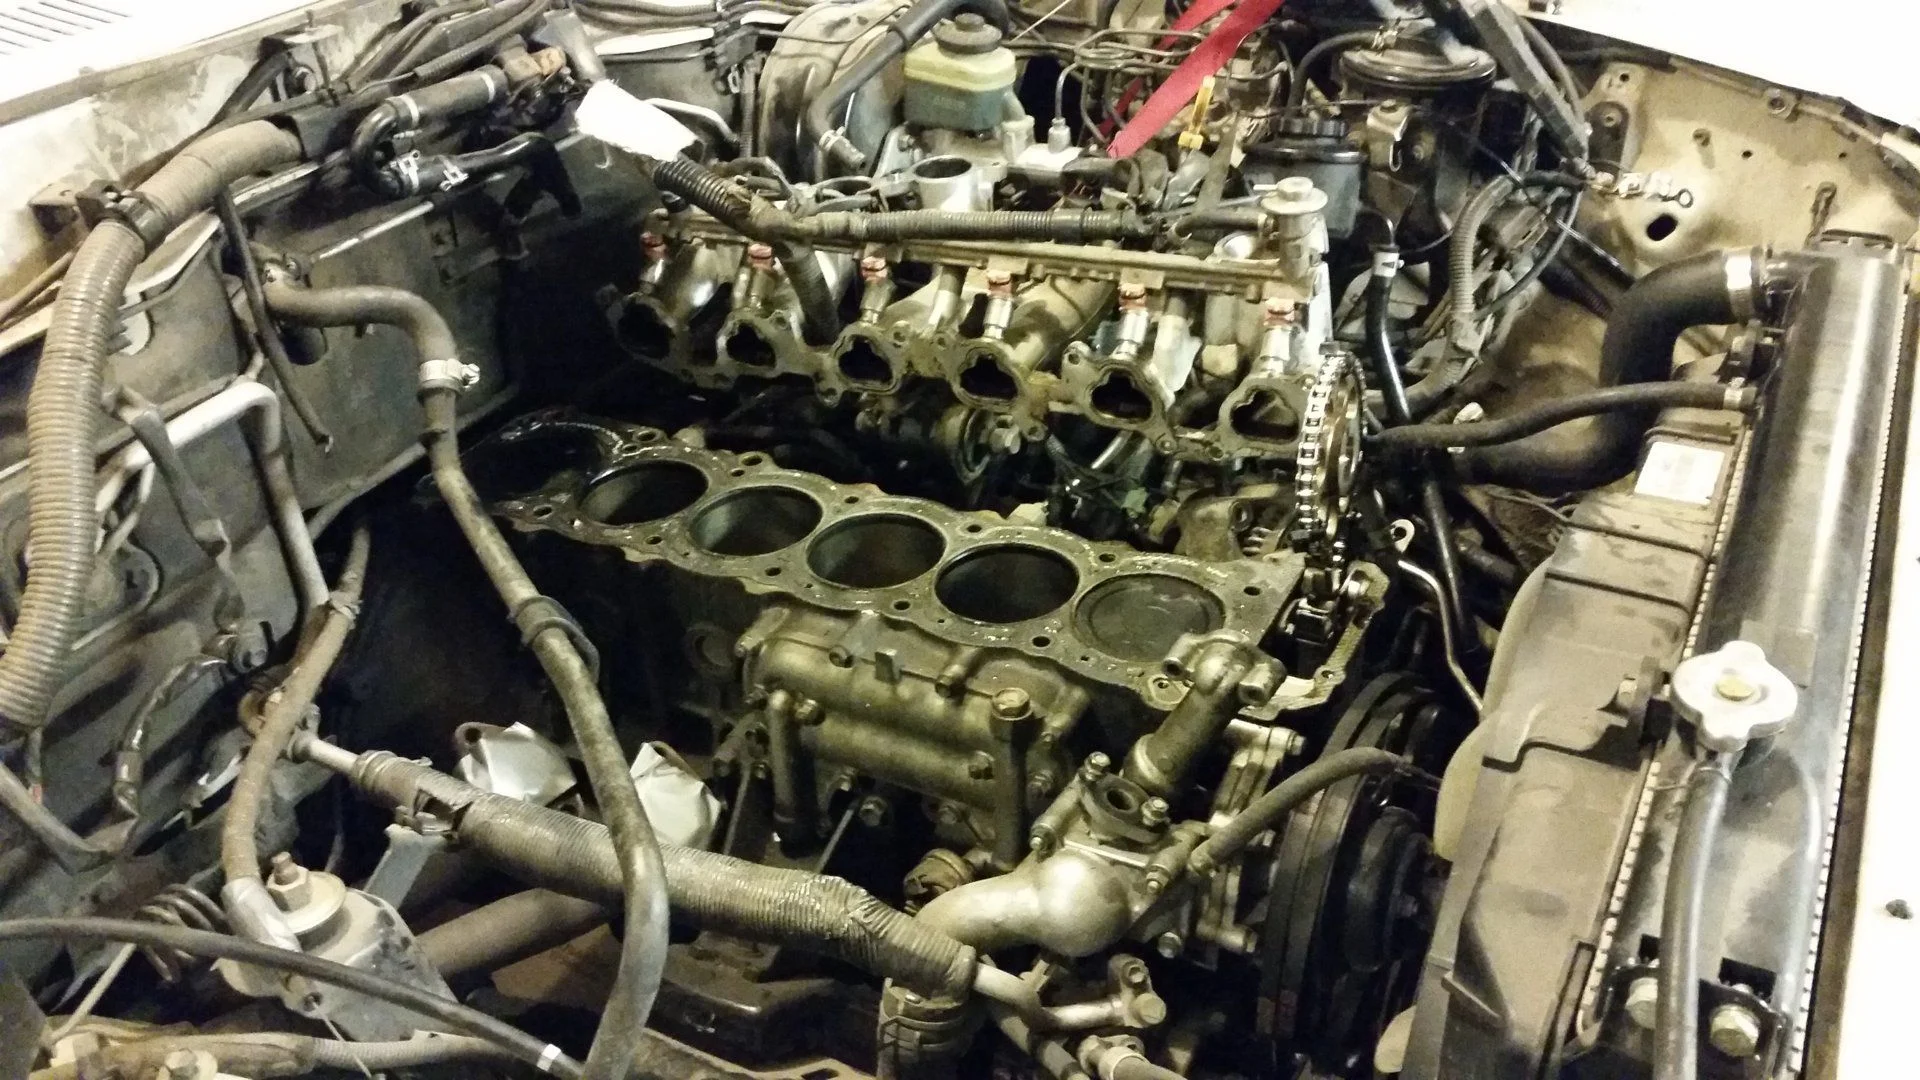
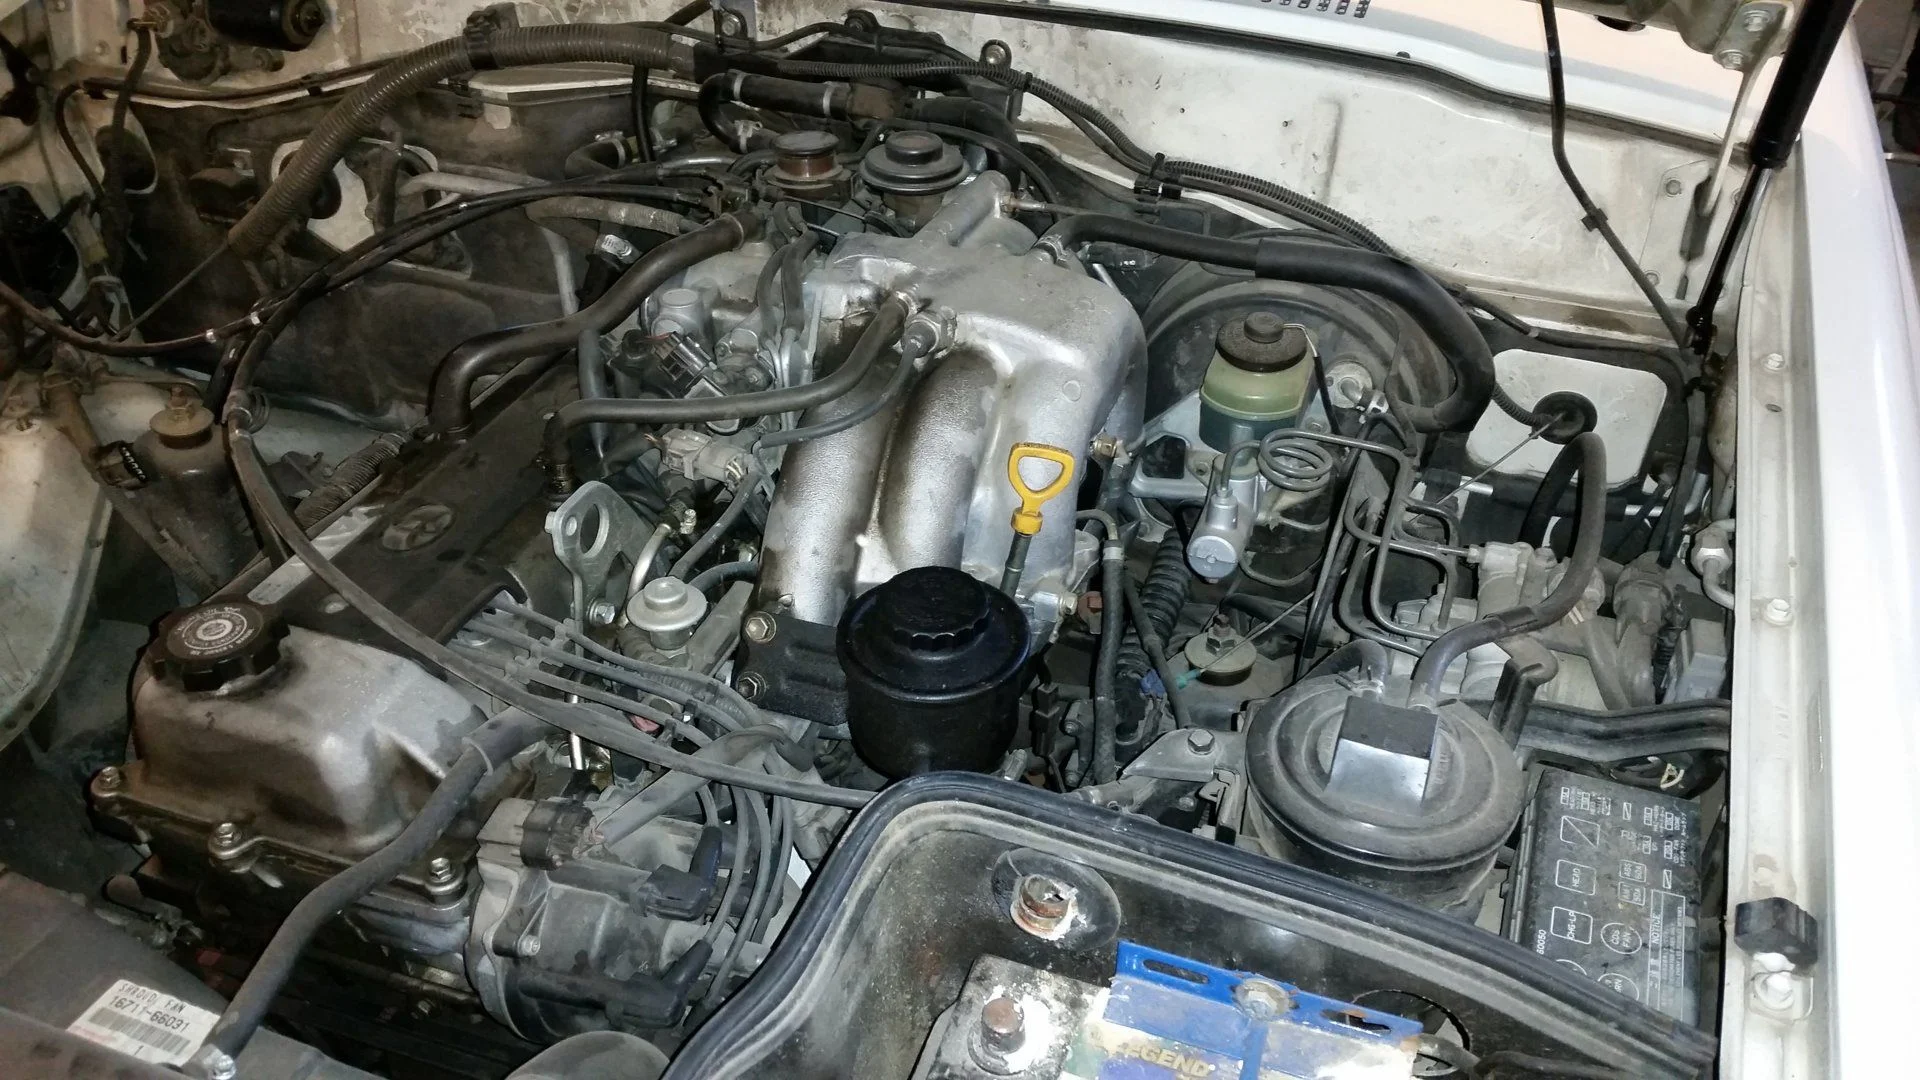
When I picked it up I was able to jump start it as the PO said it did still kind of run when he parked it. I drove it up on the trailer and was able to drive it off. I parked it out at my father-in-laws for a few weeks while I did some research on what I wanted to do as far as the motor. I talked with a few people and someone suggested it might be something as simple as a head gasket. I didn't think it would be that easy considering how terrible it ran but at this point I figured what do I have to lose. I brought it home and parked it in my garage at the end of July and started to get busy on the engine. I have a little bit of mechanical knowledge but I had never done anything like this before. Without the posts from people like jcardona1 I wouldn't have been brave enough to try this but I jumped right in.
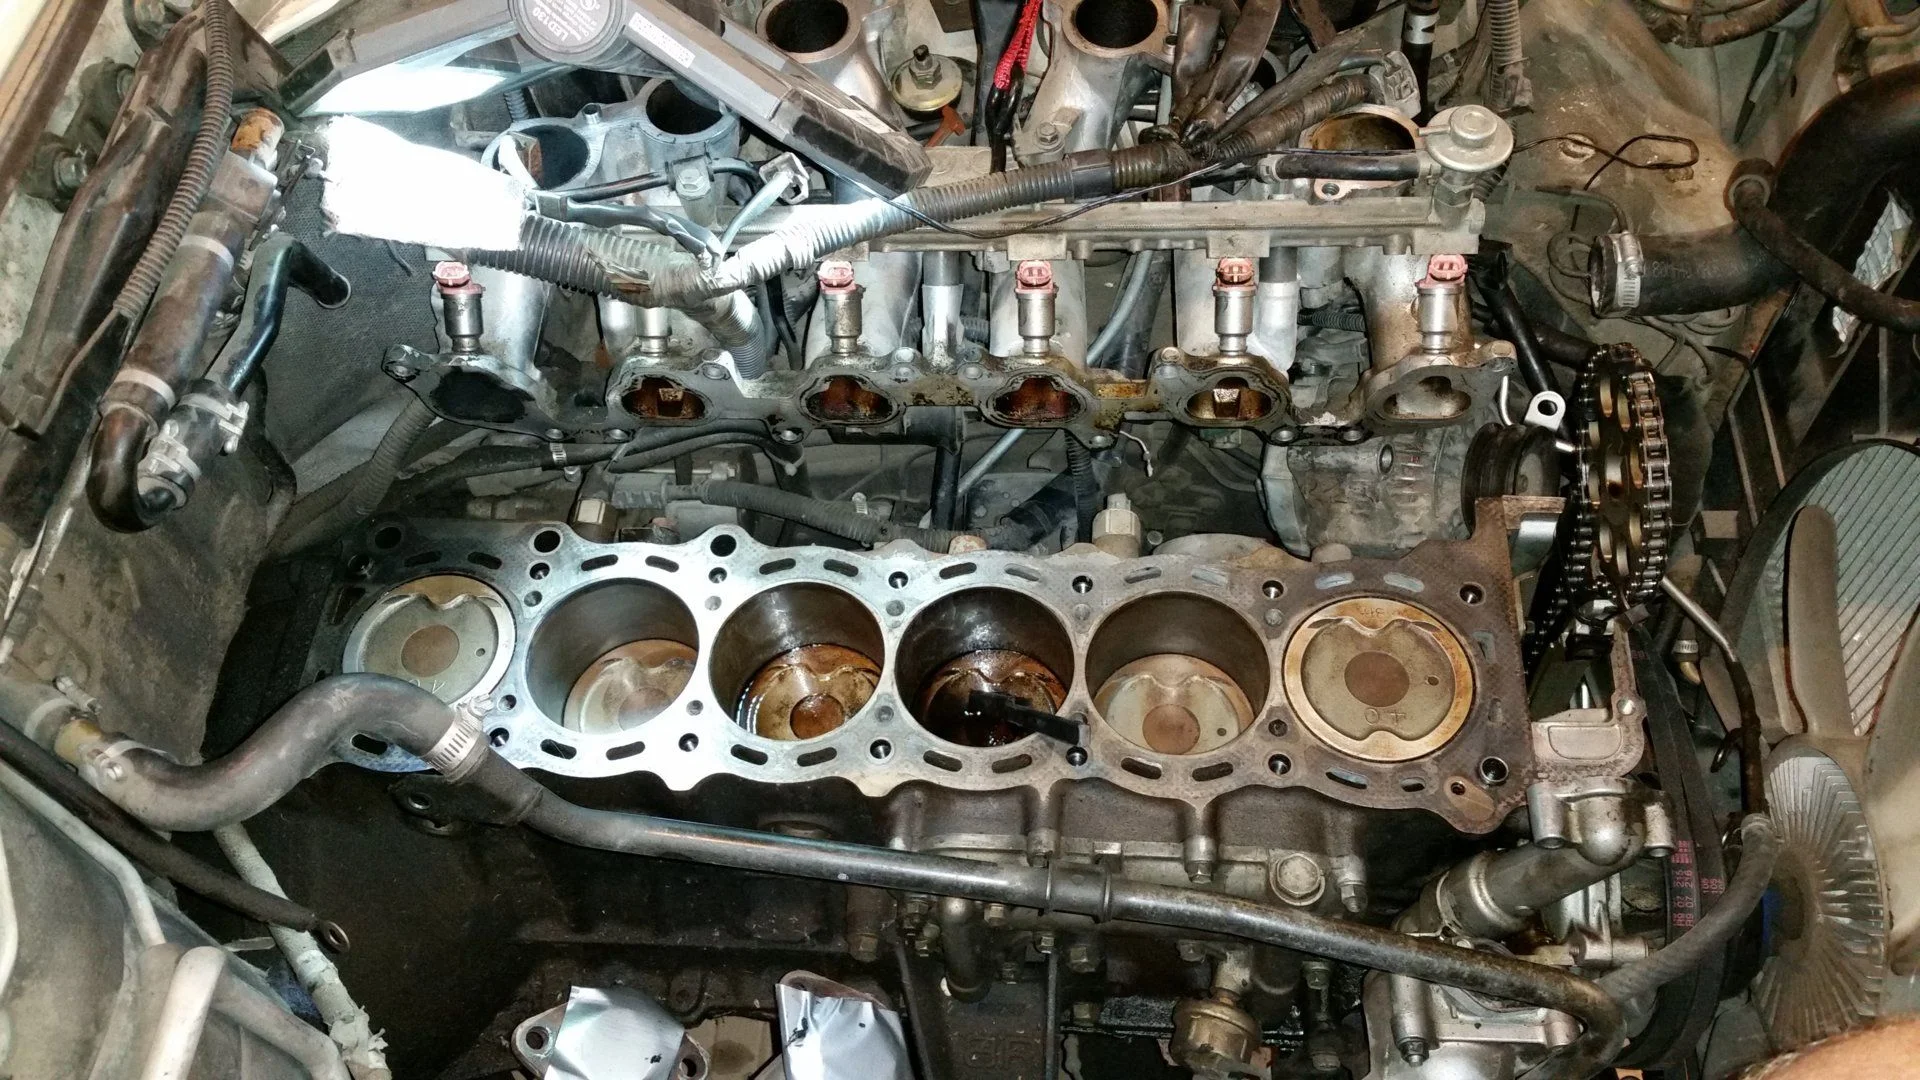
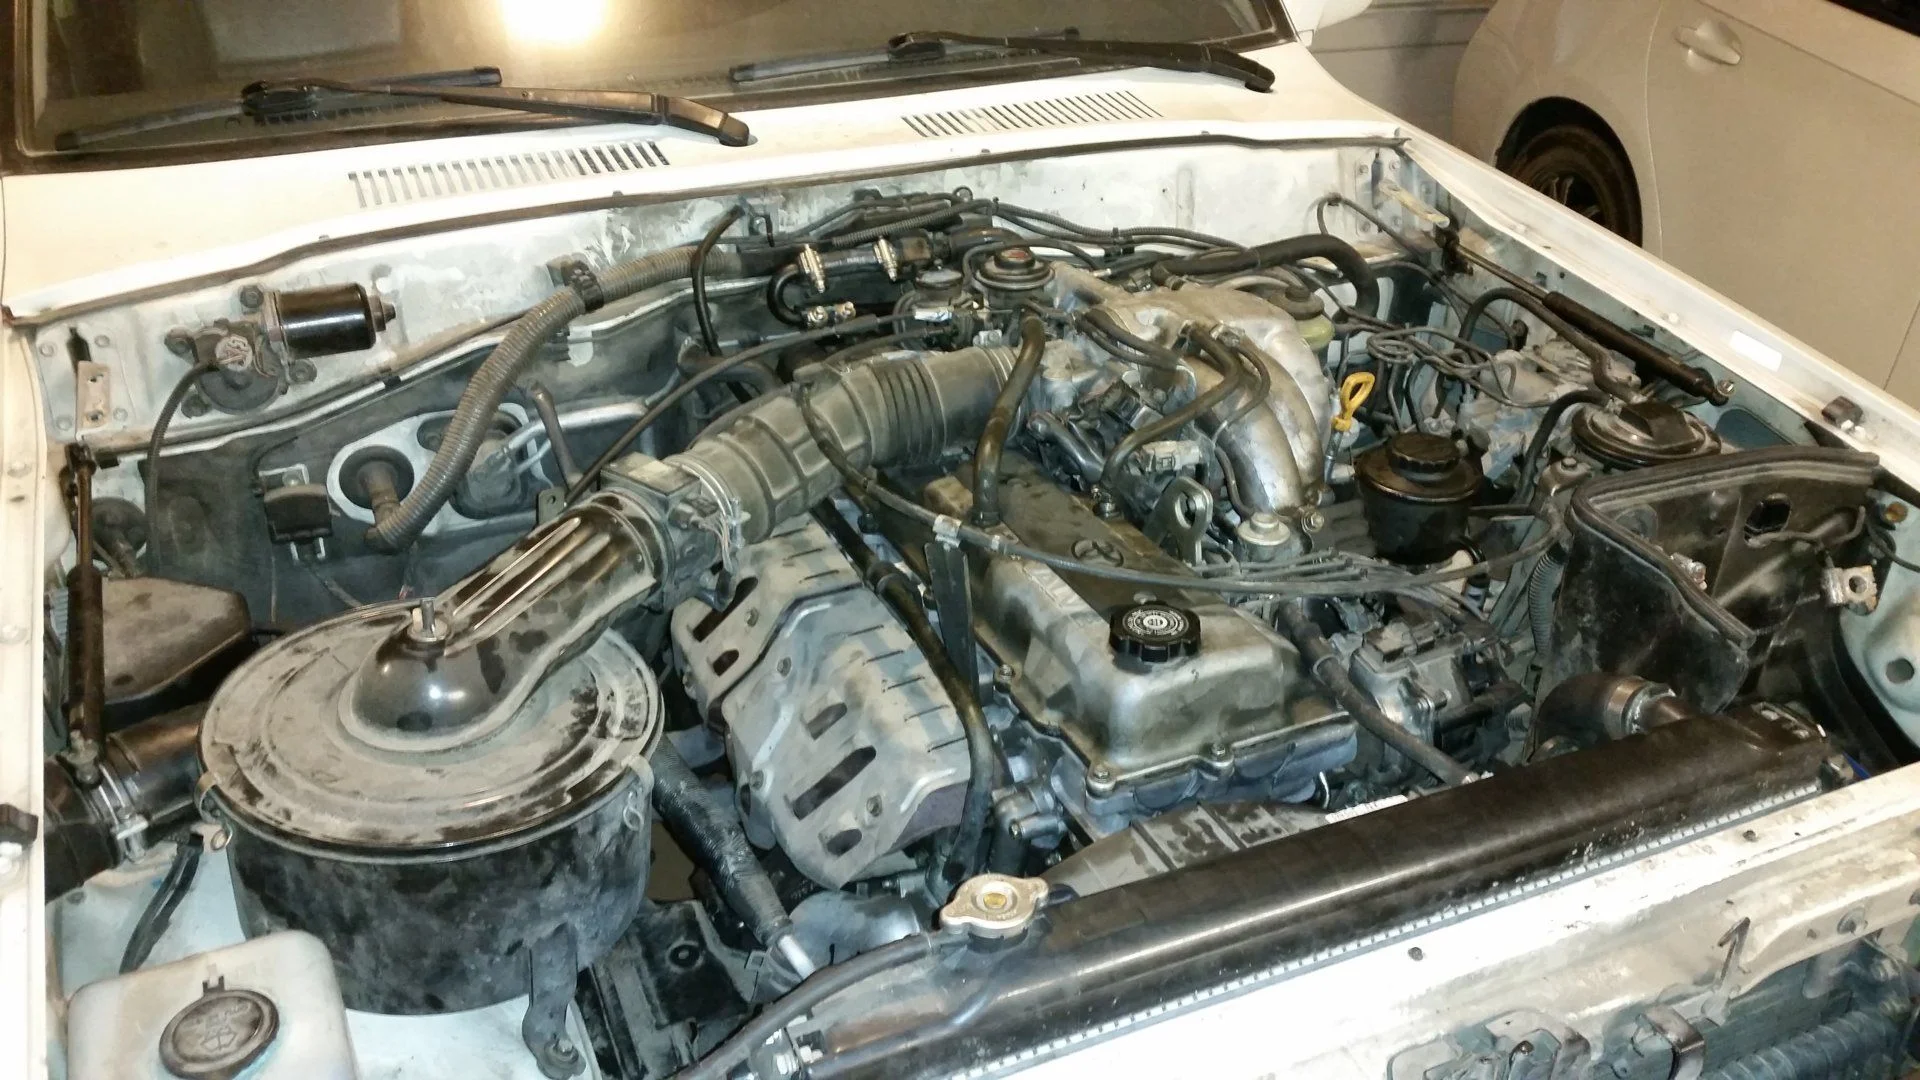
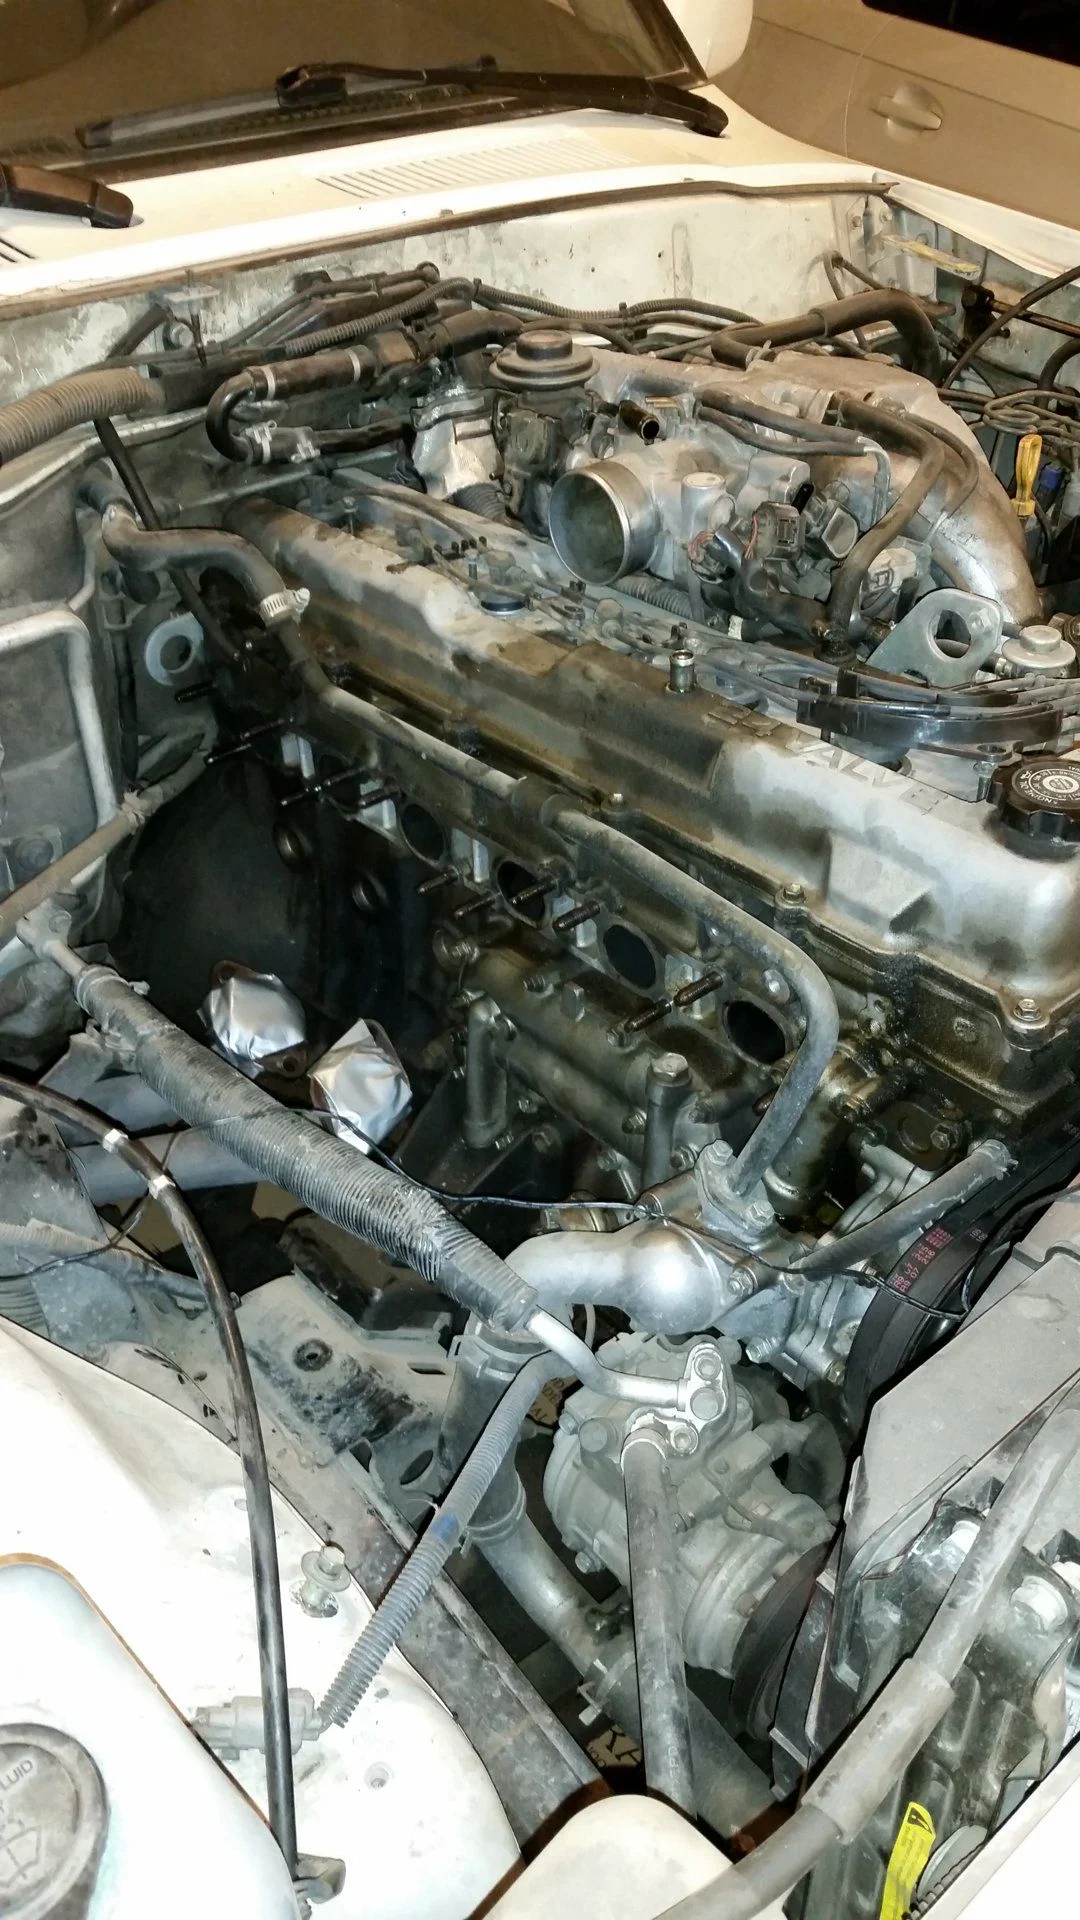
There was a lot of crawling all over inside the engine bay.
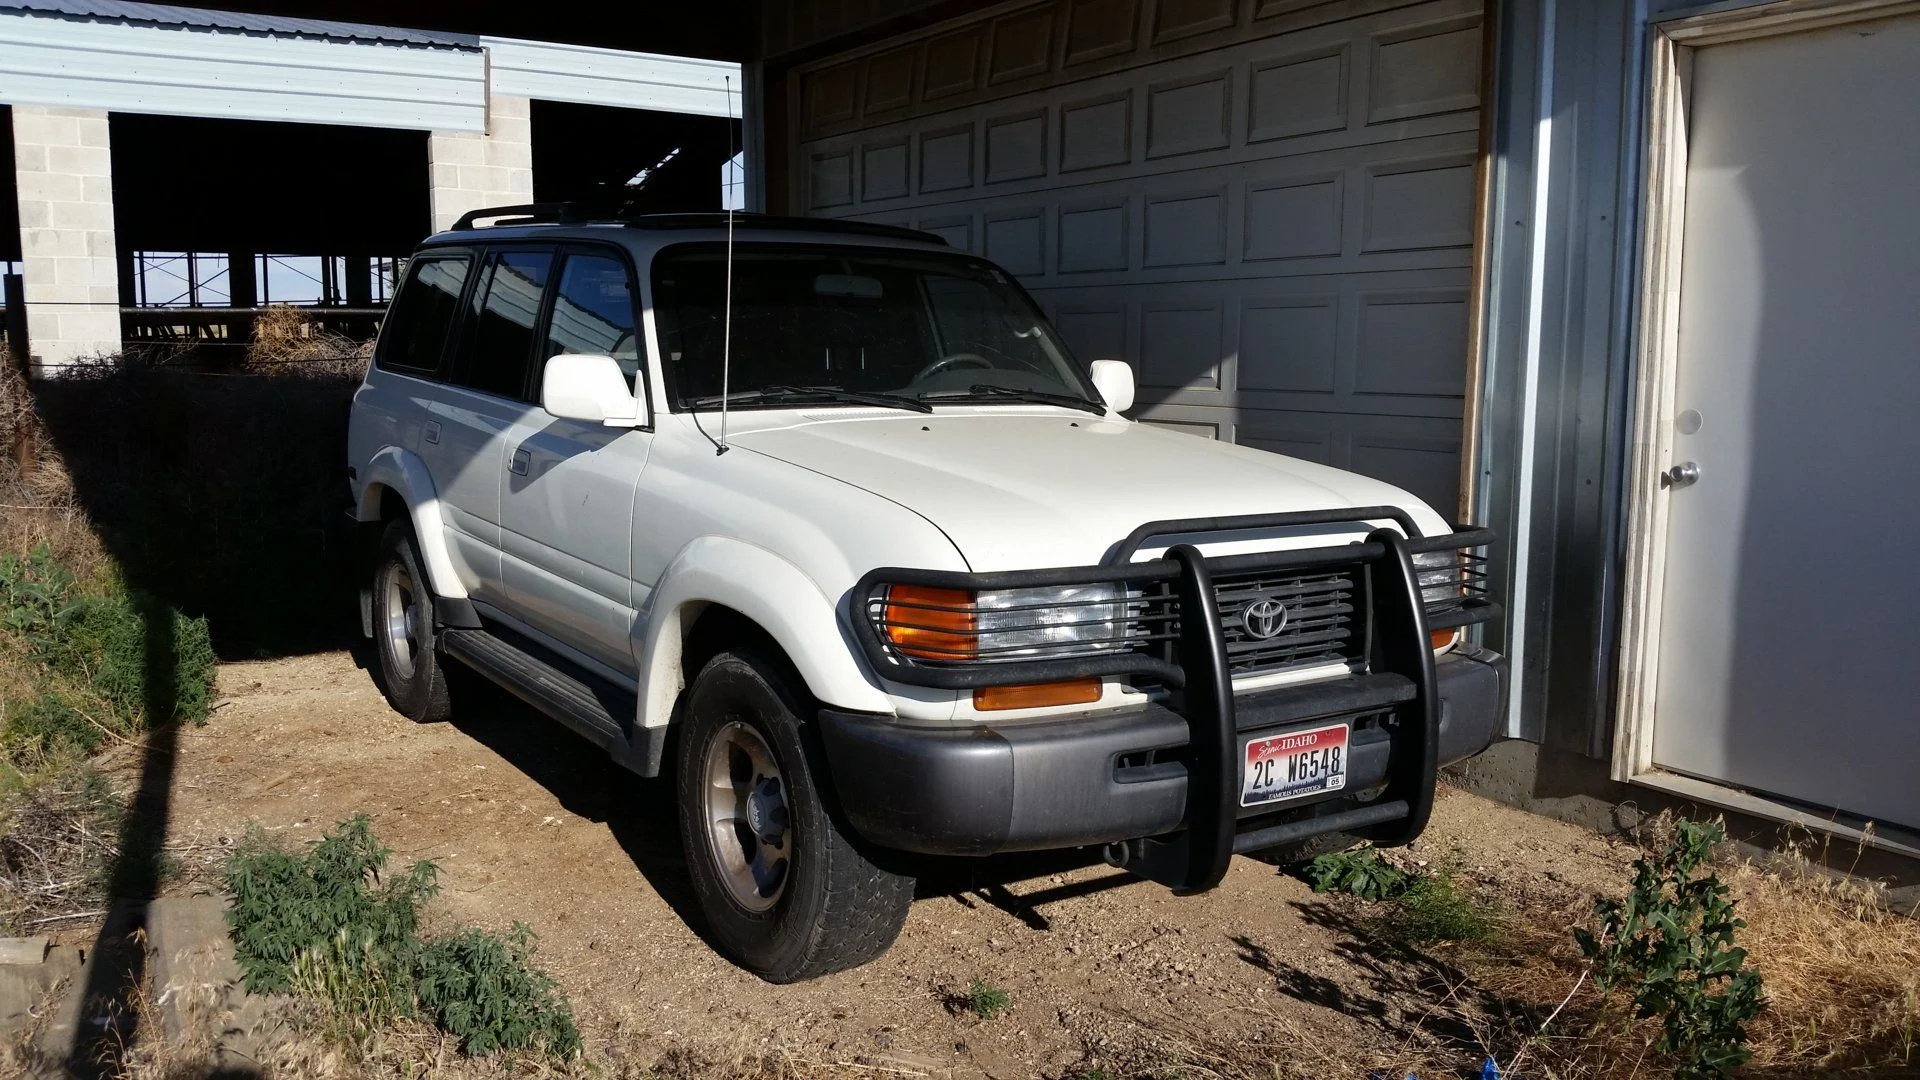
When I picked it up I was able to jump start it as the PO said it did still kind of run when he parked it. I drove it up on the trailer and was able to drive it off. I parked it out at my father-in-laws for a few weeks while I did some research on what I wanted to do as far as the motor. I talked with a few people and someone suggested it might be something as simple as a head gasket. I didn't think it would be that easy considering how terrible it ran but at this point I figured what do I have to lose. I brought it home and parked it in my garage at the end of July and started to get busy on the engine. I have a little bit of mechanical knowledge but I had never done anything like this before. Without the posts from people like jcardona1 I wouldn't have been brave enough to try this but I jumped right in.
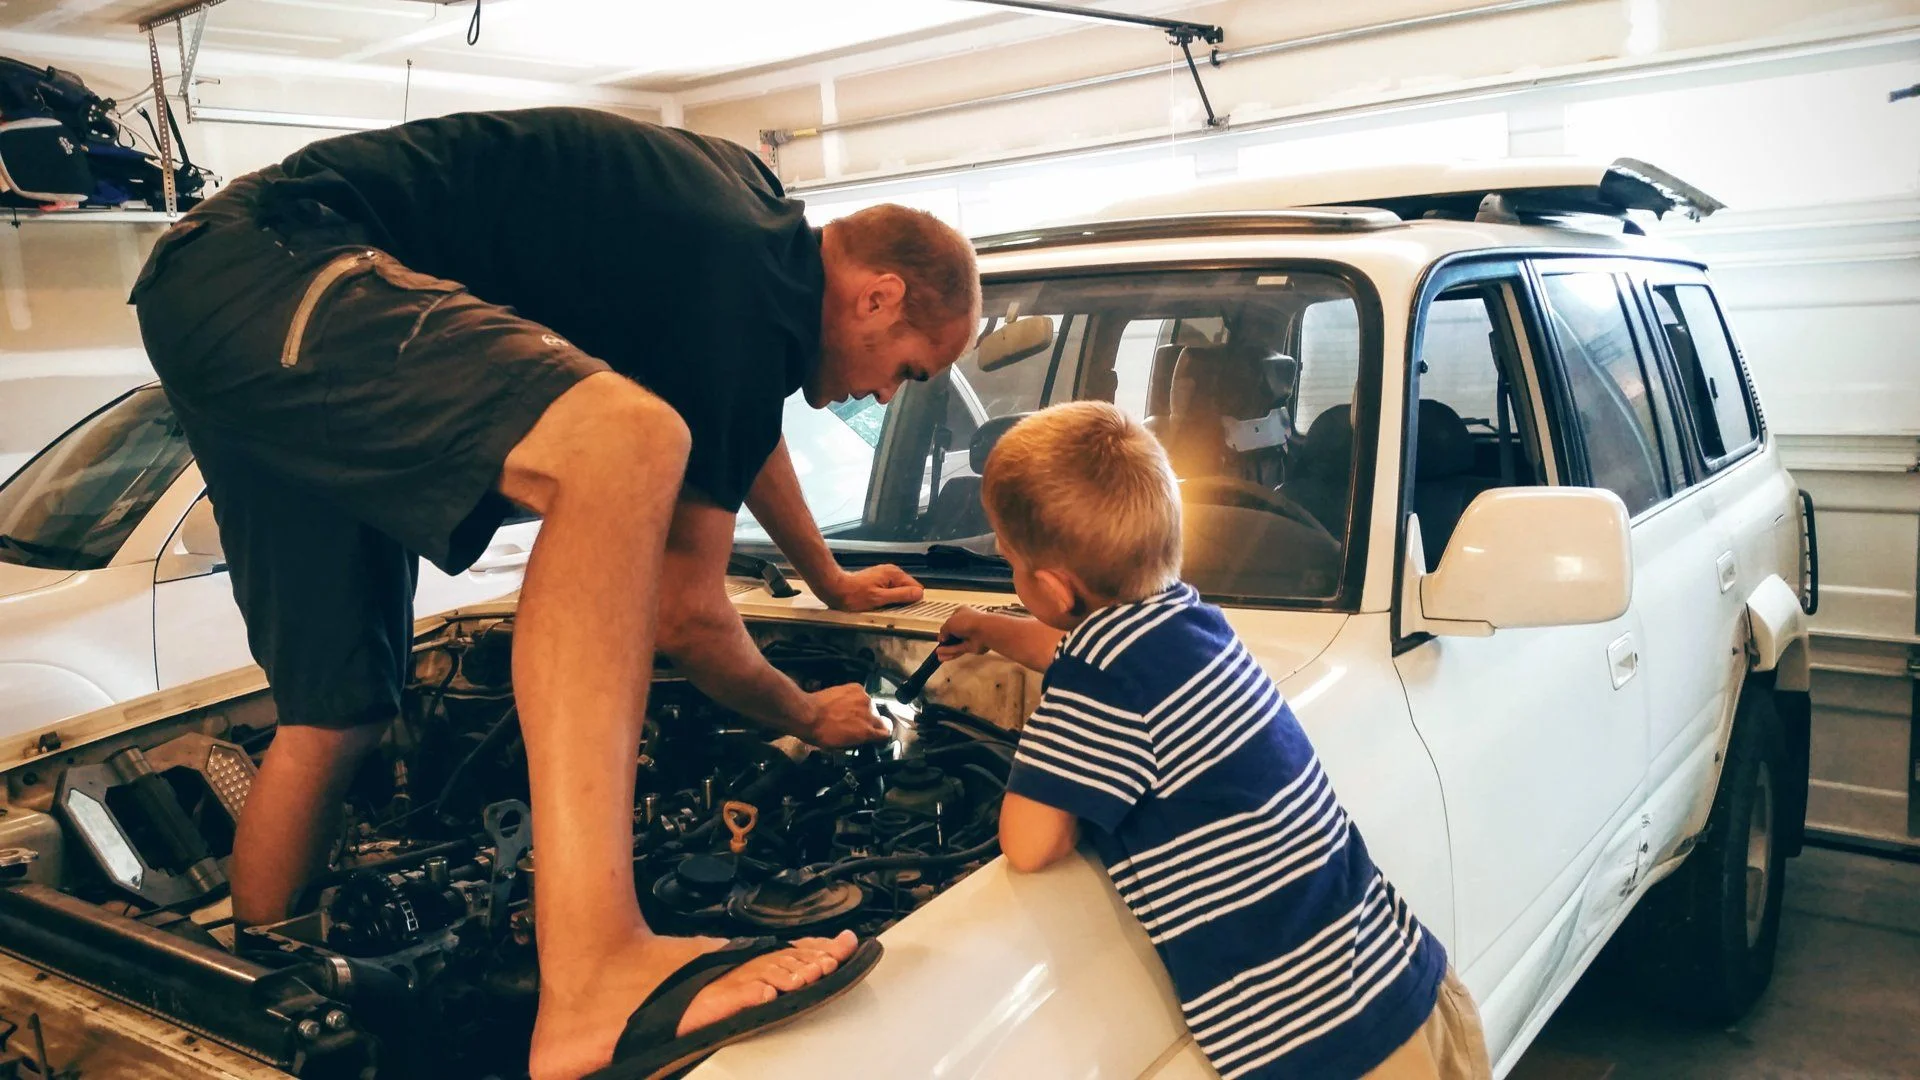
There was a lot of crawling all over inside the engine bay.
Last edited: