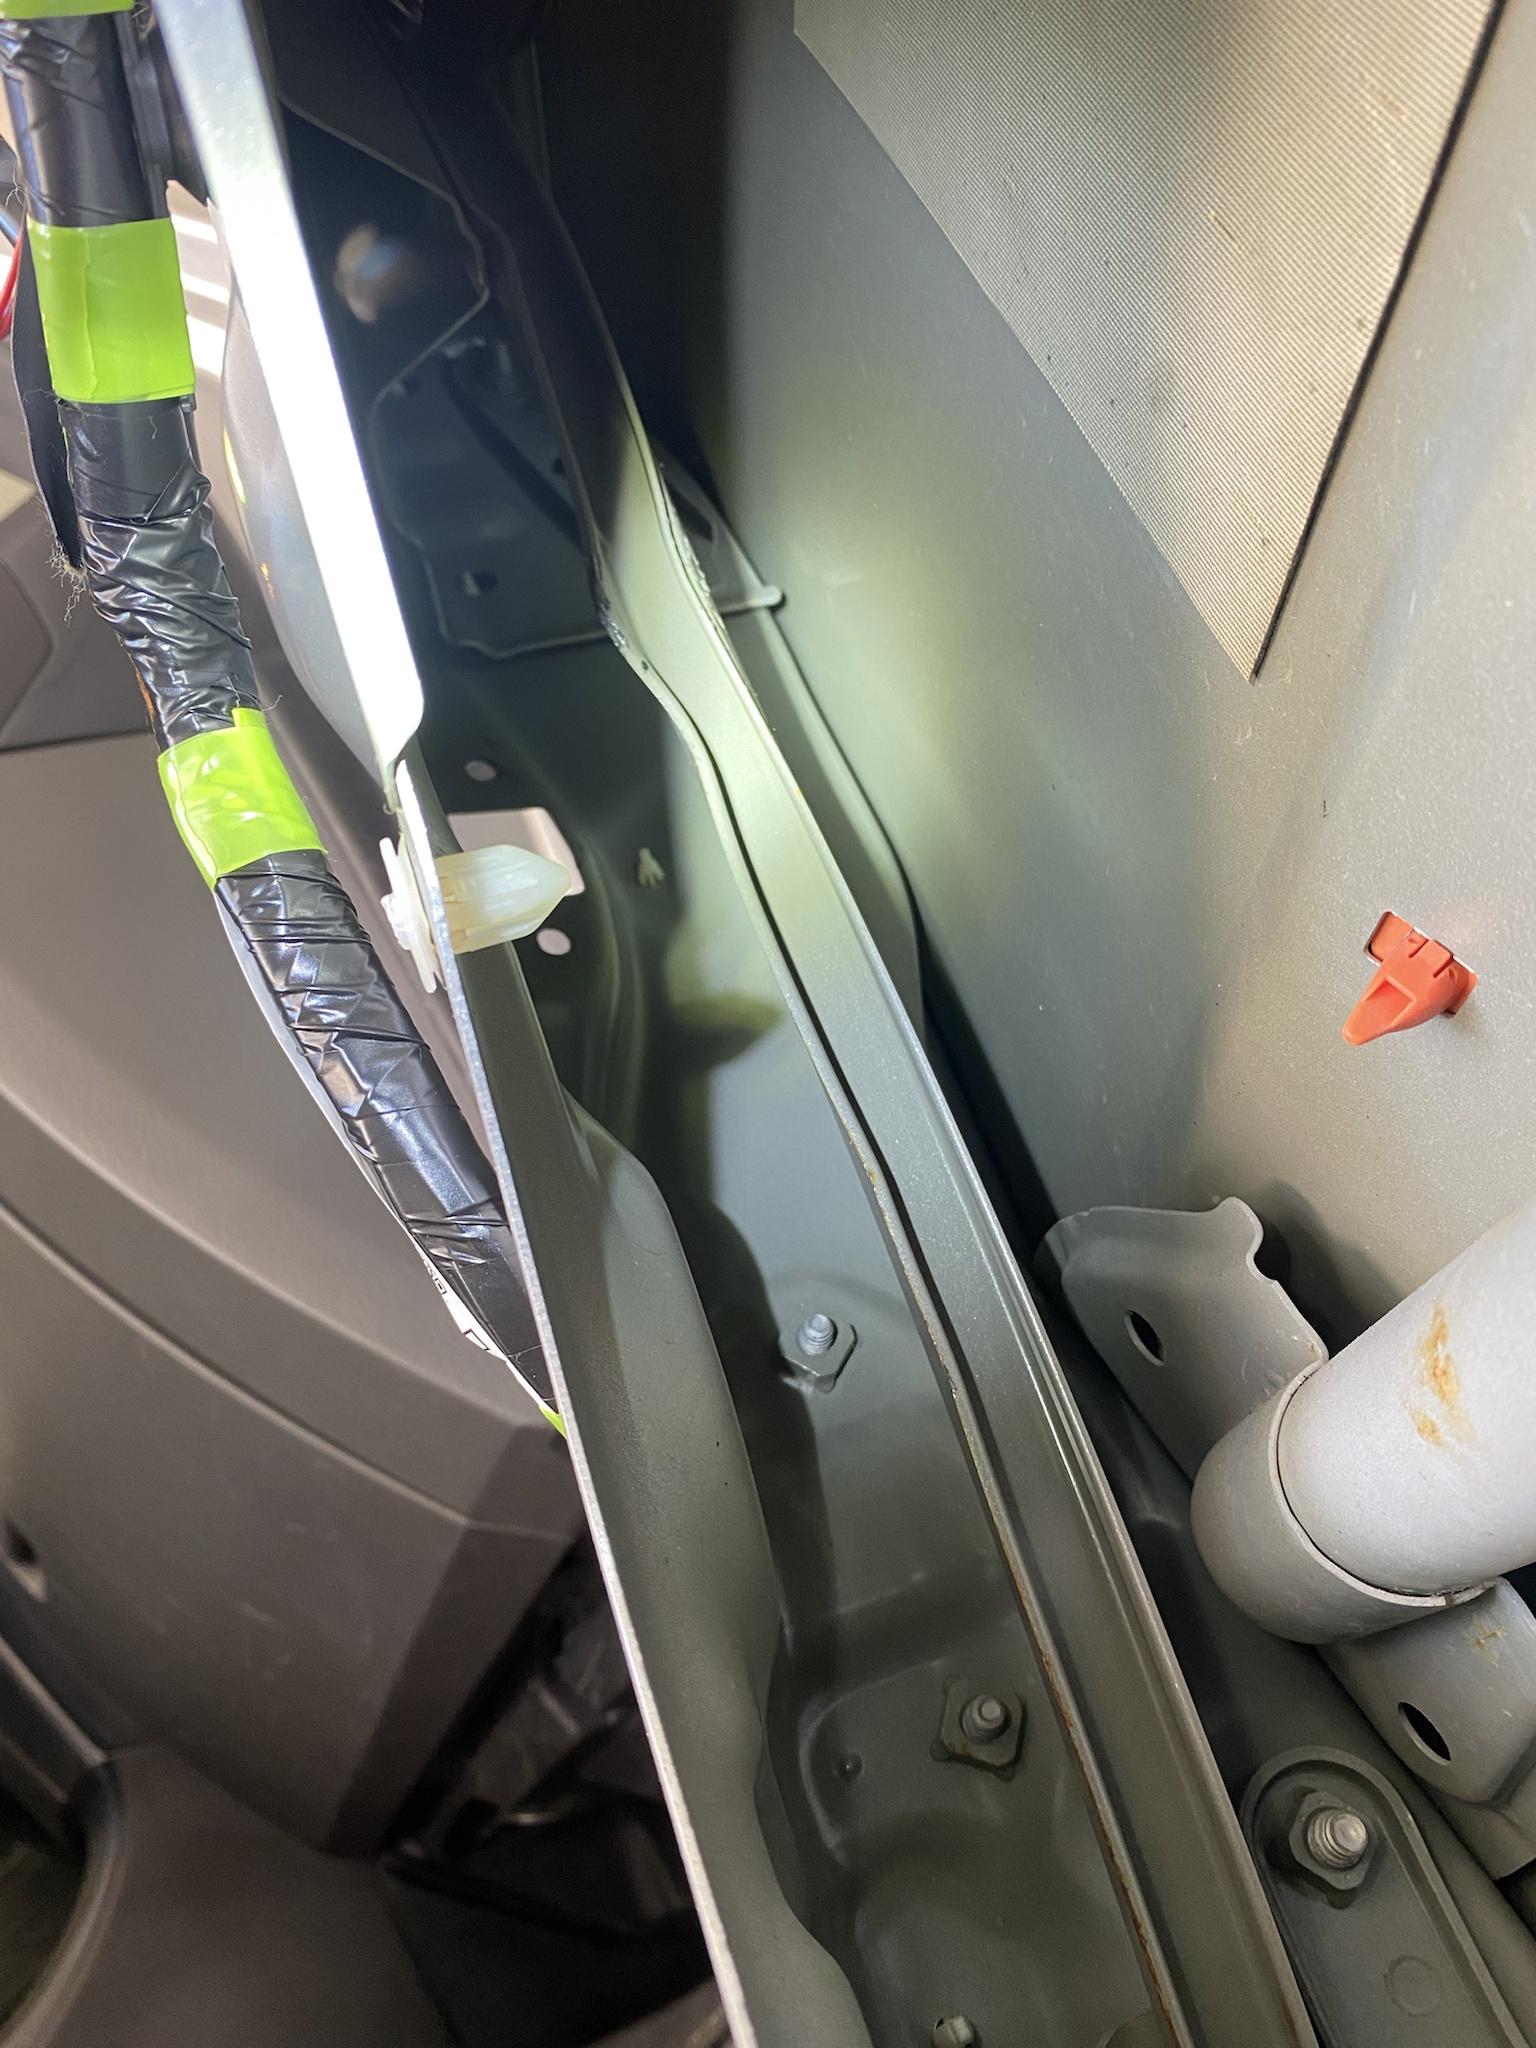
Finally got everything installed on the GX! It is amazing how much the ride quality improved. The driver front shock was also oozing fluid which wasn't noticeable unless you had it up in the air. Despite all this, I still have the same tinny clunk sound coming from up front.
Got everything from Kyle Fogle at Treaty Oak Offroad. Amazing customer service! Was able to help me with all of my questions.
Was happy to see my upper control arms and tie rods were all in fine shape as well at nearly 110k miles, so I chose to leave them alone for now.
I was worried for so long about the ride being too stiff, but stiffness is no different from stock, it just moves around way less and feels a lot less wallowy. The rear needs to settle a little bit, but overall I like how much more beefy it looks this way.
Some take aways from the install:
- Opening the KDSS shutter valves is a must, and so is completely disconnecting the sway bars. With the shutter valves open, they are very easy to get back into place. A good time to change the bushings as well!
- I chose to try and save all of the OEM bits in case I wanted to return to the air ride and electronically controlled suspension. The rear air lines are easy to understand once you watch a few videos on them. A small but sturdy pick can definitely help there.
- For KDSS trucks, the clip holding the top of the driver side air bag is extra hard to reach as the KDSS lines block your access. I tried to unbolt the lines, but my bolts were starting to round out, (she's rusty captain). I chose to pry at them gently upward to make some room. The brackets have some give and I was able to get access. The little holes in the clips are great for getting a flexible wire or pick through to extract them. Otherwise a long set of needle nose pliers, especially angled ones, should make quick work of these clips.
- The allen bolts holding the front ride control actuators on seem to be impossible to take off without vice grips due to access. To get the inner one, you can grab (with gloves) that whole bracket the actuator sits on and spin it around to access the inners. It takes some force, but it isn't too bad. By doing this you can also hopefully bust the nut loose holding that bracket onto the top of the shock. Just like the nuts on the top of the rear shocks, they are a tight fit. Your average tools may be a little bit too thick to get in there.
- PB blaster is your best friend if you have a salt belt truck like mine. I coated everything in it a few days in advance of this install. I did the rear first, and then the front. A helping hand is awesome to have to help push the axle or the control arms down.
- The install instructions for the Dobinson's air ride delete say you should get the spring cups installed onto the axle first and then put the spring on. I found it was easier to put them onto to the spring and then get the whole assembly in there as a whole, then tighten it down to the axle.
- I chose to leave all of the air pump connections connected and just pulled the fuses.
- The front sway bar shifted to the passenger side on me for some reason, I think it was due to the fact that I turned the steering wheel perhaps, but I am not sure. I loosened the connection at the passenger side control arm and was able to use a floor jack to get it re-centered. I would say you probably want to get the rigid links connected before the KDSS piston to avoid this.
- Disconnect the e-brake lines from the rear control arms, otherwise you axle will be pulling on those and limiting your droop.
Here are some photos!
Front and rear installed, a few miles on it. A few hundred miles later, it is leveling out some. This lift was set up to be raked like factory.
Goofy looking with just the rear on. Cheetah mode! Eat your hearts out Tesla lol
Was trying to get the springs in with spring compressors before I just completely disconnected the KDSS sway bar and had no issues from there.
This addition is one of my favorites, no more saggy net!


