Hood repaint

This site may earn a commission from merchant affiliate
links, including eBay, Amazon, Skimlinks, and others.

Joined
Sep 3, 2007
Threads
71
Messages
8,870
Location
New Zealand
Thought I'd post this thread on how I've painted my hood in case it is of interest to anyone.

Her'es a photo of the hood as it was before the work began. The faded grey paint is "cold galvanising paint" that I had been slopping everywhere where rust had been beginning to take hold:

bonnet02.webp

And here is the underside. Under the ribbing is "congealed fishoilene". It has performed well in preventing rust for almost 30 years but its black colour makes it look ugly

bonnet03.webp

The hooks were looking a bit "rugged" too. (I'd been pumping them full of grease to prevent internal corrosion and keep them operating smoothly.)
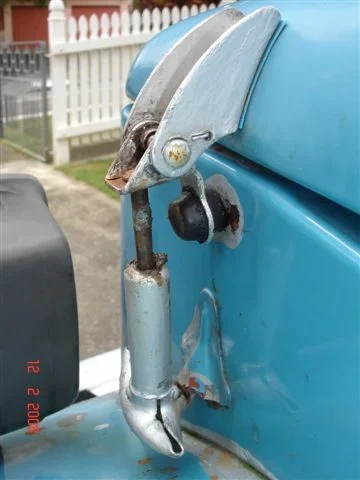
bonnet04.webp
bonnet02.webp
bonnet03.webp
bonnet04.webp
 
The hinges had gotten the "cold galv treatment" too:


bonnet05.webp

As usual all the work was carried out outdoors because my garage is too full of junk

untitled.webp

Now anyone who leaves their cruiser outside year round will know that the underneath of the hood gets covered in dew at times. The hidden areas beneath the ribbing are thus particularly prone to rusting. So I decided to cut inspection/access holes in the ribbing and tried to do it in such a way that hood-strength wouldn't be compromised. I used a drill and die grinder to cut these holes:

bonnet07.webp
bonnet05.webp
bonnet07.webp
untitled.webp
 
Last edited:
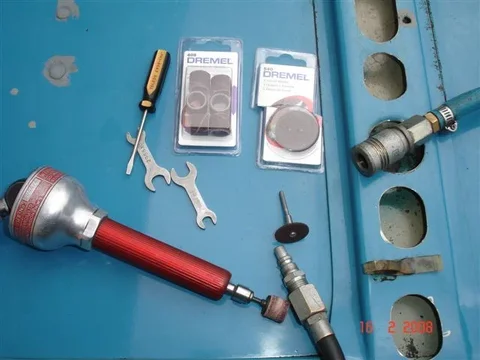
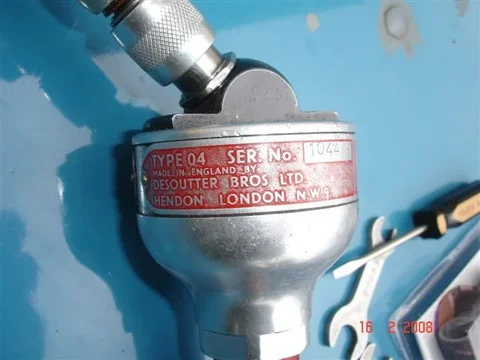
Here's a close-up of my die grinder. This is probably my favourite tool:

bonnet08.webp

And here is the cut-off wheel I used for making the straight cuts:

bonnet10.webp

Here is the sanding drum I used to remove the burrs

bonnet09.webp
bonnet08.webp
bonnet09.webp
bonnet10.webp
 
Here are some of the bits I've cut out. Note the black fishoilene gunge on the sides that were formerly hidden:

bonnet11.webp

Each of those packets contained 5 cut-off wheels and the cost of cutting those holes was around $60 in cutting wheels alone!

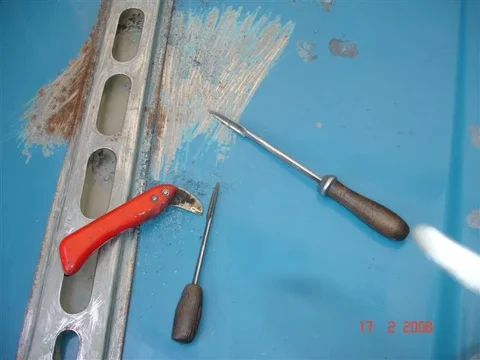
Here are the scratchers I used to take the paint off:

bonnet12.webp

This paint-removal work is done in a similar way to Dans (M5driver) except in my case "yours truly" does all the monotonous manual labour :D

Here's a hole that I couldn't gobble up with a cut-out:

bonnet13.webp
bonnet11.webp
bonnet12.webp
bonnet13.webp
 
So I filled it with weld:

bonnet14.webp

And I had to fill these holes too. The PO had drilled 6 of them in the bonnet in order to fit a perspex wind deflector. Apparantly the first months of my BJs life were spent towing a caravan right around Australia and the wind deflector was used to reduce fuel consumption:

bonnet15.webp

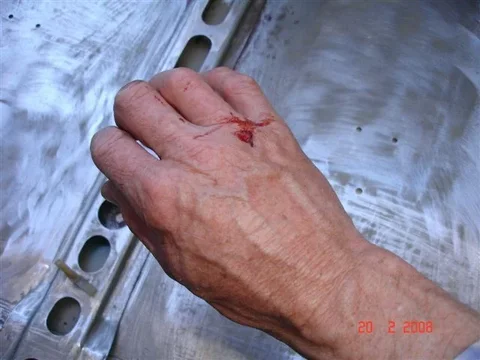
As usual when I concentrate on getting a job done as best I can, avoiding injury seems to have low priority :doh:

bonnet16.webp
bonnet14.webp
bonnet15.webp
bonnet16.webp
 
This tab spot-welded to the side of the hood sits on a rubber pad. But it used to sit so heavily that it had worn into the rubber to the point where the securing screw in turn wore into the metal. (It is actually worn right through.)

bonnet17.webp

So I filled that with weld too and bent the lip of the hood (complete with tab) upwards so it will rest more gently on the rubber (which has been replaced).
I welded the full length of the front of the hood to replace the sealant there with weld. (Burnt the sealant out.)

bonnet19.webp

I reckon anyone who restores vehicles would never "break" under torture. I mean the weld spatter was burning real deep but NO WAY was I going to move my hand and risk flawing my weld (any more than it was already going to be):

bonnet20.webp

Yes I do have welding gloves. But it was only a small job!!

bonnet17.webp
bonnet19.webp
bonnet20.webp
 
Hey. How come all that last post was in small type? Only small job was supposed to be written small:mad:

Anyway. Here's the outside of the hood almost ready for painting:

bonnet21.webp

And here's the underside:

bonnet22.webp

And here's "Yours Truly" doing the painting. (Nah. Not really. I'd finished by then and was just pretending.)

bonnet23.webp
bonnet21.webp
bonnet22.webp
bonnet23.webp
 
Decided to glue the rubber here cos it was so old and weather-hardened that it wouldn't have sat properly otherwise. I also painted it with tyre-black to make it look like new:

bonnet24.webp

And here's all the "hood hardware" ready for fitting. (Note the stainless fasteners.)

bonnet25.webp

If anyone hasn't seen the hinges before - here is the thread covering them being made:

I'll add this link in a few minutes unless Alzheimer's says different

https://forum.ih8mud.com/40-55-series-tech/203969-worn-hood-hinges.html

How's that - I remembered:flamingo::princess::banana::wrench:

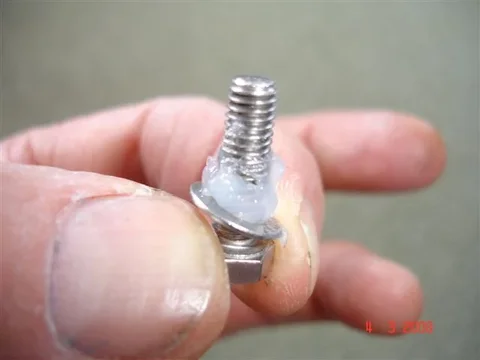
It is important to seal the bolts on the cowl-side of the hinges to prevent rain water dribbling onto your feet. I use neutral-cure silicone for this:

bonnet26.webp
bonnet24.webp
bonnet25.webp
bonnet26.webp
 
Last edited:
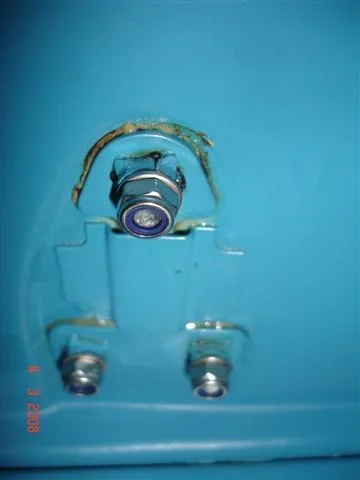
Here is the underside of those cowl screws (looking inside the glovebox):

bonnet27.webp

Note that stainless locknuts have been added to prevent easy-removal of those screws and to remove the need for split-washers outside. (I hate split washers.)

bonnet28.webp

That goo squishing out is lanolin. I like to use that as a rust-preventative and antiseize nowadays.

Trouble with outdoor workshops is that rain tends to come at the most inopportune times. (Unless you live in Oz where it usually doesn't come at all.) But at least it enabled me to check the weathertightness of those screws:

bonnet29.webp
bonnet27.webp
bonnet28.webp
bonnet29.webp
 
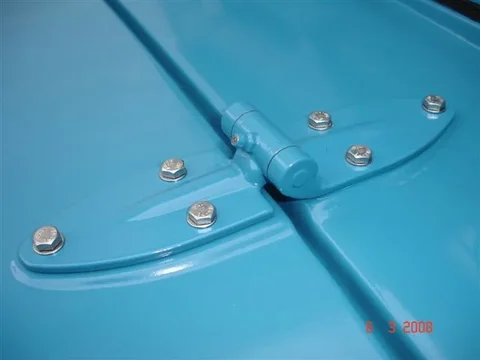
Here's a photo of the new hinges looking pretty:

bonnet30.webp

And here a photo of the new stainless shield hooks (obtained from CCOT same as the hood hooks):

bonnet31.webp

Speaking of hood hooks:

bonnet32.webp
bonnet30.webp
bonnet31.webp
bonnet32.webp
 
Last edited:
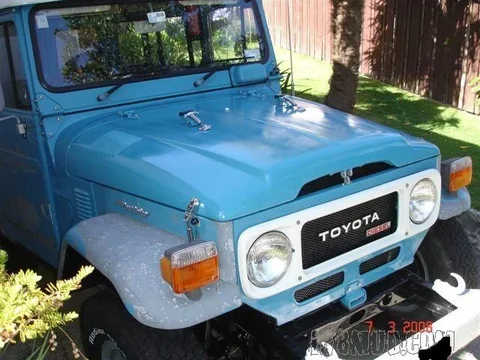
Here's an outside view of the repainted hood:

untitled2.webp

And here's the underneath:

bonnet34.webp

Oh - Forgot. I filed/sanded the burrs on the stainless hooks and I also drilled these holes to allow trapped water to drain:

Bonnet35.webp
bonnet34.webp
Bonnet35.webp
untitled2.webp
 
Last edited:
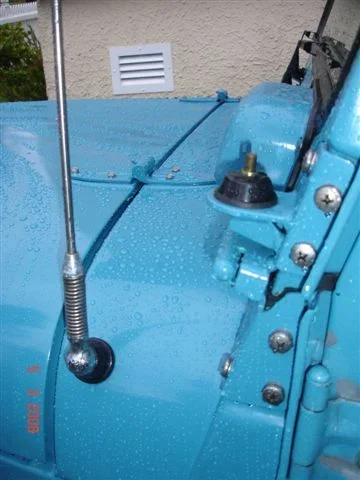
Here's a photo showing how the windshield (aren't I good not calling it a windscreen?) washer line is routed.

I left that plastic tie thingie in place during paint removal and painting because I knew I'd break it if I tried removing it:

Bonnet36.webp

Here it is closer Errr? Maybe not..... Let's say - further away (photos swapped of course):

Bonnet37.webp

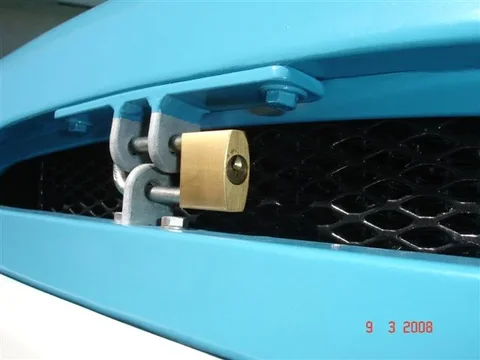
And here is the hood lock:

untitled3.webp
Bonnet36.webp
Bonnet37.webp
untitled3.webp
 
Last edited:
And here's a closer look:

Bonnet39.webp


And here is how the lock has been broken/modified to enable it all to work. (Note the plastic on the hoop to prevent vibration noise.)

Bonnet40.webp

And one last photo (Already this thread has so many photos that I need to upgrade my computer to be able to download the page fast enough!!!)

Bonnet41.webp

This last one shows why I like POR15 so much. (Hey - Why doesn't the POR15 manufacturer support MUD by advertising on it like RB does? Or is it just that I haven't noticed their advertising?)
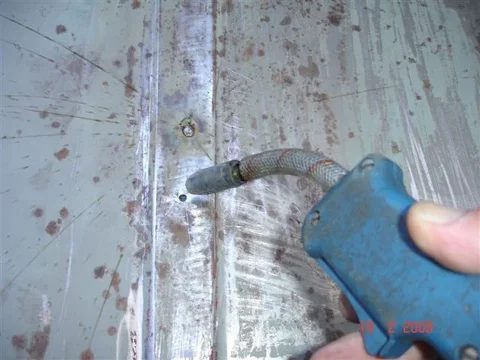
This photo was taken inside the glovebox. The primer I applied from within the engine bay has "wicked" right into the seam by capillary action. Then it has expanded as it set to force a little into the glovebox.
Bonnet39.webp
Bonnet40.webp
Bonnet41.webp
 
Last edited:
Great post. the paint came out great. what did you use for hardware , and for paint. dont forget to add to this when you do the front fenders too :D

did i say great job? :clap:
 
Great job. I like all the photos. I'll need to respray mine in the near future and this gives me some ideas. Thanks
 
Great job, great post! And at first I wondered why you were on your back, spraying 'uphill', then I remembered you are south of the equator. Duh.
 
Yes, very nice...but,

Now I have to do my hood! I also like your hood lock, where did you get the hardware for that nice trick? I am doing my hard doors as my first step in body work and sanding and painting.

It seems prep is very important - I am now re-doing after being lazy with the prep.
 

Users who are viewing this thread

Back
Top Bottom