APKhaos
Unfixing the unfixable
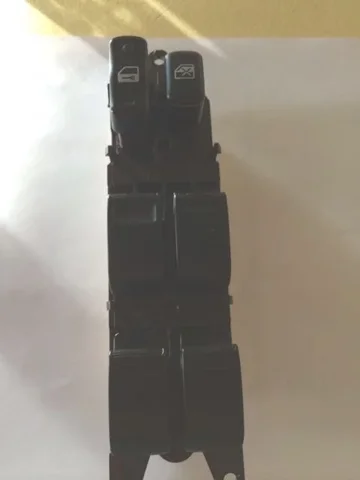
The driver's door window switch module had been giving me hell. Specifically, the driver's window switch was erratic at best, and often inoperative. Decided to take it to the bench and discovered that this was a very simple fix. Here's how:
WHICH MODEL? The switch I did was from my 1999 model, but I suspect the basic layout is consistent for later models and the failing mode is most likely consistent as well.
IS MINE BROKEN? The simple test is to compare the action of the lightly used switches on the driver's module [rear windows] with the most heavily used driver's window switch. The rear switches should have a tight, well-defined throw in both up and down direction. If your driver's window switch moves a lot further in either direction and feels 'soft', then it's a good candidate for this fix. ANY of the switches could fail this way, so if any of them feel extra bendy then this fix will work for that switch.
STEPS
- Remove the switch module from the door. Lever up the front edge first using a plastic trim lever or similar. Once the front spring clip pops, remove the module forward and up.
- Disconnect both connectors
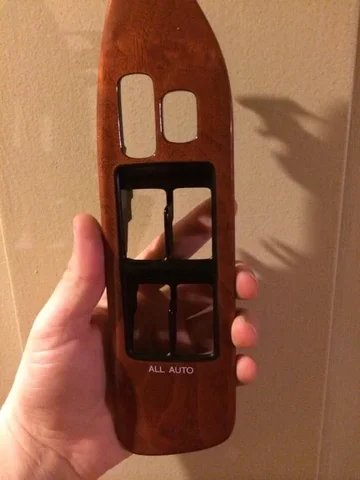
- On the bench, remove the three screws attaching the module to the trim cover
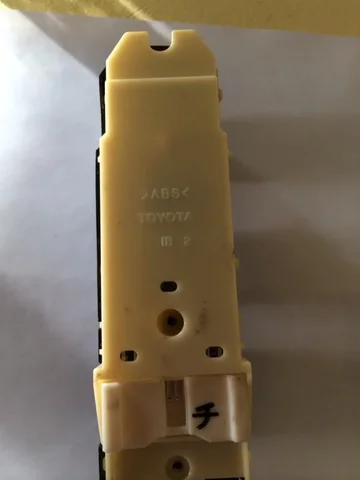
- Turn the module over and remove the three screws from the connector side that hold the white electronics section to the black switch rocker section. Separate these two.

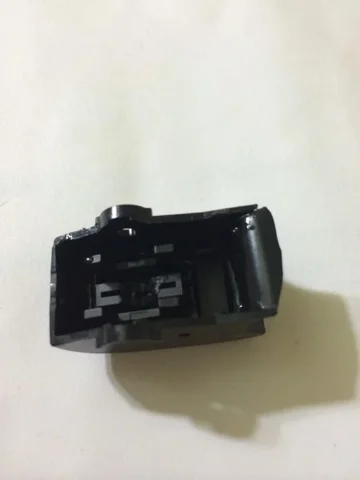
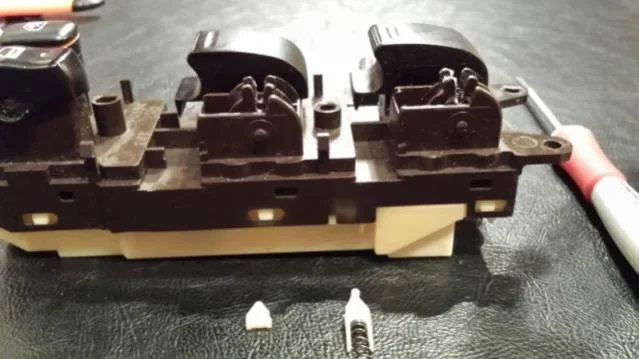
- Look carefully at the black plastic around the base of the driver's window rocker. You'll see a network of cracks in the plastic. Press down on the rocker and you'll see how the cracks allow the rocker base to move quite a bit. This is the problem.
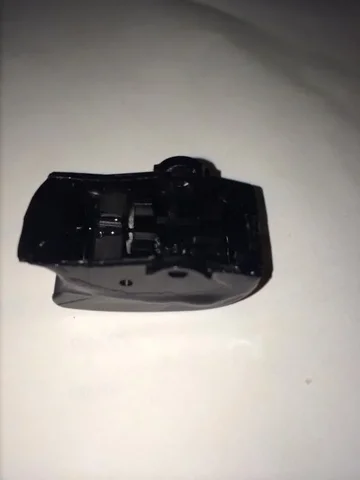
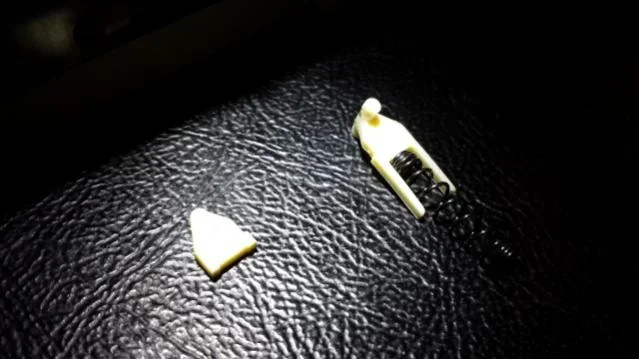
- Carefully remove the driver's window rocker from the base by gently levering each side of the rocker out and over its pivot pin. BE CAREFUL! the underside of the rocker has a white plastic detent pin backed by a small spring. Take these out and set them aside. They WILL fall out, and loosing them on the floor will not be fun! Also remove the black rubber condom from the top of the rocker base.
- Clean the cracked area around the base top and bottom with a good flash solvent. Isopropyl alcohol is perfect.
- Scratch up the cracked area with light emery or sandpaper to provide a good tooth for the epoxy that comes next. Flush with solvent after sanding.
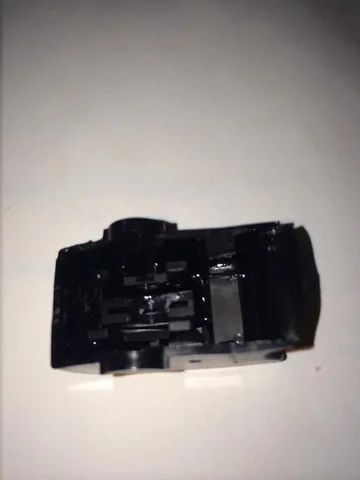
- Mix up a small [1/2" worms] of JB Quick. Carefully spread to cover the cracked area on one side. Mix a second batch for the other side. [JB Quick sets up too quickly to do both sides with one mix].
You can use slower curing JB Weld if you can allow 24 hours for it to cure.
- Ideally, let it cure for at least an hour and preferably overnight.
- While that's curing, carefully wipe the connector contacts with white vinegar on a q-tip to clear any corrosion. Flush with water on a q-tip
- When cured, reassemble the rocker on the base.
- Position the white switch levers [circled] in their center positions [marked on the pcb]
- Reassemble the rocker base and switch electronics module, then fit and screw down the trim plate.
At this point, you'll notice that the driver's window switch feels like new again. Drop it back in the driver's door and enjoy reliable window operation again!

WHICH MODEL? The switch I did was from my 1999 model, but I suspect the basic layout is consistent for later models and the failing mode is most likely consistent as well.
IS MINE BROKEN? The simple test is to compare the action of the lightly used switches on the driver's module [rear windows] with the most heavily used driver's window switch. The rear switches should have a tight, well-defined throw in both up and down direction. If your driver's window switch moves a lot further in either direction and feels 'soft', then it's a good candidate for this fix. ANY of the switches could fail this way, so if any of them feel extra bendy then this fix will work for that switch.
STEPS
- Remove the switch module from the door. Lever up the front edge first using a plastic trim lever or similar. Once the front spring clip pops, remove the module forward and up.
- Disconnect both connectors
- On the bench, remove the three screws attaching the module to the trim cover
- Turn the module over and remove the three screws from the connector side that hold the white electronics section to the black switch rocker section. Separate these two.
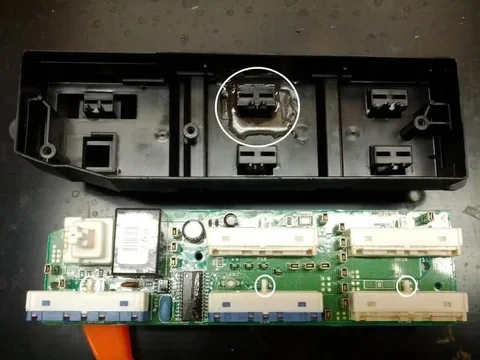
- Look carefully at the black plastic around the base of the driver's window rocker. You'll see a network of cracks in the plastic. Press down on the rocker and you'll see how the cracks allow the rocker base to move quite a bit. This is the problem.
- Carefully remove the driver's window rocker from the base by gently levering each side of the rocker out and over its pivot pin. BE CAREFUL! the underside of the rocker has a white plastic detent pin backed by a small spring. Take these out and set them aside. They WILL fall out, and loosing them on the floor will not be fun! Also remove the black rubber condom from the top of the rocker base.
- Clean the cracked area around the base top and bottom with a good flash solvent. Isopropyl alcohol is perfect.
- Scratch up the cracked area with light emery or sandpaper to provide a good tooth for the epoxy that comes next. Flush with solvent after sanding.
- Mix up a small [1/2" worms] of JB Quick. Carefully spread to cover the cracked area on one side. Mix a second batch for the other side. [JB Quick sets up too quickly to do both sides with one mix].
You can use slower curing JB Weld if you can allow 24 hours for it to cure.
- Ideally, let it cure for at least an hour and preferably overnight.
- While that's curing, carefully wipe the connector contacts with white vinegar on a q-tip to clear any corrosion. Flush with water on a q-tip
- When cured, reassemble the rocker on the base.
- Position the white switch levers [circled] in their center positions [marked on the pcb]
- Reassemble the rocker base and switch electronics module, then fit and screw down the trim plate.
At this point, you'll notice that the driver's window switch feels like new again. Drop it back in the driver's door and enjoy reliable window operation again!
Last edited:


