What are you working on? (16 Viewers)

This site may earn a commission from merchant affiliate
links, including eBay, Amazon, Skimlinks, and others.

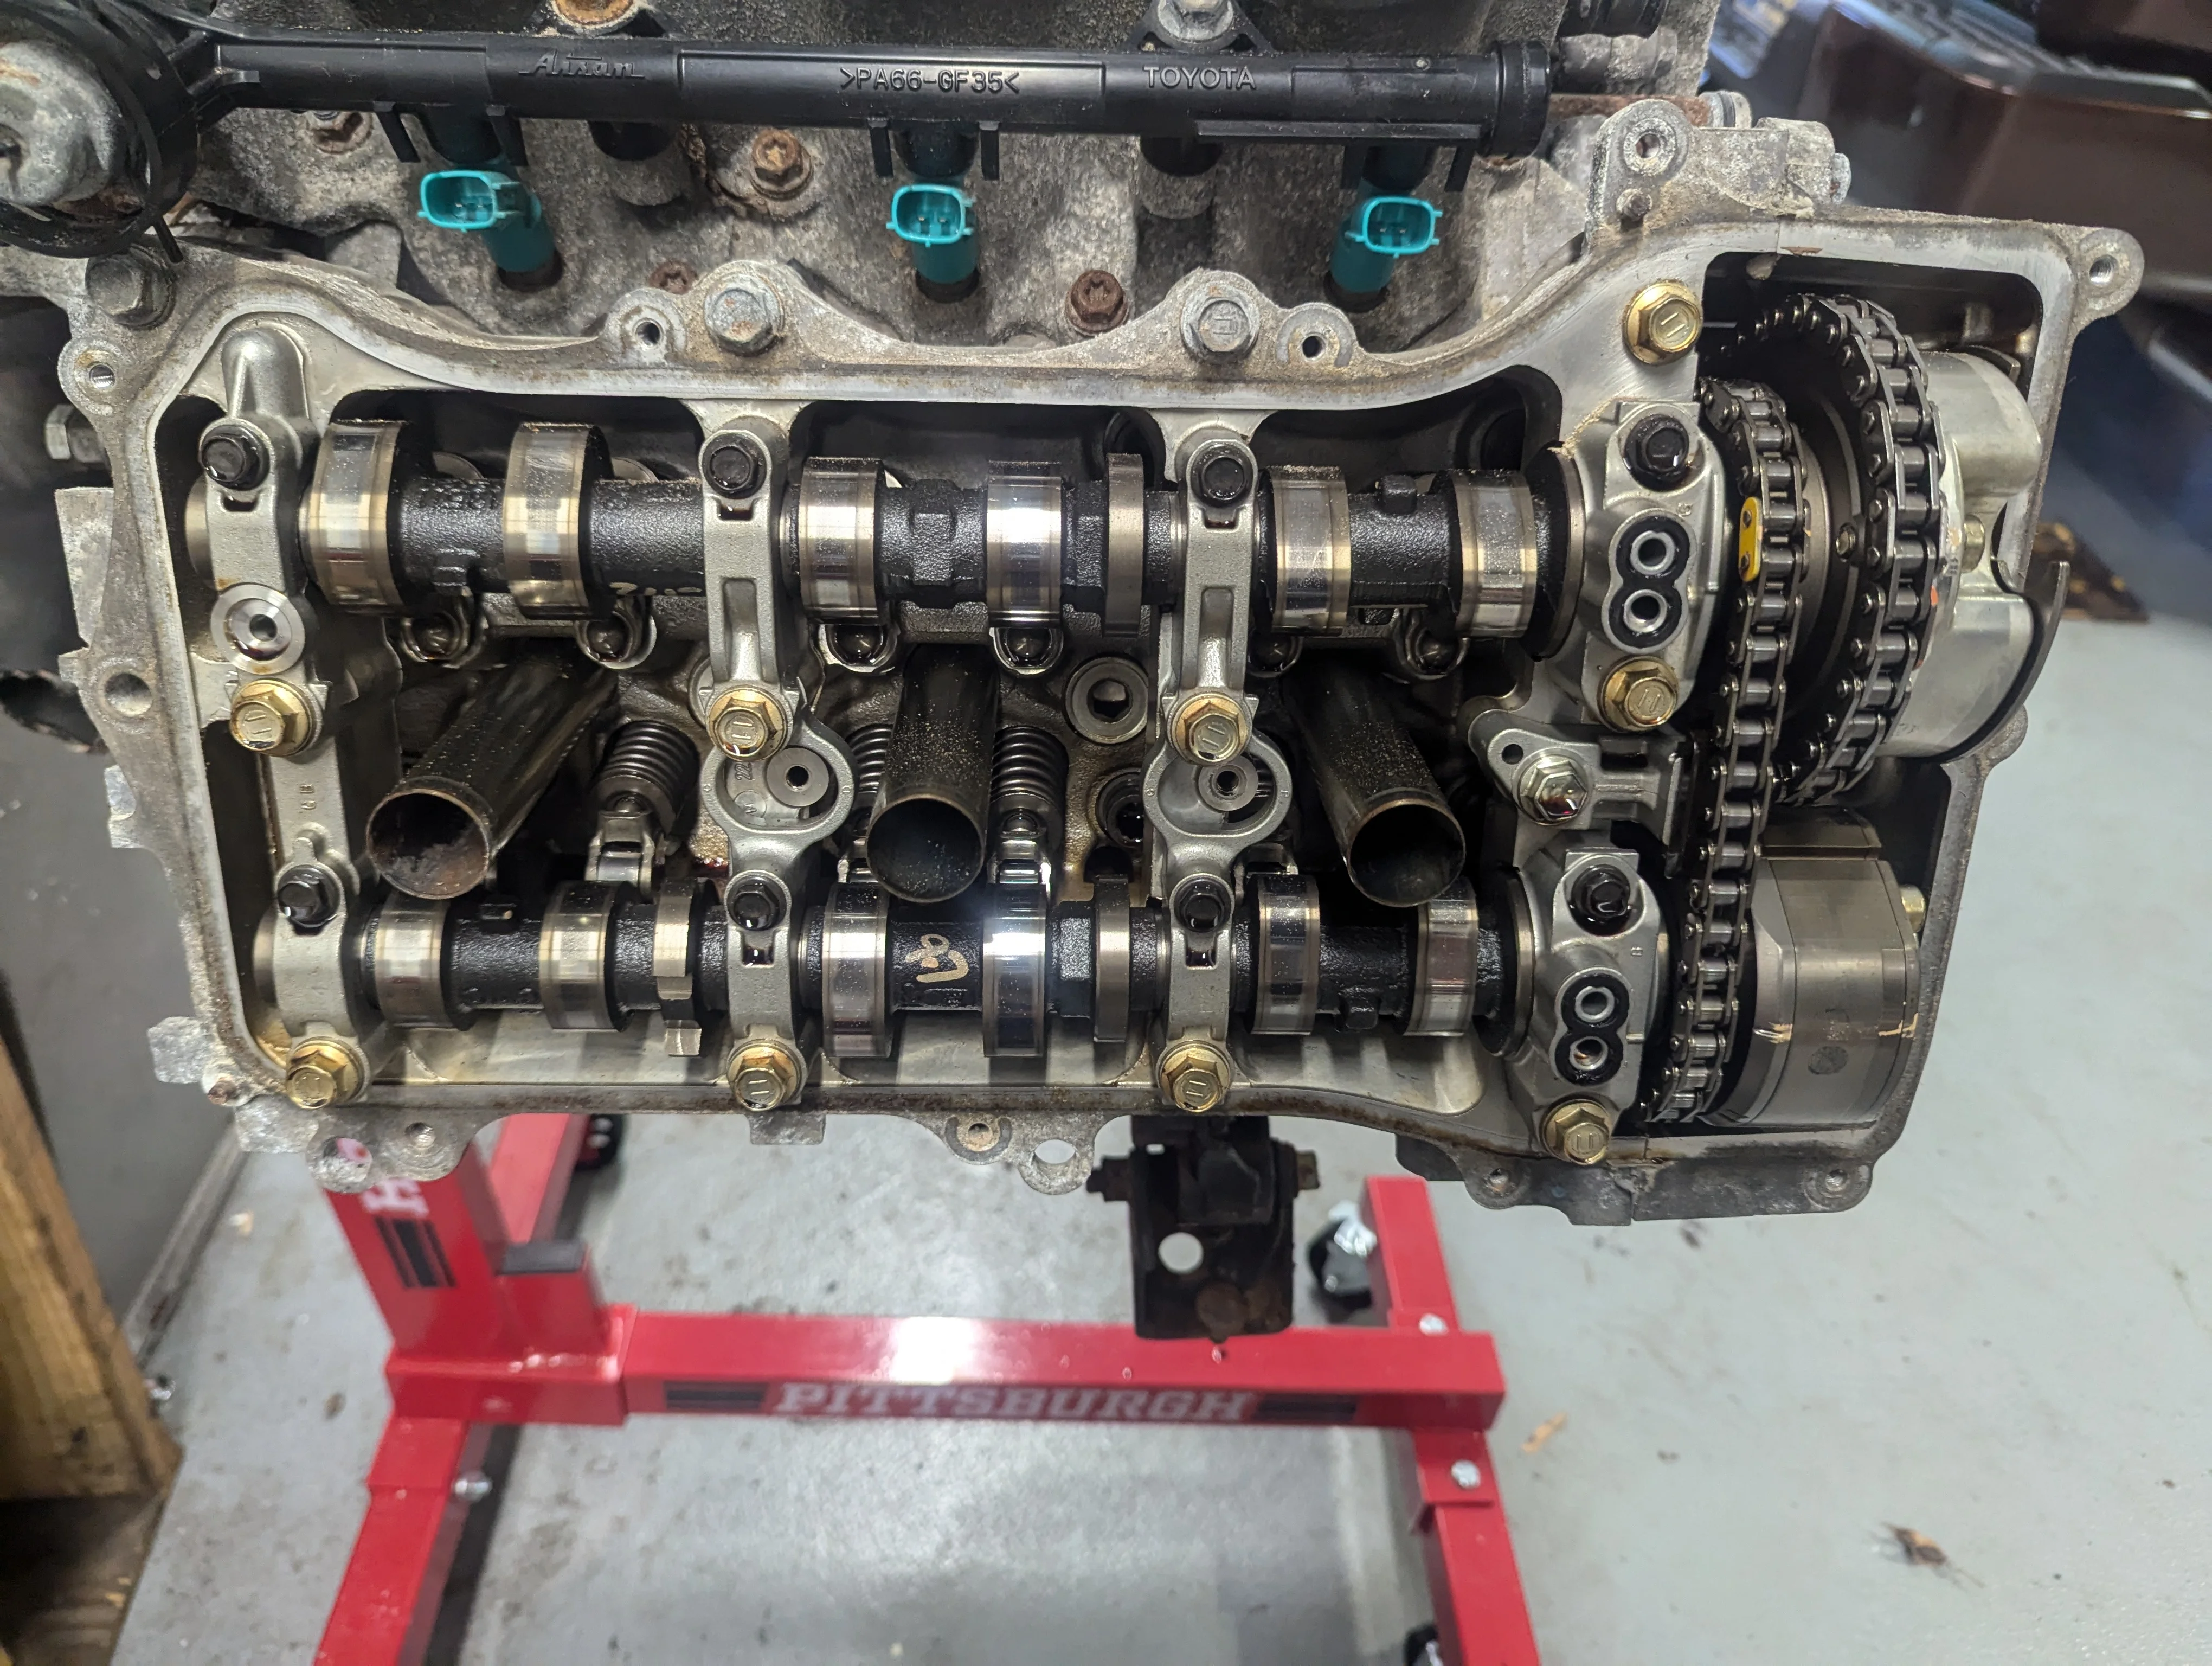
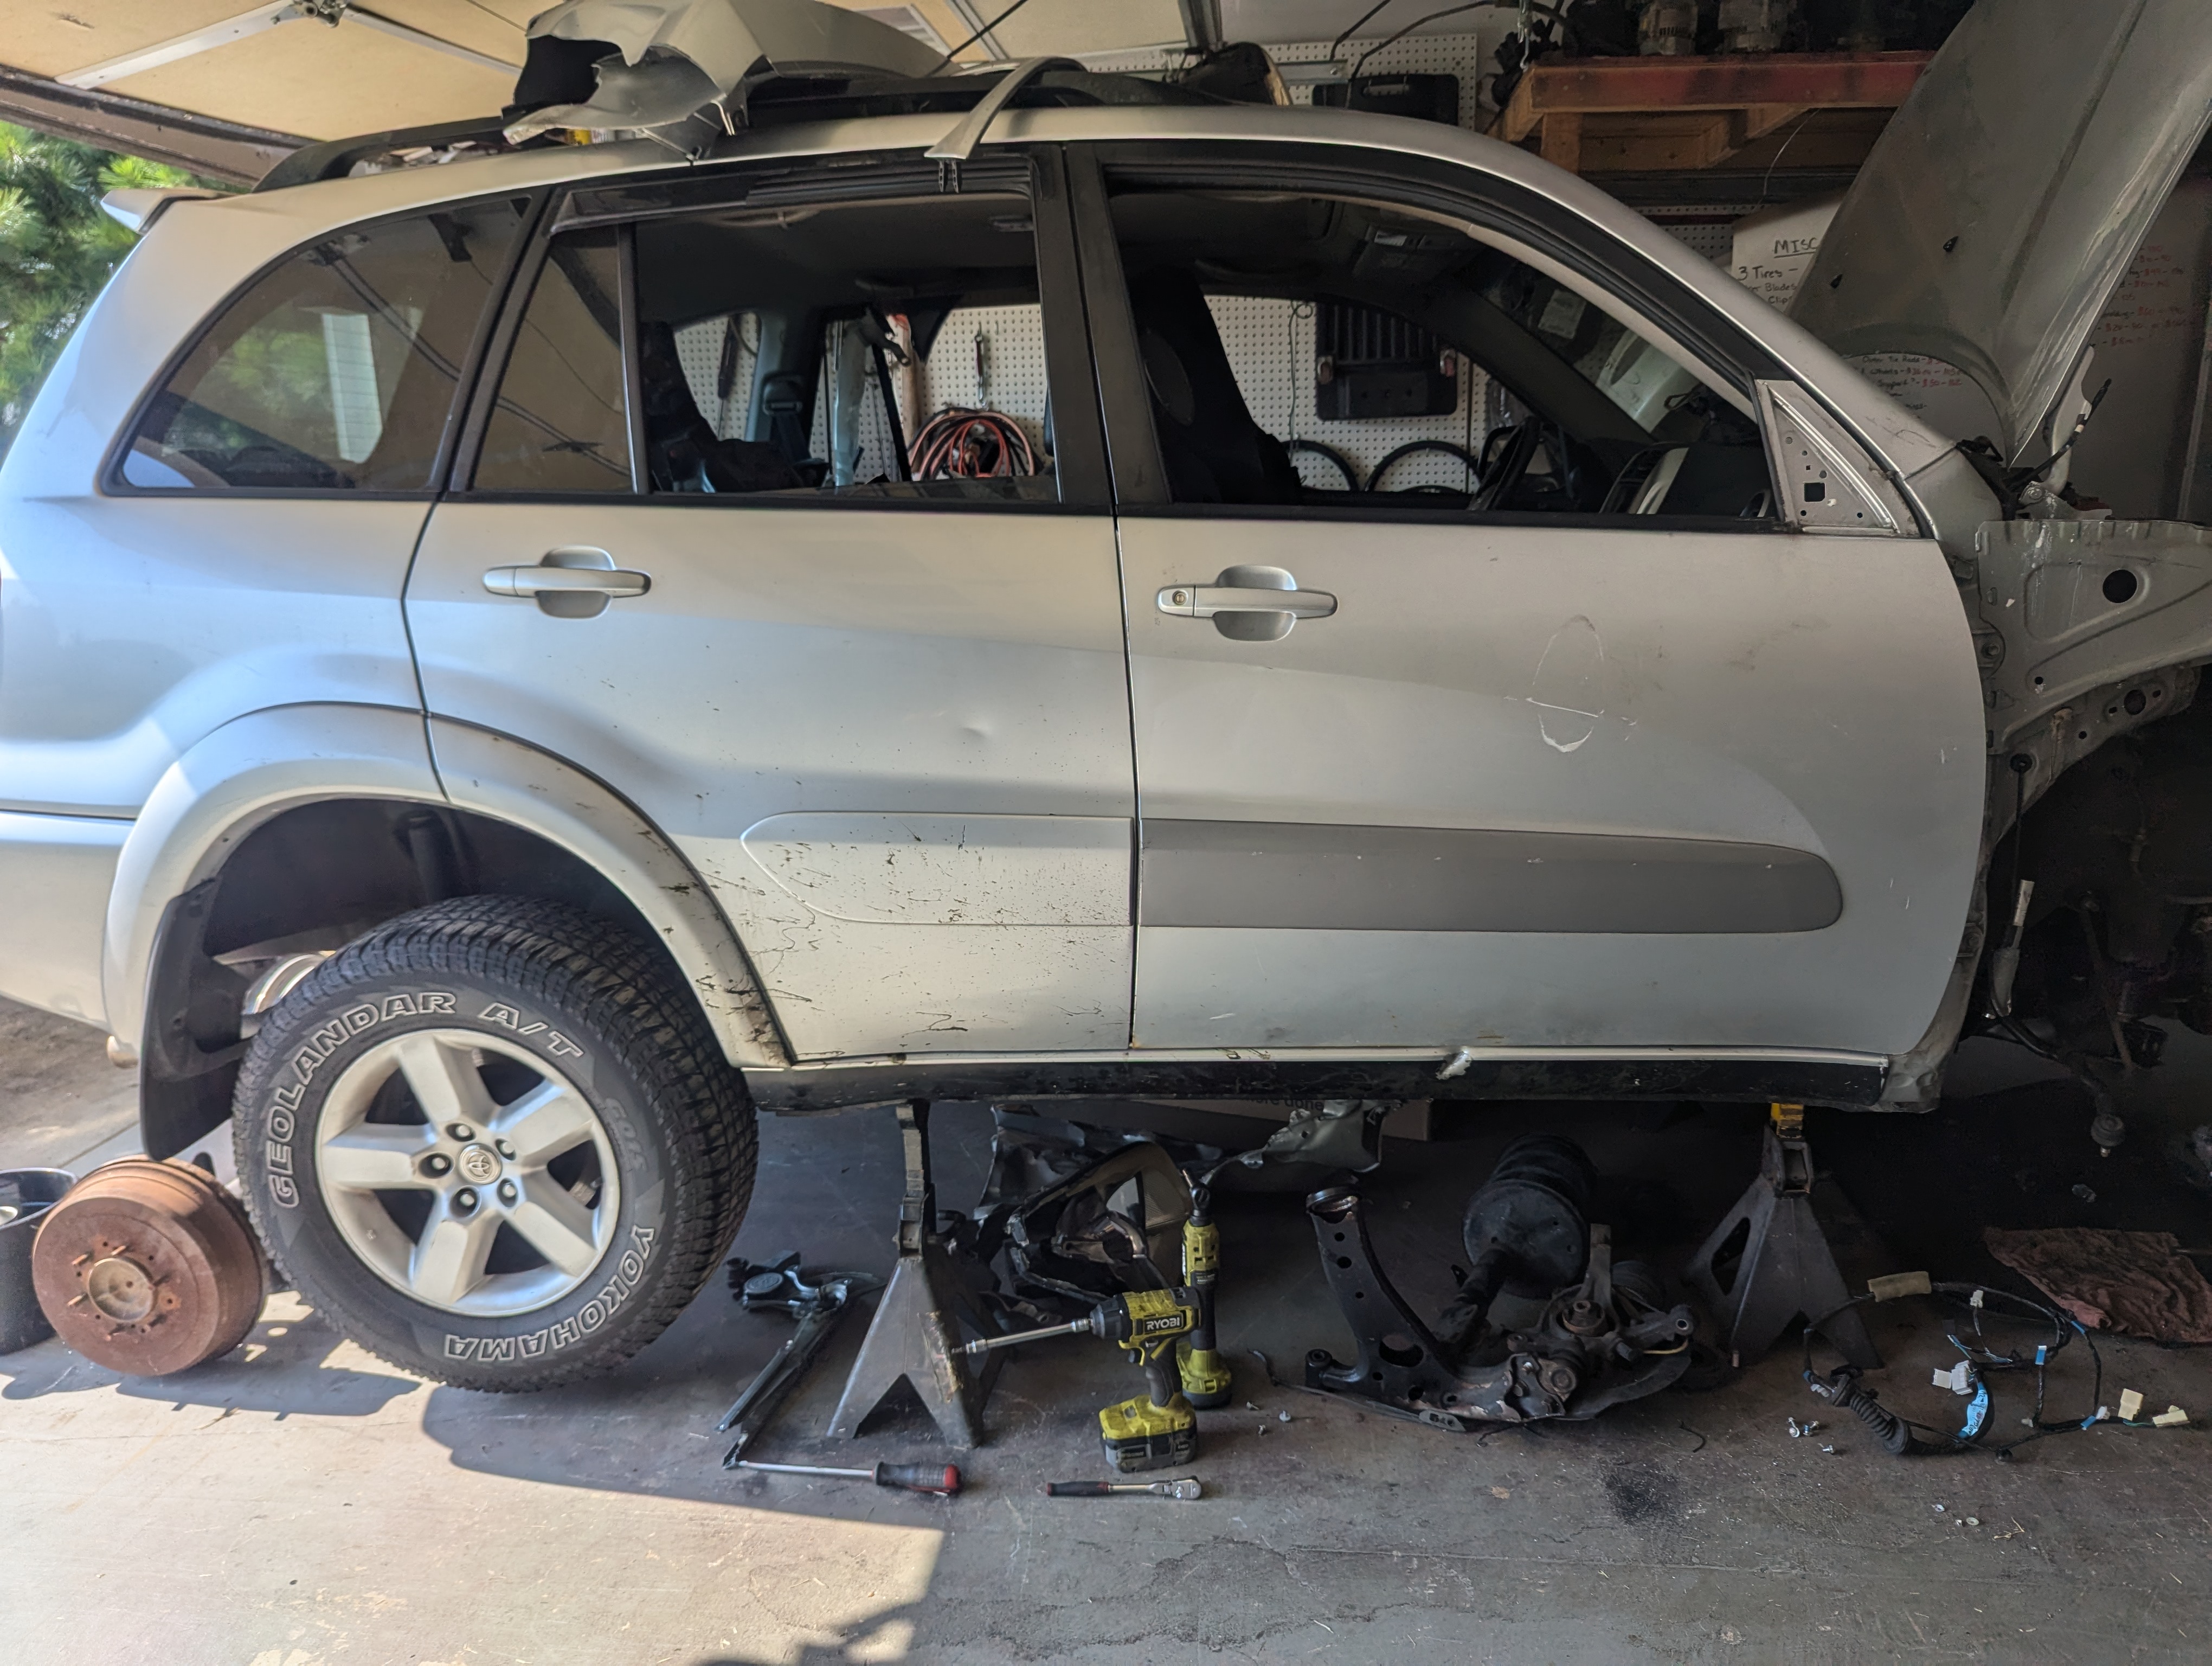
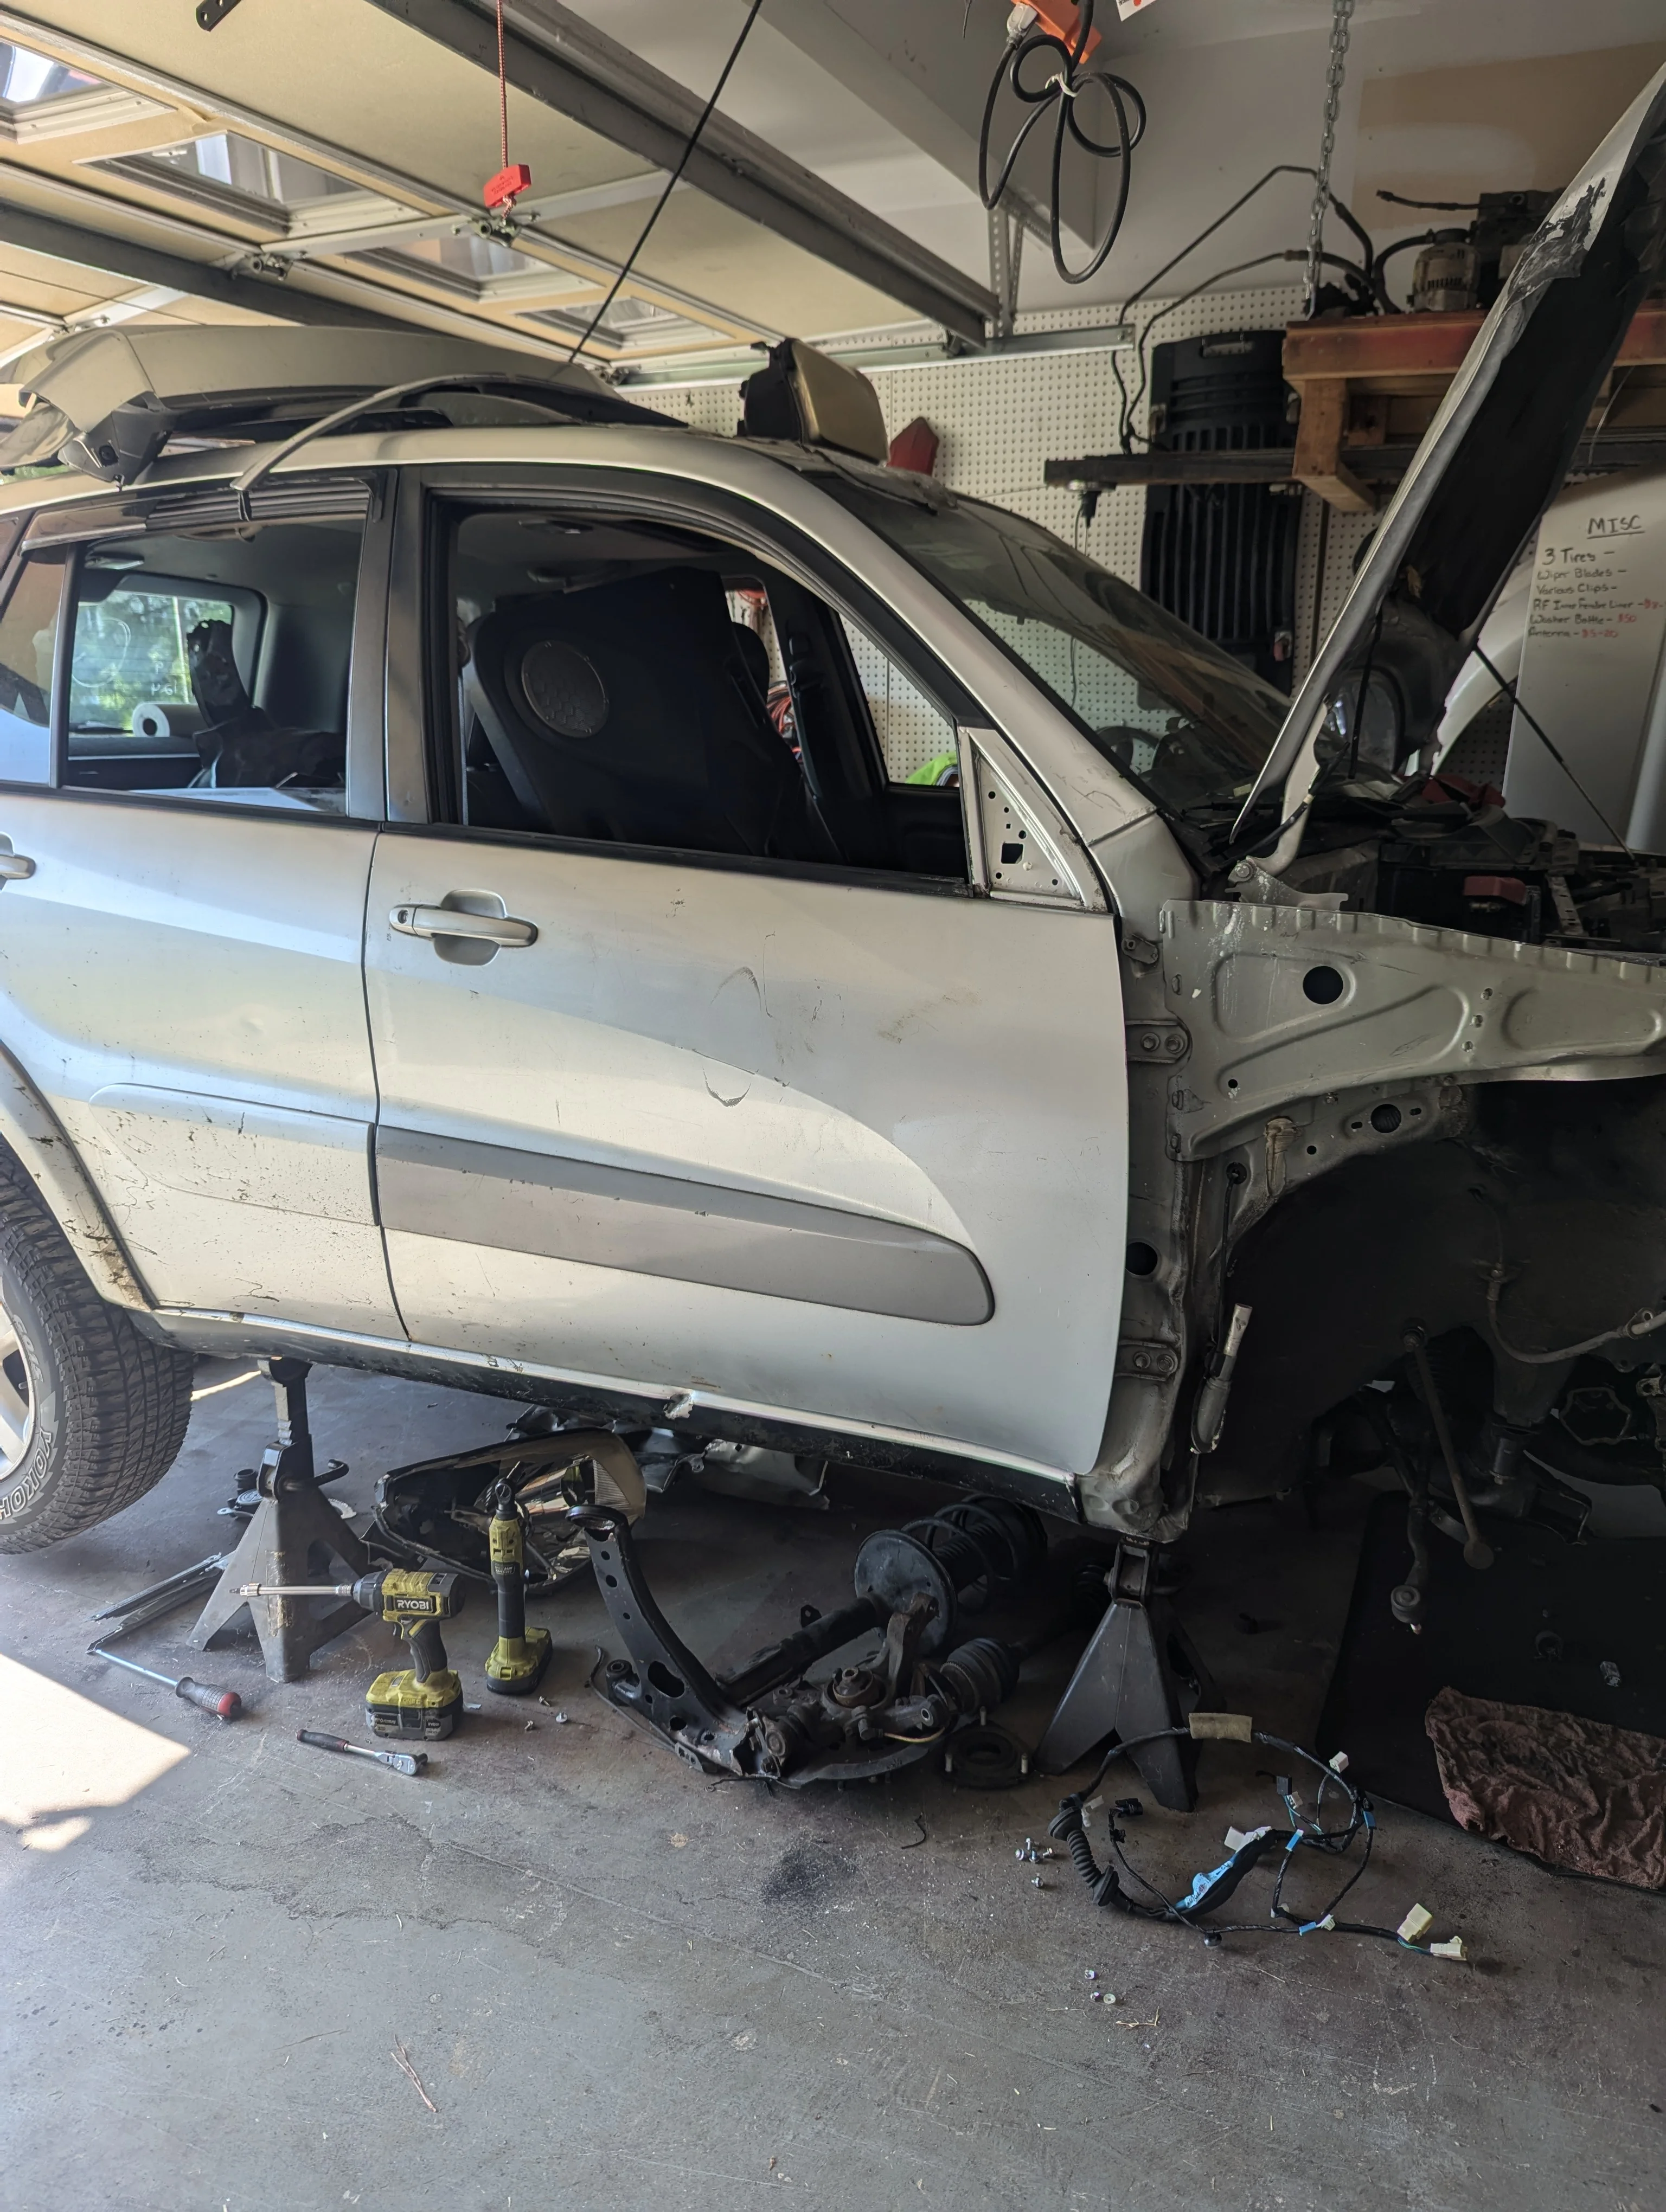
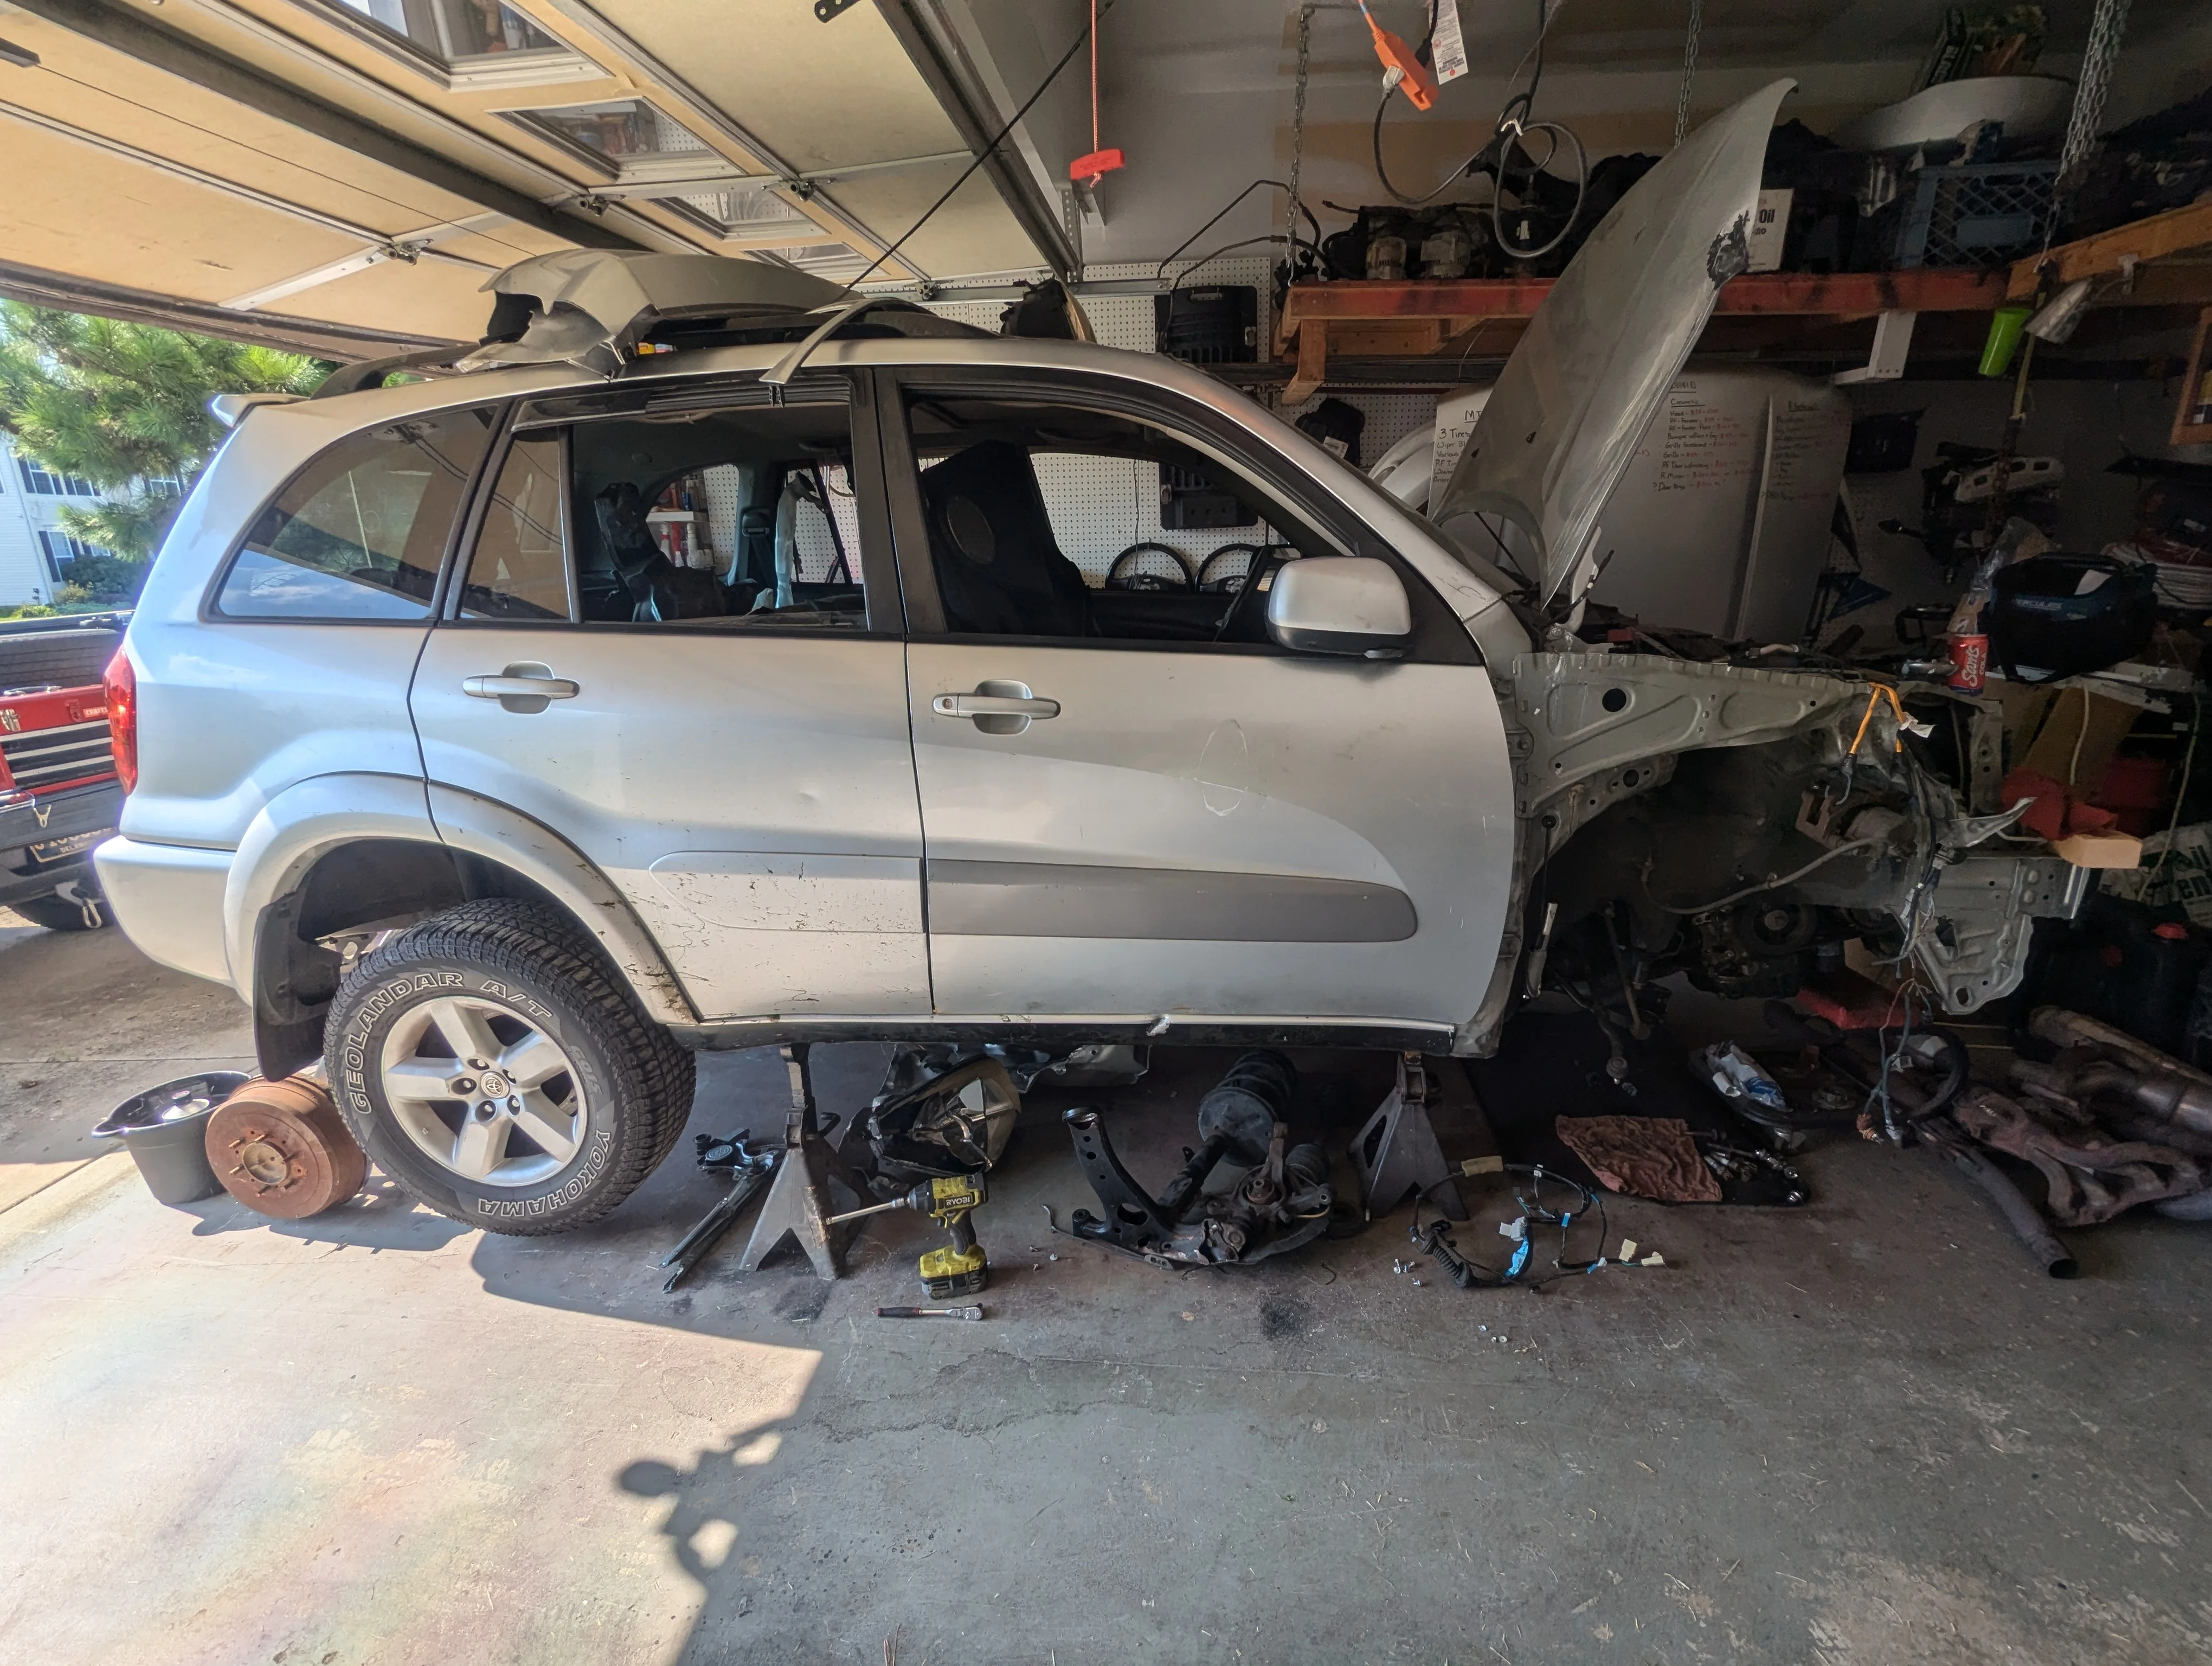
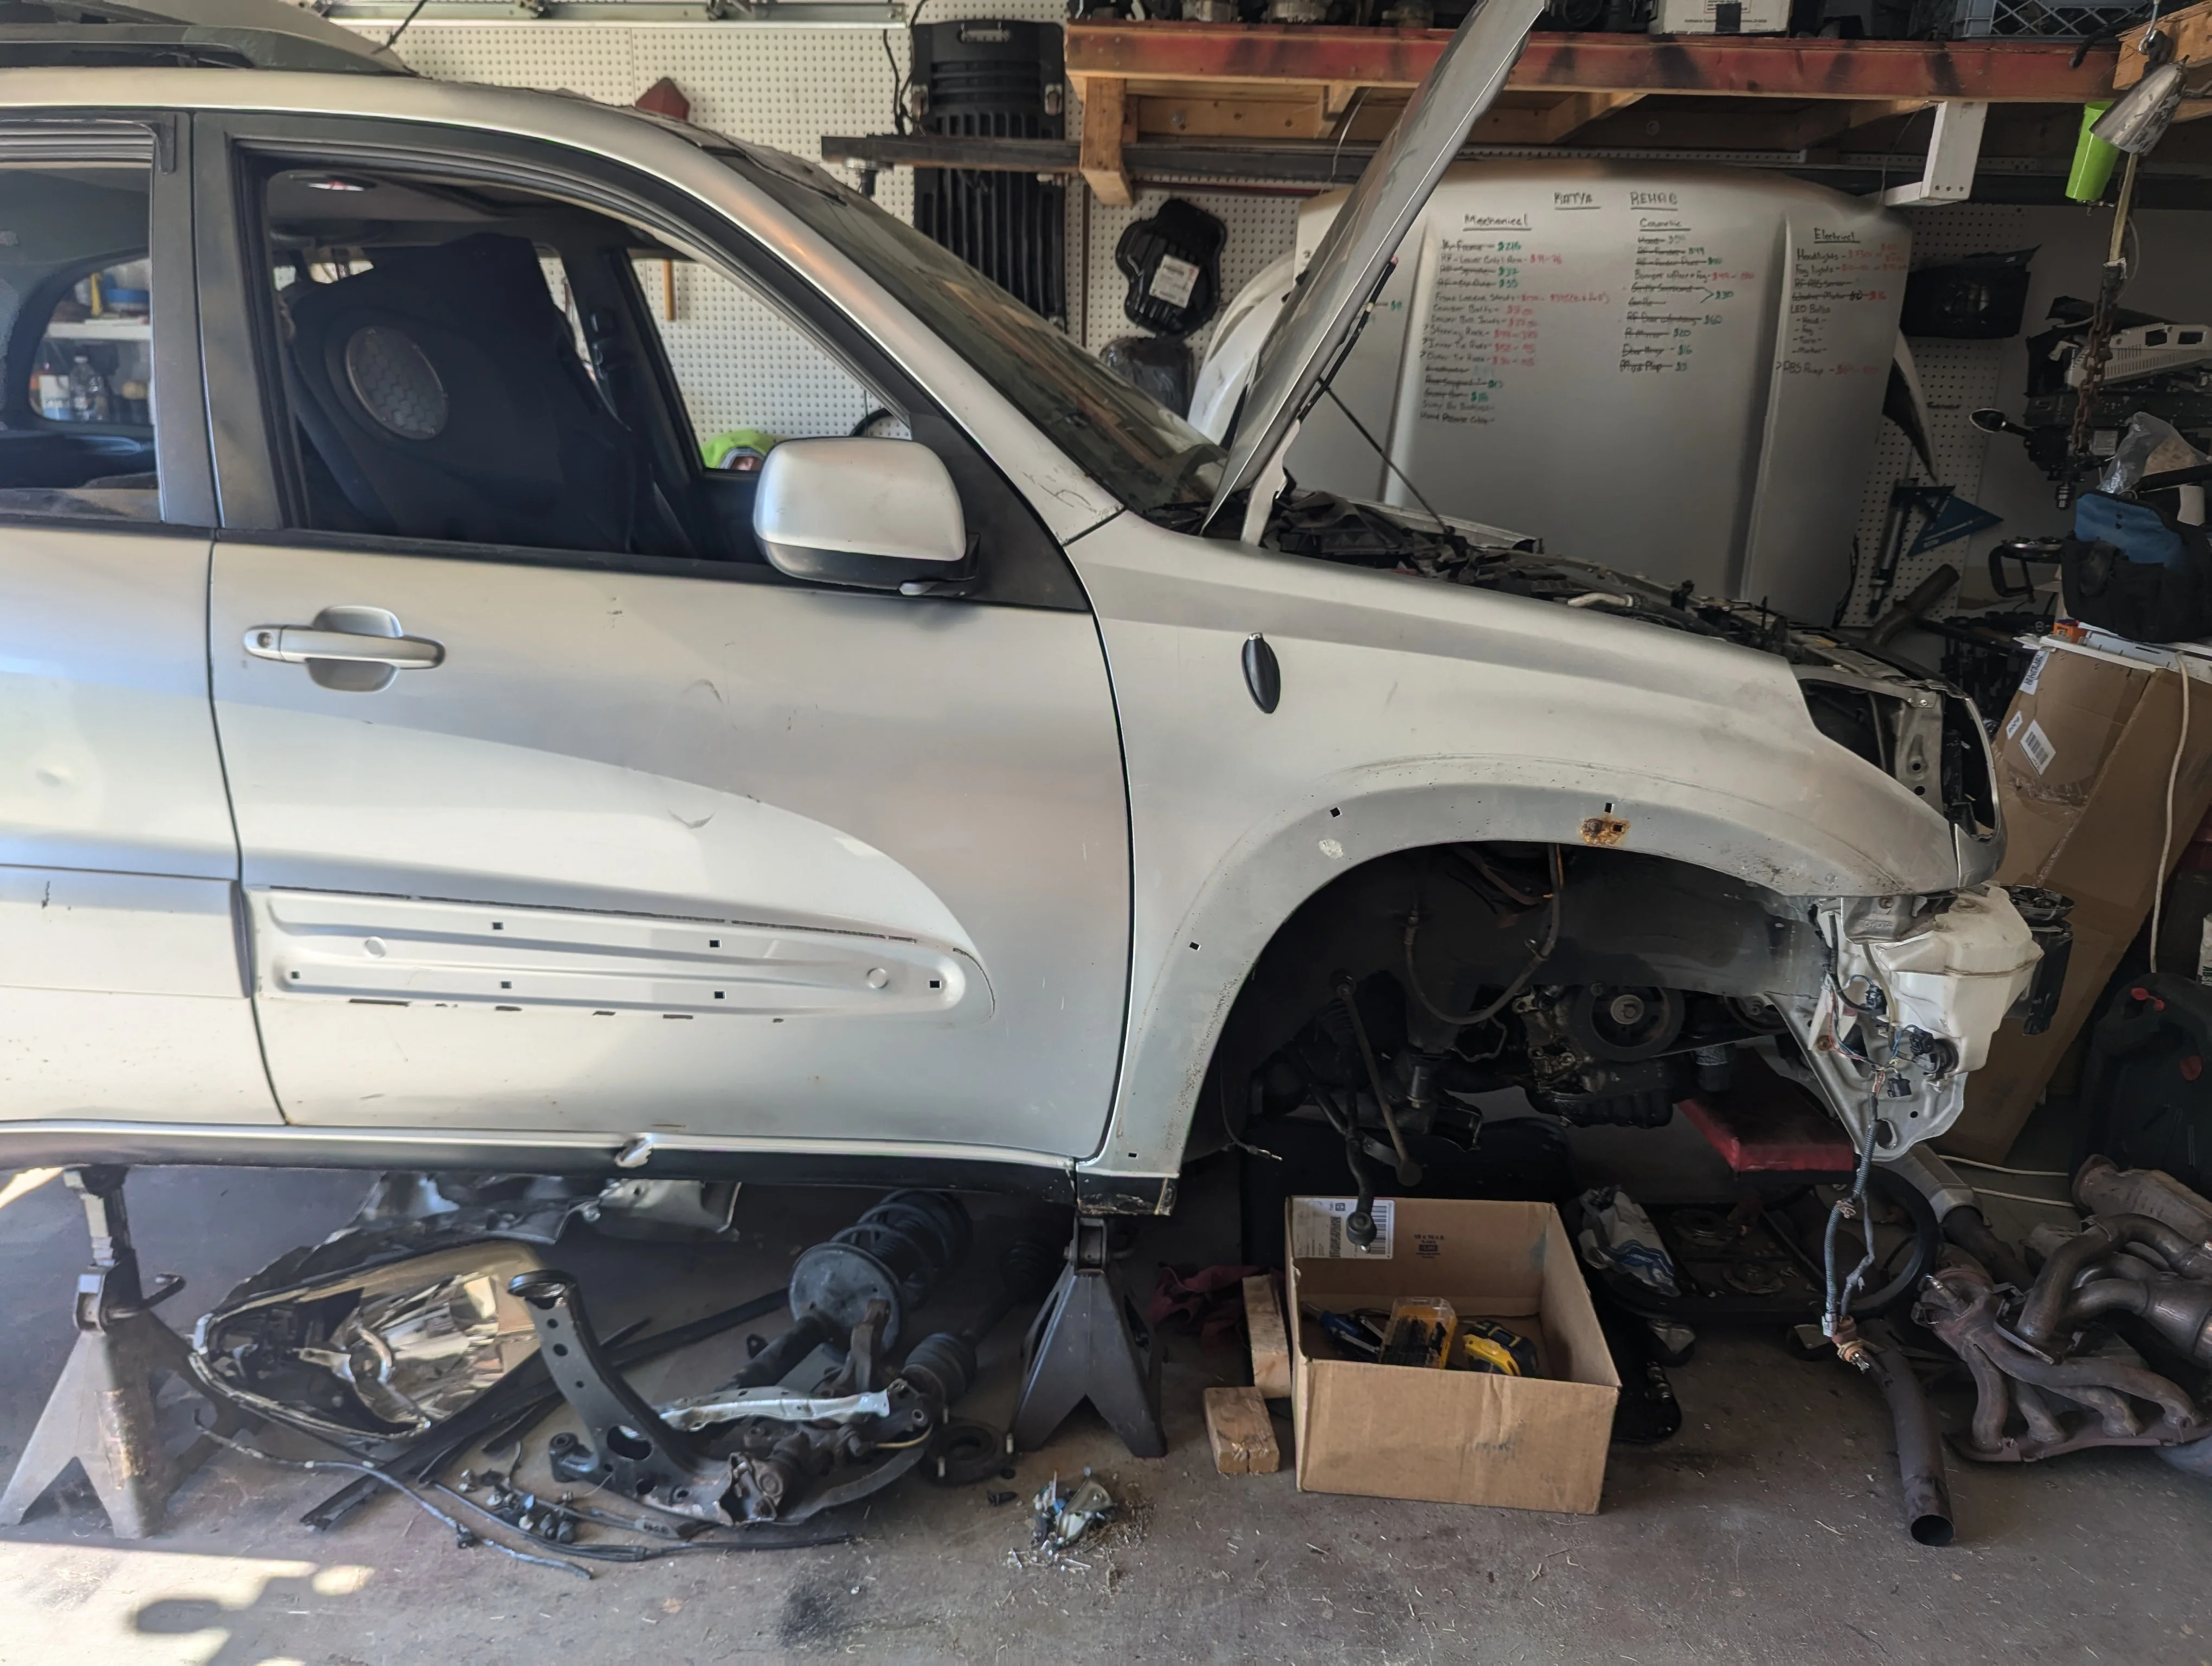
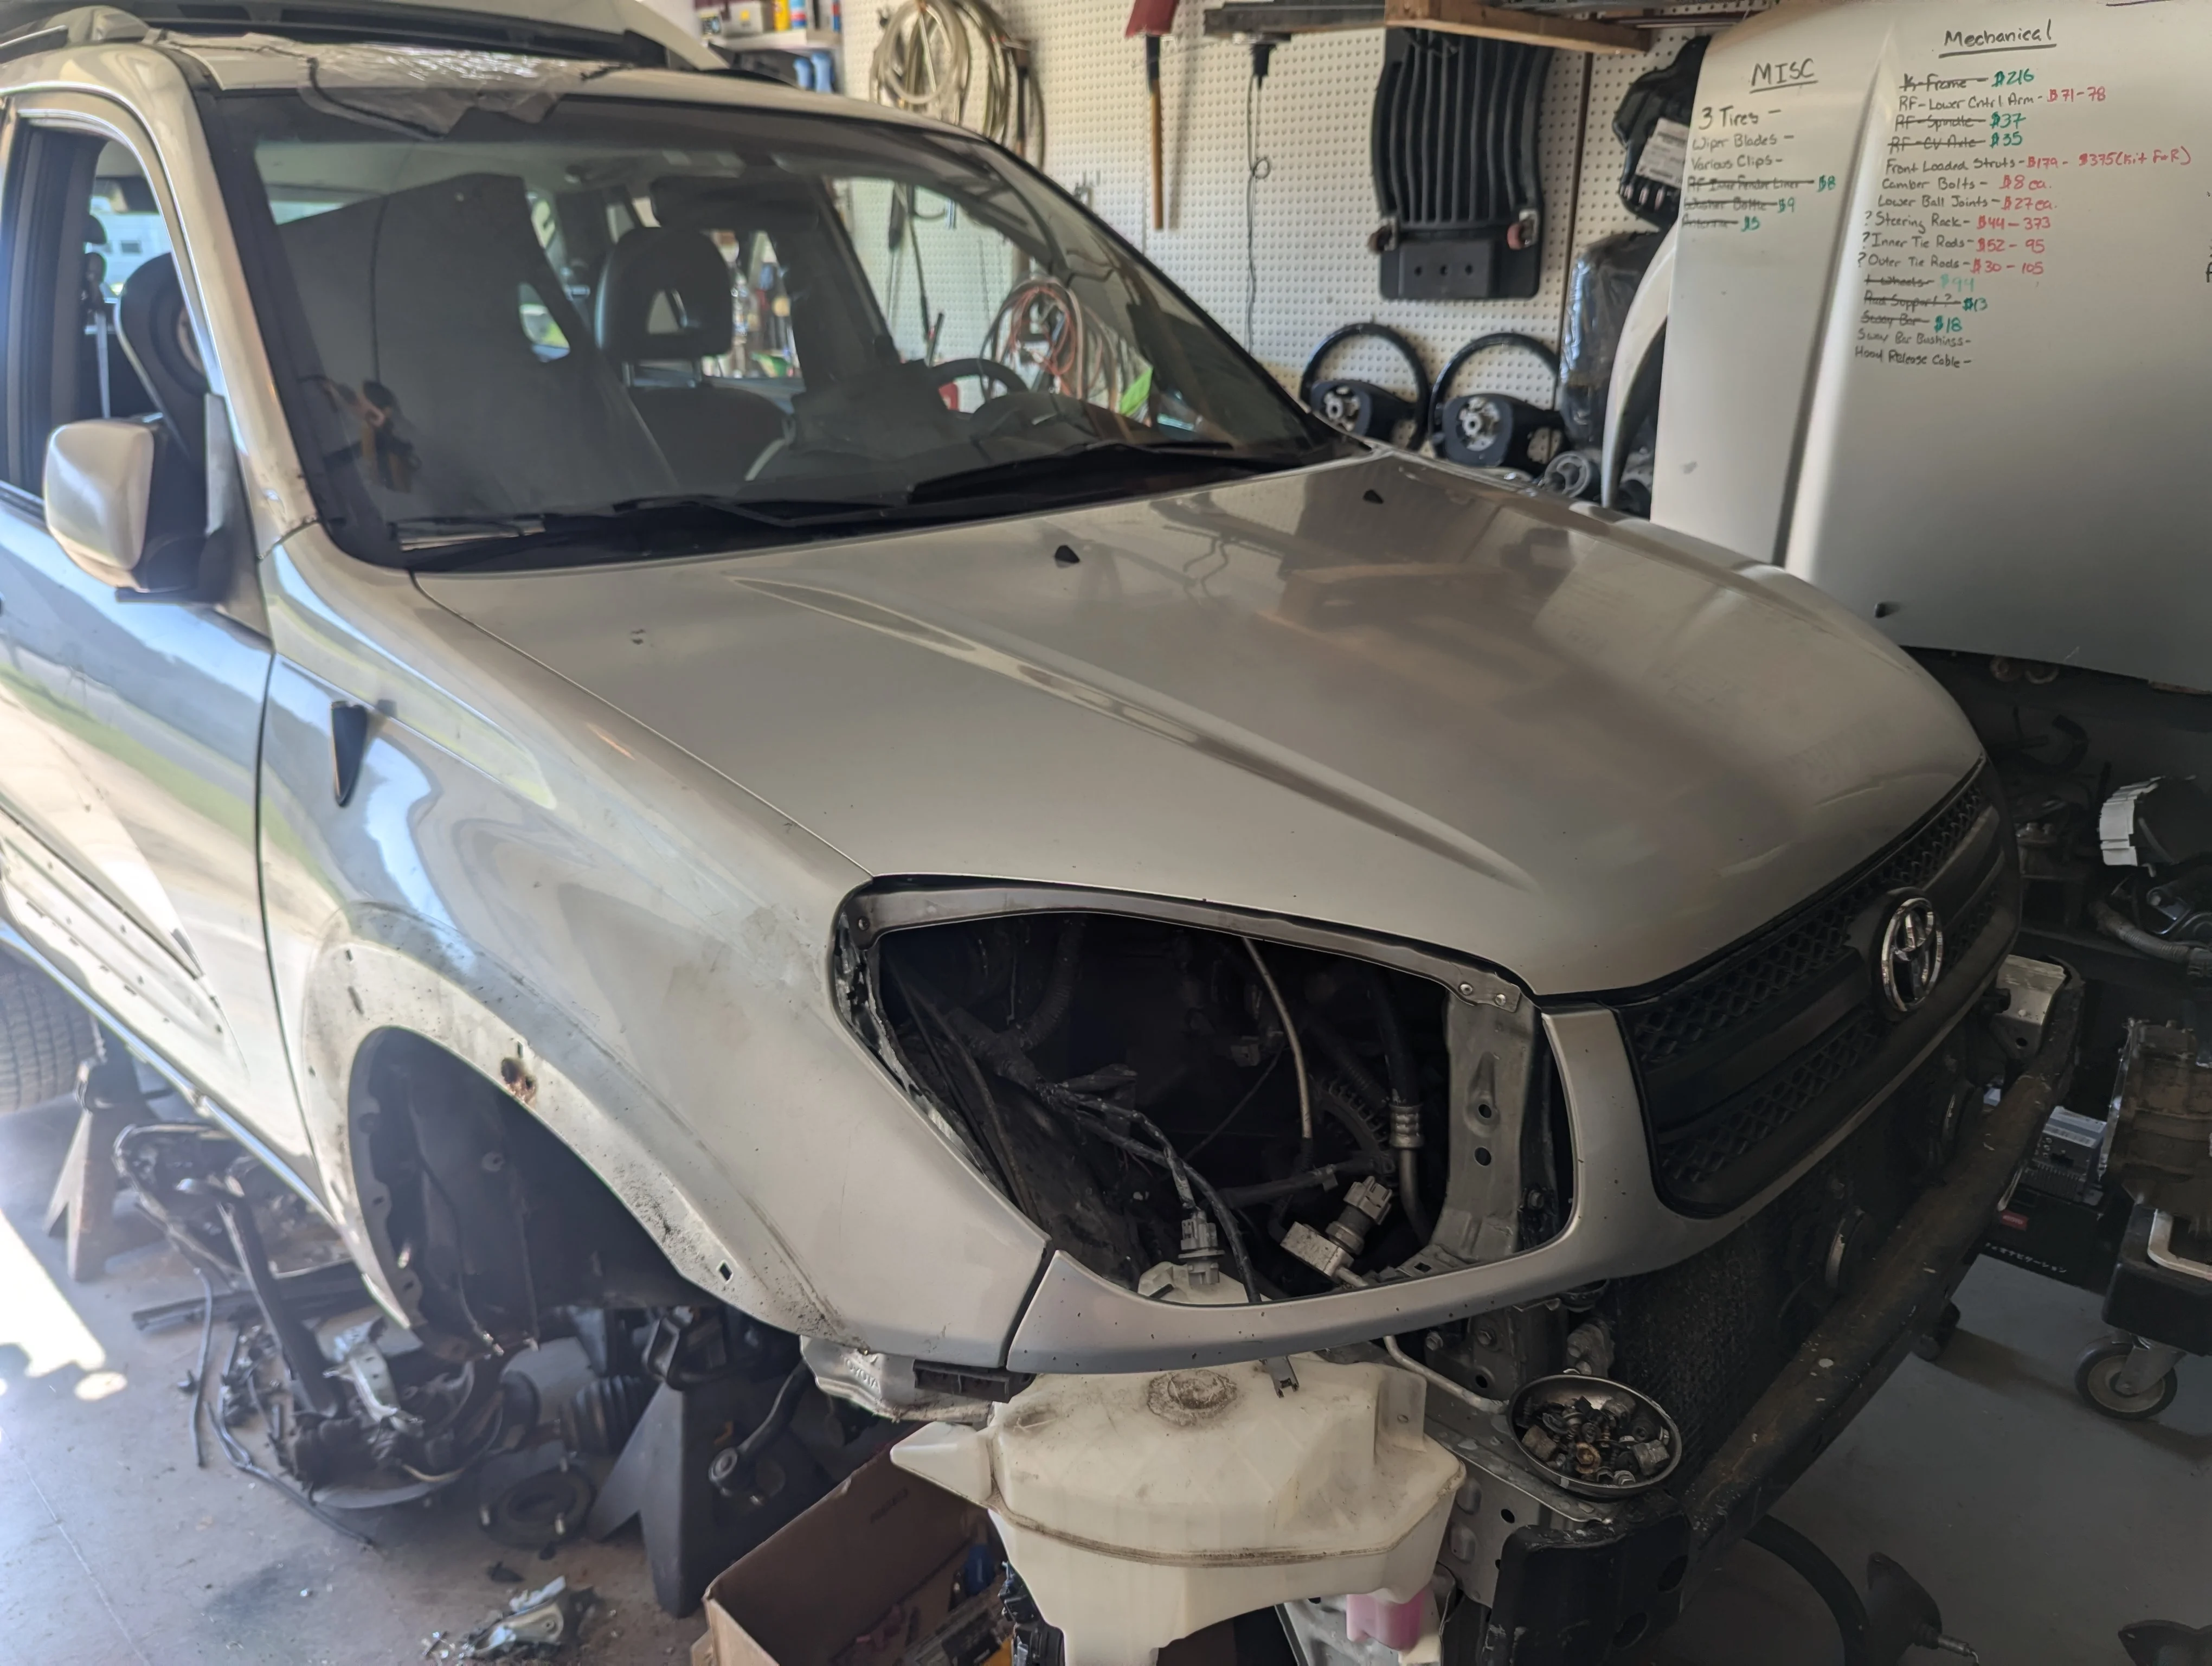
Part 3 of improvements. Last 2 trips out the power steering would get hot, cavitate the fluid, and halfway though a tight or technical trail I’d loose a bunch of steering. It has a big cooler, but the old style Saginaw just dose’t hold enough fluid.

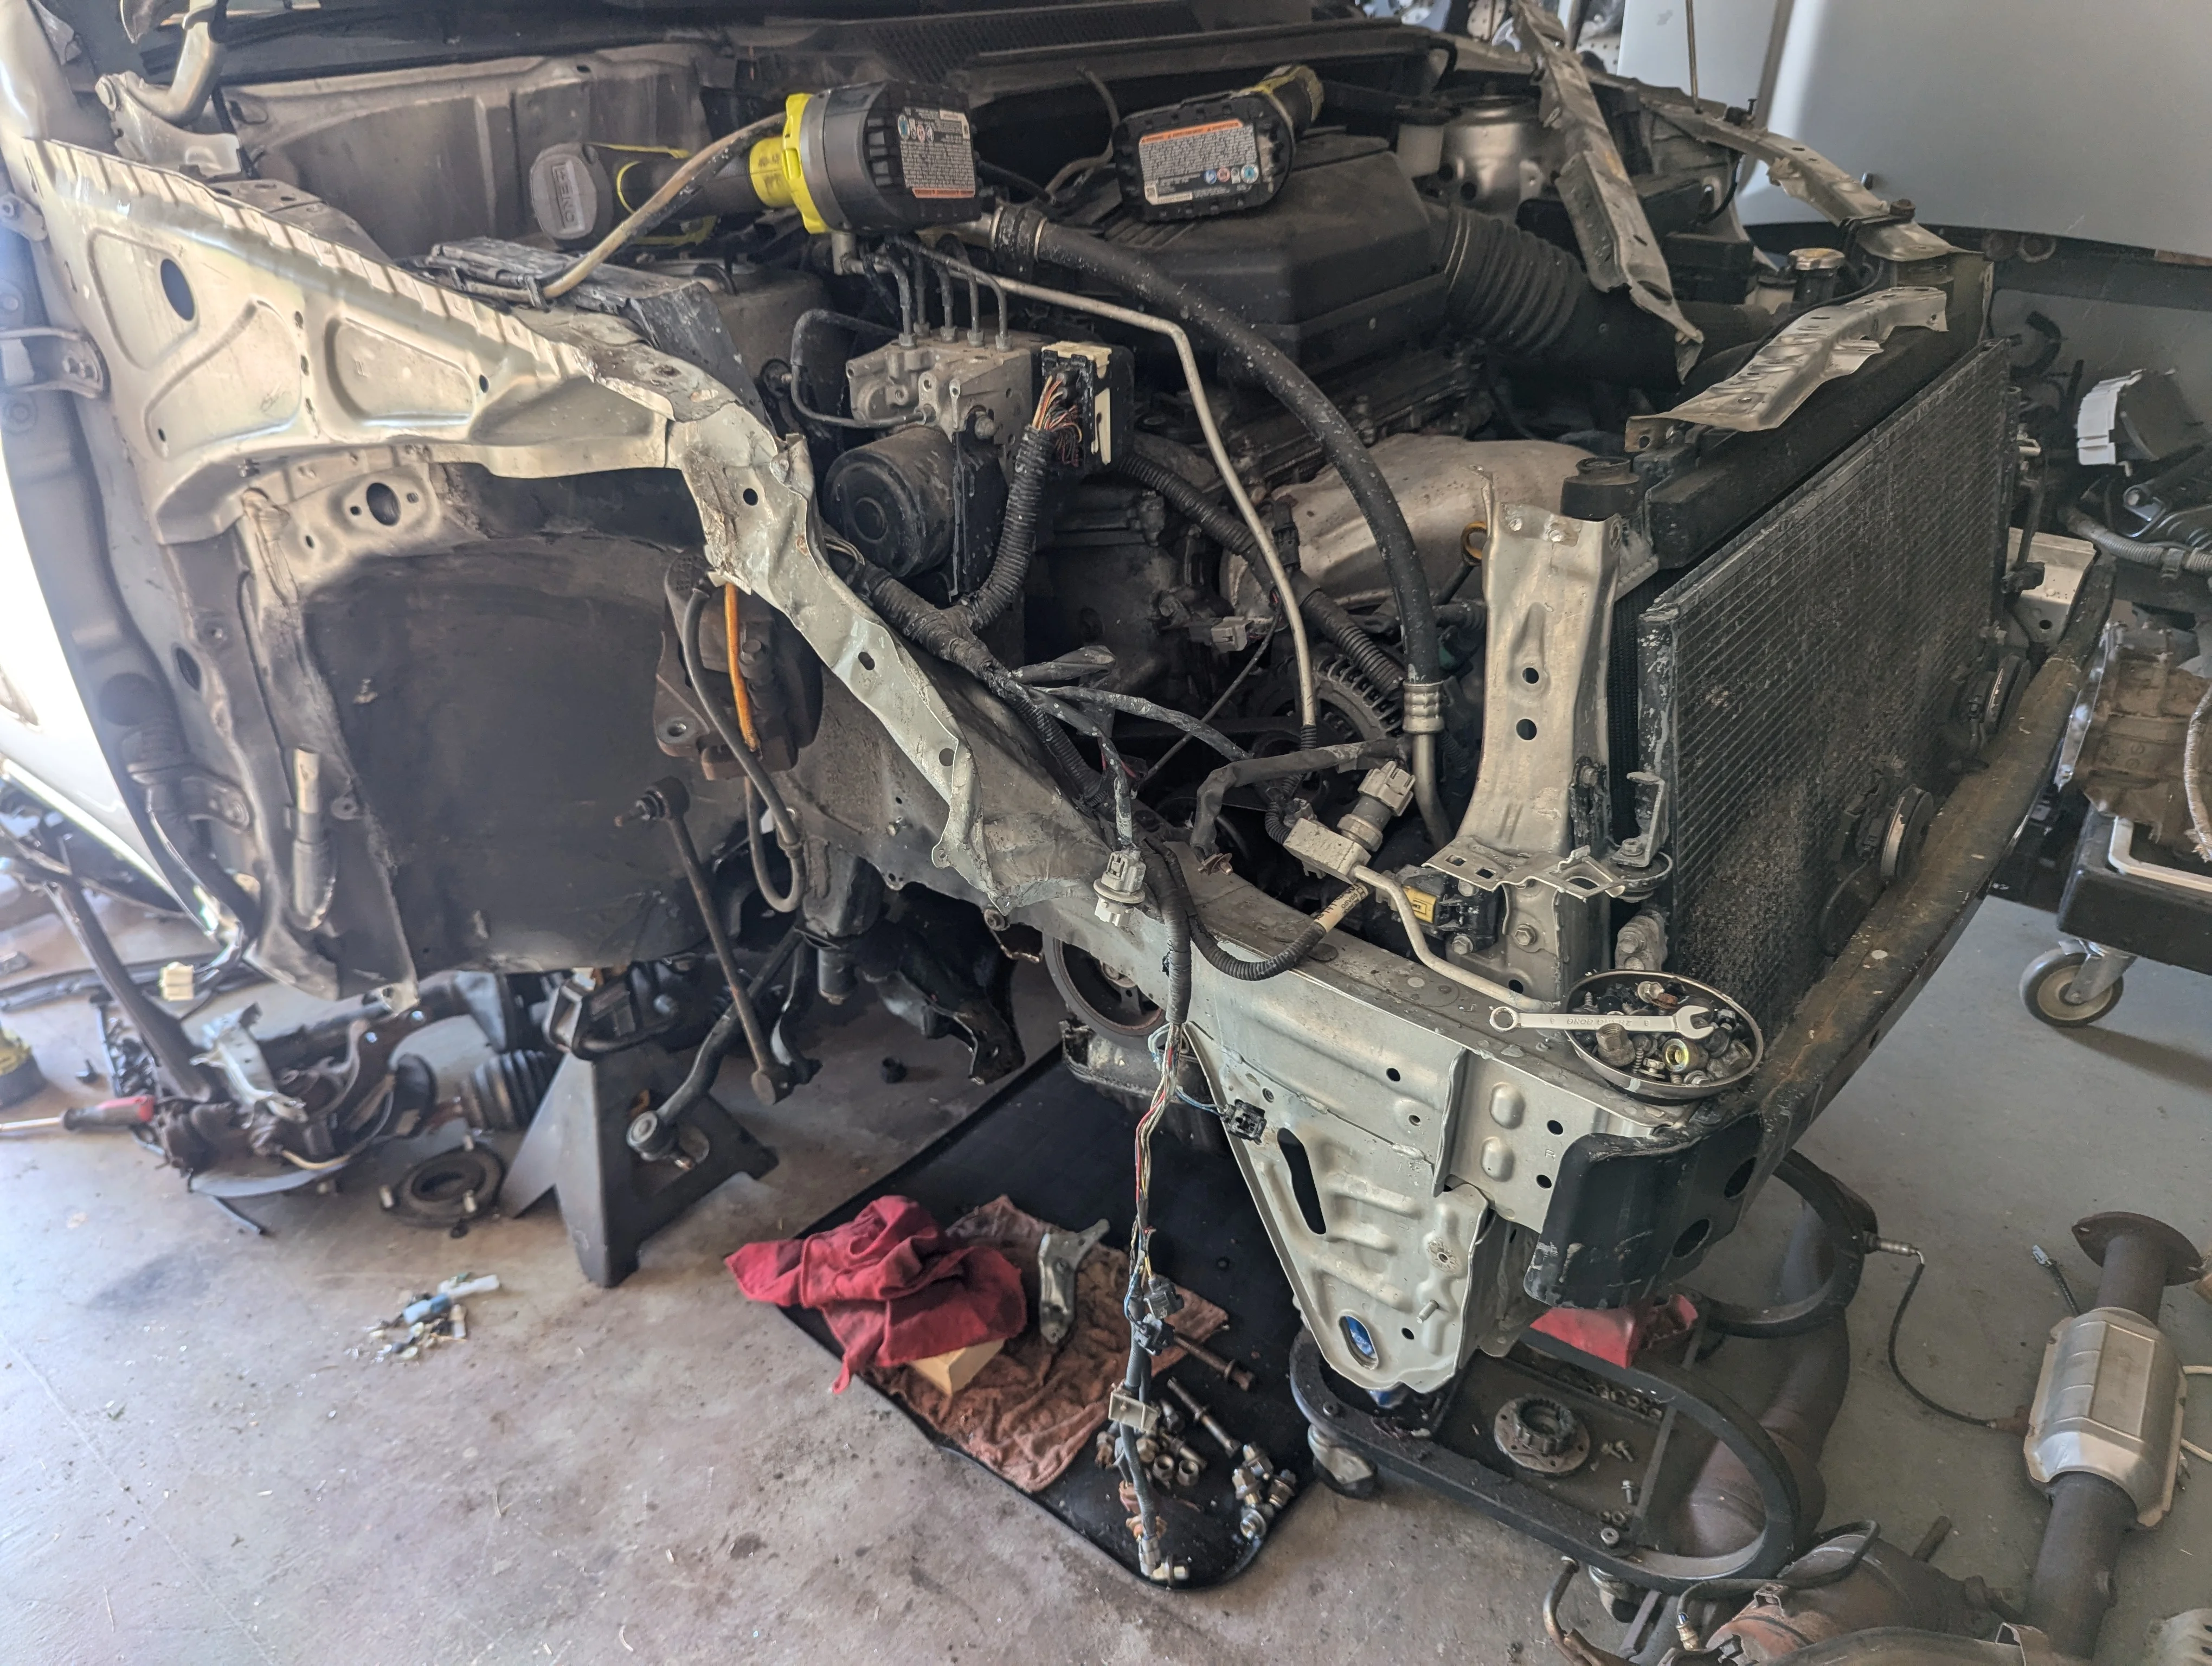
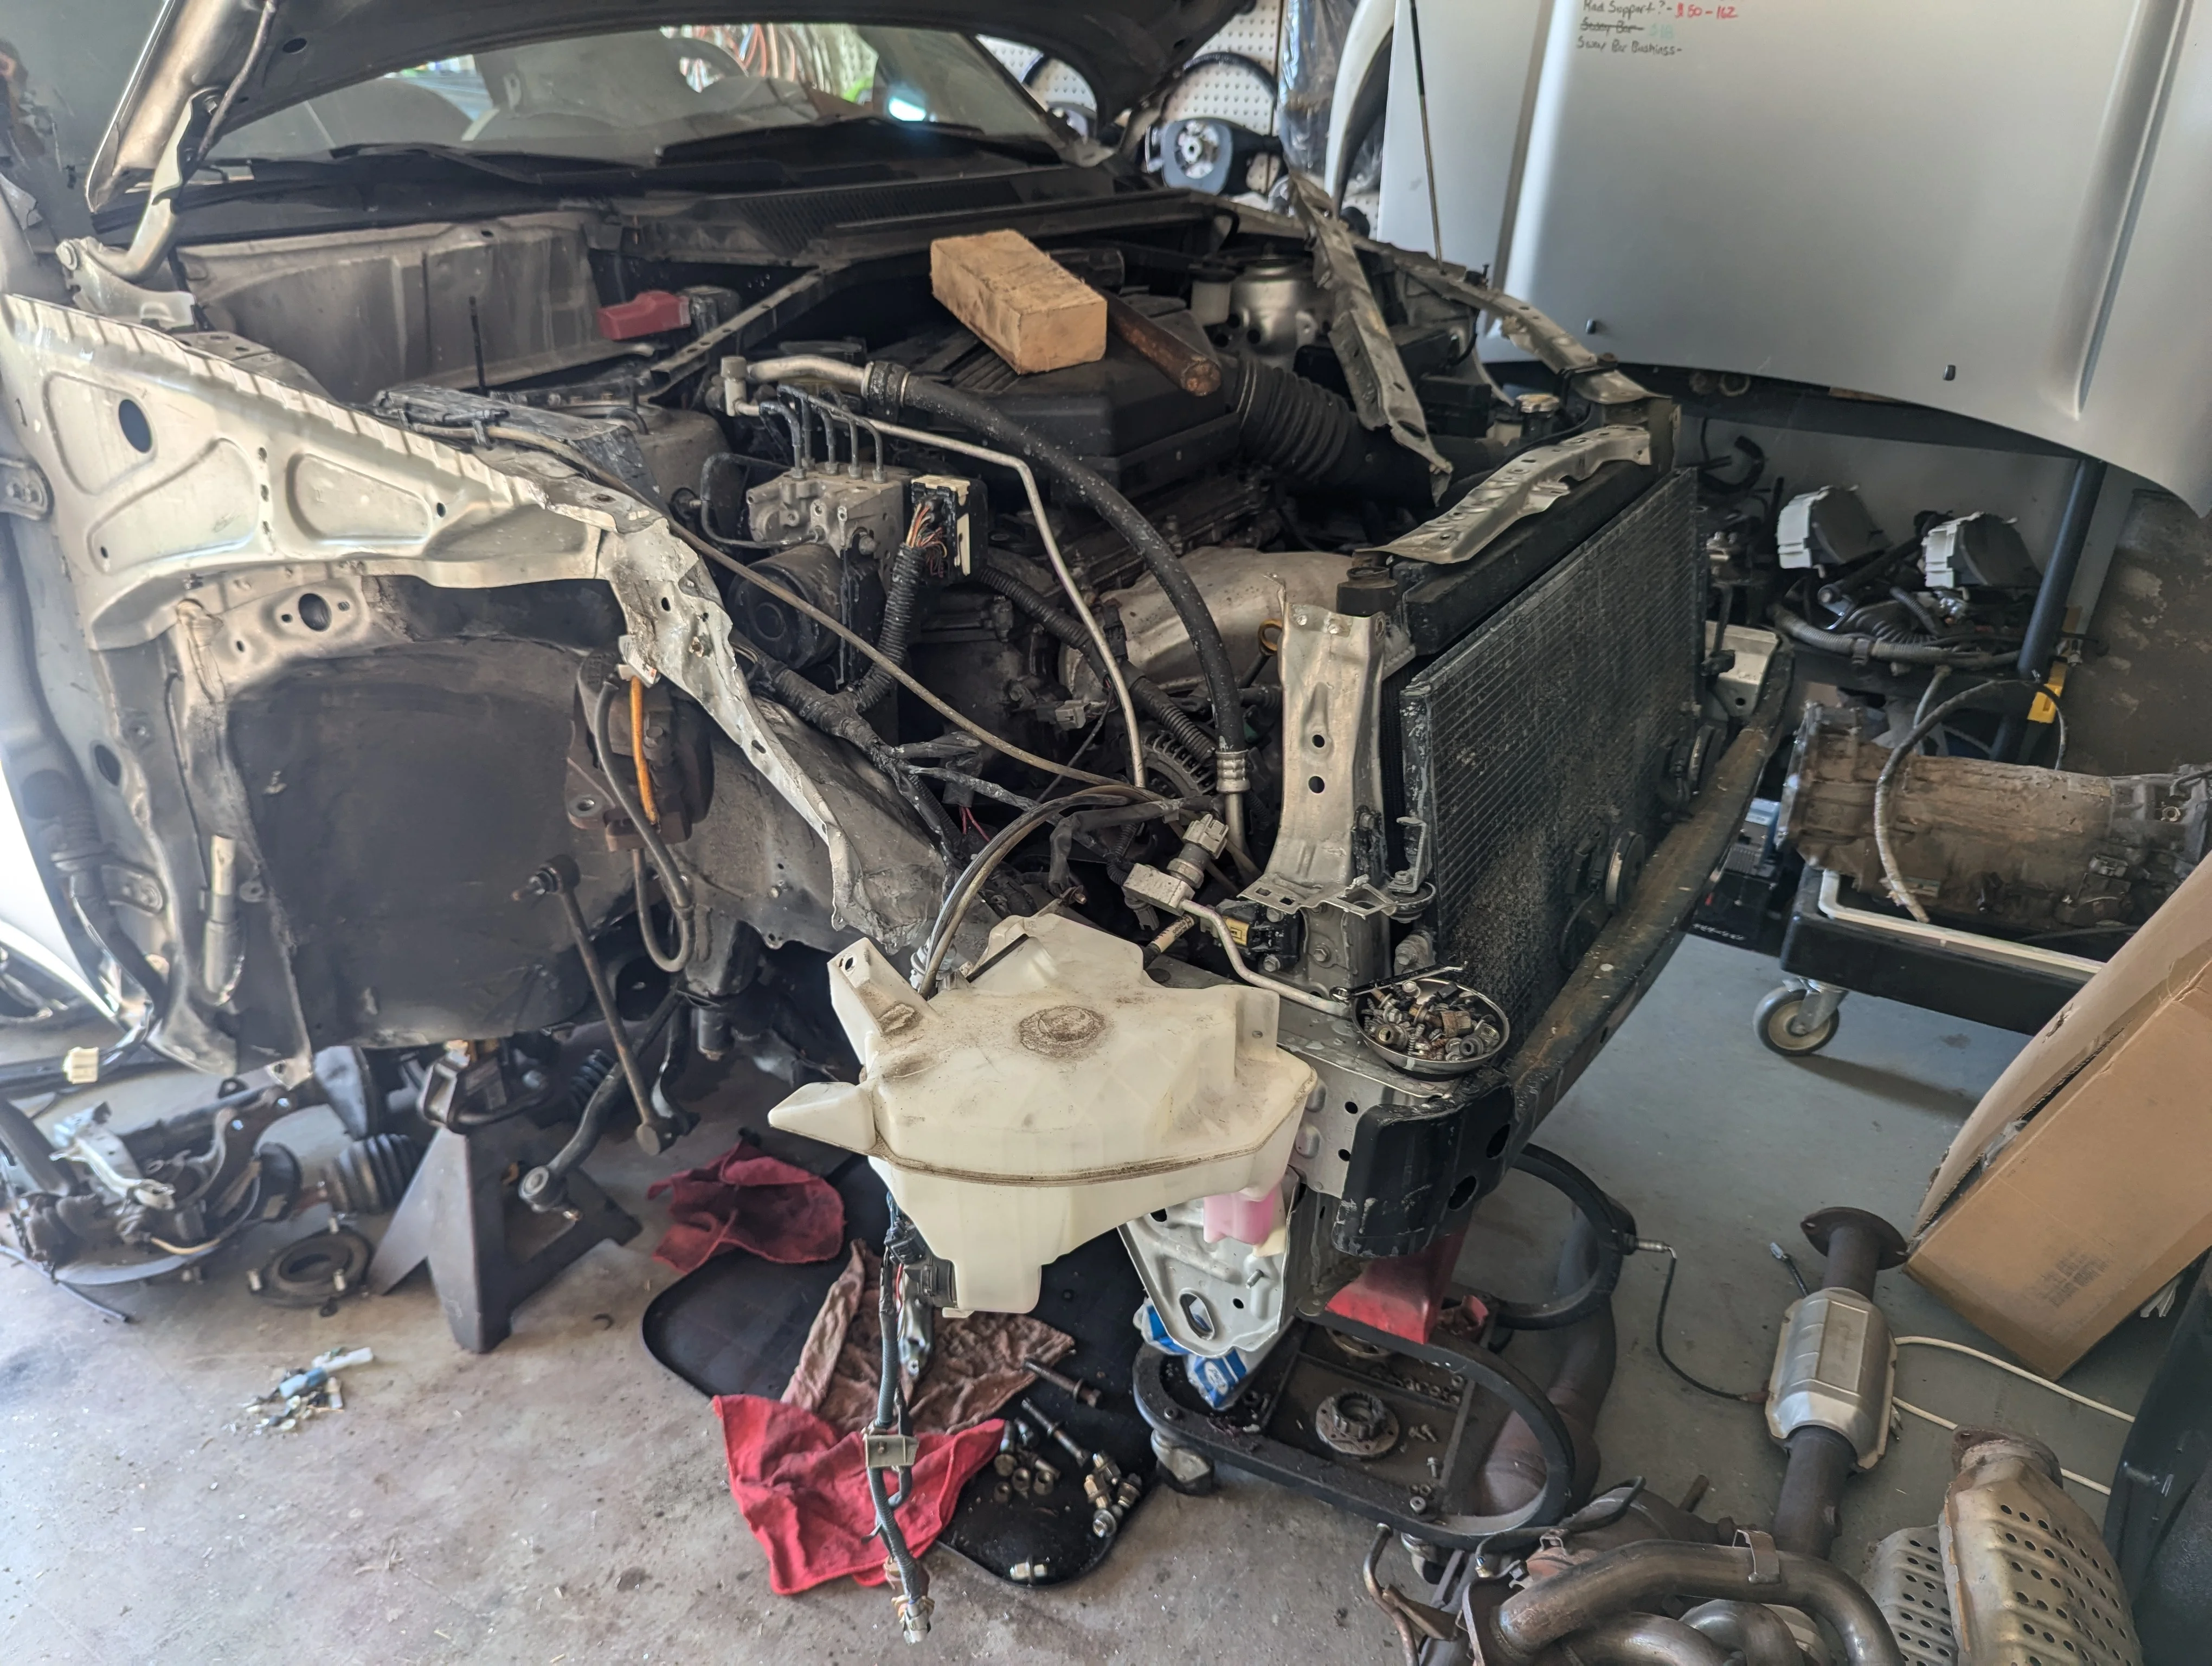
So I picked up a PSC housing with a 12AN fitting and a big remote reservoir which has a 10AN. Swapped the housing today, and while I had the pump apart I did the typical pump mods for flow and pressure per the below thread. I drilled out the orifice to 9/64ths, it was less than 1/8 before so that’s two bit sizes up.

I also took one shim out of the bypass, it only had one stock so that should kick it up a few more PSI. I’ll mount the reservoir tomorrow and fill/ bleed the system, fix leaks, and see how it feels.


IMG_1501.jpeg


IMG_1502.jpeg
 
Done. It steers and seems not to leak. Holds lots more fluid. Effort seems less with tires standing still, we’ll see how it performs this coming week. The ridiculous mount may or may not stay but it’s not going anywhere for now.

IMG_1504.jpeg


IMG_1503.jpeg
 
It's starting to look more vise-like...

IMG_6885edit.JPG
 
There are definite advantages to having your own hardware supply in your workshop. Not just when you need something to finish that repair Sunday evening and everything is closed, but also saves you from running out three times during a project for those two or three items you forgot you needed.

Both my father and grandfather had their hardware supplies of baby food and other jars, boxes, and containers of various things, but I stepped the game up a few notches. 😉

Hardware Store Collage.png


I've been trying to catch up on some projects that have languished by the wayside while I tended to "more urgent" things... Of course, there will always be "more urgent" things and you just have to knuckle down and get things done.

The hardware store has been in a back corner where there was only one bare ceiling bulb for light. I upgraded the wiring, added a switch, and improved the lighting situation today. The pictures actually try to balance the contrast and don't show how bright it is now.
 
Saturday Collage.png


I did an oil and filter change and general inspection for my parents' Volkswagens - a 2005 Passat TDI and a 2018 Golf Sportwagen. I'm not sure about the plastic oil pan on the Sportwagen, though. I spent entirely too much time getting the plastic belly covering off the Passat. You have to remove the whole thing to get to the drain plug. I'm tempted to cut a hole in it so that I can gain access without going through all of that again.

I also finally convinced my mother to take a ride with me in the big truck. She said it didn't scare her to death...
🙂
 
Working on my grandson's 2000 4runner and would like to be able to access the factory service manual for some direction, I'm replacing the rear wiper motor and would love to know the factory recommend sequence for removing the window lift/lower mechanism to access the wiper motor, anybody have suggestions?
 
Working on my grandson's 2000 4runner and would like to be able to access the factory service manual for some direction, I'm replacing the rear wiper motor and would love to know the factory recommend sequence for removing the window lift/lower mechanism to access the wiper motor, anybody have suggestions?
@YotaFun
 
Working on my grandson's 2000 4runner and would like to be able to access the factory service manual for some direction, I'm replacing the rear wiper motor and would love to know the factory recommend sequence for removing the window lift/lower mechanism to access the wiper motor, anybody have suggestions?
I don't know why I didn't get a message that this thread was updated! Thanks @jamarquardt22 ! Gary, when I get to work tomorrow I'll look up the info and get it to you. Unfortunately it has been to long since I've been inside the guts of my rear hatch so I don't have it to memory like I used to 🤣
 
Last weekend I picked up a Bridgeport® Series 1 Standard Knee Mill, got it home safely, and unloaded it into the workshop. I have to say that I could not have done it without the WARN® PullzAll - for loading, unloading, and moving it into the workshop. It was definitely the star player that day! There is still some work to do to get it into its final resting spot and then to unpack and organize the tooling, but I'd call it a successful day!

img_6964edit-jpg.3710124


img_6966edit-jpg.3710125
 
Prepare for a photo dump update. Finally, a month after looking at it, I was able to get the RX350 to the shop:

Then a few weeks later, I found an engine for it out of a 2012 Toyota Sienna with about the same miles as what was on the RX (178K):
Along with the replacement for the cause of all this craziness:

I got the engine on a stand and went through it and put new valve covers on, new spark plugs, new water pump, new upper intake manifold and gaskets, and new belt tensioner. the inside of the engine looks fantastic considering the mileage:

During the month of July, I was able to swap the engine and get everything running, sort of:

The engine runs fantastic, no abnormal noises, drives like a bat out of hell (love the 2GR-FE engine). Every fluid has been changed, Coolant (obviously), transfer case (PTU), Rear Diff, Brake Fluid, Transmission Fluid, Power Steering Fluid, should be good for another 100k (fingers crossed). However, in haste and my personal stupidity, in the process of replacing the radiator, I damage not only the condenser, but the lower A/C liquid line. The condenser was an easy fix, however, the A/C line is not available aftermarket and apparently discontinued from Lexus at $300. I may have found the only one in the country but have not received confirmation on this yet -_- So it sits.
 
In an attempt to save so money I went up to Harrys-U-Pull that had ONE RX350 in stock. I got up there and it was untouched, so I snagged the line I needed and a taillight I needed for it. However, in a rush I did not take notice that there was a hole in the line, hence my predicament and hoping that last line shows up. I tried to repair it with no success.

The run to Harry's was not a complete waste thankfully as they had two Rav4s in the correct color to pull parts from to keep the Rav4 Project going!
The Rav now has a new door, fender, hood, front grill and surround, parts needed for the core support that were damaged, washer bottle, mirror, antenna, and inner fender liner.

The bumper on the one with flares was the incorrect year and didn't have provisions for fog lights, and the correct year bumper did not have provisions for fender flares. The bumper is the last body panel I will need, I still need to source at least one headlight and fog lights to complete what is needed for the body.

Again, in an attempt to save money, I am trying to refinish the headlight and source another used one to do the same, it came out alright, I am going to try a wet sand and buff to see if I can get it a little clearer:
Before:
800 Grit:
1000 Grit:
1500 Grit:
Cleaned and Clear Coated:
 
Some other things I tackled on the RX, the tires on it while had decent tread, two had nails in the sidewall. I found some tires in the shop that had been taken off a Highlander that were at half-life and a better brand then what was on the RX, plus they are a +1 size :rofl:
Stock
+1

I also put all new TPMS sensors in (all 5 were finally dead) and cleaned the wheels the best I could. My brother-in-law and maintenance do not go hand and hand so he went metal on metal with the brakes a couple of times:

I also did new pads all the way around and resurfaced the rotors. I also replaced all the bulbs I could with LED bulbs, and well, the low beam HID bulbs as well since I found one starting to fail while I was doing the transmission service -_- but now I should hopefully not have to worry about a bulb burning out for a while.

My goal at the end of the RX project is to not have to touch it except for oil changes and tires.

Oh and I thought I would throw in pictures of the air and cabin filter to show just how lack on maintenance my brother-in-law is...
 
Chassis is stripped and awaiting a trip to get media blasted and primed.
The tub is home and in doors.
Some seats have been located...albeit a few years later than 100% correct...but correct enough for me. Threads are being chased, the few broken fasteners are being removed. Fenders are being straightened...this thing was bouncing off something....all four corners had bruises of some degree.

20240928_155108.jpg
 

Users who are viewing this thread

Back
Top Bottom