
- Thread starter
- #41
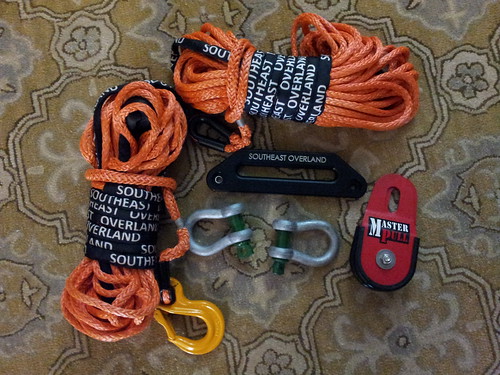
Thanks for the info and pics! 

Follow along with the video below to see how to install our site as a web app on your home screen.
Note: This feature may not be available in some browsers.
This site may earn a commission from merchant affiliate
links, including eBay, Amazon, Skimlinks, and others.
I was able to get the rewinding procedure from a very reliable source. Here's what he told me to do.
1. Hold lower cone with left hand and slide spring onto the protruding shaft. The pointy part of the spring should point up.
2. place the upper cone (narrow side down) onto the spring, putting the point of the spring in the hole on the upper cone.
3. slide the smaller circular piece with the dog ears (wings) on the splines of the shaft. Align so it fits together.
4. Clock that piece two teeth to the right (about 8-10 degrees). The dog ears of the smaller circular piece will now be offset relative to the dog ears of the upper cone.
5. put washers and snap ring back on
6. Turn upper cone 180 degrees clockwise. Hold while putting the 3 brake pad pieces around the cone.
7. While holding everything together, put the assembly back into the drum. When the drive shaft turns, it will expand the brake assembly and lock it into the drum, allowing the drum to turn with the drive shaft.
Pieces of the Brake Assembly
20130210_131745
Picture Showing Proper Offset of Dog Ears
20130208_221812


")
 Winch Cut Off Switch and Winch Cable Upgrade
 Winch Cut Off Switch and Winch Cable Upgrade
 )
)

Big thanks for the brake procedure. Just got me out of the pooBrake Rewinding Procedure
I was able to get the rewinding procedure from a very reliable source. Here's what he told me to do.
1. Hold lower cone with left hand and slide spring onto the protruding shaft. The pointy part of the spring should point up.
2. place the upper cone (narrow side down) onto the spring, putting the point of the spring in the hole on the upper cone.
3. slide the smaller circular piece with the dog ears (wings) on the splines of the shaft. Align so it fits together.
4. Clock that piece two teeth to the right (about 8-10 degrees). The dog ears of the smaller circular piece will now be offset relative to the dog ears of the upper cone.
5. put washers and snap ring back on
6. Turn upper cone 180 degrees clockwise. Hold while putting the 3 brake pad pieces around the cone.
7. While holding everything together, put the assembly back into the drum. When the drive shaft turns, it will expand the brake assembly and lock it into the drum, allowing the drum to turn with the drive shaft.
Pieces of the Brake Assembly
20130210_131745
Picture Showing Proper Offset of Dog Ears
20130208_221812
Noticed that the gearbox is now on the opposite side
Is this going to cause issues with the brake or rope direction?
Thanks
 But, I also don't treat my vehicle like an amphibious assault vehicle and go swimming!
I’m picking up one of these tomorrow and am planning a full rebuild. Is this procedure written down anywhere?PM me when you're ready to put back your brake assembly. I did a similar thread on here with my used M12000. When I called Warn I ended up talking to a guy who told me how to clock the brake spring properly. Probably not 100% but close enough to not pay for a replacement assembly.
its pretty self explanitory. (the brake anyway.)I’m picking up one of these tomorrow and am planning a full rebuild. Is this procedure written down anywhere?
No but I should have since I can't remember at this point. Warn sells these as an assembled unit and officially says once the brake has been removed it can't be reused. The gist is you have to preload the spring by winding it some number of times before stuffing it in. 1 and a half or 2 times around sounds familiar but I can't remember the specifics.I’m picking up one of these tomorrow and am planning a full rebuild. Is this procedure written down anywhere?
That's a huge help. Thank you! Any thoughts from anyone on what FIPG would be best to increase water resistance for any of the seams?No but I should have since I can't remember at this point. Warn sells these as an assembled unit and officially says once the brake has been removed it can't be reused. The gist is you have to preload the spring by winding it some number of times before stuffing it in. 1 and a half or 2 times around sounds familiar but I can't remember the specifics.
Edit.
I went in to my old PMs and found this from 10 years ago...
The Warn tech (who I went back and forth with about 25 times over my project) told me to put it back together and then twist the spring so it winds tighter around the shaft, about 180 degrees. Then, holding it, put the friction pieces back and shove it all in the drum.

