
Nice work Jordan! I always enjoy seeing people push the limits on the old diesels.
As said above, once you get into a MIG or TIG, the welding will become much easier and prettier. I know the lack of $$ problem too.
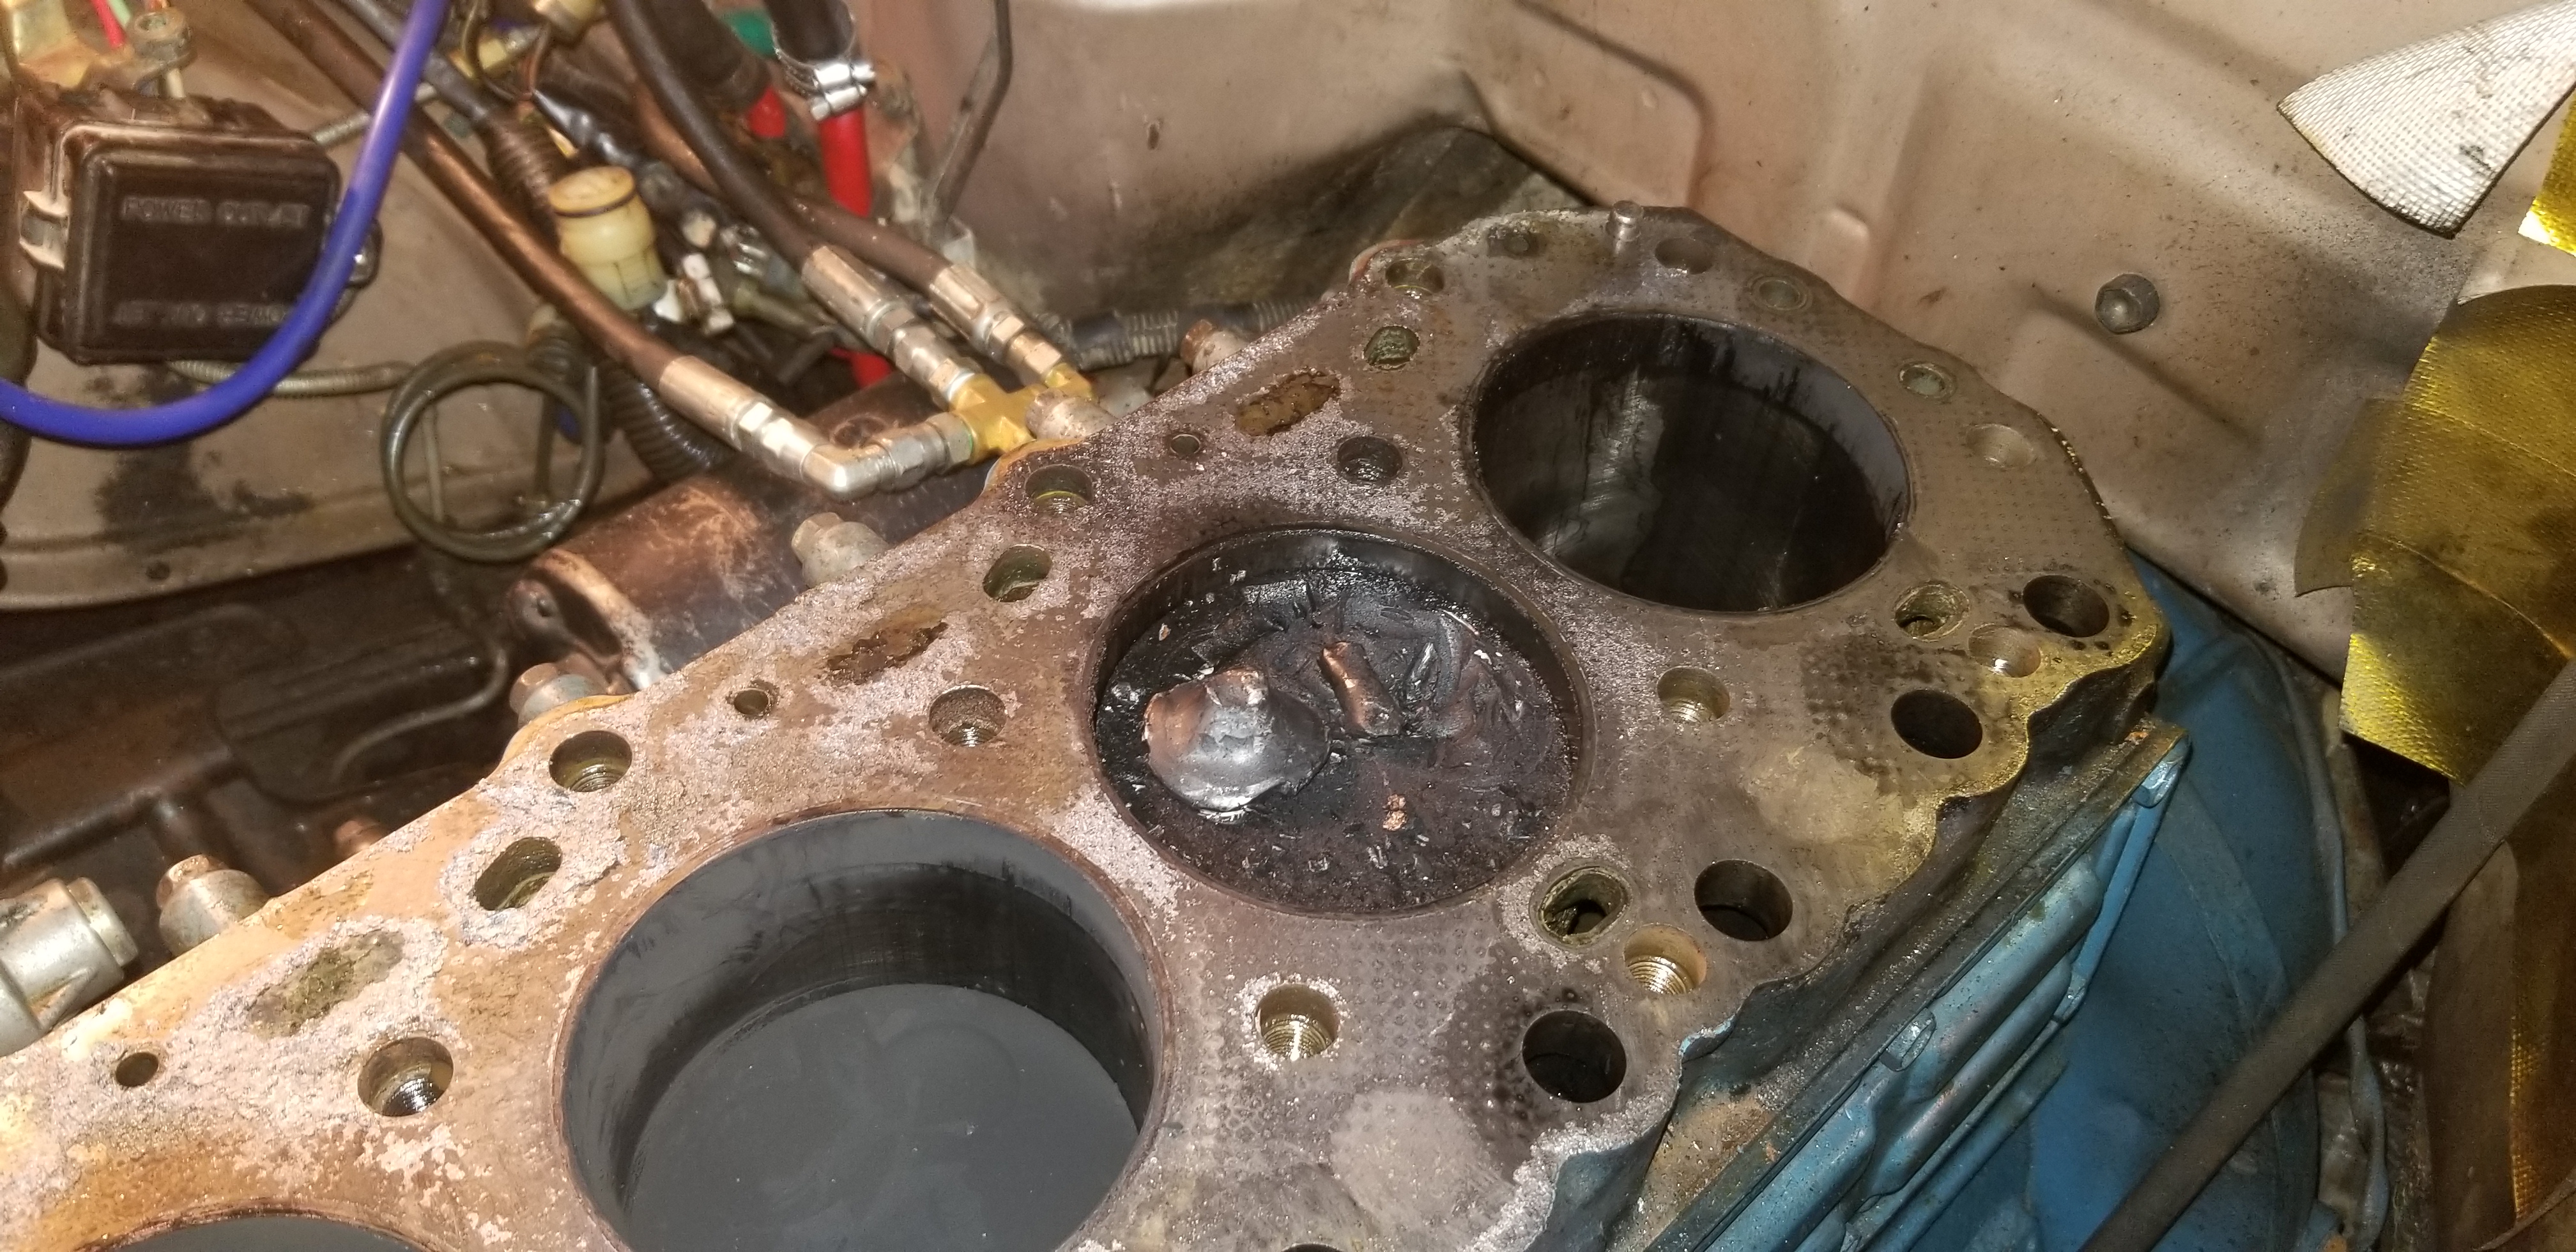
Few thoughts I had. There is a fellow (coldtaco I think) who is group ordering custom MLS head gaskets for the 2H. If you're planning on high boost with your compound setup, an MLS head gasket is the way to go. Might be worth trying to get in on his custom order? The factory style fiber gaskets blow out fairly often on the boosted 3B/2H motors.
Second thought, heat is going to be your biggest problem with this motor. IDI motors generate huge heat when they are making big power. Might not matter for regular driving and short acceleration, but on long hills or towing you'll notice it. I'd recommend servicing your clutch fan with some new fluid if you haven't already (seemed to easily spin when you shut your engine off, which is not a good sign). Also, when you have your manifolds finalized, maybe get them ceramic coated, or wrap them with header wrap to hold the heat in so you don't cook your engine bay.
Another thought, some of the guys who have turboed the old N/A diesels have broken cranks. One standing theory as to why this happens, is the N/A injection timing is too advanced for boosted application. Might be worth pulling your injection timing back a bit. This is a common principle with turbo gasoline engines also.
Have you talked with Gerg on the mud forms at all? He has done compound turbos on his 3B before, and has lots of good experience I'm sure he could share (including breaking a crank).
As said above, once you get into a MIG or TIG, the welding will become much easier and prettier. I know the lack of $$ problem too.
Few thoughts I had. There is a fellow (coldtaco I think) who is group ordering custom MLS head gaskets for the 2H. If you're planning on high boost with your compound setup, an MLS head gasket is the way to go. Might be worth trying to get in on his custom order? The factory style fiber gaskets blow out fairly often on the boosted 3B/2H motors.
Second thought, heat is going to be your biggest problem with this motor. IDI motors generate huge heat when they are making big power. Might not matter for regular driving and short acceleration, but on long hills or towing you'll notice it. I'd recommend servicing your clutch fan with some new fluid if you haven't already (seemed to easily spin when you shut your engine off, which is not a good sign). Also, when you have your manifolds finalized, maybe get them ceramic coated, or wrap them with header wrap to hold the heat in so you don't cook your engine bay.
Another thought, some of the guys who have turboed the old N/A diesels have broken cranks. One standing theory as to why this happens, is the N/A injection timing is too advanced for boosted application. Might be worth pulling your injection timing back a bit. This is a common principle with turbo gasoline engines also.
Have you talked with Gerg on the mud forms at all? He has done compound turbos on his 3B before, and has lots of good experience I'm sure he could share (including breaking a crank).
 . I've got some VHT high temp primer and paint that I'll be baking onto the manifold once I get my exhaust bypass actuator mounting situation sorted out. Plus I have plans to order some knock-off reflective heat tape to shield all the components near to the manifold.


") it was chock full of dirt!
it was chock full of dirt! 


