The one ton swap thread (1 Viewer)

This site may earn a commission from merchant affiliate
links, including eBay, Amazon, Skimlinks, and others.

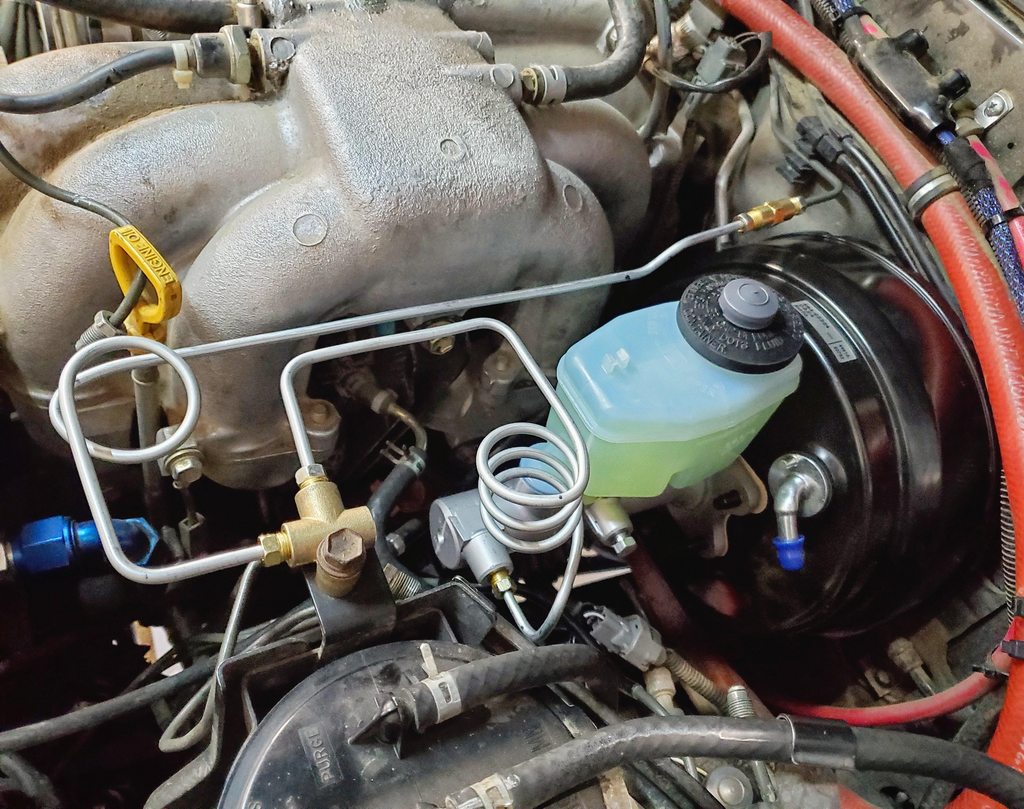
I'm in the process of making all new lines for my T100 MC. A bit annoying but easy enough with a few practice runs. But extra tubing cause you'll need it.

nQSqcpnh.jpg


I've been using this flaring tool lately. I also have the one Max showed above. They both work well

Amazon product ASIN B06XPRVCPV
 
Expanding on my last post:

3/16 is really close to what the stock toyota lines are, in fact you can use the same line nuts on either. 3/16 is also, IMO, adequate for 1 ton disc brakes. Just use a mini tubing cutter and cut off the ends of the yota lines, purchase correct size nuts for your ports and for 3/16 line, and then double flare. Or build adapter/extensions lines.

As far as master cylinder adapter, IMO you’d be better off just buying an adapter. The Skys kit includes a push rod extension and is designed to adapt the toyota booster to gm 1 1/4. I also used it for the dodge 1 1/8 by slotting out the mounting holes in the dodge master ever so slightly with a carbide bur.

 
Thanks dudes.

I seen that piece of kit by sky manufacturing. I’m on the fence about ordering versus building. With tax and shipping it’s like $140CAD for that plus fitting adapters. I’ll see if I have any aluminum plate kicking around first maybe and if so I’ll maybe try and build it first.

I have the same titan double flare tool for 3/16”. It’s good to hear that line size will work!
 
Last edited:
If you want to make realiably clean flares, this is the best tool I have used.

Cool bud, I just bought this Titan tool because of a similar statement, but I appreciate you posting it up, anyone else reading the thread for planning a one ton swap will benefit from that!


Some pics, spent $5 on aluminum and got maybe a couple hours of enjoyment from it building an adapter plate:

10389E79-AE4E-416F-91F1-2CCFFC804AF9.jpeg


3CEBCCB0-9786-4BA8-8E12-943109ECDA5D.jpeg


55B6D889-BEB4-4D8E-8CBC-CCD6A2B2ED20.jpeg


Just a drill press, a hole saw, a wood tenon cutting bit, a scribe a grinder and a drill. I didn’t even use a tape measure other than to figure out how big a piece of aluminum I needed. Lots of fun, and quicker than $46 worth of shipping or whatever
 
The thing seems to have come together pretty well, the depth (1/2”) of the plate seems to allow just a bit of the nose of the MC sticking through, but the chamfer on the booster allows it to line up and keep it centered. The booster rod and depth of the MC seem like they work, looks like about 1/4” pedal movement before it feels like it touches, I’ll see when it’s running and making vacuum.

I got the front line on, there is a $1 fitting that fit and worked for the 3/16 line.

Grabbed a proportioning valve and adapter fittings recommended in another thread, but the Toyota brake line fittings won’t spin deep enough into the adapter. I’ll see what they have at the part store tomorrow.

Also, since I’m doing body work, gonna do a “5 pipe pass through for 4” diameter exhaust to go up and over the frame and through the rear quarter and should be up high out of harms way and protected by the step on the bumper corner. Still fitting it, will be a piece welded in the quarter and maybe some welded in the bumper, it won’t stick out that far when done.

EE7B4E2A-F332-48B5-9A35-CDE6D235A565.jpeg


9D3E4DEF-1803-4369-A4E1-DDFC594B5C77.jpeg


0577CC45-12F8-4756-9264-59965E4E90D0.jpeg


Edit: the existing pipe at bottom is 3” SS
 
Last edited:
Patching some wires, my method is grab some other stranded wire, wrap a single strand around to one end of broken wire, solder it on, then the other end and heat shrink. I don’t like butt splice connectors for moisture/corrosion:

BAFF8B26-F2A3-4698-954A-47BF09066F30.jpeg


F807DDB0-6D4C-4860-8BFB-4C6DE694E929.jpeg


Got the brake lines and proportioning valve in:

1F5C4720-6923-40B8-A805-33A22B147A95.jpeg


Cardboard template, painted on 18 gauge, trimmed to shape with a air nibbler and started welding in:

E3D6D62F-1250-483C-B9EC-D8BC543D85A6.jpeg


3F234955-806B-4A9A-9726-BBE1E3BCF399.jpeg


Good enough for under a fender flare. It is time consuming though.
 
A few pics of body work, I’m not an autobody guy and have no clue. Some products, some panels...

5A5A53AE-1B43-4E48-8D81-328283BA61D7.jpeg


00A83AAB-C005-4BD0-A13A-6F5E7CB43D14.jpeg


A8BBD9D3-E864-467C-879F-75AAA91167A1.jpeg


The inside of the rockers were cleaned out with a wire brush and compressed air, then soaked with rust converter. I took the remaining epoxy primer and dumped it in the rockers after I was done the outside and smeared it around with a brush, hopefully that should help keep the rust at bay for a while. I see there are a couple wiring grommets that are unused in either rear quarter panel. I’ve probably gotten water in there a couple times from water crossings and not known, gonna plug them up obviously

A9CCA9F0-BFFB-4279-827E-4FE18843347C.jpeg


6C321A6E-D624-4D3F-B2BC-9FEF8CD066B2.jpeg


I’ve plastered it with a two part epoxy primer. I think I should sand down some of the drips (it’s all hidden under fenders or bumpers anyways) and then put a paint on top to seal it apparently. It’s nice to get the welding and chopping out of the way and one step forward. The paint isn’t cured yet but the garage is a disaster of tools all over the floor so I’ll start on clean up, deleting the LSPV and adding the rubber spacers for the airbags today.
 
Last edited:
Shout out to crowfoot brake and muffler in Calgary, went up to buy a couple 1.5” pipe elbows to redo the fuel fill piping, they took me in the back, asked what I wanted, bent a piece of pipe in front of me on their cool bender, said don’t worry about it, it’s good word of mouth.

I’ll be going there if I need something done.

A8D25A34-0430-49DB-9F28-BB9E37E2C58E.jpeg


C5D922B6-FB5D-4BAD-9EFA-D6C80CB6A7CF.jpeg


2E7E9602-98A6-4CB3-A42B-EC631485C7CF.jpeg


Here’s the 5” cutout for the future 4” exhaust, there’s some paint drips I’ll clean up later, they’re still a little gooey to be sanding:

60A41FB8-F207-4C8B-9F7B-DB68DE90E46D.jpeg


Air bag spacers (black discs above bag)

Now the shock will not bottom out and the tires will have about 1.5 clearance from fender. It should be good to take a bit of a hard impact if a bag ever fails too. I’ll see how much clearance is there later when I flex it out, and can trim them if needed. (bags compress about another 1.5” or so further)
3CD0D89E-36D9-4FA1-BD53-E66C155F4C9A.jpeg
 
Last edited:
Side view of filler pipes

276950FB-D665-437C-B9A1-A26CC5F56B8C.jpeg


Edit: front axle has been welded

A3751EA7-5A65-4134-9F3C-6F3B5E09B517.jpeg


Dropped off, wire wheeled and sprayed with rust converter. Will do primer tomorrow and then grey rocker paint

622C8C56-2C65-44F5-AFBE-ED03351D2459.jpeg


81DA6290-3FE2-47AF-ADD7-511782B4AA53.jpeg


Double edit:

3B8F5A1C-9A77-46A8-9642-FCBDA945C118.jpeg


Got it wire wheeled, sprayed with rust converter and then primer yesterday. Pulled the diff cover to modify slightly, gonna raise the fill plug and run Allen head (recessed socket cap screws) on the lower three bolt holes, with small pipe to protect them.

Also thinking about welding some steel on over the ring gear protrusion but don’t have a good piece of steel for the shape handy.
 
Last edited:
Not much to report, was tied up to with courses, including TDG,WHMIS, company orientation, First Aid and taking care of the kid (March break for the youngest) this week.

I cut out a piece of the diff cover where the oil fill is in the shape of a rectangle, and then flipped it to raise the plug around an inch. Should help with keeping fluid levels higher (12-13 degree pinion angle). Also added some pipe and swapped bolts for Allen heads at bottom of diff to protect them.

The PTO cover on the NV4500 got pulled, drilled and tapped for a sight glass. Also an important one to monitor fluid levels. I’m thinking I may toss the plug on the side of the trans and put an elbow with a section of clear tubing up, and a plug, then I can overfill it. It’s common in the dodge owners group to add fluid through the shifter boot after things are filled to the plug, they seem to run cooler and quieter apparently.

Gonna head out and start bolting the trans on after dinner.

C221CA5F-5400-47EF-A69E-BC6FCA484825.jpeg


Cover will be installed upside down, that way I could preserve the sticker telling fluid types and have sight glass up high.

BDEDB7C2-3FFB-4BCF-9B78-DF3DD4AE754E.jpeg
 
Last edited:
Some pics from the machinist, it’s finally in progress (high steer) and it looks like fourwheeler.net sent the wrong ones but he’ll make them work..

Got distracted from the cross member to help a buddy powder coat his 4Runner wheels. Mixed up a couple powders to try a different color and threw one in the oven

19AF9C8E-0E89-4274-A837-92B2FB86CD96.jpeg


B79EFF21-55EE-42D9-AC6C-1AABD717F797.jpeg


22585518-DFBF-4235-AA33-35FFD7D44F78.jpeg


26E2948F-CF50-4E34-B2F9-B0D50486653F.jpeg
 
When you have a hammer in hand, everything looks like a nail. Whenever you have borrowed powder coat oven and PC gun, everything needs to be powder coated. See the color change after the oven

36FF088F-B99B-431E-B6D4-E2215B9C1BCE.jpeg


82547BC8-BB3F-4FA1-BE15-089234454A2D.jpeg


5C3F99E5-68F5-4D1B-A0CA-B3620E8CEF49.jpeg


Back to work on the upper wishbone.

Also, as I am replacing and upgrading parts of my airbag suspension system, I’m also adding a switch to an air solenoid, which will feed two regulators, which will each feed two check valves which will tee into the air lines for the bags. I will be able to auto fill the bags to whatever I dial the front or rear regulator to whatever height I want. Then I can turn off and drop pressure for the garage assuming I can still fit.

83B5B9FD-A952-49D3-9F04-FD9BAEB4BFE0.jpeg


D9693B1F-AF58-46BE-941A-DA7E27051677.jpeg
 
Lots of goodness going on in this thread.
 
Lots of goodness going on in this thread.


Thanks Dood!

Also thinking I might pull that other PTO cover and put a fill plug in it. I know that seems redundant, but the fill plug on the other side is a “transmission-oil-in-your-eyes-and-all-over-new-shirt-pain-in-the-ass” kind of fun to get at and fill with the driveshaft in place on the opposite side. Maybe pull that tomorrow and weld a bung in or something. (Edit) crap I should just swap sides and add a fill plug so i can see easier on the other side!

Maybe get that wishbone back in if I can after dinner and make sure it still fits after taking it apart and f-ing with it to straighten and tack together again.
 
The PTO cover on the NV4500 got pulled, drilled and tapped for a sight glass. Also an important one to monitor fluid levels. I’m thinking I may toss the plug on the side of the trans and put an elbow with a section of clear tubing up, and a plug, then I can overfill it. It’s common in the dodge owners group to add fluid through the shifter boot after things are filled to the plug, they seem to run cooler and quieter apparently.

How much more fluid are you going to run? That's interesting, anything to keep it happier in the 80's smaller body would be good. I happened to have ordered a few extra quarts of gear oil for it and my transfer case, and it's out of the rig right now with it's ass end up since I have the rear shaft housing out to be machined. I was going to fill it from the big opening by 5th gear before I re-assembled it lol.
 

Users who are viewing this thread

Back
Top Bottom