Builds Tex's 2019 GX460 build (2 Viewers)

This site may earn a commission from merchant affiliate
links, including eBay, Amazon, Skimlinks, and others.

Thanks for sharing that. That is some horrific mileage. You do own an LX so you’re not a stranger to that kind of mileage. Now having gone through this, would you have gone with smaller tires or change anything else? I had bigger tires on my t4r with E load. Learned my lesson there. I’m enjoying the soft soccer mom ride until it’s time to get new tires.

Yea it was bad, I agree lol. We came very close to taking the LX instead mostly for it's ability to tow a little better, but it likely wouldn't have done any better in regards to fuel economy. And in the end, the GX did quite well in regards to handling the load so I am glad that I took it and got to see how it handled. In that regard I was very pleased.

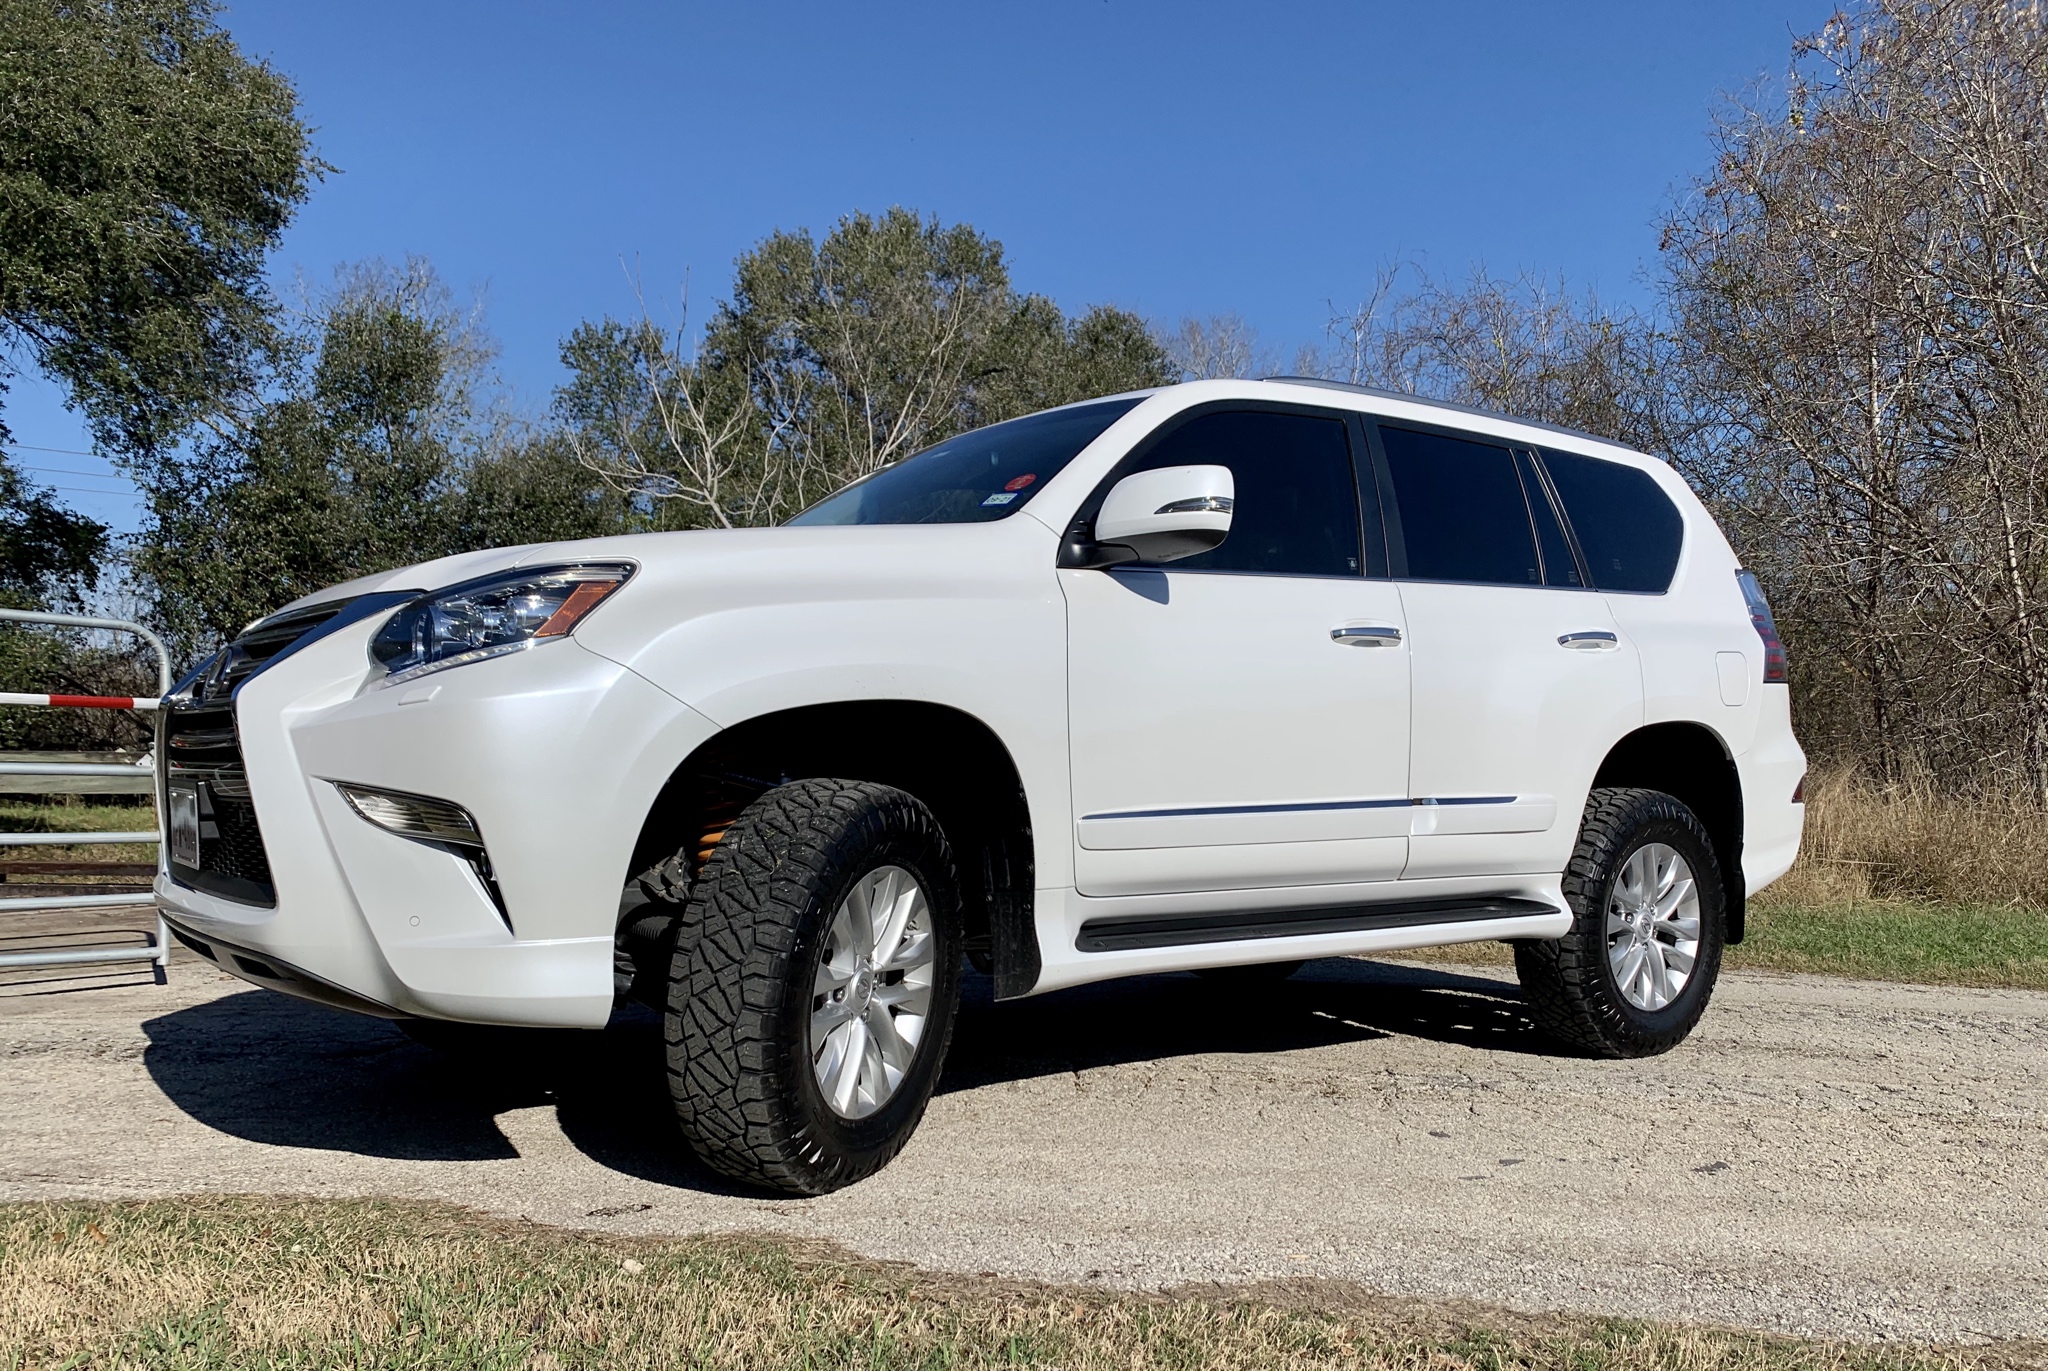
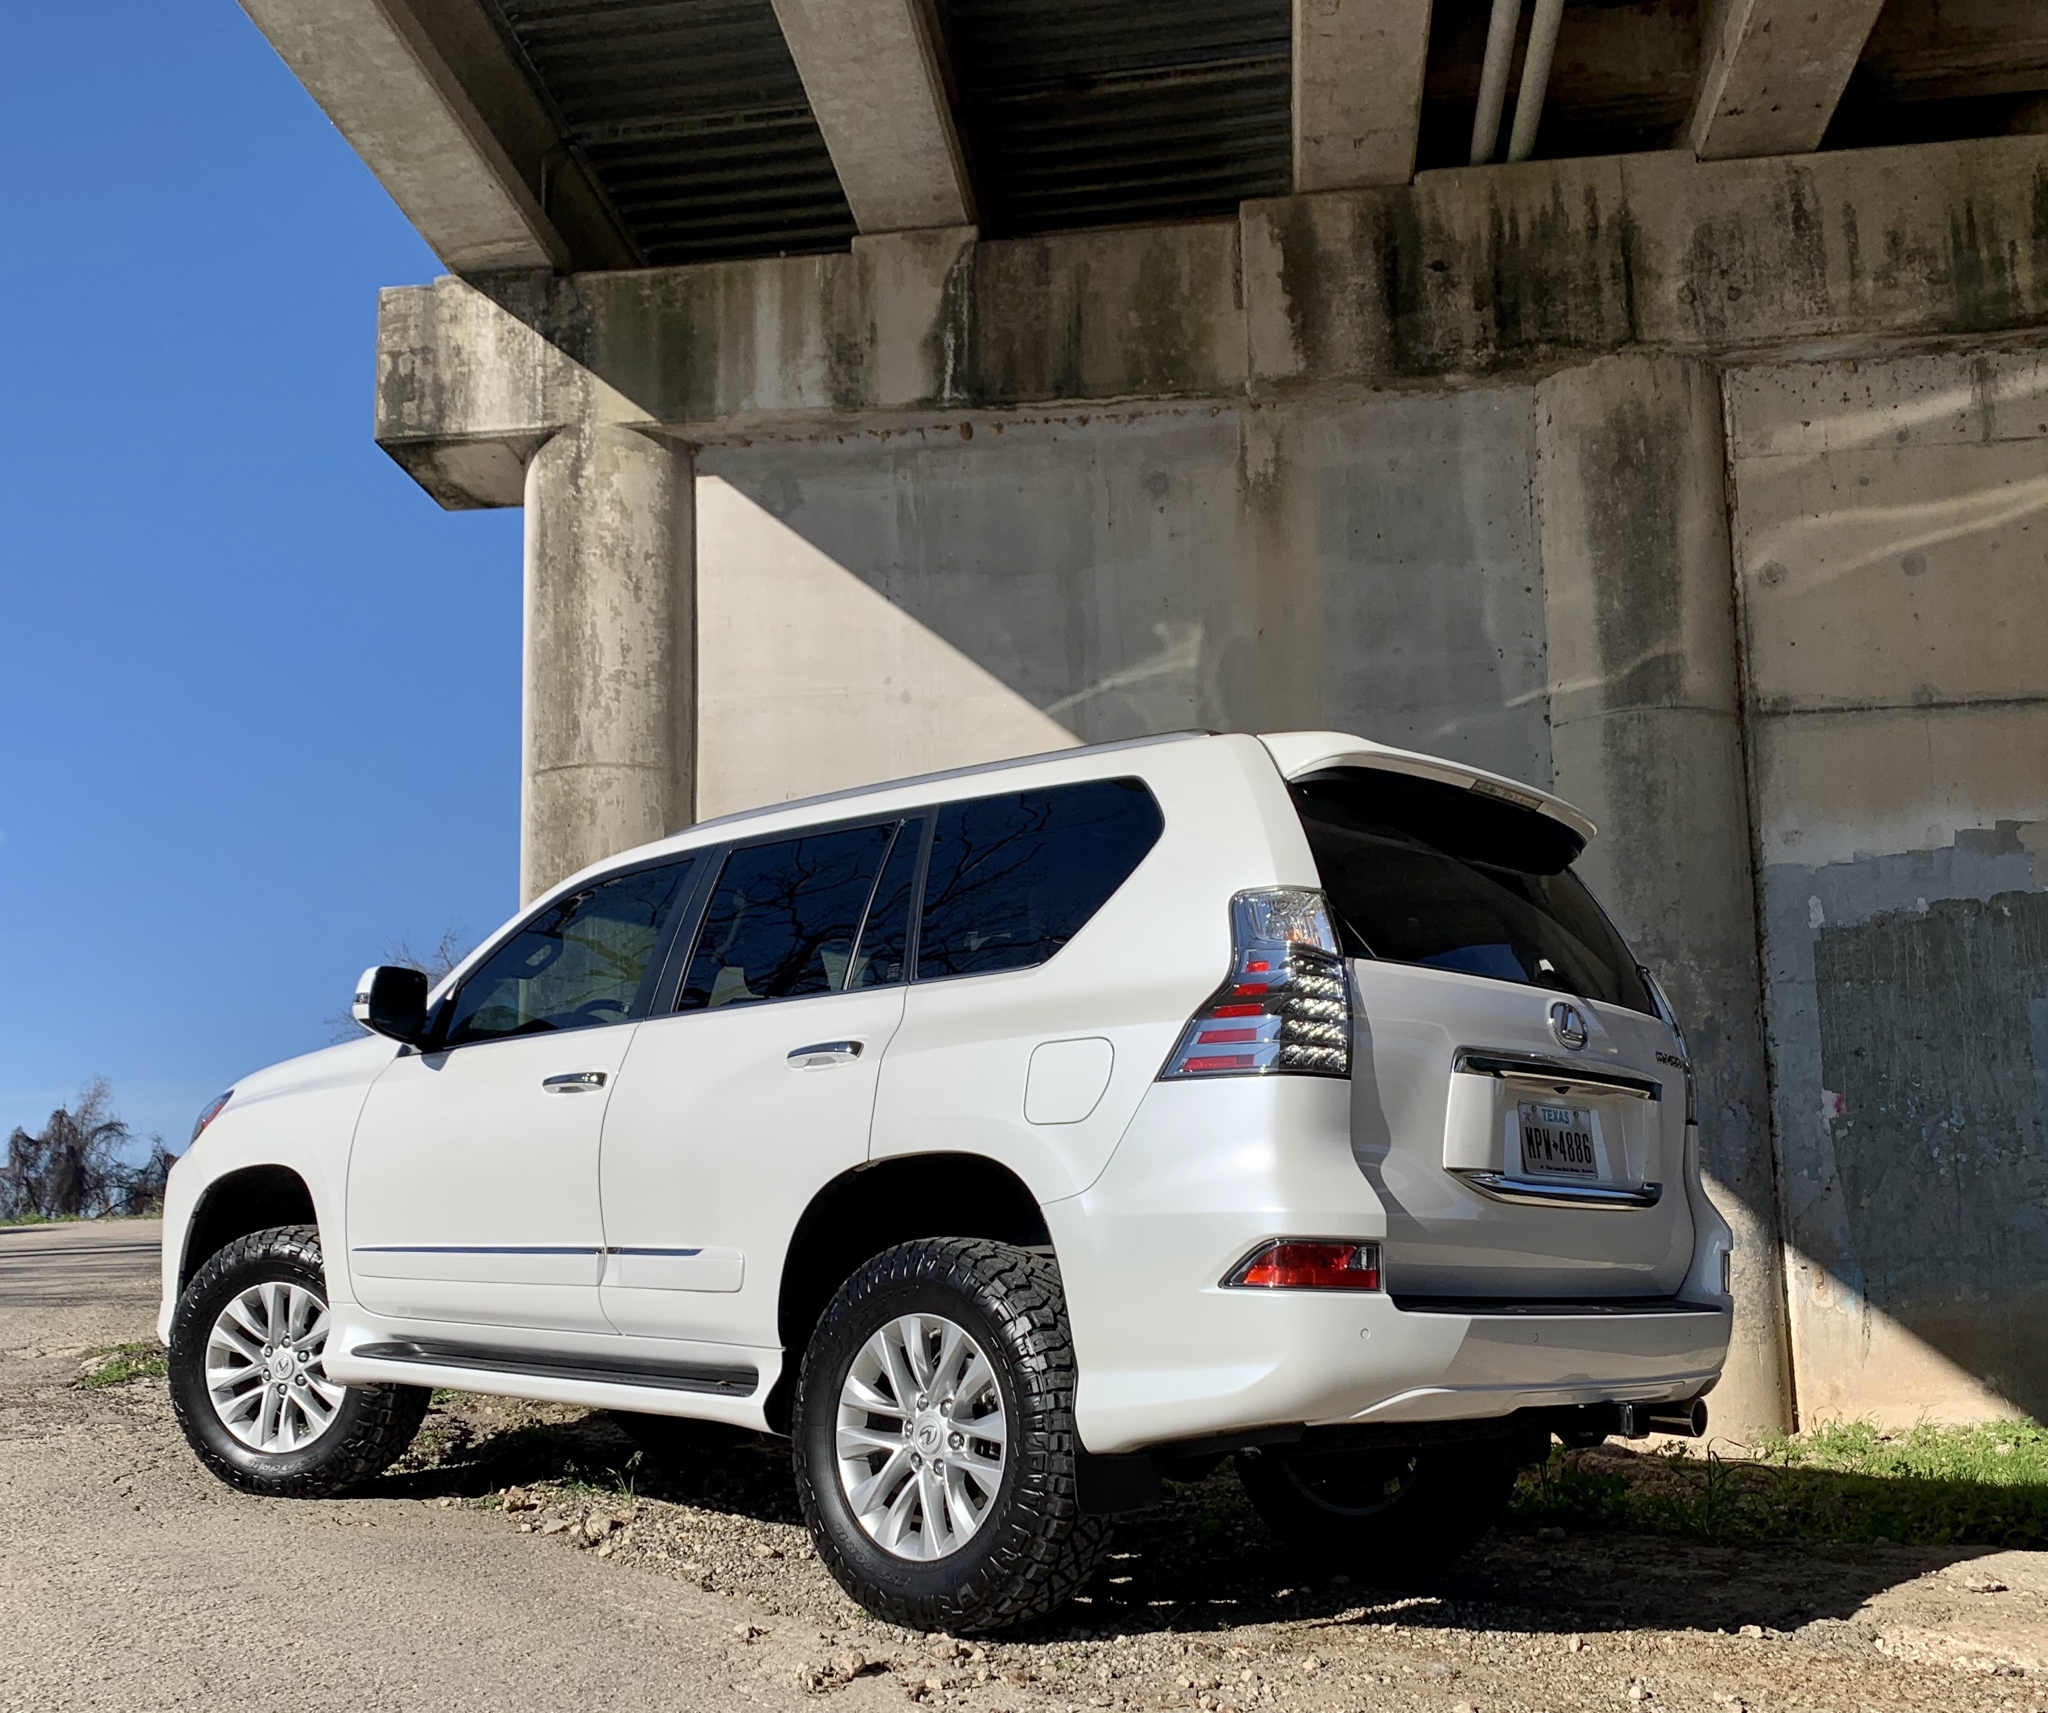
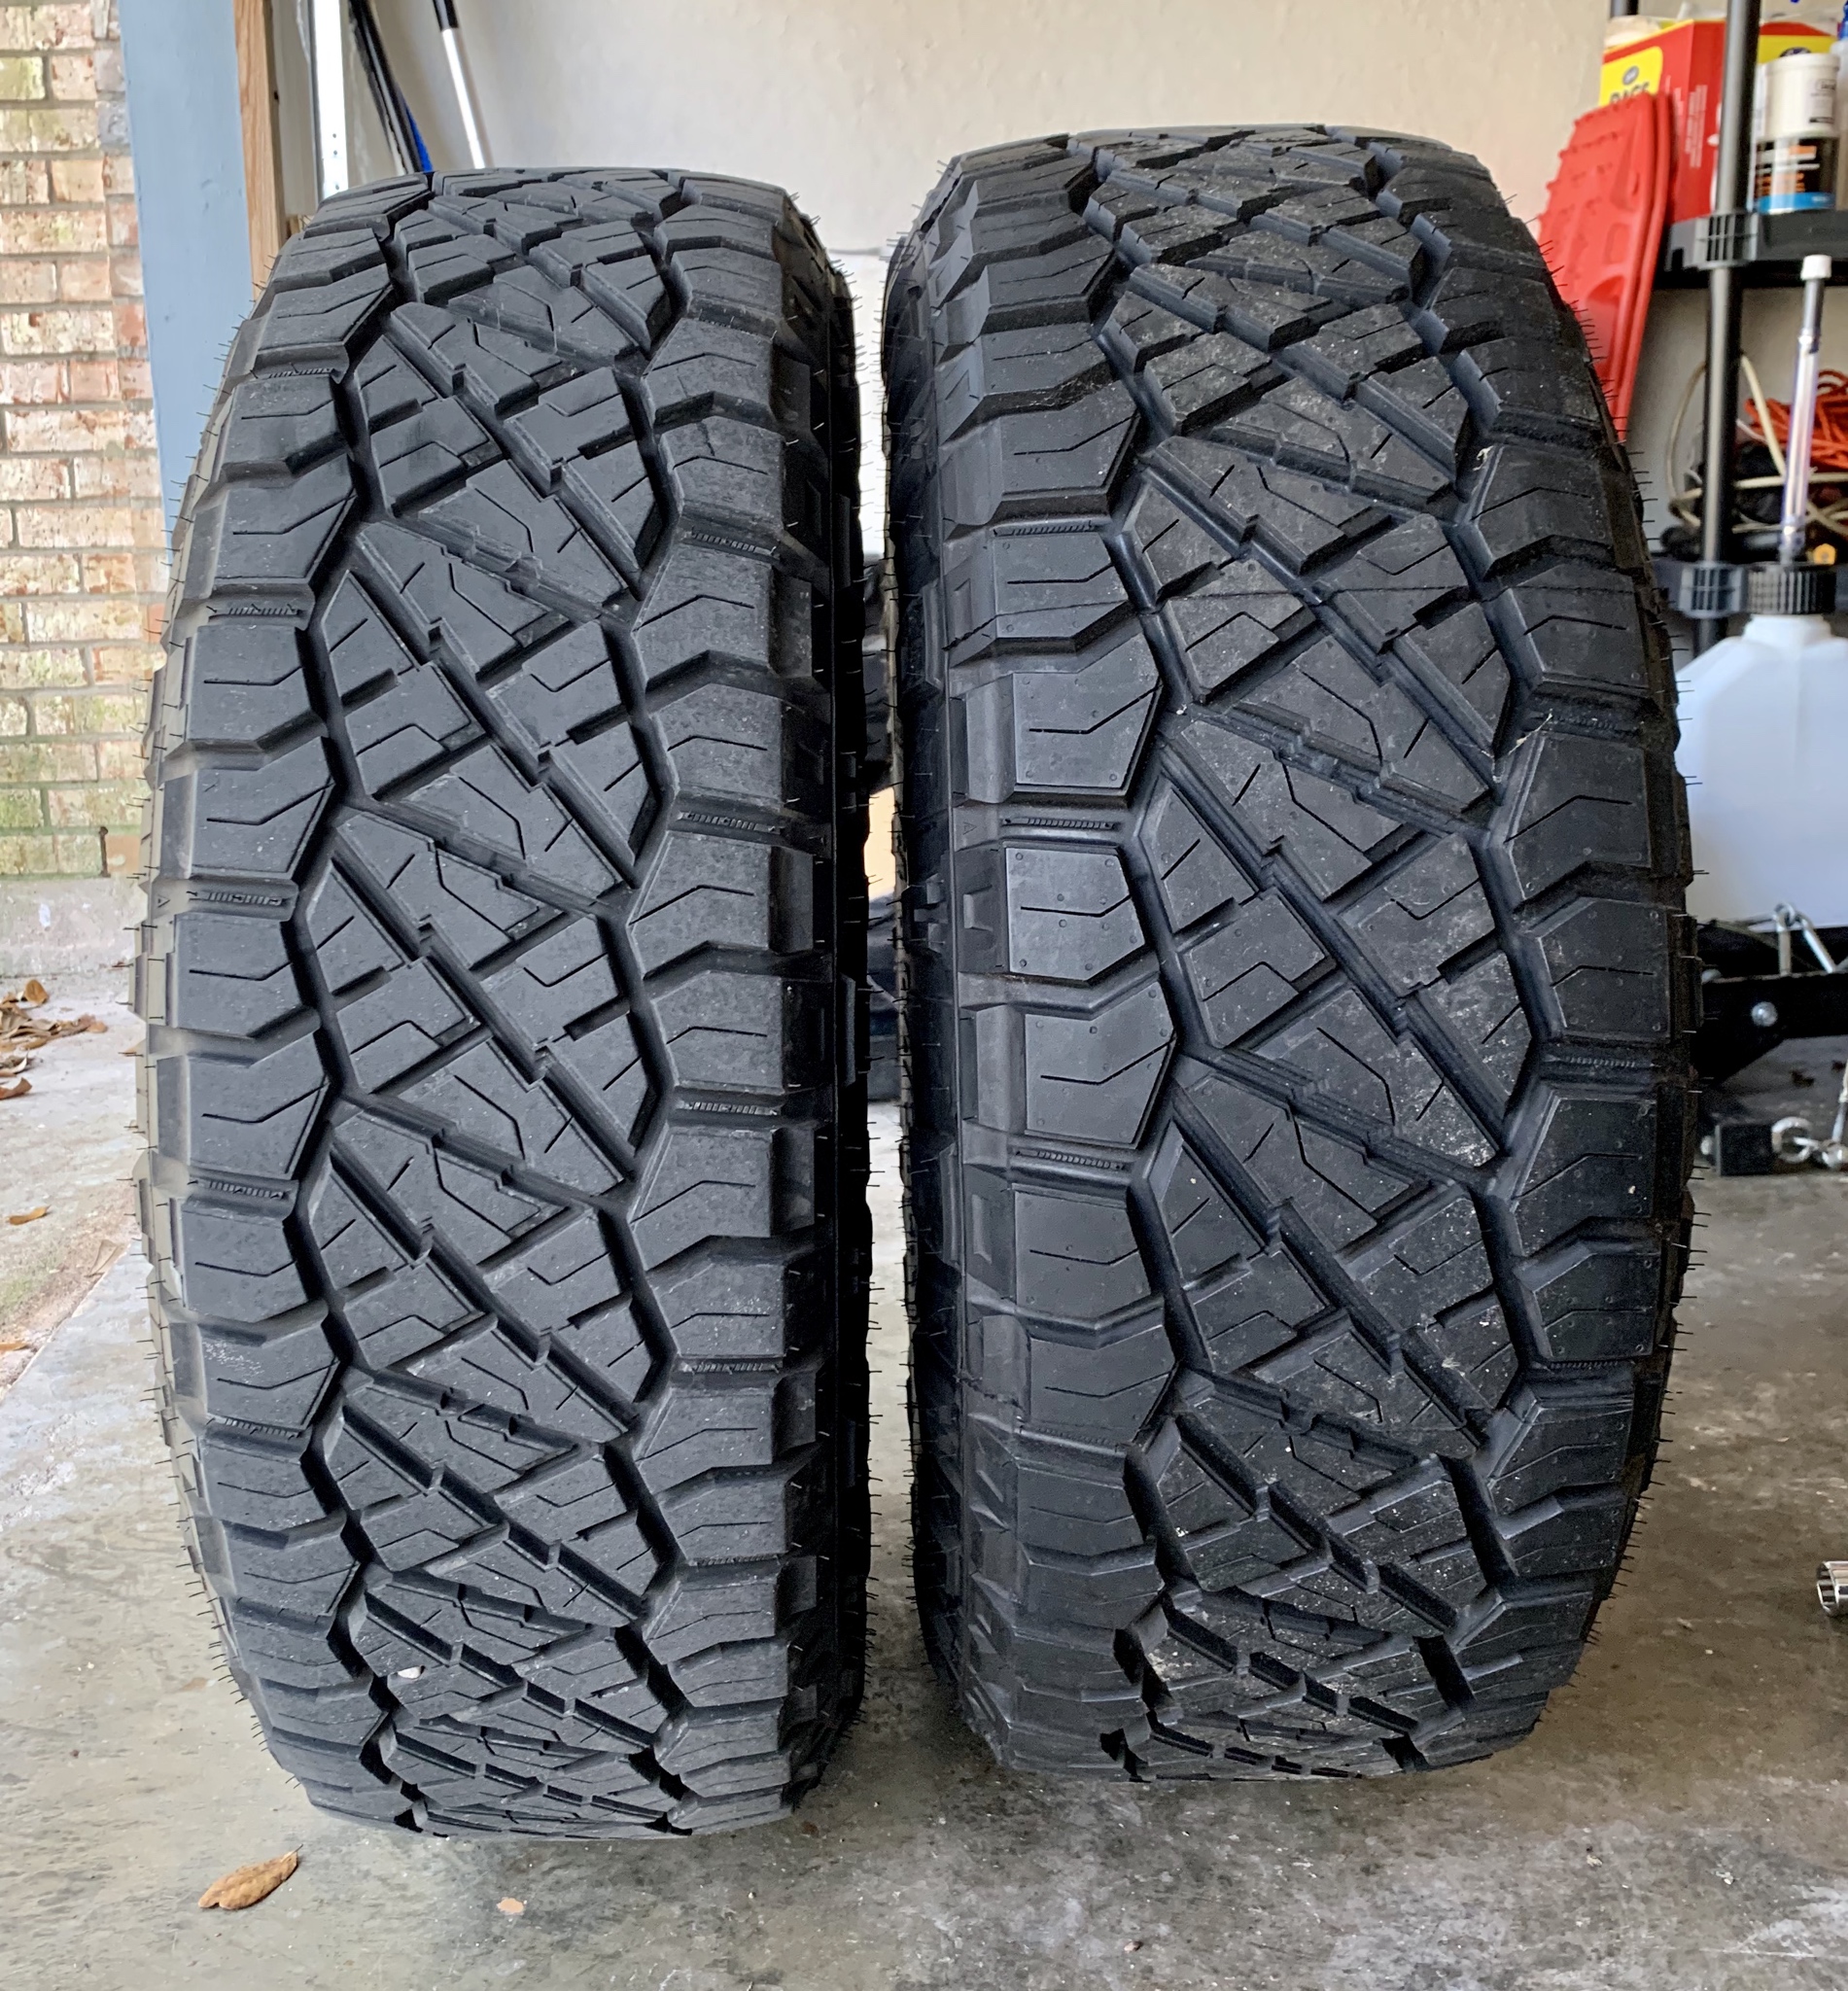
I don't think I would go any smaller on lift/tires because on a regular day (no towing, 2-3 people city/hwy driving) I get anywhere between 15-17.5 mpg with my current setup. I am used to full-size trucks and Jeeps on 37's so it's hard for me to accept a small to average build even though I know I don't need all of my vehicles to be lifted on oversized tires. These 285/70's are my idea of a mild/modest build lol. If anything I'll likely go bigger in the future and probably re-gear in an attempt to at least maintain what I currently have in terms of power and economy.

In regards to the LX I am not sure just yet whether or not we will keep it in the long run. I made the misses promise that we would hang on to it for at least two years, that comes next February, that leaves another 10 months of judgement so we shall see. If it gets replaced it'll likely be back to a Ford or RAM 3/4-ton diesel, but it's just too early to tell. I would love to have all three (GX, LX, diesel) but with only two of us in the household it really doesn't make sense. Should we decide to stay in a 200 series it'll be a tough decision between keeping the LX and building it out versus trading it for a late model (2016+) Land Cruiser.
 
Got out this morning and snapped a few pics post lift. I will say this about the ride, while it is slightly stiffer than stock (as to be expected) it is still very comfortable and far smoother and more compliant than any of the 4Runner's we've ever owned, stock or modified. No brake dive, a sportier feel to the handling and all of the great attributes of KDSS retained.

QHd7XTX.jpg

Ok2h7LK.jpg


Duggy's Garage in Houston did the work and they knocked it out fast. A promotion a few months back on the Ironman Foam Cell Pro kits made it a no brainer to save some money and go this route instead of the originally planned King's. The savings coupled with the fact that this vehicle will still be driven daily and see a lot of highway use I wanted as comfortable of a ride as possible and less maintenance than what the King's consisted of. I feel like we got all of that with this kit and with the adjustability and option to rebuild/service when needed. The Foam Cell shocks are massive in diameter. I went with Total Chaos UCA's because they've never failed me in the past.

VV2ATRM.jpg

QQ1hsfO.jpg

pfFcKBf.jpg


The end result left us with 1/4-3/8" of KDSS lean on the rear passengers side, not as bad as some but still a little disappointing. I am not sure why these vehicles struggle with that even when the system is opened properly during install. Duc left about 1/2" of adjustability on the front so that we can crank the coil overs up a tad more when we move over to the 285's and the front bumper. The rear should settle in the coming weeks kicking some of the ass high look.

It amazes me how much plastic body clad crap is on these vehicles, it really masks the height, clearance and break over angles of these vehicles and quite honestly makes it kind of difficult to tell that the vehicle has been lifted at all. With that said, that is just another reason why I should move forward quickly with the sliders and front bumper. Has anyone trimmed the bottom and sides of the front bumper on a 2014+?

NsvaTcG.jpg

Gkb5506.jpg

haHxBUy.jpg


As of right now I will run the 255/70/18's on the stock wheels and eventually move over to the 285/70/17's once we get the rest of the parts for stage two of the build (sliders, bumper, winch, drawers). I test fit one of the 285's on the front just to see how it would look. I was initially concerned as I had originally bought this wheel/tire set for our black TRD Pro 4Runner and I wasn't sure whether or not they would look good on the white GX, but I think they will look great on there. Other than the 285's being wider (also on a wider wheel) there isn't a whole hell of a lot of height difference between the 255/70/18 and the 285/70/17. I was surprised to see how very little difference there is between the two which also made me question whether or not it's worth putting them on, maybe I should just run some wheel spacers with the current 255's and stock wheels instead?!

AYYHBq3.jpg

pP9zWP2.jpg

QaYJTLx.jpg


Hopefully I can get her off-road later this week to see how she does off pavement and if nothing else I can hit the beach and see the difference there at speed in that terrain. Up next are the sliders, drawers, front bumper and winch, LRA 33 gallon auxiliary fuel tank and hopefully I'll get around to installing the MTS and Crawl Control modules as well. Now if only someone would make a respectable rear bumper and tire carrier that compliments the look of the GX.

I’m in the same boat in regards to the rear bumper. I’ve been looking at 4Runnerrear bumpers for more of a selection however am uncertain about the length of the sides of the bumpers and how they will fit.
 
I’m in the same boat in regards to the rear bumper. I’ve been looking at 4Runnerrear bumpers for more of a selection however am uncertain about the length of the sides of the bumpers and how they will fit.

Since I'll be adding the weight of the 33 extra gallons of fuel out back (it won't always be full), I am now considering going light weight out back. I am considering the Ronin Party/Crash bar out back. It'll have an integrated Class III high mount hitch and you will cut a solid 5-6" of plastic all the way around. Keeps the weight down, retains a hitch, provides protection, improves clearance and some break over and you don't have to move lights or backup sensors. I'd likely go with the JW door mount spare tire carrier with that setup, but I am still nervous about drilling holes in the door, it's so permanent haha.
 
I'm looking for options too - what is the Ronin solution you mention? I can't find any references to it anywhere.
 
I'm looking for options too - what is the Ronin solution you mention? I can't find any references to it anywhere.

He's only made a prototype and it was a one-off that used the Class III bolt-on hitch as a tie-in. The official production version he is working on right now will have its own integrated high mount hitch that uses the same six bumper mount bolts to attach at the rear. The sides that wrap up behind the rear tire have a support that ties into the frame rail where the factory Class IV hitch bolts. It's super simple, clean and it gets the job done with little modification.

Here are a few pics of the prototype, keep in mind the production version will not attach to the hitch like pictured, it'll have its own instead. He will be using 1.75" tube for the production version as well.

8F0icya.jpg

sK3se2J.jpg
 
I noticed one of the center caps on my SCS wheels is "morphing" after less than two months of being on the truck, anyone else have this issue?

vXeLkFR.jpg
 
I'd likely go with the JW door mount spare tire carrier with that setup, but I am still nervous about drilling holes in the door, it's so permanent haha.

I don’t get people’s willingness to drill holes in something like your rear hatch. Bumpers, a fender, etc sure. Those can be replaced with relatively low expense. The rear hatch...ehhh, makes me cringe. Plus there’s lots of concern with the door not holding the weight well, even the Prado with the door mounted spare has reported sheet metal issues.

Have you seen the swing out Robin is working on? It’d be another hole in the bumper, but you will have already chopped it up. A little steep on price but for it fits a specific need and I’m considering it.


I noticed one of the center caps on my SCS wheels is "morphing" after less than two months of being on the truck, anyone else have this issue?

vXeLkFR.jpg

Had my last set of SCS on my Tacoma for 4 years and they held up great, nothing like that! My month old SCS look good too. Hit up Vin, I’m sure he’ll take care of ya.
 
I don’t get people’s willingness to drill holes in something like your rear hatch. Bumpers, a fender, etc sure. Those can be replaced with relatively low expense. The rear hatch...ehhh, makes me cringe. Plus there’s lots of concern with the door not holding the weight well, even the Prado with the door mounted spare has reported sheet metal issues.

Have you seen the swing out Robin is working on? It’d be another hole in the bumper, but you will have already chopped it up. A little steep on price but for it fits a specific need and I’m considering it.


Had my last set of SCS on my Tacoma for 4 years and they held up great, nothing like that! My month old SCS look good too. Hit up Vin, I’m sure he’ll take care of ya.

I agree that drilling holes in the rear door certainly gives me cause for concern. I am not totally committed either because I too think it'll stress the sheet metal over time. I just hate that there are so few options currently on the market and the need for a full-size spare is driving the necessity to move forward with something sooner rather than later. I am still looking at/considering the Kaymar rear bumper and the Coastal Offroad DIY bumper kit as well. I've seen the Ronin option, not sure I dig it, but I love that he's thinking outside of the box with all of his offerings.

I spoke with Vin today about the center cap, he claims it happened from someone pushing on the logo when installing the center cap. I'm not sure if I believe that or not, but he didn't offer to replace it, he just said I can buy another center decal for $3. I was kinda surprised that he didn't offer to throw another one in the mail for me but whatever. Seeing how I didn't mount or install the wheels it had to have happened at Discount tire during the install. I am about to order another wheel from him so I'll just use that center cap instead.
 
Man, not the response I would've expected from him, lame.

I currently carry the spare in the back cargo area and too have been trying to figure out a long term solution. I don't need a full on metal rear bumper for what I use my rig for and don't want the weight. I also tow, so those hitch-mount swingouts won't work for me, specifically because I have a 4" rise lock-n-roll hitch that wouldn't fit with those setups.

Short of something like Ronin is creating, and the door mounted carrier, I'm in a pickle. I've been playing with the idea of removing the third row (no kids) and building out that space to have a drawer on one side/half and fabricating a kinda baja style tire mount that'll hold the spare tire vertically and tucked up against the passenger side. It'd be a metal base with a wheel strap going over it. Keep some loose storage around the base of the tire and still have some storage in and above a drawer on the driver side. Not concerned about loss of cargo space, so might not apply to many.

Yea, we've always had issues with orders and card processing with my Capital One card with their vendor so we've never really been on the same page, I guess that was his way of sticking it to me for the content issues haha. Not a big deal, he gives me a slight discount for military so I can't complain.

We don't have kids either and I was planning on removing the third row for the eventual Goose Gear GX460 specific sleep platform they are working on but I like the idea you proposed. We should discuss this further.
 
Kaon rear door table ordered, hopefully it'll be en route from AUS next week.

KW3r0aK.jpg

3ybnM0C.jpg
 
He's only made a prototype and it was a one-off that used the Class III bolt-on hitch as a tie-in. The official production version he is working on right now will have its own integrated high mount hitch that uses the same six bumper mount bolts to attach at the rear. The sides that wrap up behind the rear tire have a support that ties into the frame rail where the factory Class IV hitch bolts. It's super simple, clean and it gets the job done with little modification.

Here are a few pics of the prototype, keep in mind the production version will not attach to the hitch like pictured, it'll have its own instead. He will be using 1.75" tube for the production version as well.

8F0icya.jpg

sK3se2J.jpg

I sawhis posts
Since I'll be adding the weight of the 33 extra gallons of fuel out back (it won't always be full), I am now considering going light weight out back. I am considering the Ronin Party/Crash bar out back. It'll have an integrated Class III high mount hitch and you will cut a solid 5-6" of plastic all the way around. Keeps the weight down, retains a hitch, provides protection, improves clearance and some break over and you don't have to move lights or backup sensors. I'd likely go with the JW door mount spare tire carrier with that setup, but I am still nervous about drilling holes in the door, it's so permanent haha.

Yeah I’ve seen his stuff on instagram and it looks really clean and simple.
 
Kaon rear door table ordered, hopefully it'll be en route from AUS next week.

KW3r0aK.jpg

3ybnM0C.jpg
Kaon rear door table ordered, hopefully it'll be en route from AUS next week.

KW3r0aK.jpg

3ybnM0C.jpg
I like mine, should have it in five days. I suggest you buy some stainless hardware and through bolt it.
 
I like mine, should have it in five days. I suggest you buy some stainless hardware and through bolt it.

Does it come with self tapping crap? Any suggestions on hardware specs?
 
Does it come with self tapping crap? Any suggestions on hardware specs?
It has stainless sheet metal screws to attach to the plastic. I don’t remember the size I bought. Look on my build thread to see what I did. You’ll need to trim some plastic on the back side.

548615E2-5EDE-465B-BBB3-C9BBC5FEEFBE.jpeg
 
It has stainless sheet metal screws to attach to the plastic. I don’t remember the size I bought. Look on my build thread to see what I did. You’ll need to trim some plastic on the back side.

View attachment 2251641

Looks like I'll be making a hardware store run when it arrives. Does the plastic panel covering the rear door just come off with plastic pop rivets?
 
Looks like I'll be making a hardware store run when it arrives. Does the plastic panel covering the rear door just come off with plastic pop rivets?
If I remember right from when I had to relocate my backup camera, the bolts are around the grab handle just below the window. Everything else should just pop off with one of those plastic interior panel tools, or a plastic spatula. It will get a little tricky when you loosen everything (pop all the panel plugs) because you'll have to slide the whole panel down about half an inch or so from the plastic trim that's attache all around the rear window.
 
Slider prep this afternoon. I was liberal with my cuts and left more than enough plastic on the ends so that I could trim the rocker panels to the exact length I need once I hang the sliders which will hopefully be this weekend. I used a box blade to make the cuts, it requires more pressure and a steady hand but it leaves a much cleaner cut. Now I need to figure out where to mount my LED puddle lights.

HQDpeYS.jpg

usxmyrl.jpg
 

Users who are viewing this thread

Back
Top Bottom