Hey Dude,
I looked all over for a pic of how we did mine but couldn't find it so I'm going to have to try to explain.

A pic sure would have been nice.
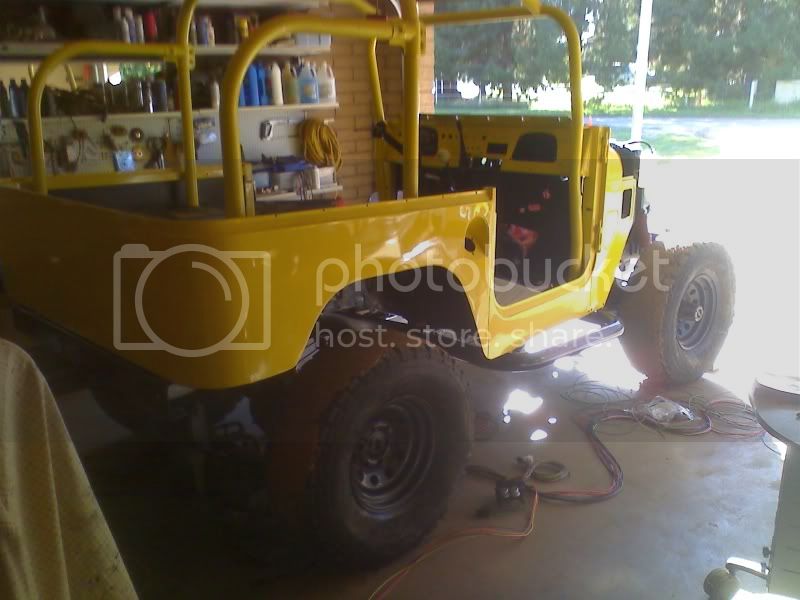
We built a Metaltech cage for my 40 and a frame tie in kit too. Its the standard sandwich-the-floorboard type mounting with a tube that comes down off the underside of the floorboard and ties to the frame.
I have some rust in that area and thought that the rigid frame mount tied directly to my flimsy floorboards would take its toll because there would be no flex, so what I did... good luck here..
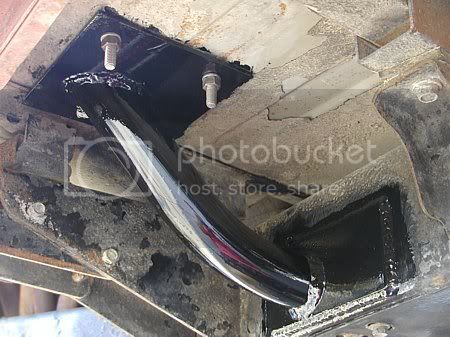
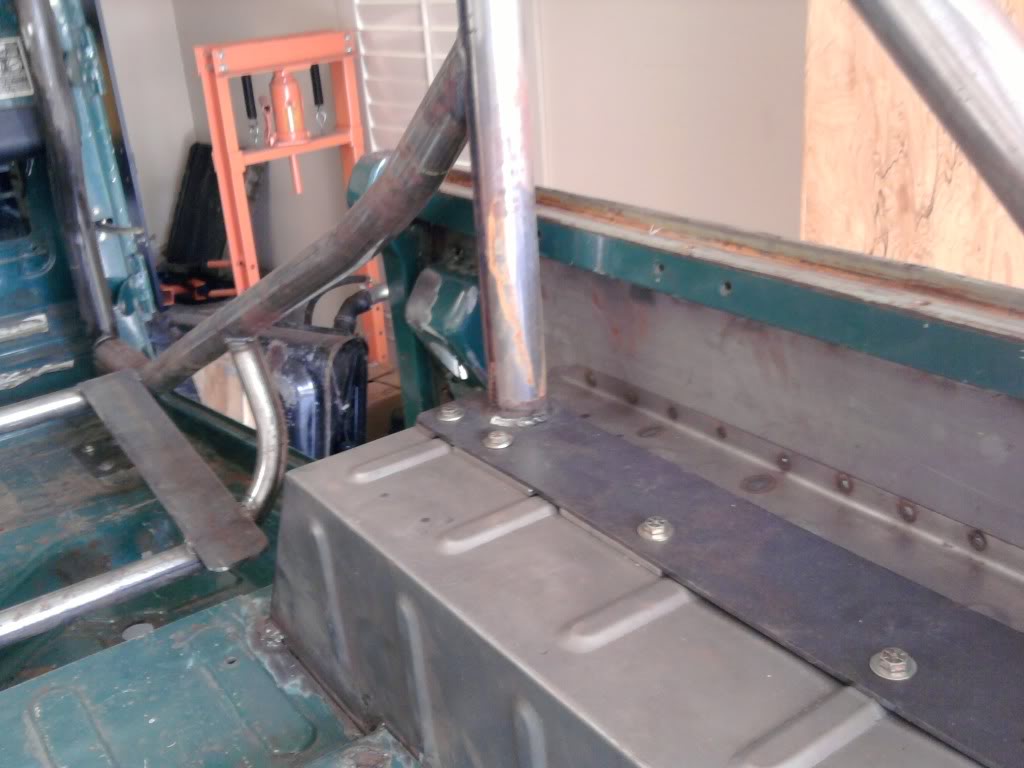
I mounted the underside floor plate about a quarter inch below the actual tub. Then where the bolts for the top and bottom plates go through the floorboard I drilled about 1" holes in the tub. Four in all on each side. Then I put about 3/4" tall cylindrical spacers which are sleeved around the bolts that go between the top and bottom sandwich plates. That is, tubing spacers that the bolts go through. With that, the top sandwich plate "floats" above the floorboard about 1/4" inch. So now I have the cage mounted directly to the frame, with the top and bottom sandwich plate floating above and below the floorboard with no contact at all.
I was concerned that I wouldn't leave enough clearance around the bolt spacers, or top and bottom plates, and I'd end up with some horrendous rattle or squeak, but there's not a sound. So the only drawback I see to doing it this way is punching some pretty good size holes in the floorboard, but I figured the MT cage was going to be a permanent fixture on this Cruiser anyway, so what the F. So far with a bunch of trips on this setup it has worked out nicely.
I sure wish I had a photo for you, and hope this makes at least a little bit of sense.
B.

![IMG00160-20100410-0932[1].webp](https://forum.ih8mud.com/data/attachments/279/279080-6652e210897bd7a7667e5aa6715c08b9.jpg?hash=dy1HM3ID-X "IMG00160-20100410-0932[1].webp")


![IMG00160-20100410-0932[1].webp](https://forum.ih8mud.com/attachments/img00160-20100410-0932-1-webp.412460/ "IMG00160-20100410-0932[1].webp")