pillguy's 4runner build (with pics) (2 Viewers)

This site may earn a commission from merchant affiliate
links, including eBay, Amazon, Skimlinks, and others.

cool video:) did you sustain any damage?

No damage, made it all the way up Slickrock though!

I did some of the same stuff you're doing with capping the frame rail ends (Prado bumper on mine) and e-locker axle swap.
 
Andrew,
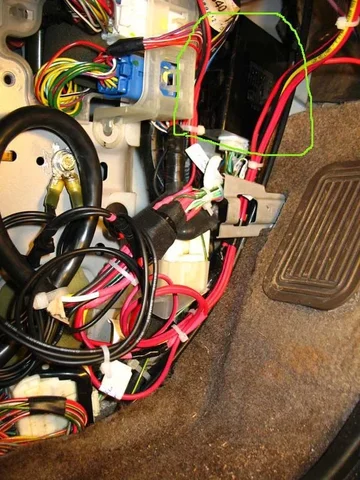
If you came across an odd black rubber cap in the garage, it probably came off one of the jack stands. The following picture has it circled in green. If you find it, please set it aside on the off chance we can do a hand-off some day.
Thanks
rubber.jpg
 
You couldnt have picked a better project. At the end of the day the runners and tacomas drive so nice. I just finished a SAS on my 98 tacoma and it rides great!

If you have to run another group of wires through the firewall, nest to the gas pedal is a 1 inch rubber grommet that can be popped out.

Also check your manual for other acc power wires under the hood to tap into rather than trying to splice standing oin your head under the dash.

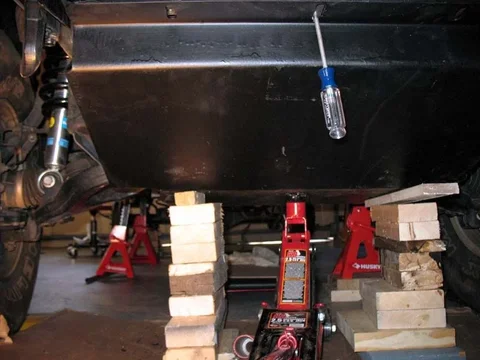
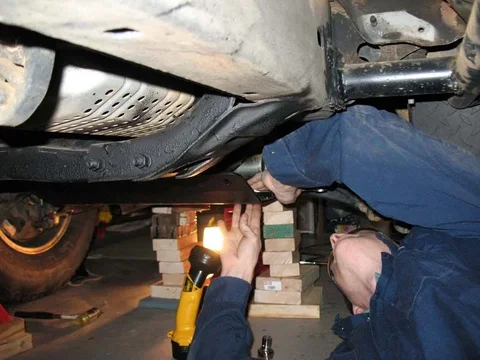
Glad to see you ditched the ramps for jack stands. A little tip is that wood blocks under the jacks help gain height so the jack isnt full extended and they grip the concrete better when you start gettin rough under there
 
I am back... had to close on our new house and sell ours... Thank God esp in this market...now back to blogging, where was I? Oh yea, elocker....
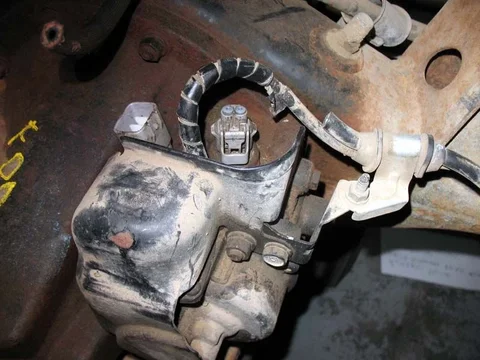
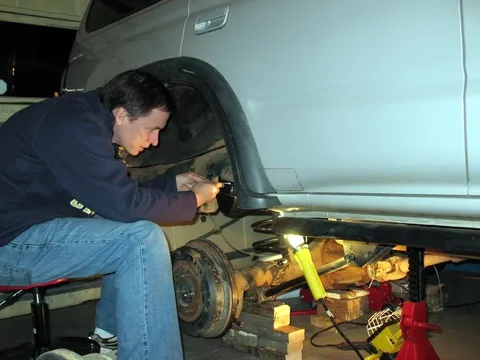
Uh-oh we have a problem... with the elocker, wire has been cut and so I went to the web to see what everyone else had done. It seems I needed several things, the elocker brain, pig tail, pig tail off the frame, abs pig tail with diff lock, factory switch with pig tail. I called Blakes and fortunately they had everything except the factory pig tail on the frame. I ordered one from the elocker itself to the frame, and ordered some 14g 6 conductor wire from somewhere.

4x4-susp-001.jpg

I am hesitant to wire up the elocker with out some sense of the wiring instructions so I went on to do other things.


4x4-susp-010.jpg

More work on the sway bar extension


4x4-susp-013.jpg
[FONT=&quot]

more work as there are a lot of small details to finish...:cheers:

[/FONT]
4x4-susp-001.jpg
4x4-susp-010.jpg
4x4-susp-013.jpg
 
Larry, I will let you know if I find it.
Andrew

Andrew,
If you came across an odd black rubber cap in the garage, it probably came off one of the jack stands. The following picture has it circled in green. If you find it, please set it aside on the off chance we can do a hand-off some day.
Thanks
 
Here I have finished painting the axle, I hope it holds up, I think I should have painted it with Rust bullet instead, but oh well...
4x4-susp-015.jpg

Finally I get around to the issue with the bent skid plates... mine were non-repairable and I did not have time for fabbing up something, so I weighed my options and called Budbuilt and ordered (2) so I have protection all the way back to the gas tank. Unfortunately, they arrived on valentines day weekend and the :princess: was not too happy with the attention the truck was getting attention....


IMG_1367.JPG

I also did some repair work to the slightly rusty battery tray with some of the leftover truck bed liner in a can... worked great.
Now, I am done with painting the skid plates, what a pain
And I am ready to install... but I have to weld.
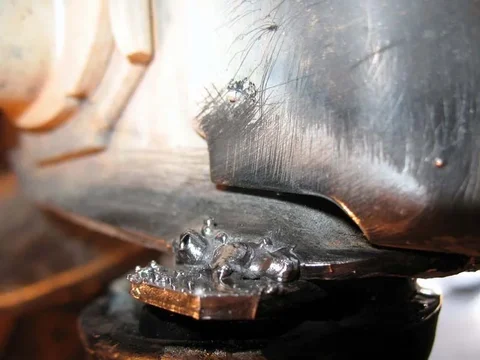
You see, one of the mounting points on the truck for the factory skid plate was bent from the tear off, so I beat it a few times to get it straight and then jacked it up, wire wheeled it and hoped for the best. I have my Dad's old HF wire welder 110v, I have no clue how to use it, so I plug it in and read the ****py instructions and make a go at it.
Here is my first try... why the spatter??? I think from what I have read, it is inherent in MIGs without gas and yes.... I have a cheap welder.


[FONT=&quot]GUess what? it did not hold, so off came the plate and I broke out the MIG again and cranked up the heat and poured it on..
THis time it held.[/FONT]
IMG_1381.JPG
Well, that is all for tonight folks:)
PS feel free to comment on my welding job
4x4-susp-015.jpg
IMG_1367.JPG
IMG_1381.JPG
 
Look at Frosty go, you've become a mad man about this!!! Happy to see it, good work
 
I used a wiring kit from Inchworm for my e-locker retrofit. Nothing special to it, but it's all there so it makes it easier. But you do need the pigtail to get started.
 
I thought about using them and 12 volt guy's stuff, but some of it was back ordered and I needed to have the system work with my ABS system.
I used a wiring kit from Inchworm for my e-locker retrofit. Nothing special to it, but it's all there so it makes it easier. But you do need the pigtail to get started.
 
Now I can start to mount the skid plates, boy are they heavy, but I figured out a system of blocks to get it done.
IMG_1382.JPG

[FONT=&quot]More bolting them in place

[/FONT] IMG_1412.JPG

And here is my painted battery tray with the bed liner in a rattle can. There was not much rust there, but figured it was a quick project.

IMG_1378.JPG
OK, I am dragging on the elocker
IMG_1382.JPG
IMG_1412.JPG
IMG_1378.JPG
 
SO now, I am nearly done except the electrical work for the elocker, I had all my parts including a few radio shack ones as well and I put a post out on mud to see if I could get some help, because I could not really understand the wiring. I read multiple posts on the web about various elocker writeups and each seemed a bit different because they either had the factory wiring harness or no abs system and several of the posts had landcruiser wiring diagrams.
So, fellow mud members wardameagle and secondgentoyota fan helped me out. WDM, even called me all the way from England to talk for about an hour.
After finally deciphering the diagram, I bought 24 hr access to one of the toyota sites and downloaded the 1996 wiring diagrams and started tracing things out.

Everything matched except, my truck did not come with a elocker, ABS internal harness, so I had to do several things
[FONT=&quot]1) fabricate a wire to the ABS brain, 2) fabricated the socket for the bulb with two wires to wire up directly to the harness rather than using the existing plugs, 3) run 6 conductor wire to the left drivers side panel and wire everything up to the factory switch and brain. The factory harness was missing the pins for the respective wires and my local dealer was absolutely no help.

Here is the wiring mess

[/FONT] IMG_1435.JPG
[FONT=&quot] So after about 24hrs I nearly finished. Circled in green is the elocker brain. That was critical to the entire wiring job.
[/FONT] IMG_1440.JPG
[FONT=&quot]
So I try it out.....turn key, push button and..... I get a blinking light in the dash. So I ask some more questions on the forum and find out I had to ground two additional wires.
I get that done, but still no success...., by this time I am really bummed, did I wire something wrong or what?
So, I do what SGTFan said to do and jacked up one tire, spun it, then pushed the button, it still blinked. I went back over to turn the tire and after a slight push, the elocker clicked into place. It works!

[/FONT] IMG_1442.JPG :clap::clap::clap:
[FONT=&quot]
It seems that, you have to turn the truck slightly and drive forward to get the spines to engage and it works like a charm. After spending about $850, I have an elocker. I drove it and all seemed well except the brakes, they seem spongy. (air in lines or poorly seated brake shoes with shoddy adjustment. Given the 4runners brakes are a bit tepid at startup, I decided it was not worth it to penny pinch so I bought, new drums, shoes and pistons and swapped everything out. Made all the adjustments and the :princess: helped me out with bleeding the system again. She is great!


[/FONT]
IMG_1435.JPG
IMG_1440.JPG
IMG_1442.JPG
 
Looks good andrew. Very very good. I'm thinking about picking up a 4runner. I'm so confused!!!

I'll be in this weekend if you need an extra hand. Just give me a ring.

Nick
 
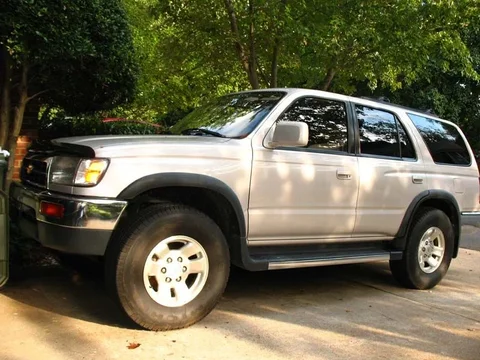
For now, I am done with major modifications except the rear bumper which I will fabricate sometime soon, and mud tires, in the meantime here is what I have so far.... IMG_1443.JPG

another view
IMG_1444.JPG
and the original starting picture
IMG_1059.JPG
IMG_1443.JPG
IMG_1444.JPG
IMG_1059.JPG
 
Its the bling that gives you the extra traction on the muddy ections. LOL!

Awesome work, good to see!! Love the "gold package" emblems.

Sid
 

Users who are viewing this thread

Back
Top Bottom