duggy
SILVER Star
Current mods:
Exterior/Lighting/Armor
Suspension/Wheels/Tires
Interior/I.C.E/Electronics
Recovery/Misc tools
Maintenance work done
Let me start off the story by introducing myself a bit and how I got bit by the Land Cruiser bug. I was an avid motorcyclist for the timespan of about 6 years doing occasional trackdays and very often riding the back roads of Texas throughout the state. Let me tell you, riding a sport bike is not comfortable by any means and I also needed transportation for the motorcycle to trackdays so I made the executive decision to hop on the market for a truck. I really had no idea on what I wanted,
and somehow ended up with a Dodge Ram 1500 4x4.

I bought the truck for $2000 and a Mossberg Maverick 88 in which I drove around and had grand plans to be my transportation for my motorcycle. I ended up doing a bunch of maintainence on the truck myself and decided to give up on it since perusing the forums gave me no hope that this truck would be 100% reliable. I sold the truck for $2800 and started looking for a Toyota Tacoma, a truck that will always hold a soft spot in my heart.
Upon my search for a Tacoma I found that the market in the Houston area was very overpriced for what I wanted to spend on a truck since I was looking for a specific model with 4x4. My buddy, who at the time, owned a Land Cruiser assisted me in searching for a Tacoma but started throwing some links on Craigslist of Land Cruisers in the area. At first I blew off the idea of getting a Land Cruiser or a car without a bed because I needed to transport my motorcycle to trackdays and distant places where it would be very uncomfortable to ride on a sport bike.
We finally found a 95 Land Cruiser with 203,000 miles for $3,800 in which the P.O assured me was in great condition but had some paint that was fading. I go to look at the truck and although all of the electronics work great, the aesthetic condition of the car was very poor. The hood, roof, and upper portion of the exterior had no clear coat, and has what shows to be a very low quality paintjob. The truck tracked straight and drove like a dream, but I set it on the backburner for a while.
Fast forward 3 weeks, my buddy invites me on a trip to Padre Island National Shore (PINS). With a $2,500 hole burning in my pocket I then reconsidered the Land Cruiser since I could not find a Tacoma in the price range for the life of me. This is about the same time the P.O sends me a text saying he'll take $2,500 for the LC, so I hop on it. I take it home, and find many oil leaks that I've read about throughout this forum (rear main seal, PS hose, distributor o-ring, and more) but the truck still drove without issue. I slowly start thinking of mods and eventually buy a set of tires and an OME lift.
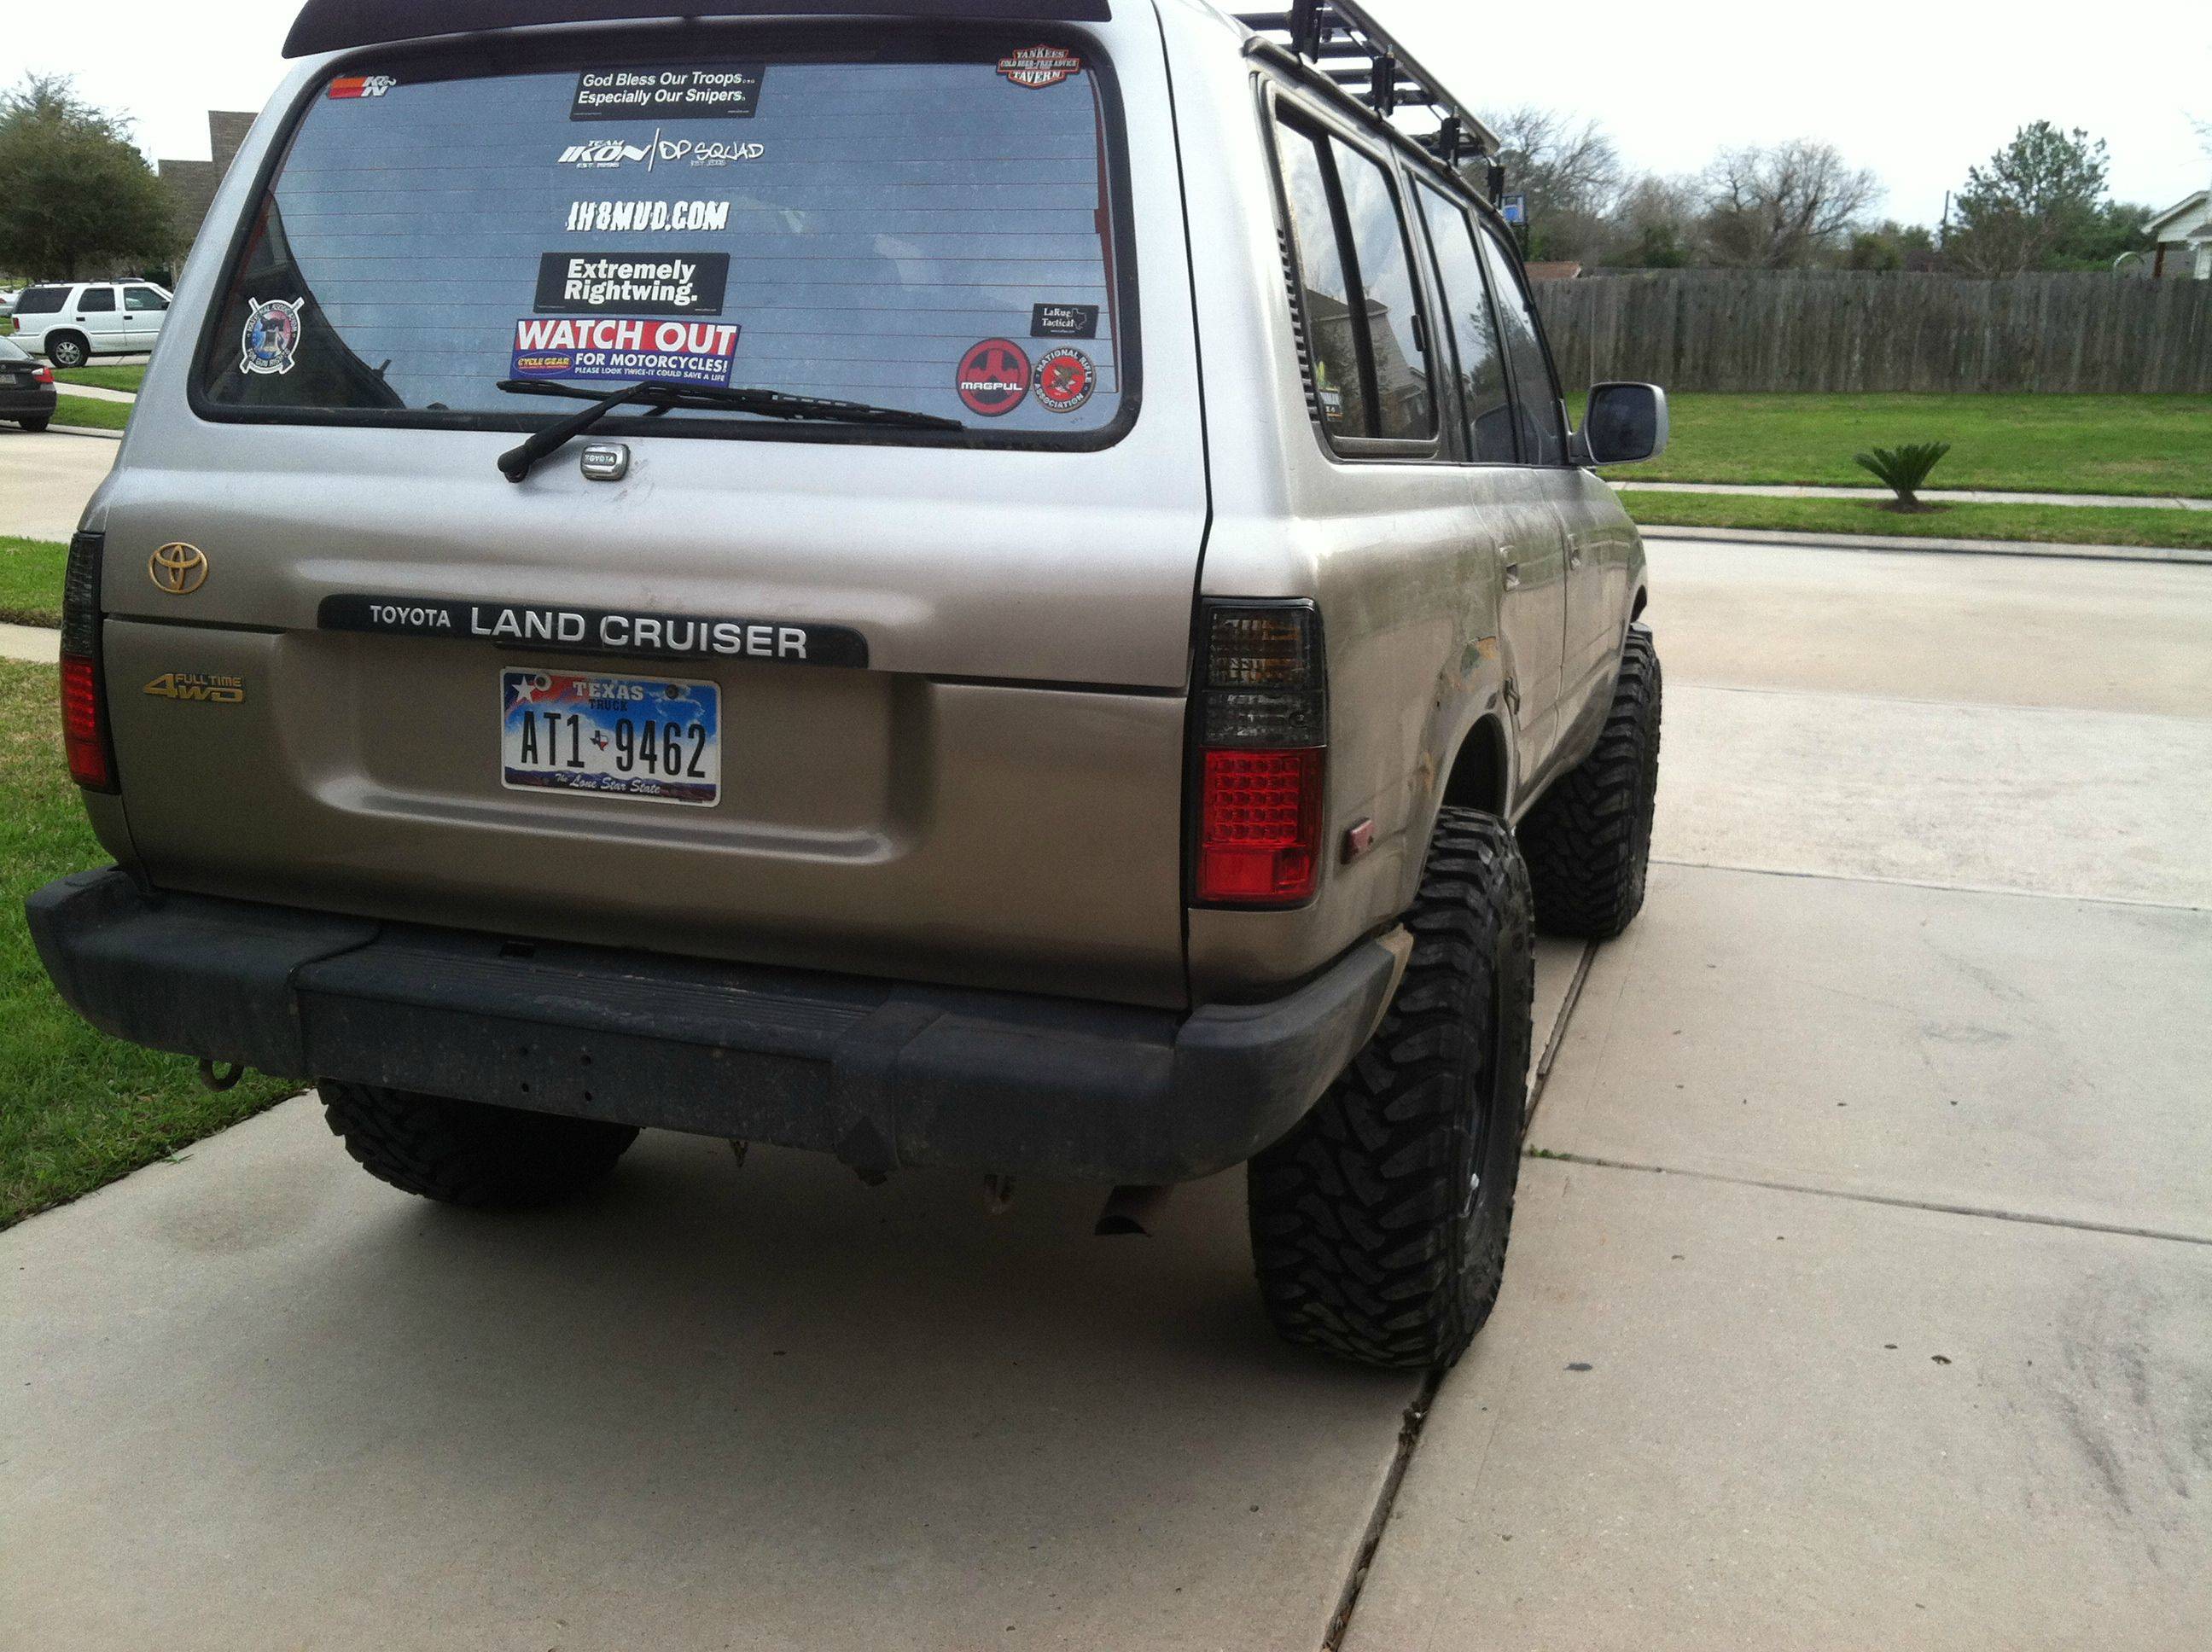
Before picture of installing the OME lift.

Then the bug bit me.
The stereo system in the LC80s are TERRIBLE. I swapped the sound system in favor for a Pioneer system (5 1/4" fronts, 6.5" rears, and 6x9s in the cargo) and a Scion 1806 radio. This greatly improved the audio in the truck.
I purchased misc accessories such as a Midland CB, LED interior lights (hit up pfran for these), Smittybilt winch and more. I then decided to upgrade from the stock 31s to 35" KM2s.
265/75/16 Goodyear Wrangler Authorities

35x12.50x17 BFG Mud Terrain KM2 on 17" FJ Cruiser steel wheels

Also decided to intergrate a winch into a the stock bumper utilizing a winch plate from a TJ Jeep using a Smittybilt XRC8. A lot of cutting went into making this fit but it's very strong now.

My next plans are to Durabak the whole truck in OD green which will be documented in this thread. This thread will also serve as my build thread so I can document the progress of my truck. Mud has been a very useful resource in all of the mods I've done to my truck and I plan on utilizing the forum as much as I can.
Exterior/Lighting/Armor
- Ironman Deluxe Bullbar with Badlands 12,000lb Winch and wireless remote
- Metaltech Sliders
- 4x4 labs 2x swingout rear bumper with tire carrier, hi-lift adaptor, and custom jerry can/cube cooler basket
- Custom flat rack with Gamaviti 45* adjustable gutter mounts
- Mombasa Expedition Series Roof Top Tent
- ARB 3180 8.5ft Awning
- Axis Off Road Snorkel
- Hella Rallye 4000 driving lamps with integrated HID conversion
- 5,000K DDM Tuning HIDs
- Slee Auxiliary harness
- Firestik 48" CB radio antenna
- Depo smoked LED tail lights
- Deflared, epoxied, and bedlined the old flare lines
Suspension/Wheels/Tires
- OME 863J/860J lift with regular length OME shocks
- 315/75/16 Toyo MT
- 16x8 3.75"BS Summit Racing "D-Window" wheels
- 2x 6mm Mr. Gasket wheel spacers for front
Interior/I.C.E/Electronics
- Pioneer 1400DVD Double-Din Radio
- Pioneer 6.5 front and rear replacement speakers along with 6x9 fitted in rear panels
- Alpine Type-R 10" subwoofer
- Boss 300 watt amp
- Uniden CB Radio custom fitted to ashtray
- Blue Seas Systems dual battery setup with fuse block plumbed to the rear for power
- ARB 50QT fridge with ARB slideout
- Sleeping platform made from cabinet grade plywood and 2x12
- 12v socket in rear panel
- ARB CKMTA12 Twin air compressor with Viair 2GA tank
Recovery/Misc tools
- ARB 24,000lb snatch strap
- Badlands 12,000lb Winch
- Smittybilt recovery D-Rings
- Slee off-road Trasharoo
Maintenance work done
- Transmission fluid flushed
- Coolant flushed
- Starter replaced 3/11
- Pan Arch Seal and Rear Main Seal replaced 10/11
- Distributor oring seal replaced - 2/12
- Rear differential 3rd member replaced 3/12
- AC compressor bearing replaced along with drier, recharged system 4/12
- Front Knuckle rebuild purchased by Cruiser Outfitters including Koyo Wheel Bearings 2/13
- New power steering pump with warranty from AA 2/13
- PS Suction hose and return line replaced 2/13
- PHH replaced with kit from 1FZPHH.com - 3/13
- New valve cover gasket along with tube seals, spark plugs, plug wires - 3/13
- Front pinion seal replaced 3/13
Let me start off the story by introducing myself a bit and how I got bit by the Land Cruiser bug. I was an avid motorcyclist for the timespan of about 6 years doing occasional trackdays and very often riding the back roads of Texas throughout the state. Let me tell you, riding a sport bike is not comfortable by any means and I also needed transportation for the motorcycle to trackdays so I made the executive decision to hop on the market for a truck. I really had no idea on what I wanted,
and somehow ended up with a Dodge Ram 1500 4x4.
I bought the truck for $2000 and a Mossberg Maverick 88 in which I drove around and had grand plans to be my transportation for my motorcycle. I ended up doing a bunch of maintainence on the truck myself and decided to give up on it since perusing the forums gave me no hope that this truck would be 100% reliable. I sold the truck for $2800 and started looking for a Toyota Tacoma, a truck that will always hold a soft spot in my heart.
Upon my search for a Tacoma I found that the market in the Houston area was very overpriced for what I wanted to spend on a truck since I was looking for a specific model with 4x4. My buddy, who at the time, owned a Land Cruiser assisted me in searching for a Tacoma but started throwing some links on Craigslist of Land Cruisers in the area. At first I blew off the idea of getting a Land Cruiser or a car without a bed because I needed to transport my motorcycle to trackdays and distant places where it would be very uncomfortable to ride on a sport bike.
We finally found a 95 Land Cruiser with 203,000 miles for $3,800 in which the P.O assured me was in great condition but had some paint that was fading. I go to look at the truck and although all of the electronics work great, the aesthetic condition of the car was very poor. The hood, roof, and upper portion of the exterior had no clear coat, and has what shows to be a very low quality paintjob. The truck tracked straight and drove like a dream, but I set it on the backburner for a while.
Fast forward 3 weeks, my buddy invites me on a trip to Padre Island National Shore (PINS). With a $2,500 hole burning in my pocket I then reconsidered the Land Cruiser since I could not find a Tacoma in the price range for the life of me. This is about the same time the P.O sends me a text saying he'll take $2,500 for the LC, so I hop on it. I take it home, and find many oil leaks that I've read about throughout this forum (rear main seal, PS hose, distributor o-ring, and more) but the truck still drove without issue. I slowly start thinking of mods and eventually buy a set of tires and an OME lift.
Before picture of installing the OME lift.
Then the bug bit me.
The stereo system in the LC80s are TERRIBLE. I swapped the sound system in favor for a Pioneer system (5 1/4" fronts, 6.5" rears, and 6x9s in the cargo) and a Scion 1806 radio. This greatly improved the audio in the truck.
I purchased misc accessories such as a Midland CB, LED interior lights (hit up pfran for these), Smittybilt winch and more. I then decided to upgrade from the stock 31s to 35" KM2s.
265/75/16 Goodyear Wrangler Authorities
35x12.50x17 BFG Mud Terrain KM2 on 17" FJ Cruiser steel wheels
Also decided to intergrate a winch into a the stock bumper utilizing a winch plate from a TJ Jeep using a Smittybilt XRC8. A lot of cutting went into making this fit but it's very strong now.
My next plans are to Durabak the whole truck in OD green which will be documented in this thread. This thread will also serve as my build thread so I can document the progress of my truck. Mud has been a very useful resource in all of the mods I've done to my truck and I plan on utilizing the forum as much as I can.
Last edited:


")


