
- Joined
- Jun 21, 2011
- Threads
- 238
- Messages
- 22,252
- Location
- Redding, California
- Website
- trail-tailor.com
Same here
This was my professional rendering before building my rack lol


S, Thanks better than me... HA!
J
Follow along with the video below to see how to install our site as a web app on your home screen.
Note: This feature may not be available in some browsers.
This site may earn a commission from merchant affiliate
links, including eBay, Amazon, Skimlinks, and others.
Same here
This was my professional rendering before building my rack lol
Google sketch up, free and once you get the hang of it, your imagination is your only limitation.Is that a bought program for the CAD rack renderings, or is there some free software out there?


Hi socallove, what size alum tubing did you use in your rack?
Thanks

I'm a retired tooling engineer, aerospace. We used a lot of aluminum for jigs, fixtures, etc. Yes, aluminum is 1/3 the weight of steel. But as previously noted it turns to butter when welded. Welding aluminum is an art to maintain strength and avoid inclusions, voids, etc. Stress relieving is not always necessary, but if you have an oven big enough to swallow it you need to restrain it or it can pretzel on you. This holds true for steel as well. Typically we use 6061-T6 aluminum. You want to avoid using the 2024 stuff.huh???
I'm a retired tooling engineer, aerospace. We used a lot of aluminum for jigs, fixtures, etc. Yes, aluminum is 1/3 the weight of steel. But as previously noted it turns to butter when welded. Welding aluminum is an art to maintain strength and avoid inclusions, voids, etc. Stress relieving is not always necessary, but if you have an oven big enough to swallow it you need to restrain it or it can pretzel on you. This holds true for steel as well. Typically we use 6061-T6 aluminum. You want to avoid using the 2024 stuff.
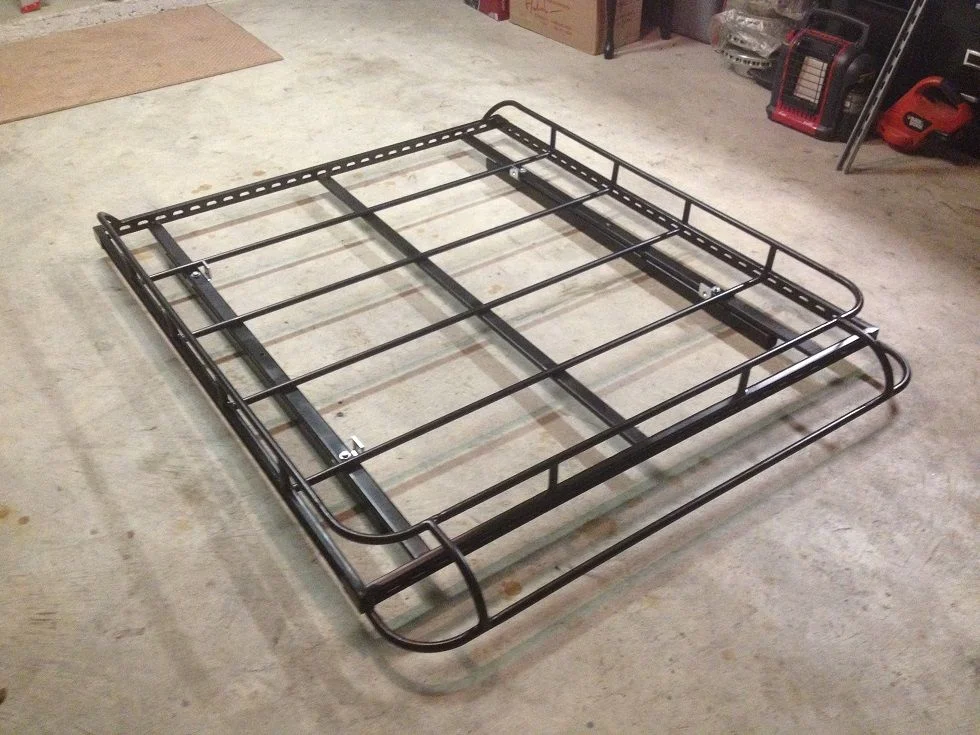
Workingclass,So with a head full of ideas and a ton of inspiration from this thread and fellow MUD members, I came up with these for gutter mounts. Gathering the rest of the metal needed to finish my roof rack. I'll do my best to keep a proper build thread.
View attachment 594921
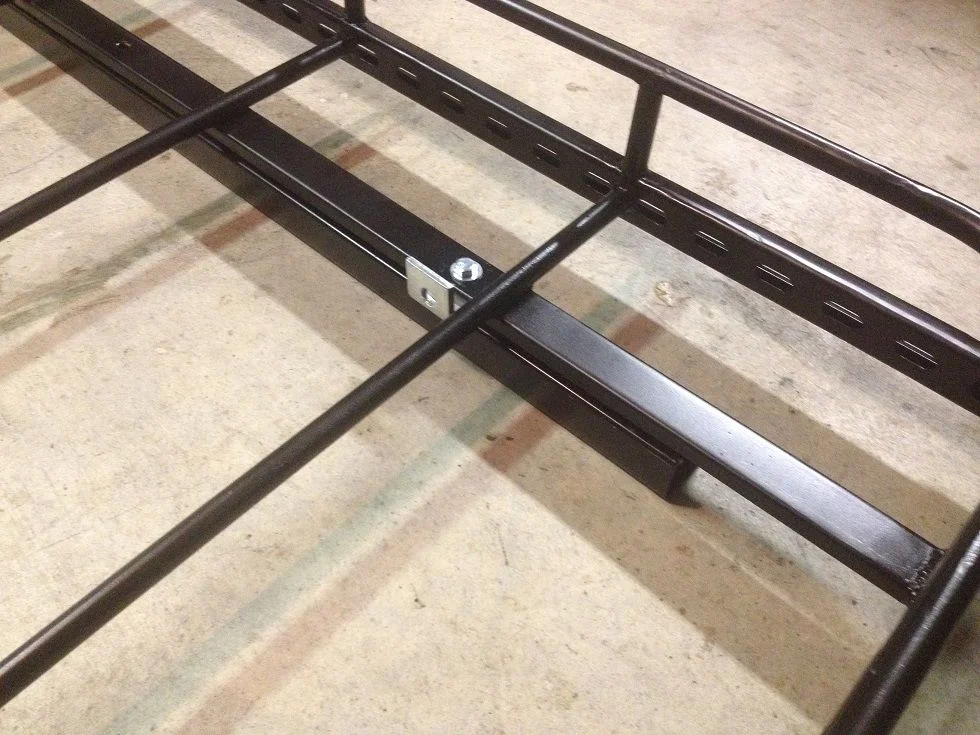
Could you have your gutter legs for support and add this clamping gutter leg just on the corners/ends for mounting? Or will they not clear the front doors like that?
A ramp is exactly what I’m planing for my 80. How did yours turn out? I’m using 8th inch steel that I bent past 90 degrees to insure the rubber seal slides over as best it can. A ramp shape should help too.Yeah, I could put the clamps over the B pillars and on the rear, behind where the doors swing. Other thoughts I had were to grind off some thickness off the bottom of the clamps, or make a smoother transition for the door seals to slide over, like a "ramp" instead of a "wall".