Ford Highboy with a Roar - 4x4 F250 Gets a Godzilla

This site may earn a commission from merchant affiliate
links, including eBay, Amazon, Skimlinks, and others.

Joined
Aug 8, 2015
Threads
4
Messages
102
Location
GEORGIA
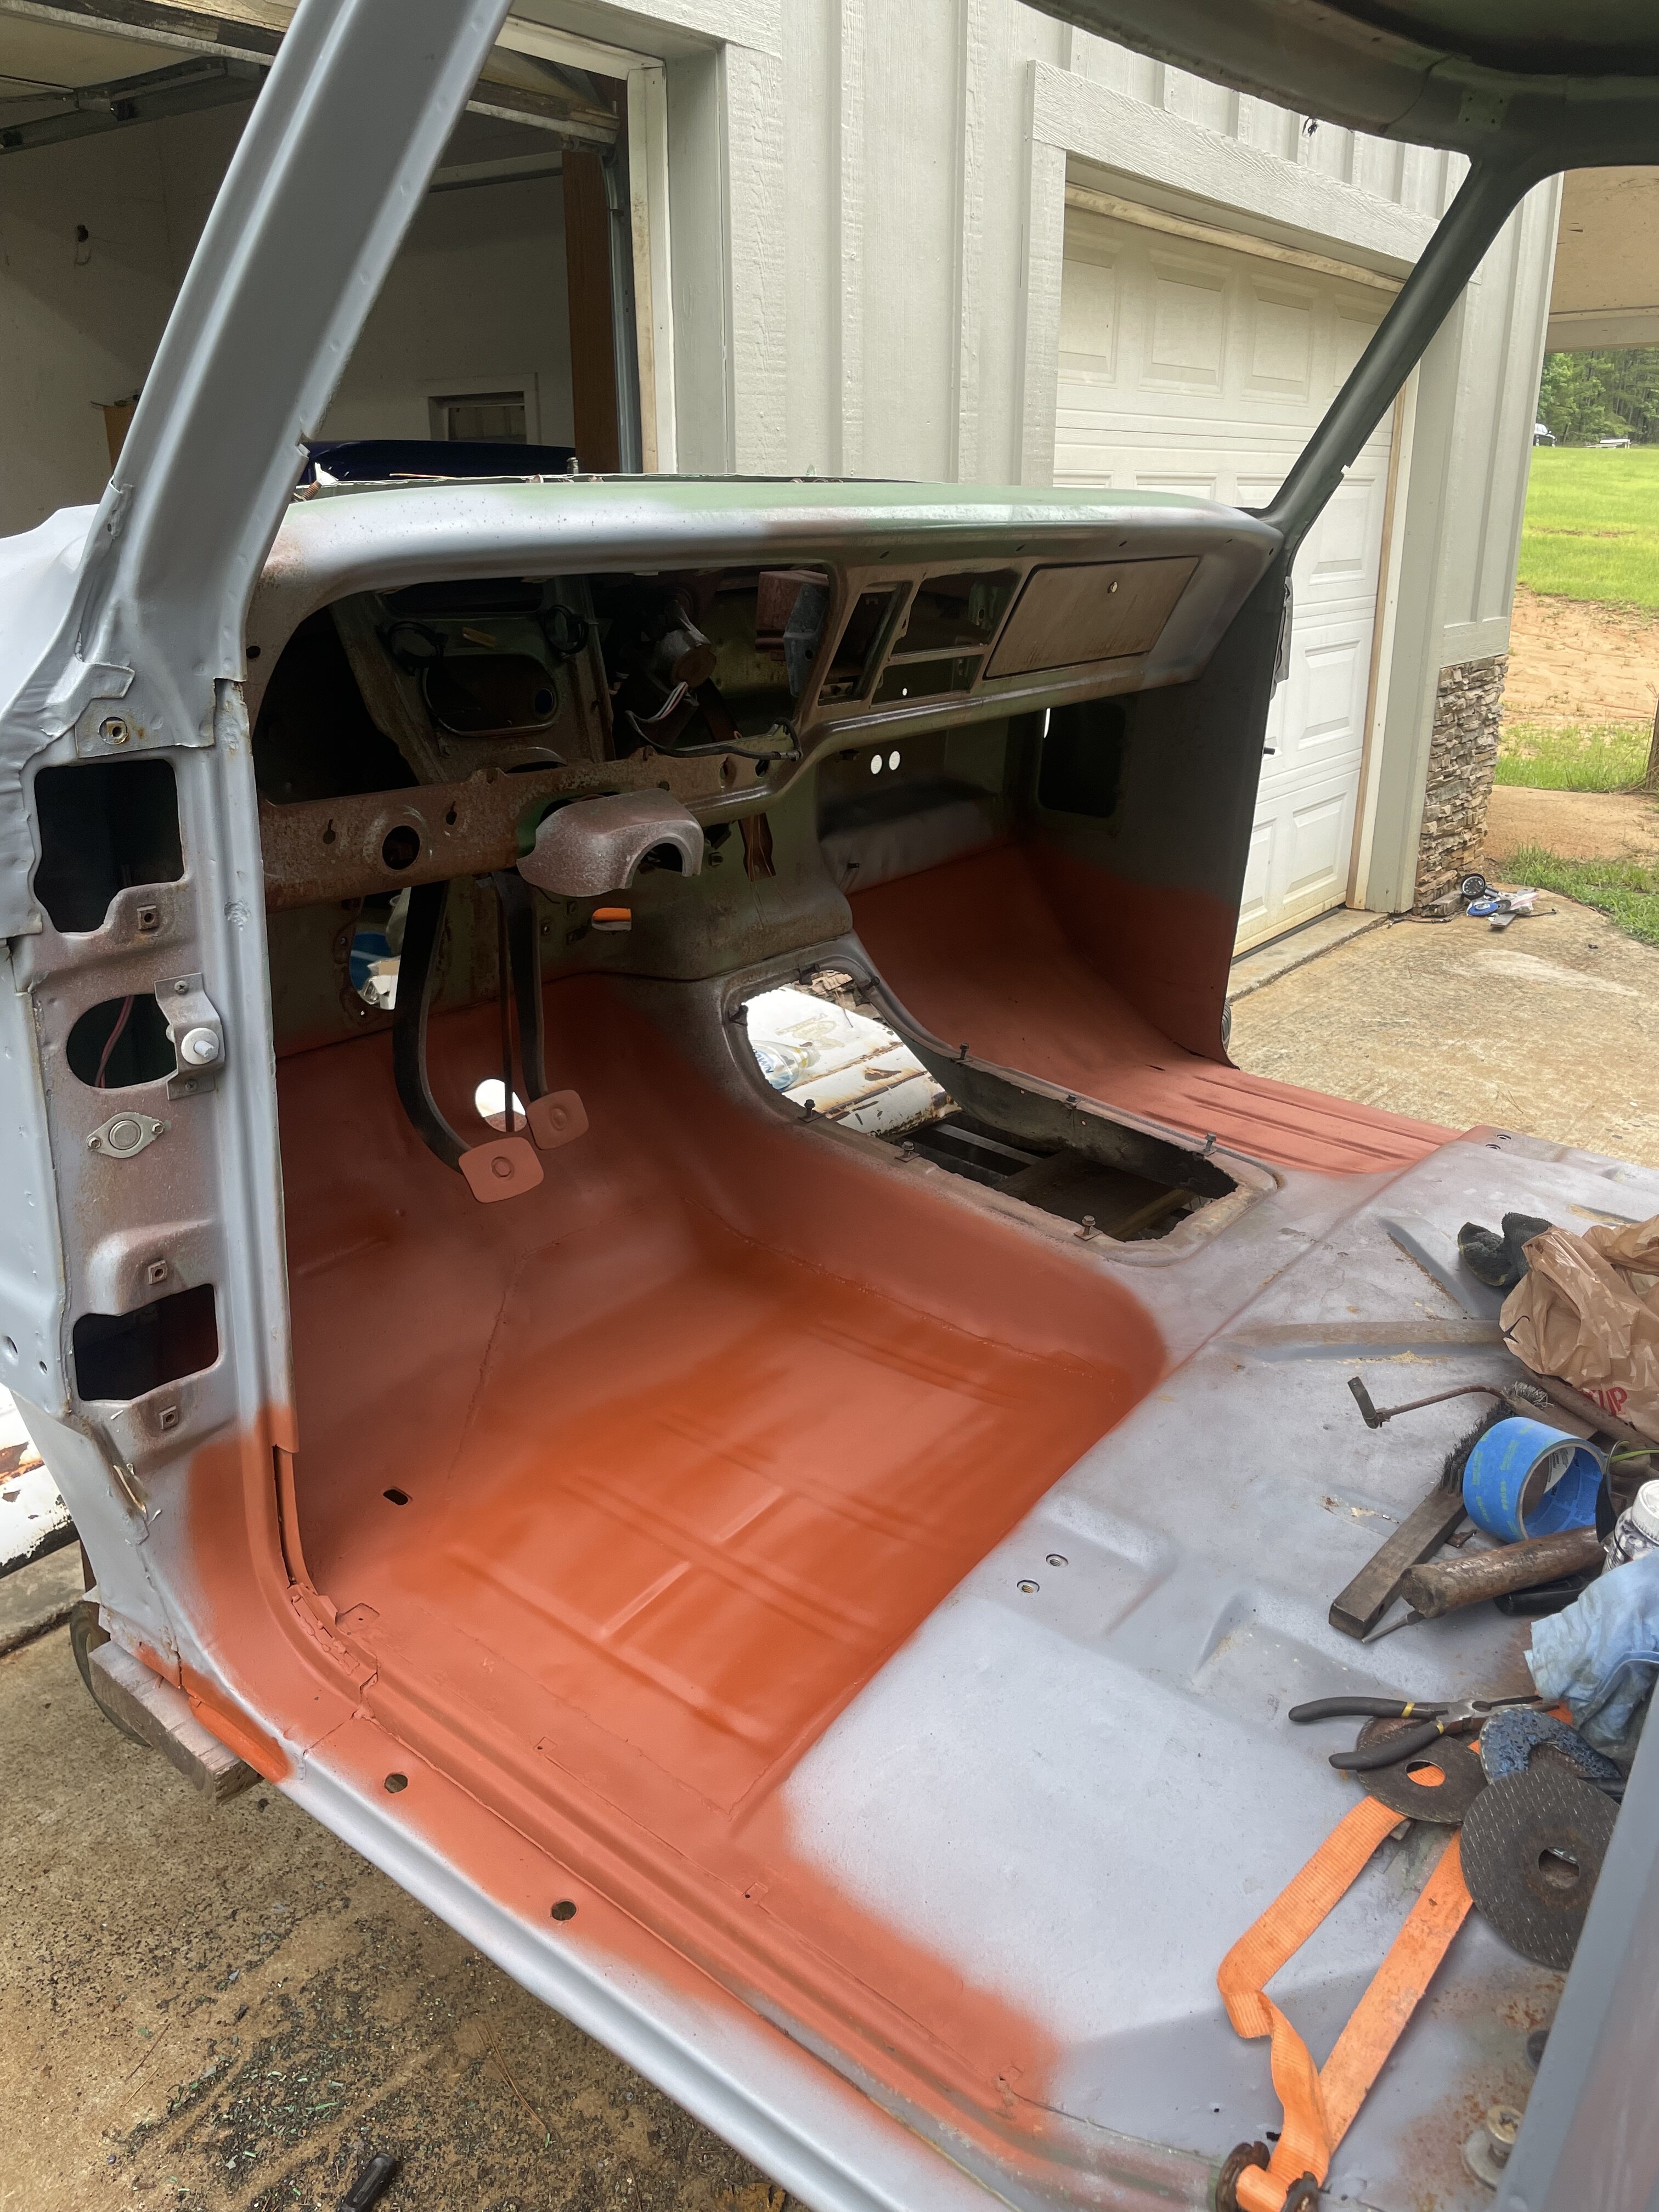
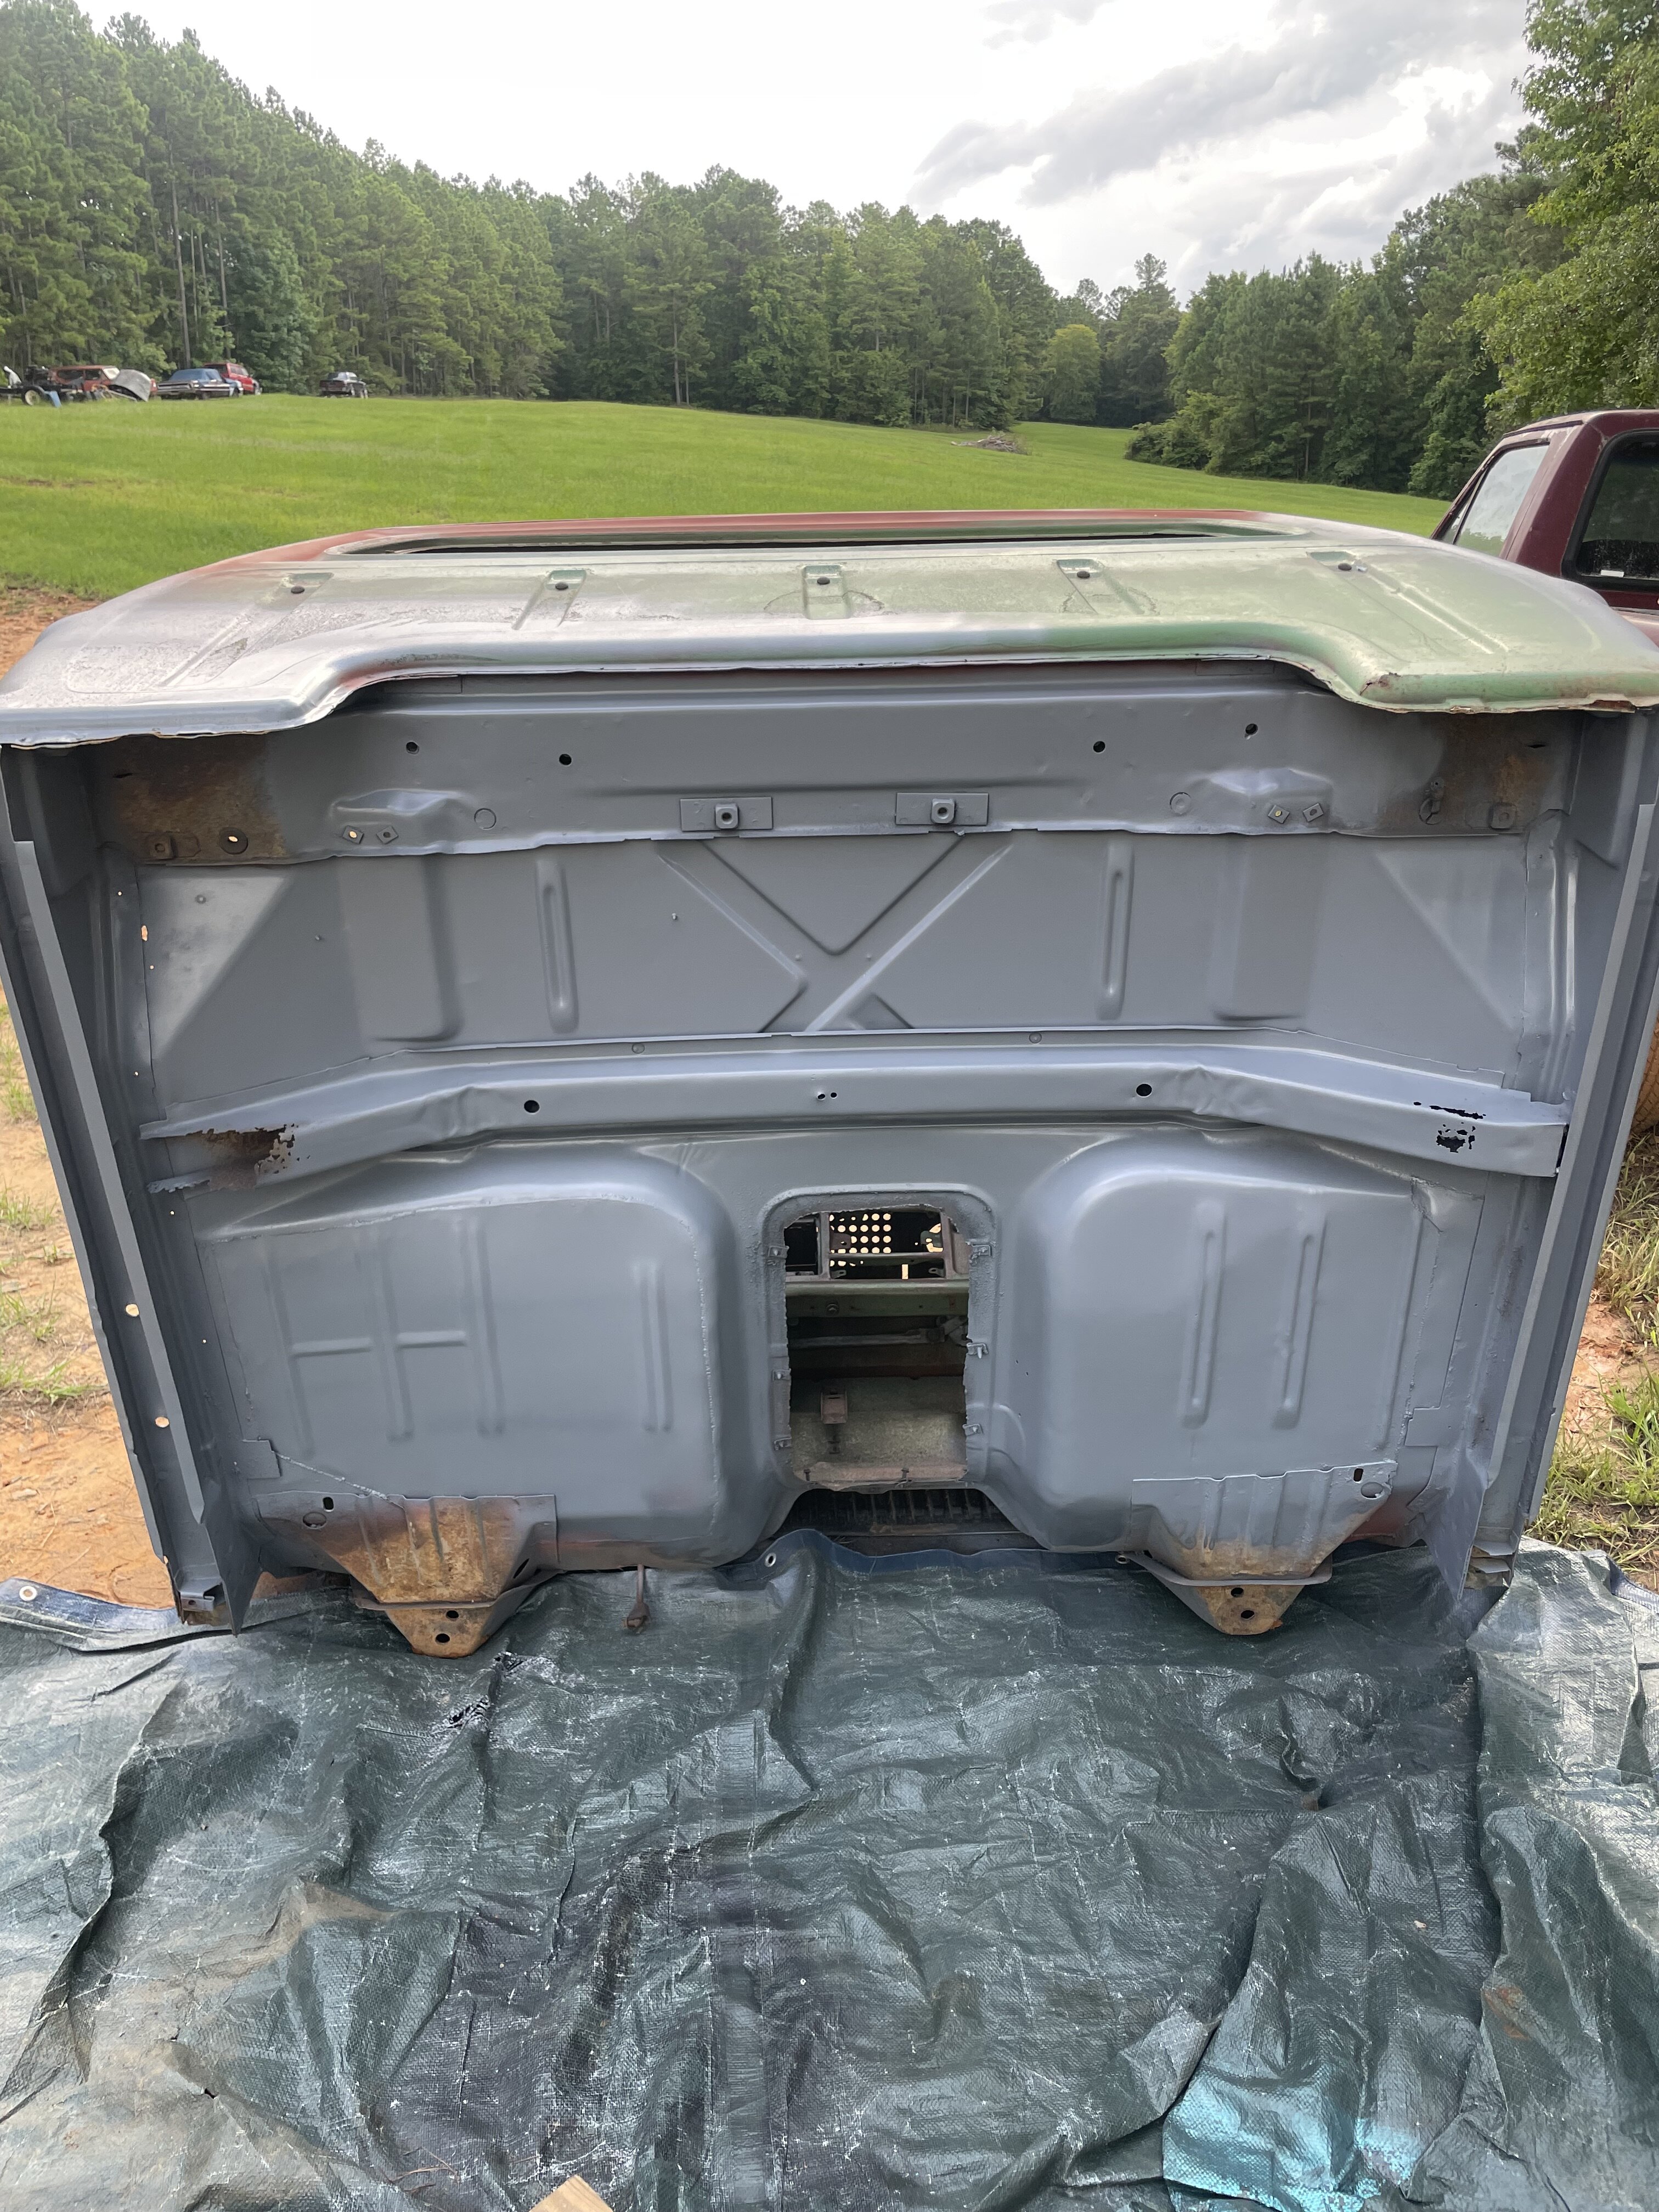
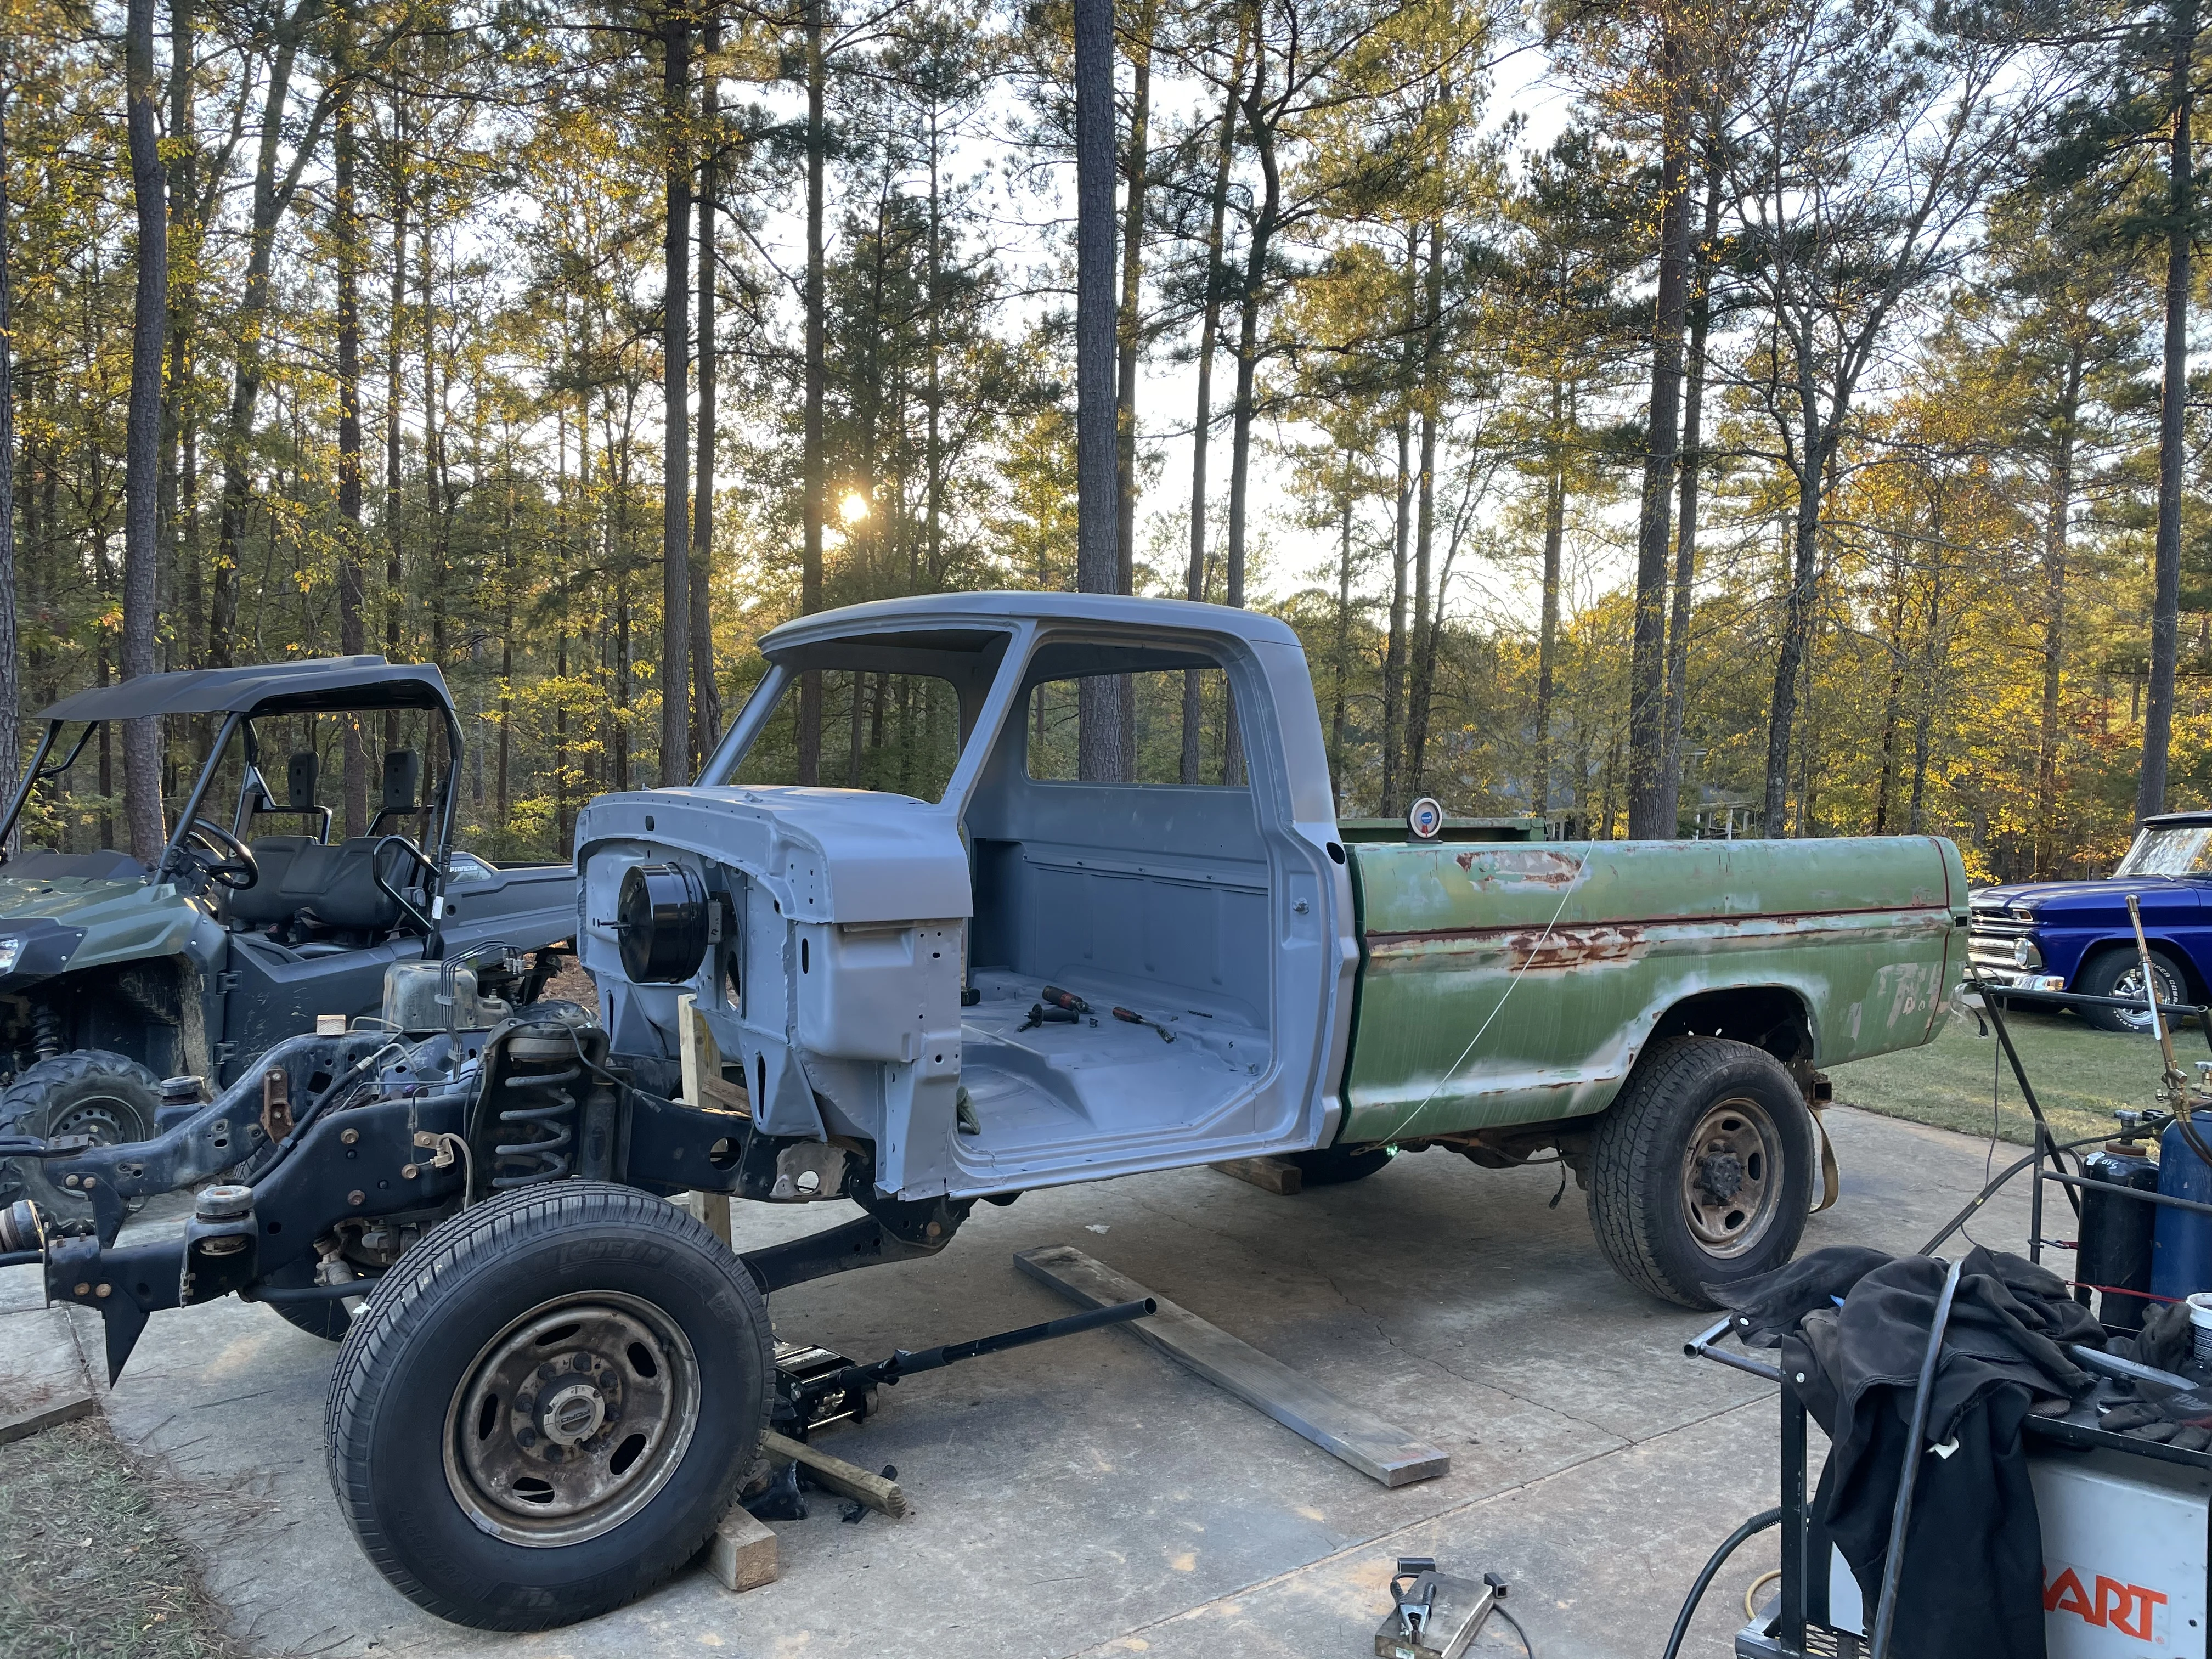
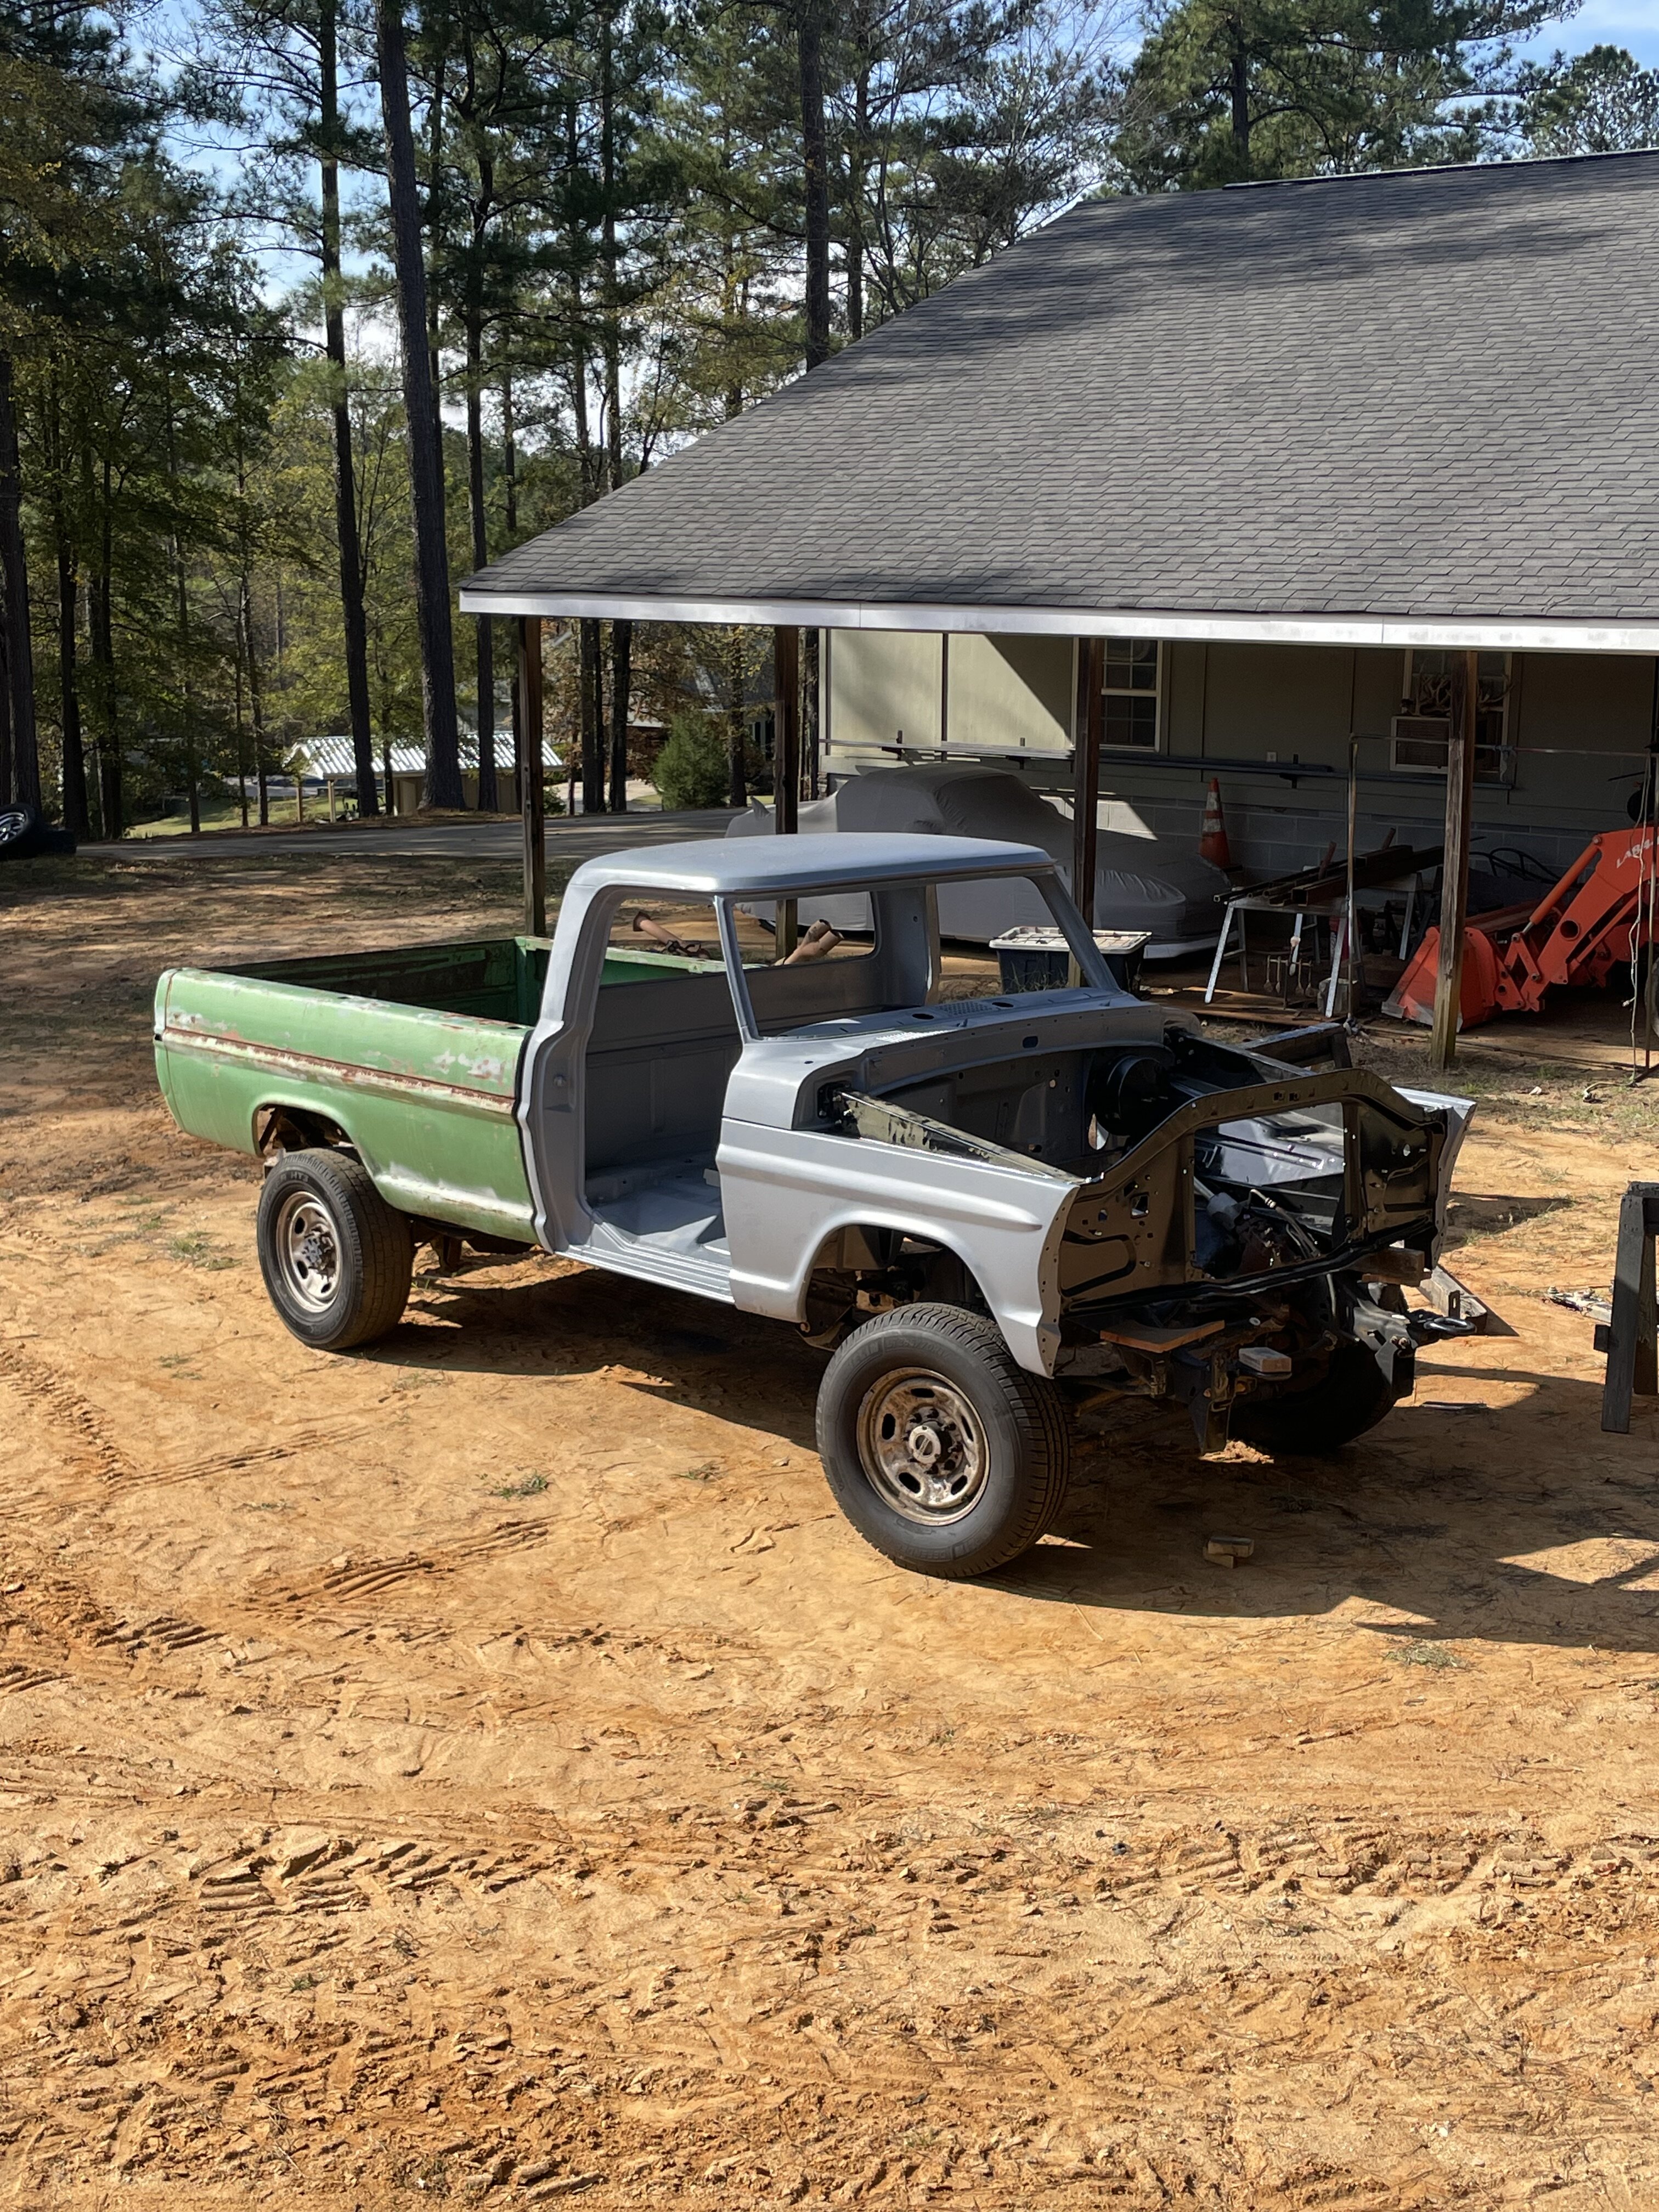
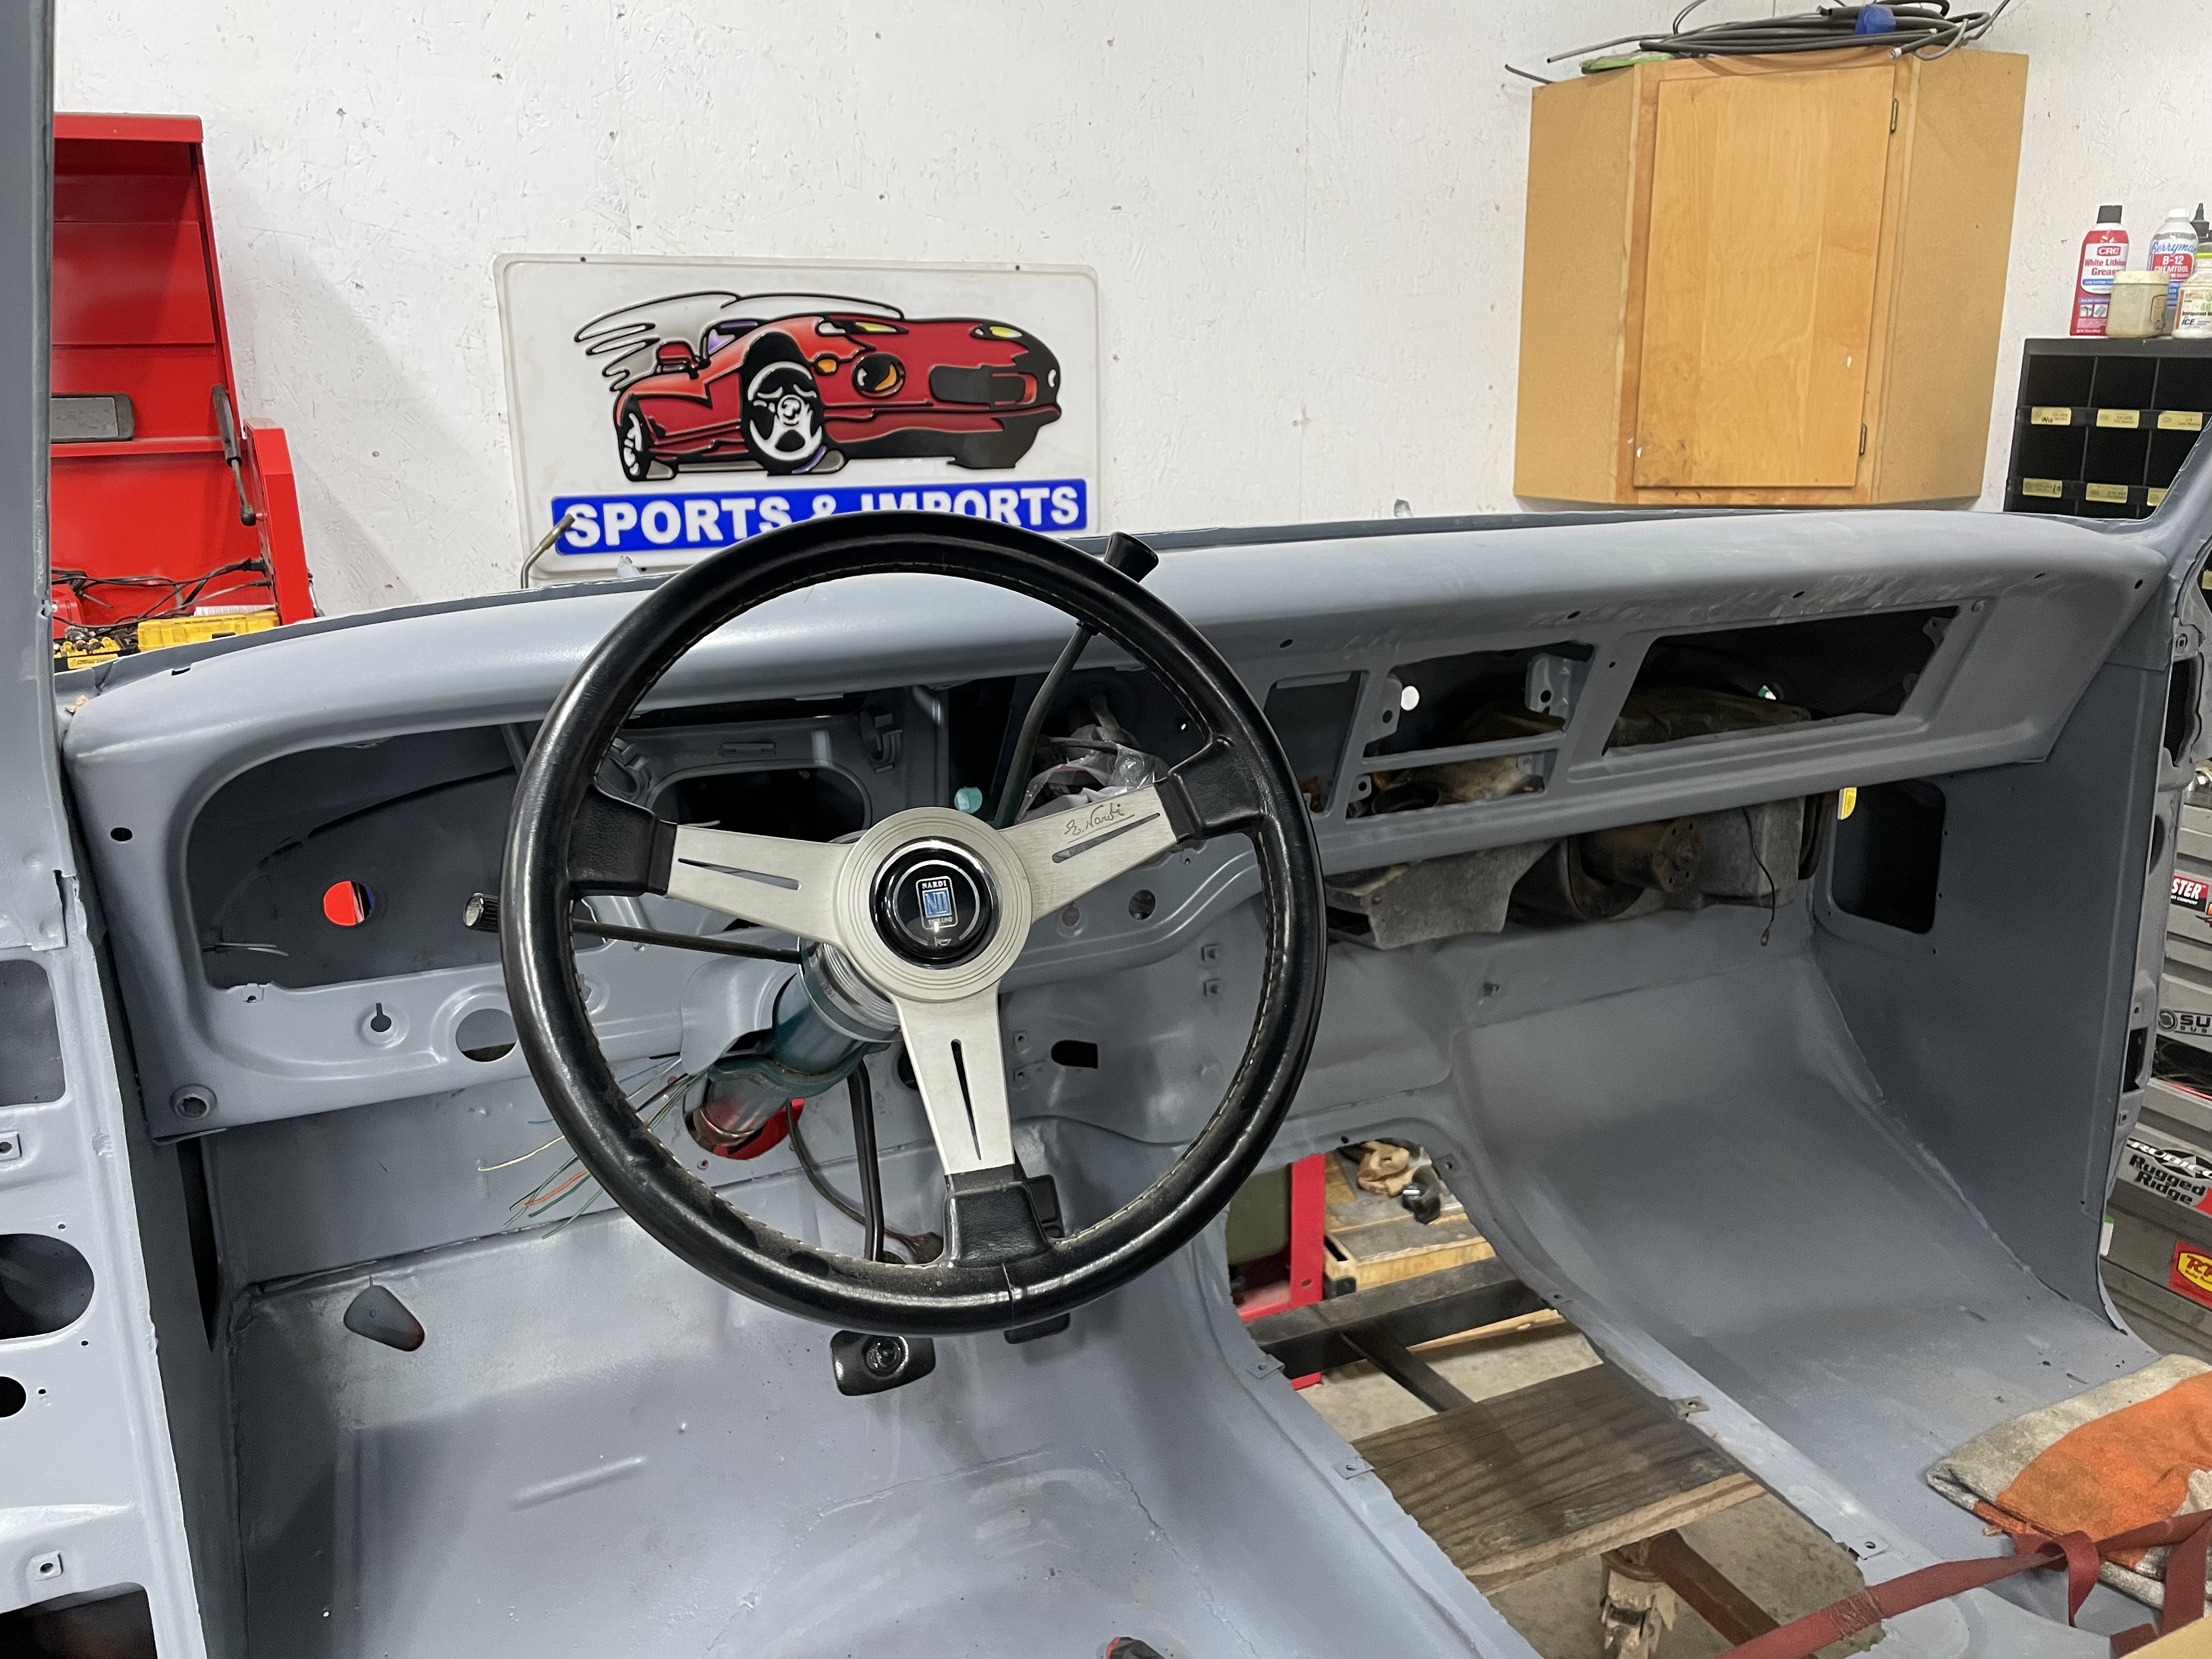
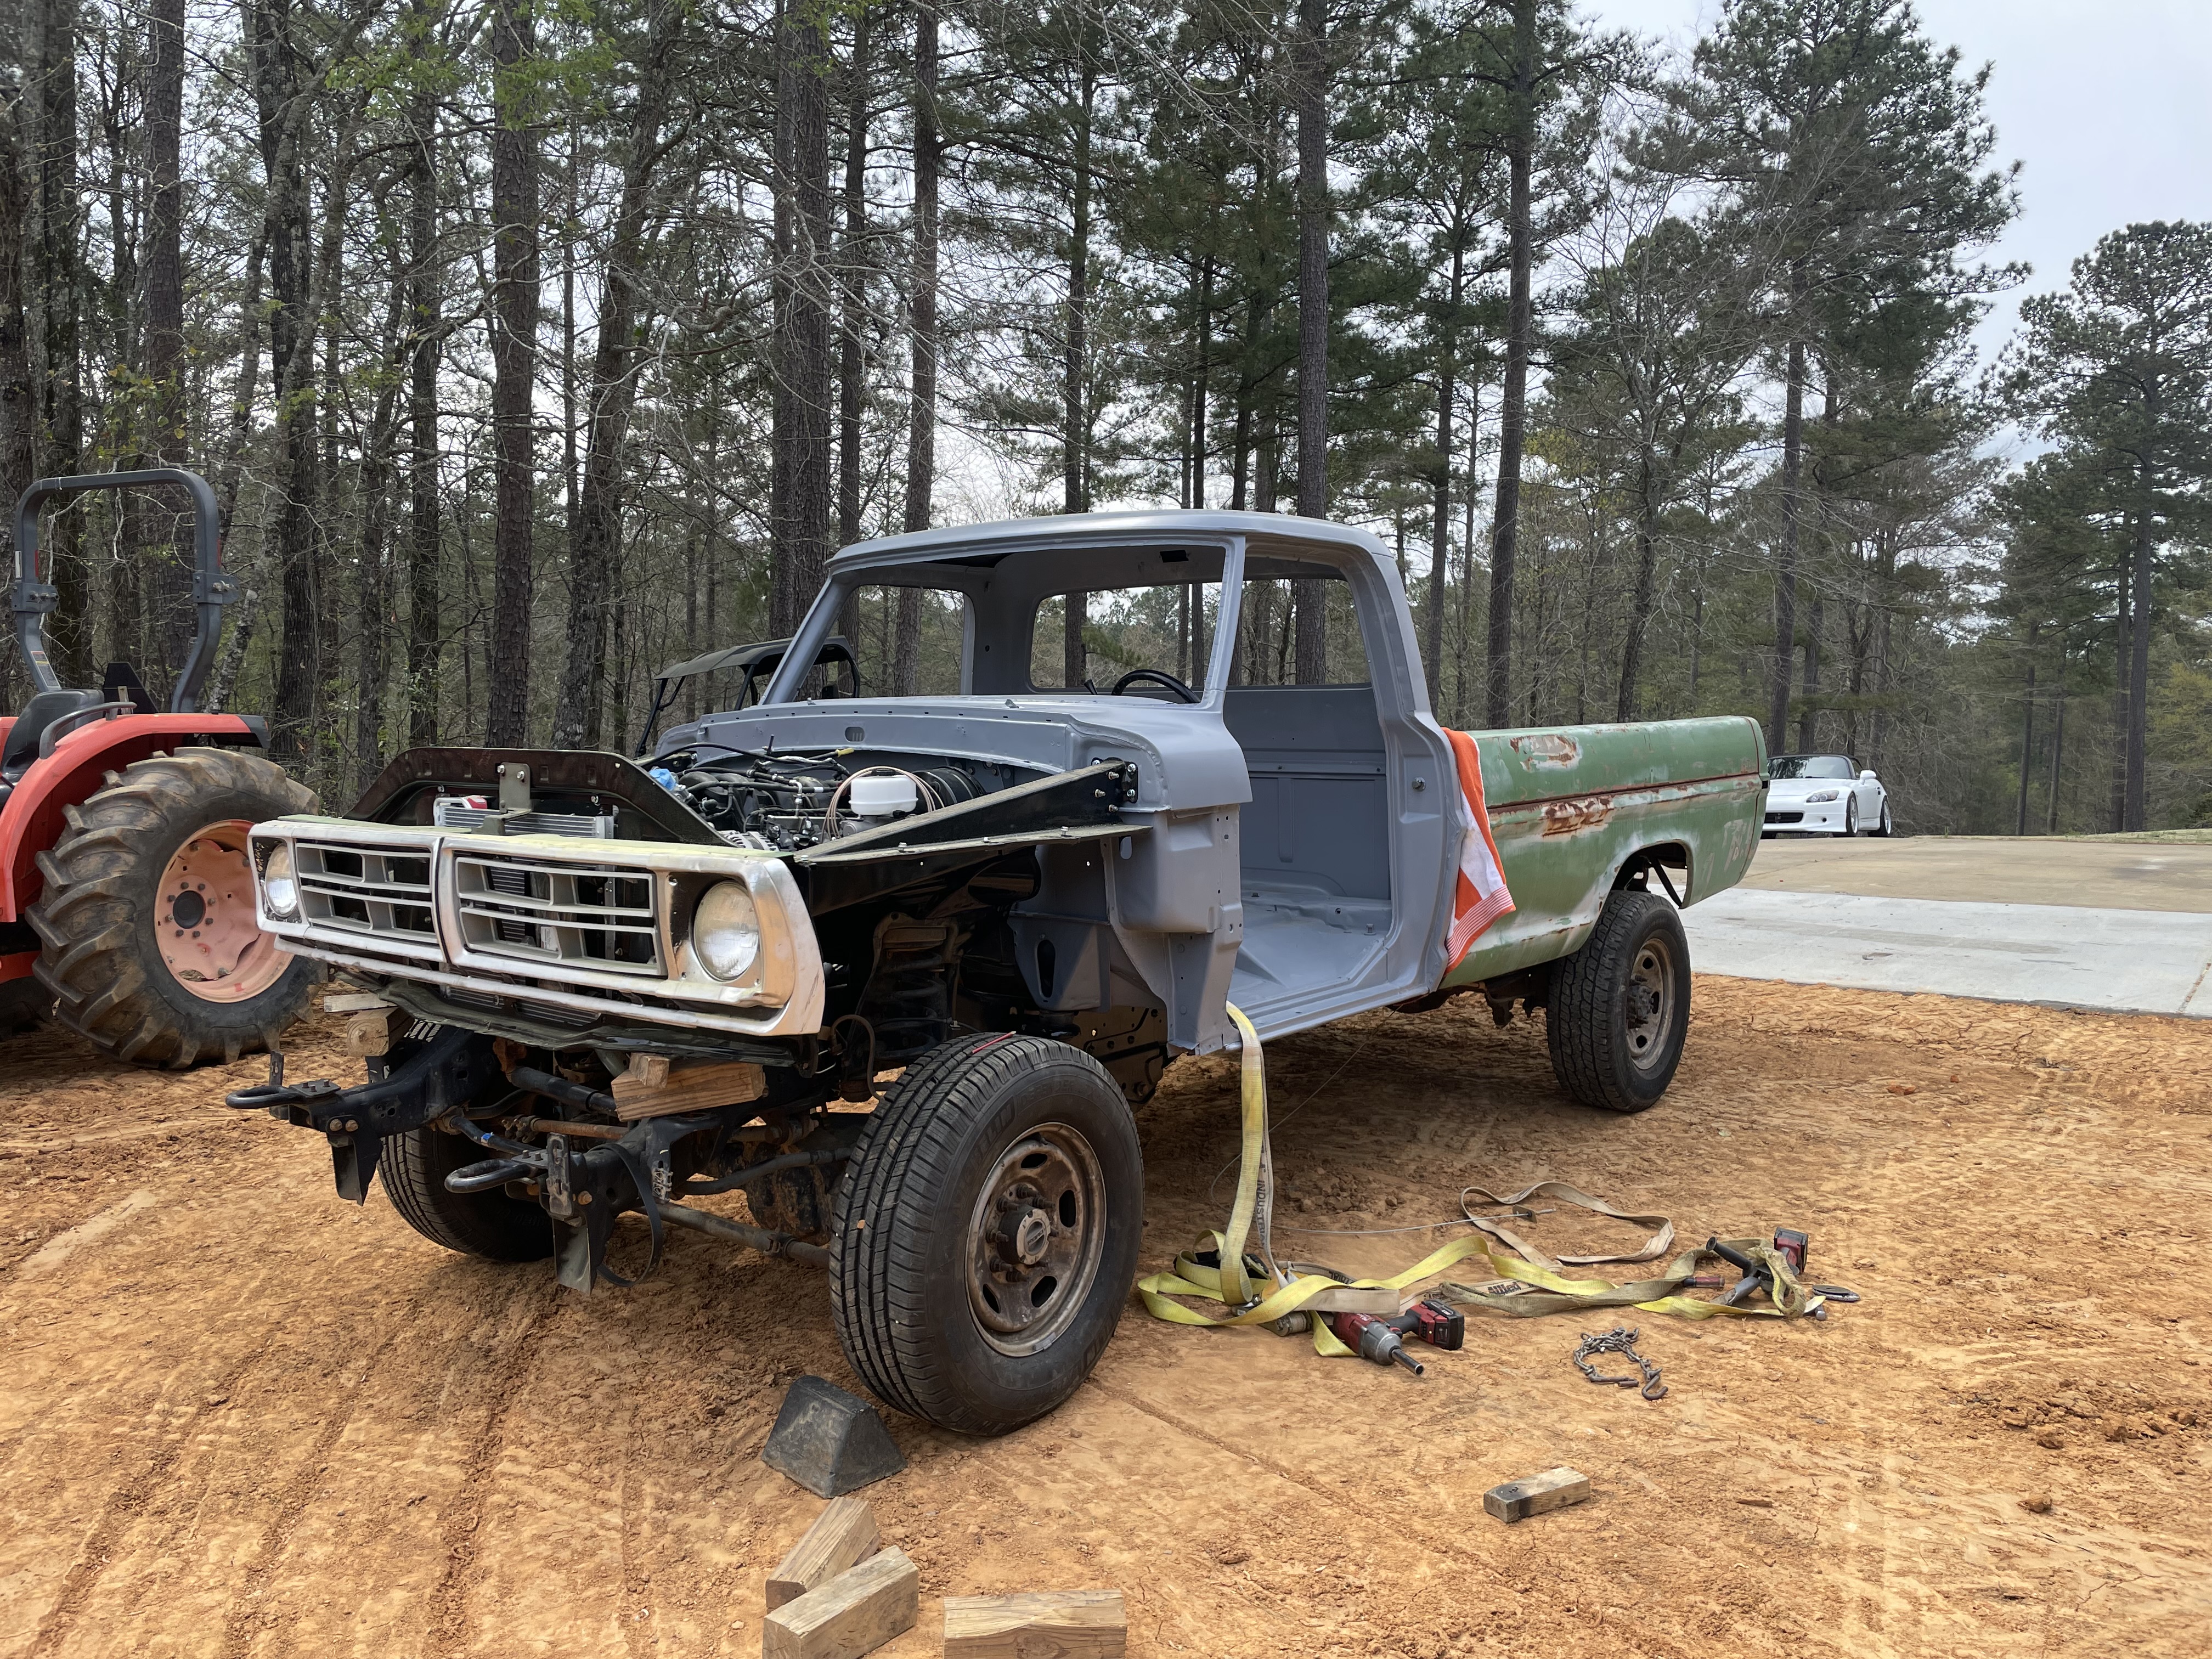
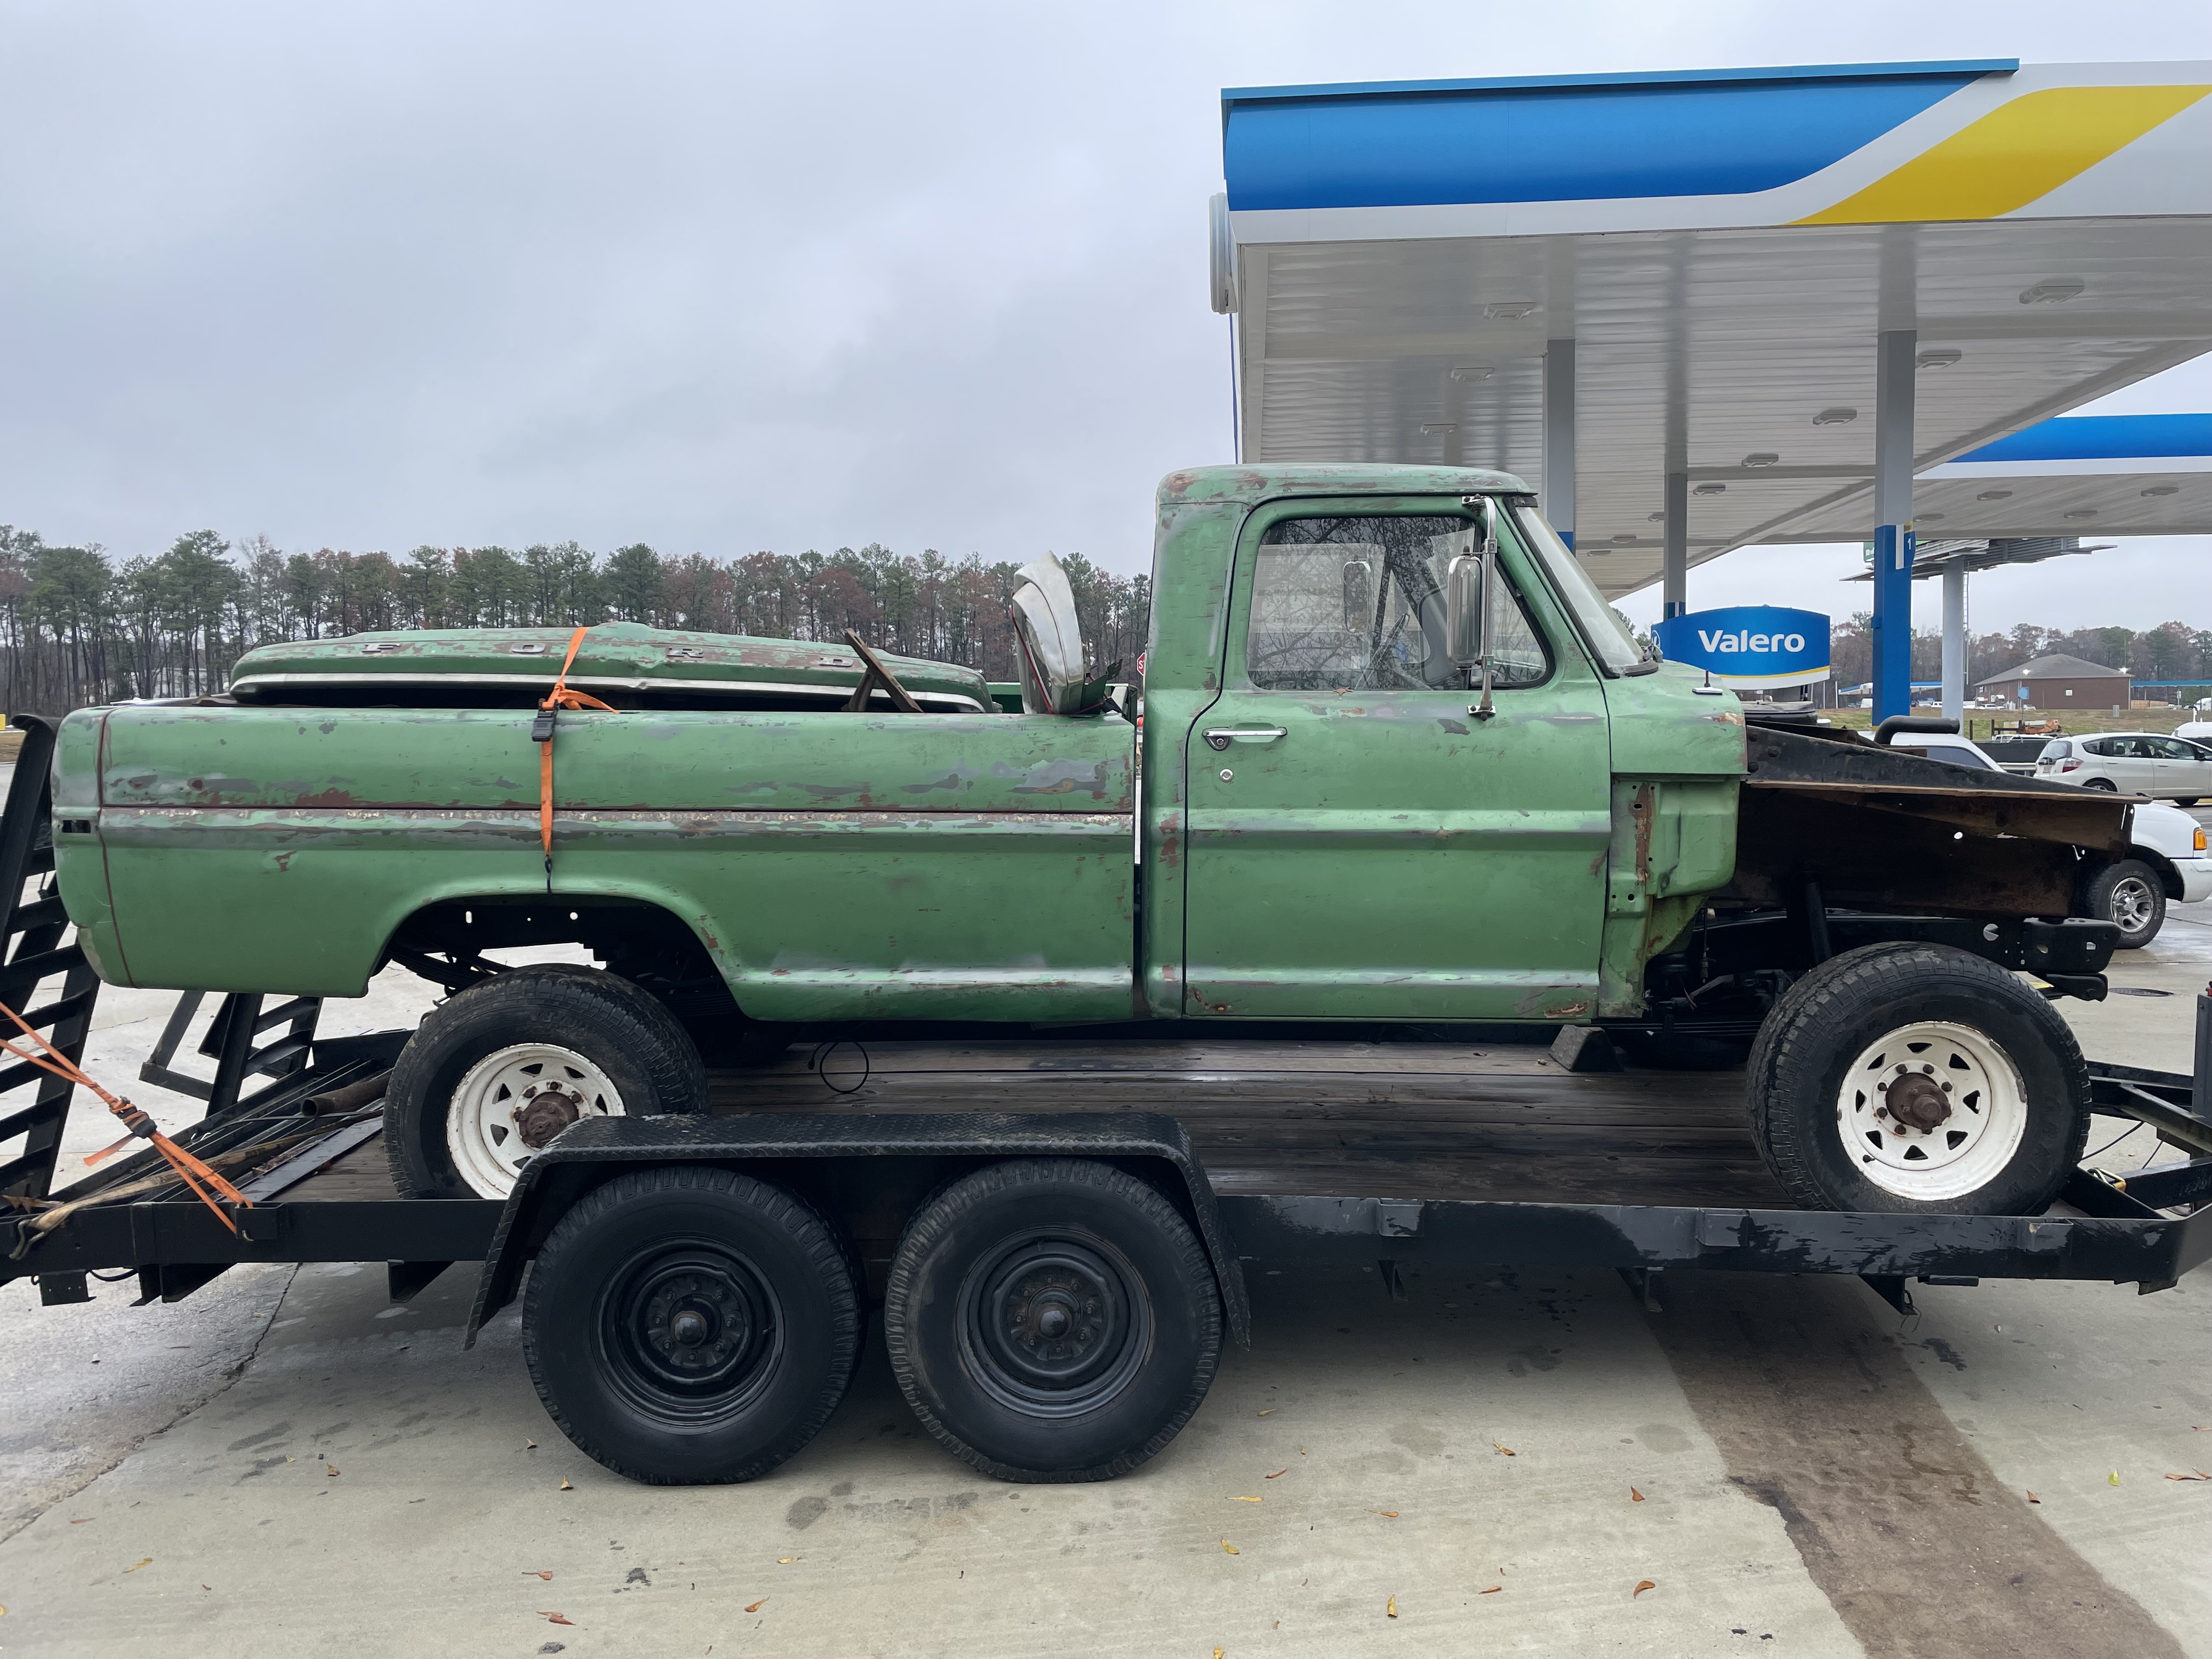
Howdy y'all. It has been a while since I've been on Mud. I have been in between projects and tinkering with the vehicles I already had after selling the 5.3 FJ60 I built on here a few years back. After a string of odd vehicle purchases and trades, I wound up with this! A 1970 4x4 F250 "Highboy". It was relatively rust free save for some of the most common spots and had a solid 300cid with 4-speed manual which reminded me of my 60 series before I swapped it. My initial plans were to fix the important rust, get it driving, and just enjoy having a beater truck. Obviously that ship has sailed as evidenced by this here build thread.

full


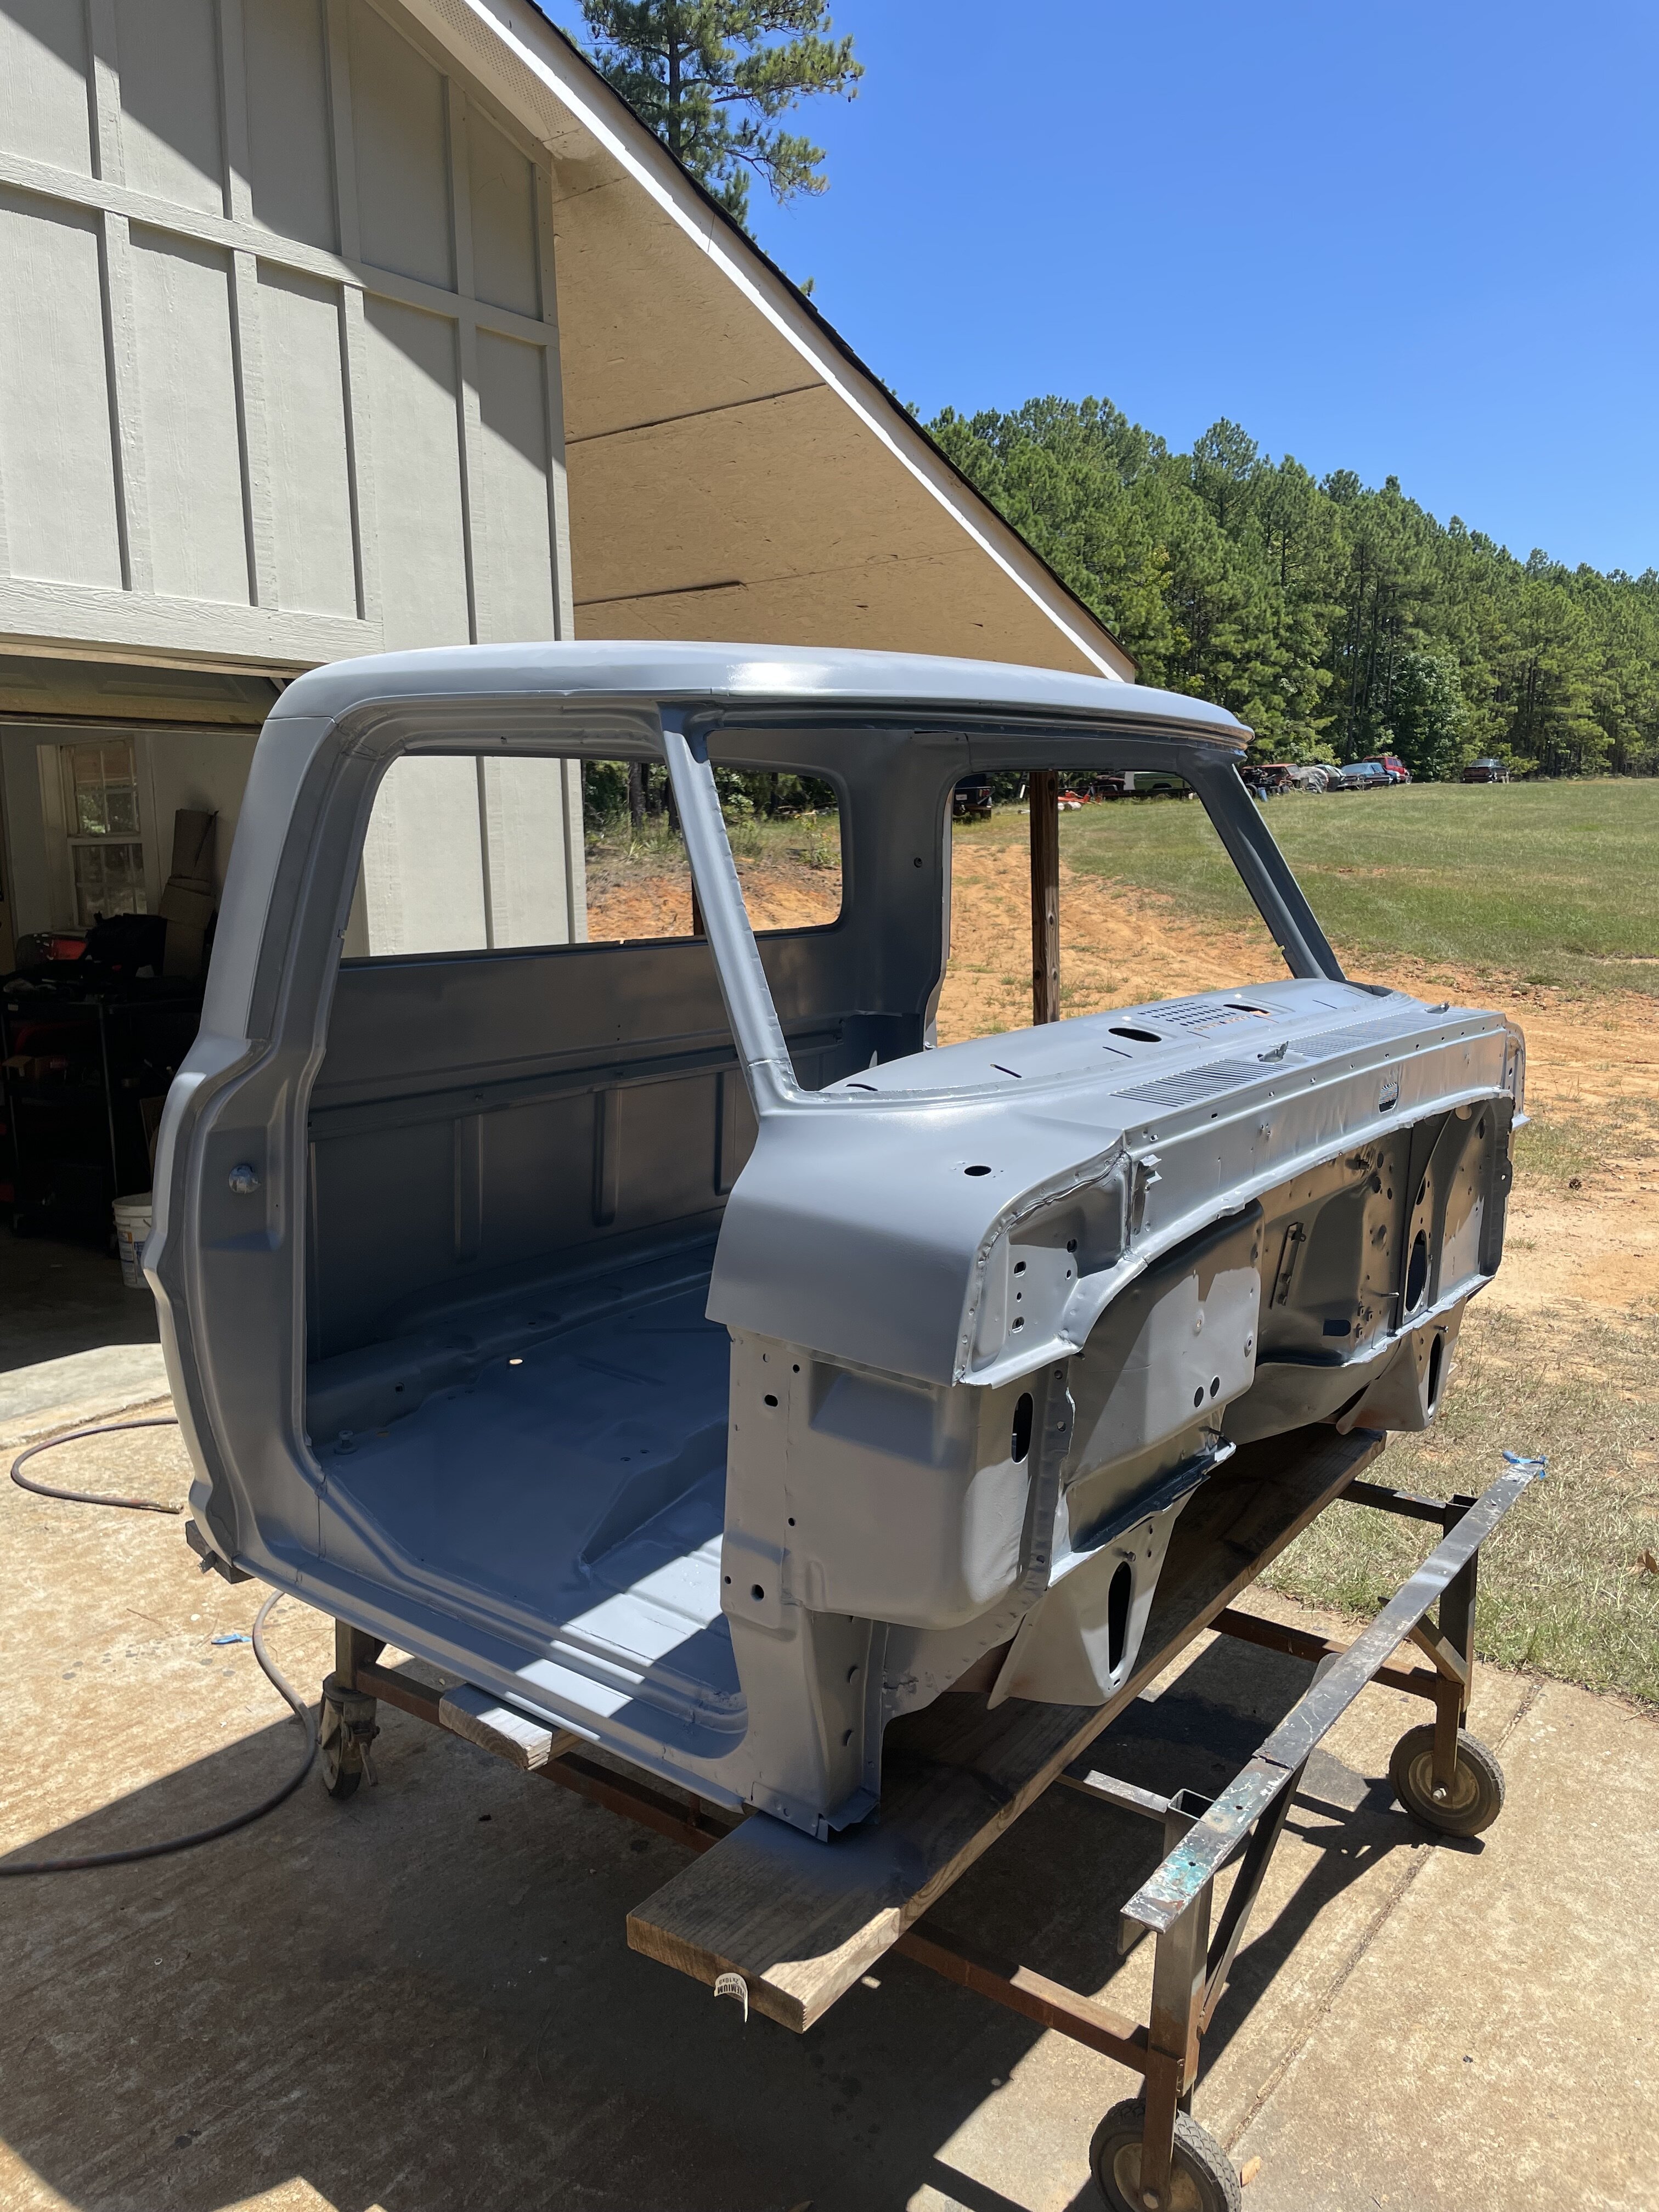
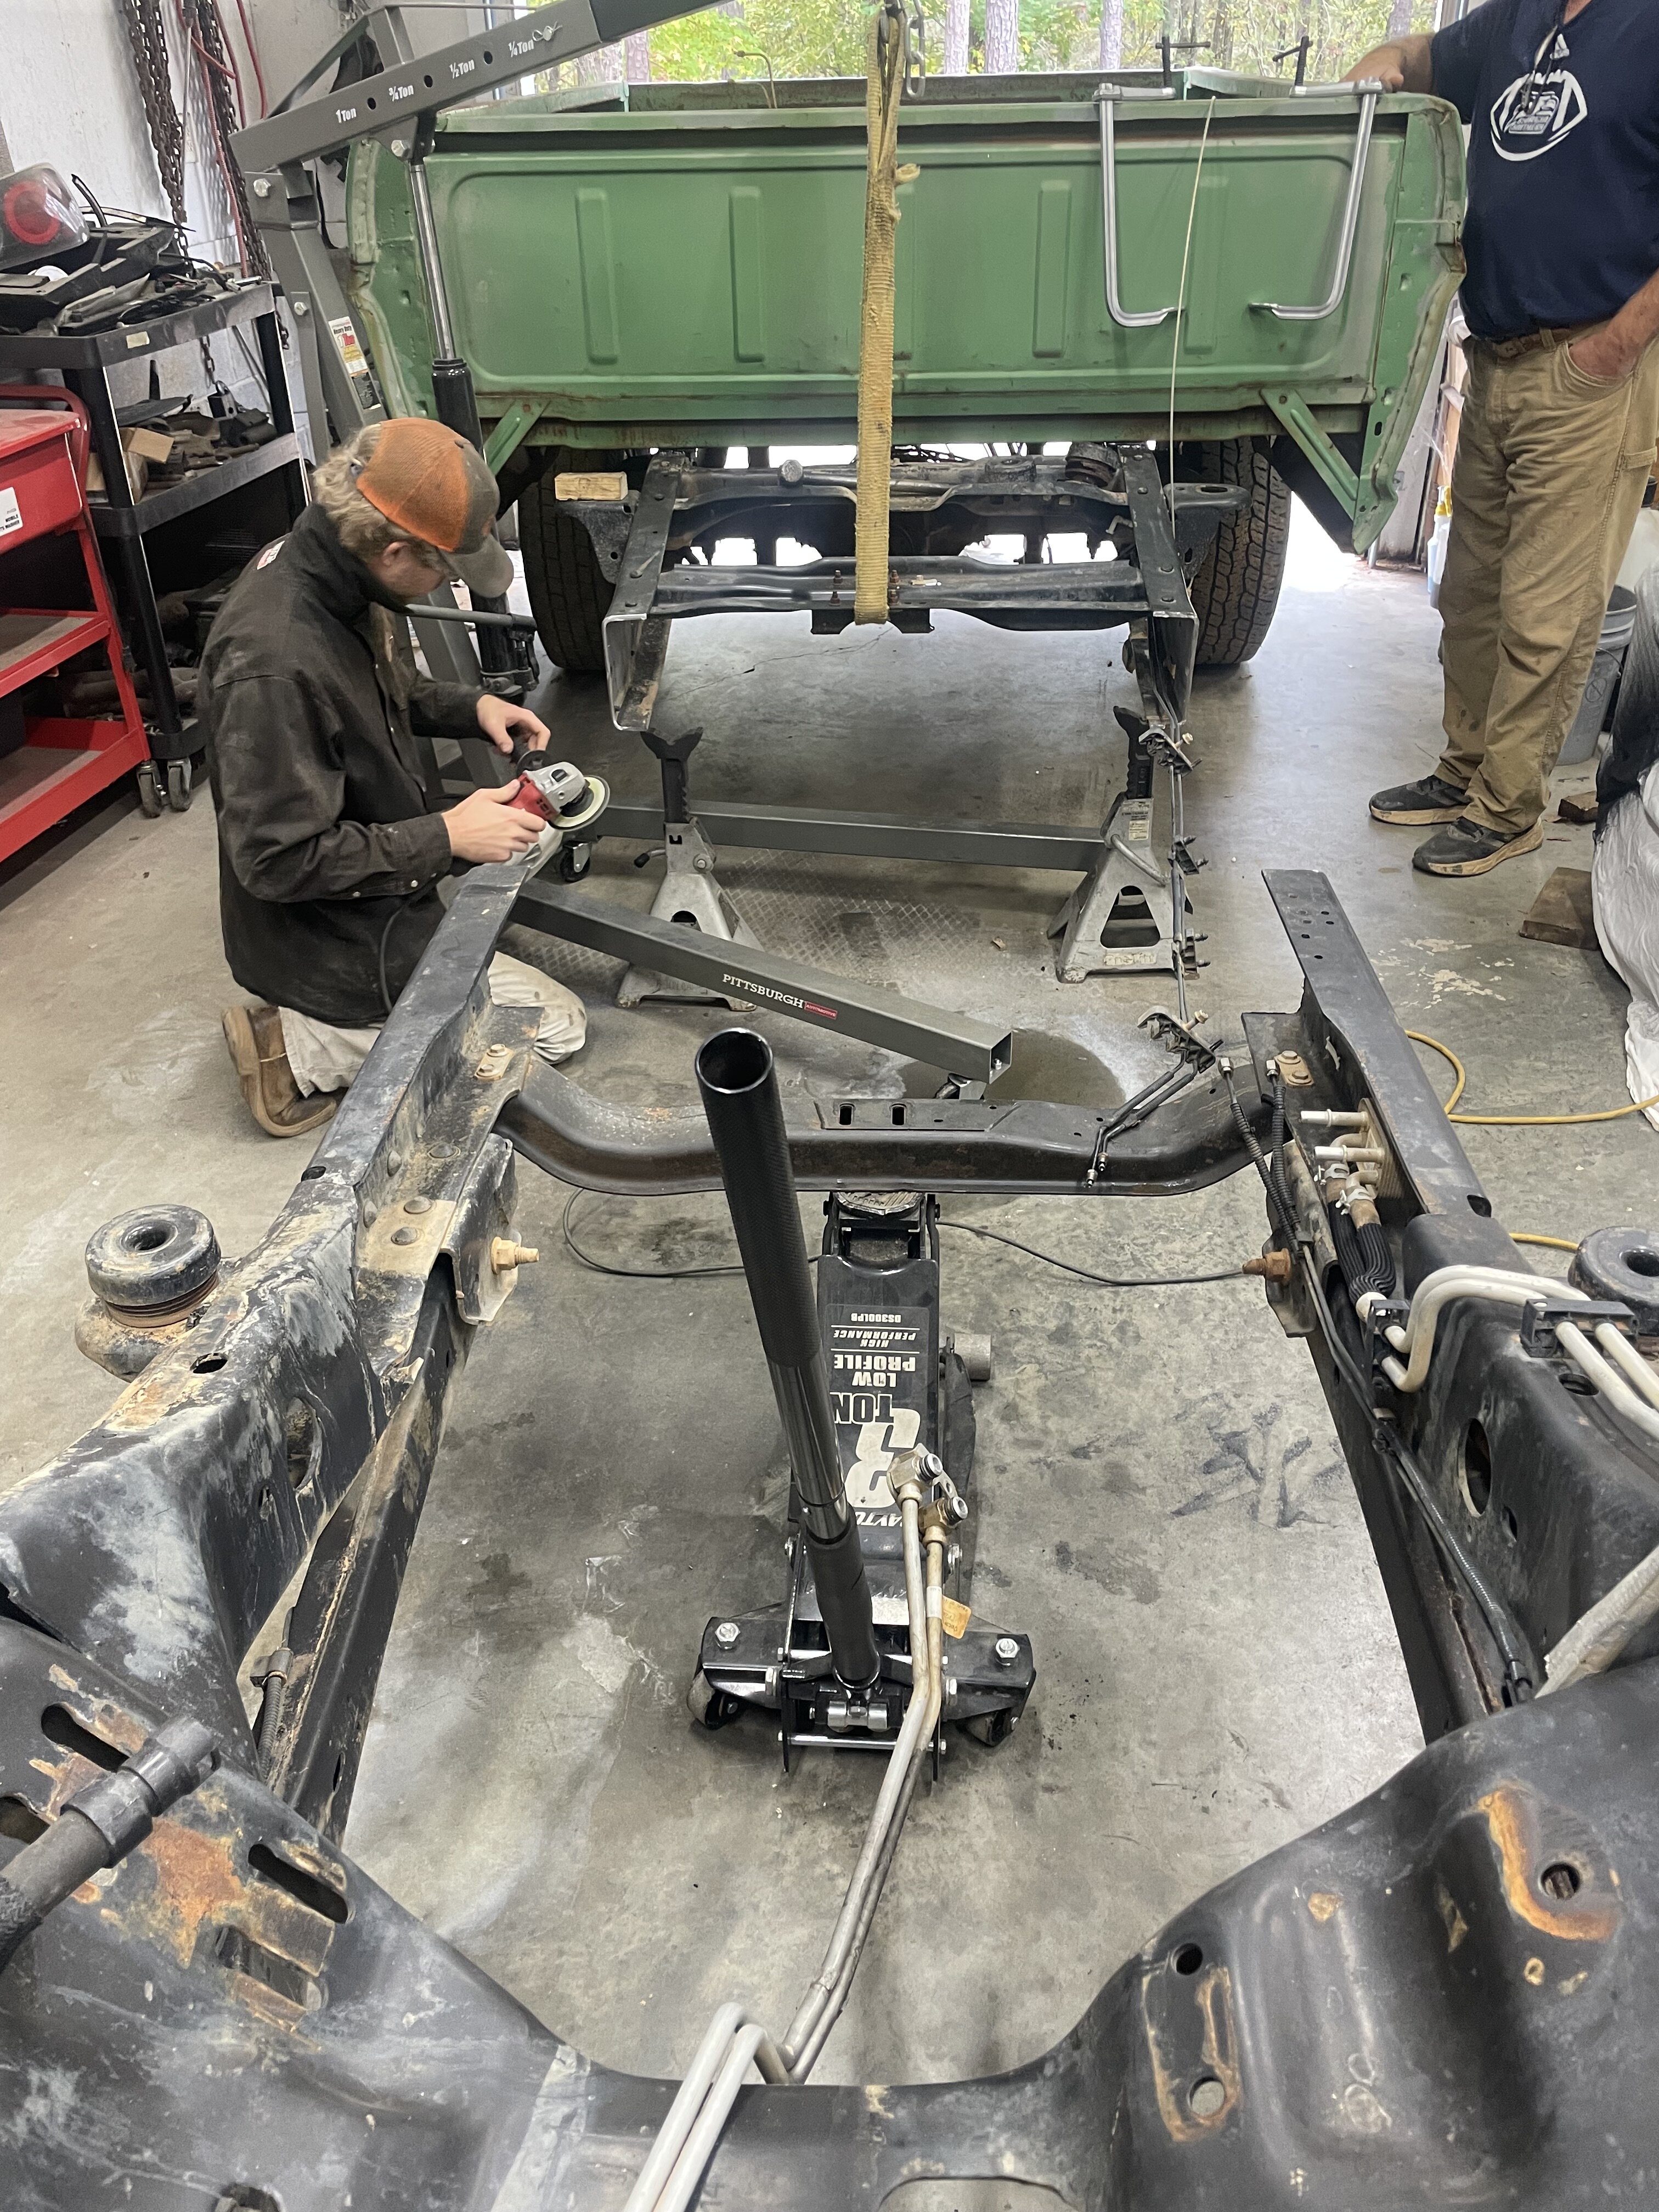
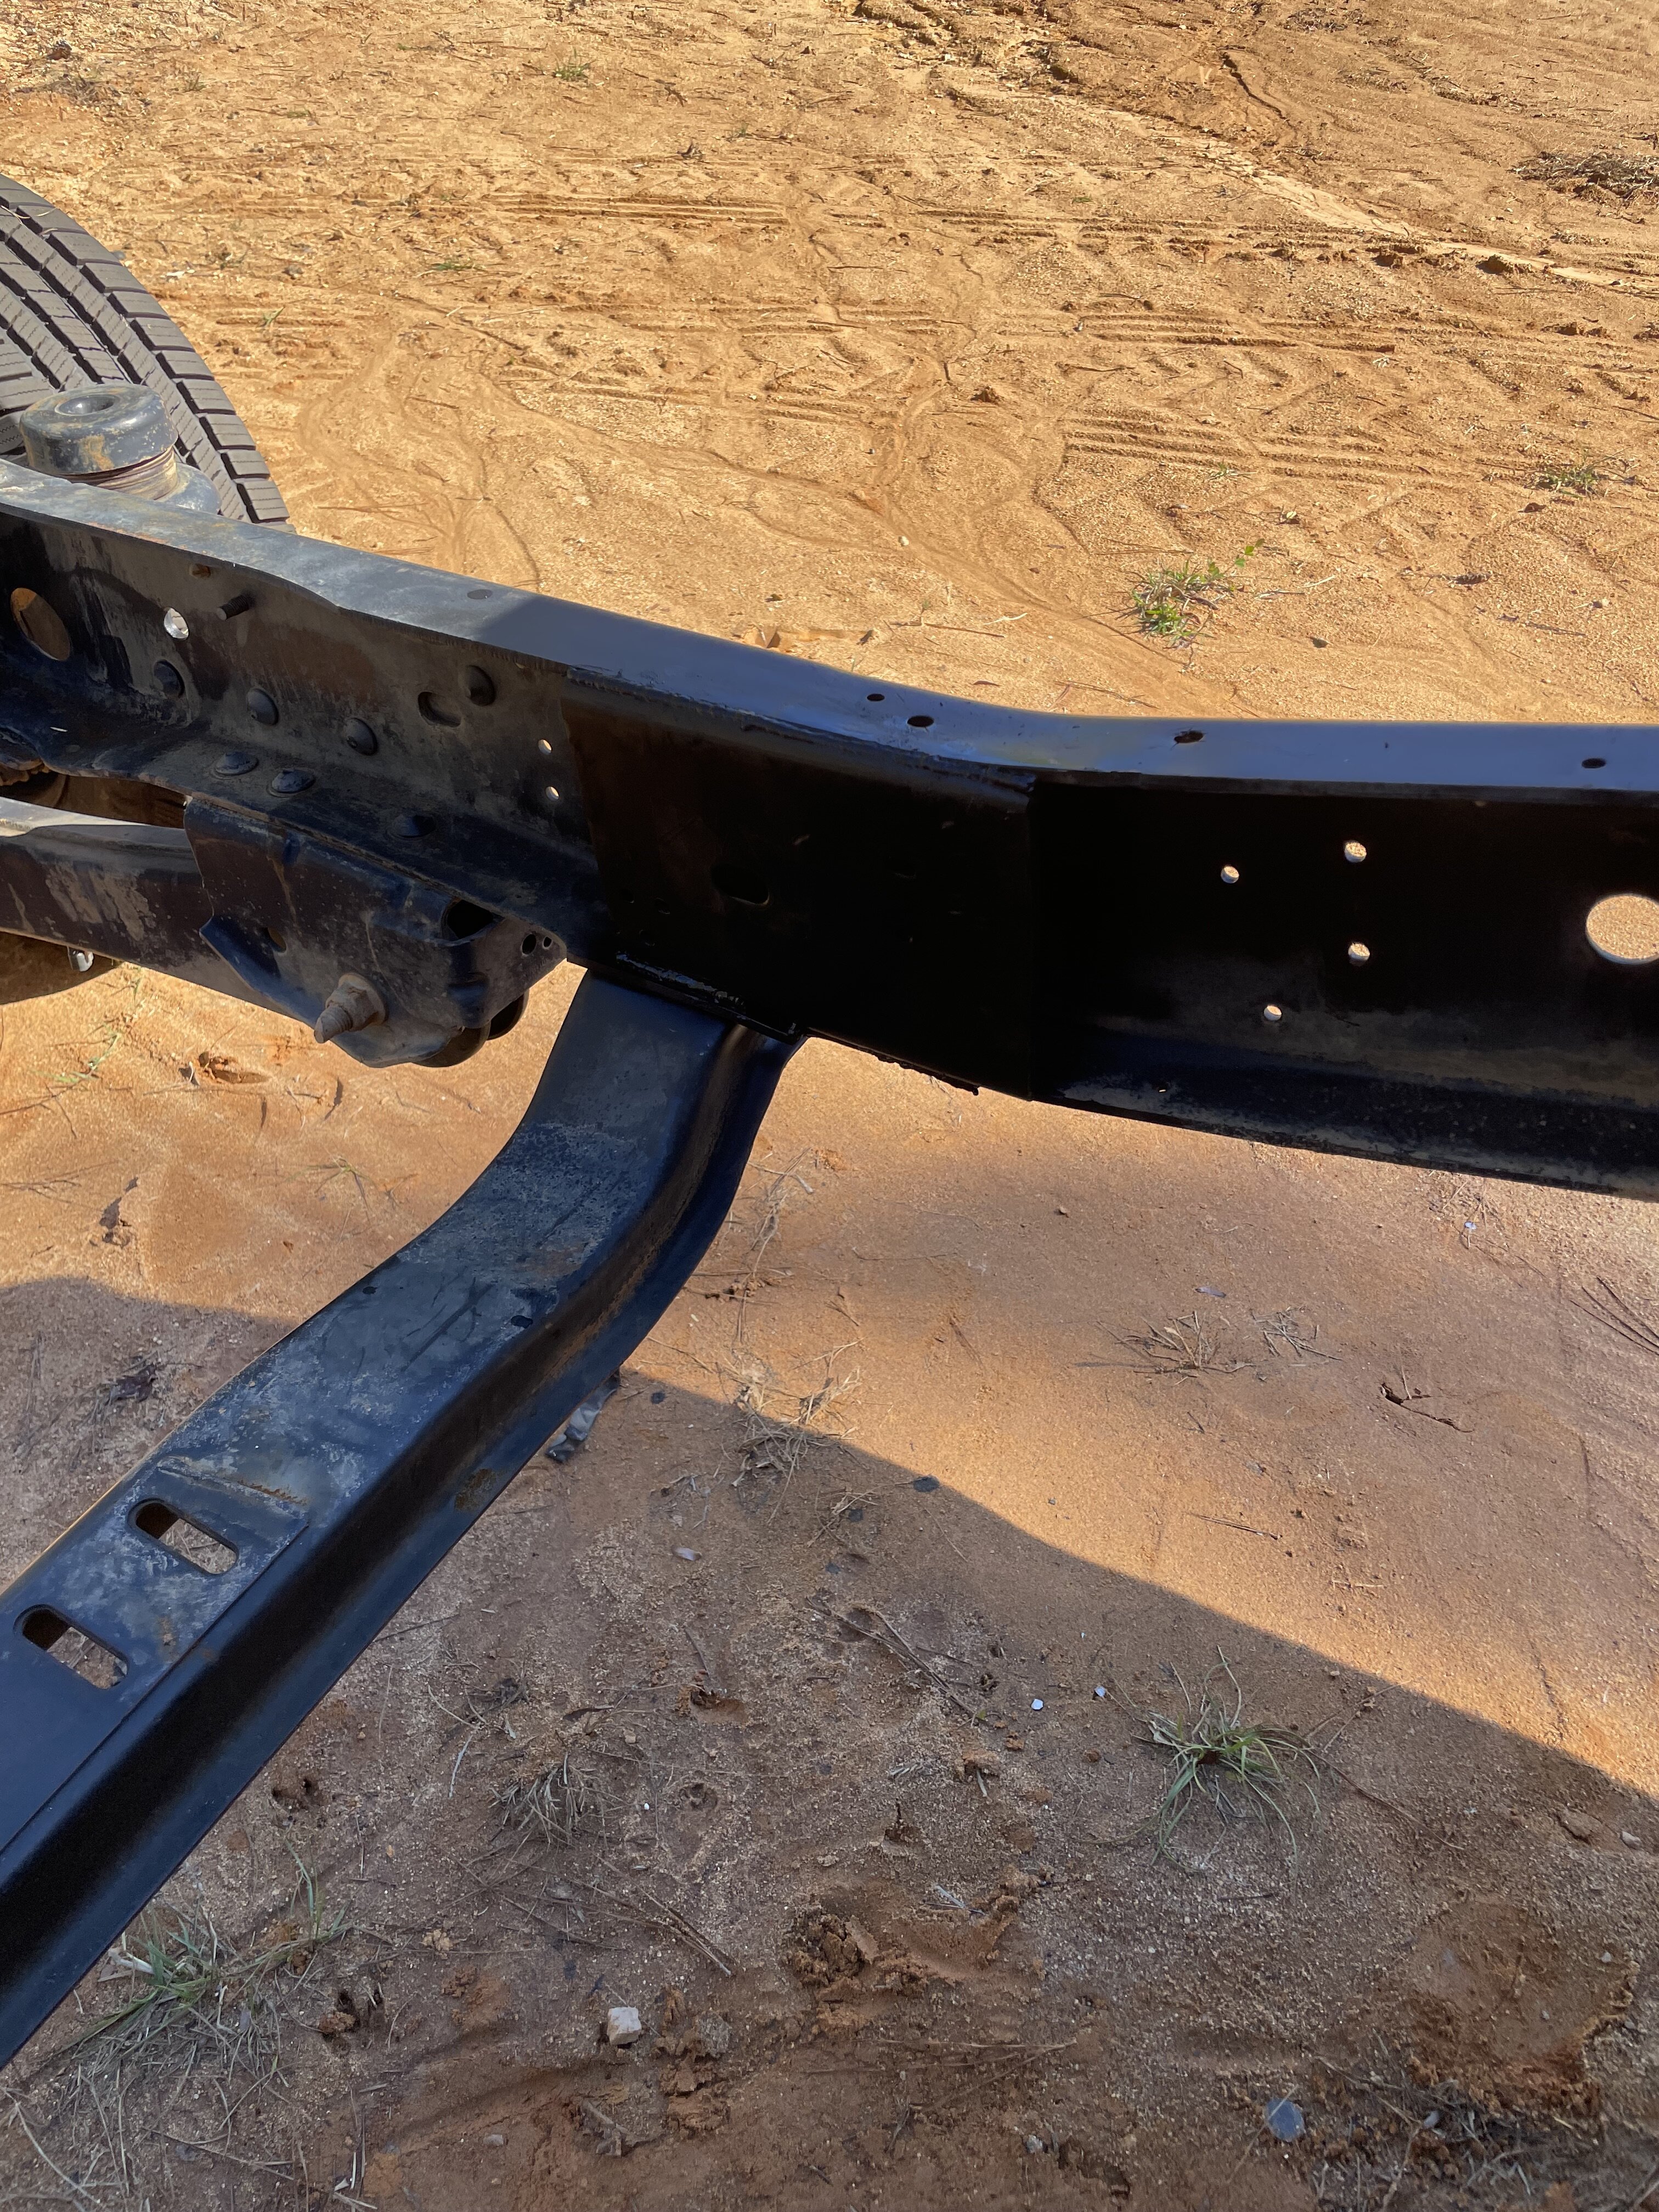
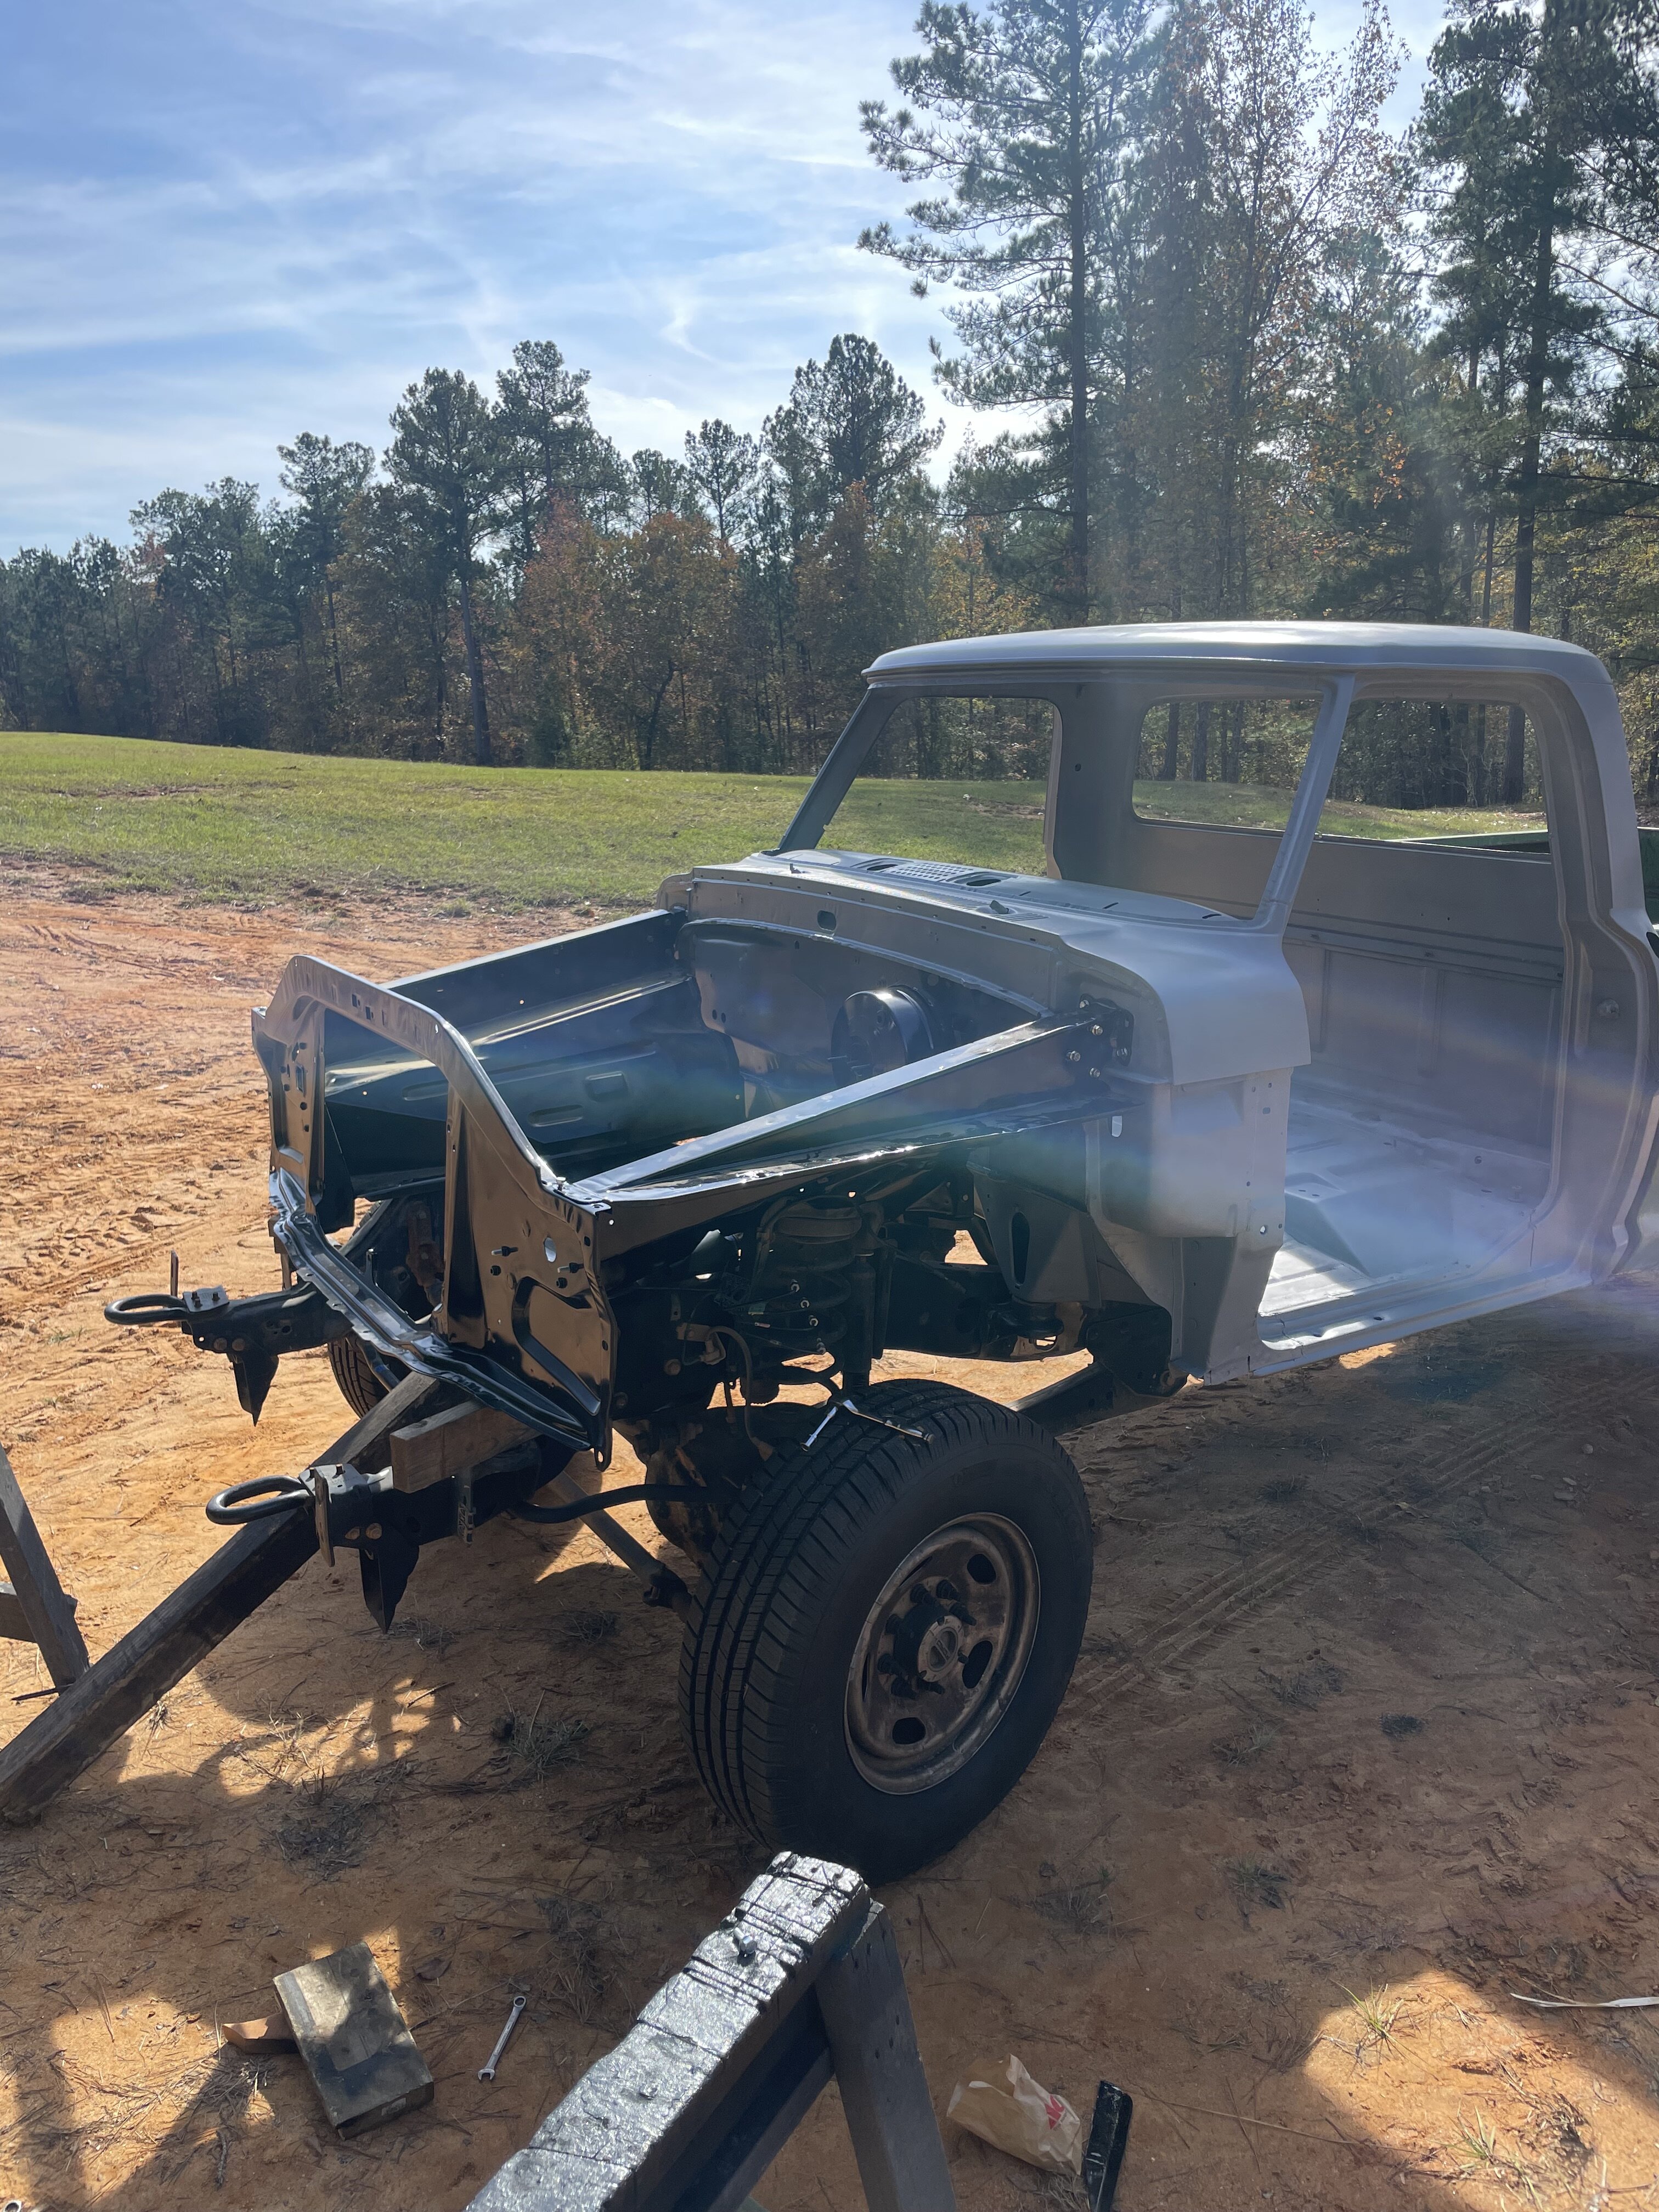
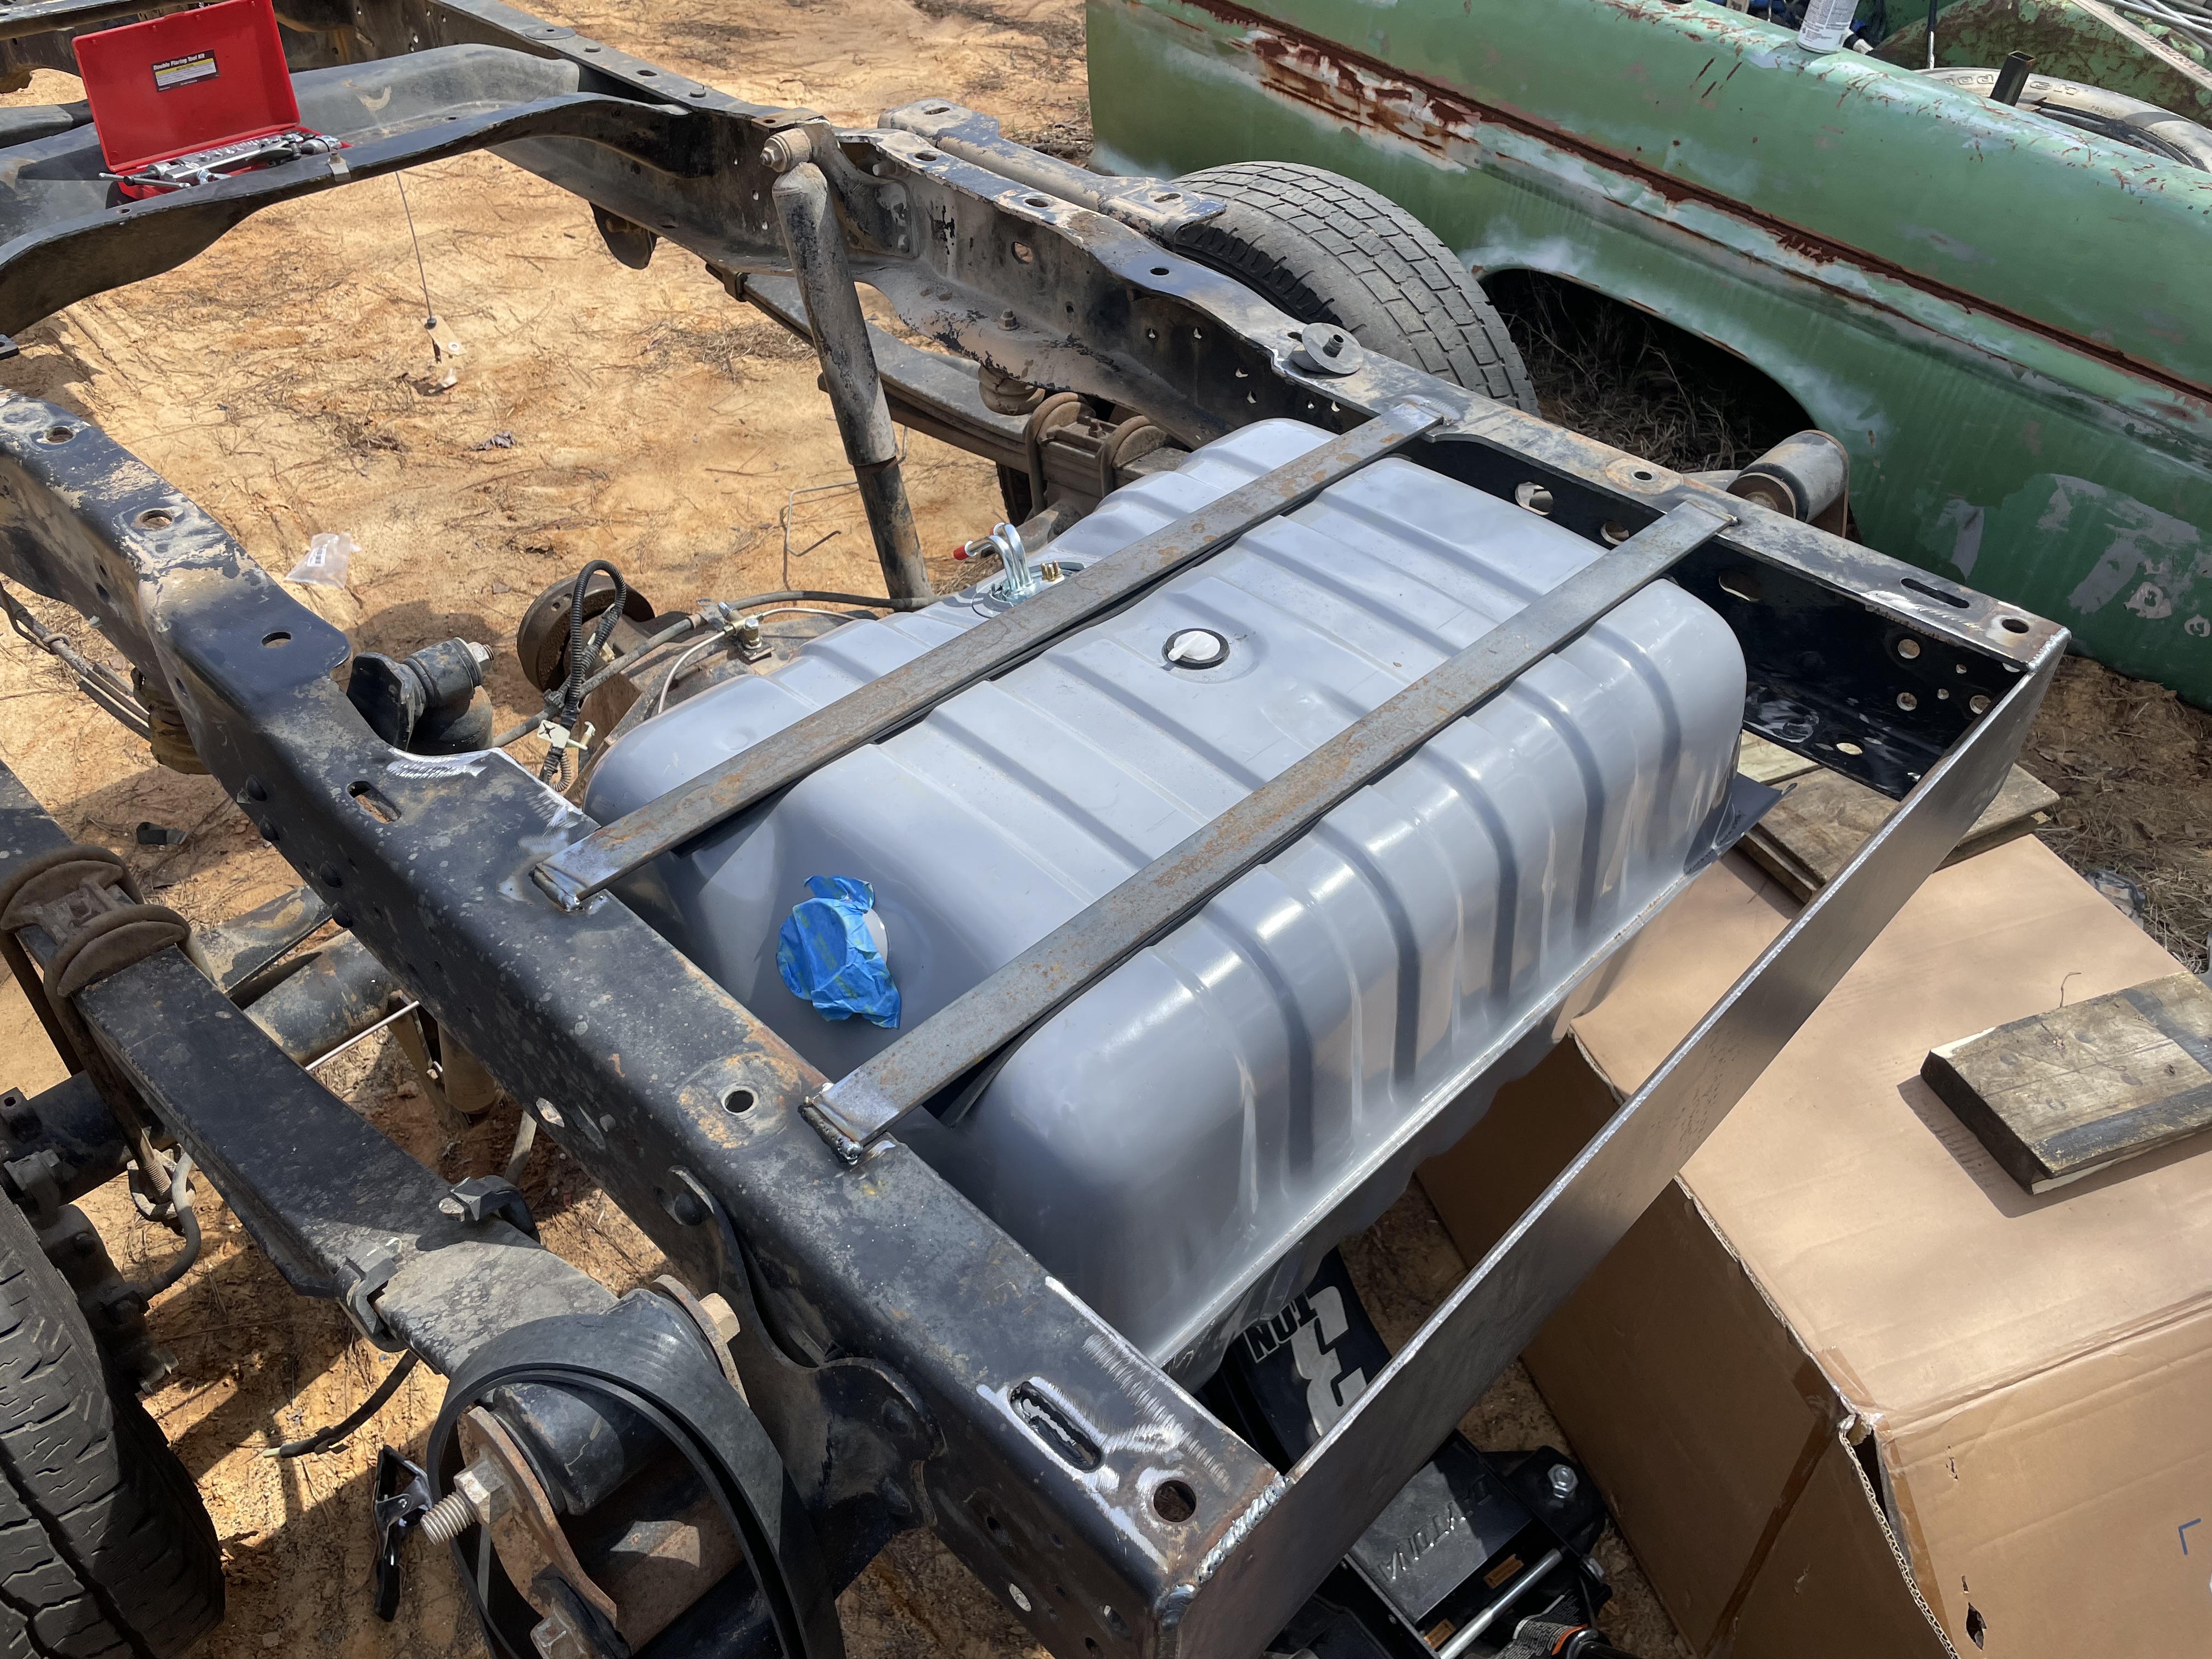
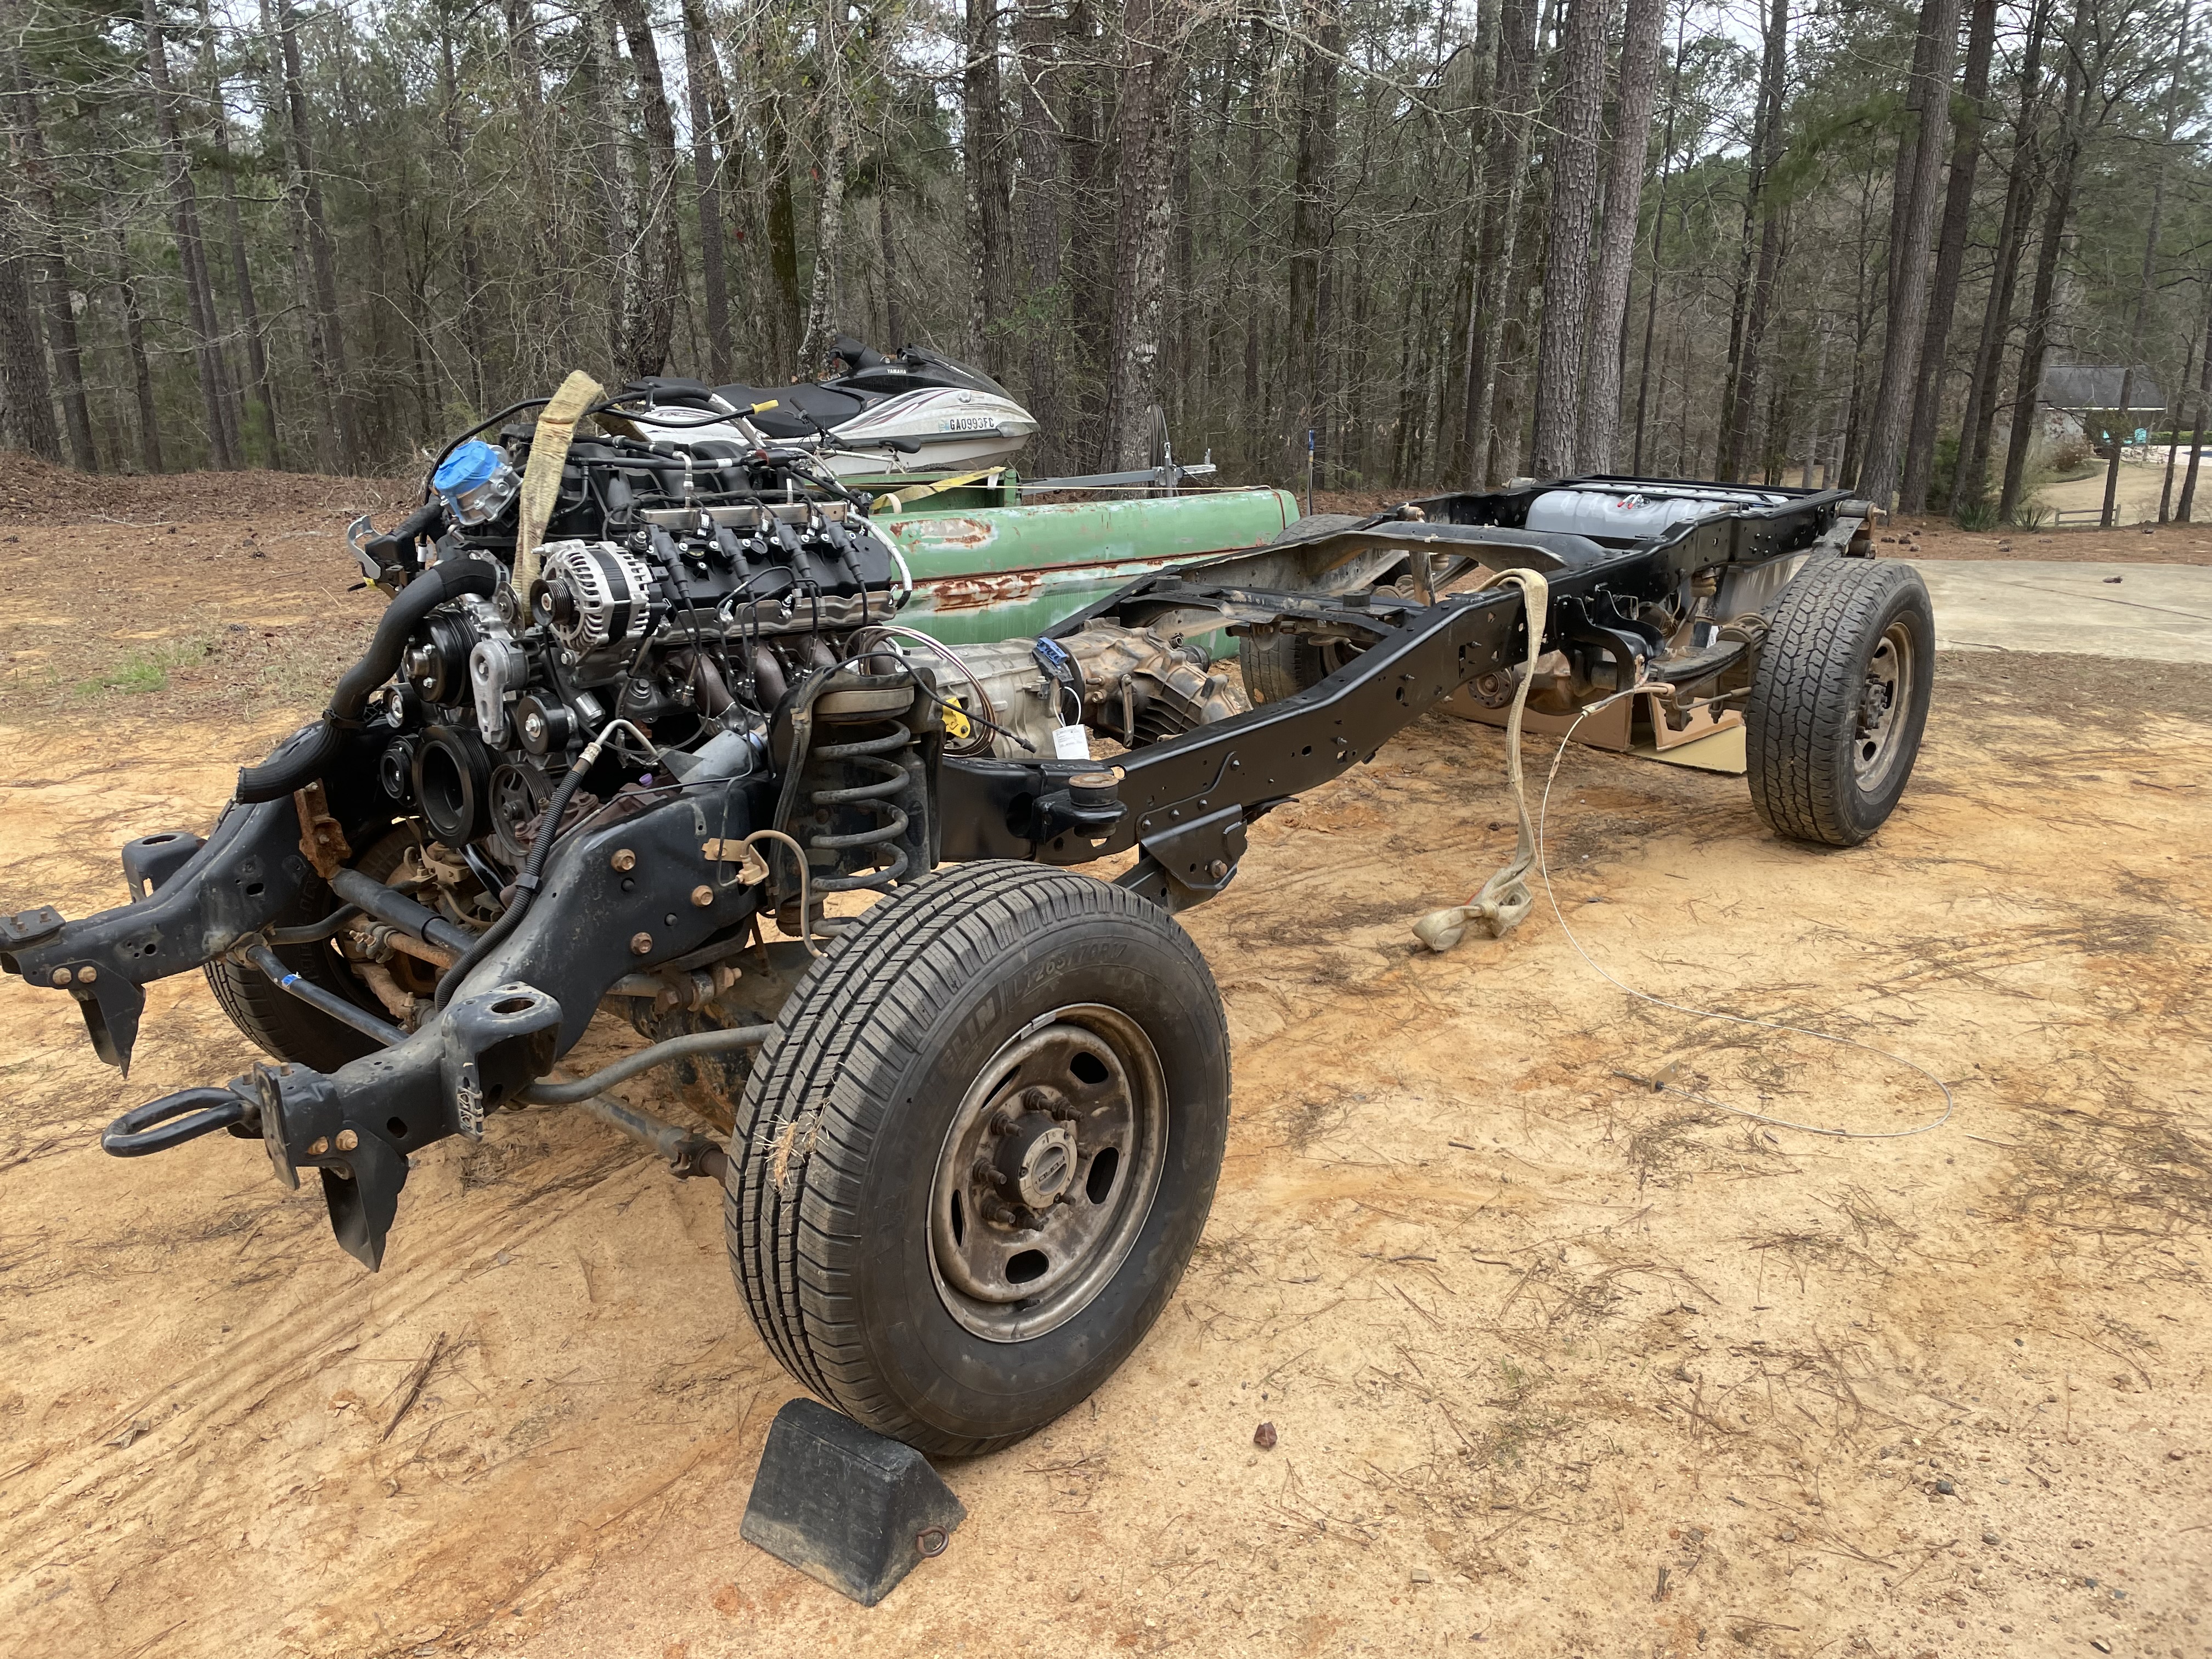
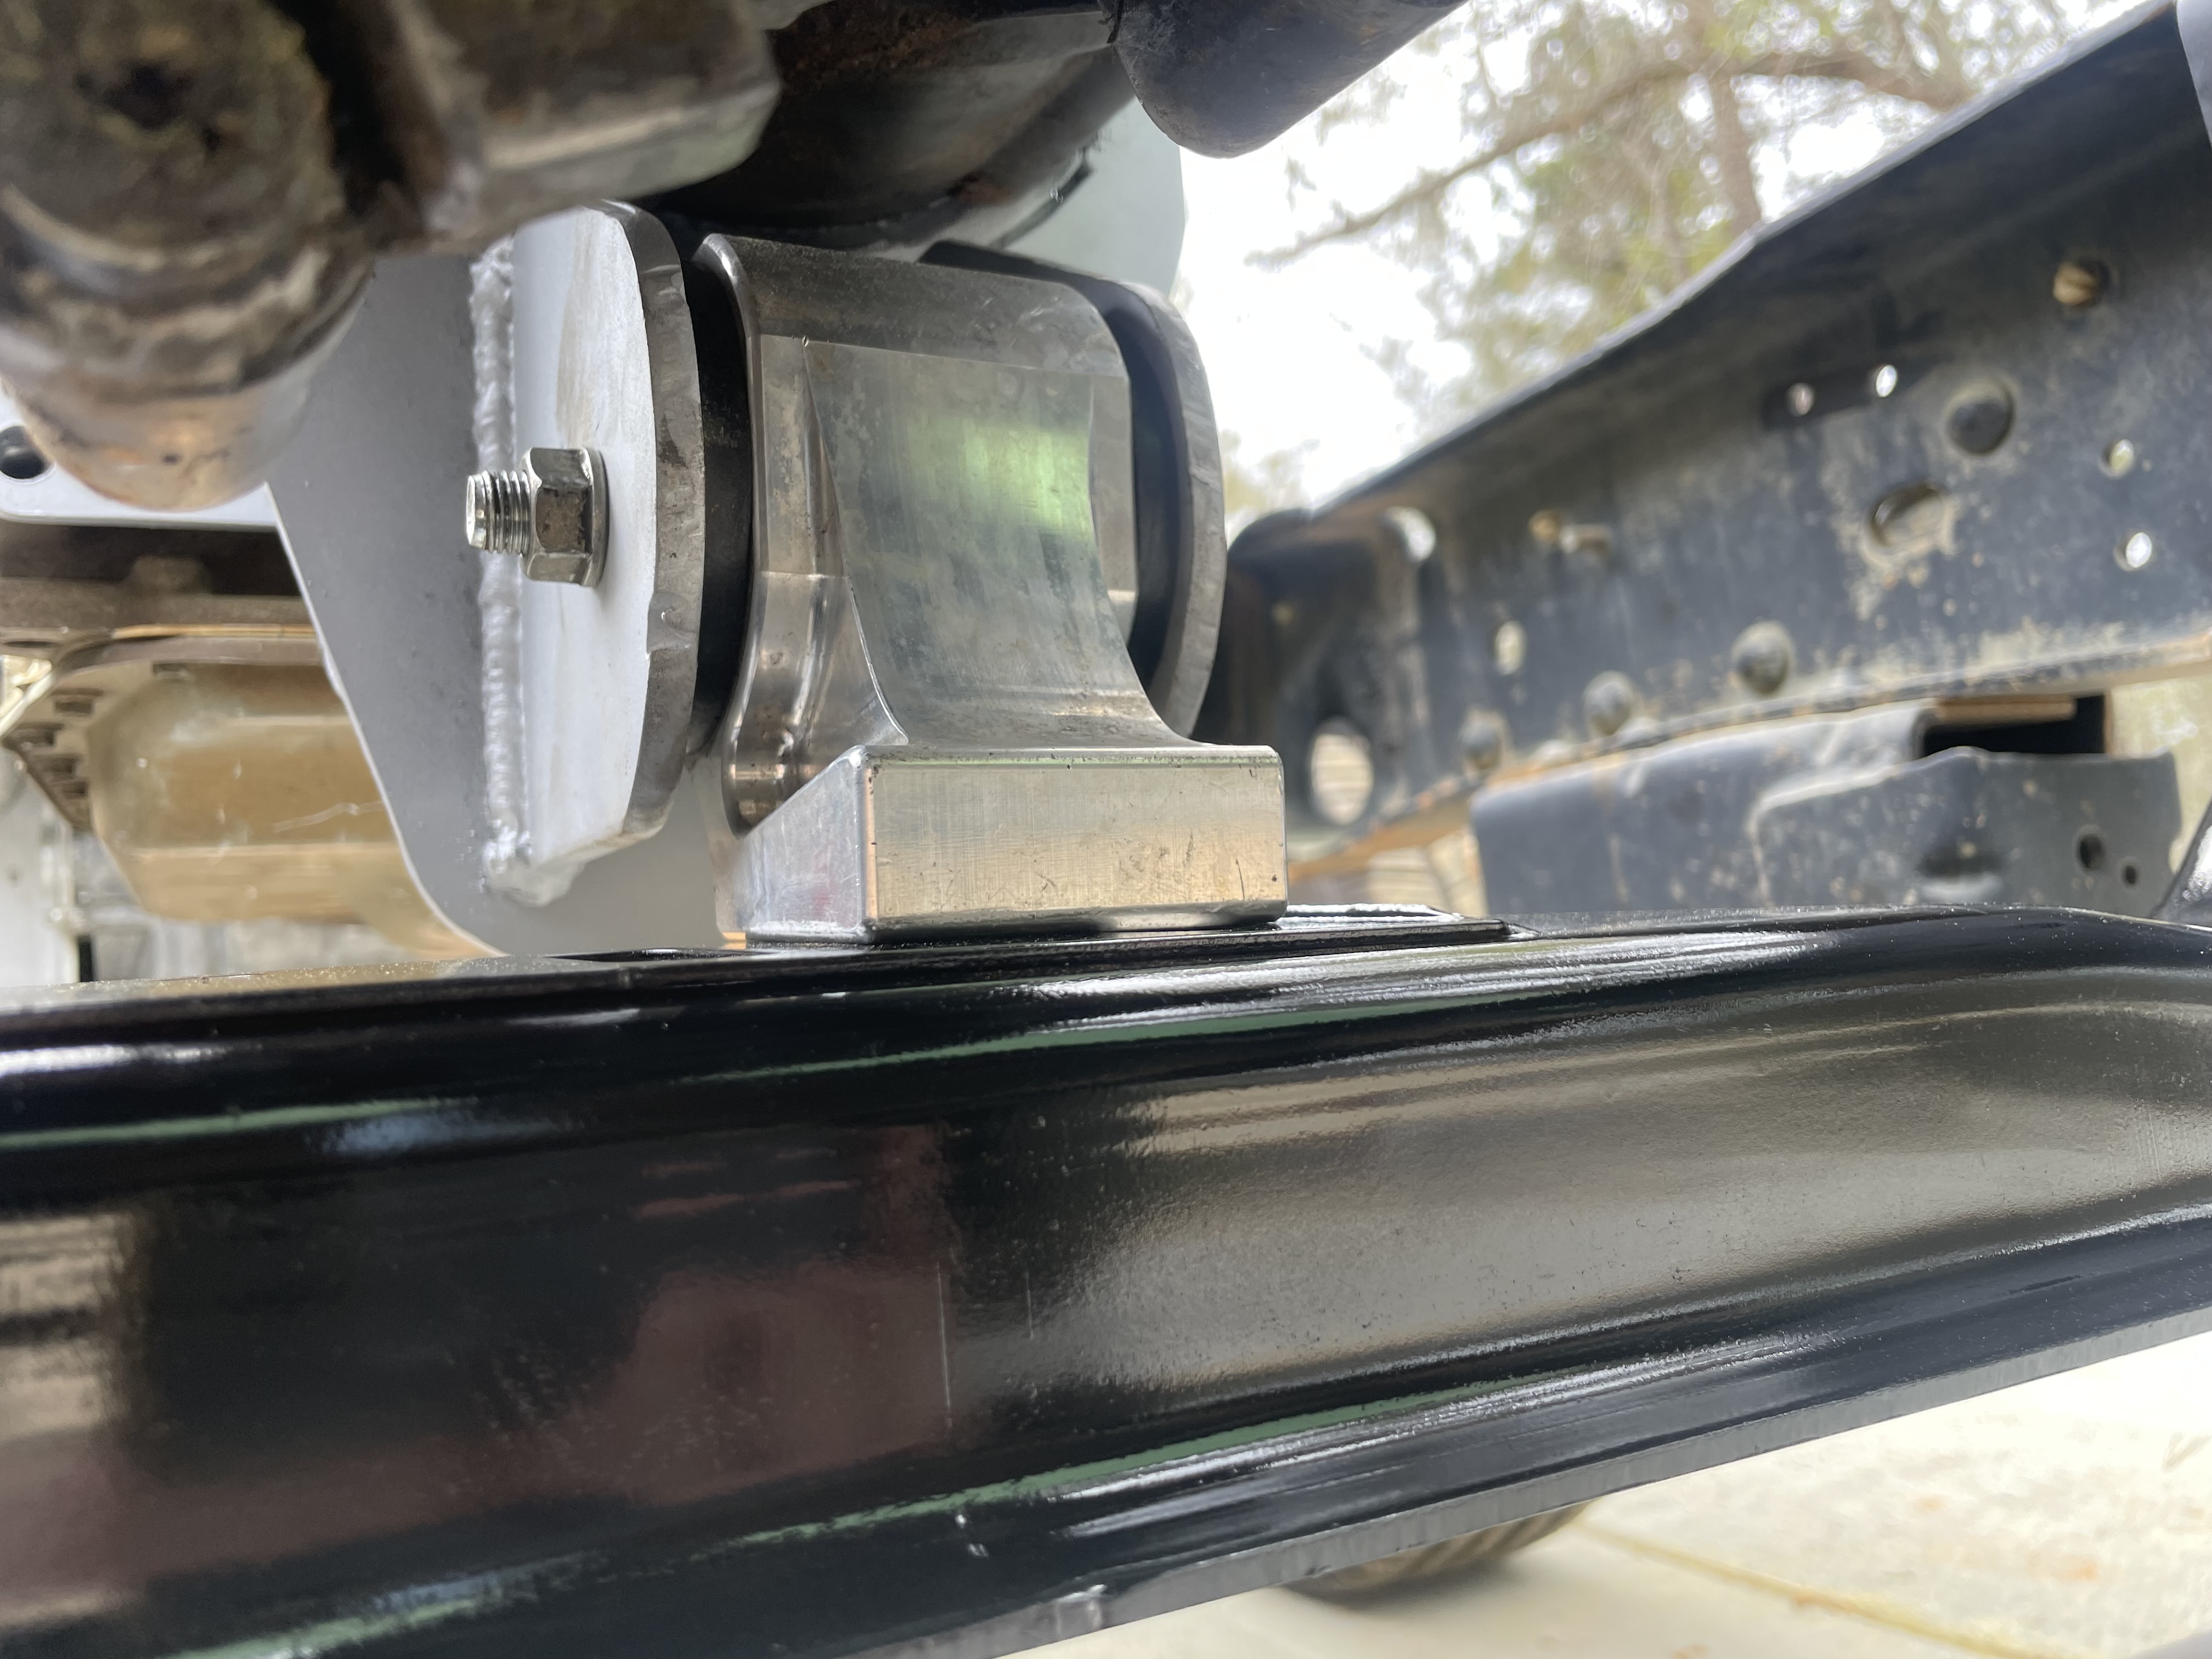
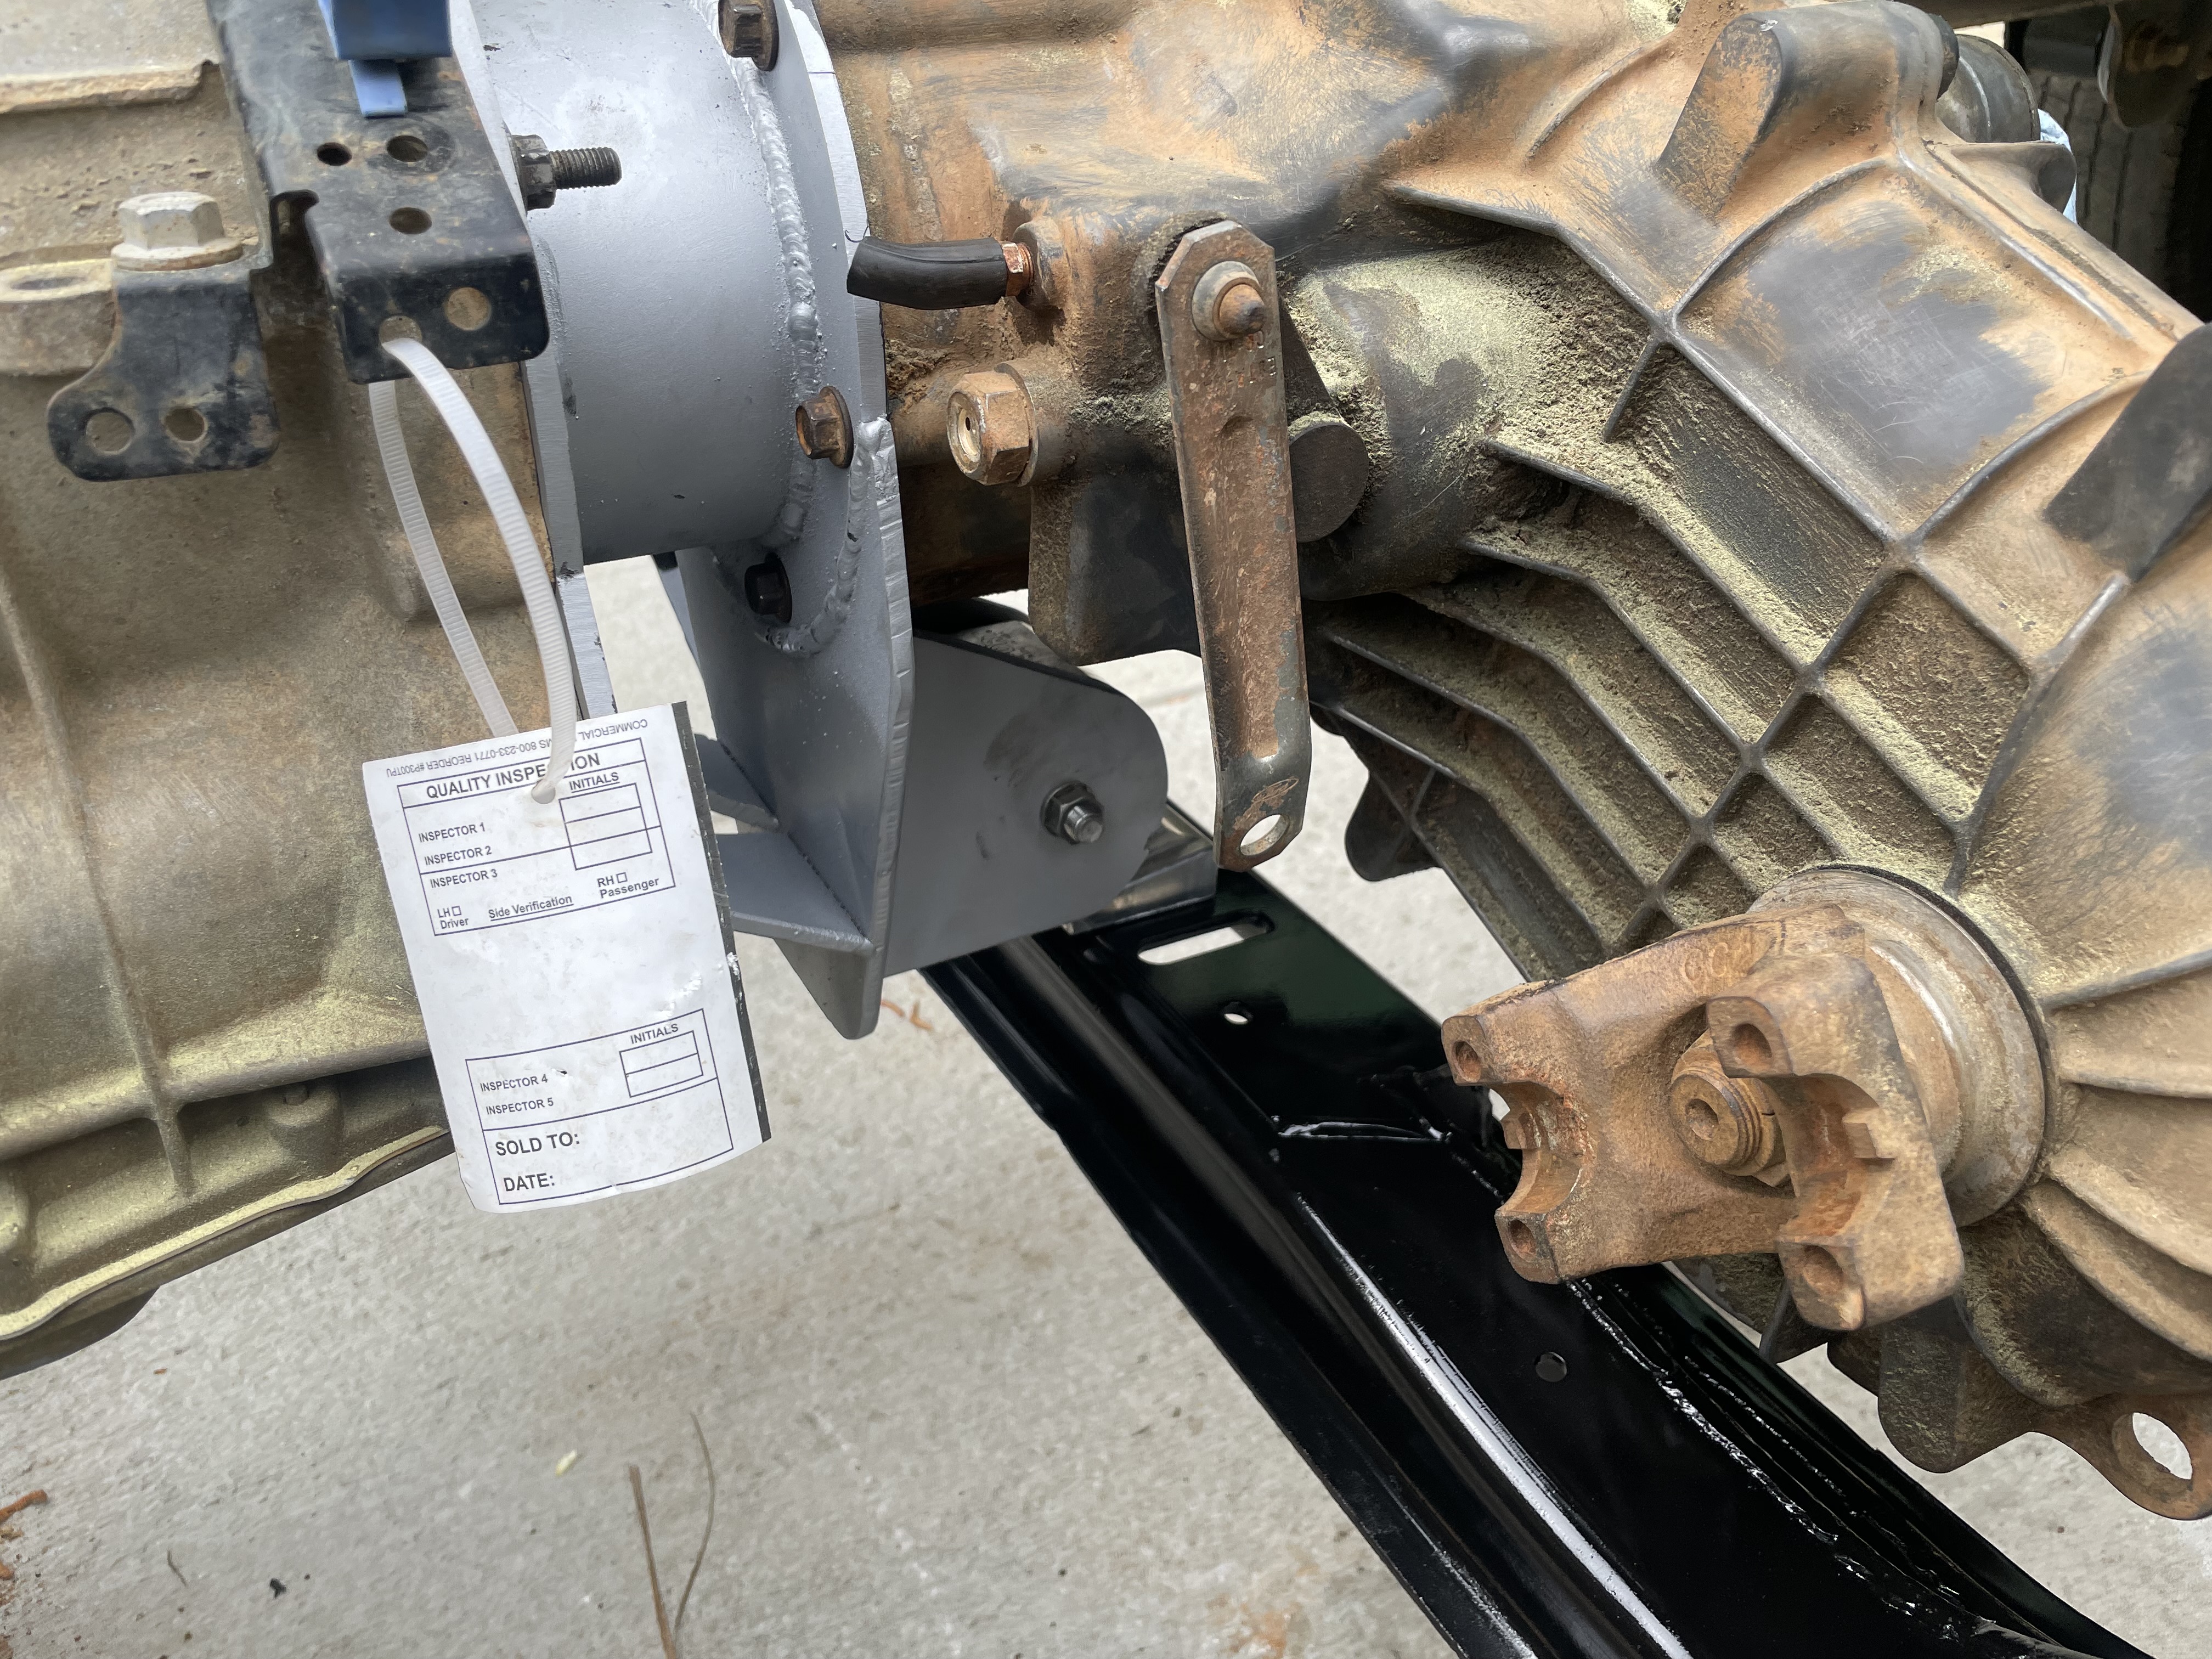
Now why didn't I just leave well enough alone and get the truck on the road ASAP so I could enjoy it? Truth be told, I had a couple of regrets re: my old 60 series build, namely, I really wished I had linked the front end. Do front leaf springs work? Yes. Are they pleasant to drive every day? Meh. Since this is a body swapped chassis (original highboy frame/driveline, F100 body) I decided to ditch my original plan altogether and sit it all on top of a 2017 F250 chassis. This addressed my desire for coil springs up front but more importantly, the 2017 chassis I purchased was cheaper than the cost to redo all of the bushings, joints, lines, etc. on the highboy chassis.

full


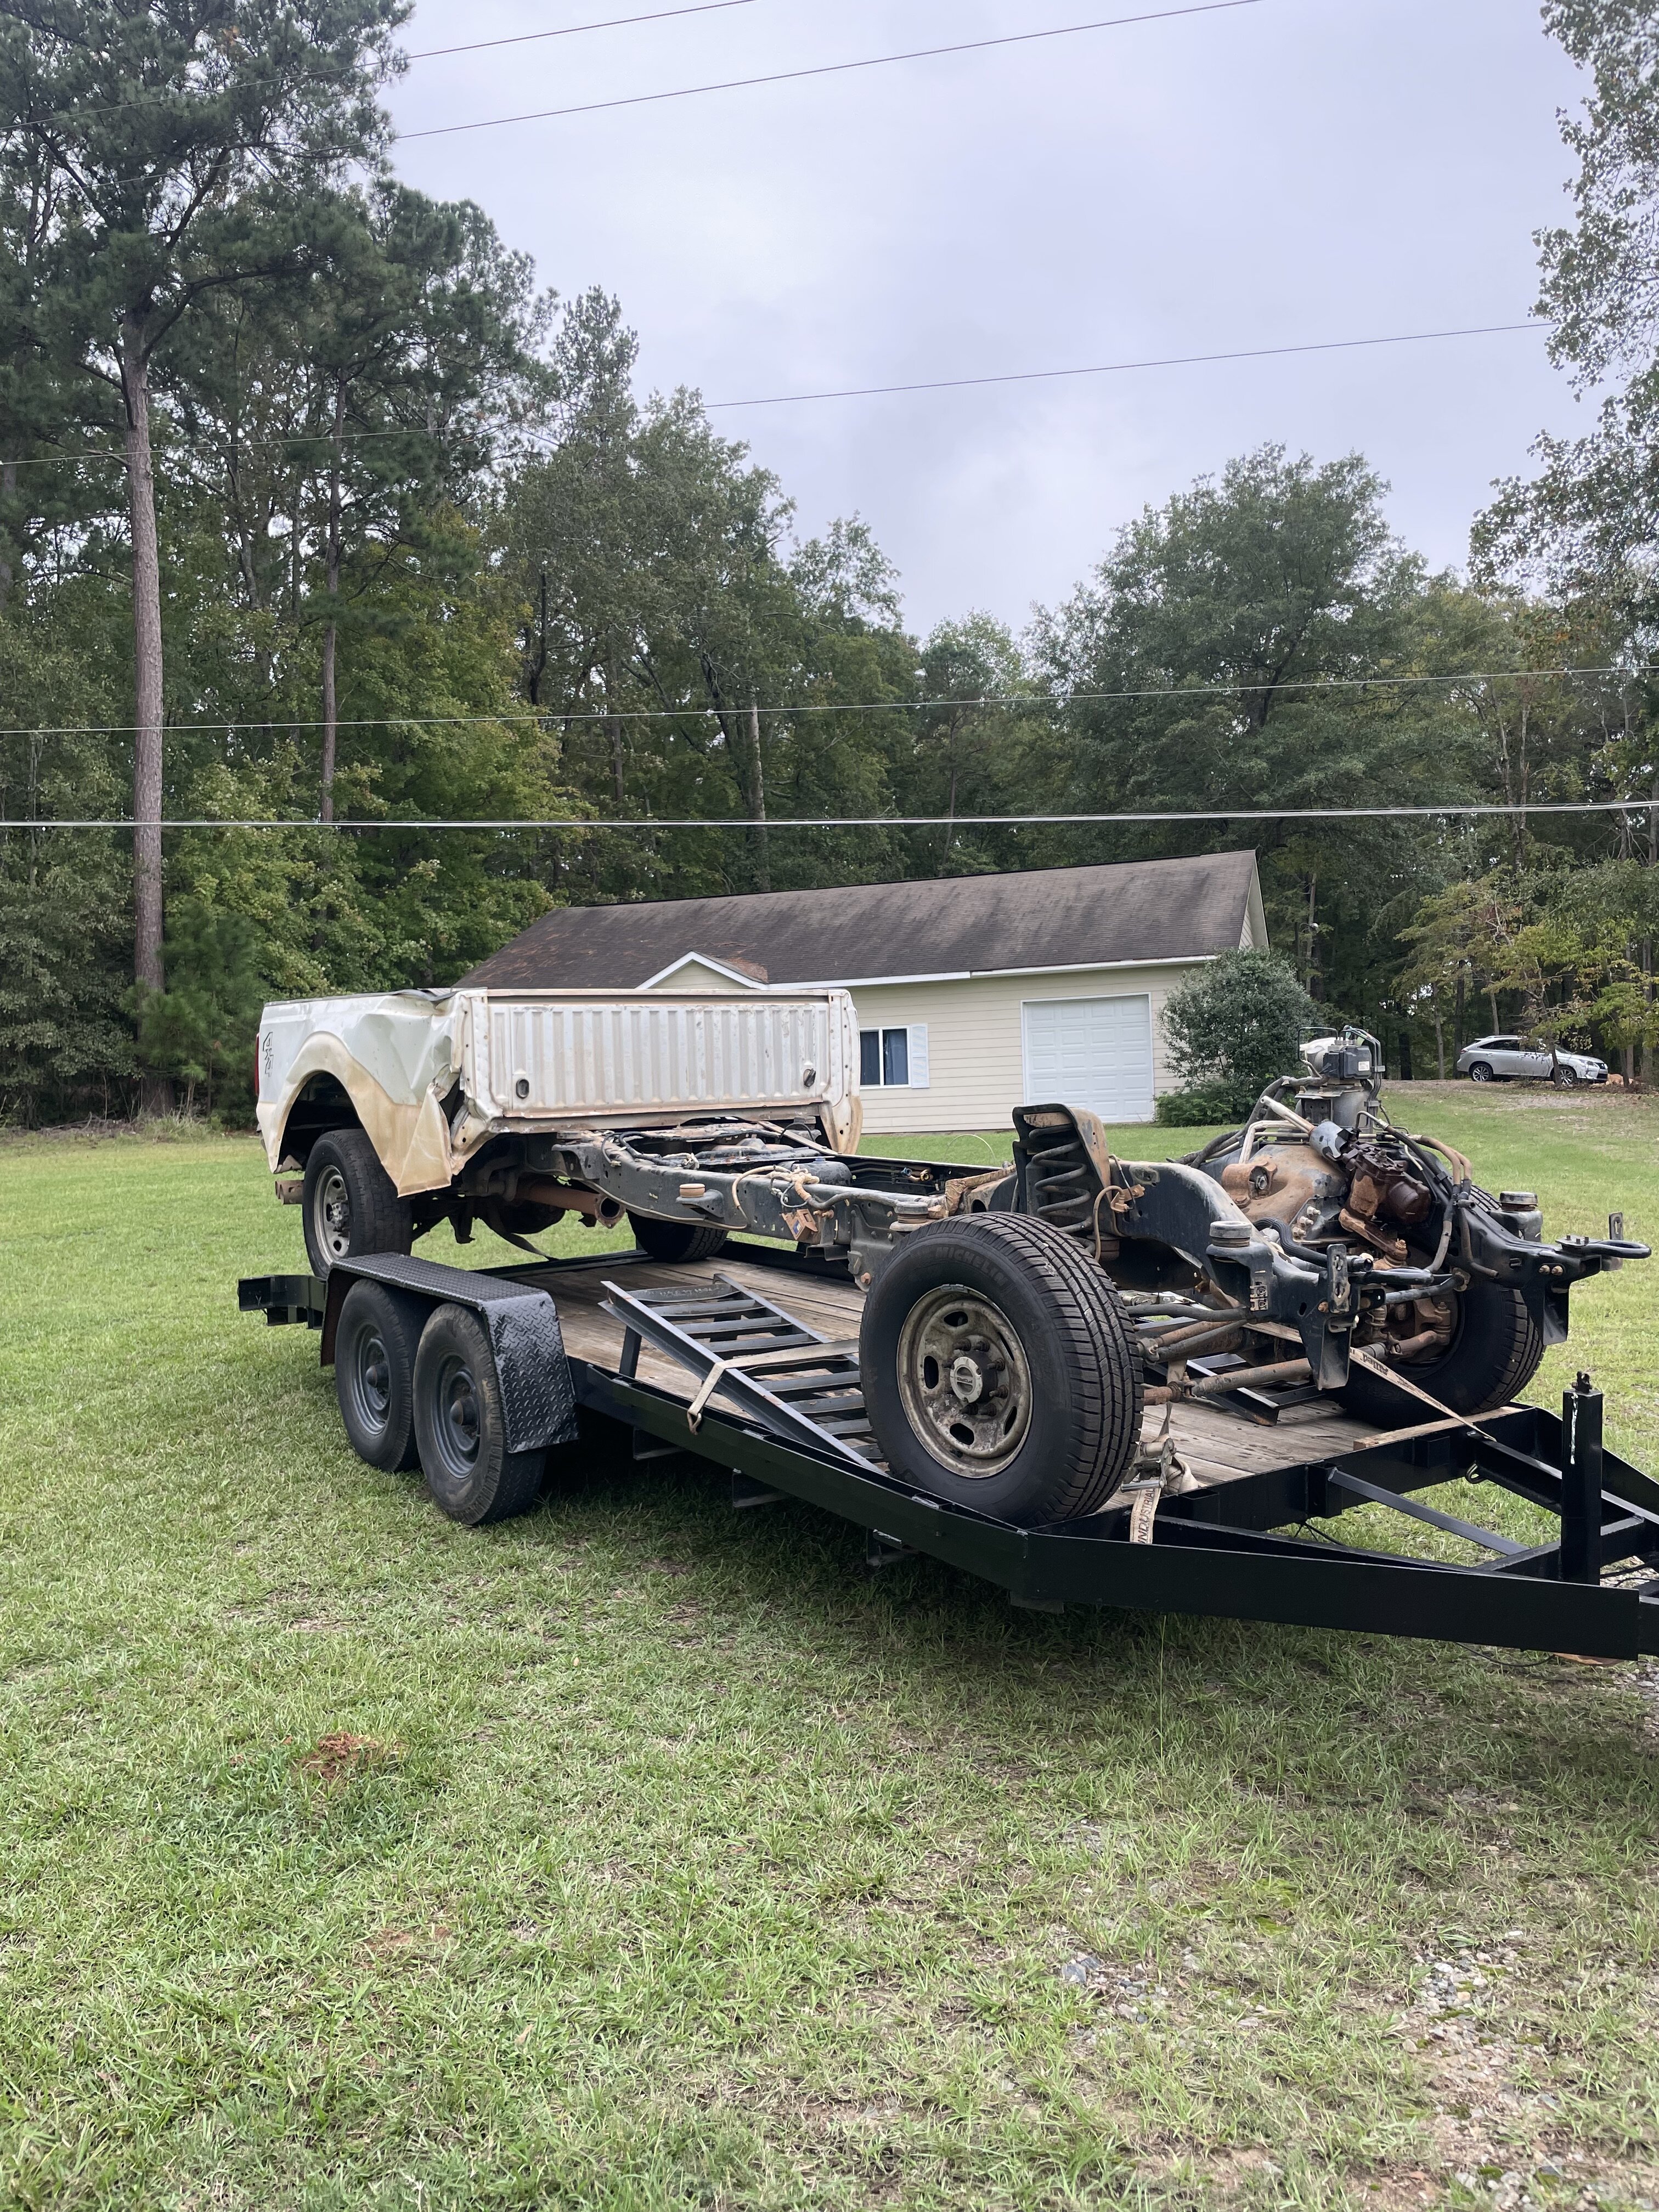
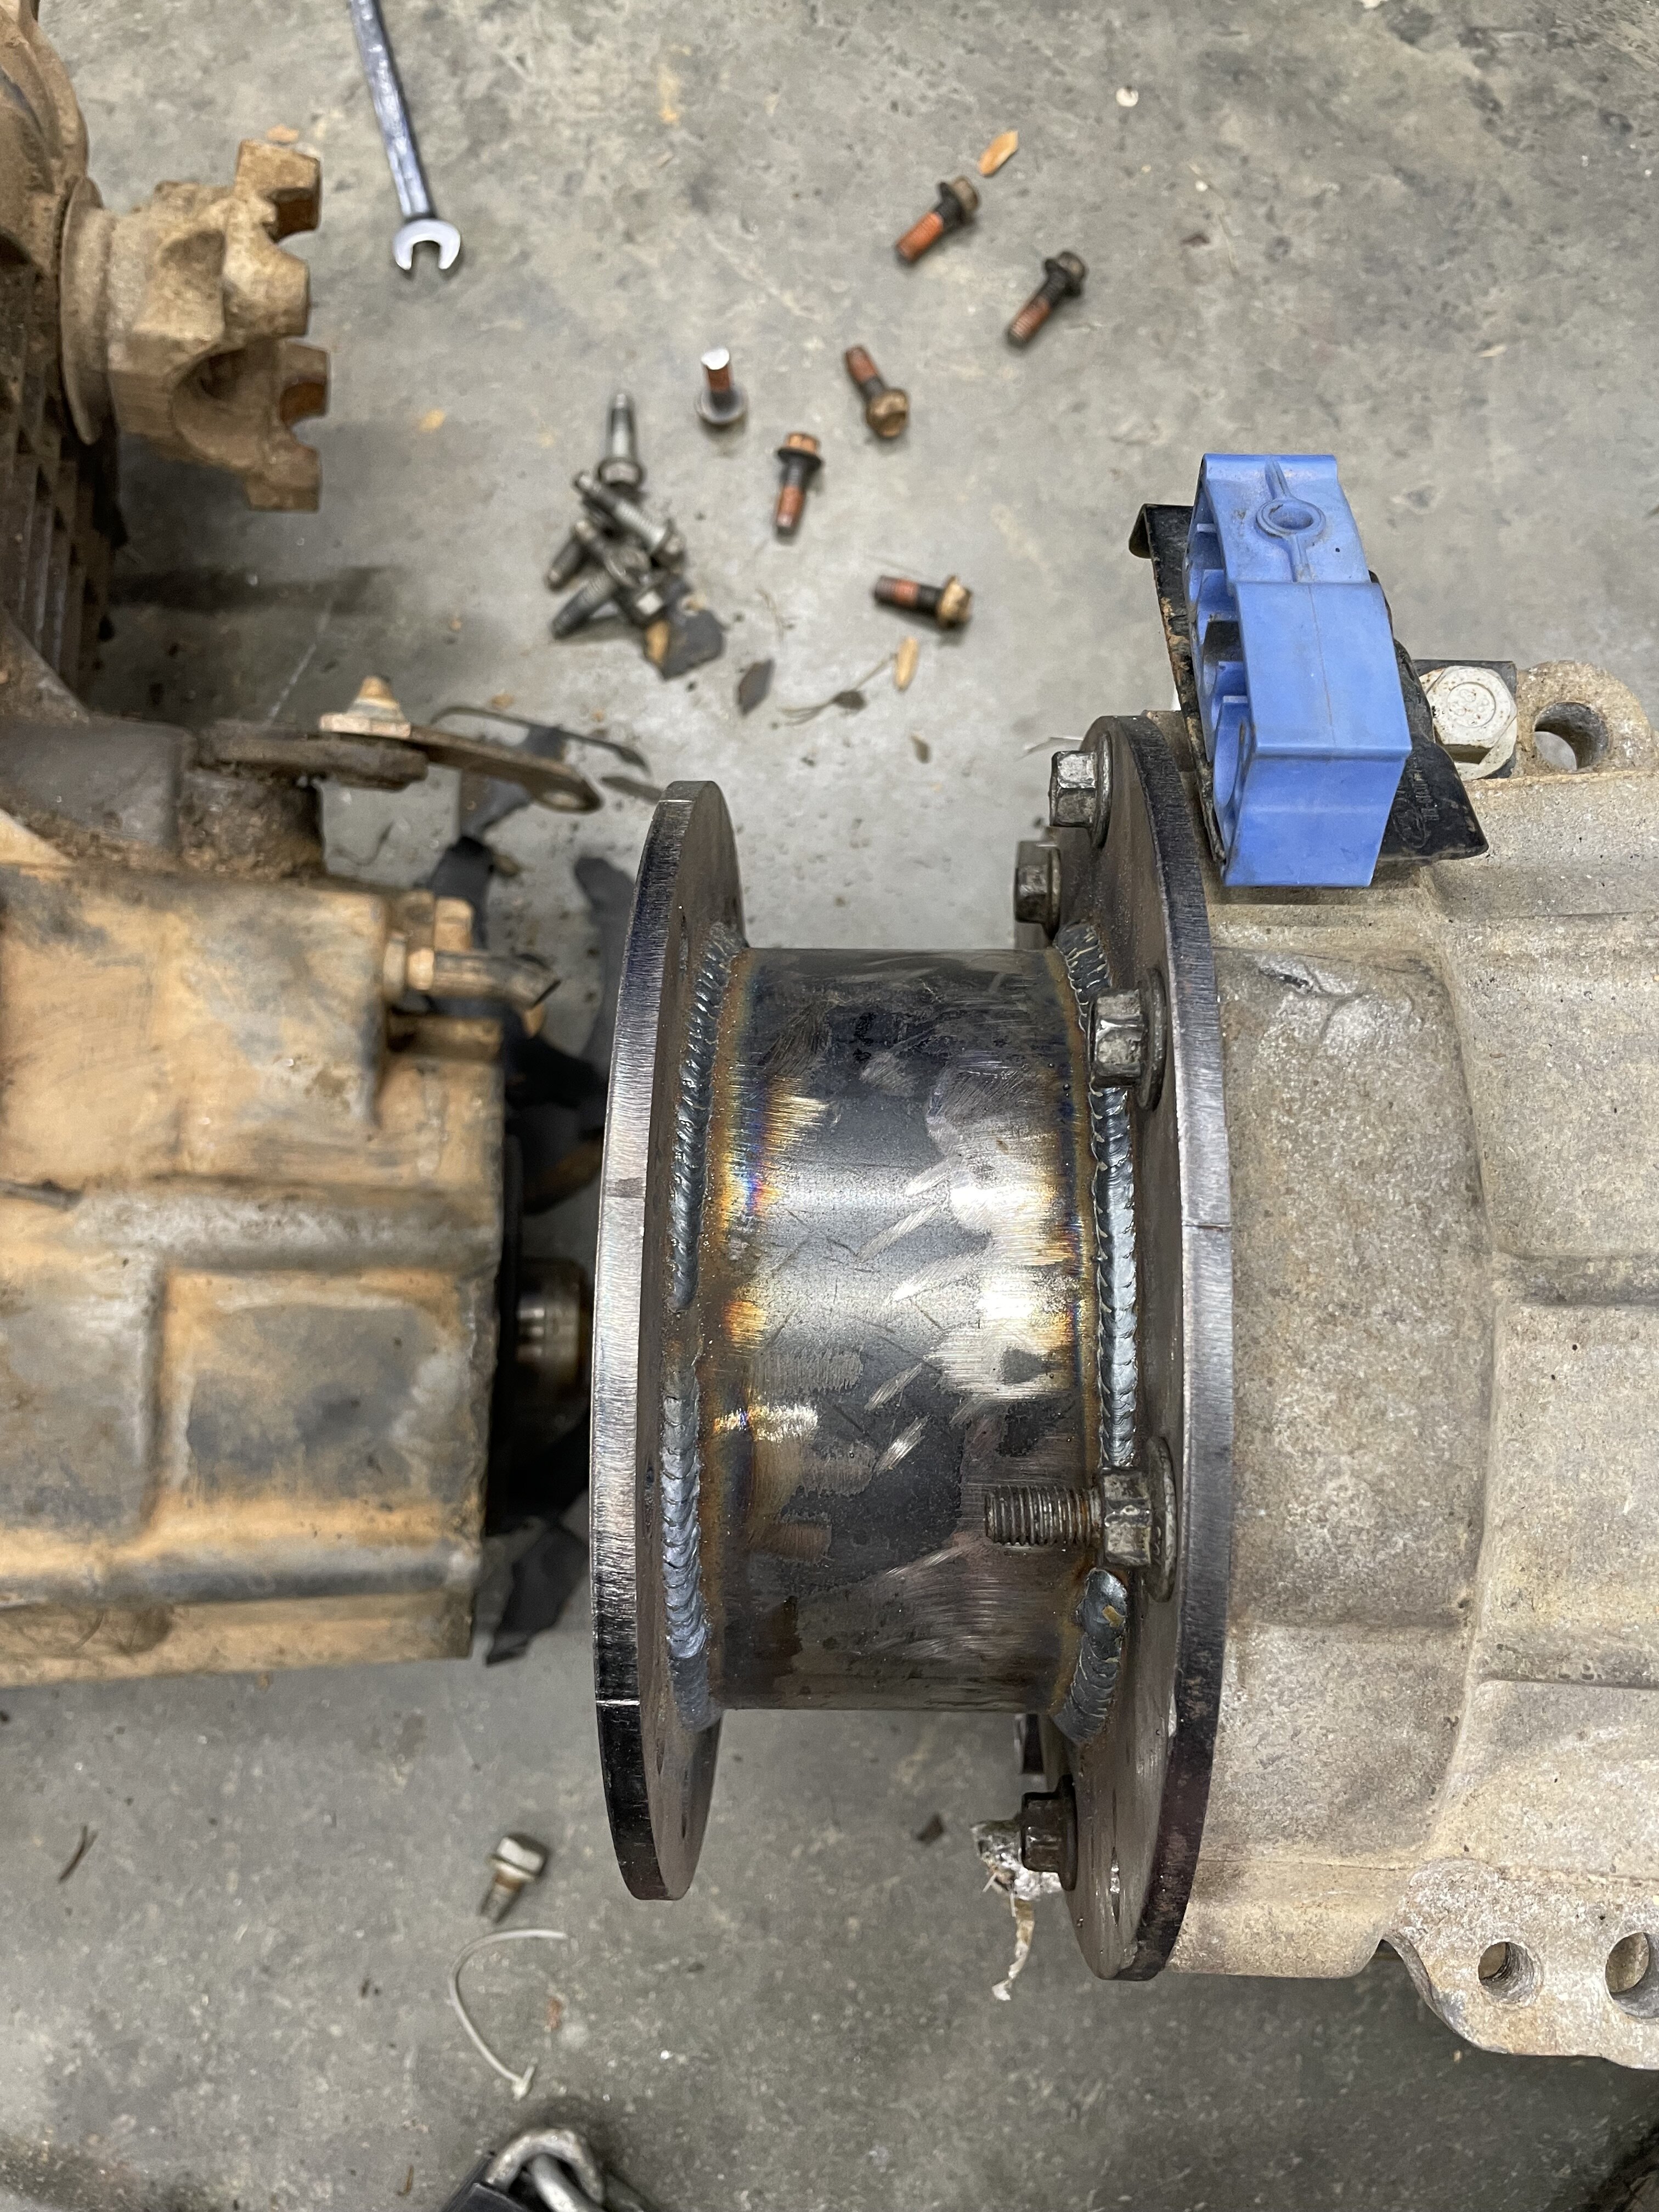
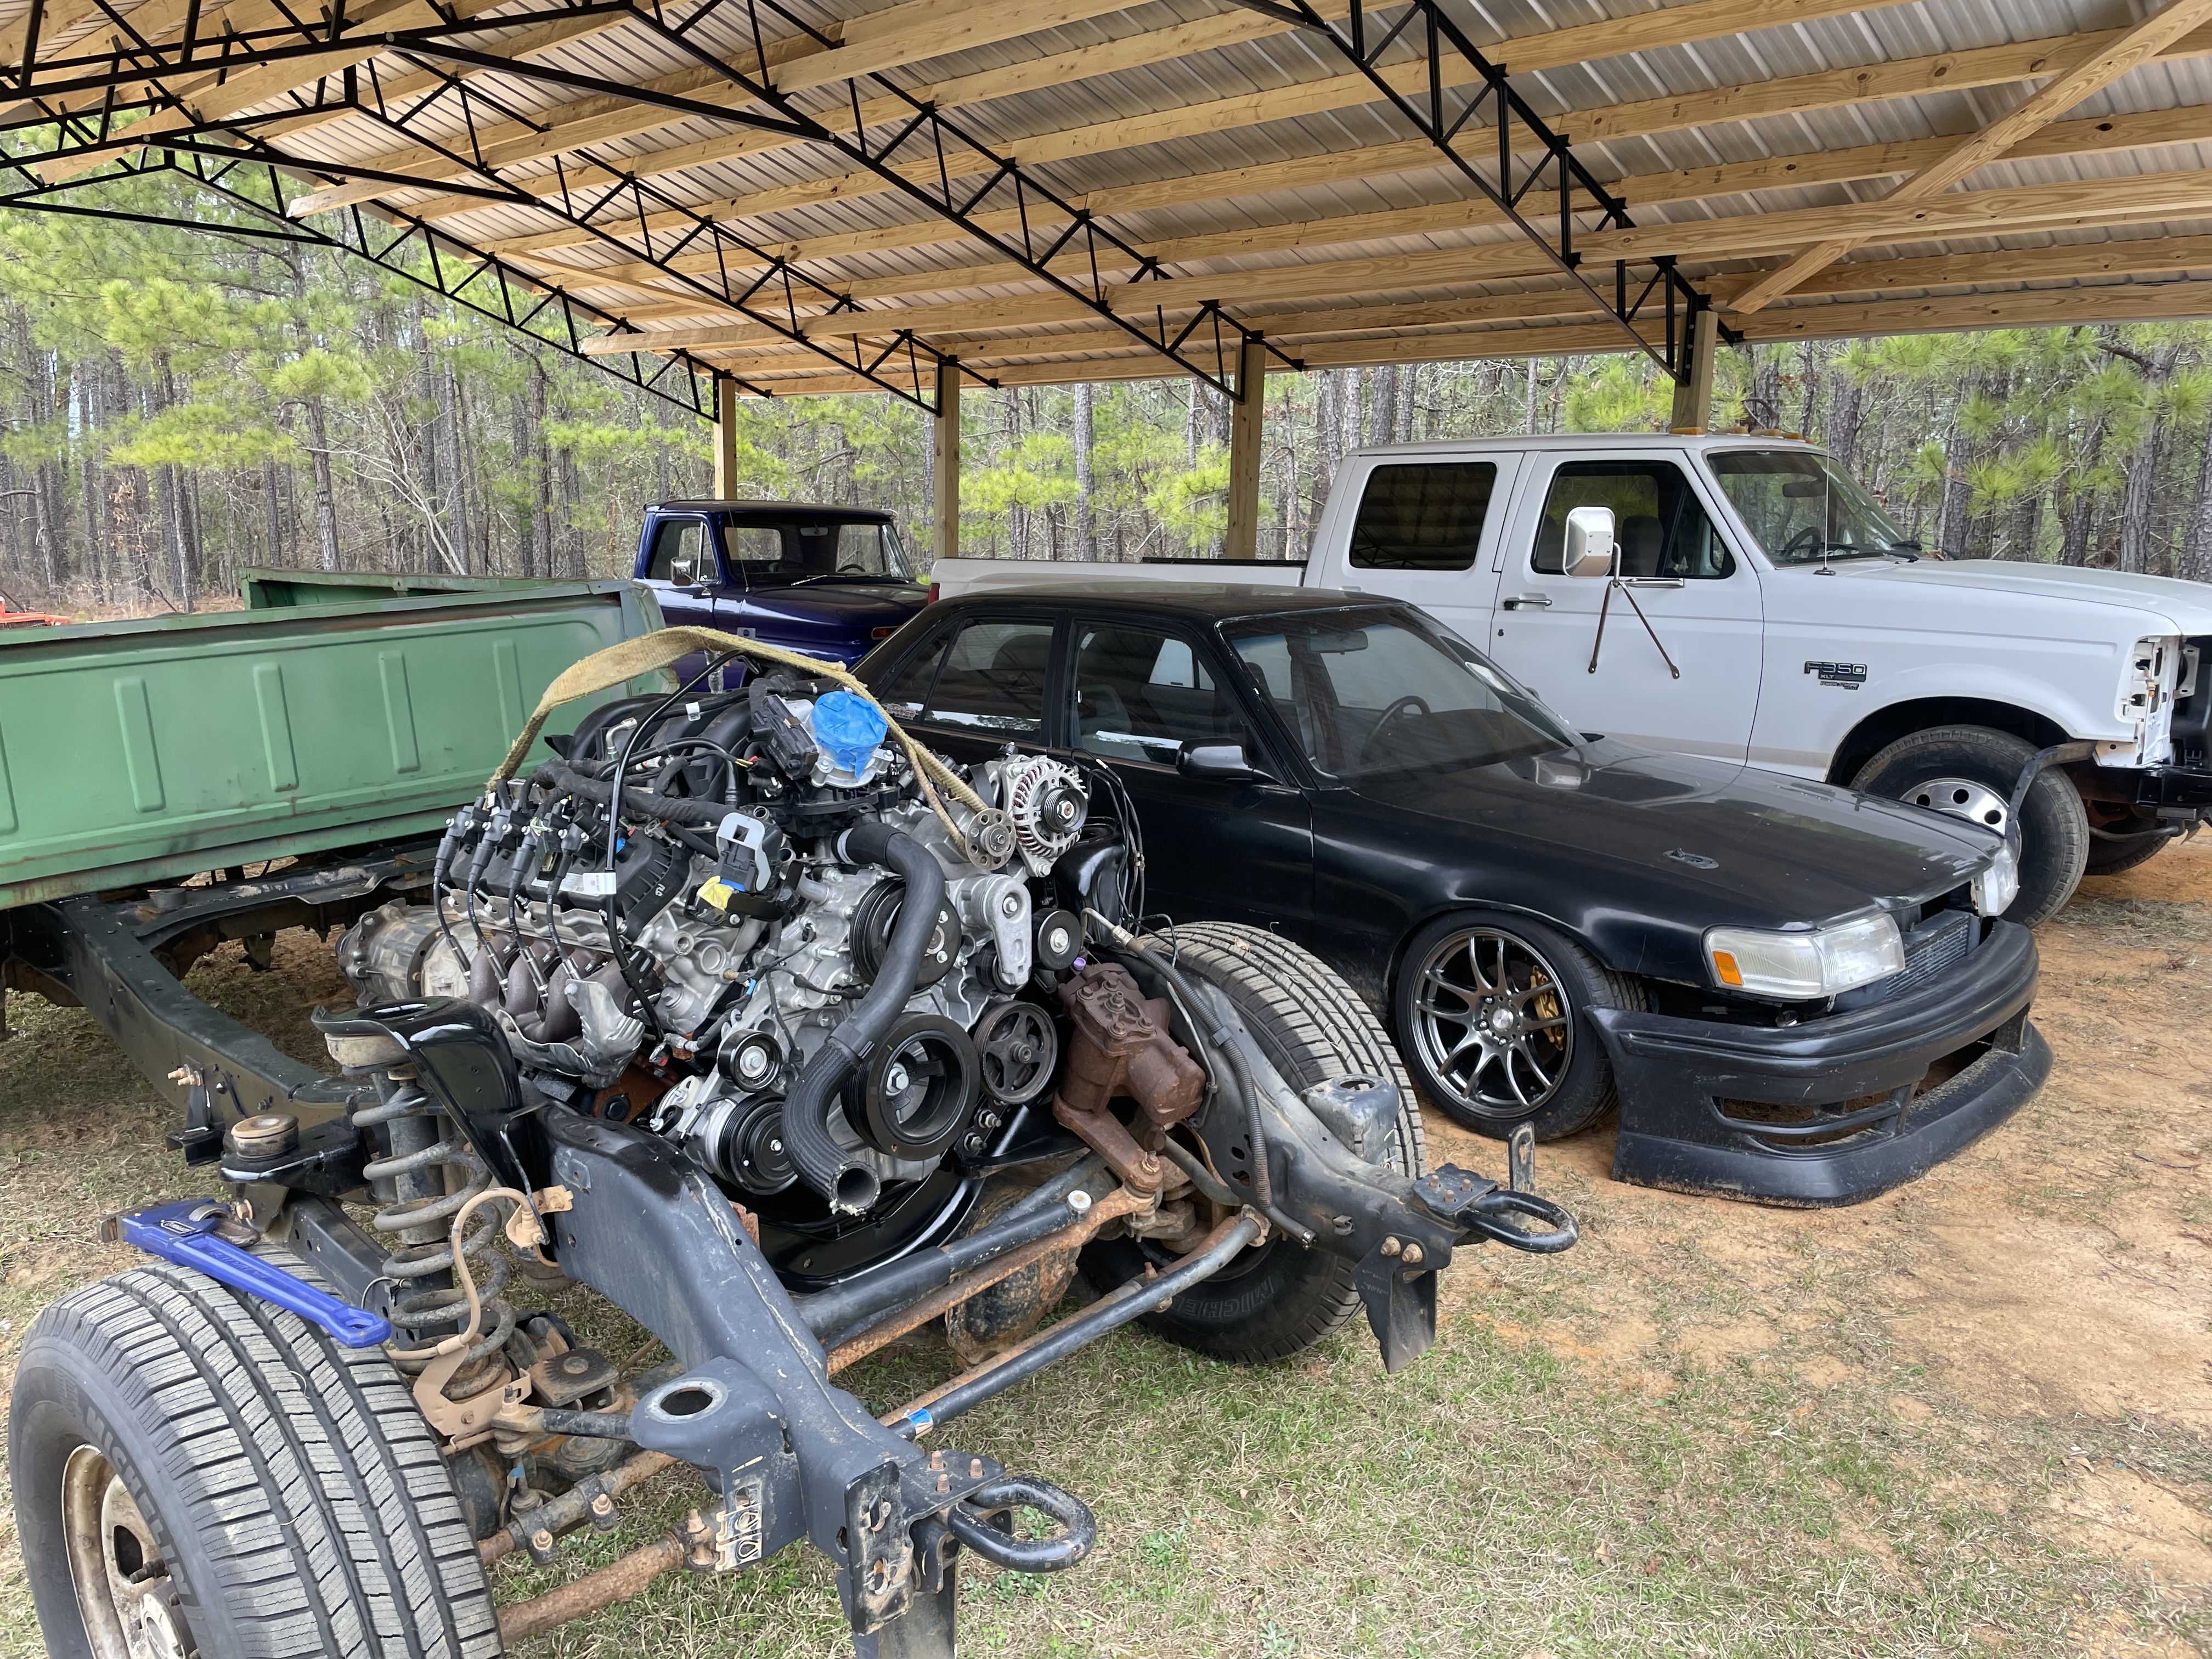
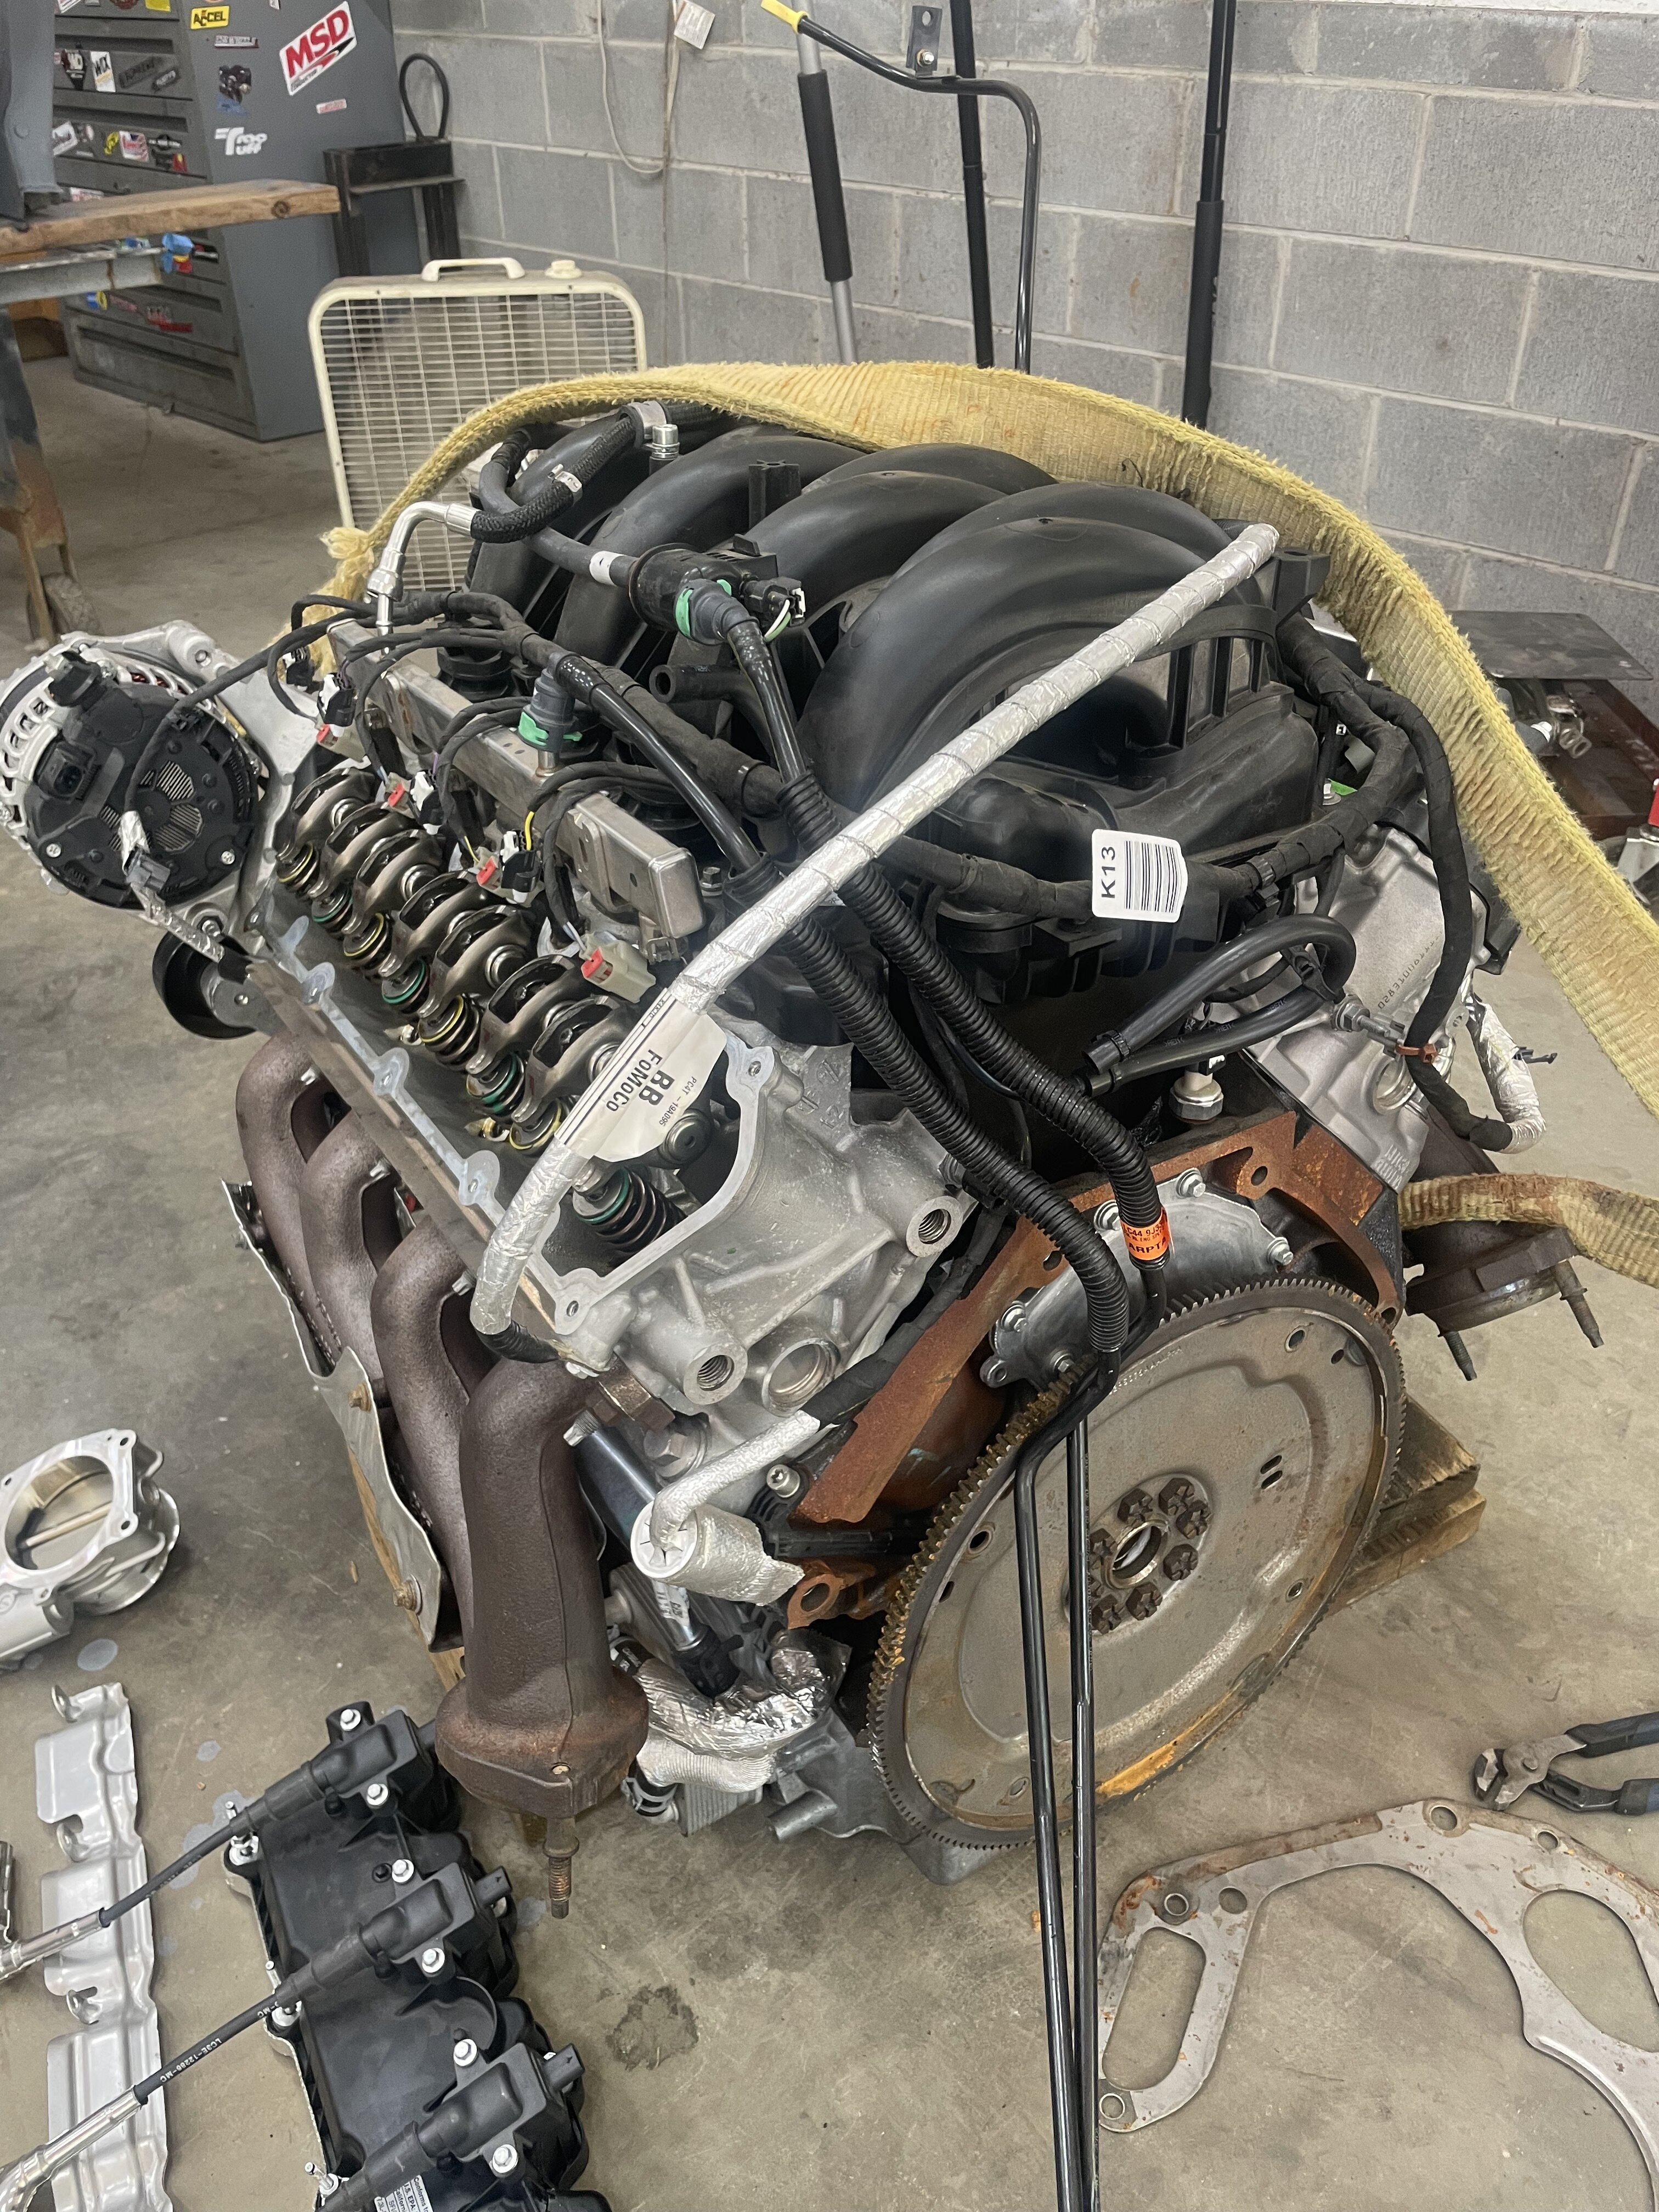
The other cool thing about buying a new frame is that it's not rusty, has very good axles front and rear (rear has a factory locker, who knew?) and a 7.3 gasoline engine *should* bolt right in with very few modifications. So I bought one. I also bought a 6r80. You'd think this is rich man's territory now but I found a basically new take-out engine that fell off of a forklift for a mega deal. Busted a valve cover, smashed a coil pack, and broke the throttle body but all of these were easily fixed.

full
 
This has been kind of a longer term project considering I live in an apartment and my projects all happen on weekends at the family shop. Since I was already doing some fairly in-depth rust repair, something possessed me early on in the build to take every panel down to bare metal. This isn't going to be a perfect truck by any stretch but I would like to put my best foot forward. I purchased a sand blasting attachment for a pressure washer (not a bad deal at $30) and a box full of strip discs and set to work.

You can see the cab had bad floors. Both cab corners were also iffy. One was bad and one was just really, really thin so I replaced both.

full


Floors de-swiss cheesed:

full


I ended up having to blast the cab in several stages given the time frames I have available to work on things. The cab crossmember was also packed full of mud and needed the ends cut out and replaced.

full

full

full

full

full


It's no wonder bumpsides are so hard to find rust-free. Not an ounce of seam sealer un the underside and would have originally been coated in red oxide primer. That's it! My plan is obviously to seal it all up with epoxy and then I think I will use a color-matched bed liner to do the bottom side.

Cab corners got done too:

full

full

Cool thing about these trucks versus 60 series is that there are a billion and a half sheet metal suppliers so patch panels are cheap and decent quality.
 
Lots of the stuff in this thread happened over a year ago but I'm trying to keep it chronological. Fenders had some rust in the lower portions to cut out and patch as well as a couple of dings to hammer out. They were taken down to bare metal as well as the inner fender for the driver side. The passenger side inner fender was beyond saving thanks to what I presume was years of battery acid so I just bought a new one (fairly cheap and fits as well as any of the other panels).

full

full


If ya look closely you can see where the inner fender was patched but it's really hard to clock.

Hood was also pretty banged up and had rust forming along the bottom edge which was cut out and replaced with new metal. This hood is almost a two-man job to move around.

full


Primed stuff:

full

full


Also got the cab into primer around the same time:

full


Also decided if I'm going to all the trouble of a modern engine and chassis I may as well remove the fuel tank from behind the seat which involves patching the filler neck hole in the cab. Jumping ahead in time here but I've settled on doing a rear-mounted tank from a bricknose Bronco. These tanks are 33 gallons, readily available on RockAuto, and the level sender *should* work with the OG ford instrument cluster. TBD though. Also picked up a Walbro 255 which should be enough for this engine but also TBD.

full
 
The frame I bought was a crew cab and almost 50" too long if memory serves. Got chopped! Measure once cut three or four times. Either the tape measure got shorter or the frame wasn't really 100% square to begin with.

full


Little brother laid some dimes:

full


We ended up fish plating the inside and boxing the c-channel using off-cuts. Really thick stuff and I don't anticipate any issues. I laid some nickels or maybe pennies outdoors on the windiest day of the year:

full


Grinder and paint makes me the welder I ain't!
 
Had this BW1345 transfer case sitting around from an 80s Ford pickup. The cool option is NP205 but they're honestly too expensive for me to justify given how unlikely I am to hurt the (free) transfer case I already have. In the same vein of cost effectiveness - I ain't paying $500 for a transfer case adapter. Fortunately the Ford stuff is generally pretty universal re: splines and flanges so I was able to have a 6 bolt flange cut out by Send Cut Send as well as a custom 6R80 flange. Both flanges are quarter inch. Got a piece of 5-ish inch Sch-40 pipe and squared it up on the welding table and bam.

full


Seems like it's pretty concentric to me but time will tell. No way it can be as bad as the AA kit I used on my 60 series though.

In preparation for the 7.3 I went ahead and bought/installed a DBW pedal. Don't remember the part number but Holley's website provides it. Was maybe $50 on RockAuto. Drilled a few holes and installed with some rivnuts. Before it's all over I plan to widen the brake pedal pad.

full


This truck had manual brakes from the factory. There is a kit out there that adapts to an 05-ish gasser vacuum booster that exists but is also mega overpriced. I built an adapter with some offcuts out of the scrap bin. Booster was like $40 from pull-a-part plus the rattle can rebuild. I will at least buy a new master cylinder.

full


This thread is quickly starting to catch up to real time. Crazy how long a project like this takes. We're in the big spending phase now. Engine controller, trans controller, paint, body harness, etc.
 
Body on the frame! I didn't show the process of putting the bed on the frame. Added some tabs to the frame rails to move the holes for the bed inward a bit as this frame is roughly 38" wide where the old Ford pickups are 34" at least for the 4x4s.

full


Ended up reusing the mount brackets and bushings I cut off of the frame as they were close to perfect dimensionally. Mocked up the rest of the front end:

full

full


Cab still needs adjusting as it is a little too close to the bed on the passenger side. There should be enough adjustment in the holes to get it looking right. I also need to cut the frame off right under the core support as the newer trucks have a much lower front bumper for crash safety and also aerodynamics? Don't need that where we're goin. Georgia is in false spring right now so it feels like it's warm enough to paint but who knows if it'll hold up until I have an opportunity.
 
Lookin good. I was tempted to get back on paint myself. It went from overnight freezing temps and low 50's daytime to 86 degrees the other day. Still in the high 80's. I know it will bite me in the a$$ if I try though.
 
Lookin good. I was tempted to get back on paint myself. It went from overnight freezing temps and low 50's daytime to 86 degrees the other day. Still in the high 80's. I know it will bite me in the a$$ if I try though.
You ain’t wrong. As I posted this clouds started rolling in. Maybe wise to go ahead and buy paint just in case though. Also in the middle of building a pole barn so truck is taking a back seat for a couple of weekends.
 
Not much progress this weekend because we were busy putting up this pole barn. My brother's OBS takes up almost a quarter of the available space under a 30x40' roof!

full


I did find this ColdCase radiator in the scratch n dent at Summit for very cheap and this Taurus fan I've been holding onto fits perfectly. Welded a couple of tabs and got it mounted. Also made brackets to mount the rad to the core support that still need to be welded to the rad (not pictured).

full


Also put together the fuel sender/pump but realized the tank I bought is the wrong one. Apparently bricknose Broncos have a large sender or a small sender and I didn't know any better. Pump is just your typical Walbro 255. Planning to pair with a C5 Corvette filter/regulator as the Godzilla needs 4 bar and is returnless, just like the LS1.

full


A 255 is about all I would dare run on this 14ga wire. Shouldn't be an issue though. Gonna be a couple of weeks before I'm back in the shop but maybe by then I'll be able to get some paint mixed and sprayed. The pole barn was really holding me up since we are completely out of shop space at the moment.
 
Last edited:
Been a while since I've been able to lay hands on the truck. I have it in my mind that painting it is the next step so progress will be slow until we get a nice 65deg.+ weekend where I can spray. I did knock out a couple of things this weekend, though. Tentatively mounted the condenser (parallel flow from an OBS F150).

full


Very precise jig to hold everything level as I have been relegated to work in the outdoors. I also rebuilt and installed a steering column sans paint - still not sure on interior color, someone tell me what color to do. Test fit heater box too. I have a dealer add-on AC unit that isn't going to fit with this heater box but I have some questions out to friends more familiar with the platform. Mainly trying to avoid spending the money on a Vintage-Air system.

full


Also might be the only bumpside F250 with a Nardi classic around lol.

full


Also bought the correct fuel tank for the sender I have. This one even came painted instead of covered in grease. The newer frame I'm using has a super beefy crossmember in the rear that's meant to hold the spare tire in place under the bed. I'm going to have to take the bed off and remove the existing crossmember to mount this gigantic tank. Have a feeling the 7.3 will need all it can get though.

full


Not that much progress but made sure to take a bunch of pictures to make up for it. Also realizing I need to buy some ni-copp brake line and re-do the rear section since this frame had four wheel ABS which results in four separate brake lines needing a home where the ABS pump would go if I were keeping it. Thinking I will just tee the two rear calipers together like most older vehicles as trying to find tees for the metric Ford flare nuts is harder than you'd think. Also my flare tool refuses to make a nice inverted flare on these coated mild steel brake lines. Look at all this mess:

full
 
A couple of updates - hoping to keep these coming as the weather gets nicer. Got some NiCopp brake line and it's a dream. Bends and flares just like in the Youtube videos. Did the rear axle up into a tee and will be adapting to a braided stainless line since I had one left over from the Cressida's clutch deal.

full

full


Ran a line all the way up the frame as well but didn't take a photo. Was able to use all of the factory clips which is a big bonus. Also installed the fuel tank - it is gigantic but I don't think it looks too out of place. I've said it before but I think this engine will need every bit of a 33-gallon tank. Not the most elaborate setup but you're kinda limited by the bed.

full


In order to install the tank aft-axle, the spare tire mount/giant crossmember unholy amalgamation had to be removed via torch and a new piece of 1/4" plate welded in at the back to keep the frame rails square. You can't tell from the photos but the new rear crossmember-plate-thingy is beefed up with a tubing cross-section on the inside. Used factory straps, again, nothing too fancy here.

full


This side profile gives an idea how far down the tank hangs. Based on some not-so-exact measurements, it's actually higher off the ground than the spare would've been.

full


Plopped the engine and trans in. Not that anyone asked, but a 7.3 gas engine WILL drop into a 2017ish frame if you use the 6.2 gas engine mounts. 10/10 the easiest engine swap ever. No welder just giant tractor to dump it all in there.

full


Rattle can rebuilt the frame rails while I was at it. That concludes this weekend's updates. I don't know when I'll be back down to the shop to work on it again but fingers crossed next time I update it'll be with photos of me painting something.

Money shot:
full
 
Got some more work done this weekend. Brake lines are completely done on the frame side, just need to plumb to the master cylinder now. You can see I didn't paint anything this weekend - forgot how bad pollen gets this time of year. Paint will have to wait til its not yellow outside anymore.

full


I didn't plumb to the master cylinder yet because after setting the cab on the frame with engine and trans/tcase I found a couple of issues:
1. Transfer case fouls on one of the cab braces
2. Steering shafts don't line up that great - I want to keep the factory late model lower shaft for both simplicity and safety (it's collapsable)
3. Vacuum booster is waaaay too close to the driver side valve cover

Super tech core support bushings
full


Since the engine's location is fully dictated by the existing engine crossmember (not willing to get into modifying that), my solution is to just do a 3/4" body lift. I can also take this opportunity to straighten up the passenger side as the "bump" on the bed side doesn't line up all that well with the cab. The small body lift should fix all three issues mentioned above too so I see no reason not to.

Also got a transmission mount fabbed up. Nothing too terribly fancy but I was able to use a billet engine mount left over from my S2000 swap project!

full


Also notched the factory transmission crossmember as my 6R80/BW1356 combo is shorter than what the frame would have had originally.

full


I know it looks like the front yoke hits but I promise it's just an illusion. Ordered up a couple different body lifts so that'll be my next step. I also want to get the front end fully completed/mounted up. There is a large section of the front frame that'll be removed which means I will need to relocate the sway bar and potentially the steering stabilizer but those should be fairly easy. Excited with the direction this is heading!
 

Users who are viewing this thread

Back
Top Bottom