I ordered a set of mini h1 projectors for my LX470 from @Luke111 and saw his amazing hid retrofit pics for the 80 series. Well I figured I already have a ton of lights on the 80 so why not make the ones that get the most use better. I talked with nick @2000UZJ to get some help with building a set of depos with hid projectors. Nick works at The Retrofit Source in Atlanta, Ga and has helped me a lot with this conversion. Prior to doing this I have never split headlights or done anything much with HID. It was not a simple process but is definitely doable. There were a couple hurdles which I will post below and hopefully outline a step by step process. If you need parts then call nick @2000UZJ to get setup. Awesome service and good guy.
Hopefully this post is not too wordy. I wanted to post everything I could to help others out, as well as for me to reference to if needed in the future.
Thanks for the help from Nick @2000UZJ and from my friend Rob at Odd Iron Offroad. Some of the videos were taken from @Luke111 as I started this whole process because I am using his bracket on my LX470 and have been learning from the info he put up. Thanks guys for your help - I really appreciate it. Thanks @Luke111 for starting the whole process with the LX470 and pushing me to learn how to do this becasue of your awesome pics.
Parts needed:
1)depo headlights - they come with glass lenses. From ebay or I believe @ranma21 has them. usually around $230
2)Parts from The Retrofit source. The Retrofit Source | The Best HID & LED Projector Headlight Upgrades. PM Nick @2000UZJ for ordering info. He is an excellent resource and can help with TRS parts.
a) Morimoto mini D2s stage III kit - 35w ballast, 9005/9006 HD relay, E46-R shroud, d2s XB 5500k bulbs, grey retro rubber. $332
b) 2 - 9006 extenstions - $15
c) 2 - high beam splitters - $5
3)H1 headlights - I got some sylvania lights ($25-50 based on which you pick. the more expensive have a bluer tint). I just got the cheap ones to start with and see how they did.
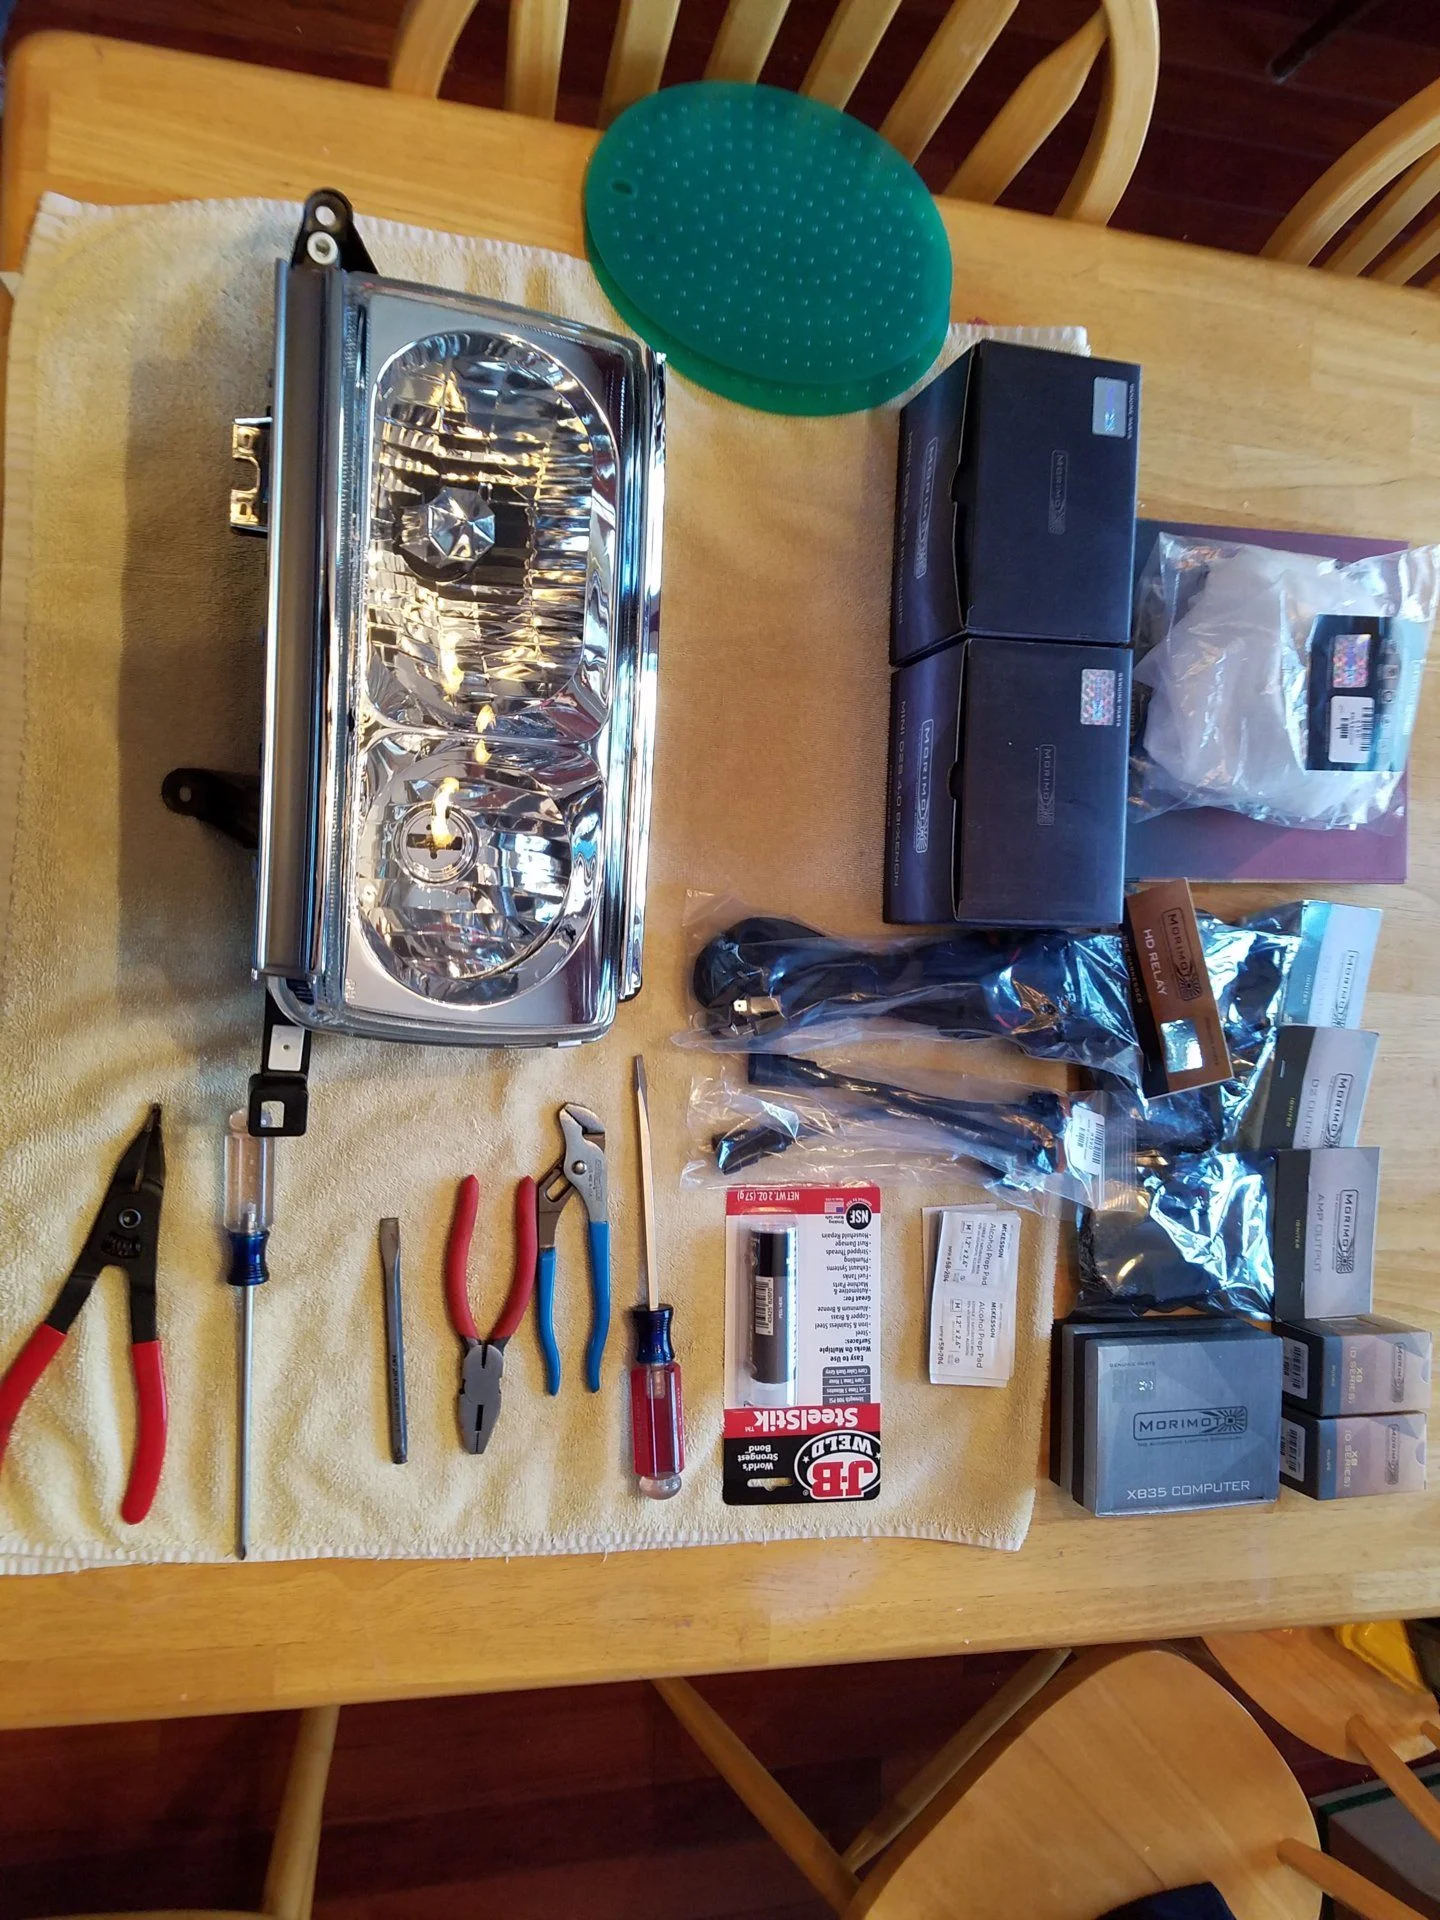
Tools needed:
1)phillips screwdriver
2)flat head screwdriver
3)pliers
4)retaining ring pliers
5)JB steelstick
6)alcohol prep wipes
7)long curved tip needle nose pliers
8)10 and 12 mm socket with long extension
9)soft towel for working surface
Heres some videos.
Opening & Resealing Automotive Headlights using Morimoto Retro Rubber
TRS Tips: Morimoto Mini D2S 2.0 Bi-xenon Retrofit Guide
1)Preheat oven with rack in lowest position to 275 deg
2)Get all the tools ready and prepare a large work area.
2)take trim off light and set aside
3)take retaining clips off light housing - I worked on 1 side at a time. save all parts to reuse later
4)remove rubber seals and vents on back of housing
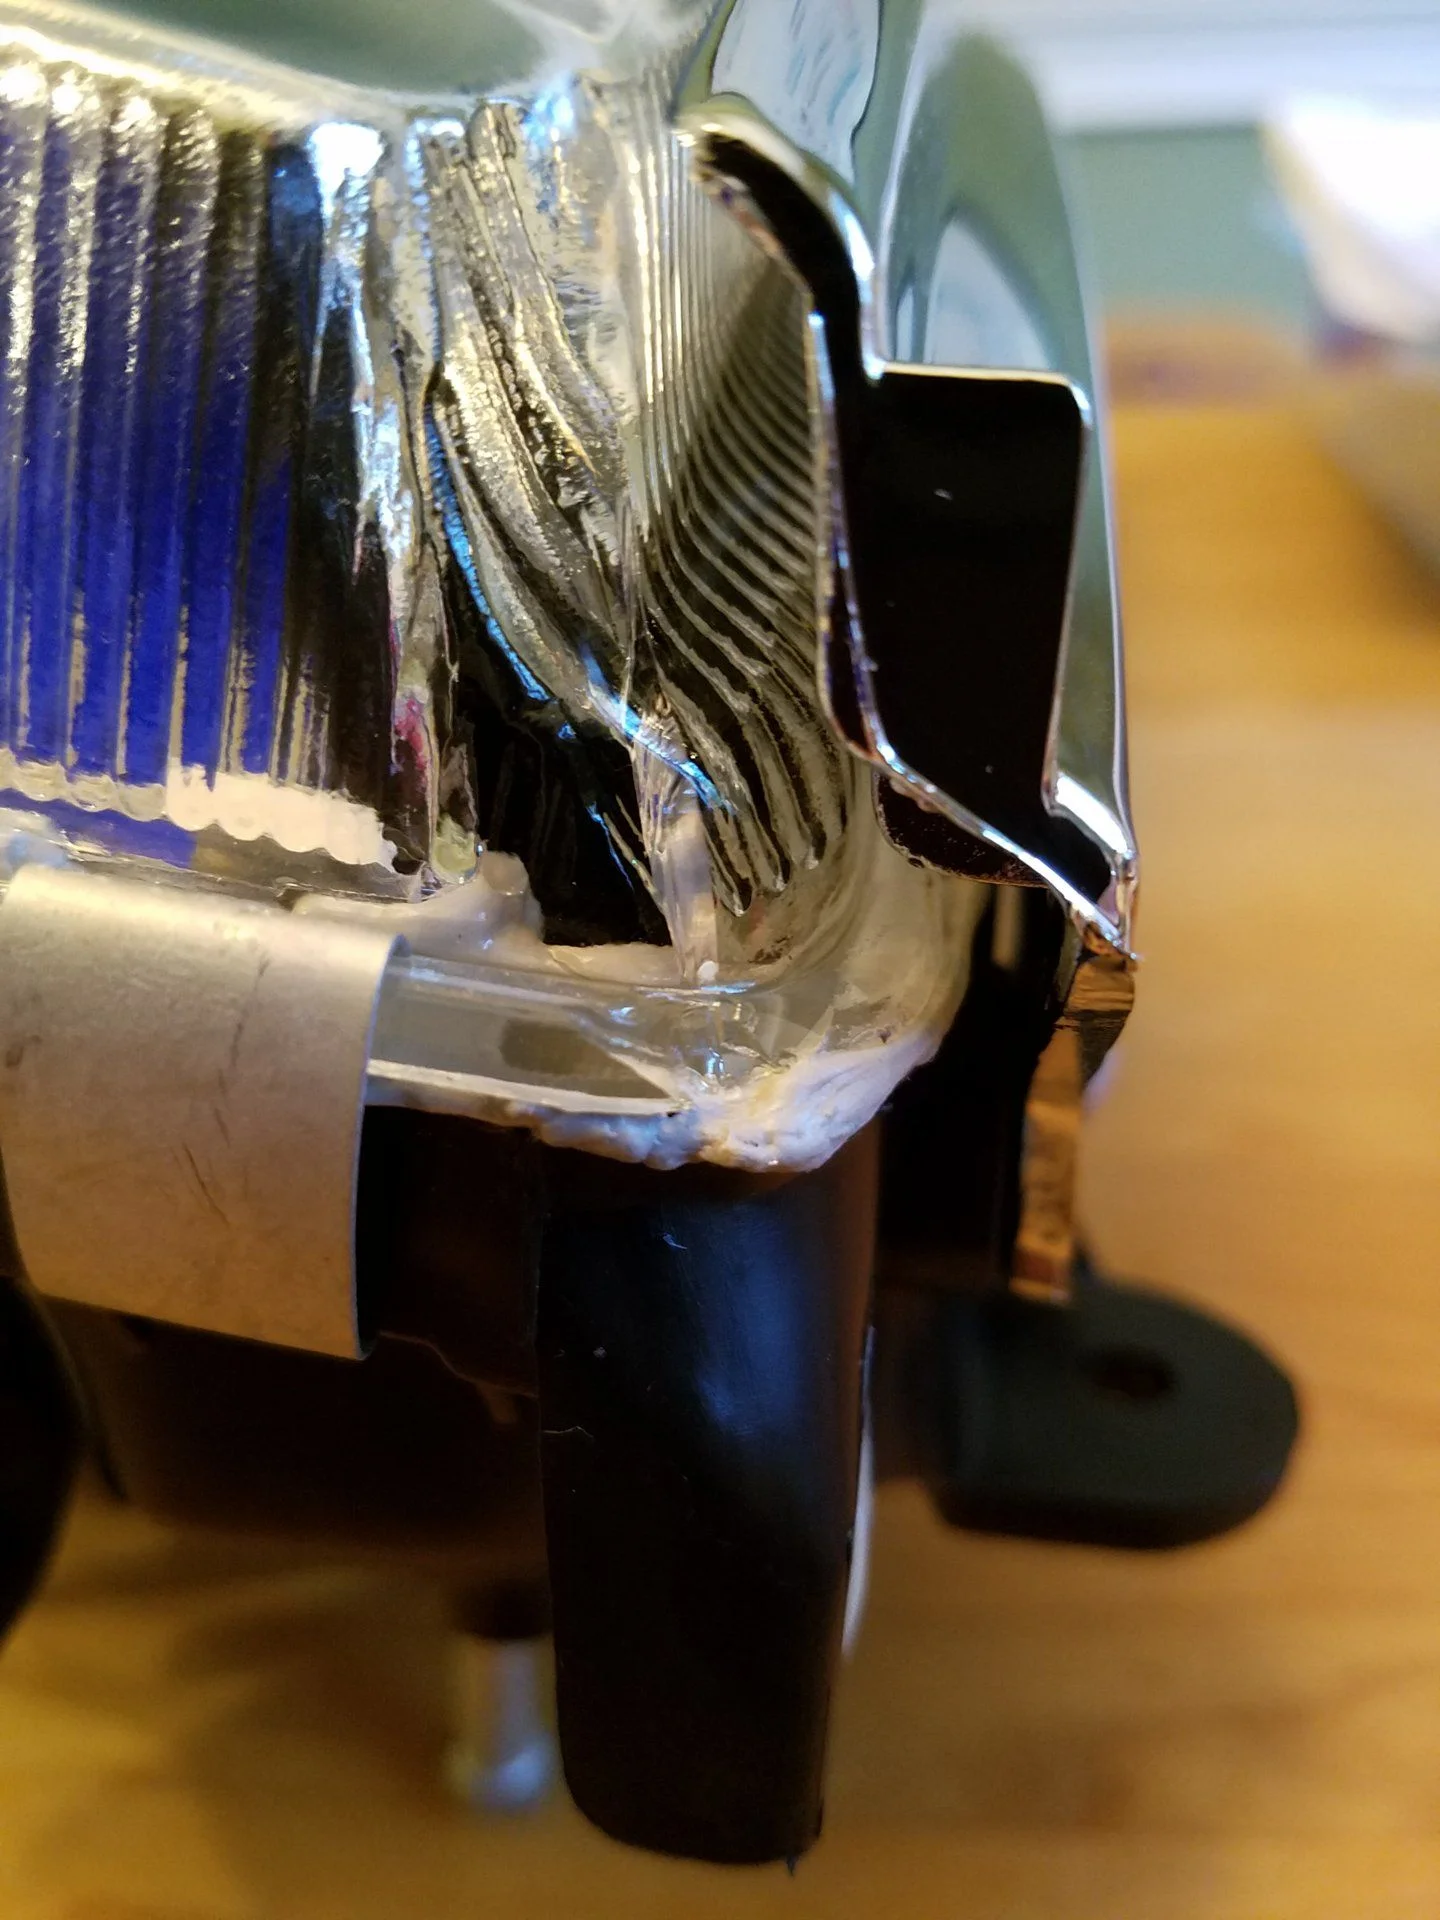
5)place light in oven that has been fully preheat to 275 deg for 7-8 minutes. I had to use 8 minutes as glass was hard to pry apart after 7 minutes and got small chip on side of depo light accidentally.
4)Get ready - next part goes fast. Pull out light and its gonna be a little warm. start separating light in the corner where there is the thickest amount of plastic to try and limit deformation. It helps to have someone else around to help as you need about 3-4 hands. once the light starts to come apart try to keep the butyl from getting on the chrome. I used a razor blade to cut the butyl. Work the light apart progressively around. If you feel like you are using too much force then stop. You can always put it back in oven for 1-2 minutes. I pryed too hard and cracked edge of glass as above on first light.
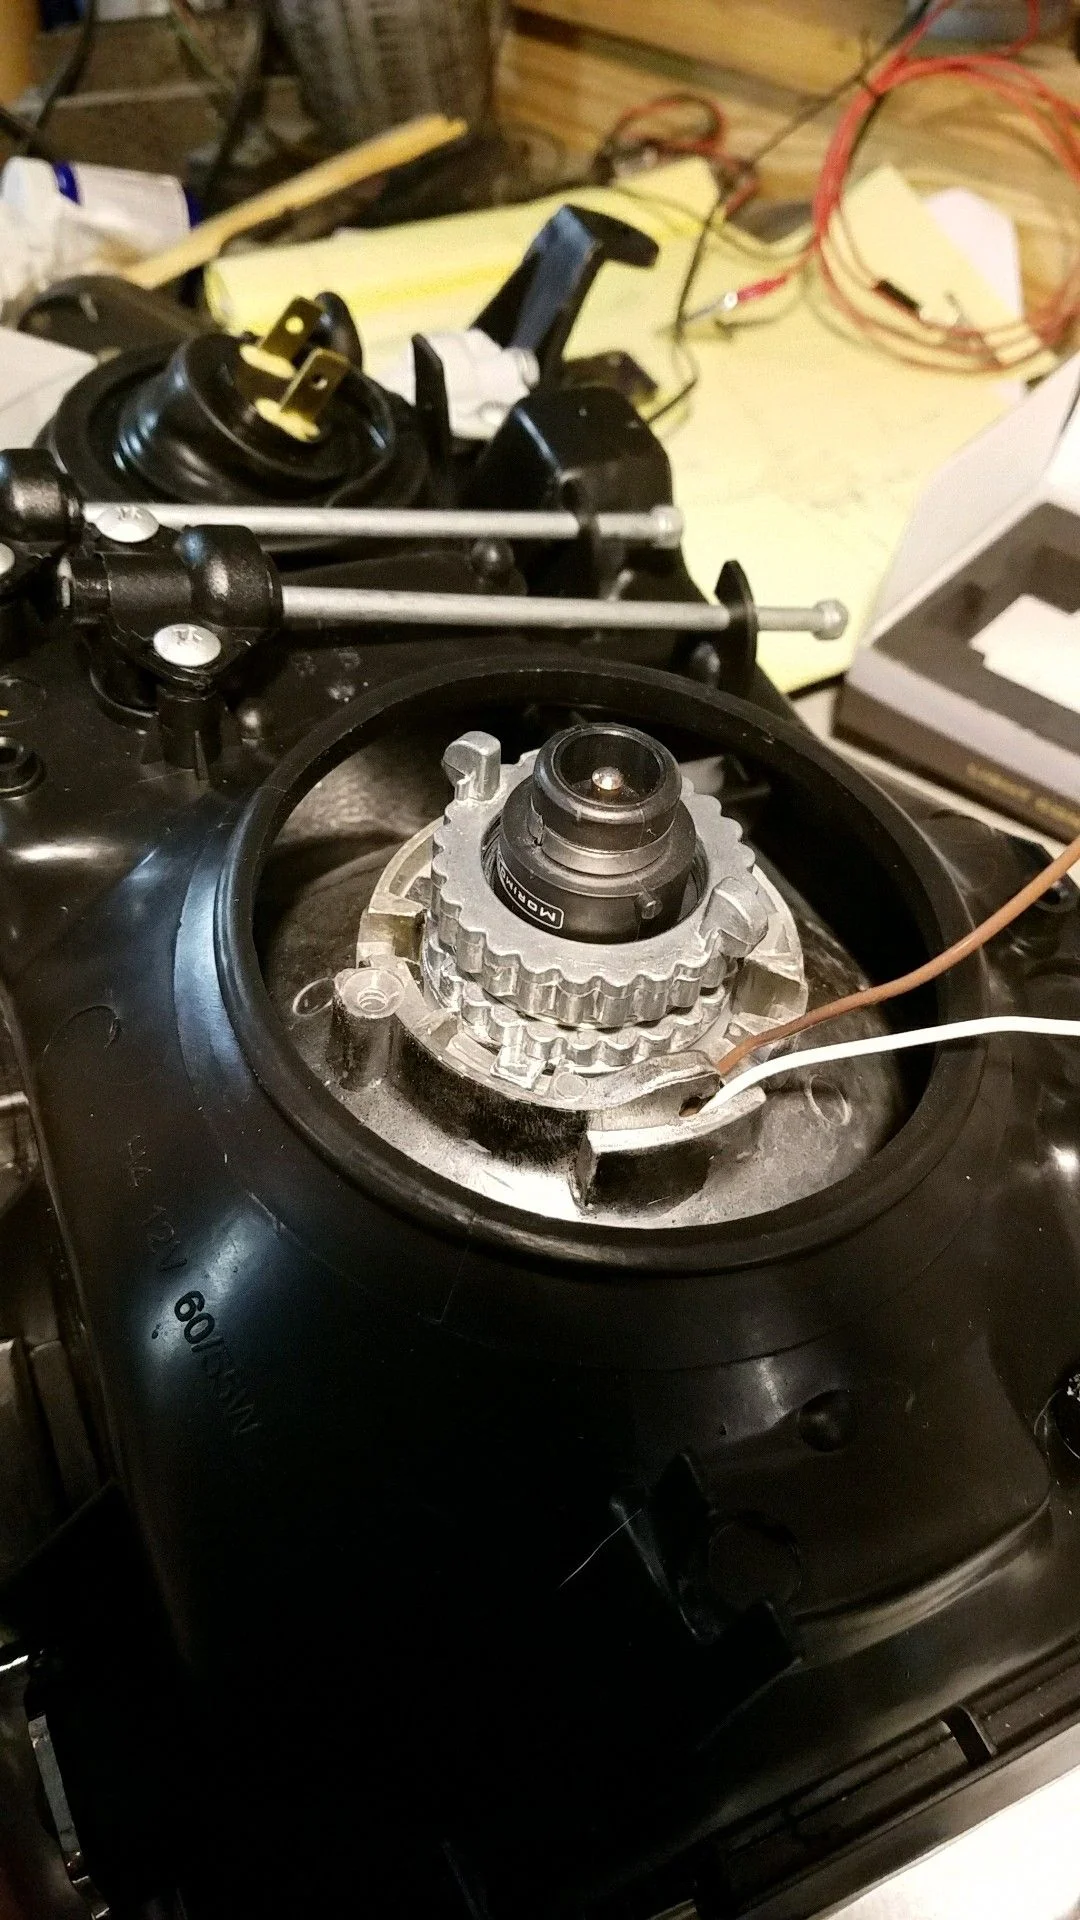
5)Take a deep breath. Now that its apart you can start phase 2. The next step is to install the projector. TRS has schematics showing the orientation of the pieces but the projector has a flat portion on the bottom that should be level to the housing. The shroud that drops when high beams are turned on should be at the bottom. There is no need to remove the internal parts of the light unless you are painting. install projector and tighten everything down. I used the long needle nose pliers to tighten the nut on the back of the housing.
6)run the 2 wires that come out of the projector out the back of the housing. Here's how I did it.
6)test fire the shroud. Use the 2 wires that you just ran out of the housing as above. place 1 on positive and 1 on ground. I initially used a 9v battery but could only get 1 shroud to fire. Nick recommended vehicle 12 battery and both fired without any problem. Test fire each 50 times to make sure working properly.
7)Install the shroud with the flat portion at the bottom using small amounts of jb steel stick around the periphery and pressing onto the projector. I rolled them out like a snake and put around the edges in between the clips so it would not get near the working part of the projector.
8)Clean everything up with a microfiber cloth really well. make sure projector, lens, reflector are all nice and clean
9)Place retrorubber in oven for about 2-3 minutes. Take out and start working it by stretching rubber to a thickness that will fit in groove of housing. see video. Try to run a continuous bead all the way around the housing so you will get a nice seal.
10) Place the glass back on the housing in the original position and place back in oven. Same temp setting as before 275 deg for 7-8 minutes.
11) Take light out of oven, again its hot. push glass down into housing squeezing retrorubber out some. Take and clean up retrorubber using a ball of the same retrorubber. see video. This is time sensitive as the butyl has to be a certain temp to remove well.
12) Clean the bulb with alcohol wipe and install into housing. place spring behind bulb and tighten down retainer.
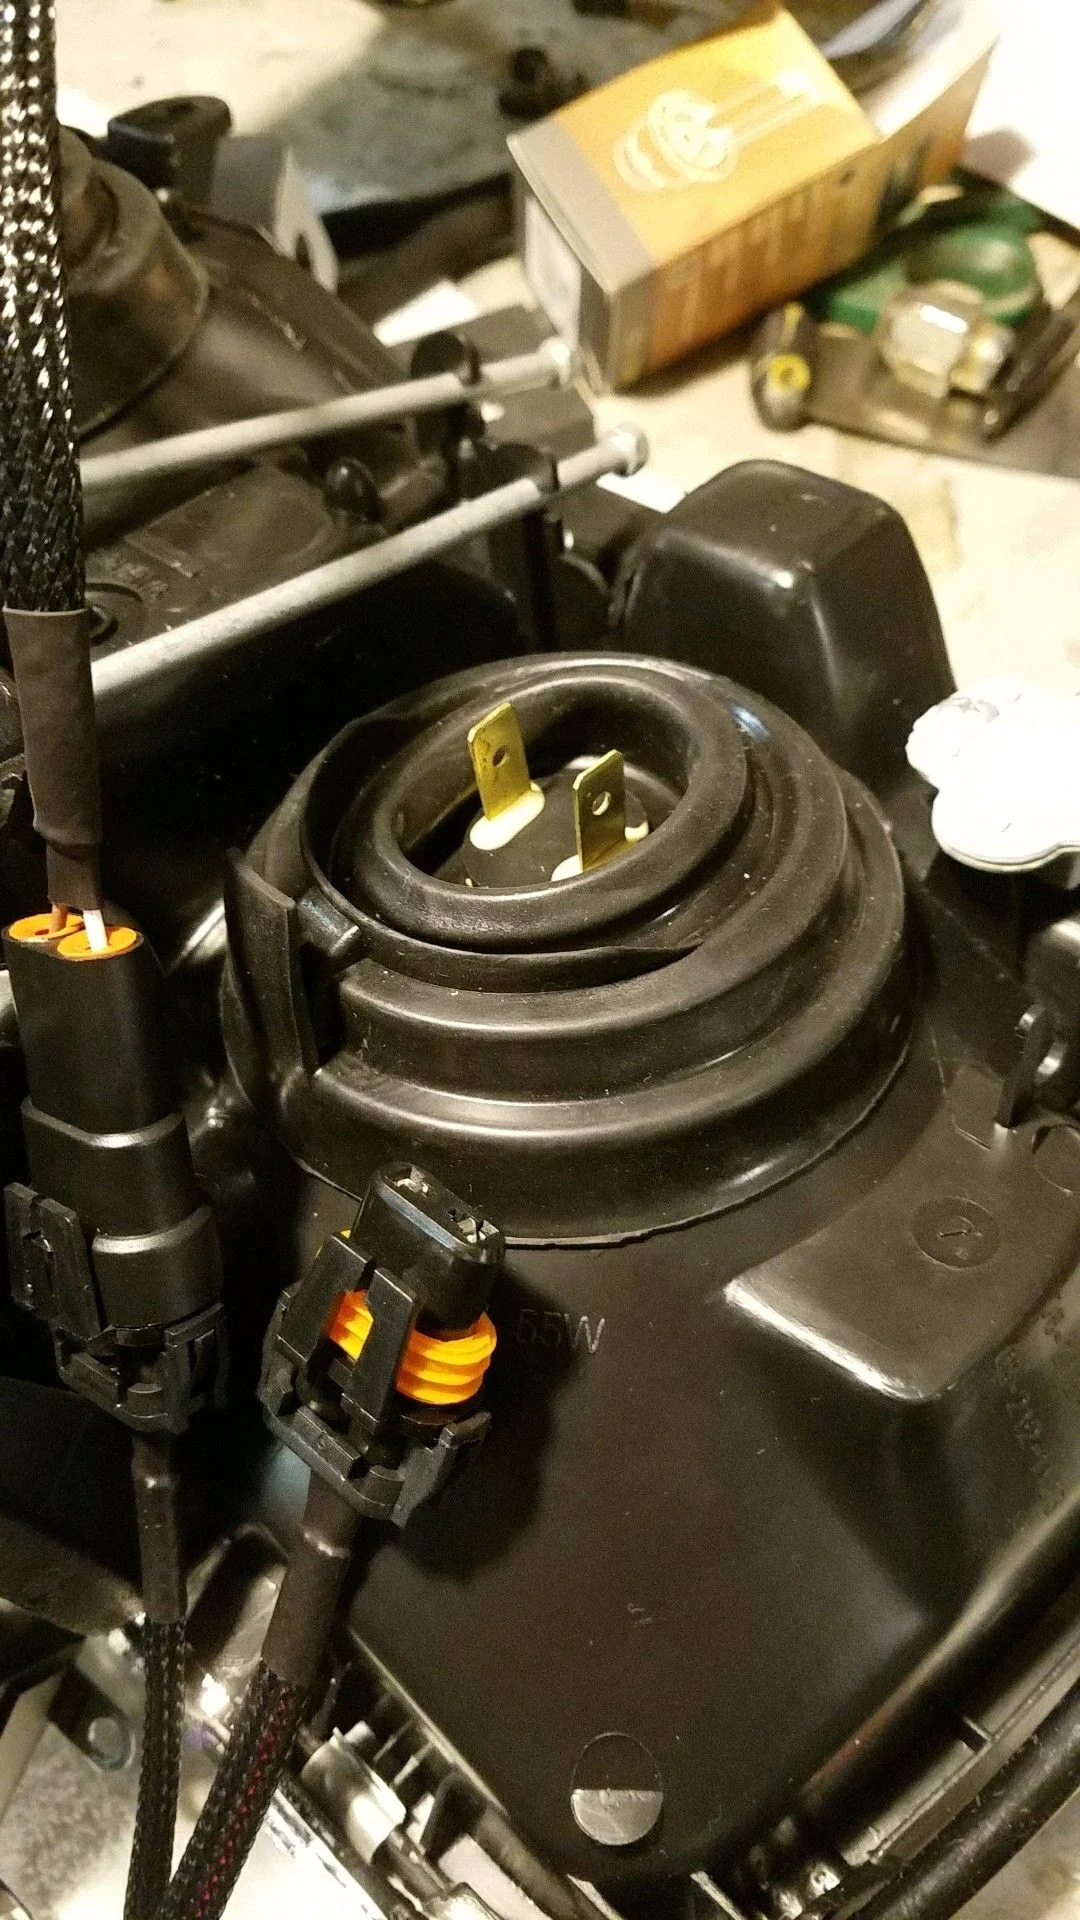
13)Cut a bigger opening in the rubber seal so that it will fit as below. You can go ahead and install igniter if desired.
14)Take high beam plug and sauter on leads from 9006 connector. We cut off the male end (with yellow connector) and sautered the leads onto the 2 prongs, then heat shrinked over this. Nick recommended this and it worked well.
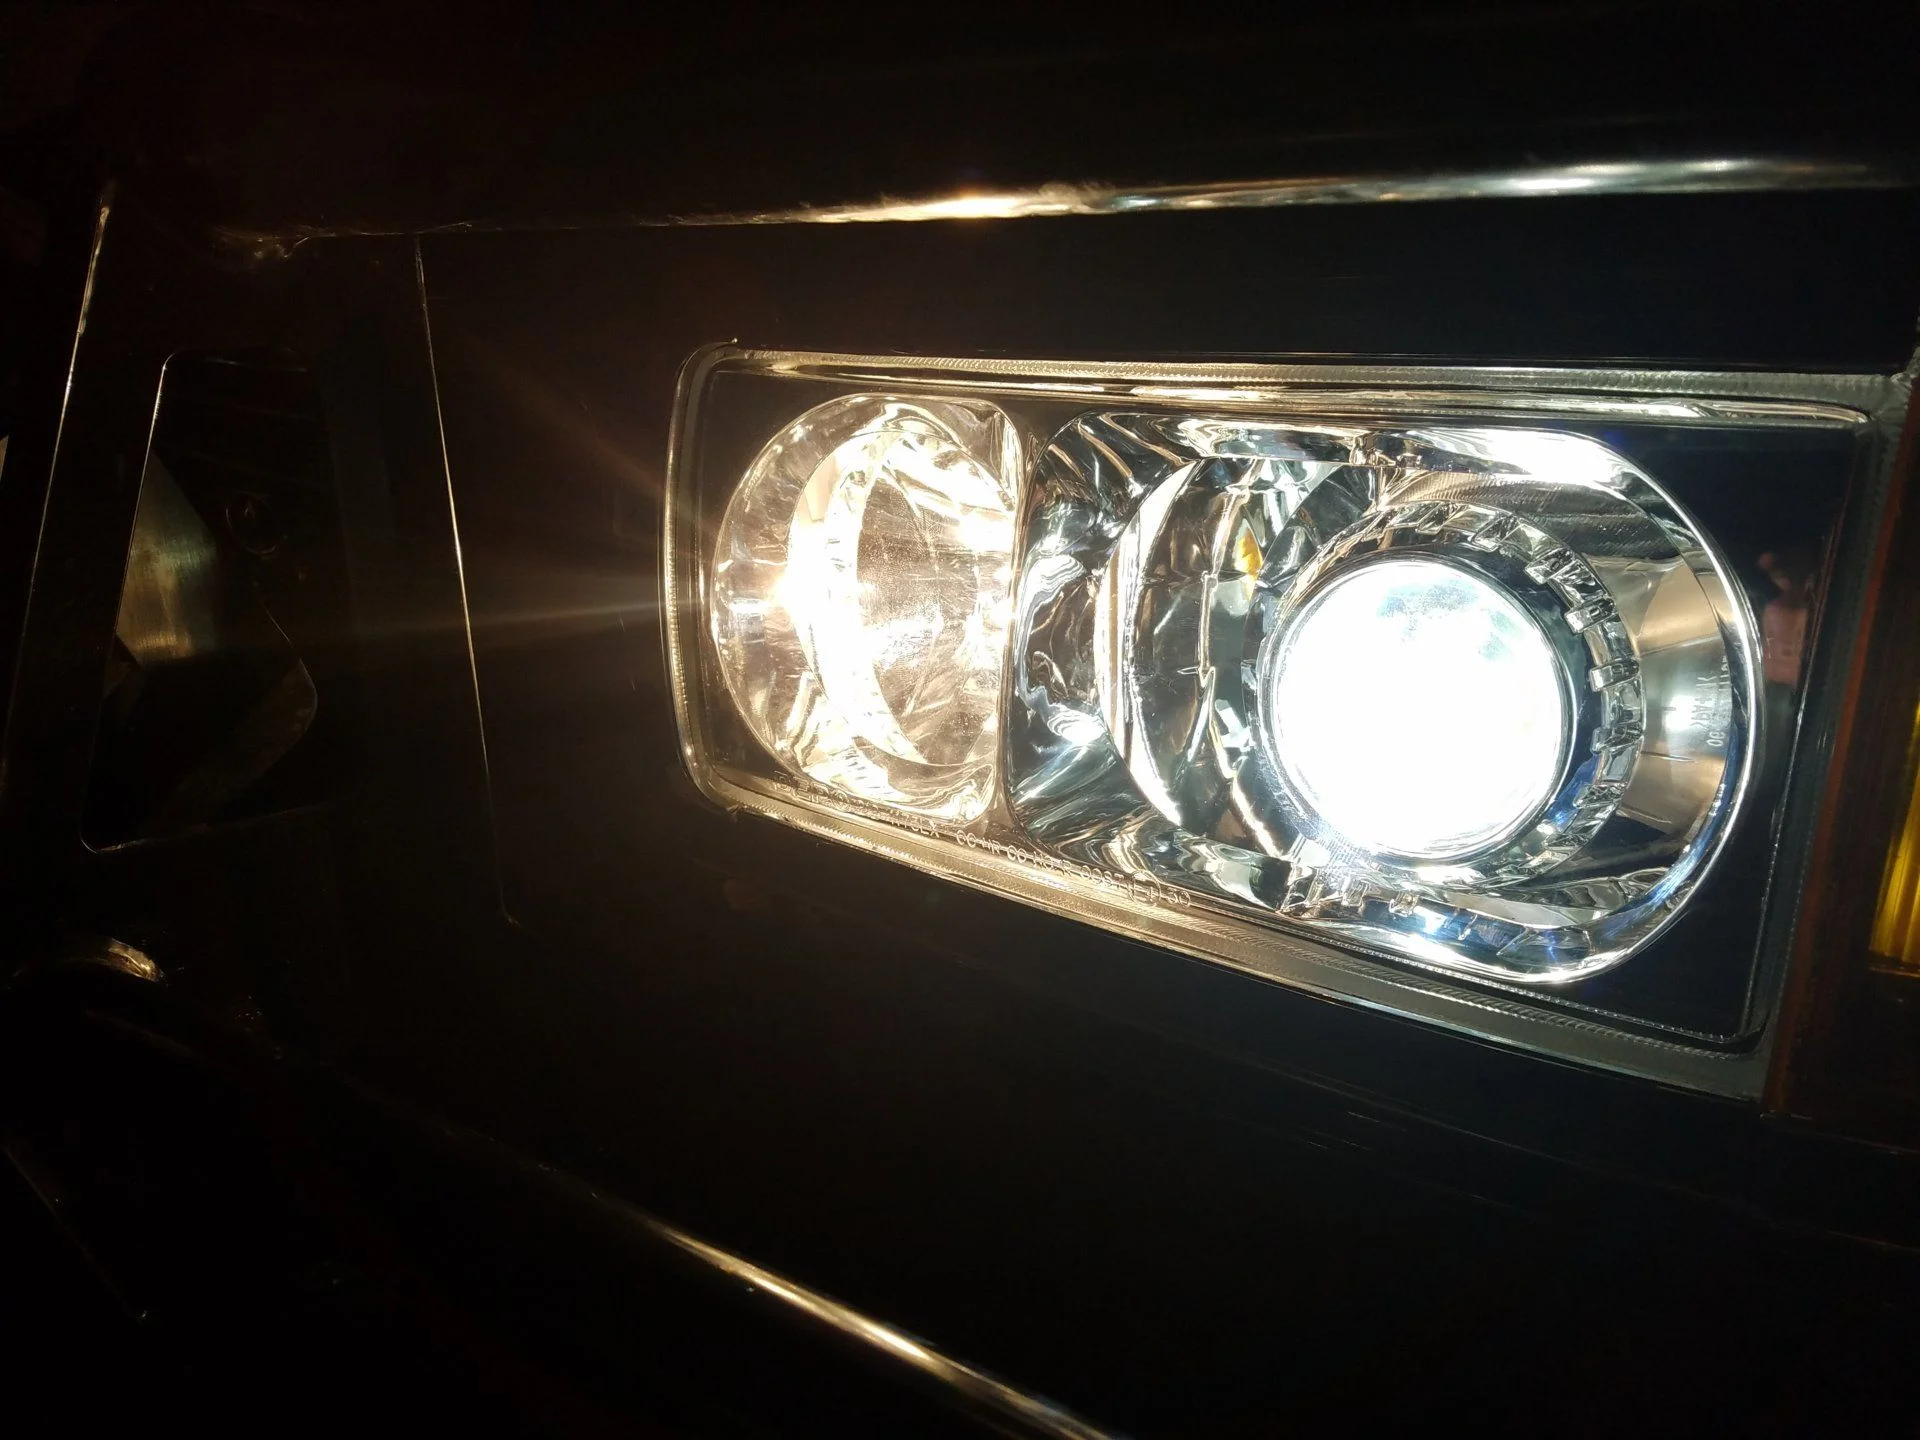
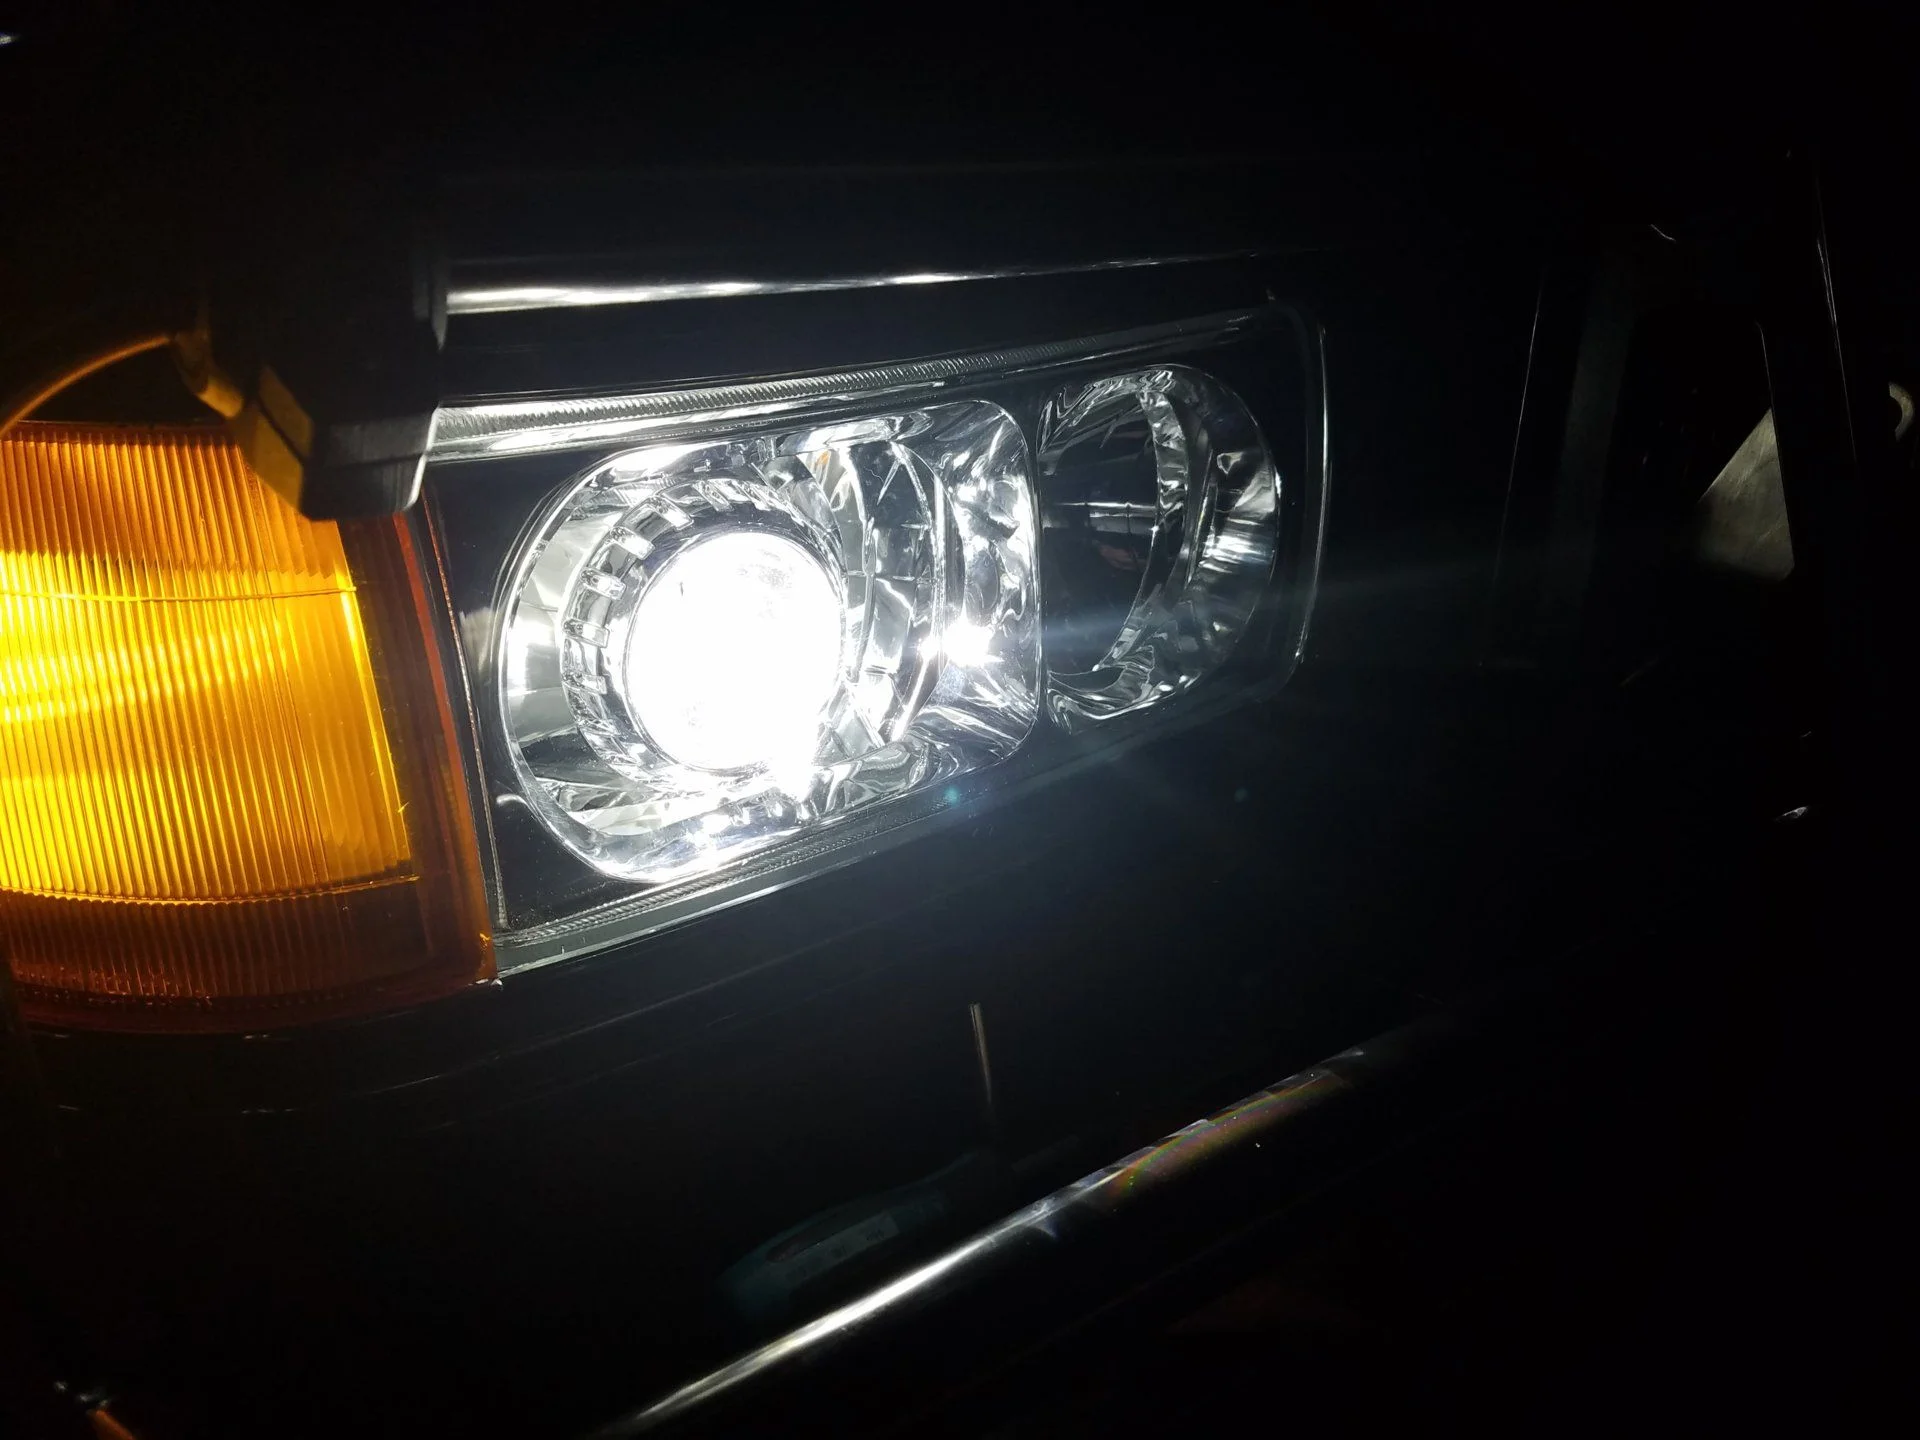
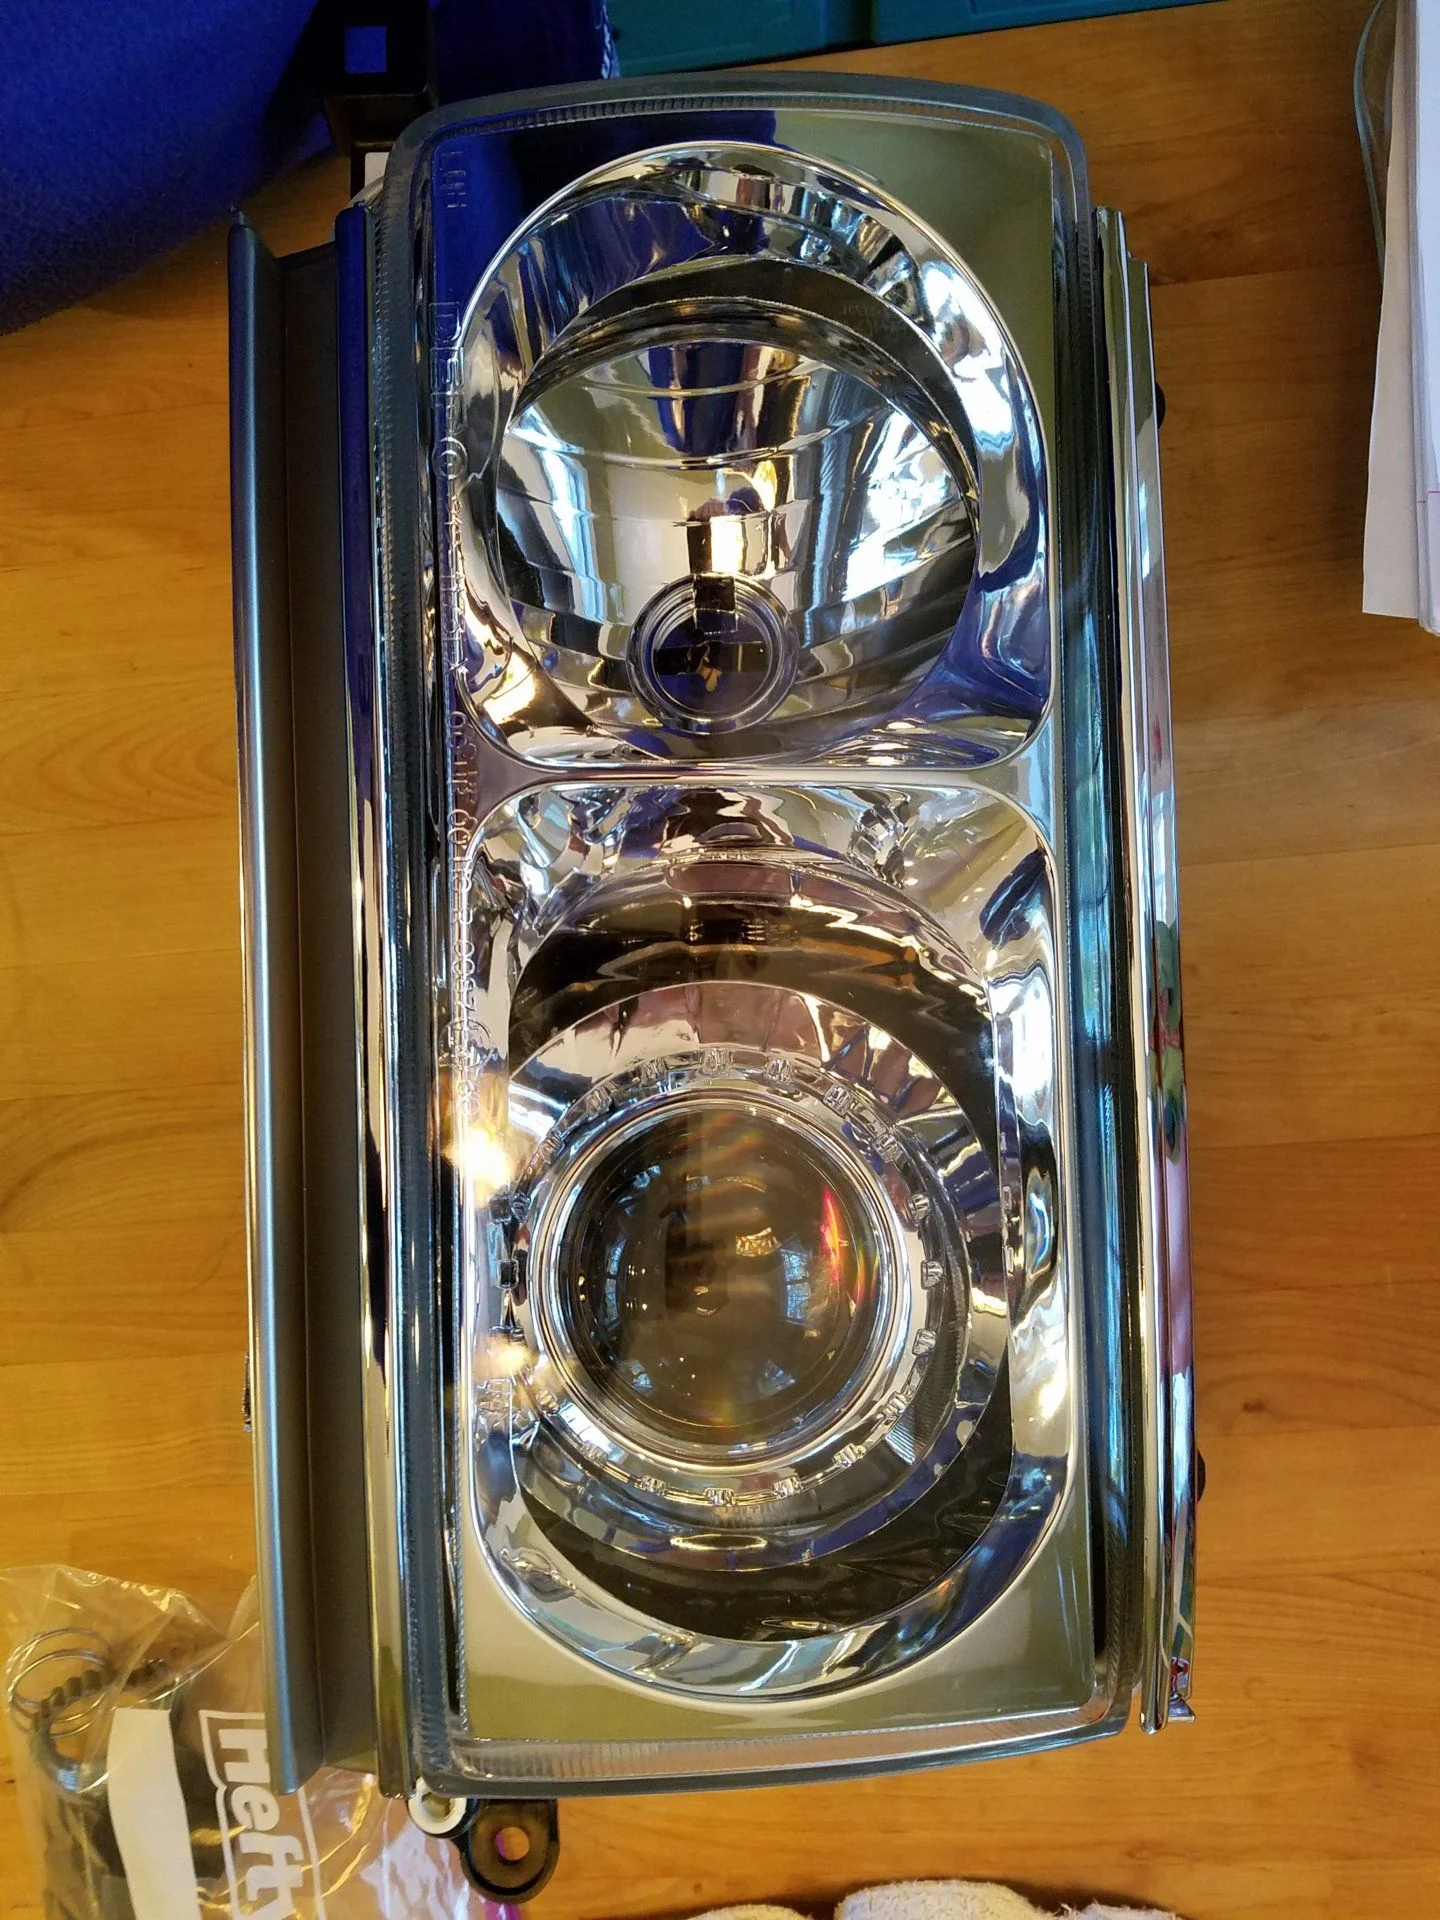
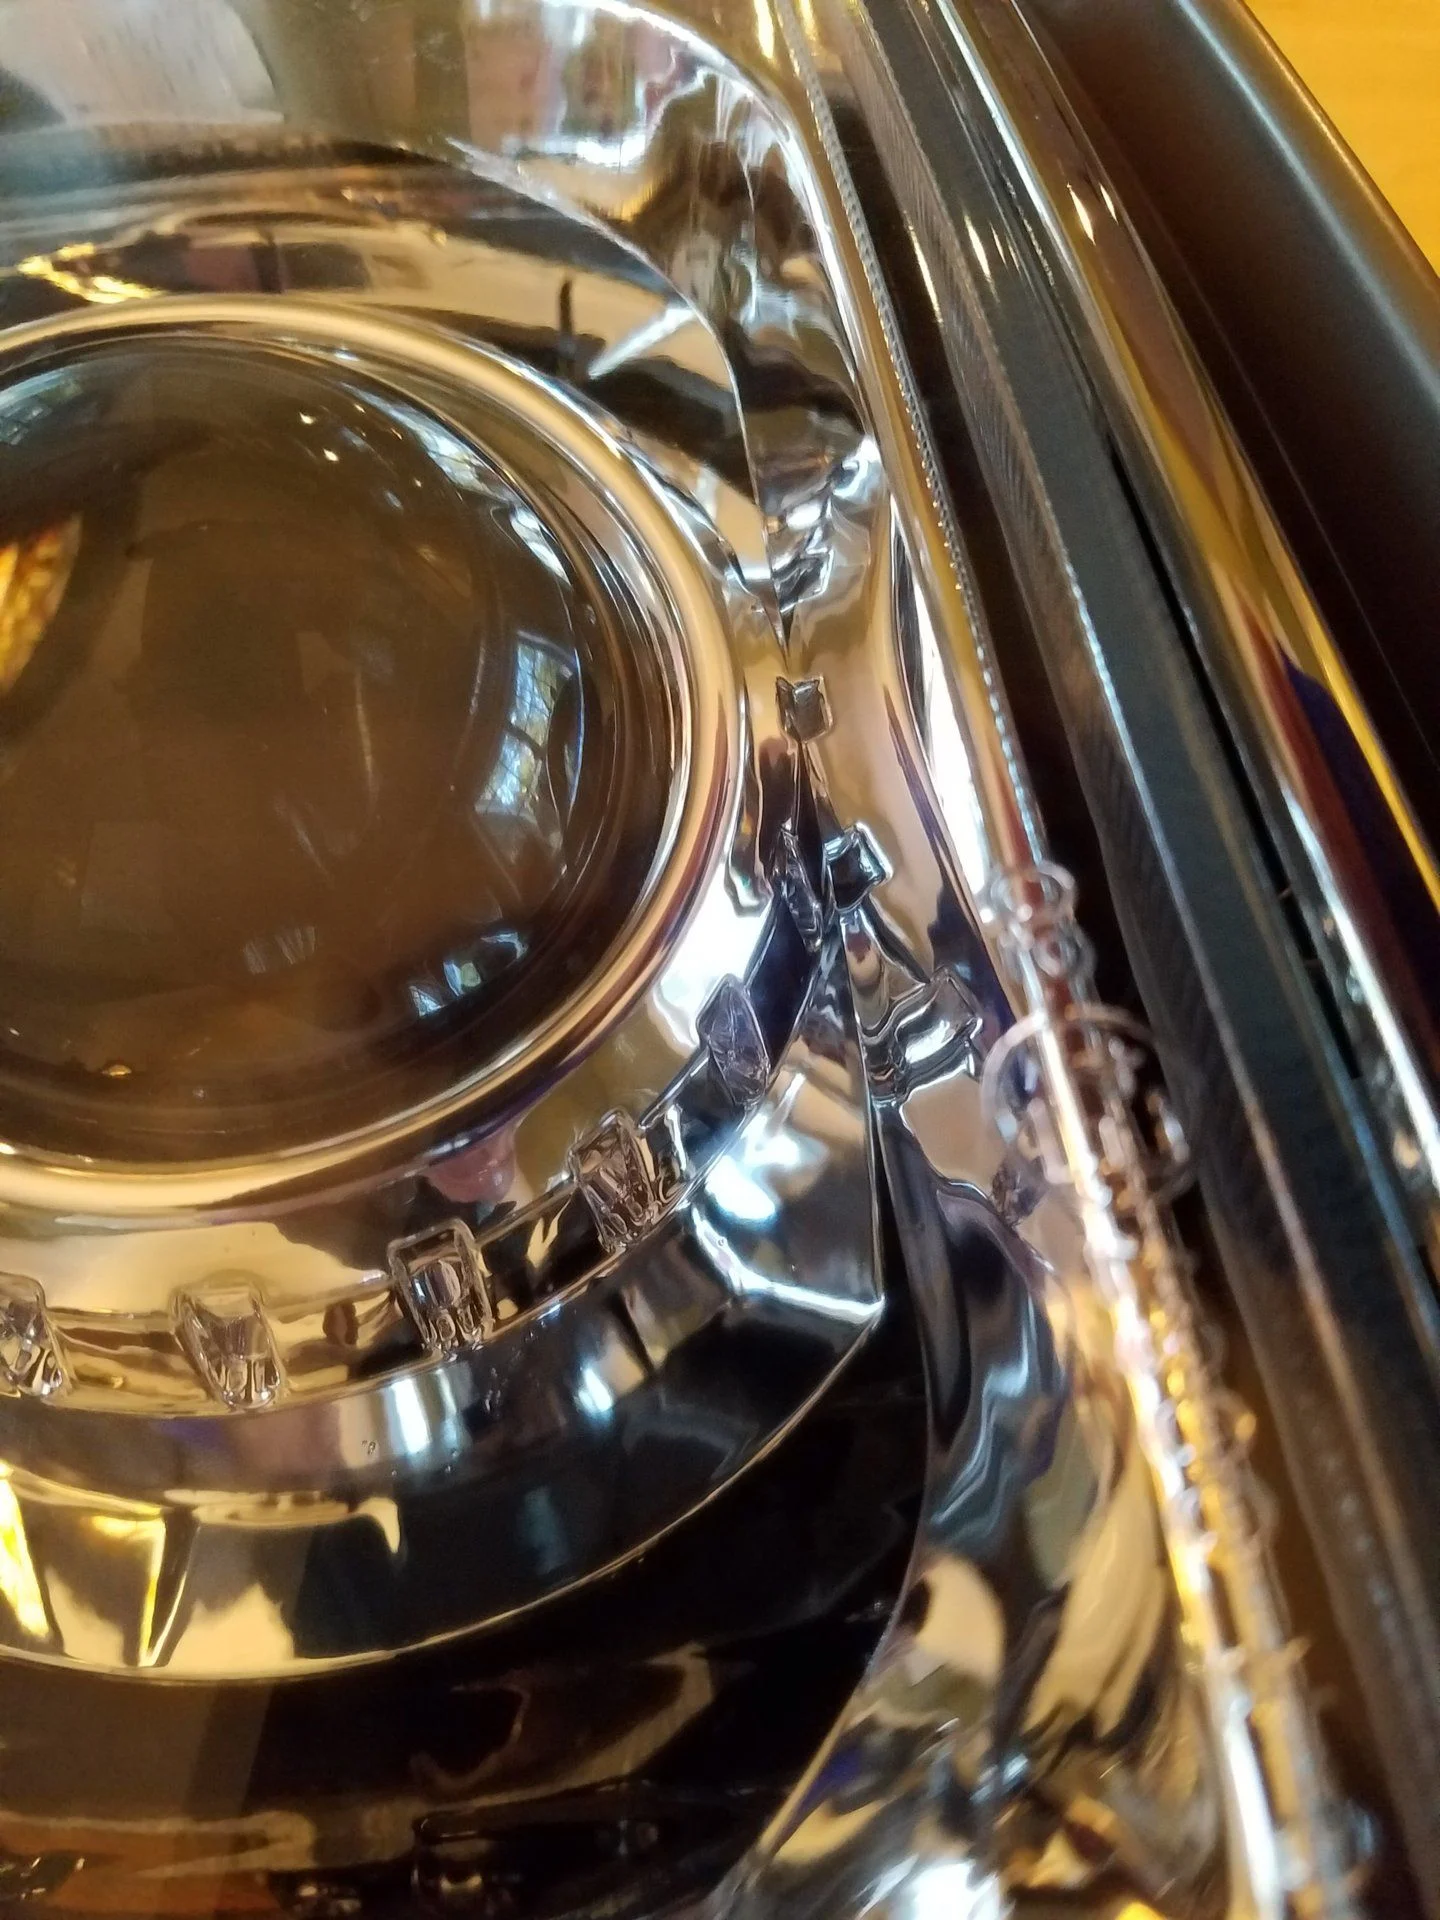
15)Repeat for the opposite side. Here's some pics of the finished light and projector
Take a break - you are halfway done. Now comes part 2.
16)remove grill from truck - there is a funny clip at the top and 5 screws holding it on. when all are removed it will come out.
17) remove the side marker. take the top screw off that is on the outside top edge of the headlight and then pull sidelight forward and out. should pop out. Remove the bottom turn/marker light. 2 screws on the front of the housing.
18) remove the old headlight. 4 bolts. 10mm using an extension as needed. unplug connectors at rear of housing.
19)Install new lights in same manner in reverse. Prior to installing the other lights and grill setup wiring and get lights oriented correctly.
20) I installed the HD relay harness on the drivers side. there are 2 wires going to the ballast, 1 ground, 1 positive, and 1 oem input. Plug in the low beam input to the wiring harness. locate where to put the 2 relays and install. I ran the wiring harness to the passenger side under the main support in front of the radiator. You have to undo about 6-8 bolts (10mm and 12mm) and lift up the support to run wiring underneath. plug in the ballast on the drivers side to the harness, then plug in the igniter on the ballast. Do the same on the passenger side. Plug in the high beam splitter on both sides to the plug coming out the back out the housing controlling the shroud as well as to the high beam input you sautered on the back of your new high beams.
21)connect positive and negative inputs. make sure vehicle off and lights off prior to doing all this work of course.
22)Now sit back and relax. Time to see if it works and try orienting everything.
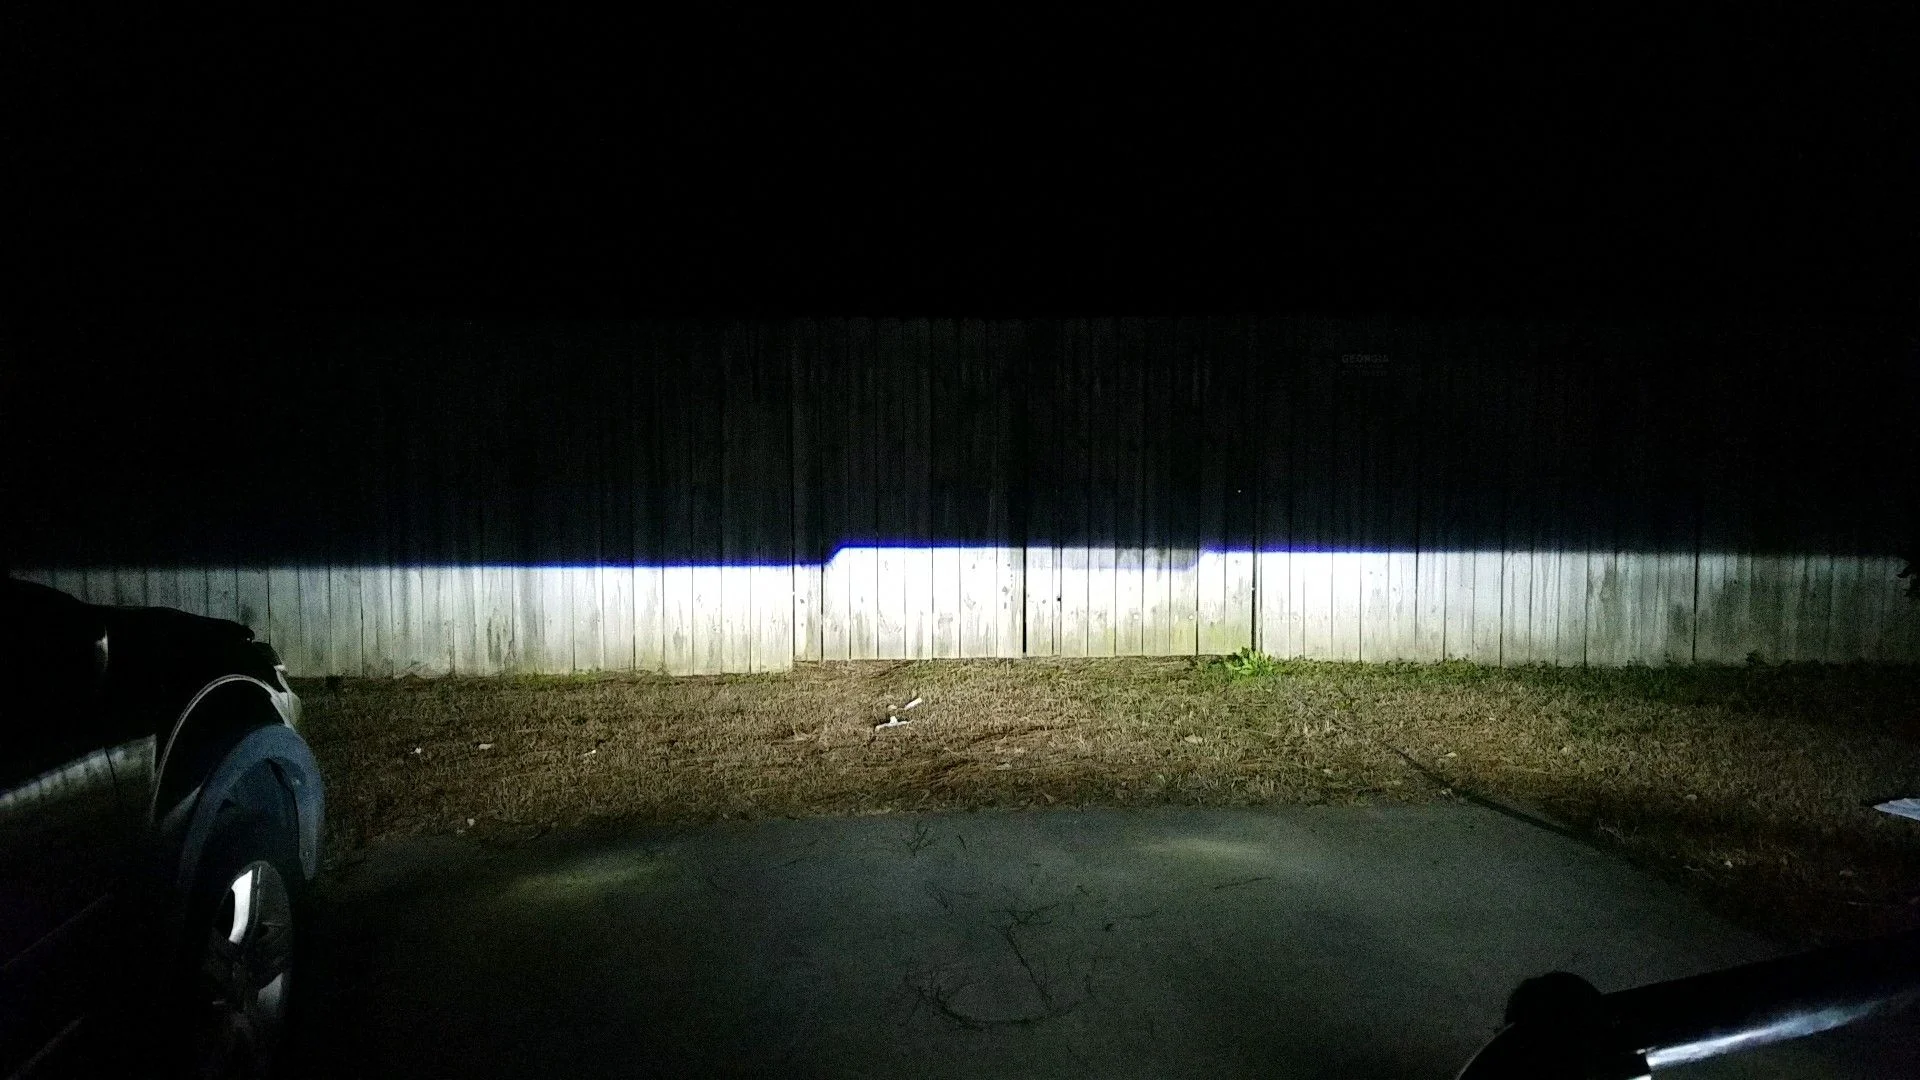
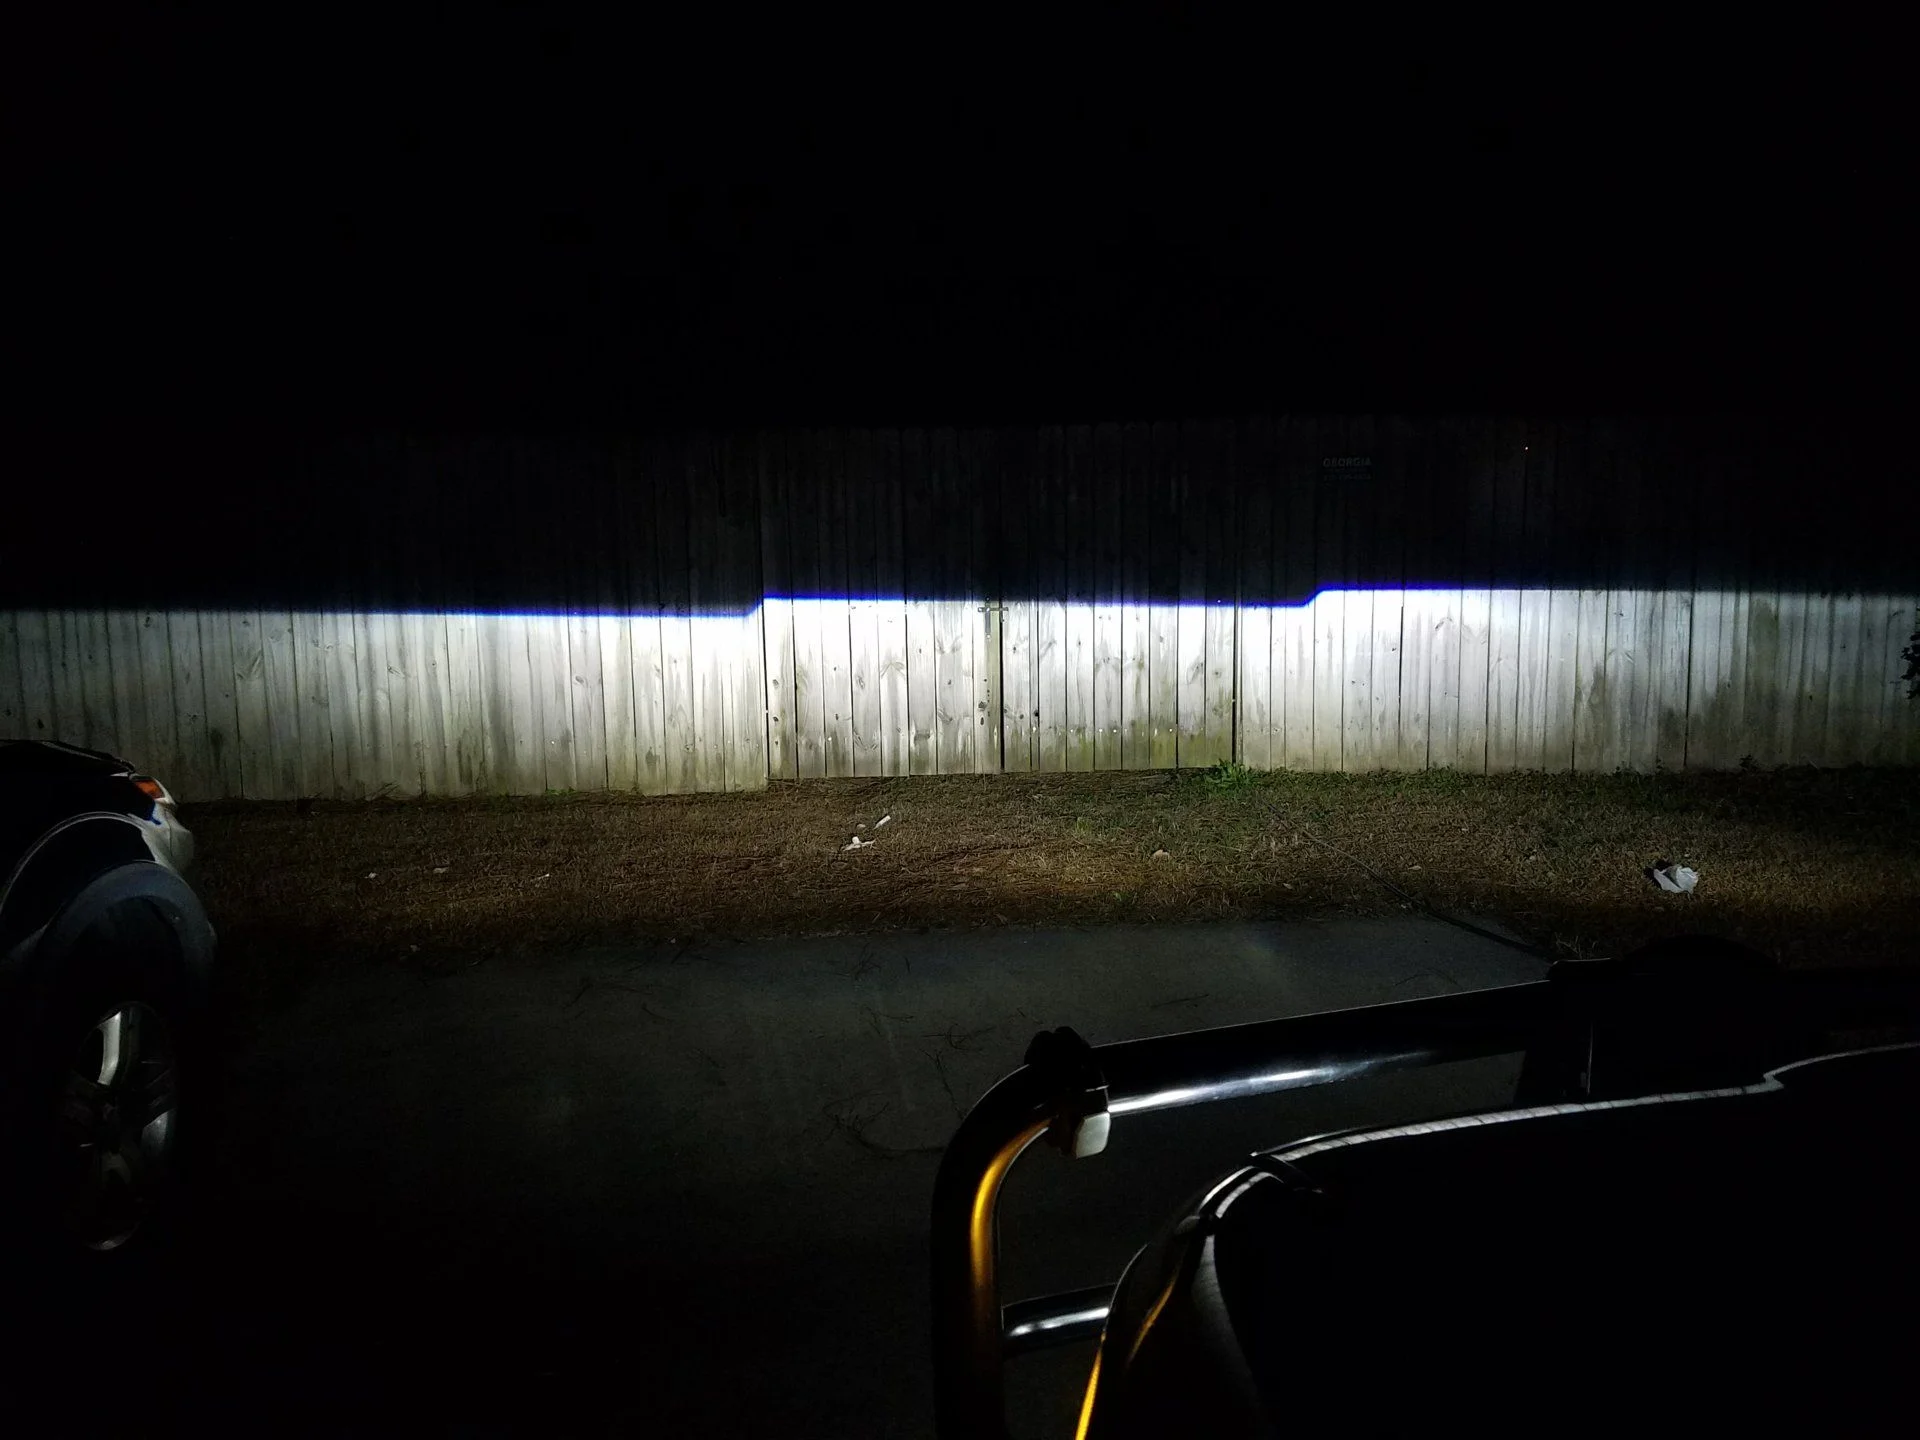
23) Turn on low beams. Orient beams using the 2 screws on housing. There is a screw on posterior outside rear of housing. I had to turn this screw all the way in to pull the projector as far back as possible and then turn the outside front screw to raise alot to get it oriented correctly. Here's instructions per TRS for height recs and distance recs.
Initial height
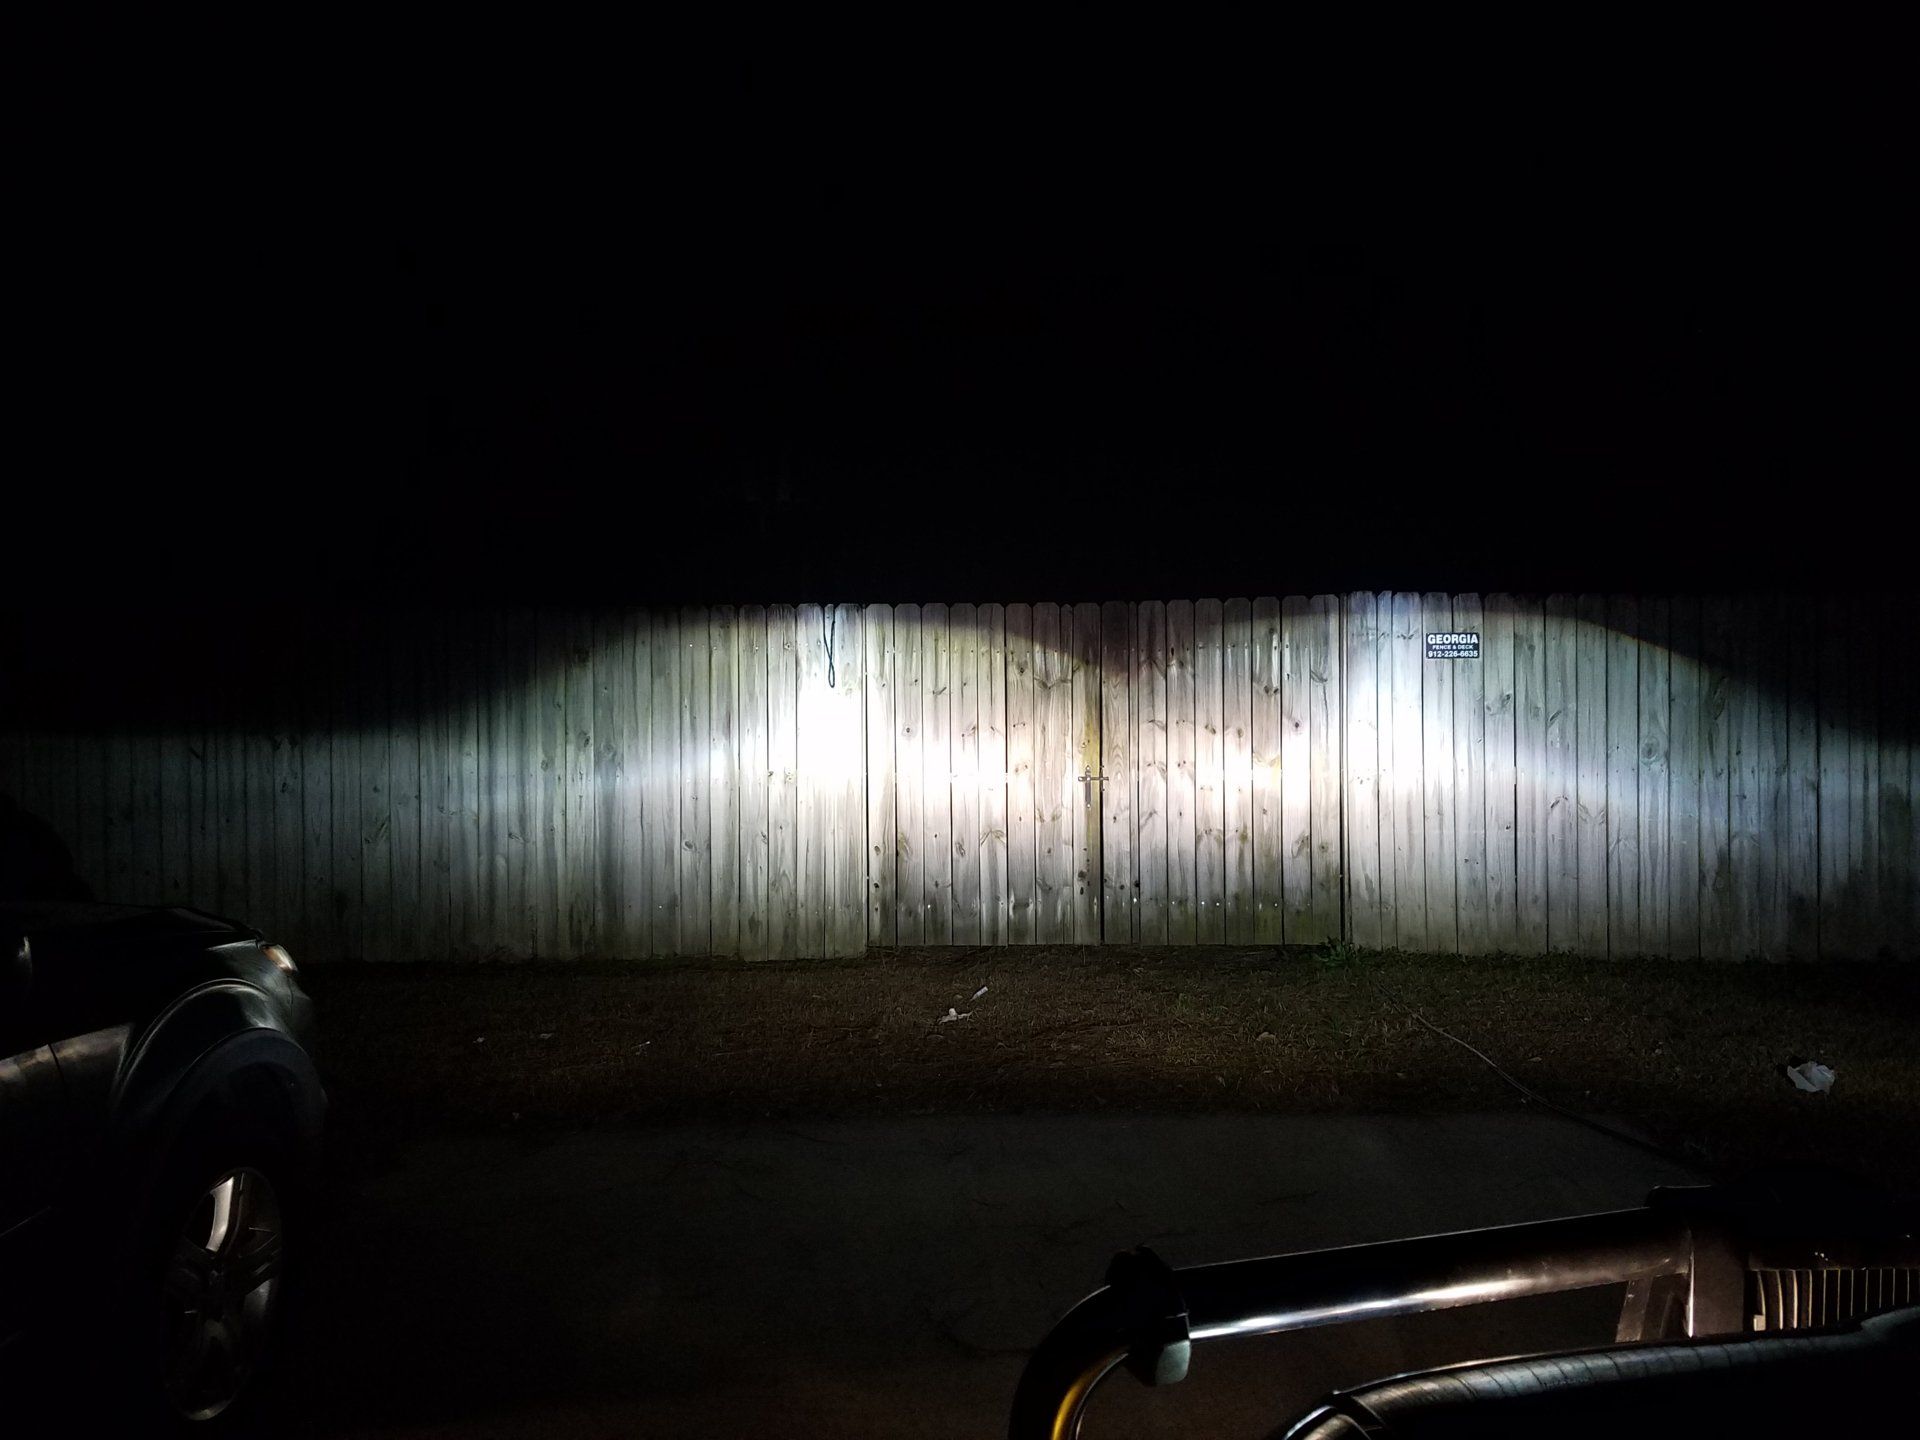
After adjustment
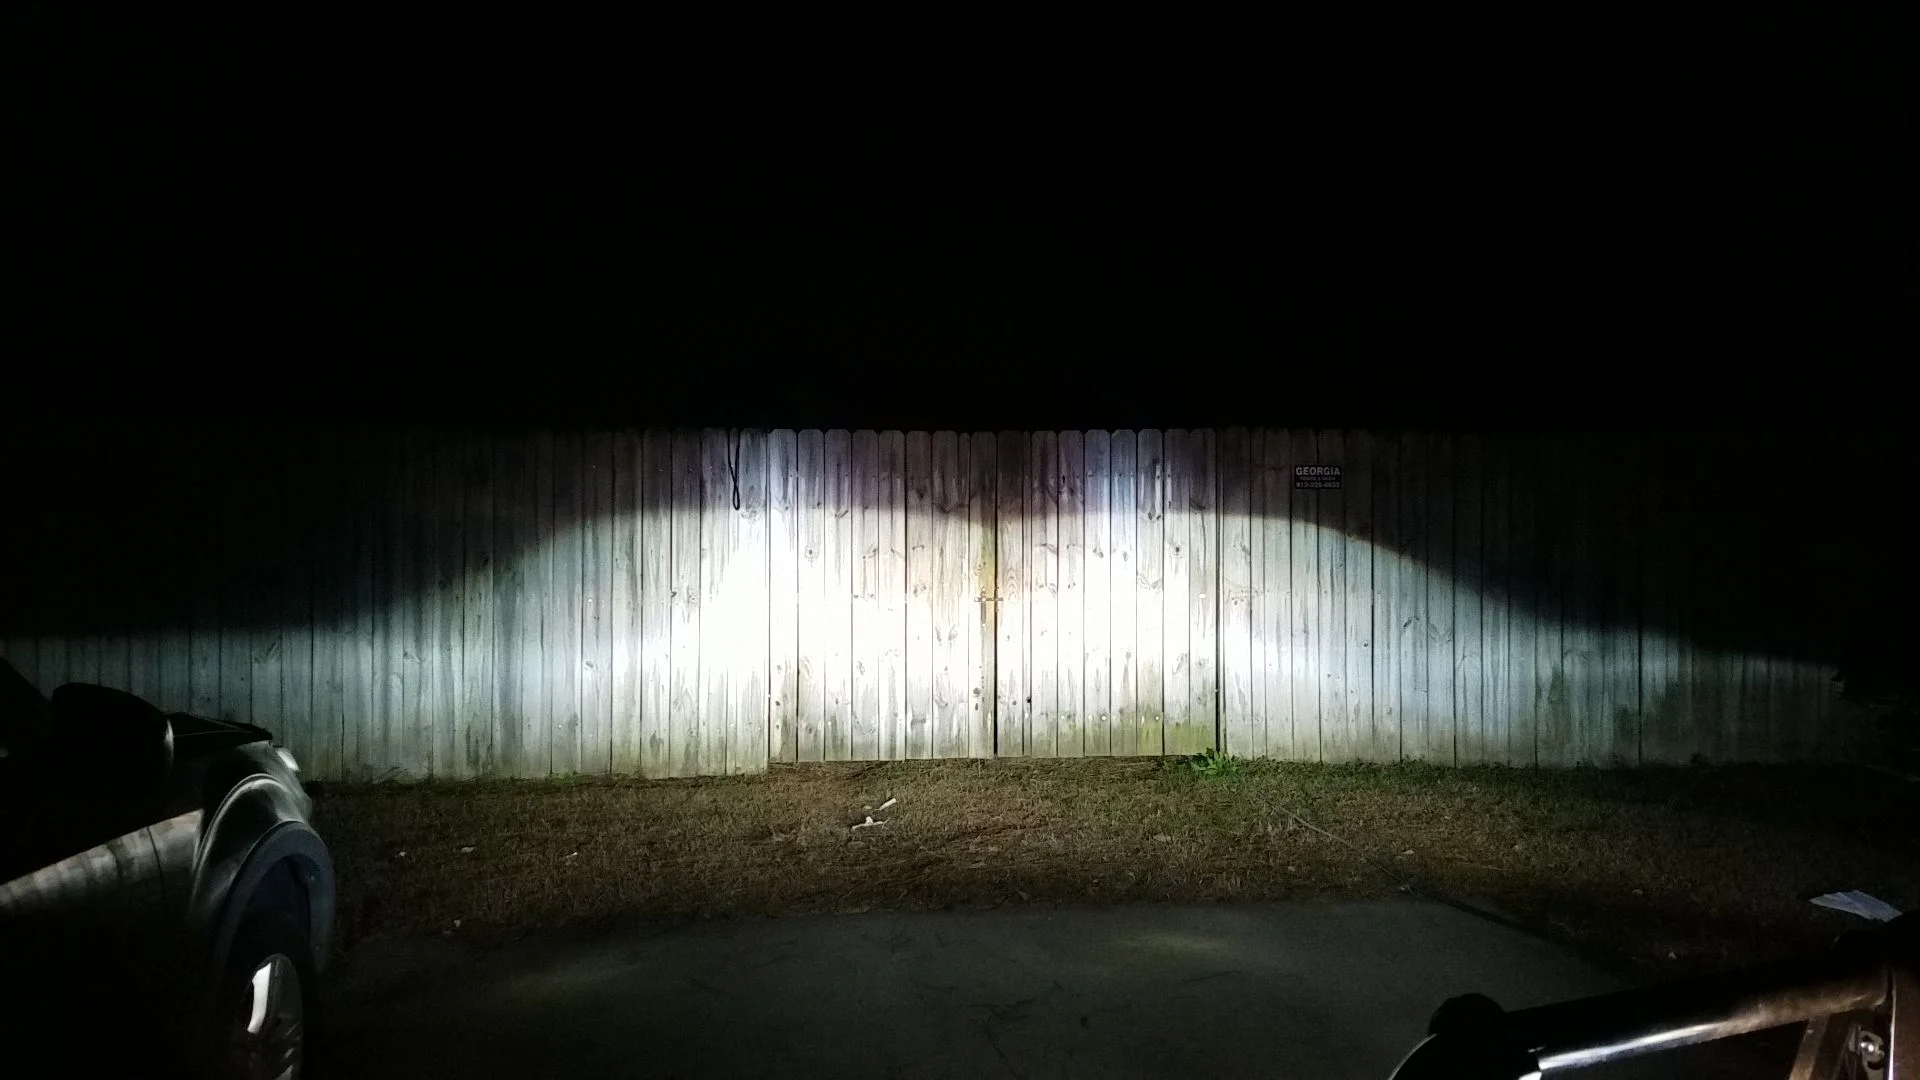
24) Turn on high beams. Orient these with 2 screws. inner front screws on both sides.
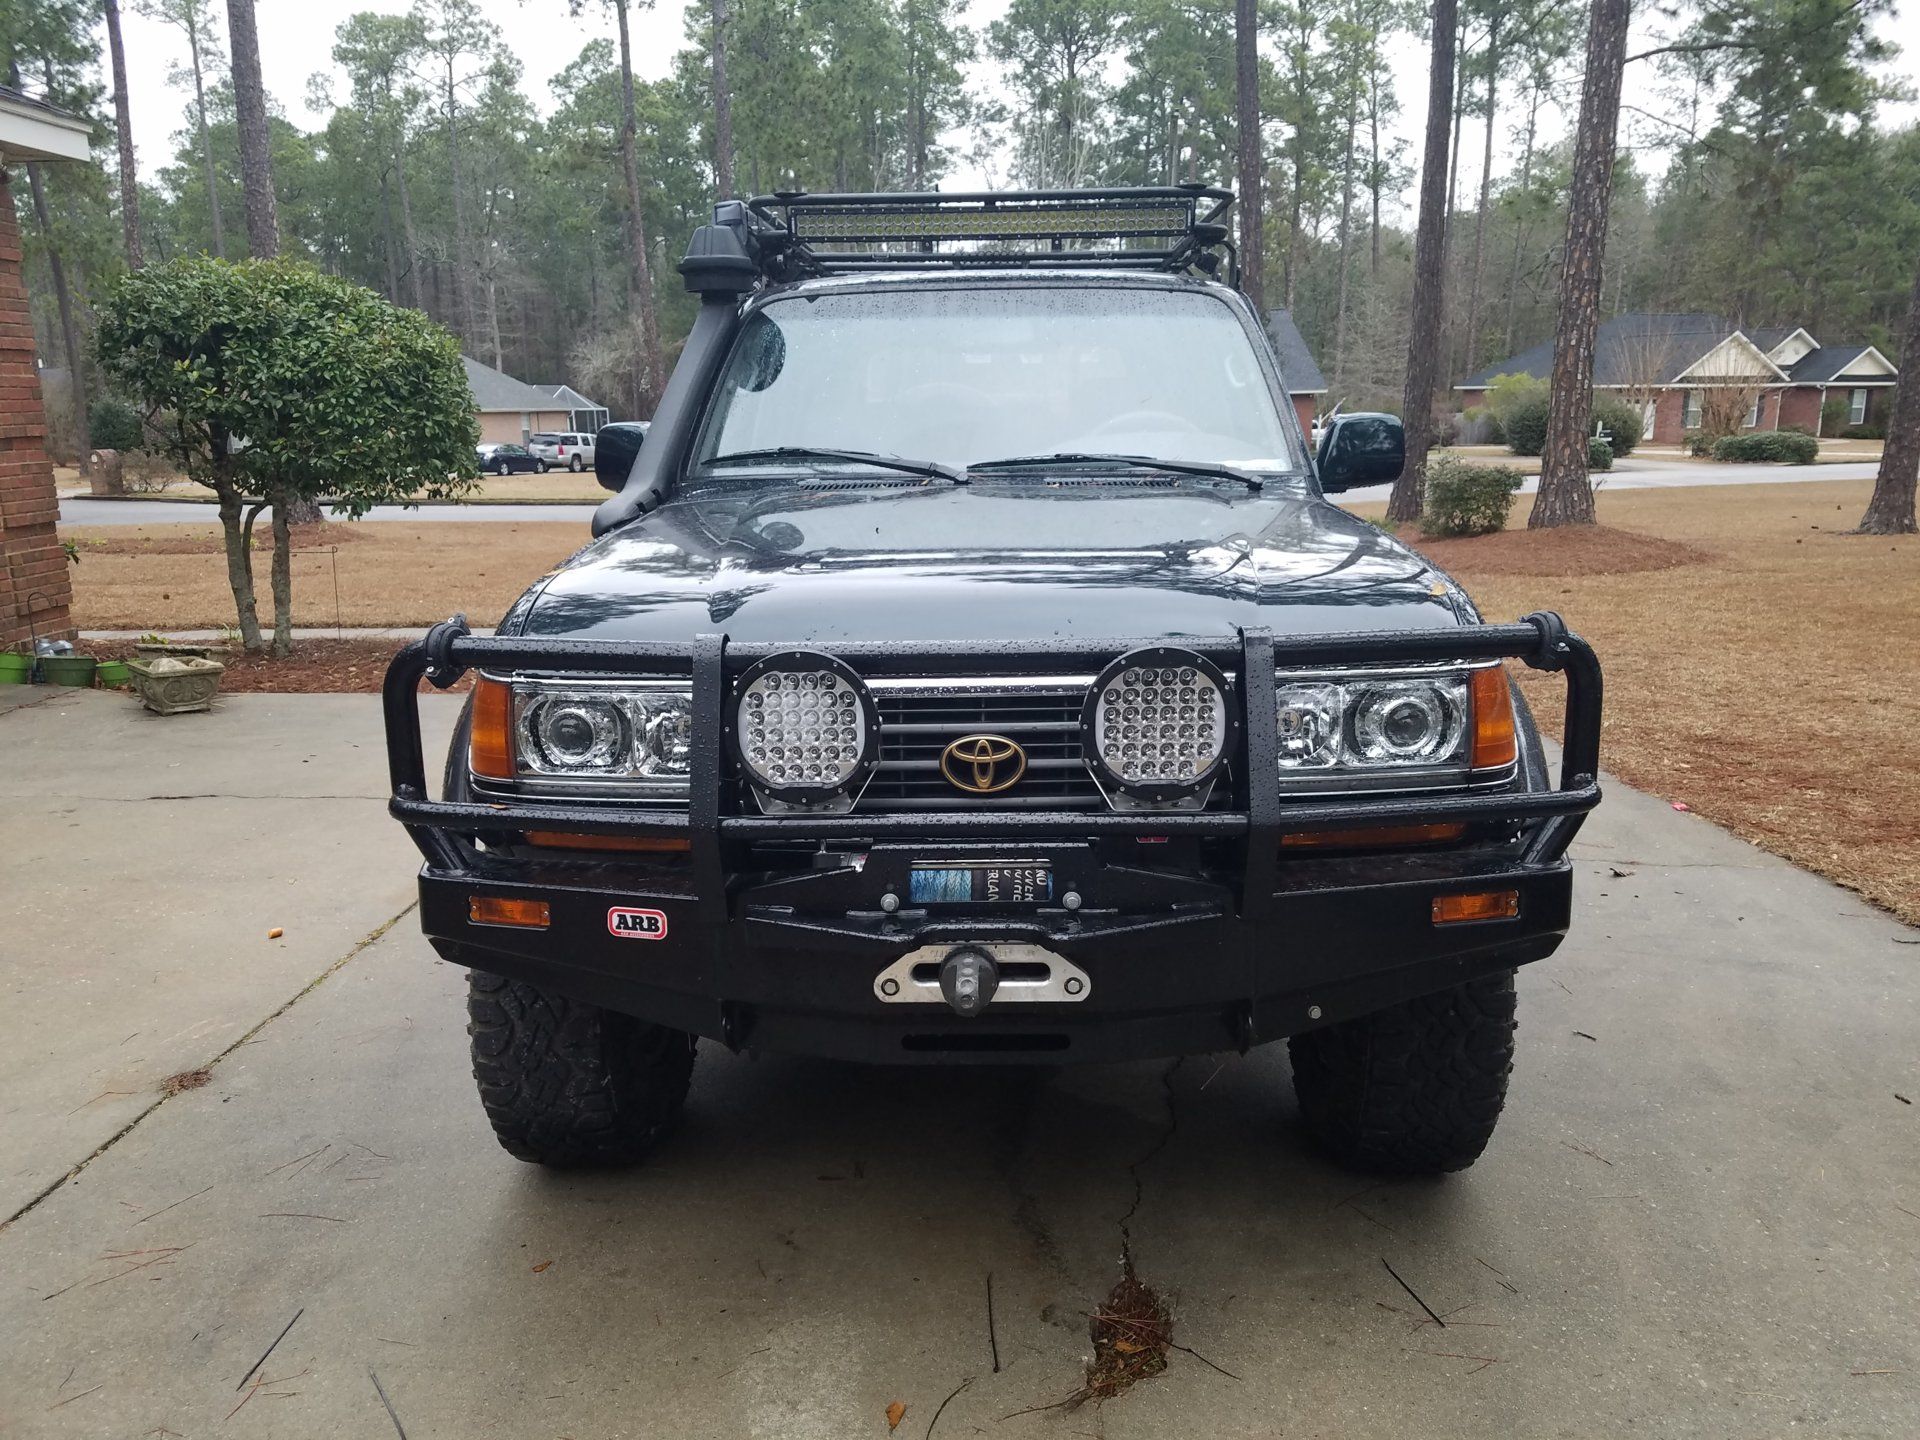
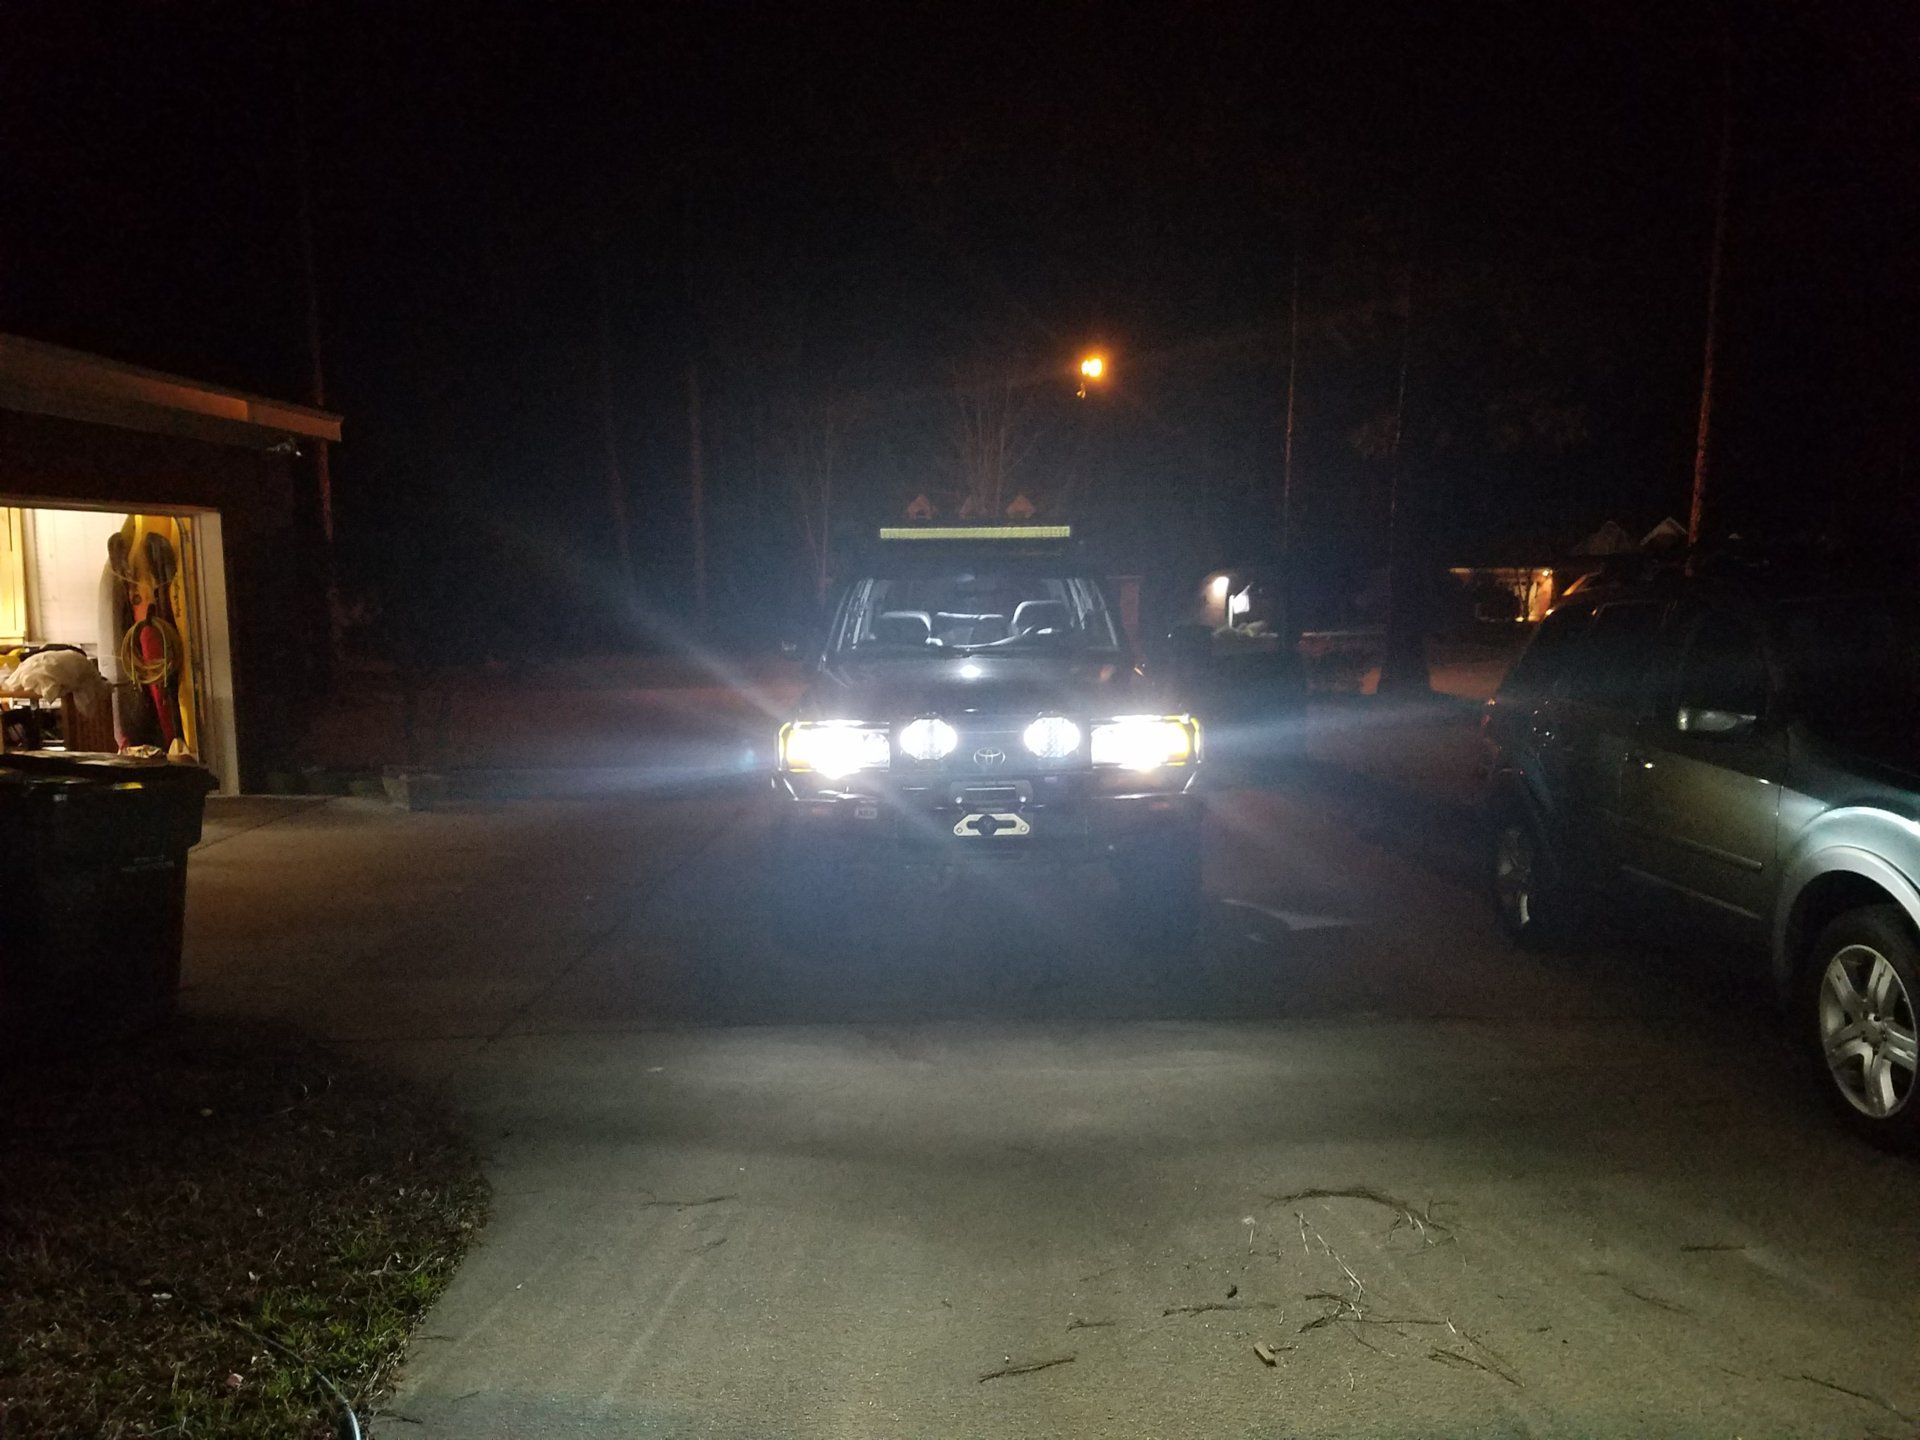
25)Now you're done. This process took over 4-8 wks in small amounts at a time, with very long breaks haha. Here's the finished pics.
Hopefully this post is not too wordy. I wanted to post everything I could to help others out, as well as for me to reference to if needed in the future.
Thanks for the help from Nick @2000UZJ and from my friend Rob at Odd Iron Offroad. Some of the videos were taken from @Luke111 as I started this whole process because I am using his bracket on my LX470 and have been learning from the info he put up. Thanks guys for your help - I really appreciate it. Thanks @Luke111 for starting the whole process with the LX470 and pushing me to learn how to do this becasue of your awesome pics.
Parts needed:
1)depo headlights - they come with glass lenses. From ebay or I believe @ranma21 has them. usually around $230
2)Parts from The Retrofit source. The Retrofit Source | The Best HID & LED Projector Headlight Upgrades. PM Nick @2000UZJ for ordering info. He is an excellent resource and can help with TRS parts.
a) Morimoto mini D2s stage III kit - 35w ballast, 9005/9006 HD relay, E46-R shroud, d2s XB 5500k bulbs, grey retro rubber. $332
b) 2 - 9006 extenstions - $15
c) 2 - high beam splitters - $5
3)H1 headlights - I got some sylvania lights ($25-50 based on which you pick. the more expensive have a bluer tint). I just got the cheap ones to start with and see how they did.
Tools needed:
1)phillips screwdriver
2)flat head screwdriver
3)pliers
4)retaining ring pliers
5)JB steelstick
6)alcohol prep wipes
7)long curved tip needle nose pliers
8)10 and 12 mm socket with long extension
9)soft towel for working surface
Heres some videos.
Opening & Resealing Automotive Headlights using Morimoto Retro Rubber
TRS Tips: Morimoto Mini D2S 2.0 Bi-xenon Retrofit Guide
1)Preheat oven with rack in lowest position to 275 deg
2)Get all the tools ready and prepare a large work area.
2)take trim off light and set aside
3)take retaining clips off light housing - I worked on 1 side at a time. save all parts to reuse later
4)remove rubber seals and vents on back of housing
5)place light in oven that has been fully preheat to 275 deg for 7-8 minutes. I had to use 8 minutes as glass was hard to pry apart after 7 minutes and got small chip on side of depo light accidentally.
4)Get ready - next part goes fast. Pull out light and its gonna be a little warm. start separating light in the corner where there is the thickest amount of plastic to try and limit deformation. It helps to have someone else around to help as you need about 3-4 hands. once the light starts to come apart try to keep the butyl from getting on the chrome. I used a razor blade to cut the butyl. Work the light apart progressively around. If you feel like you are using too much force then stop. You can always put it back in oven for 1-2 minutes. I pryed too hard and cracked edge of glass as above on first light.
5)Take a deep breath. Now that its apart you can start phase 2. The next step is to install the projector. TRS has schematics showing the orientation of the pieces but the projector has a flat portion on the bottom that should be level to the housing. The shroud that drops when high beams are turned on should be at the bottom. There is no need to remove the internal parts of the light unless you are painting. install projector and tighten everything down. I used the long needle nose pliers to tighten the nut on the back of the housing.
6)run the 2 wires that come out of the projector out the back of the housing. Here's how I did it.
6)test fire the shroud. Use the 2 wires that you just ran out of the housing as above. place 1 on positive and 1 on ground. I initially used a 9v battery but could only get 1 shroud to fire. Nick recommended vehicle 12 battery and both fired without any problem. Test fire each 50 times to make sure working properly.
7)Install the shroud with the flat portion at the bottom using small amounts of jb steel stick around the periphery and pressing onto the projector. I rolled them out like a snake and put around the edges in between the clips so it would not get near the working part of the projector.
8)Clean everything up with a microfiber cloth really well. make sure projector, lens, reflector are all nice and clean
9)Place retrorubber in oven for about 2-3 minutes. Take out and start working it by stretching rubber to a thickness that will fit in groove of housing. see video. Try to run a continuous bead all the way around the housing so you will get a nice seal.
10) Place the glass back on the housing in the original position and place back in oven. Same temp setting as before 275 deg for 7-8 minutes.
11) Take light out of oven, again its hot. push glass down into housing squeezing retrorubber out some. Take and clean up retrorubber using a ball of the same retrorubber. see video. This is time sensitive as the butyl has to be a certain temp to remove well.
12) Clean the bulb with alcohol wipe and install into housing. place spring behind bulb and tighten down retainer.
13)Cut a bigger opening in the rubber seal so that it will fit as below. You can go ahead and install igniter if desired.

14)Take high beam plug and sauter on leads from 9006 connector. We cut off the male end (with yellow connector) and sautered the leads onto the 2 prongs, then heat shrinked over this. Nick recommended this and it worked well.

15)Repeat for the opposite side. Here's some pics of the finished light and projector
Take a break - you are halfway done. Now comes part 2.
16)remove grill from truck - there is a funny clip at the top and 5 screws holding it on. when all are removed it will come out.
17) remove the side marker. take the top screw off that is on the outside top edge of the headlight and then pull sidelight forward and out. should pop out. Remove the bottom turn/marker light. 2 screws on the front of the housing.
18) remove the old headlight. 4 bolts. 10mm using an extension as needed. unplug connectors at rear of housing.
19)Install new lights in same manner in reverse. Prior to installing the other lights and grill setup wiring and get lights oriented correctly.
20) I installed the HD relay harness on the drivers side. there are 2 wires going to the ballast, 1 ground, 1 positive, and 1 oem input. Plug in the low beam input to the wiring harness. locate where to put the 2 relays and install. I ran the wiring harness to the passenger side under the main support in front of the radiator. You have to undo about 6-8 bolts (10mm and 12mm) and lift up the support to run wiring underneath. plug in the ballast on the drivers side to the harness, then plug in the igniter on the ballast. Do the same on the passenger side. Plug in the high beam splitter on both sides to the plug coming out the back out the housing controlling the shroud as well as to the high beam input you sautered on the back of your new high beams.
21)connect positive and negative inputs. make sure vehicle off and lights off prior to doing all this work of course.
22)Now sit back and relax. Time to see if it works and try orienting everything.
23) Turn on low beams. Orient beams using the 2 screws on housing. There is a screw on posterior outside rear of housing. I had to turn this screw all the way in to pull the projector as far back as possible and then turn the outside front screw to raise alot to get it oriented correctly. Here's instructions per TRS for height recs and distance recs.
Initial height
After adjustment
24) Turn on high beams. Orient these with 2 screws. inner front screws on both sides.
25)Now you're done. This process took over 4-8 wks in small amounts at a time, with very long breaks haha. Here's the finished pics.