Builds GX460 Adventure Build (1 Viewer)

This site may earn a commission from merchant affiliate
links, including eBay, Amazon, Skimlinks, and others.

BTY, my rig should look very similar to yours except white with bronze wheels shod in LT285/75R17 (33.9" dia) BFG M/T's and a full Gamiviti rack with an iKamper on top. :clap:
It'll be in the shop for about a month and a half and I can't wait to get it back!
Oh, and I'm doing front and rear lockers and re-gear.
 
Can't wait to get these installed. Coincidence that the brother in law just bought a house with a 30x40 shop with a 2 post lift.... I think not!

Looks great Ryan! Good luck with the install and text me if you have any issues with it.

Is your brother-in-law's house any closer to my neck of the woods than you are? :hmm:
 
That is a beautiful build, would you mind expounding on how/where you ran the wiring harness for the rack mounted lights? Where did you run the wiring into the body and how did you get it up to the battery area? I'm thinking about a SSO rack with the lighting, but want to know what I am getting into regarding drilling holes etc.

Thank you very much for any help you can provide.
 
Ok since grtuck has requested and I have been putting it off... here is the post with the details on the electrical wiring.

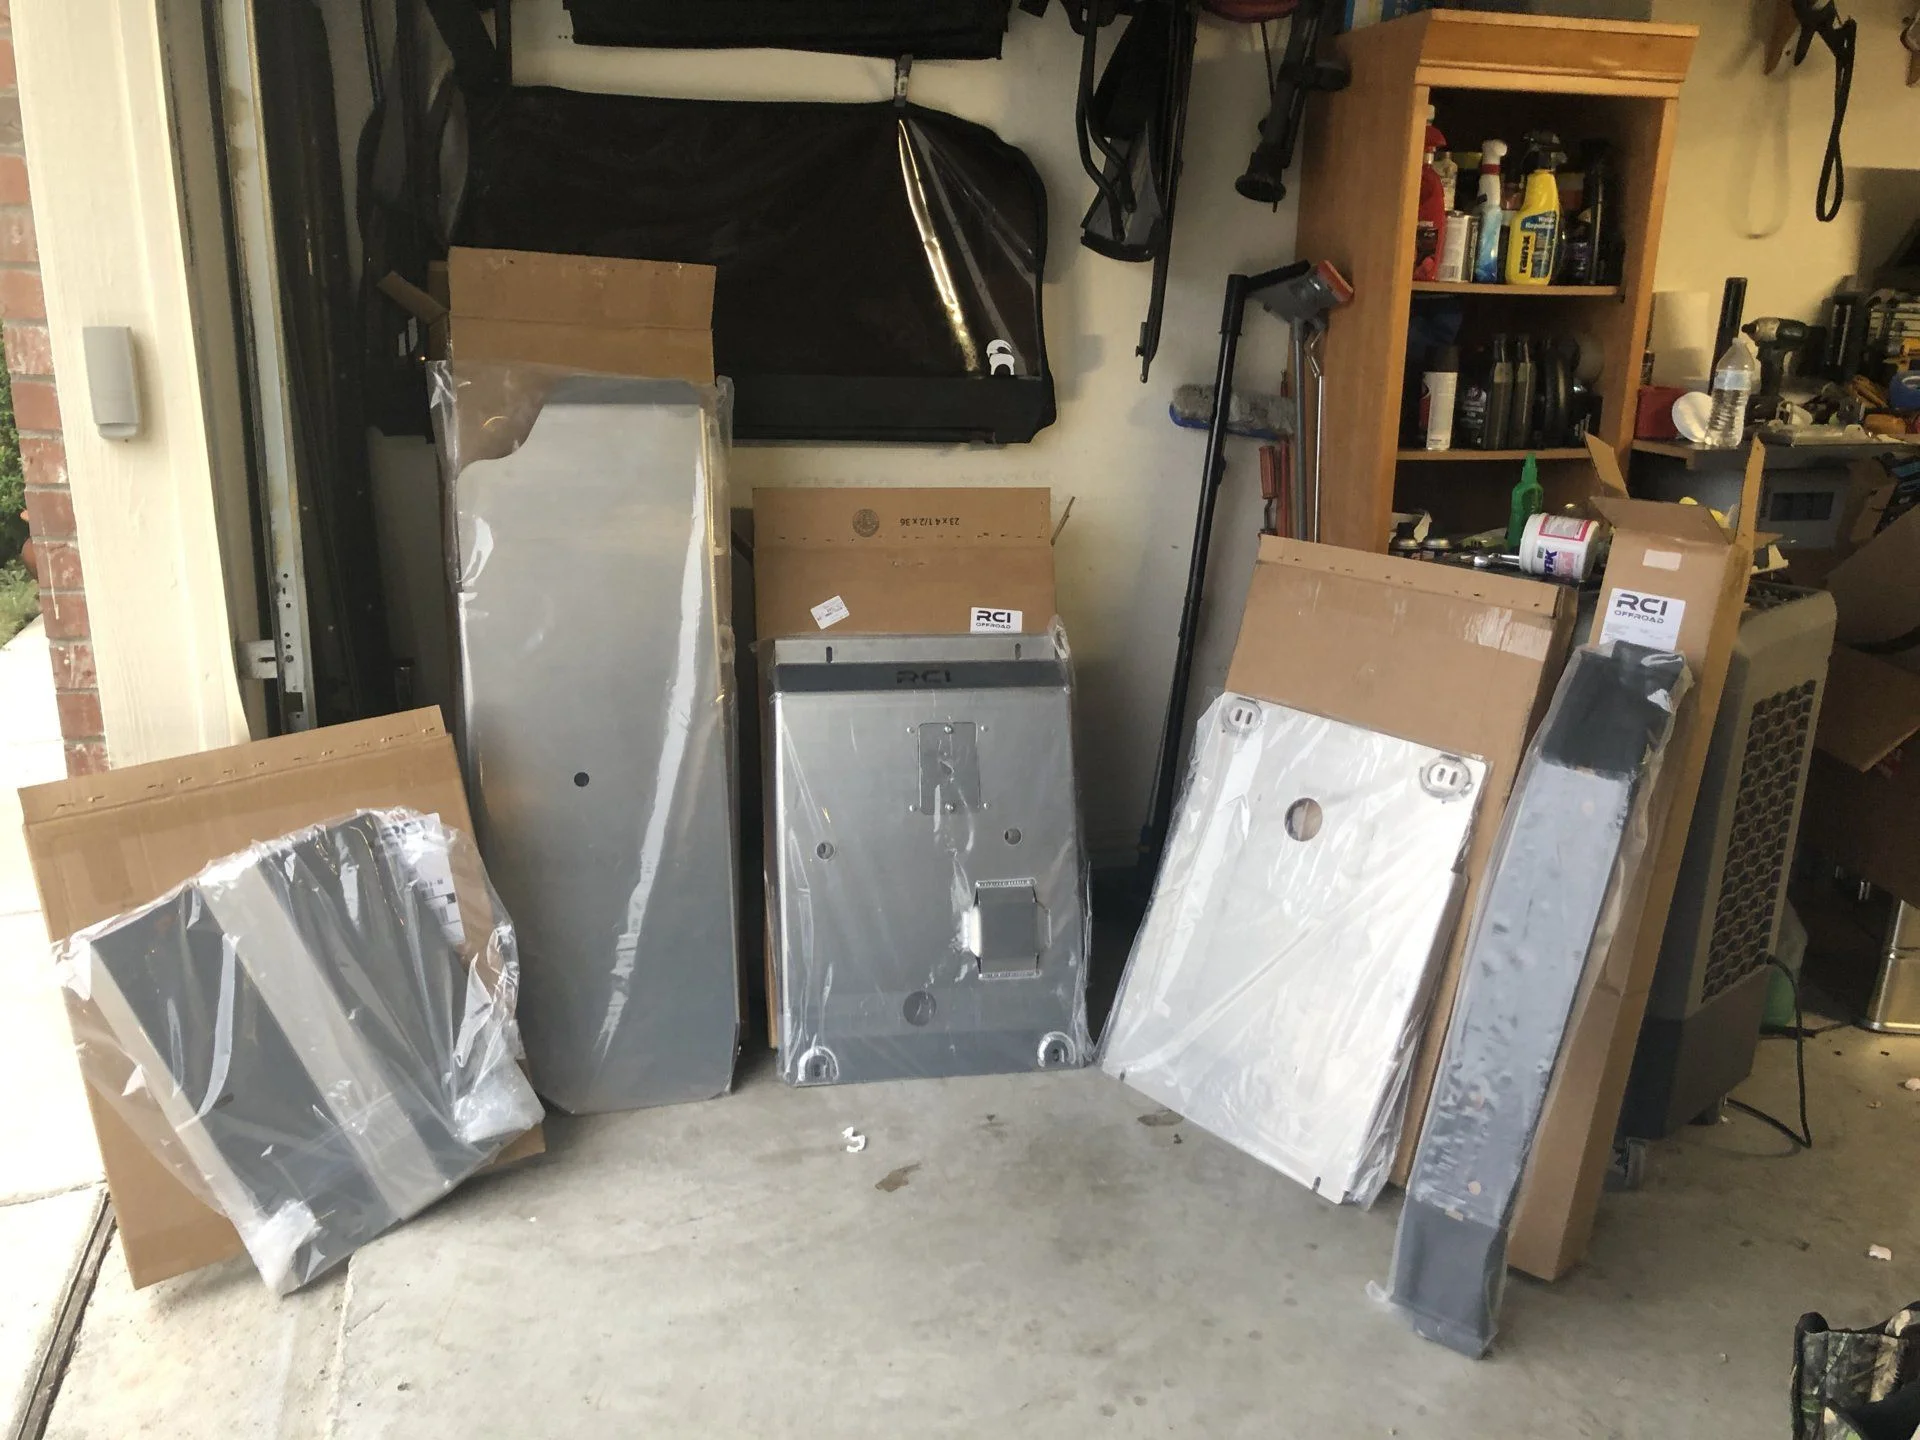
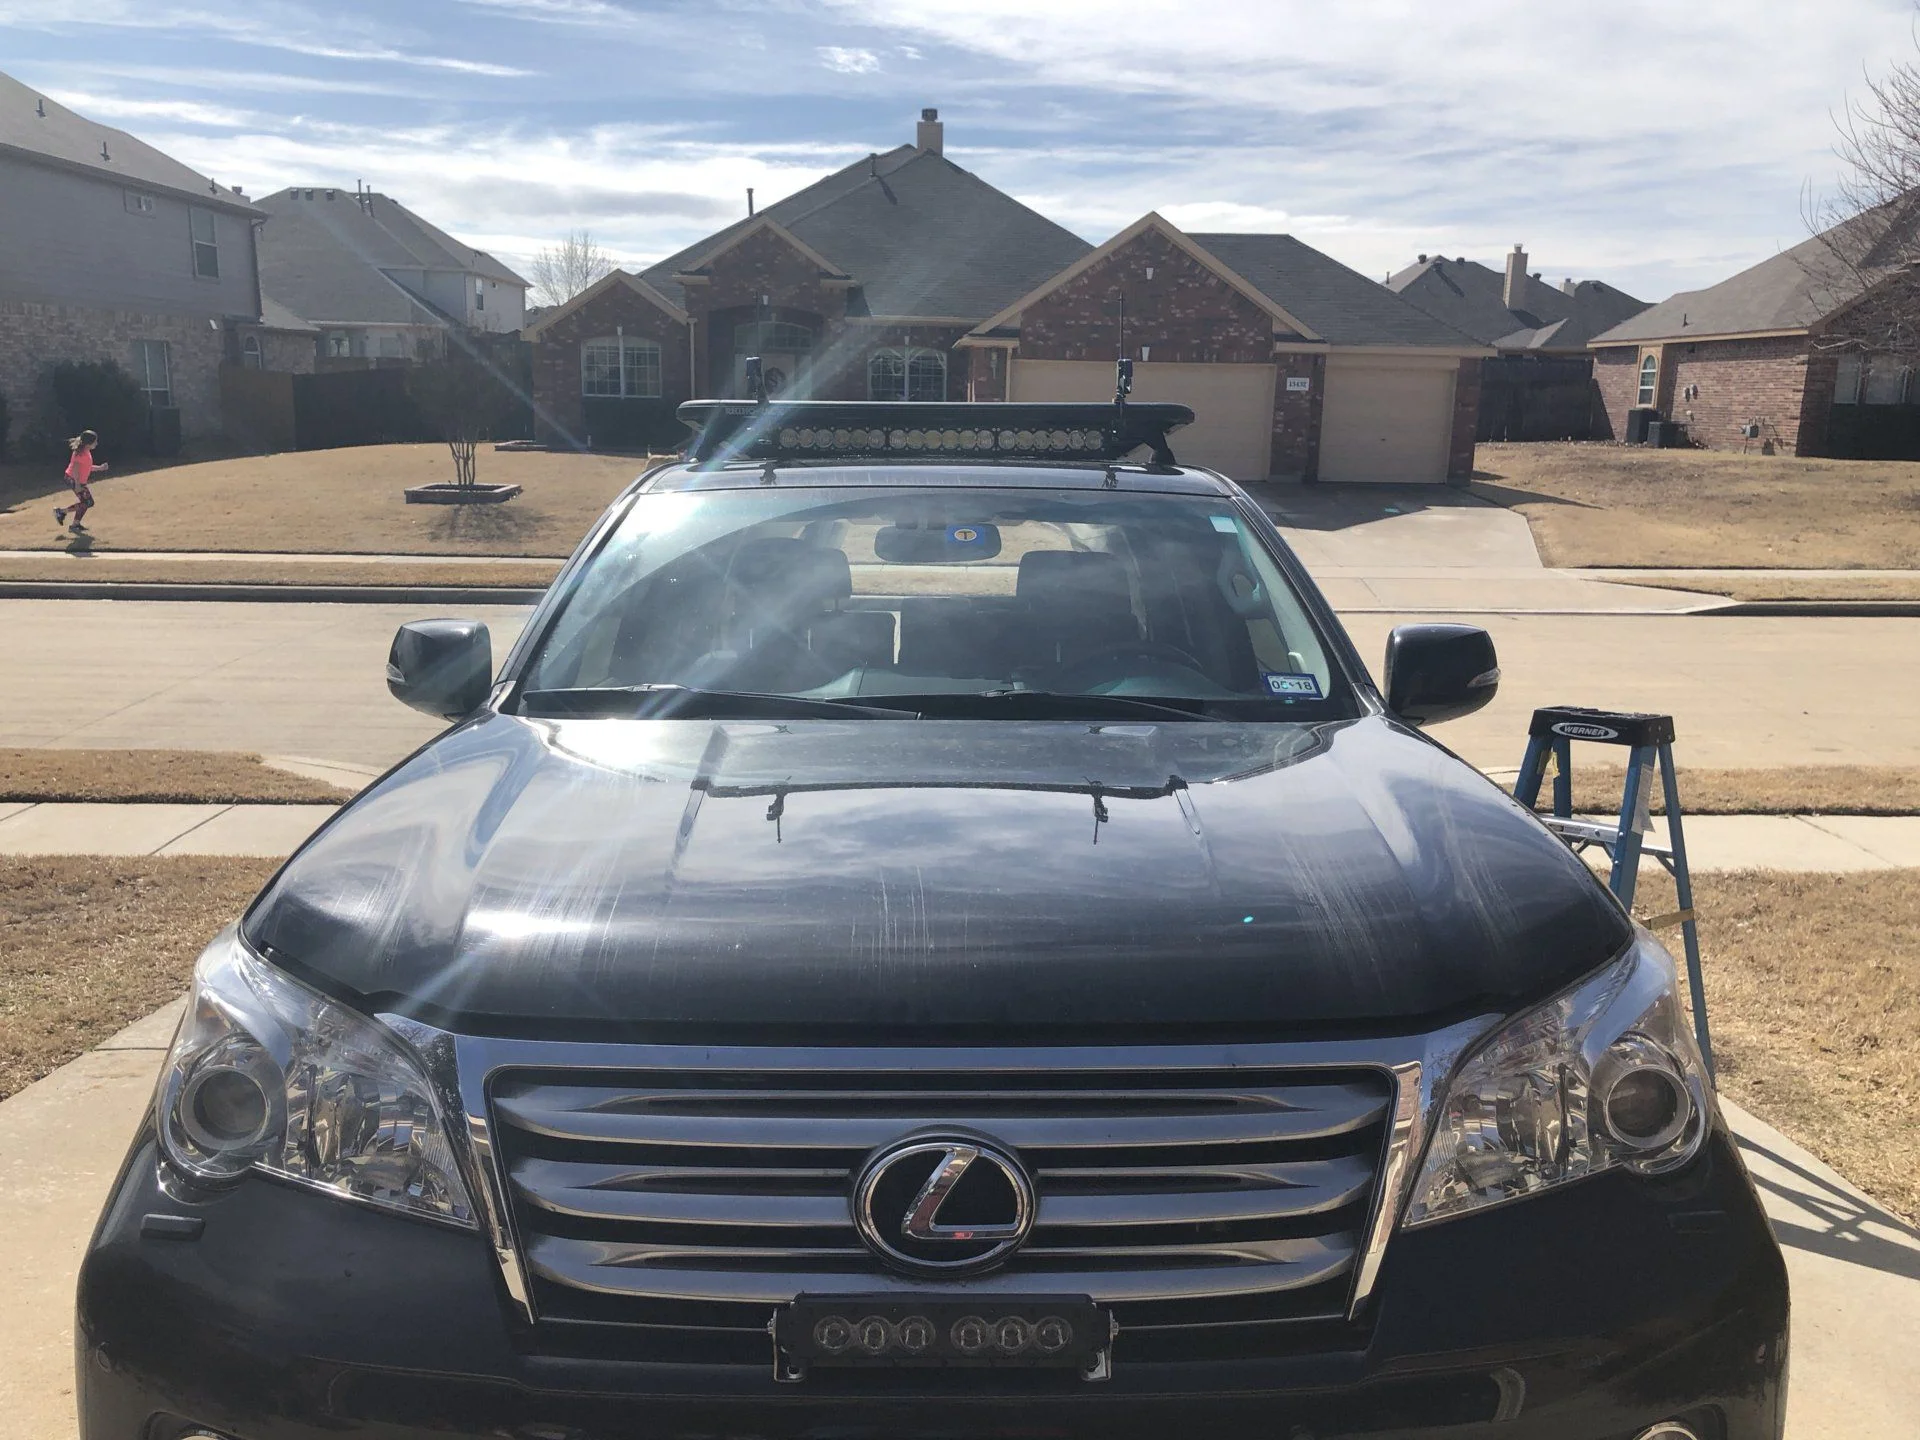
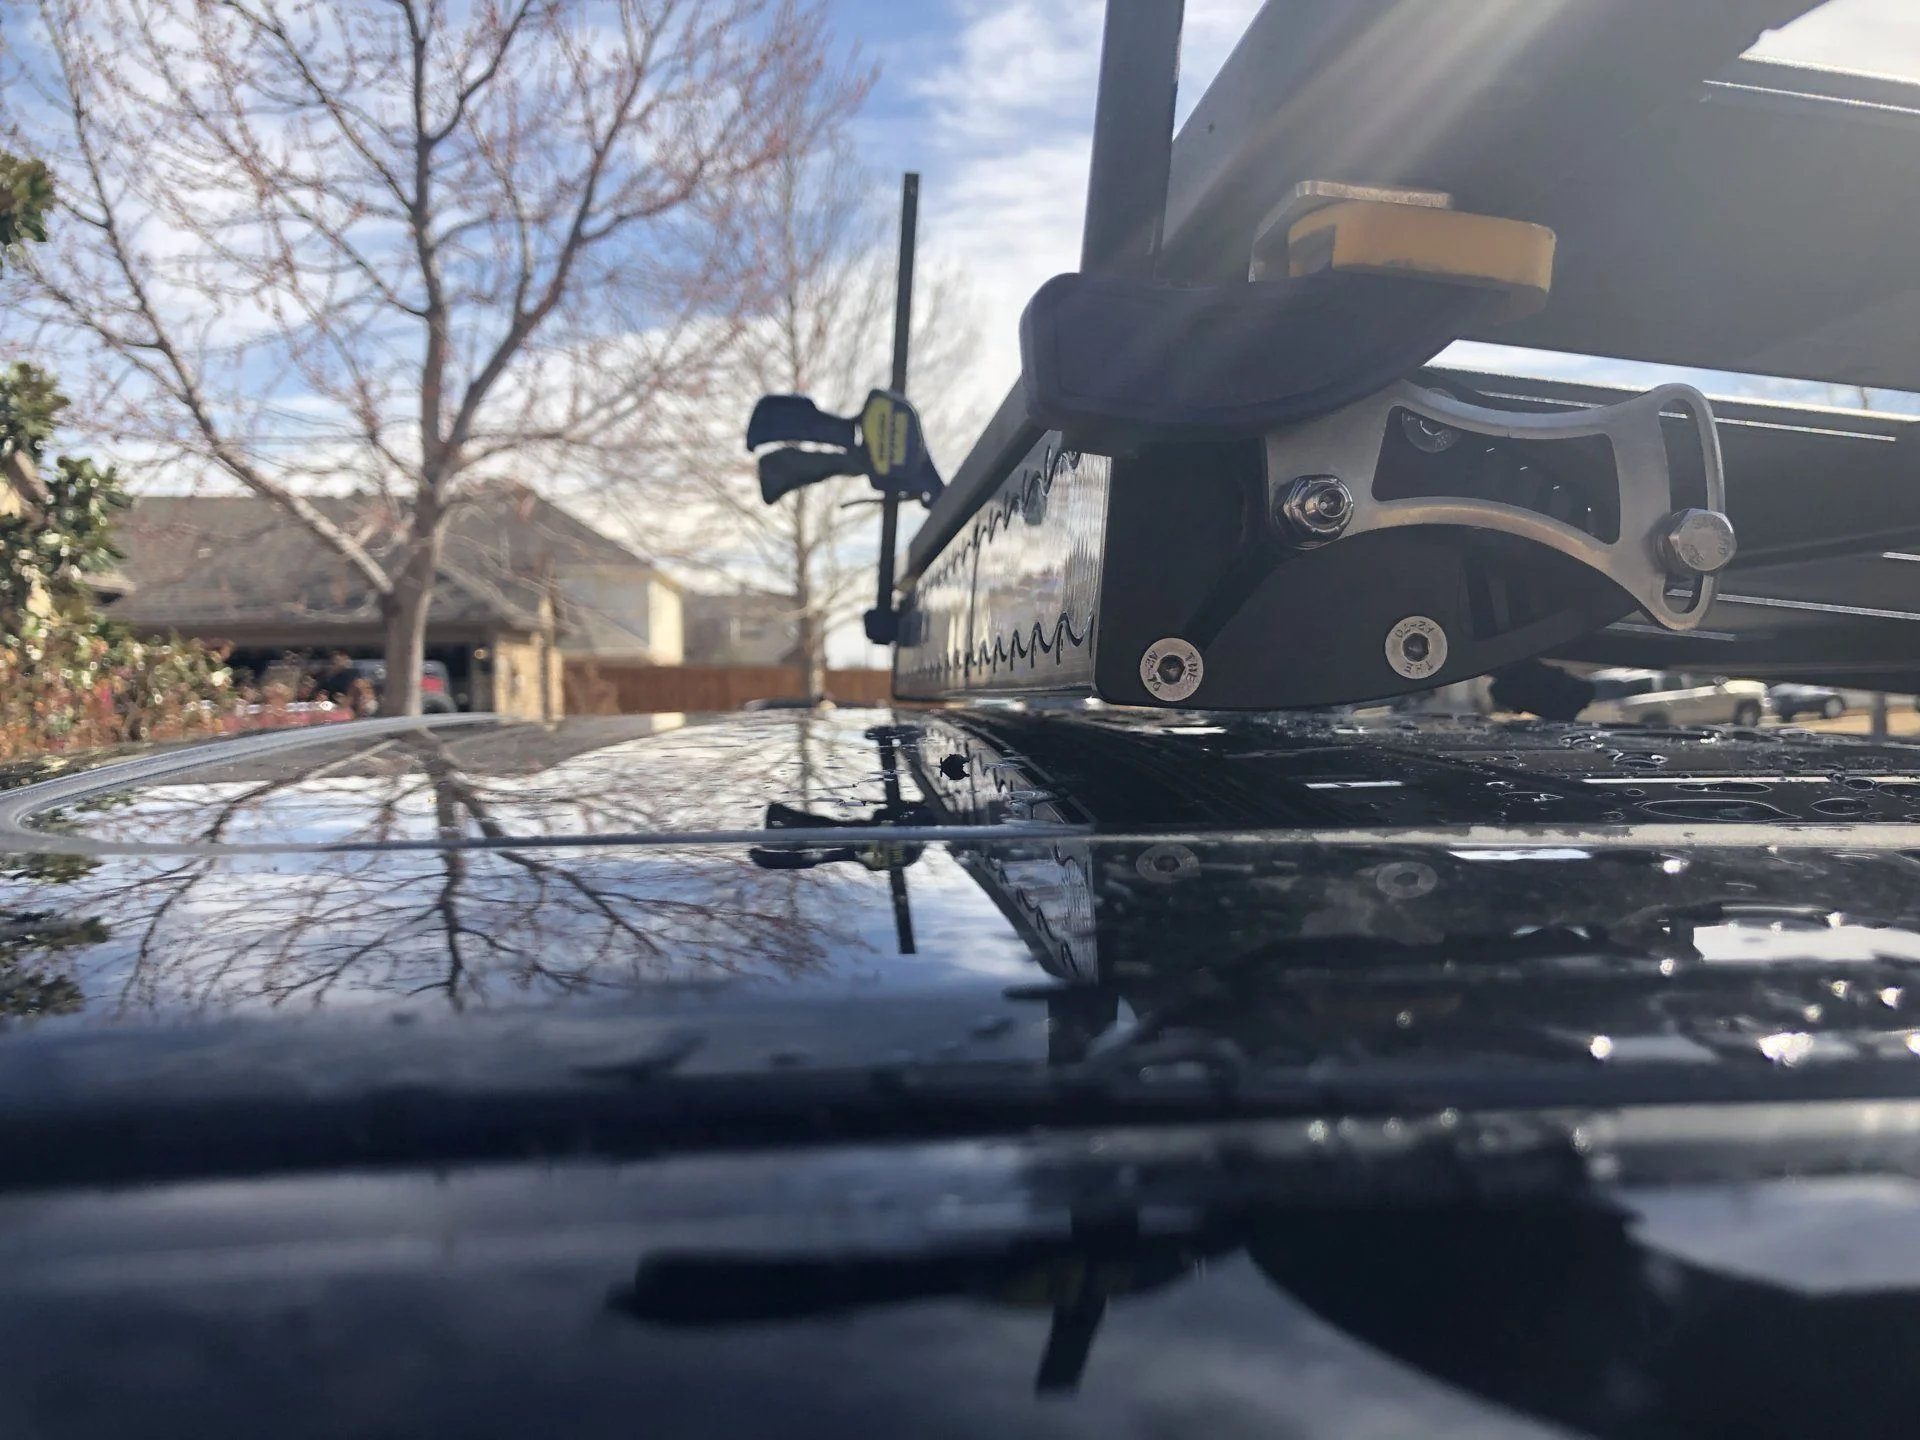
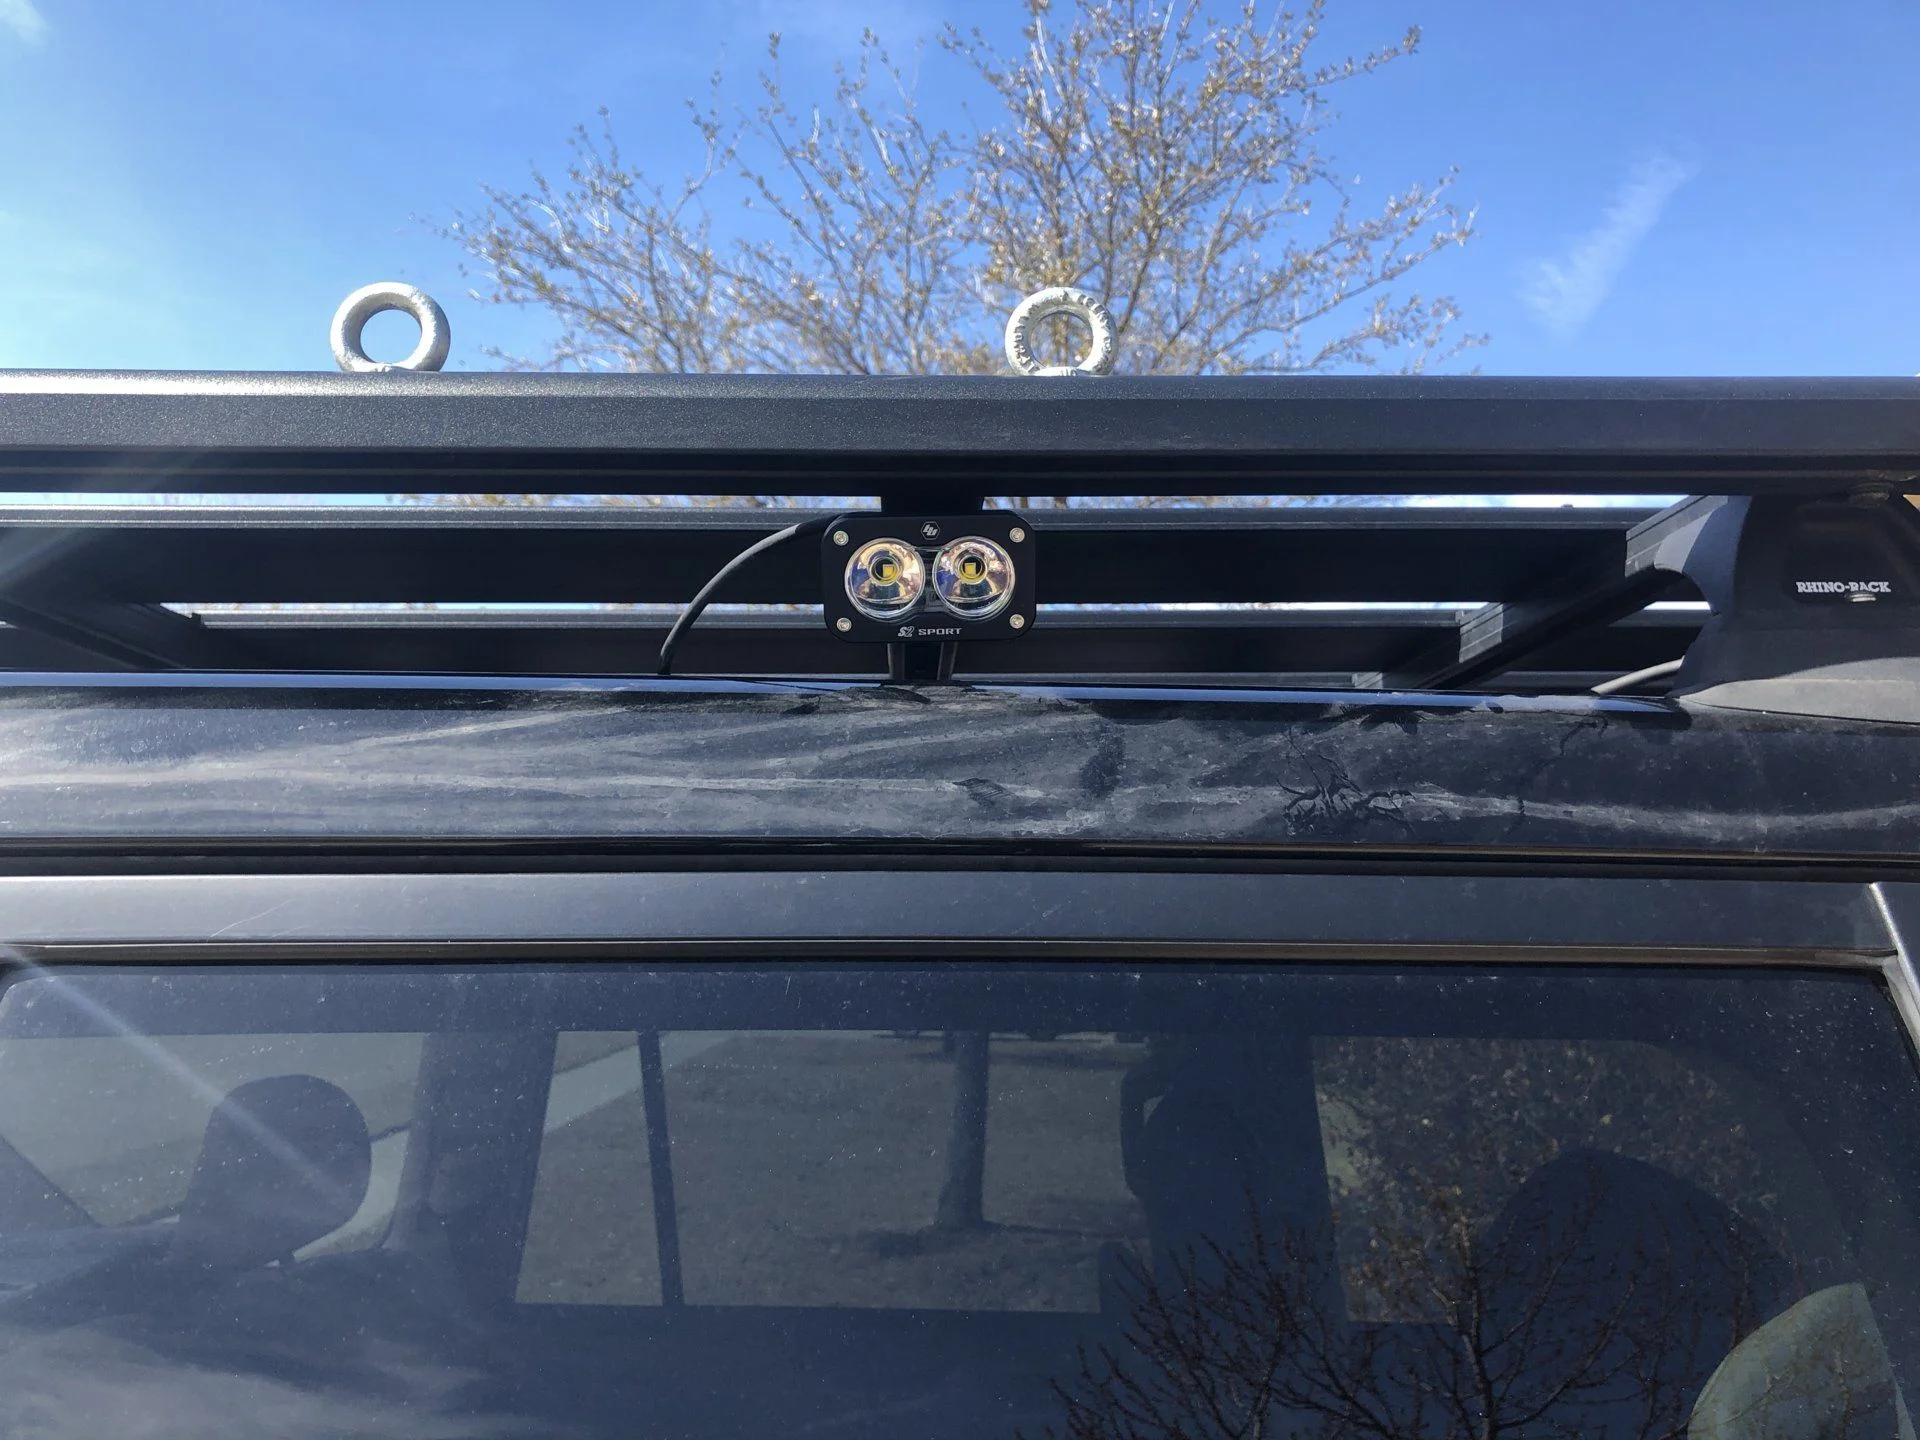
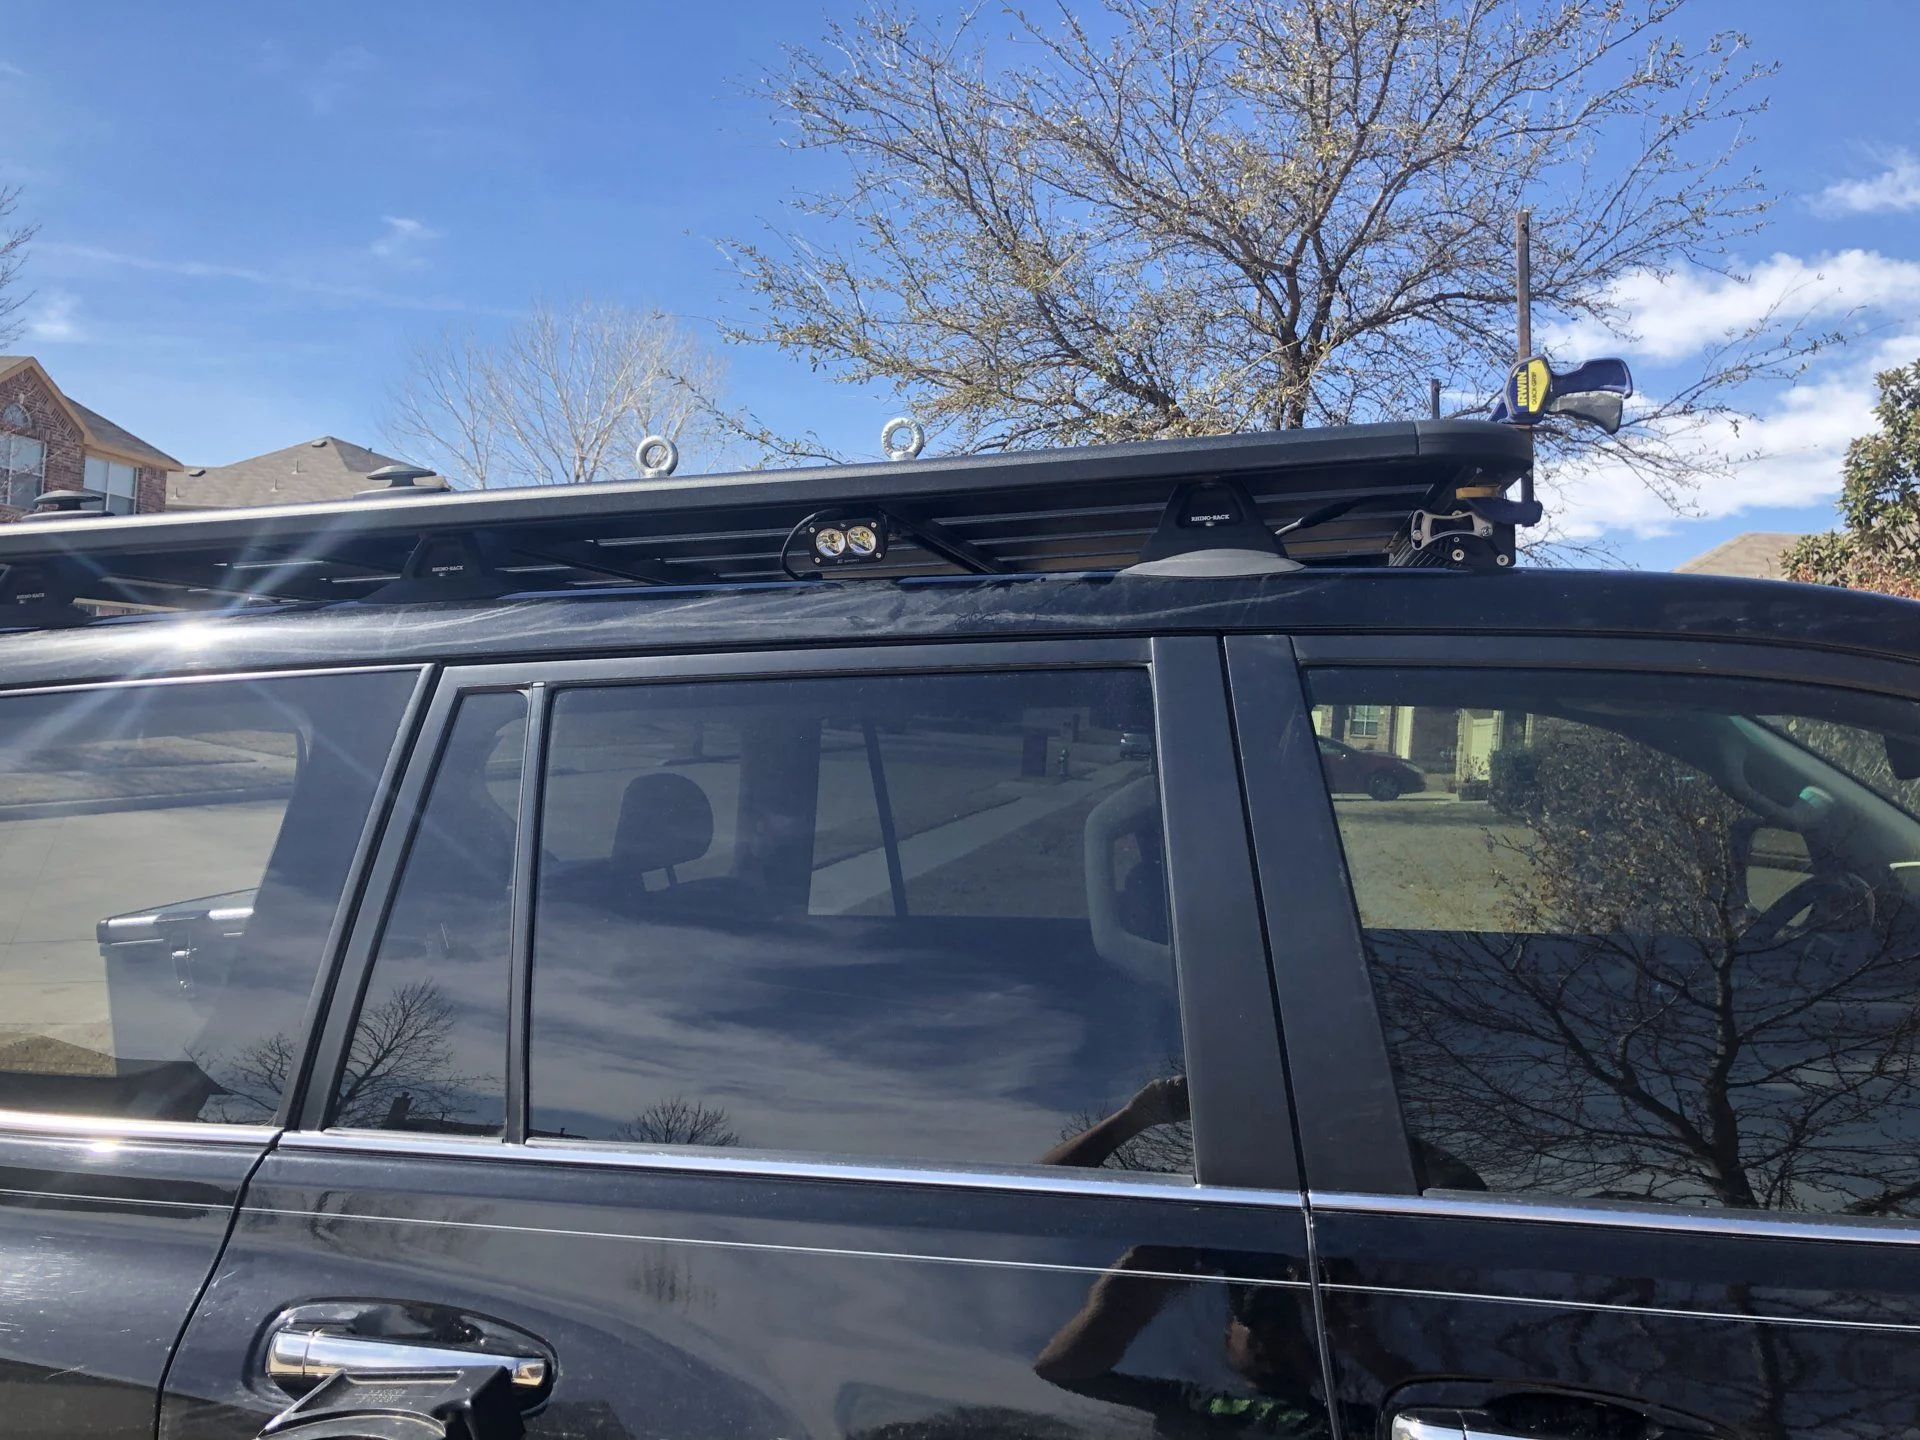
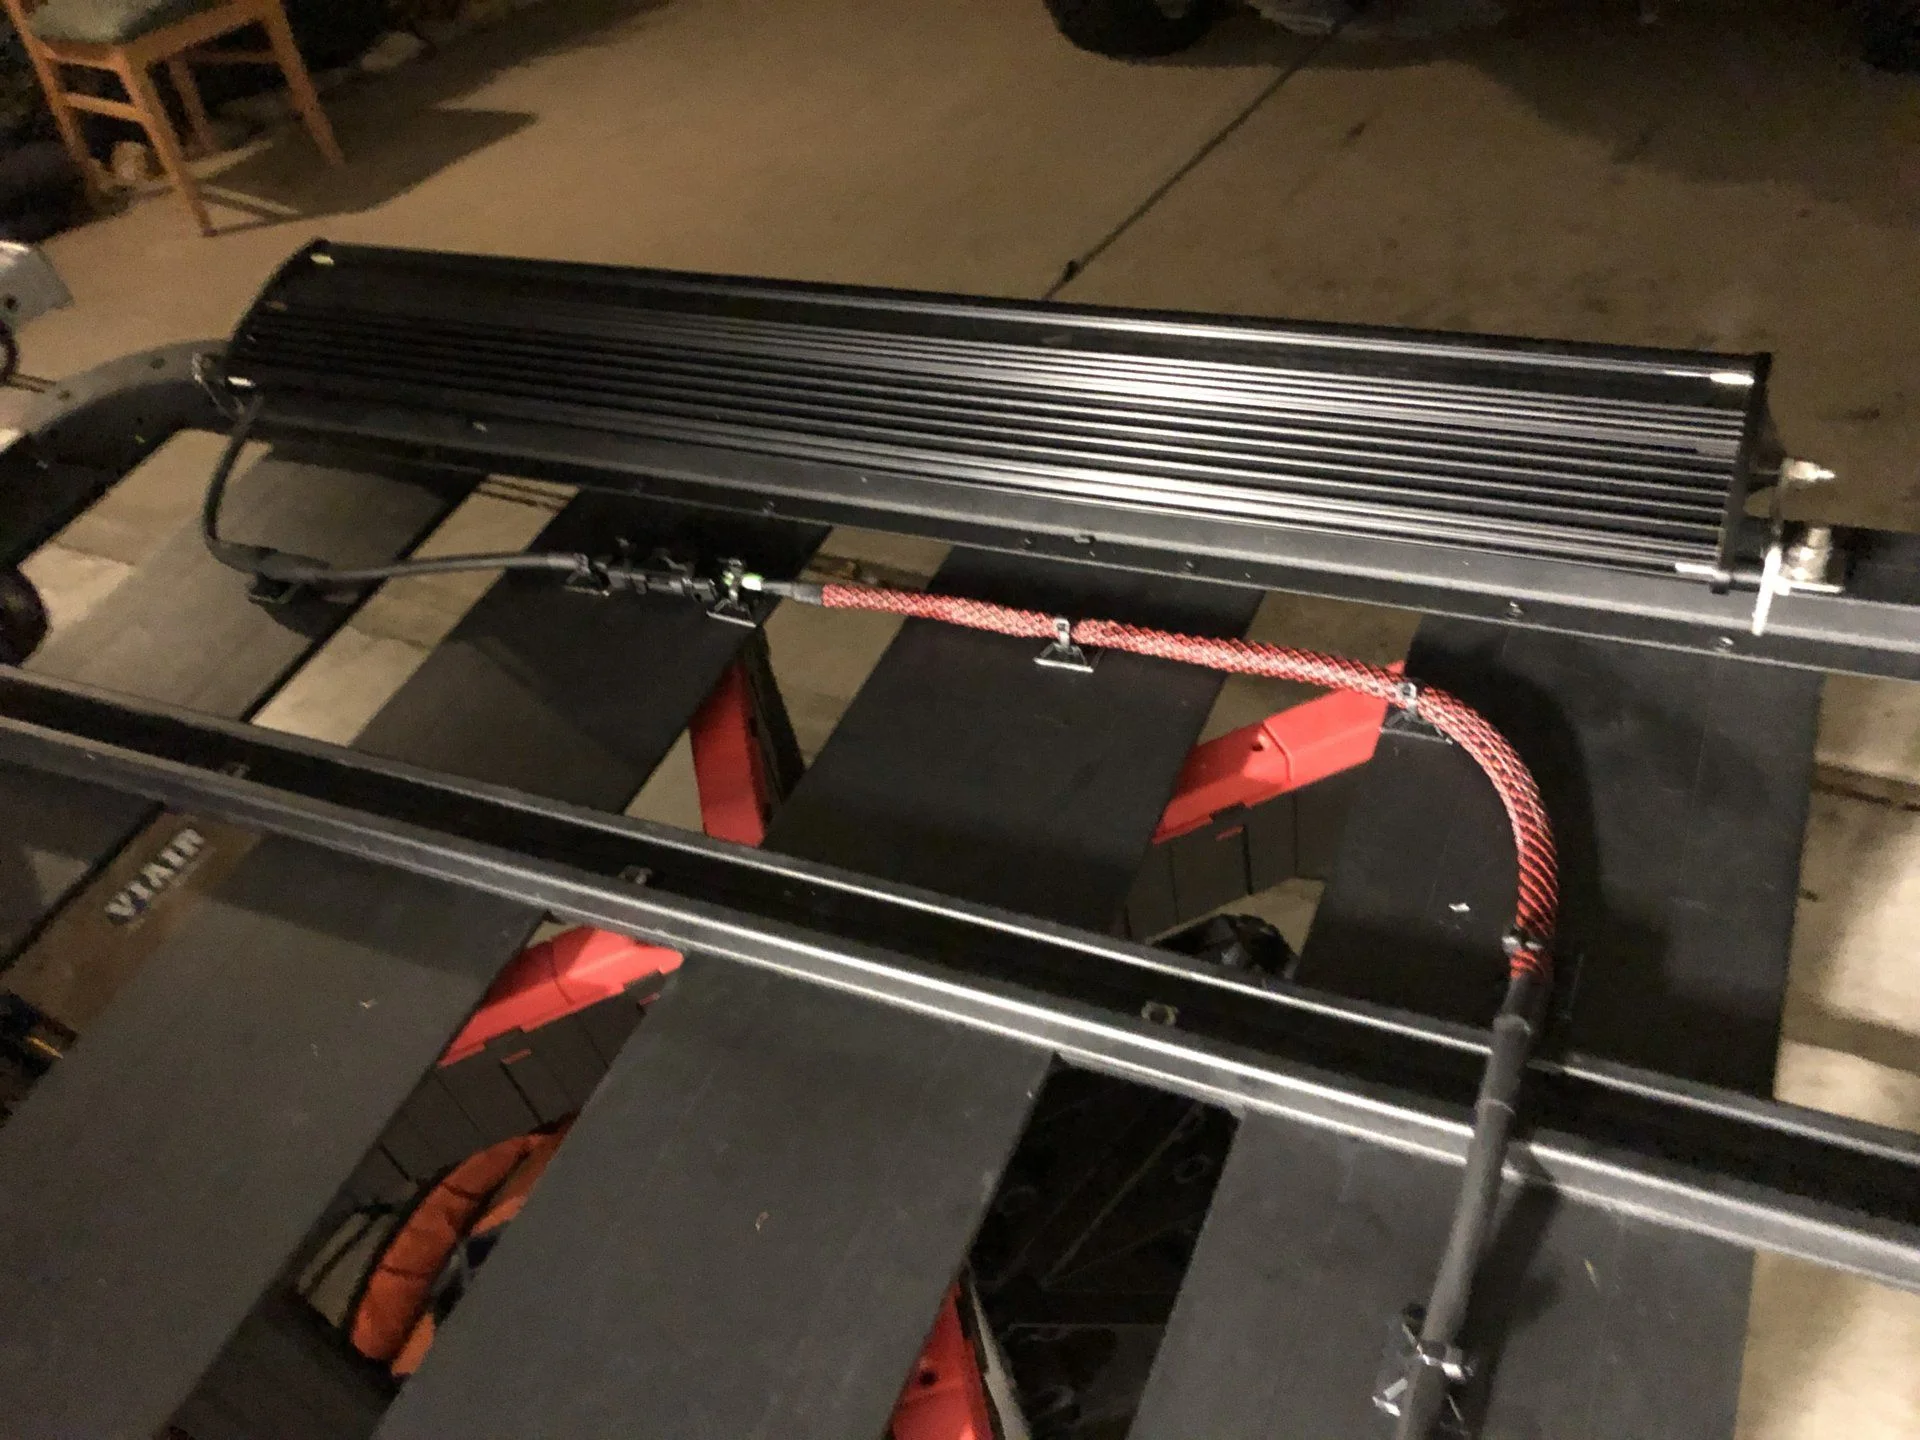
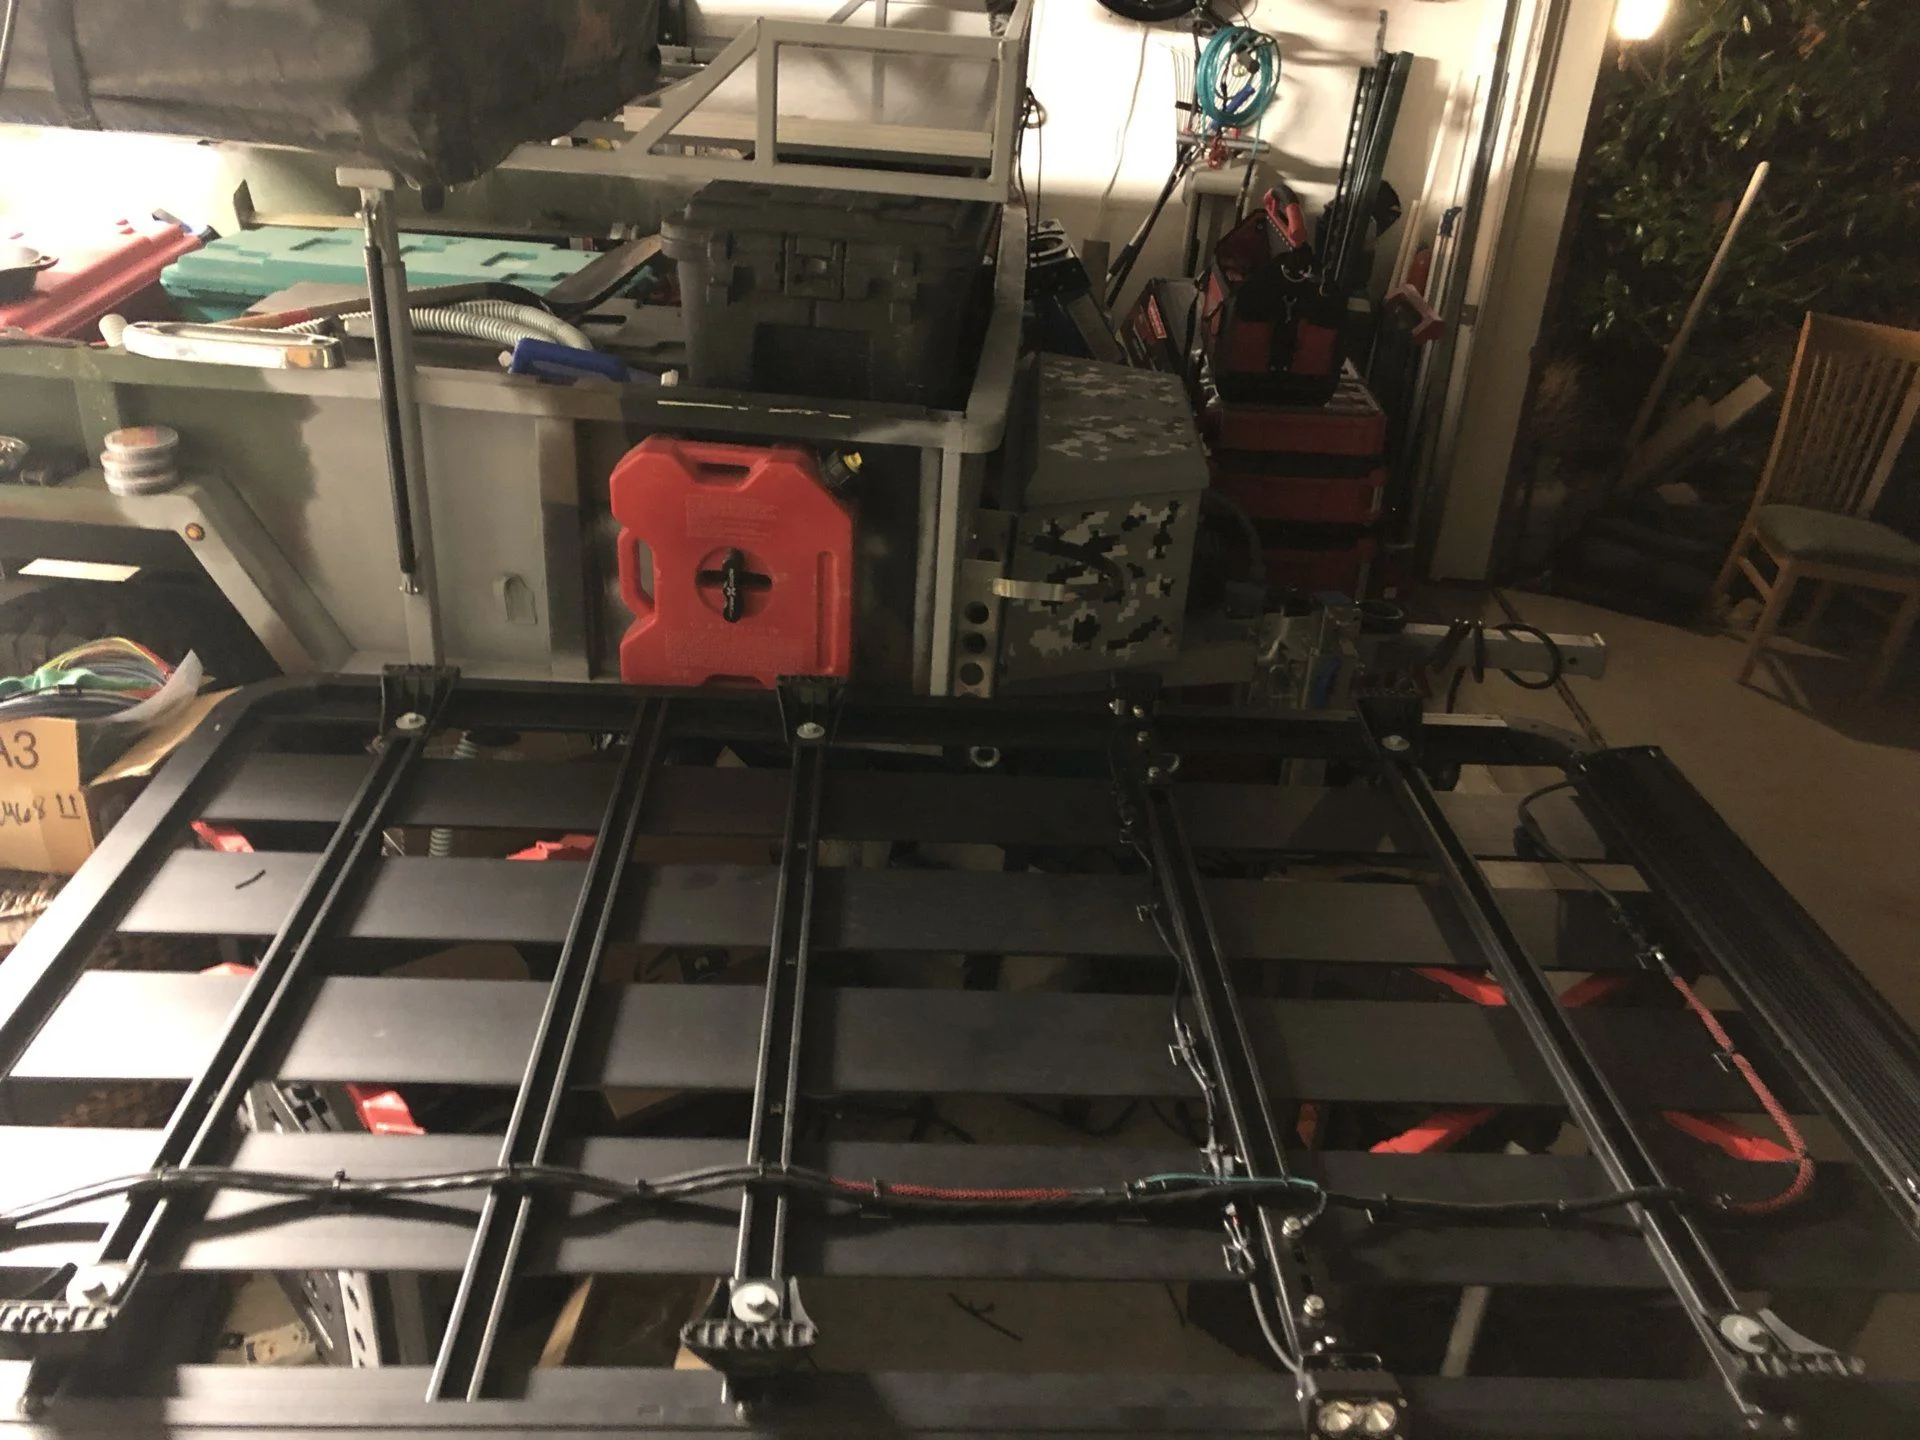
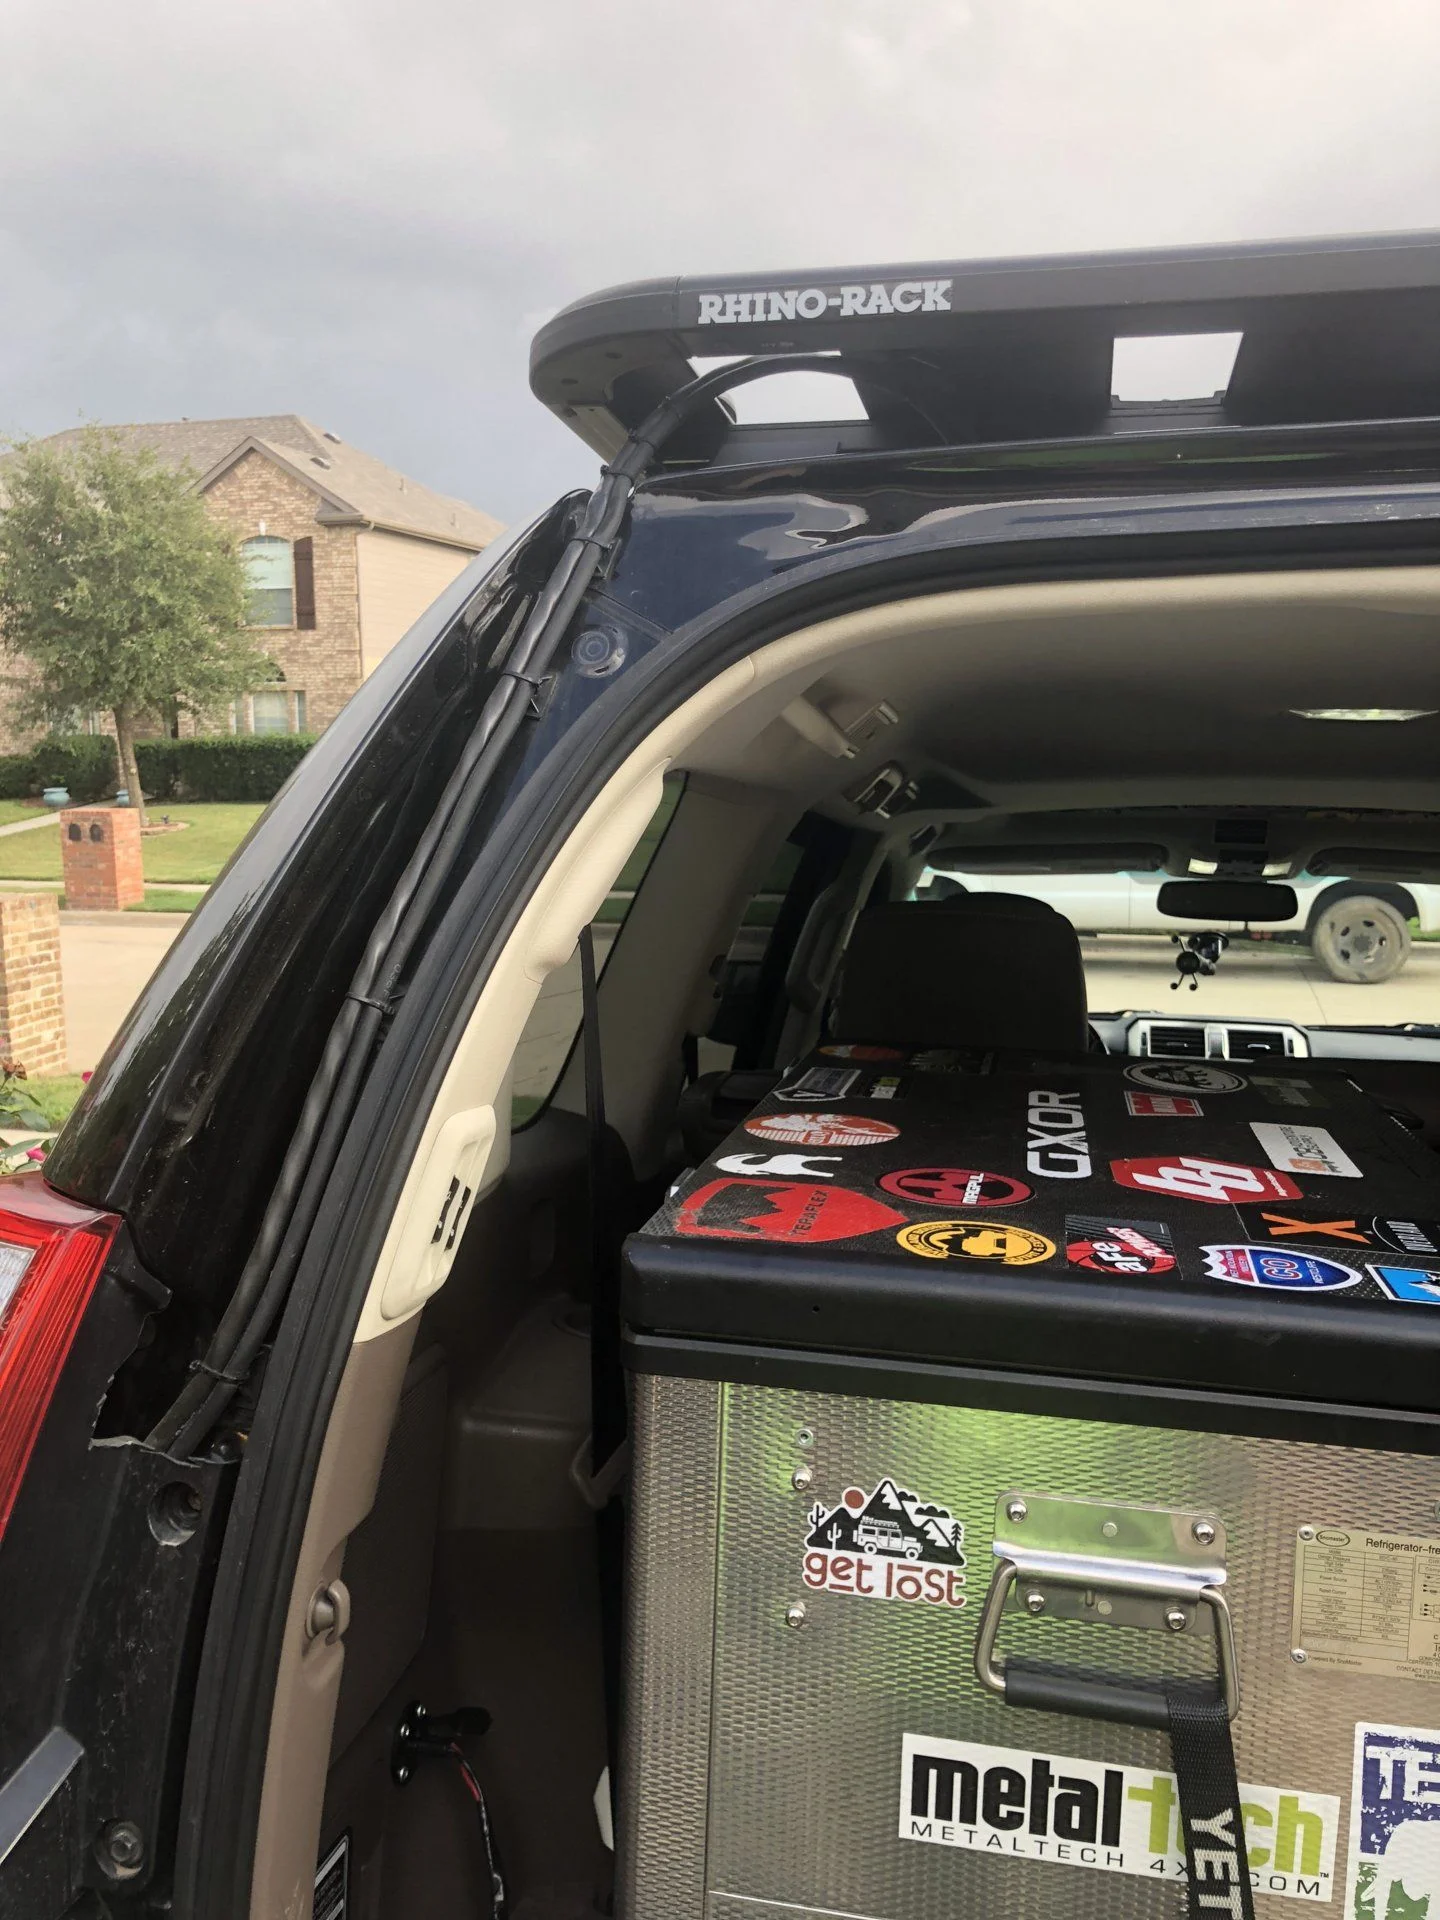
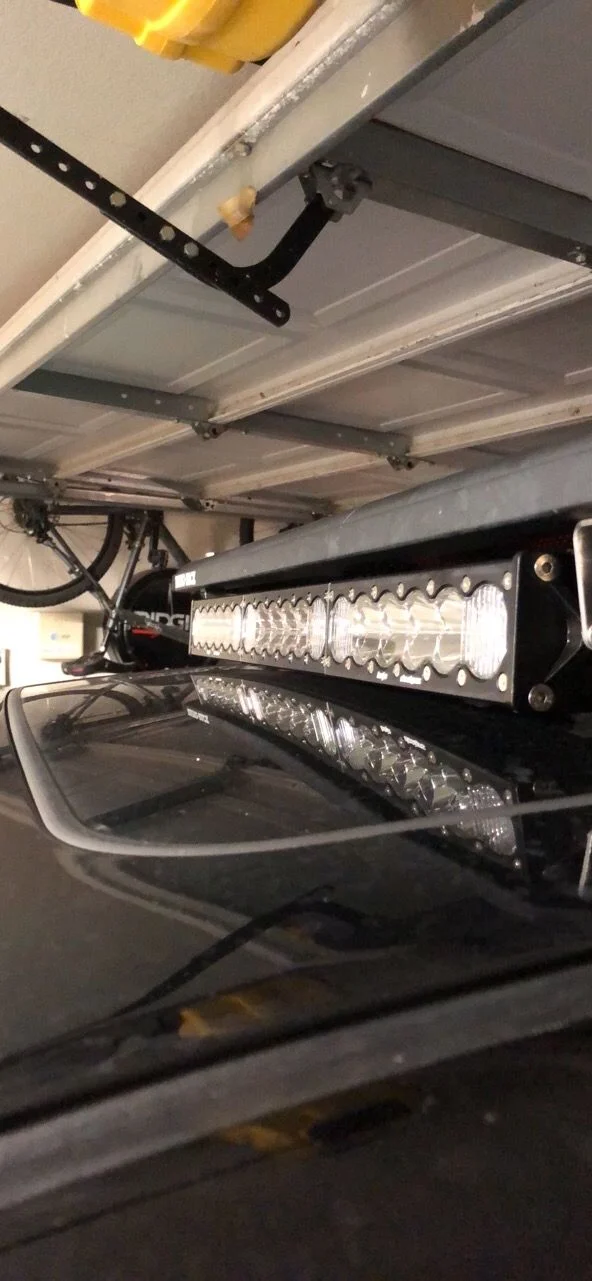
This was the starting point, I test fitted the lights to make sure I had clearance between the light and the "Moon Roof". I have a little over ¼" between the two. I tried the Rhino rack light bar mounts but the Baja Designs OnX 30" was a little two deep to fit in the brackets. I also liked the incognito of having it mounted under the rack. I also mounted two of the BD S2 Sports on the sides. I did use the Rhino rack mounts for these as it aloud me to mount them up under the rack.


I made a bundle of wire that consider of two 4 awg wires two 12 awg wires and 2 18 awg pairs. I did need all of these at the time of the install but wanted to make sure I had some growth.

Side Note: I do need to mention that this was really done in two separate projects that I am combining into one on this post. Originally I installed all the wires to be able to use my fridge, I went back a few months later and mounted the lights and the controller.

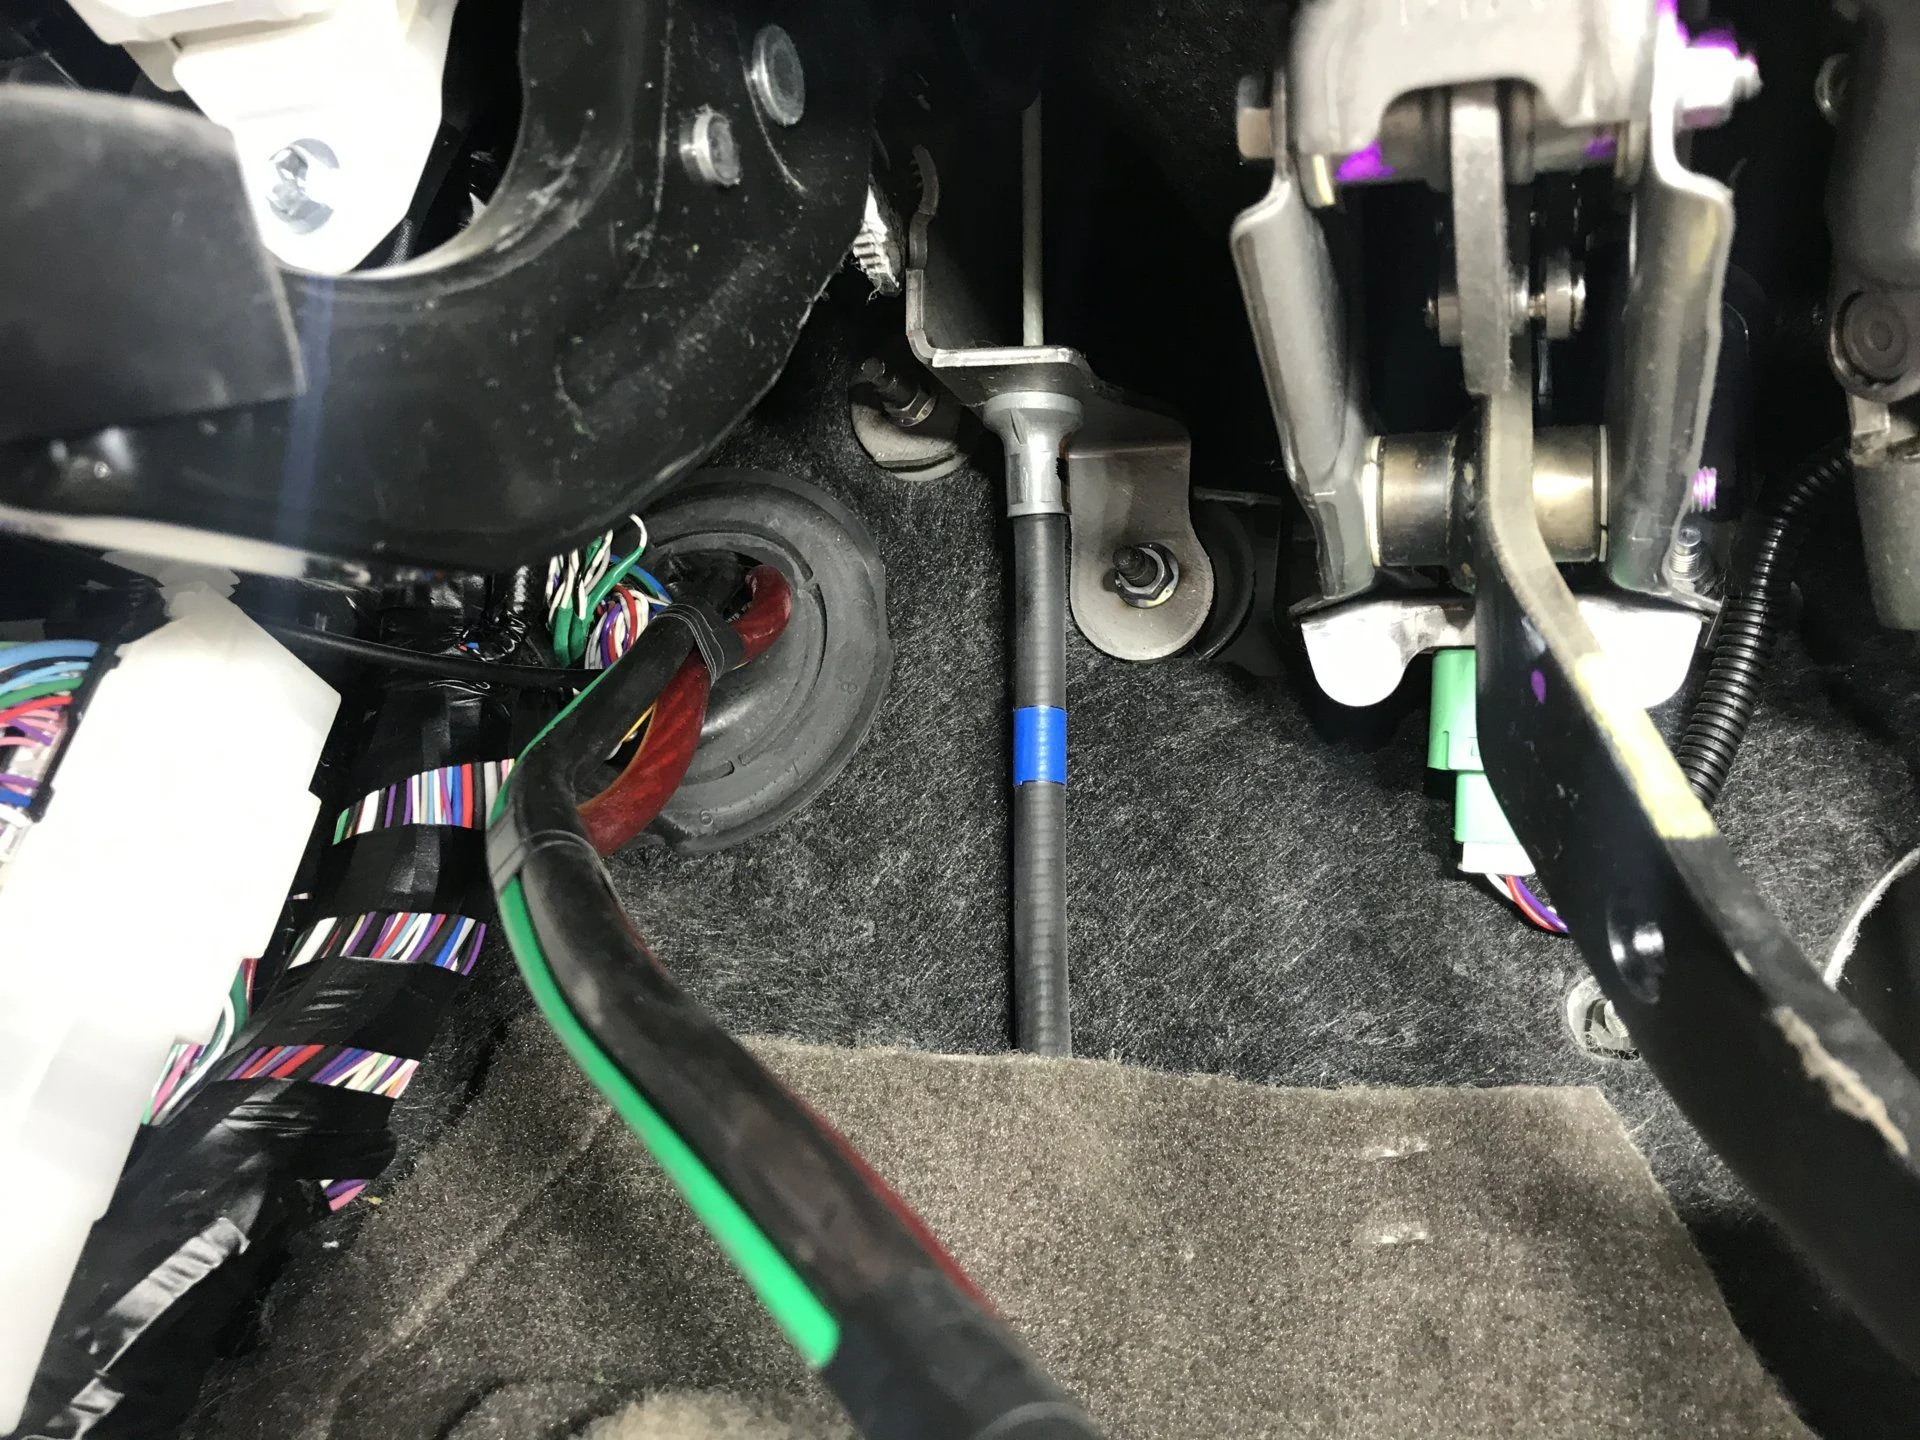
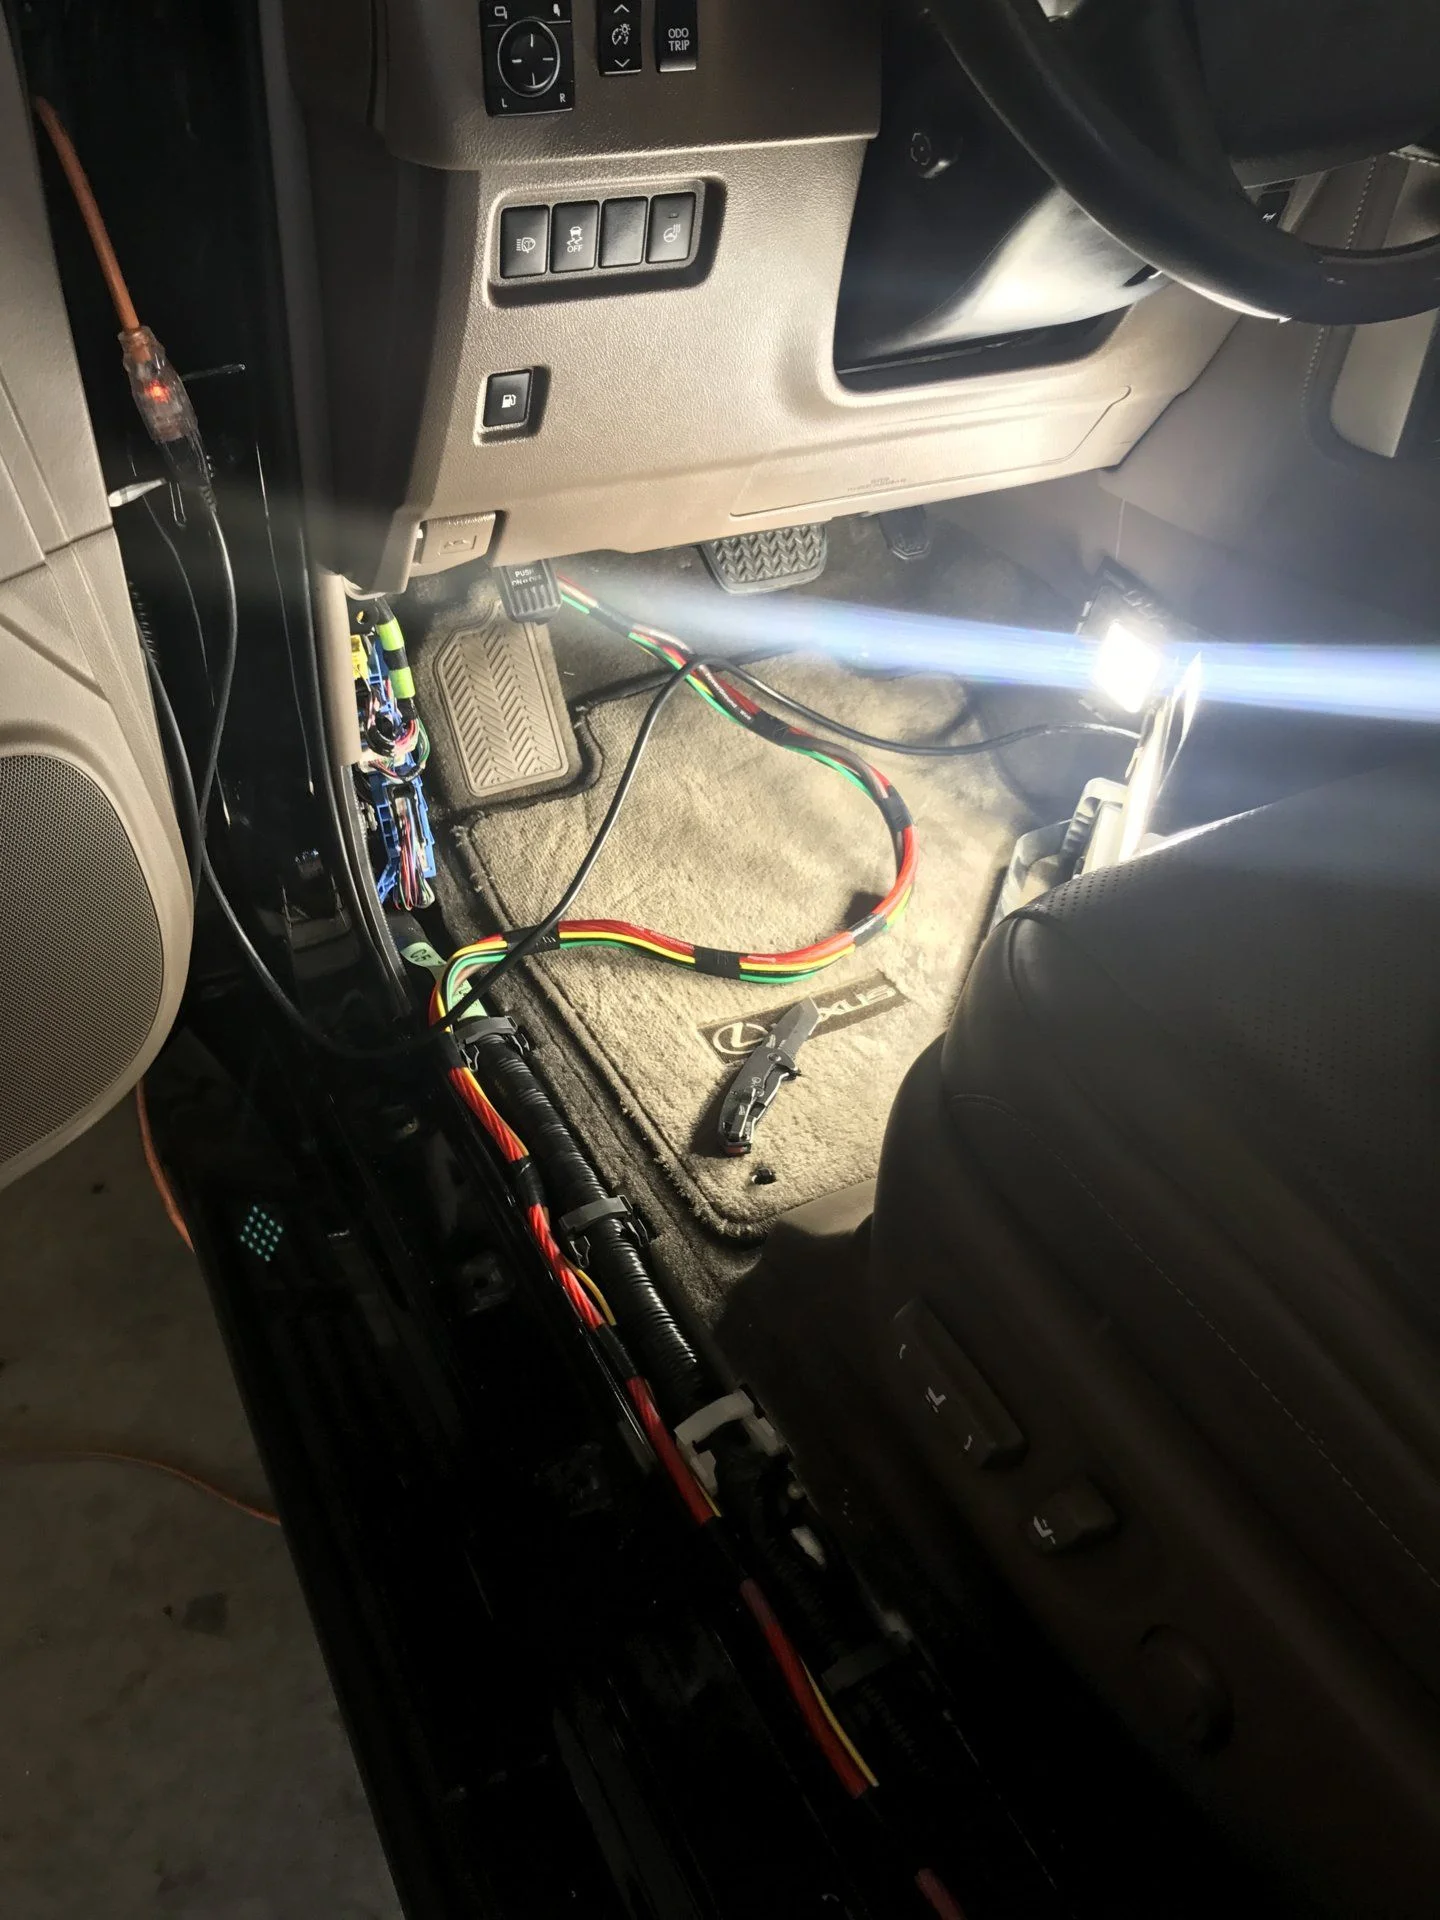
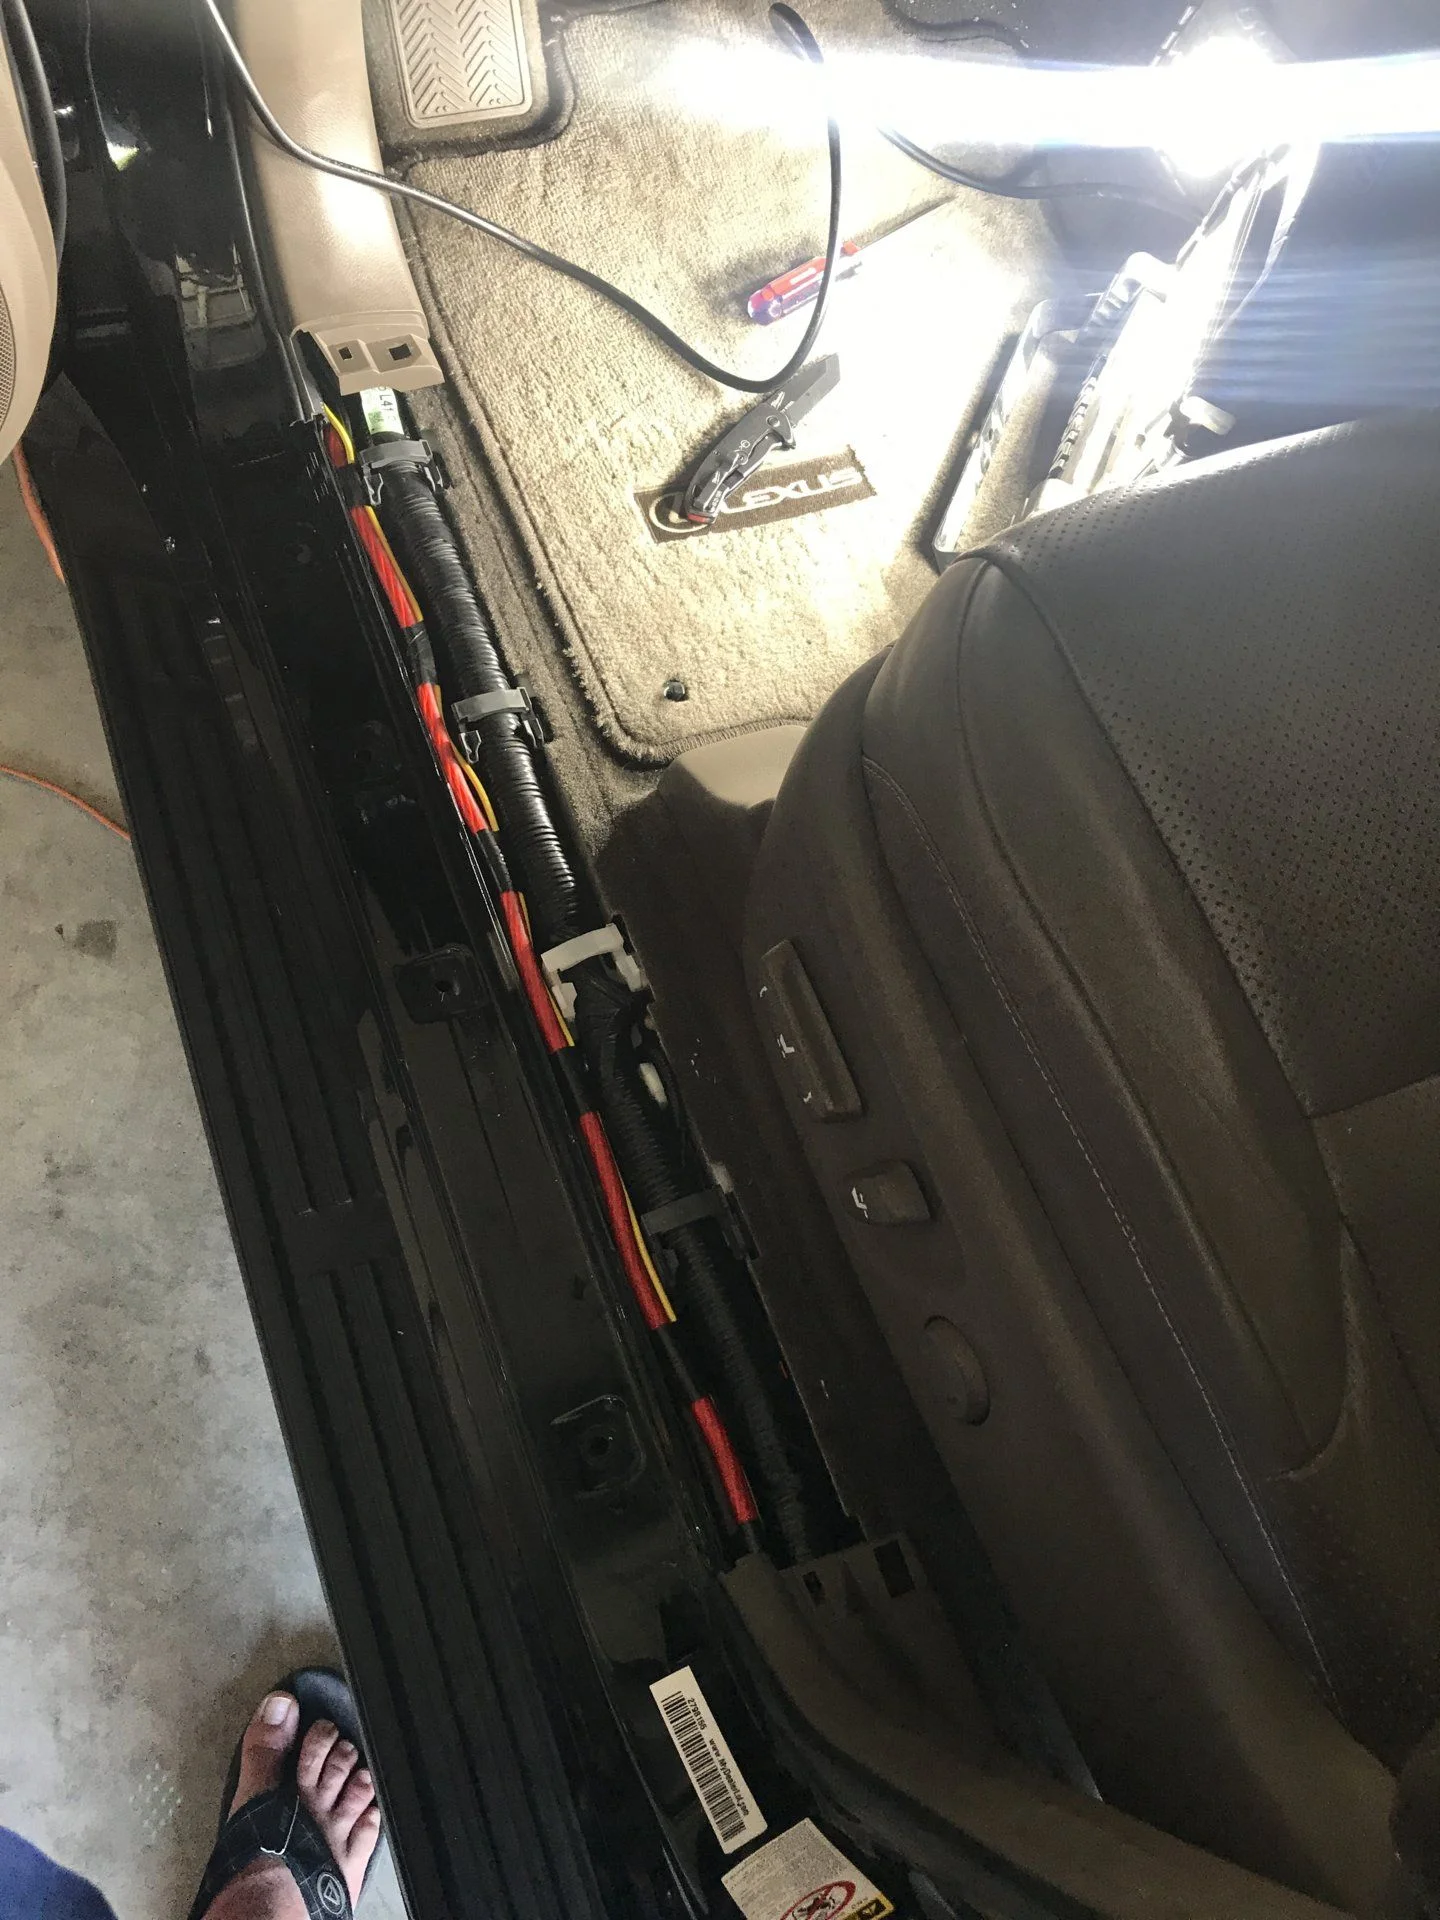
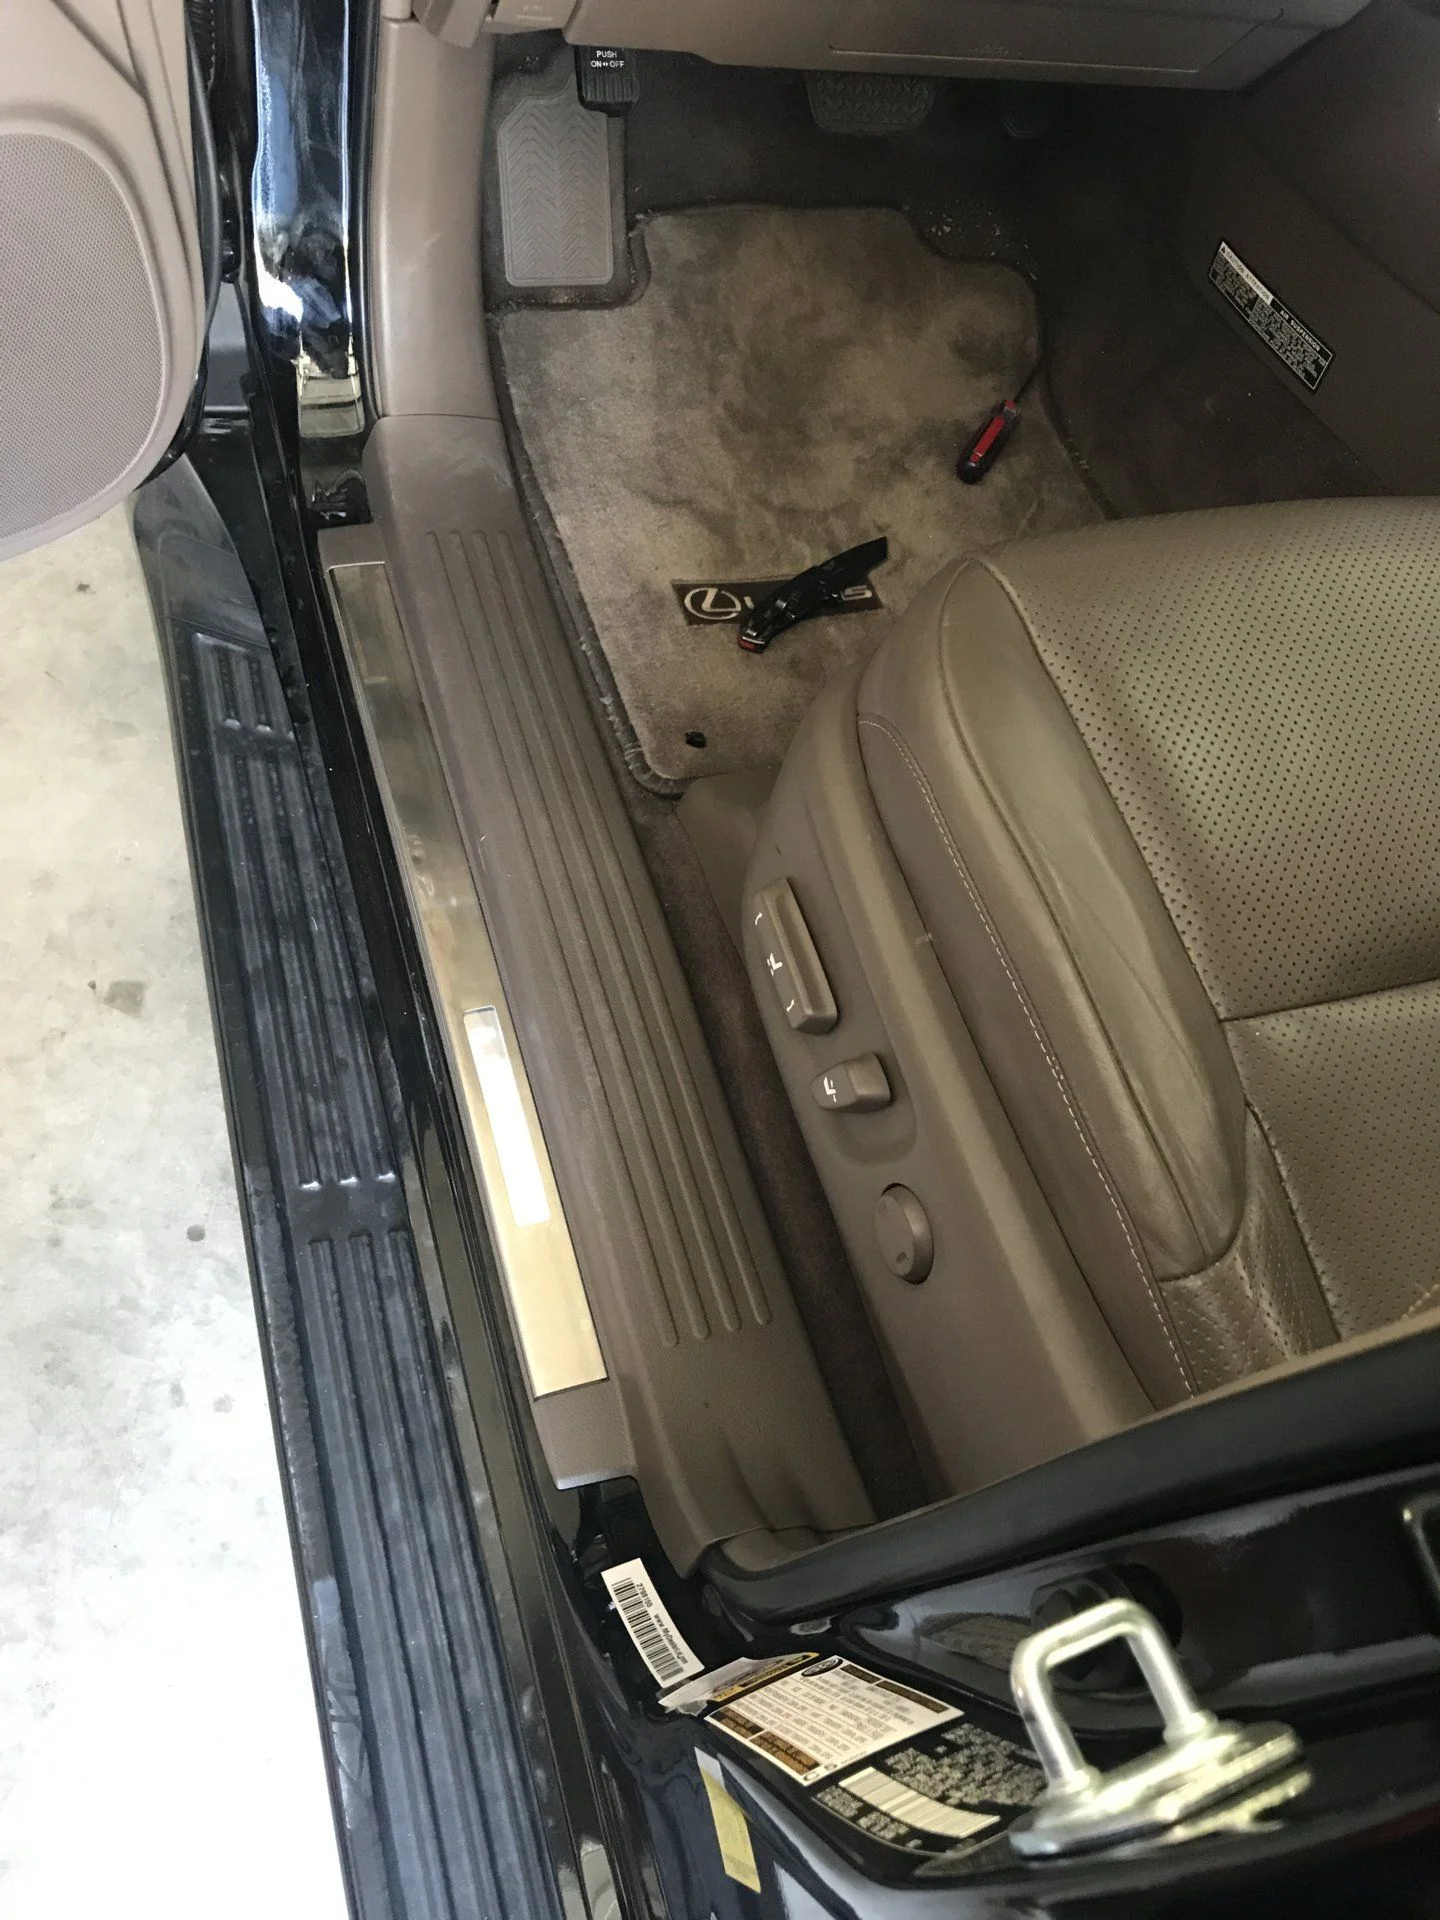
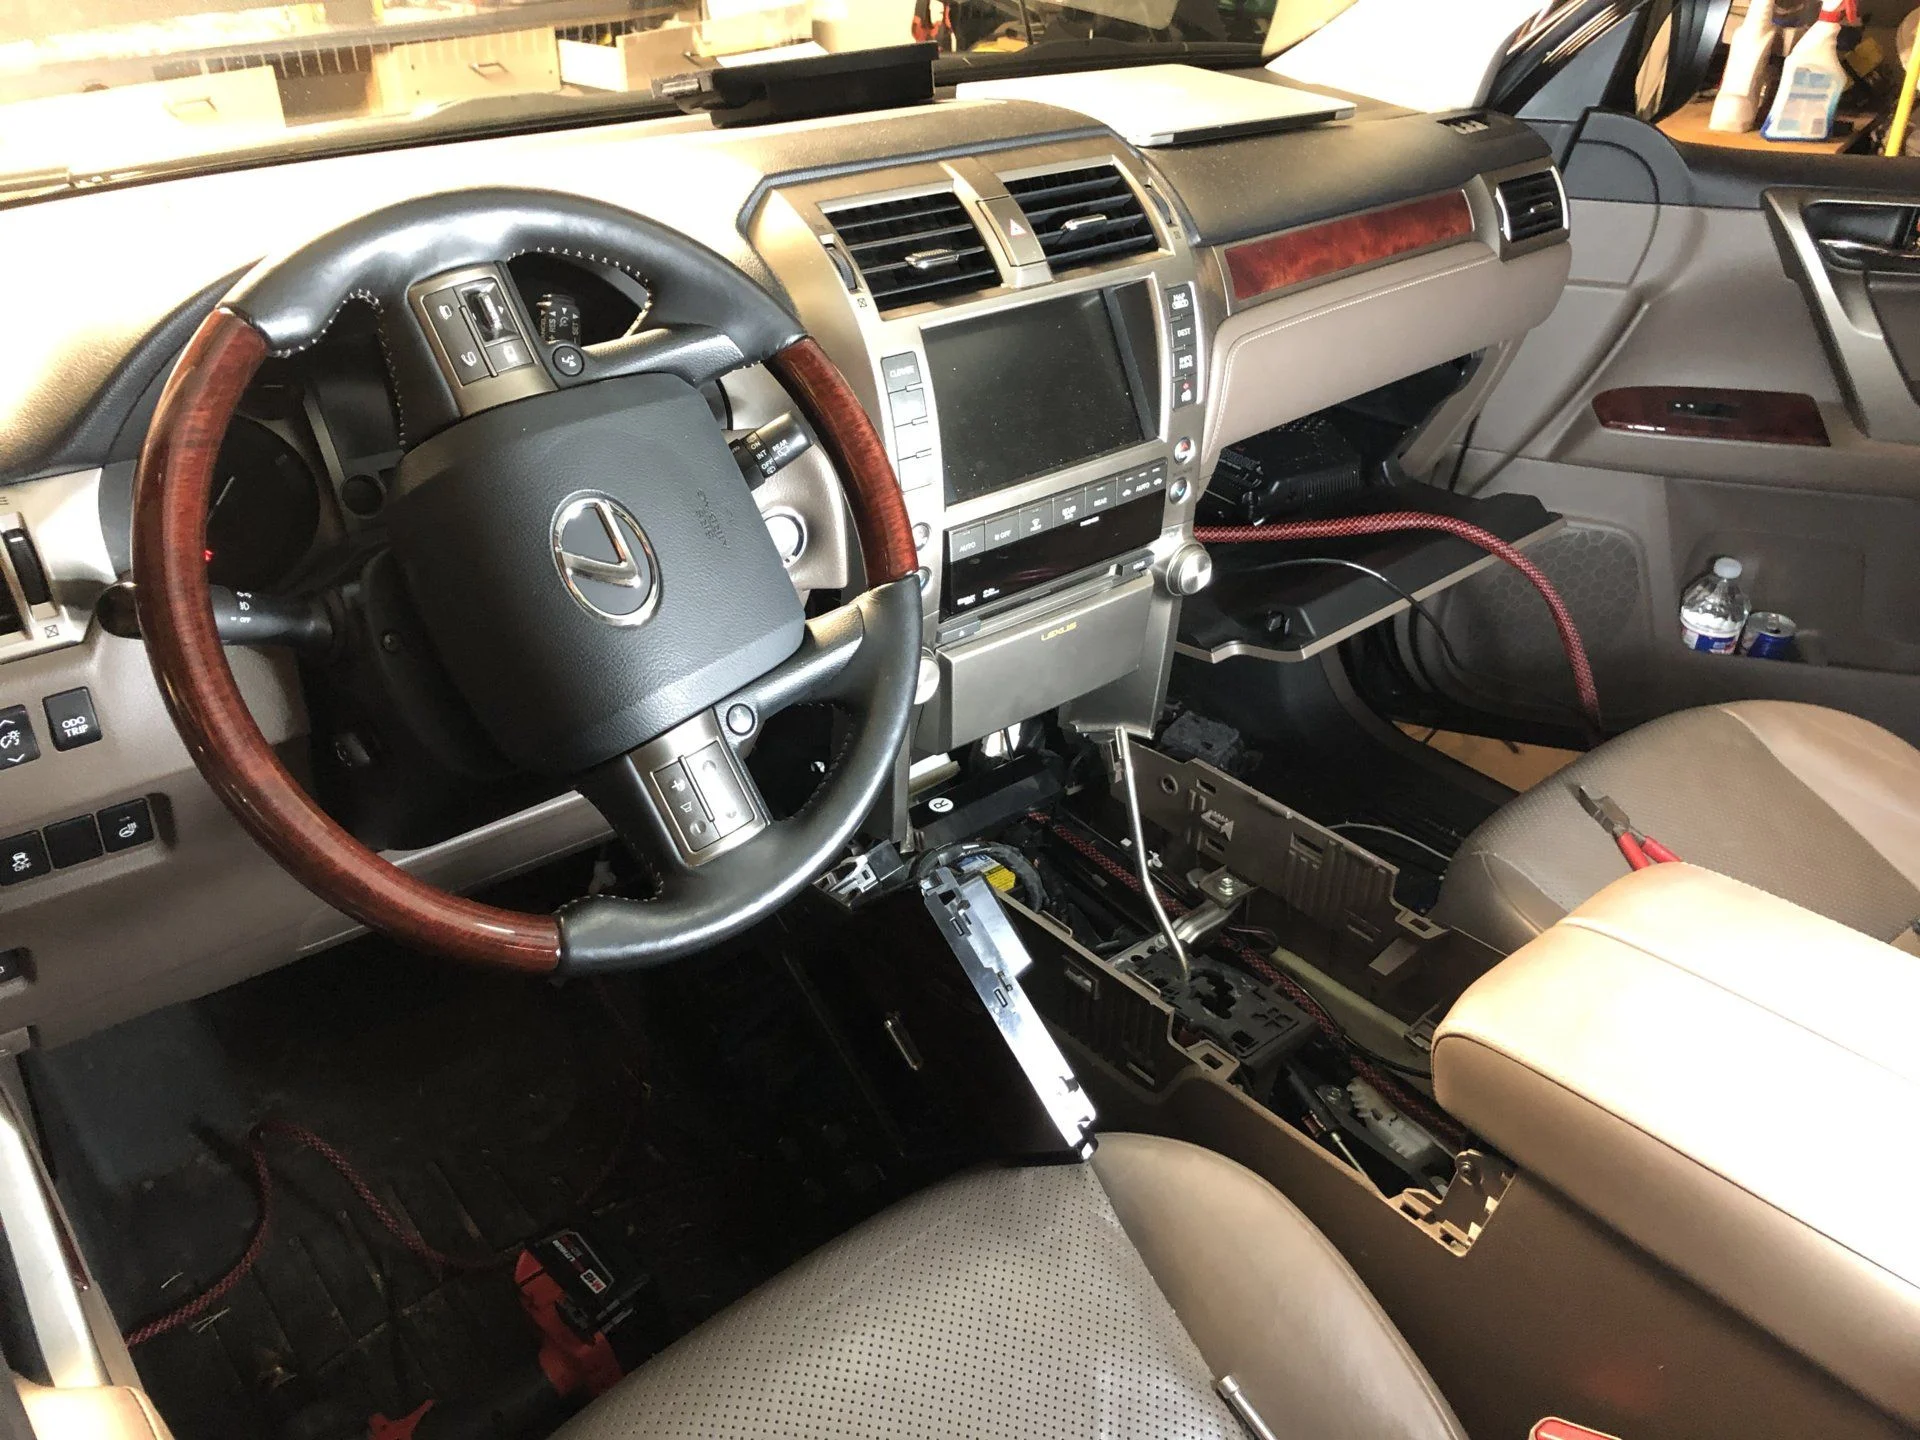
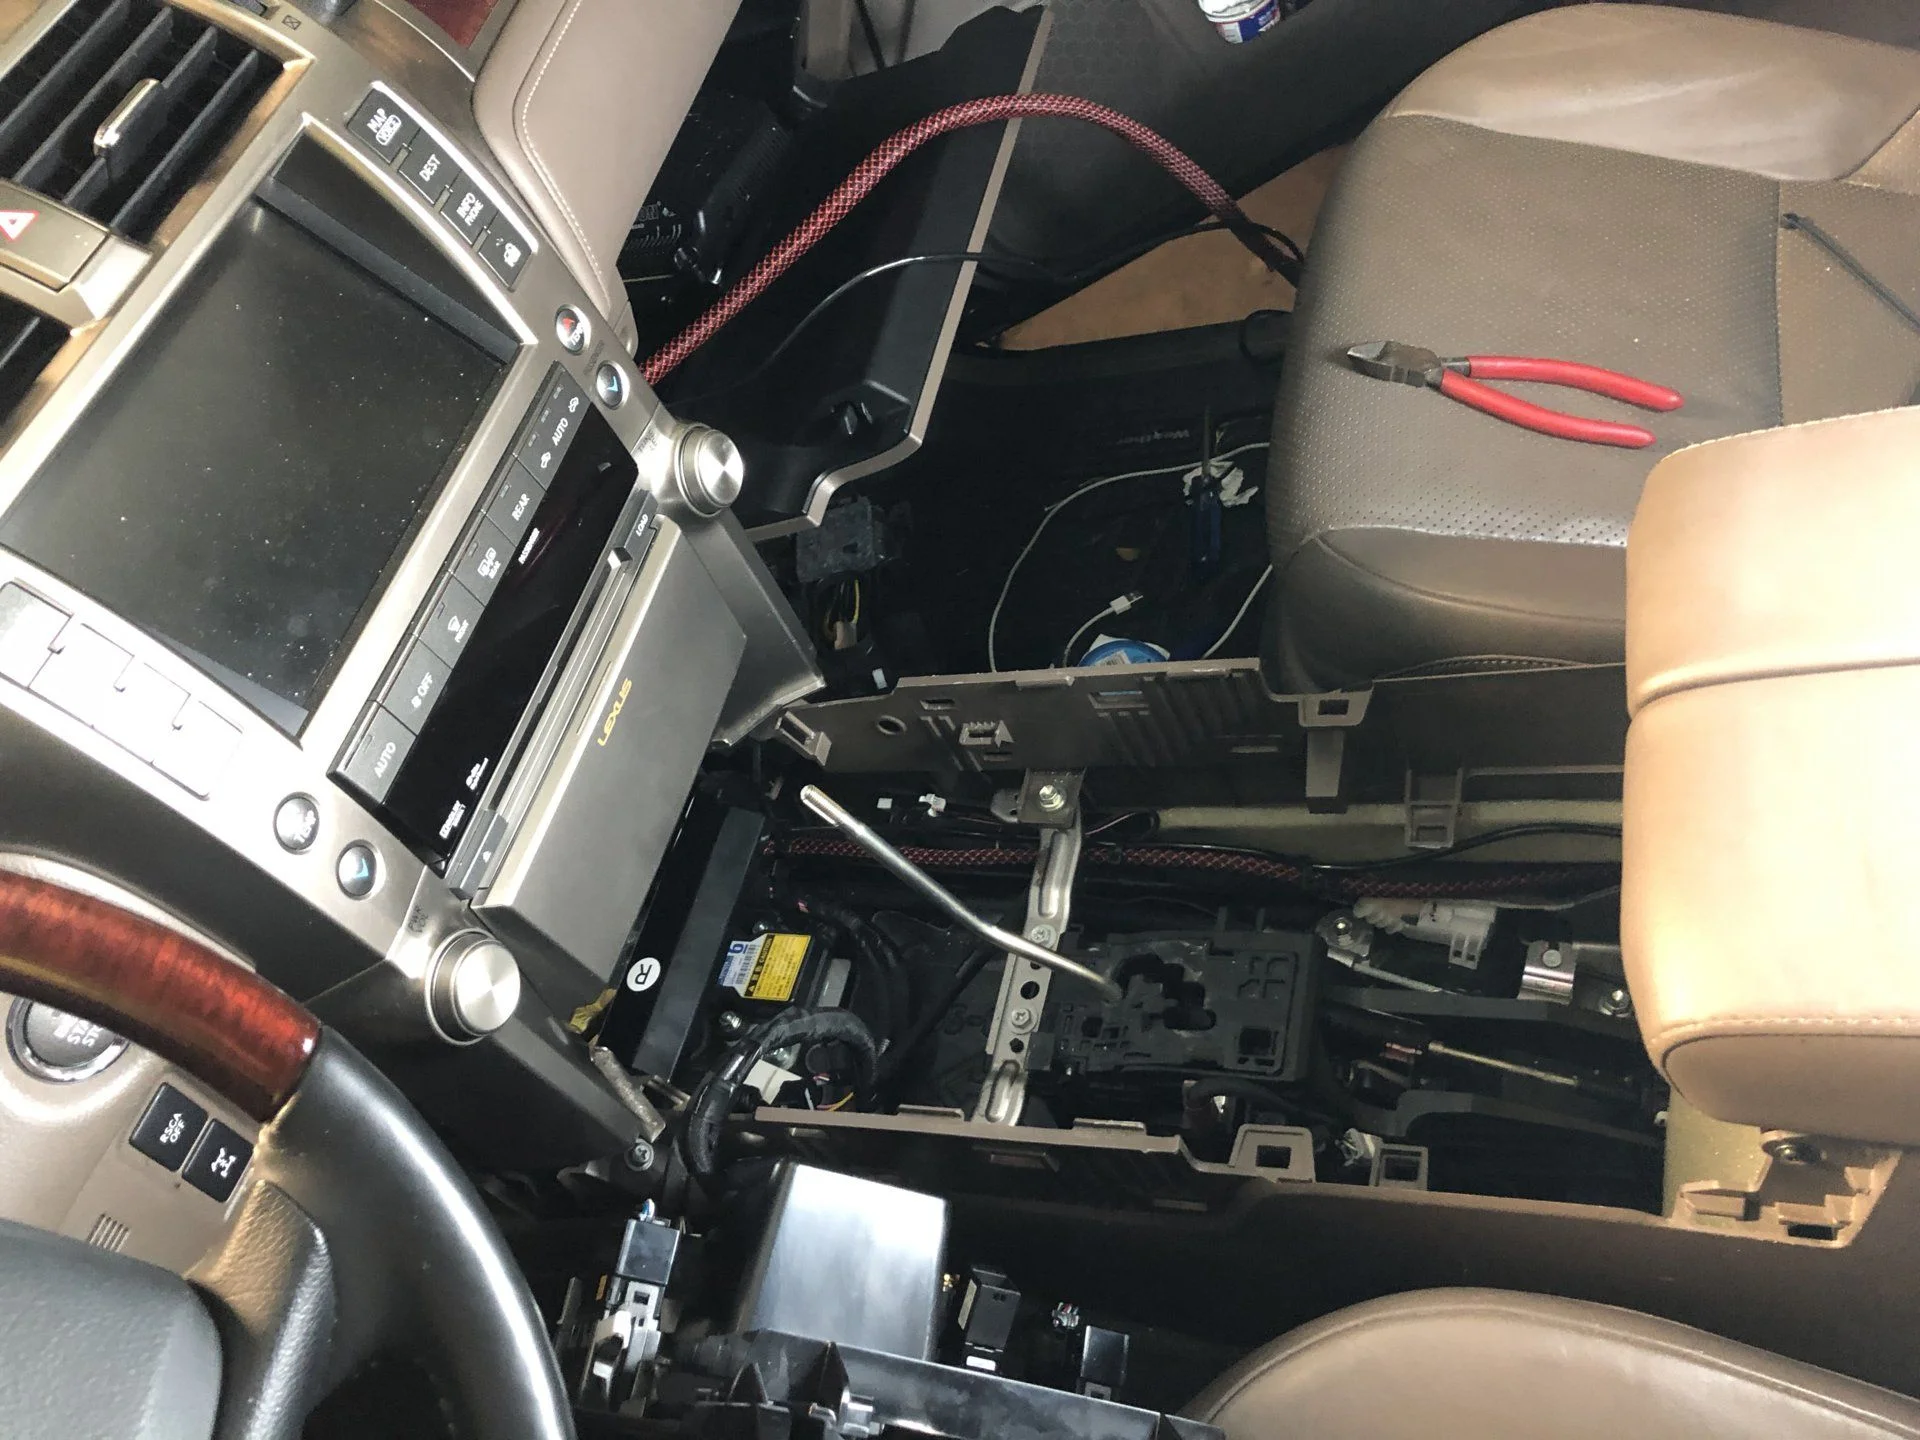
I cut a slice in the rubber grommet in the firewall near the parking brake lever on the drivers side. I used the channel under the door trim as a passage way. The bundle I made filled this channel nicely and don't think another wire could fit. This went from the front to the back panel on the drivers side next to the third row.


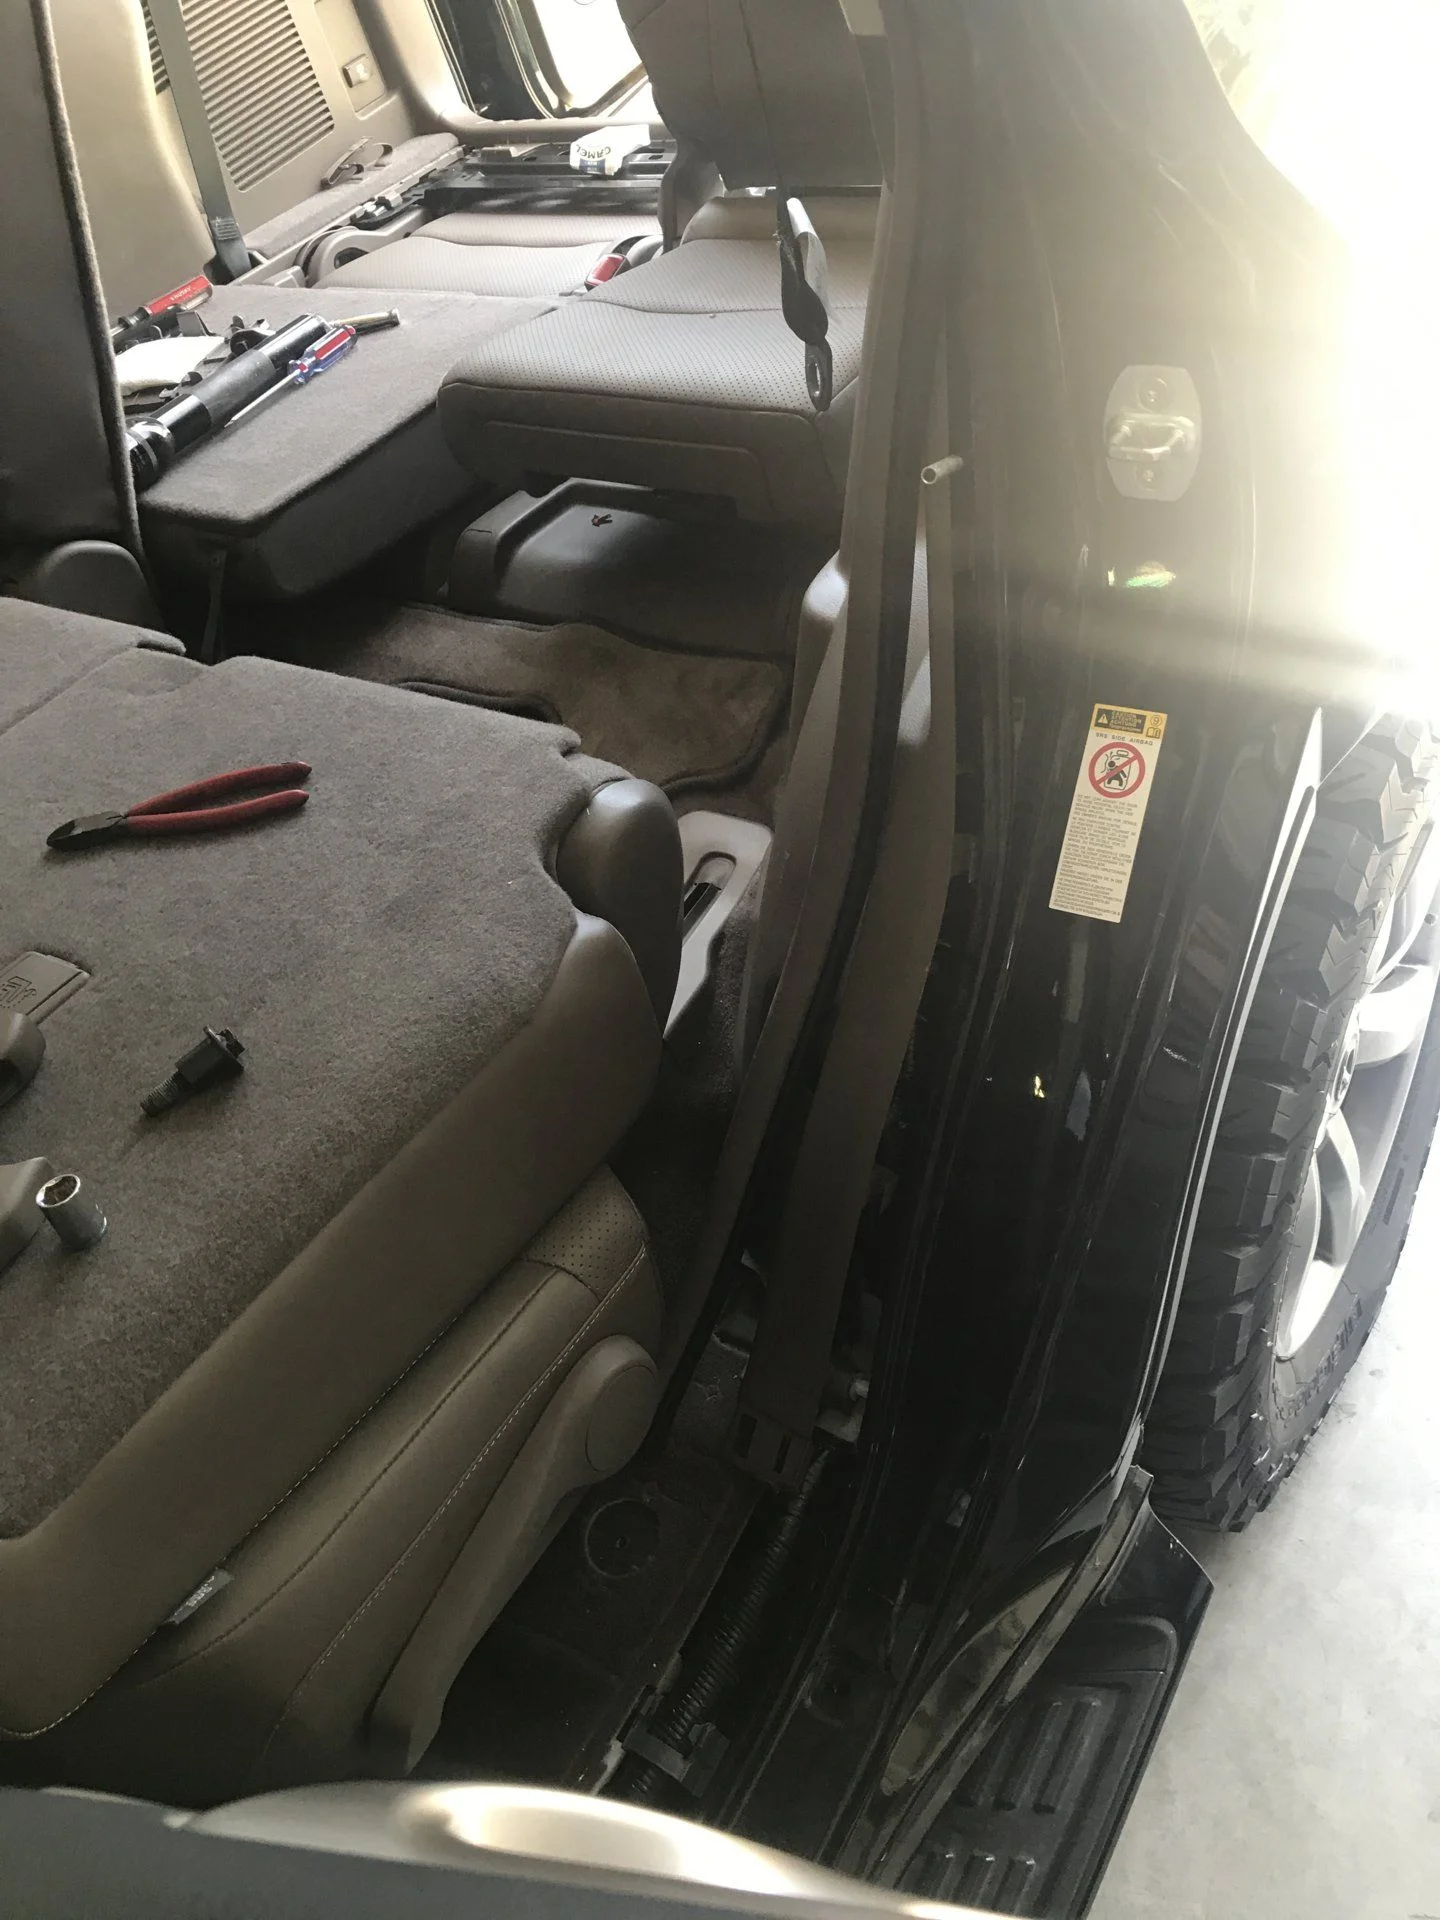
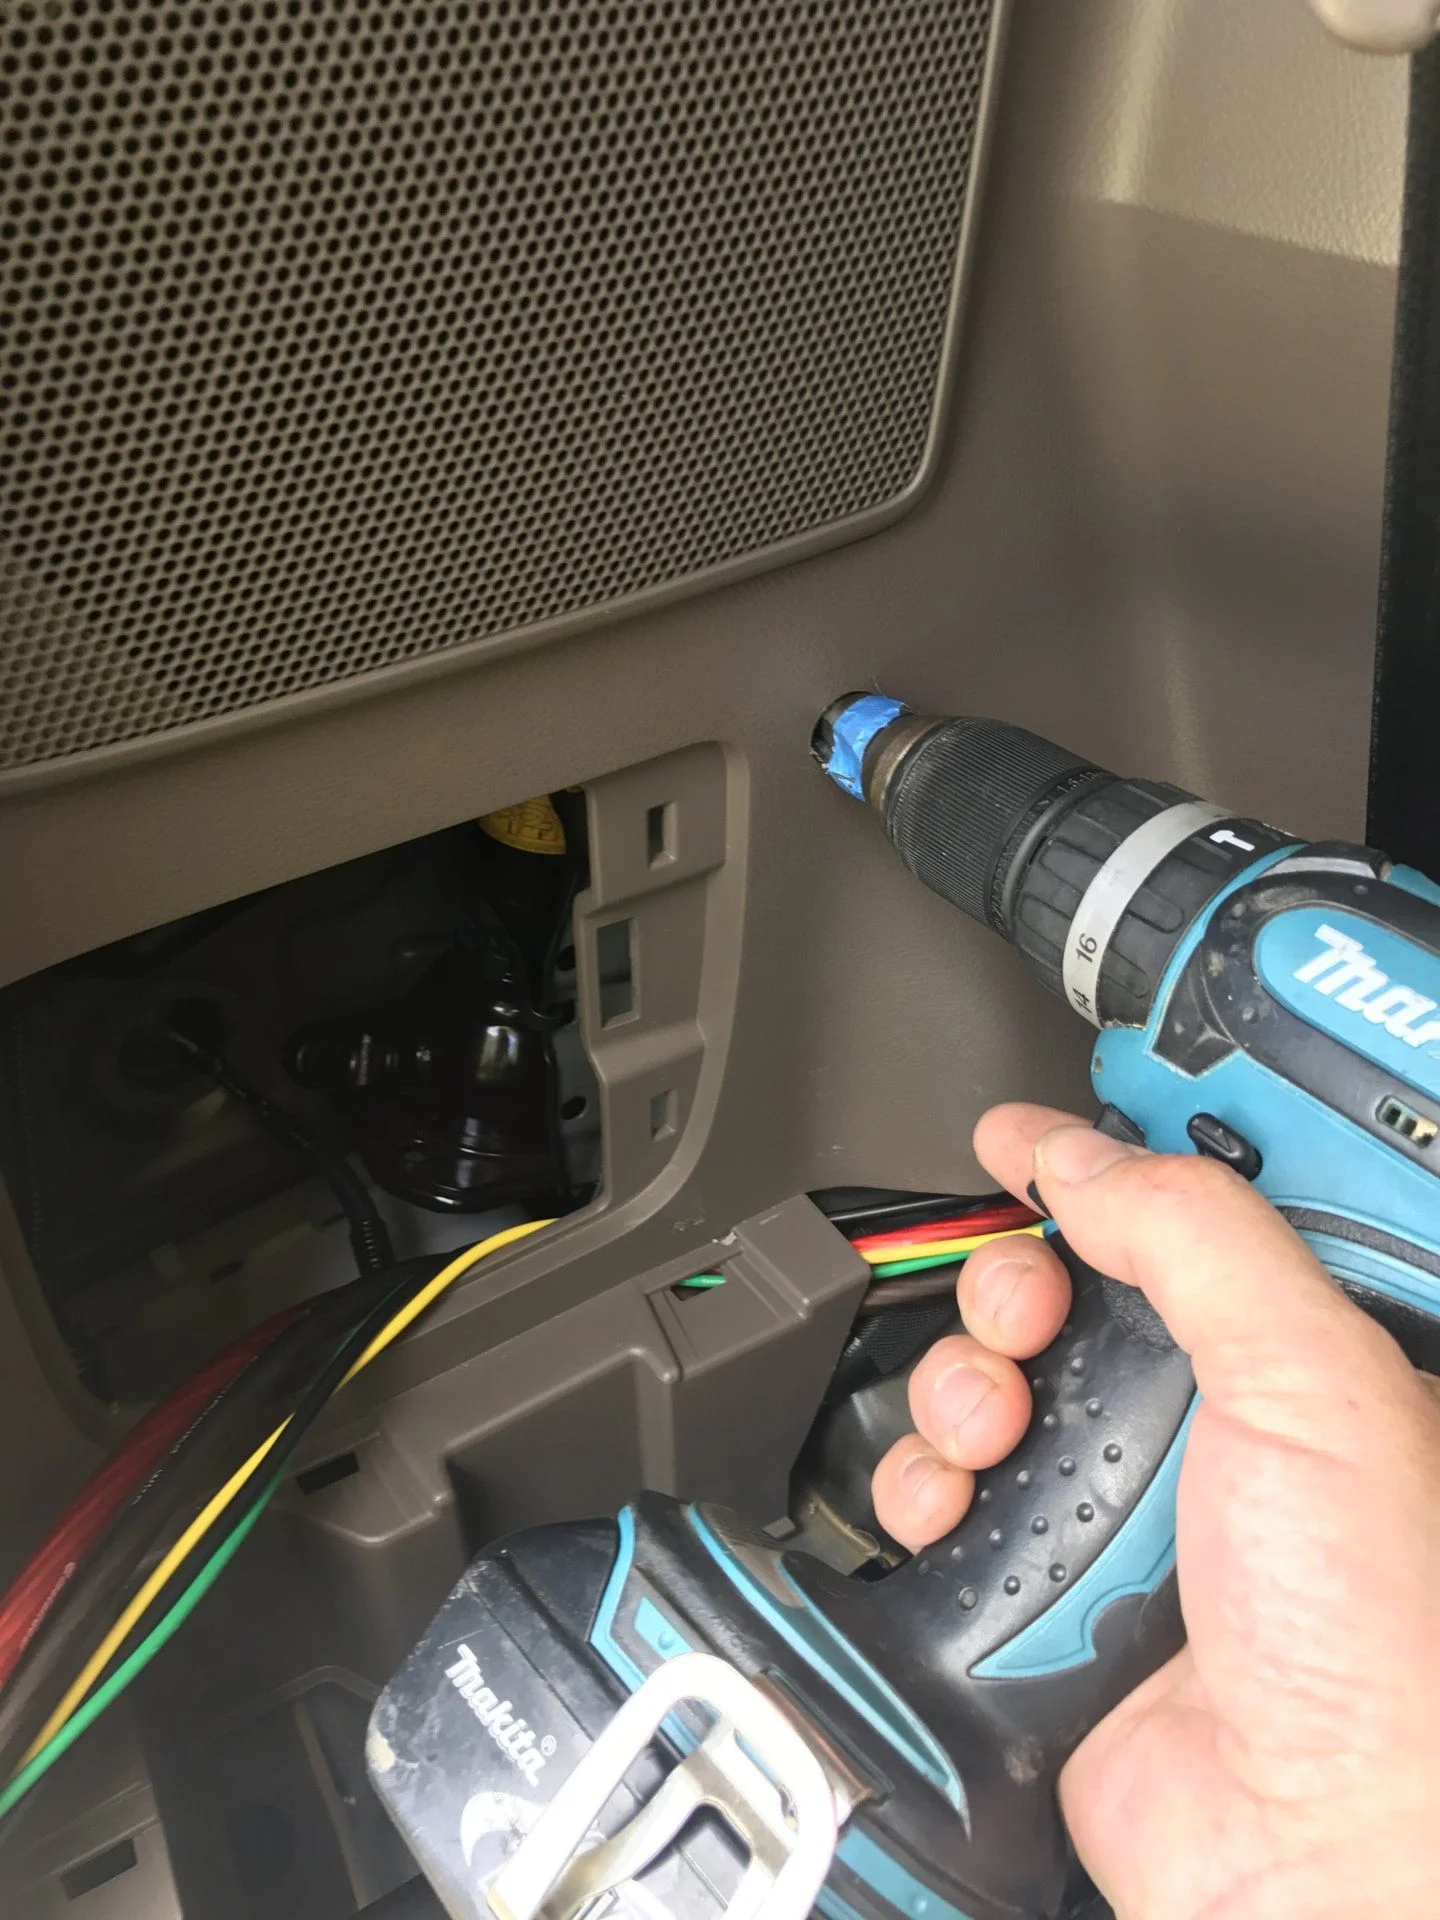
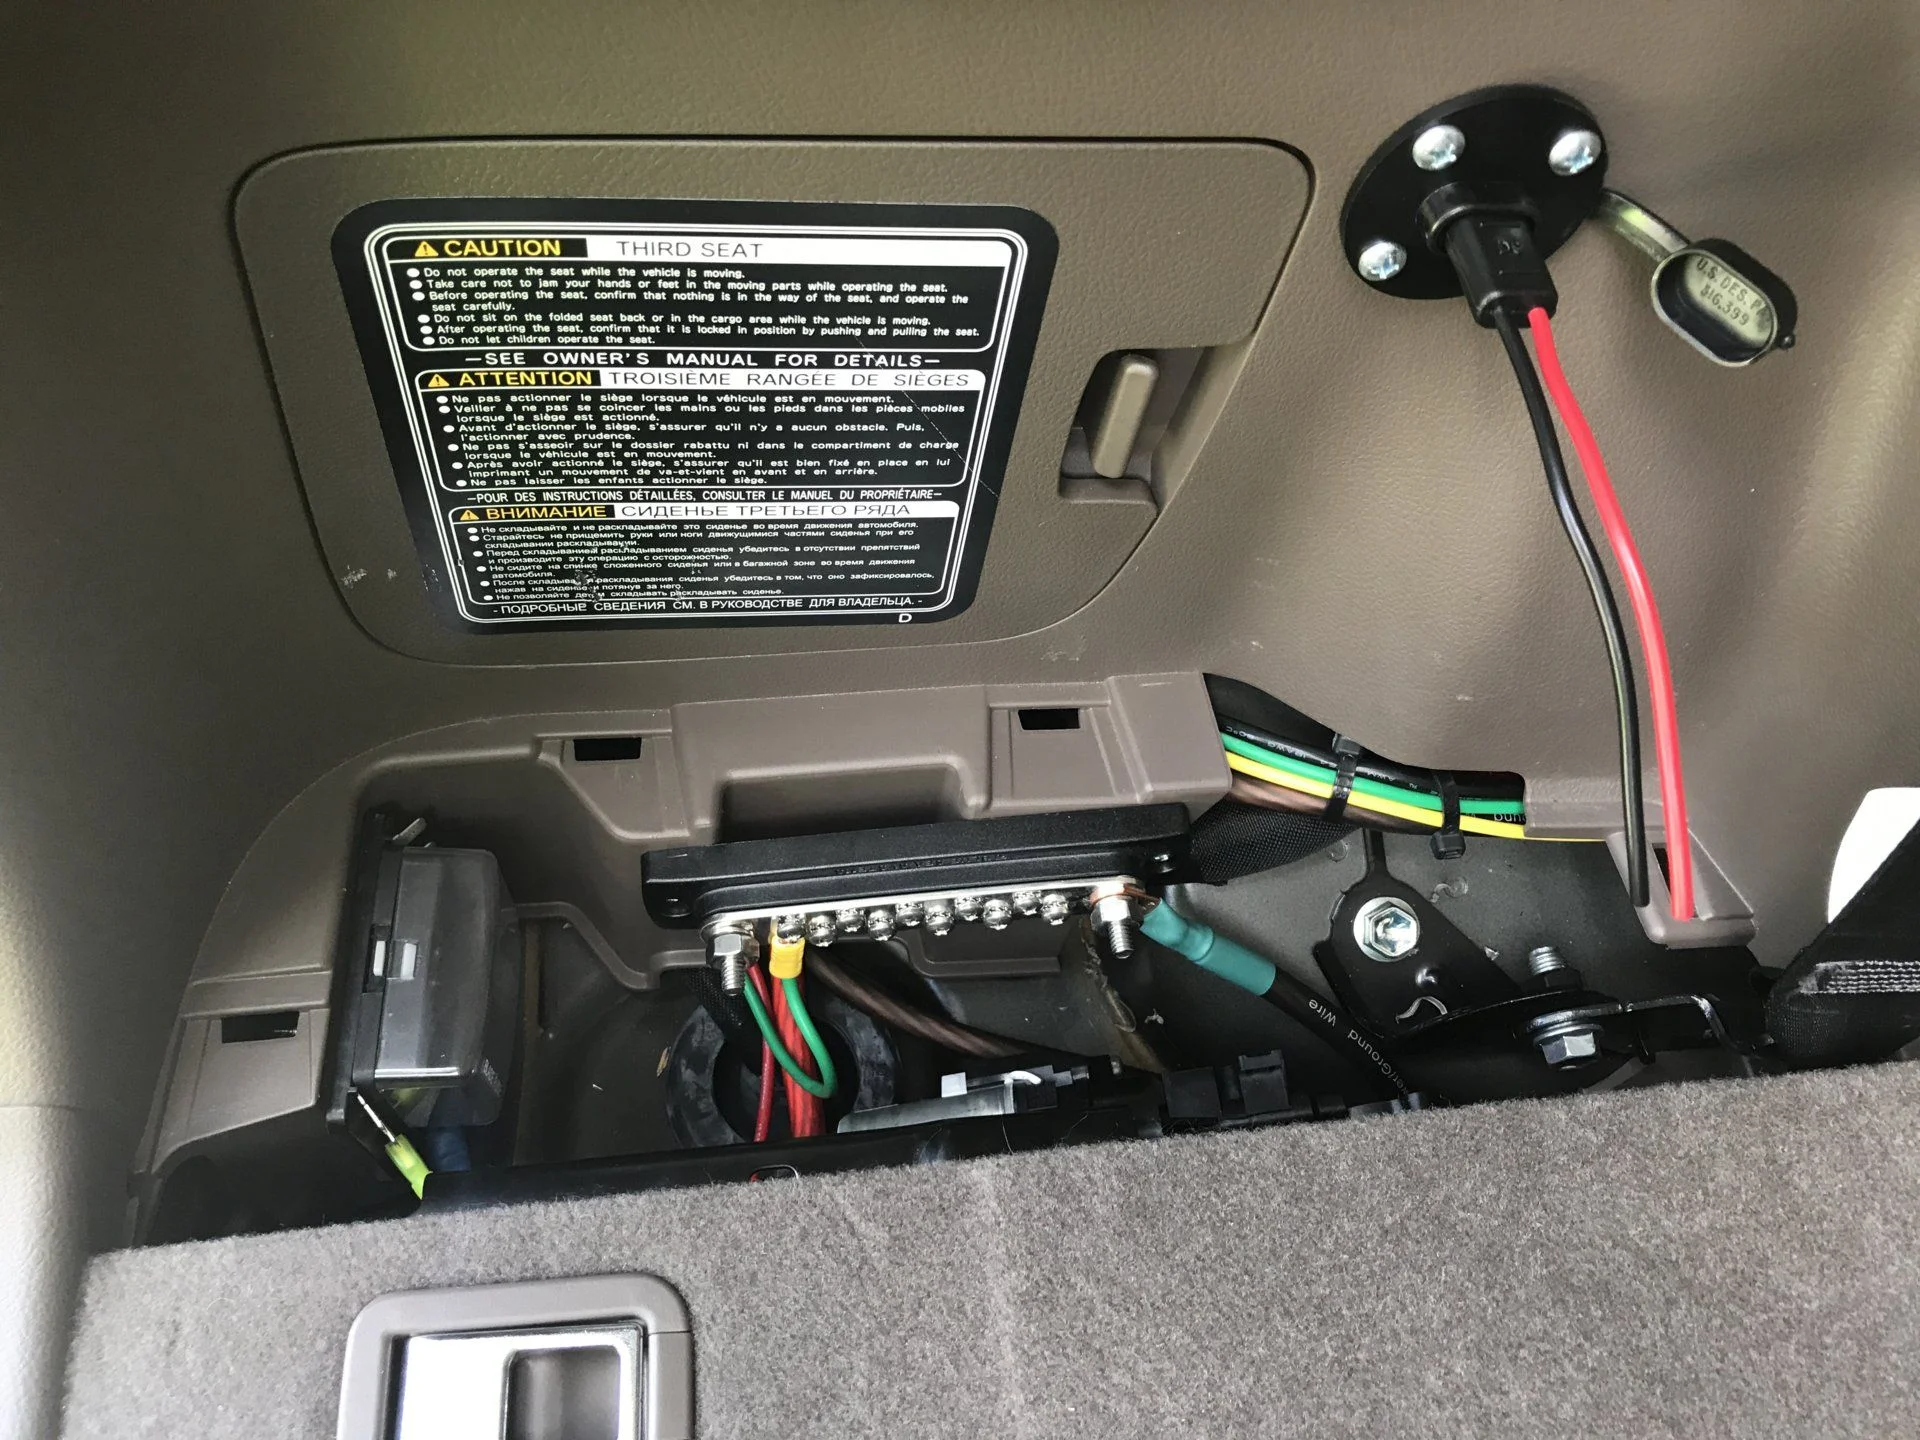
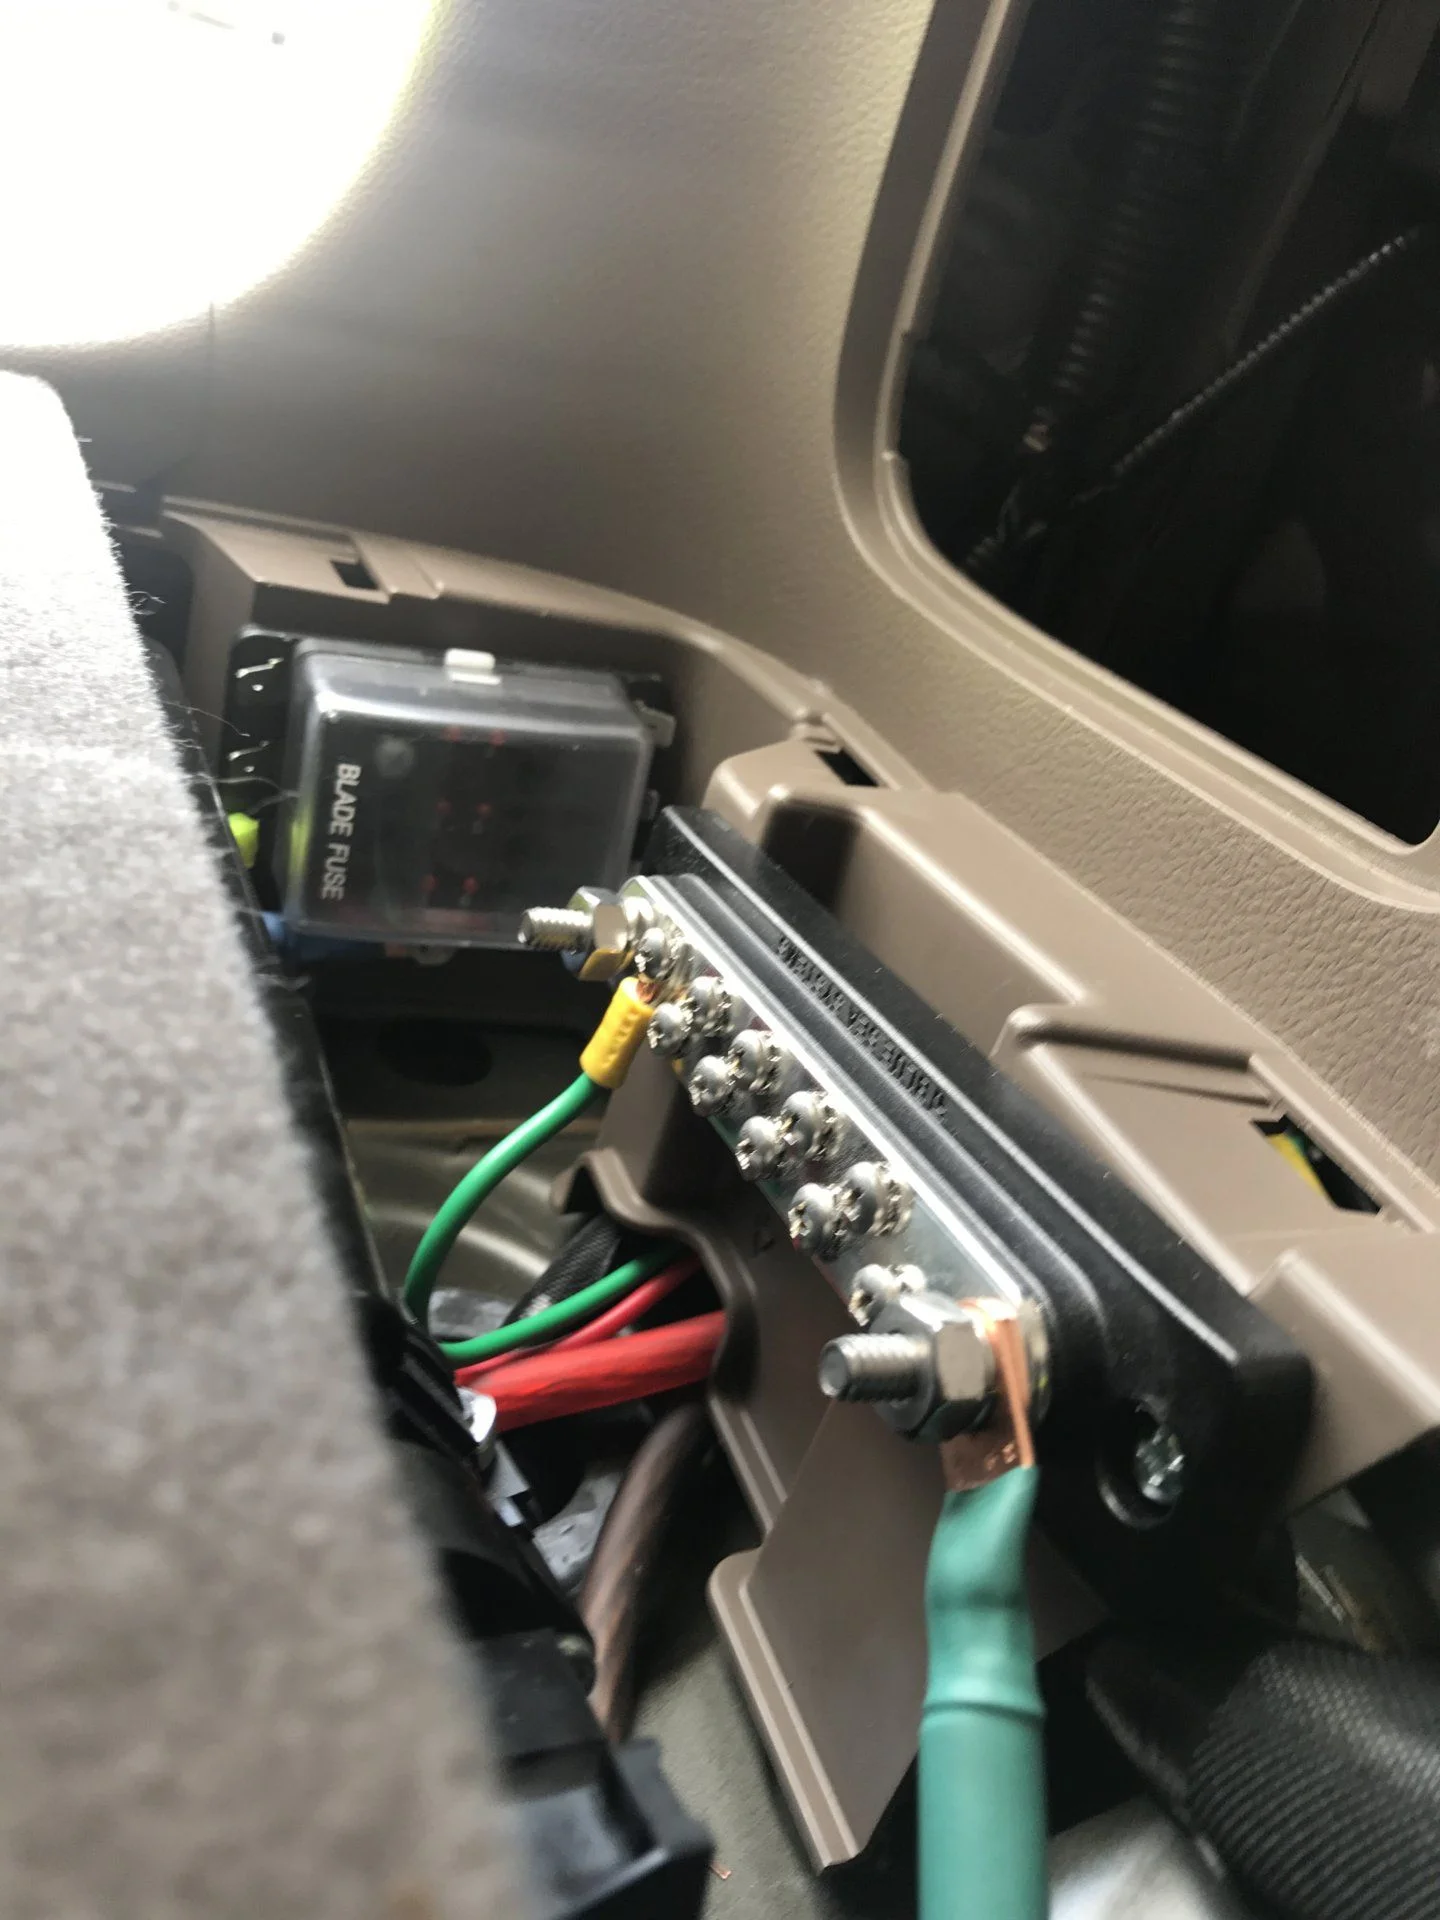
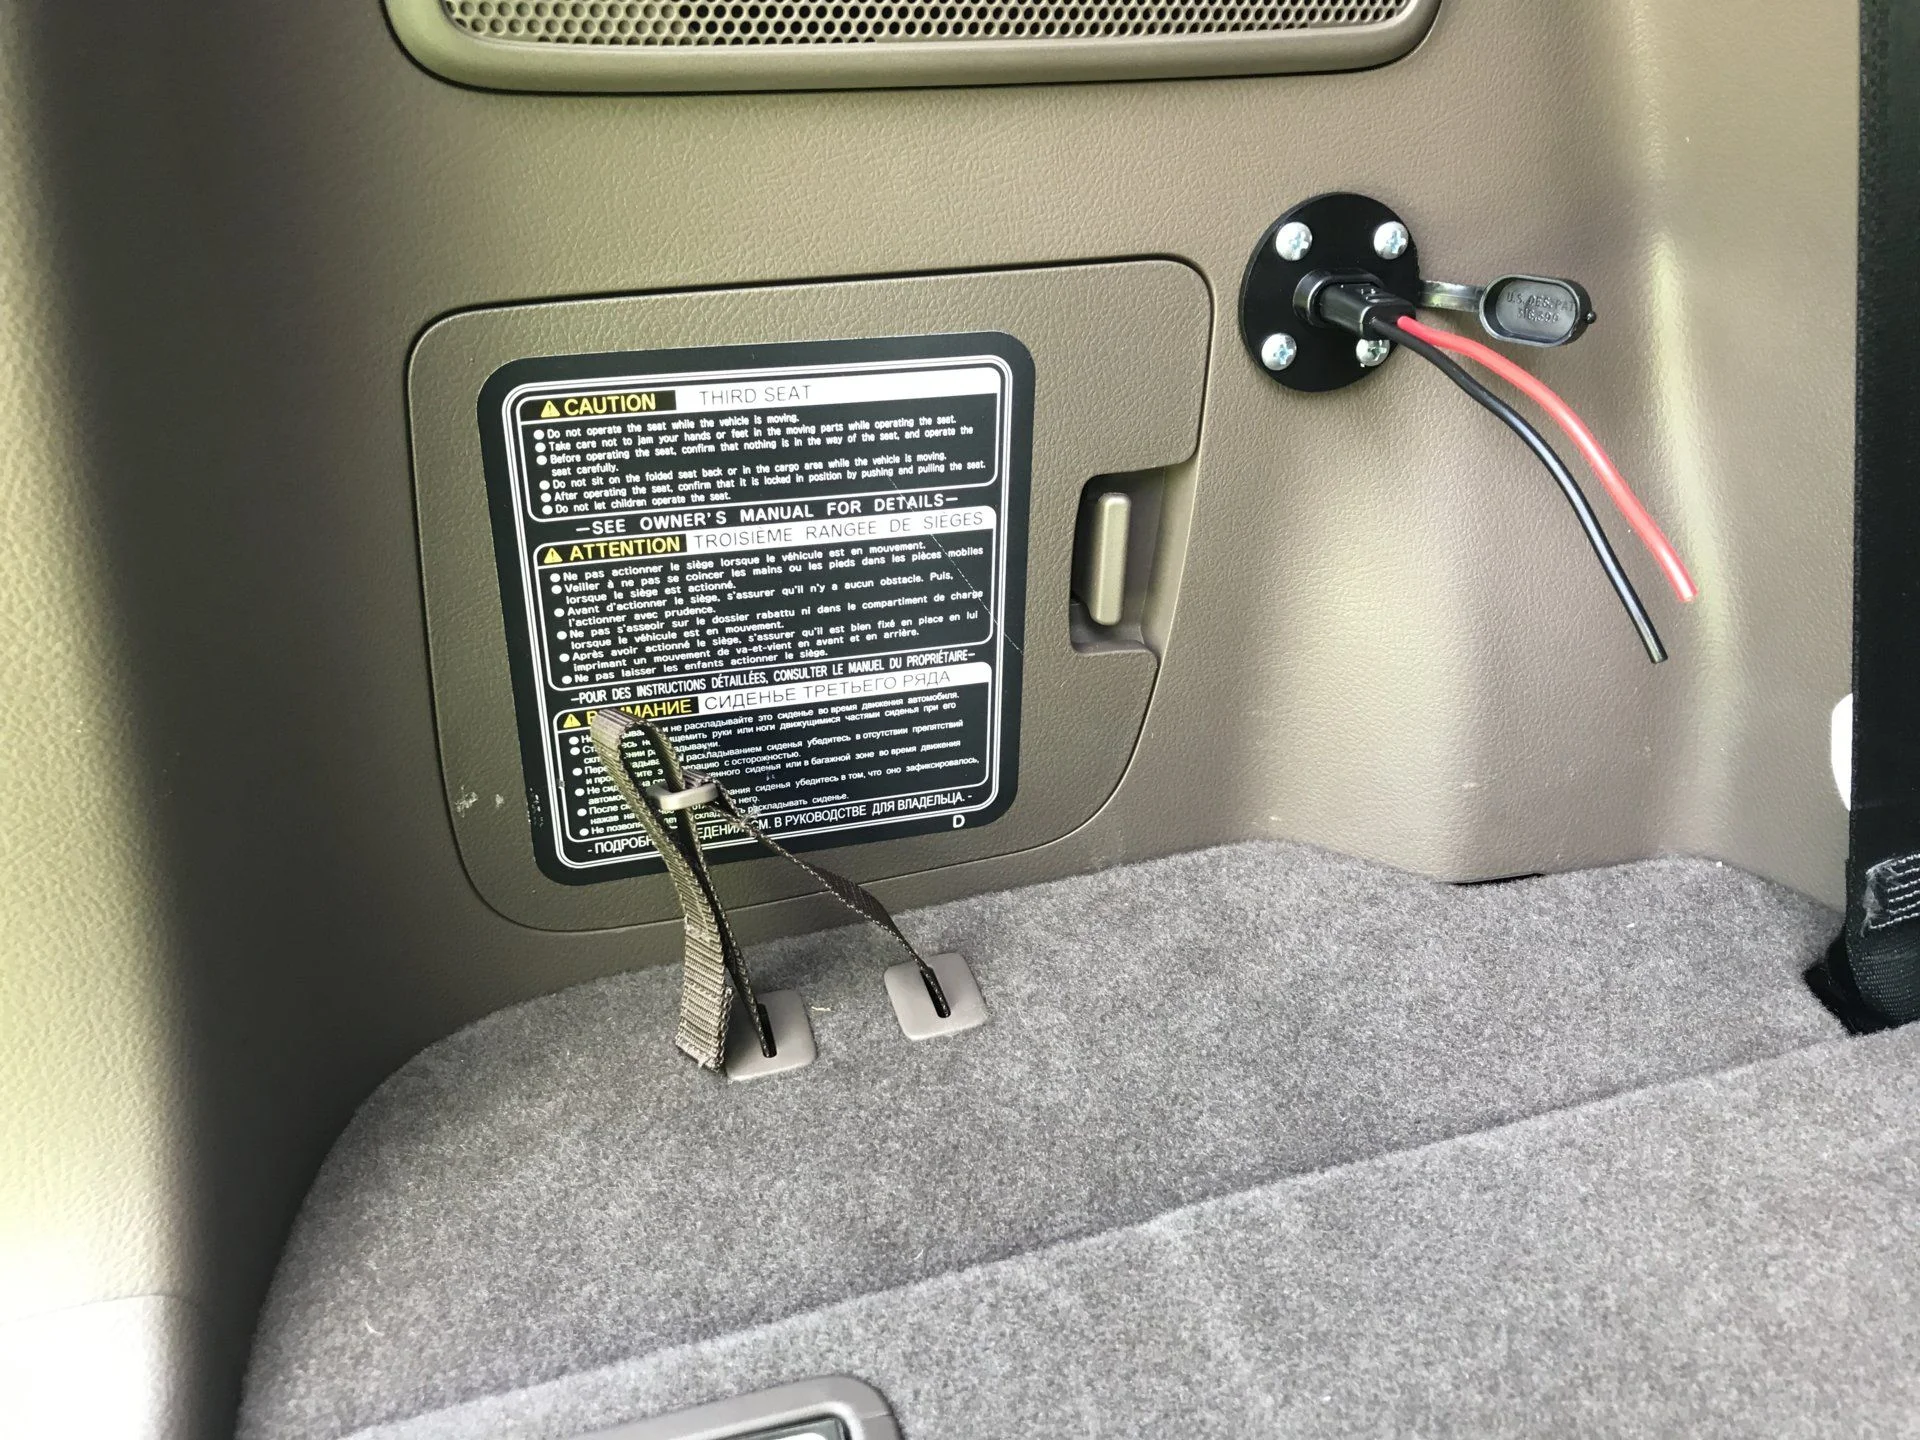
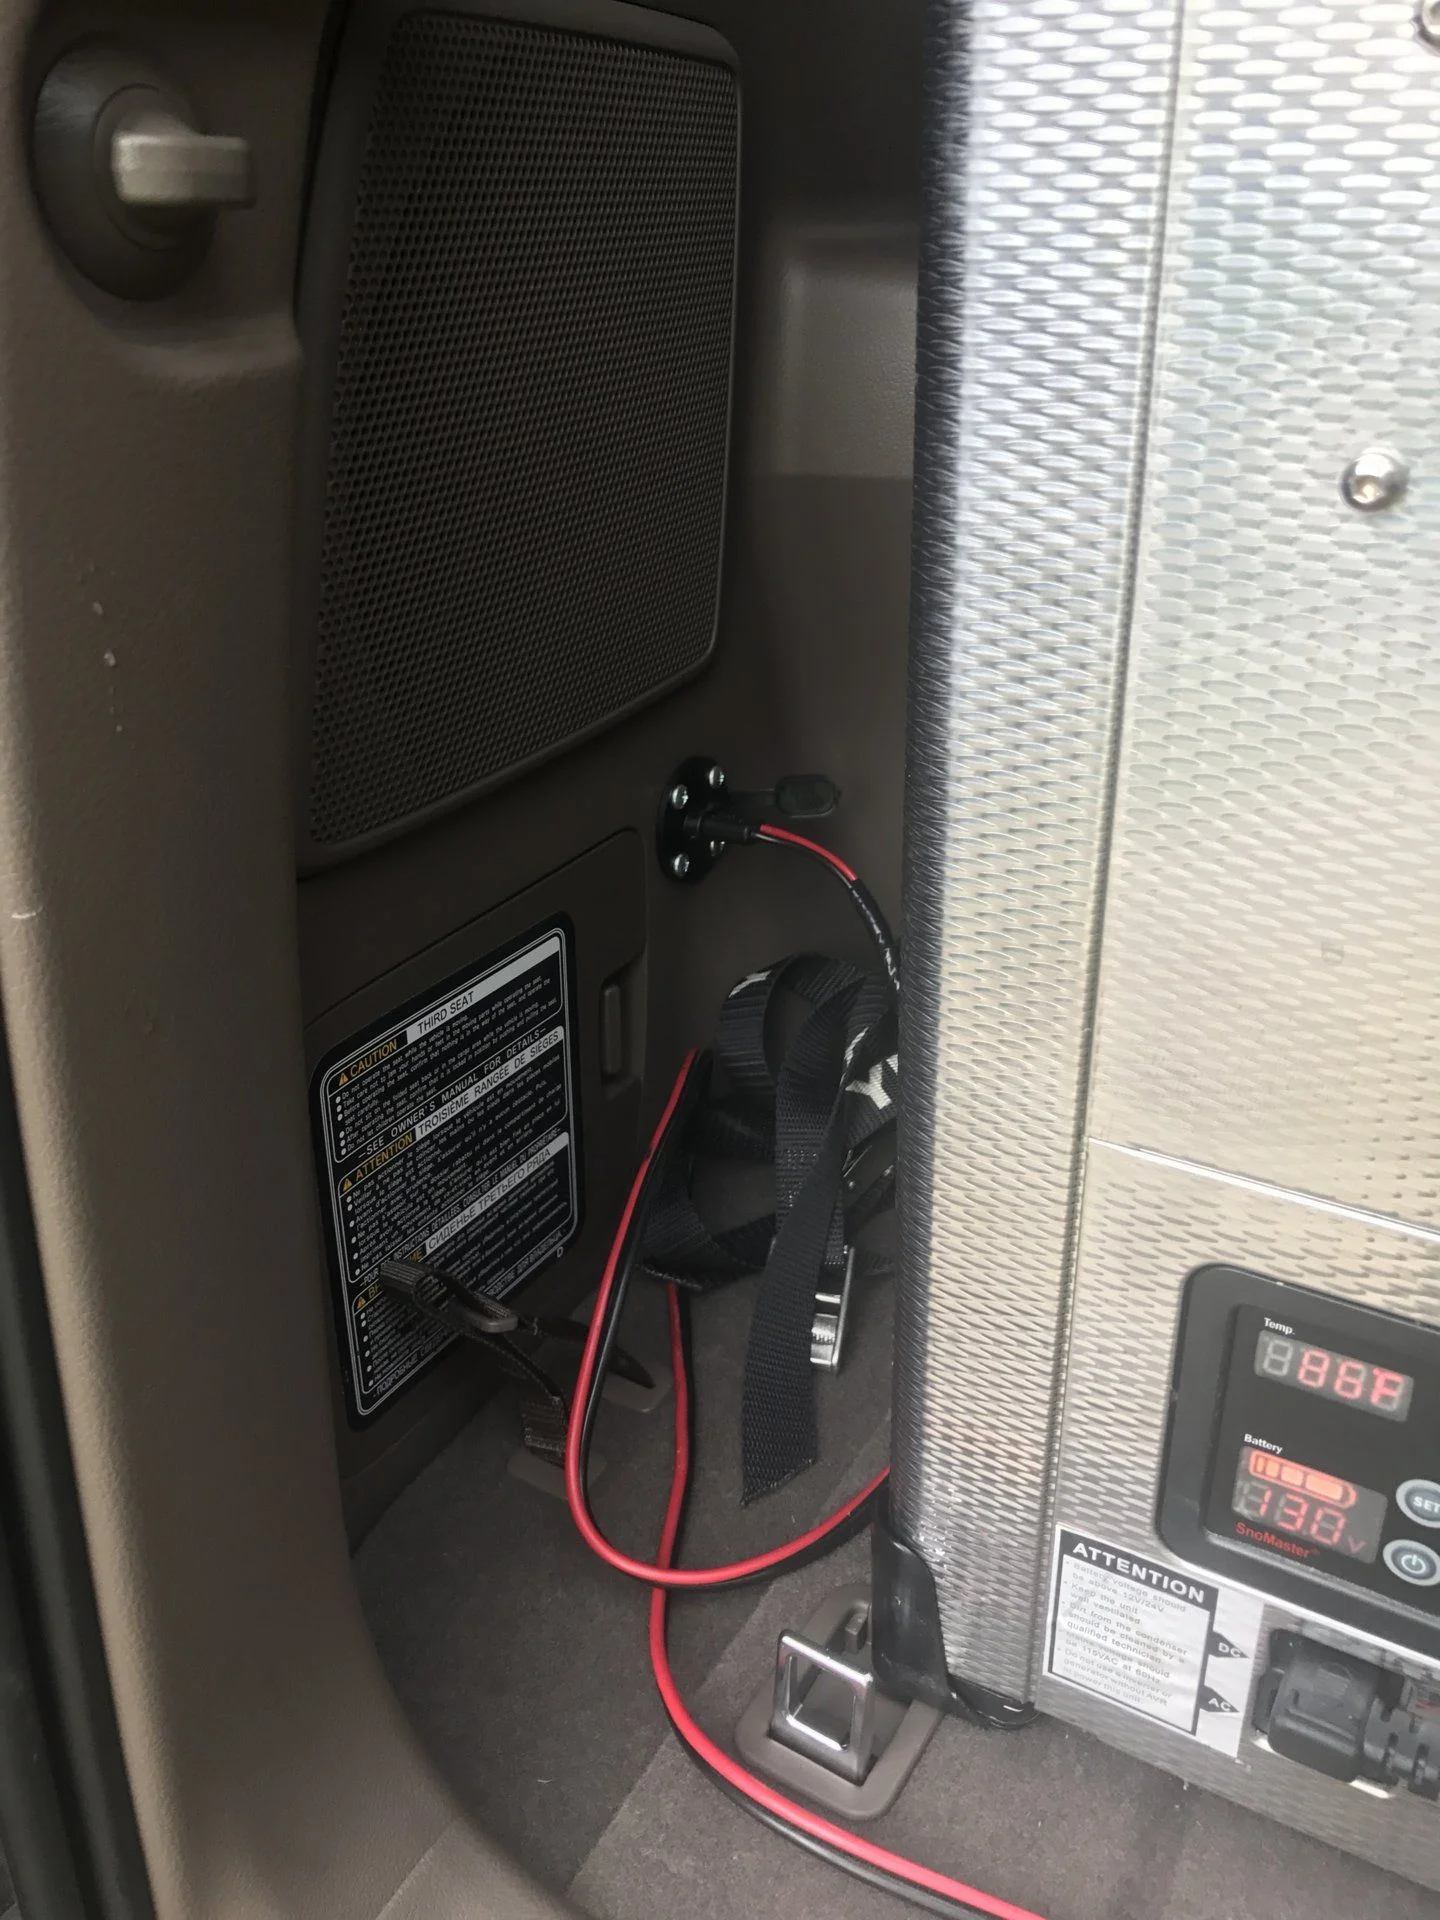
I dont have pictures but I removed all the panels that hide the mechanism for lifting the third row seats. On the drivers side I removed the plastic filler on the drivers side near the back door. This gave me a cavity to mount my ground strip and fuse panel.


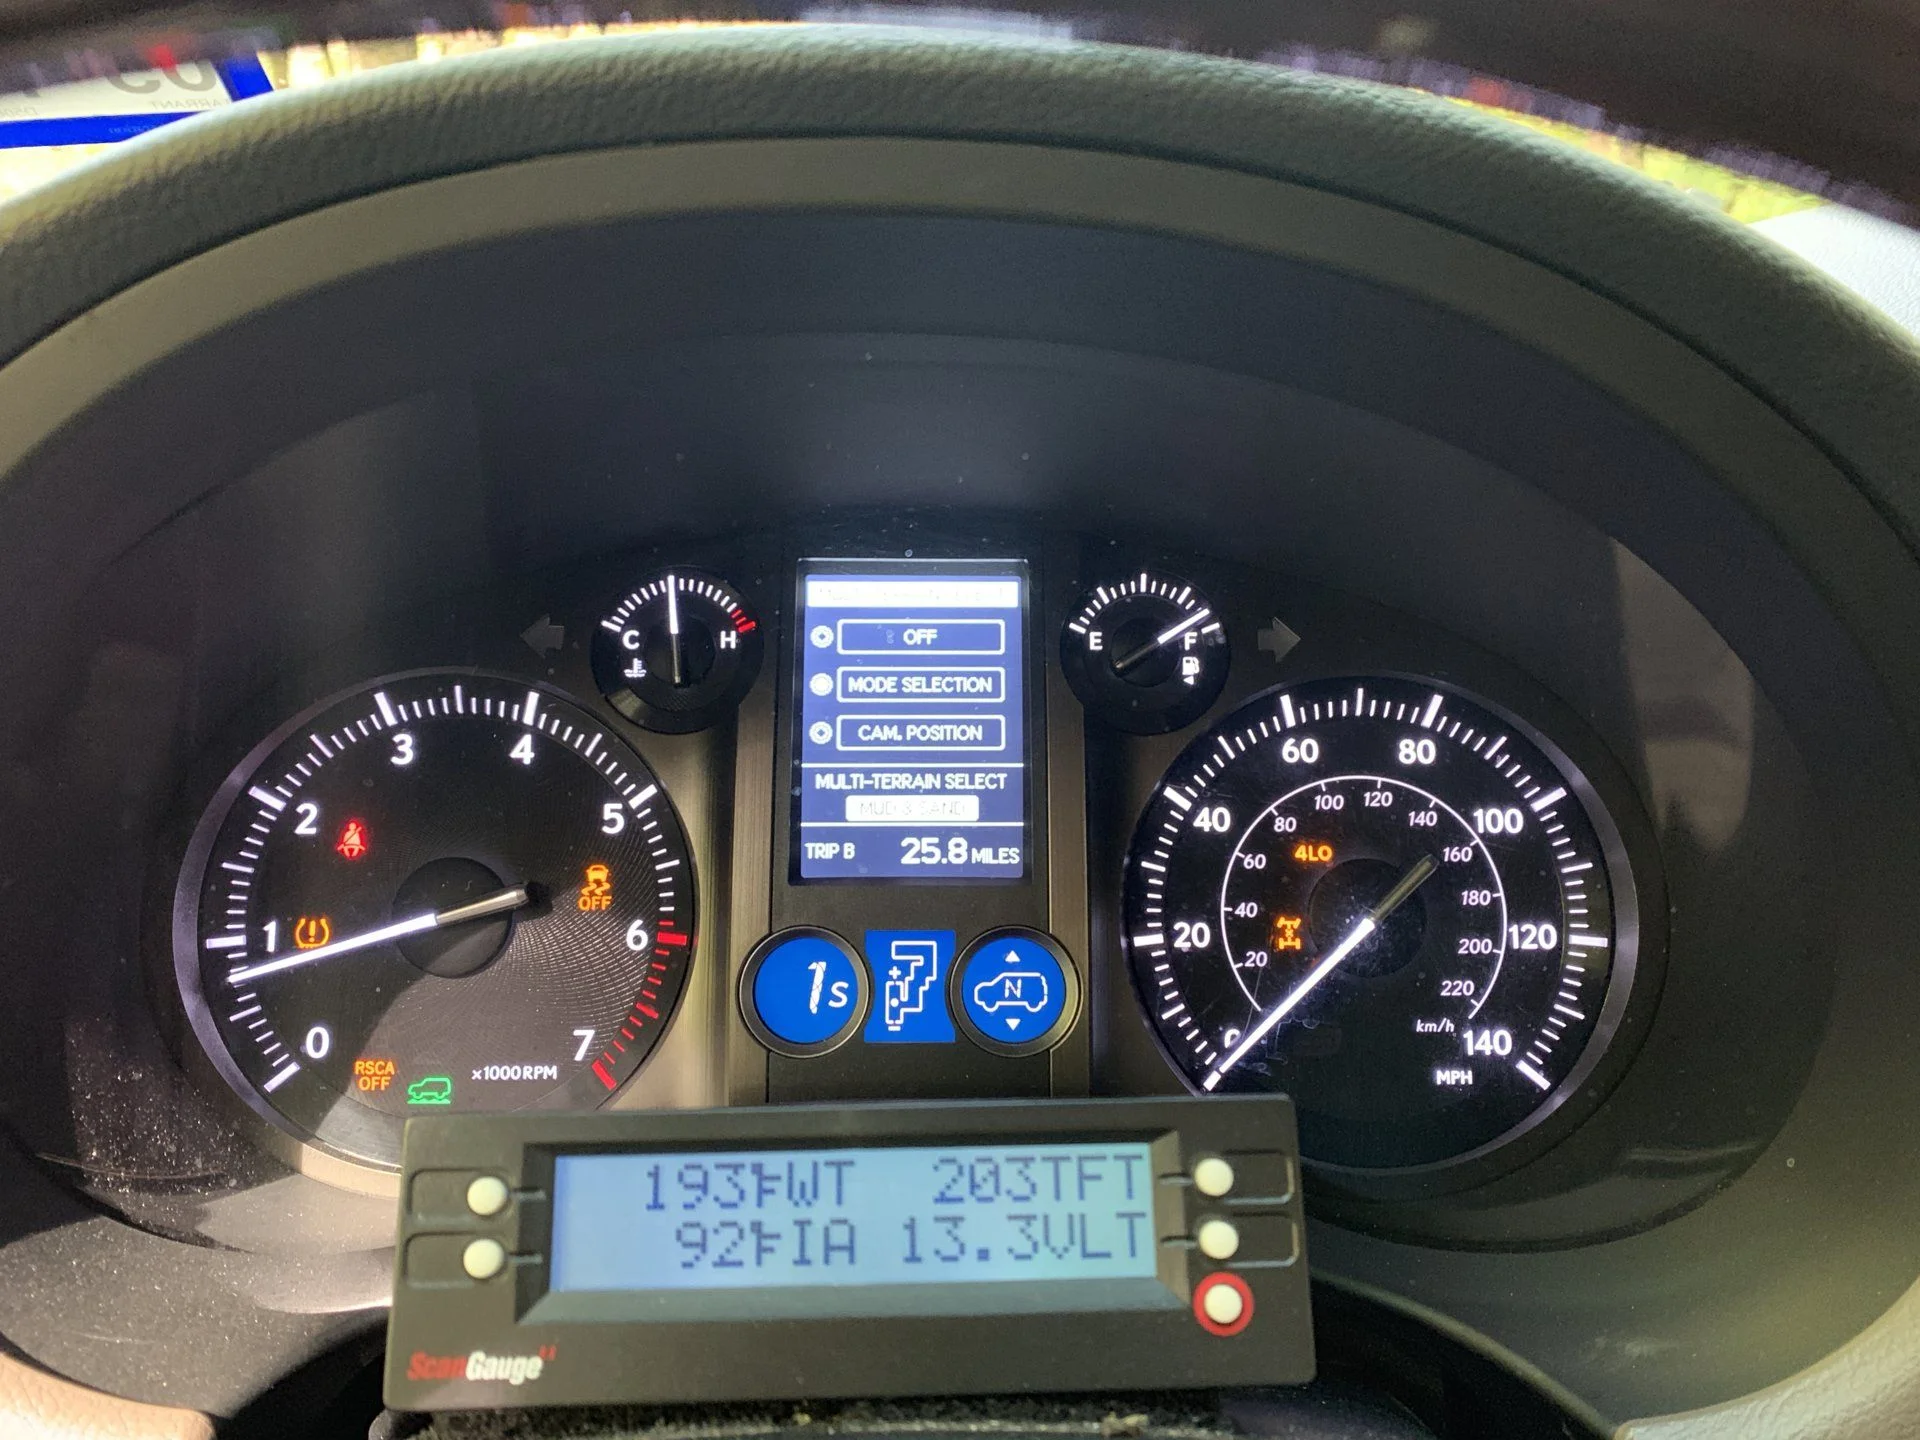
I mounted a plug for my fridge. I would later bypass this for the fridge as I was having voltage drop and I contribute it to the wire gauge and connection in this plug. I am going to replace this with an Anderson plug.

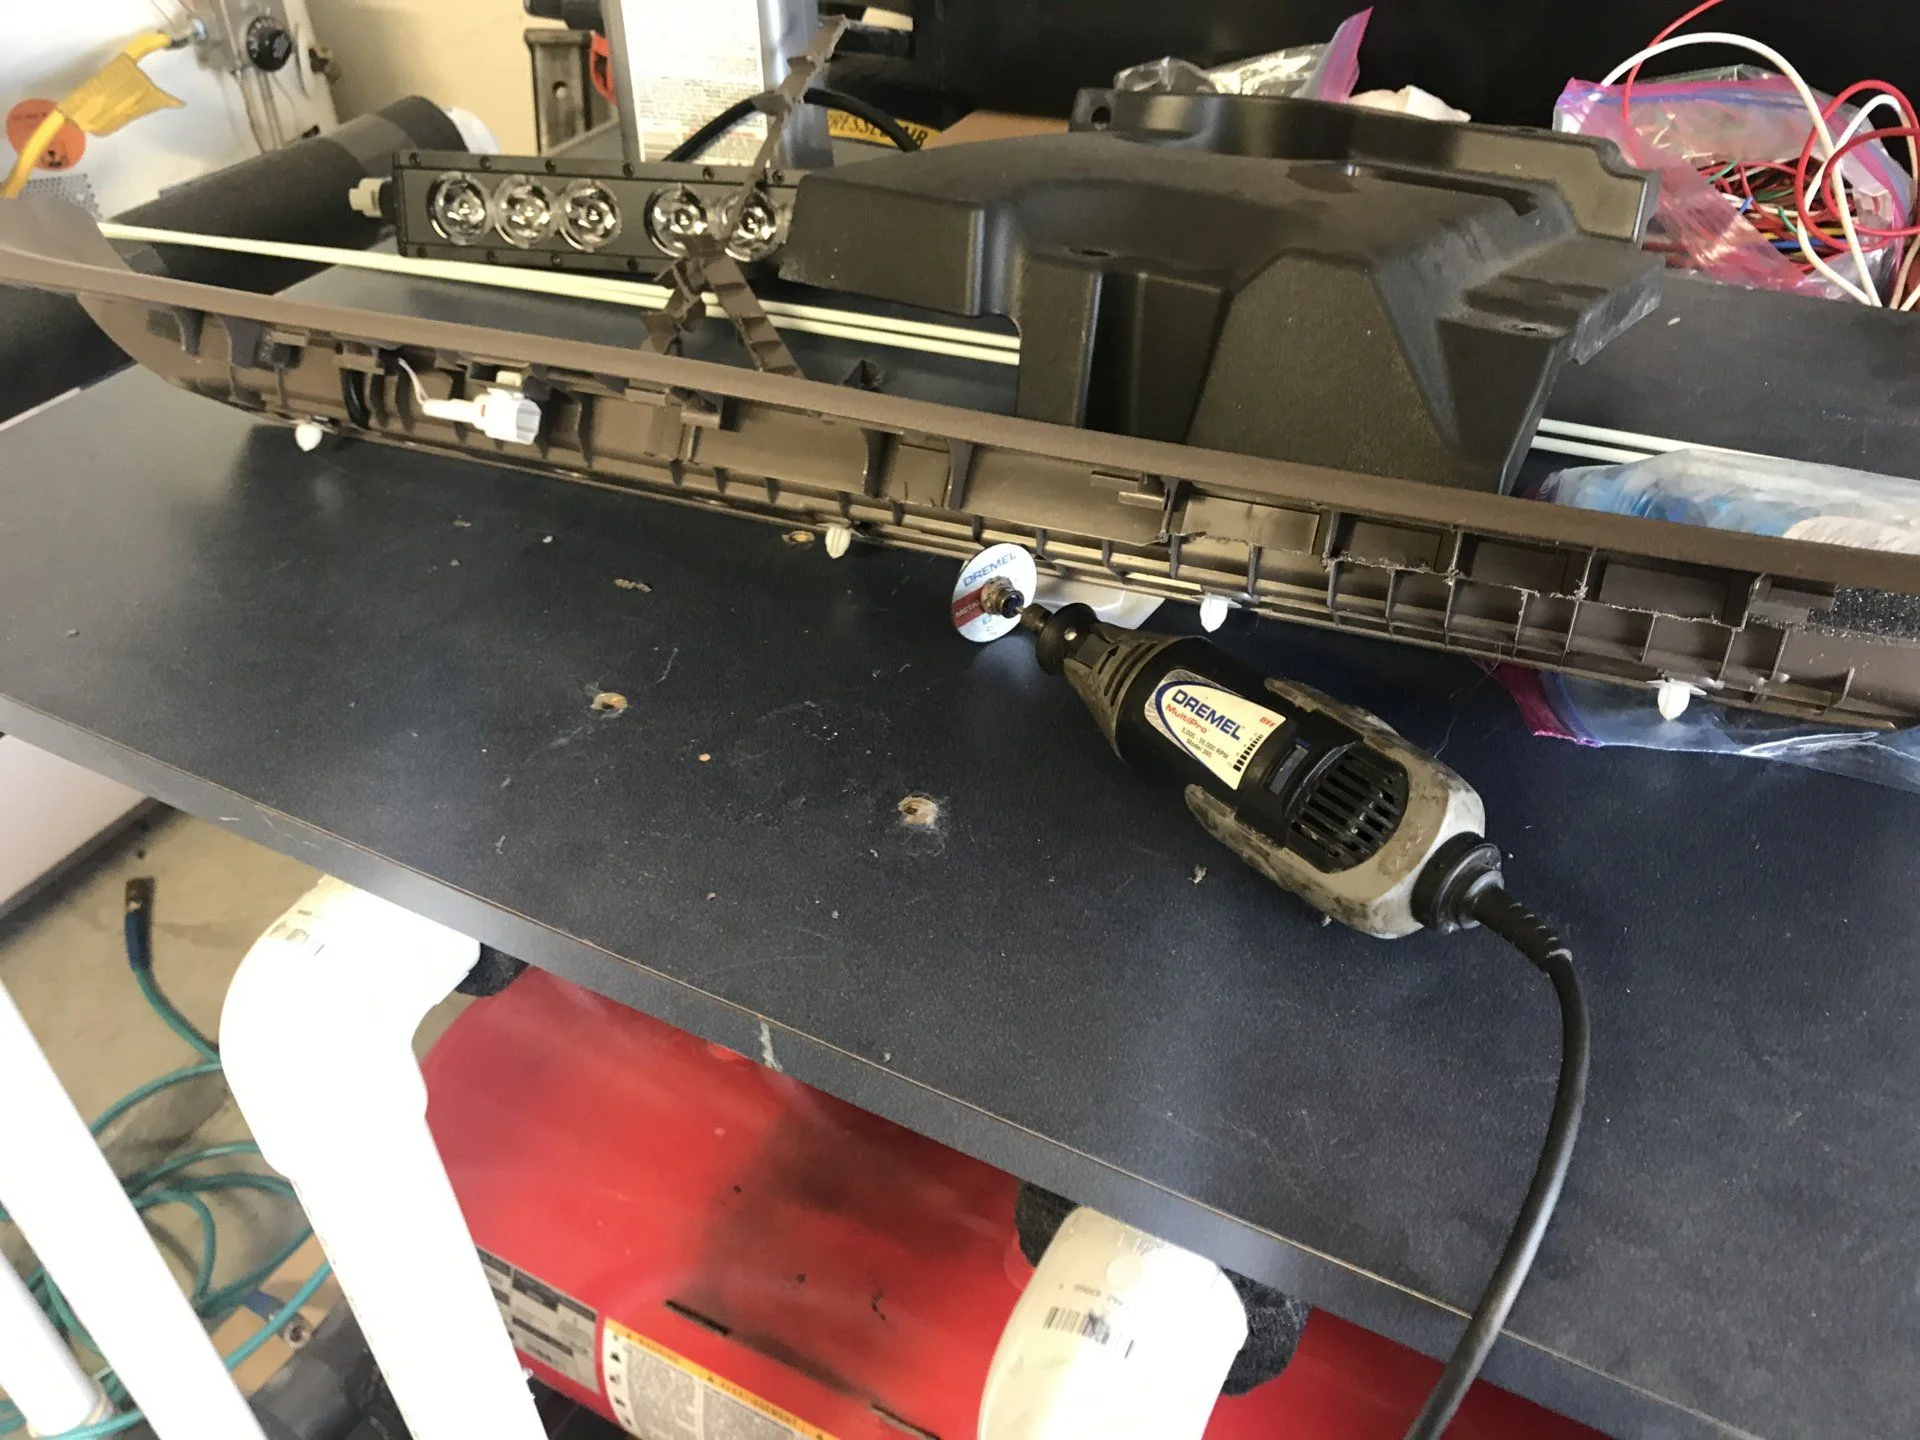
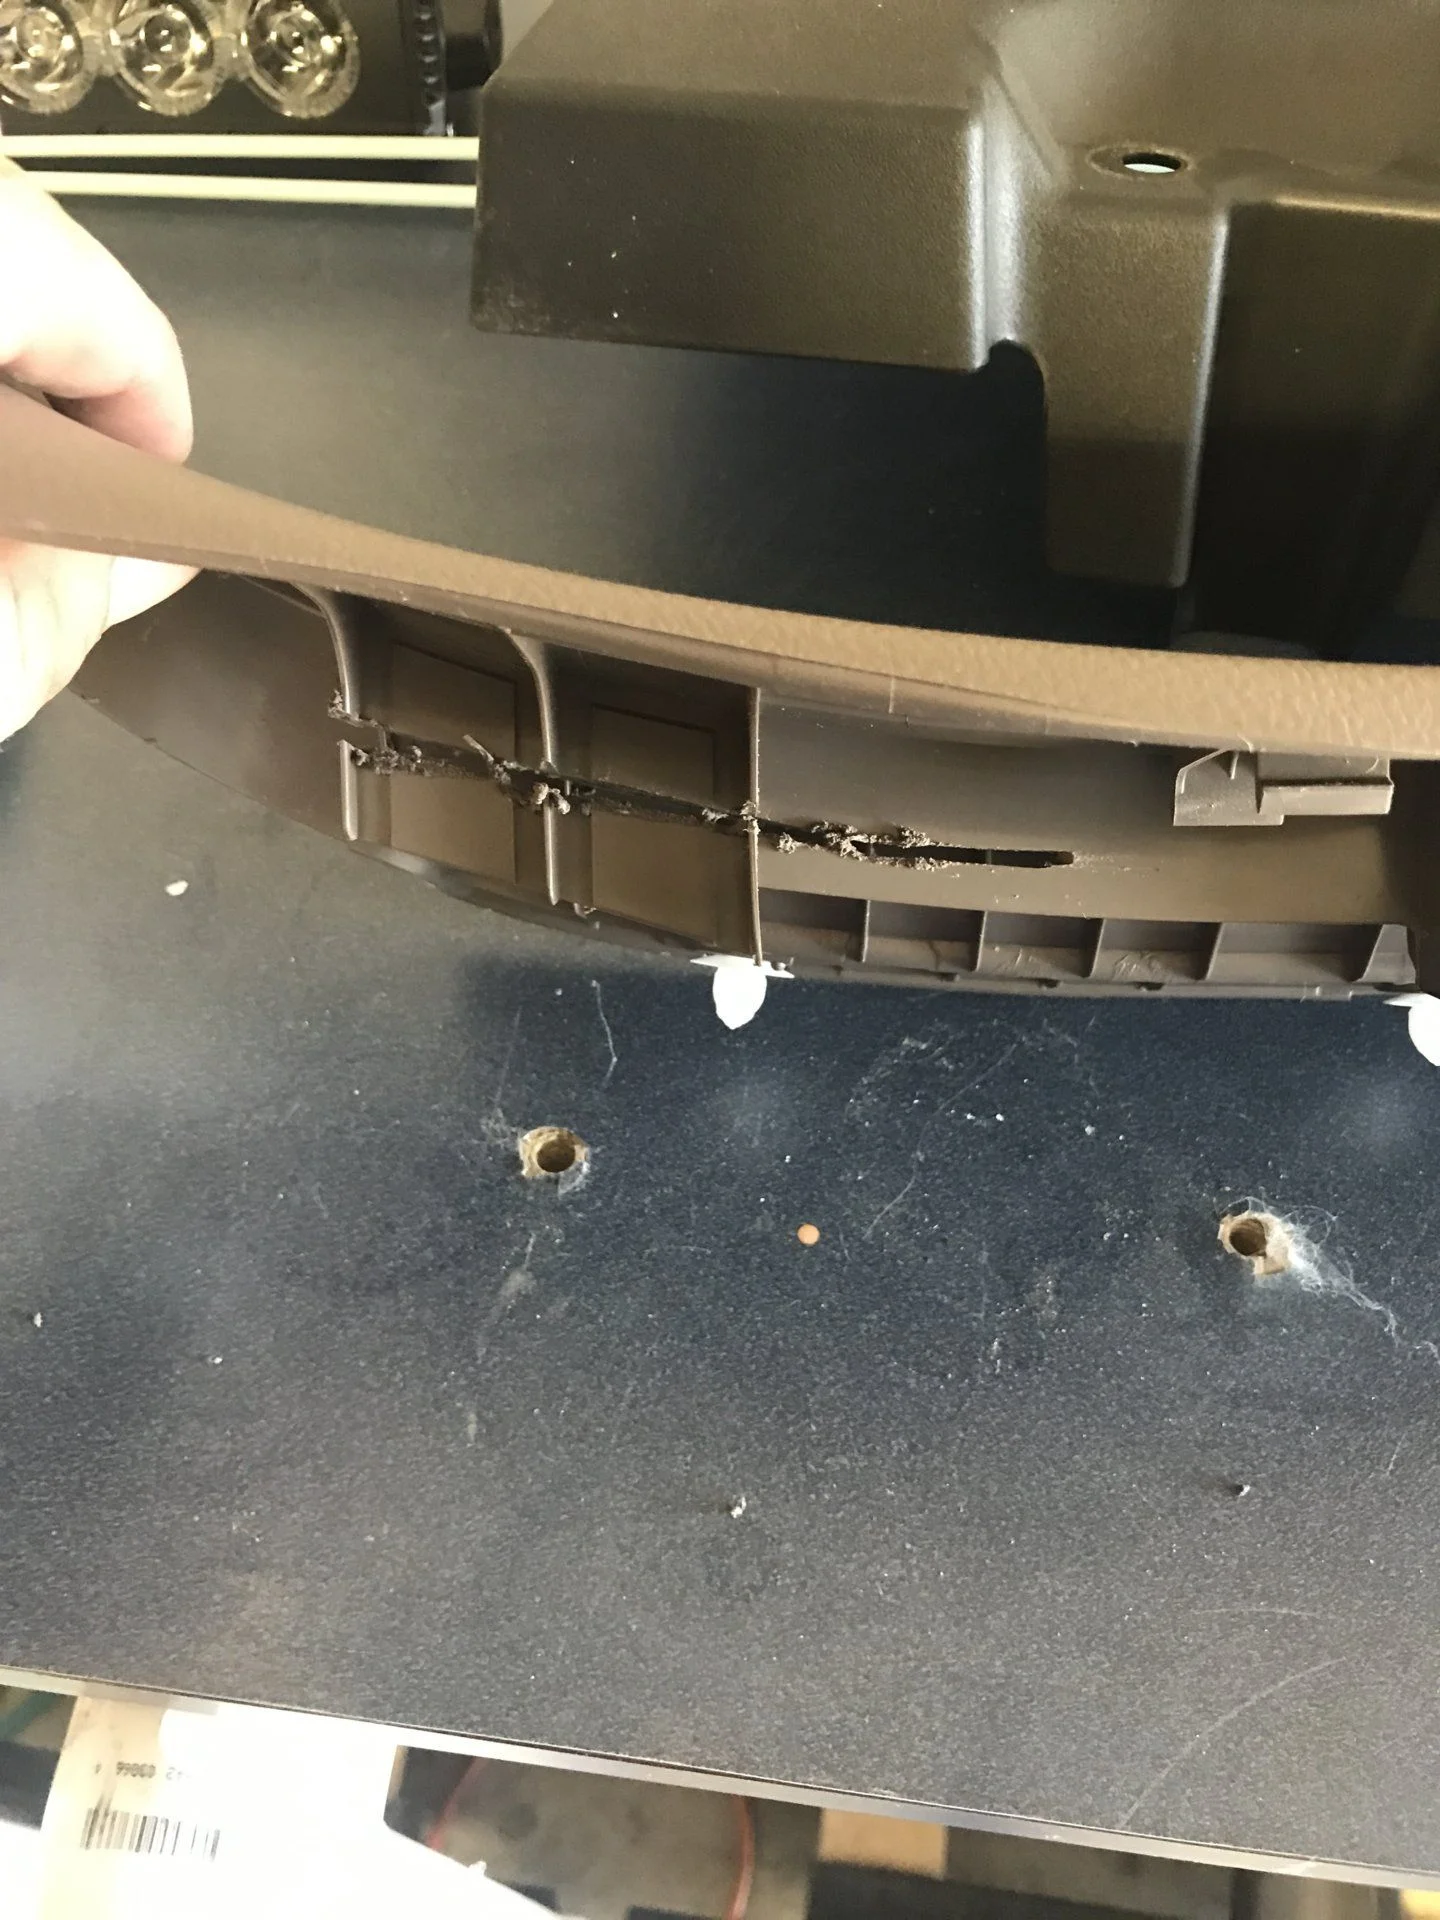
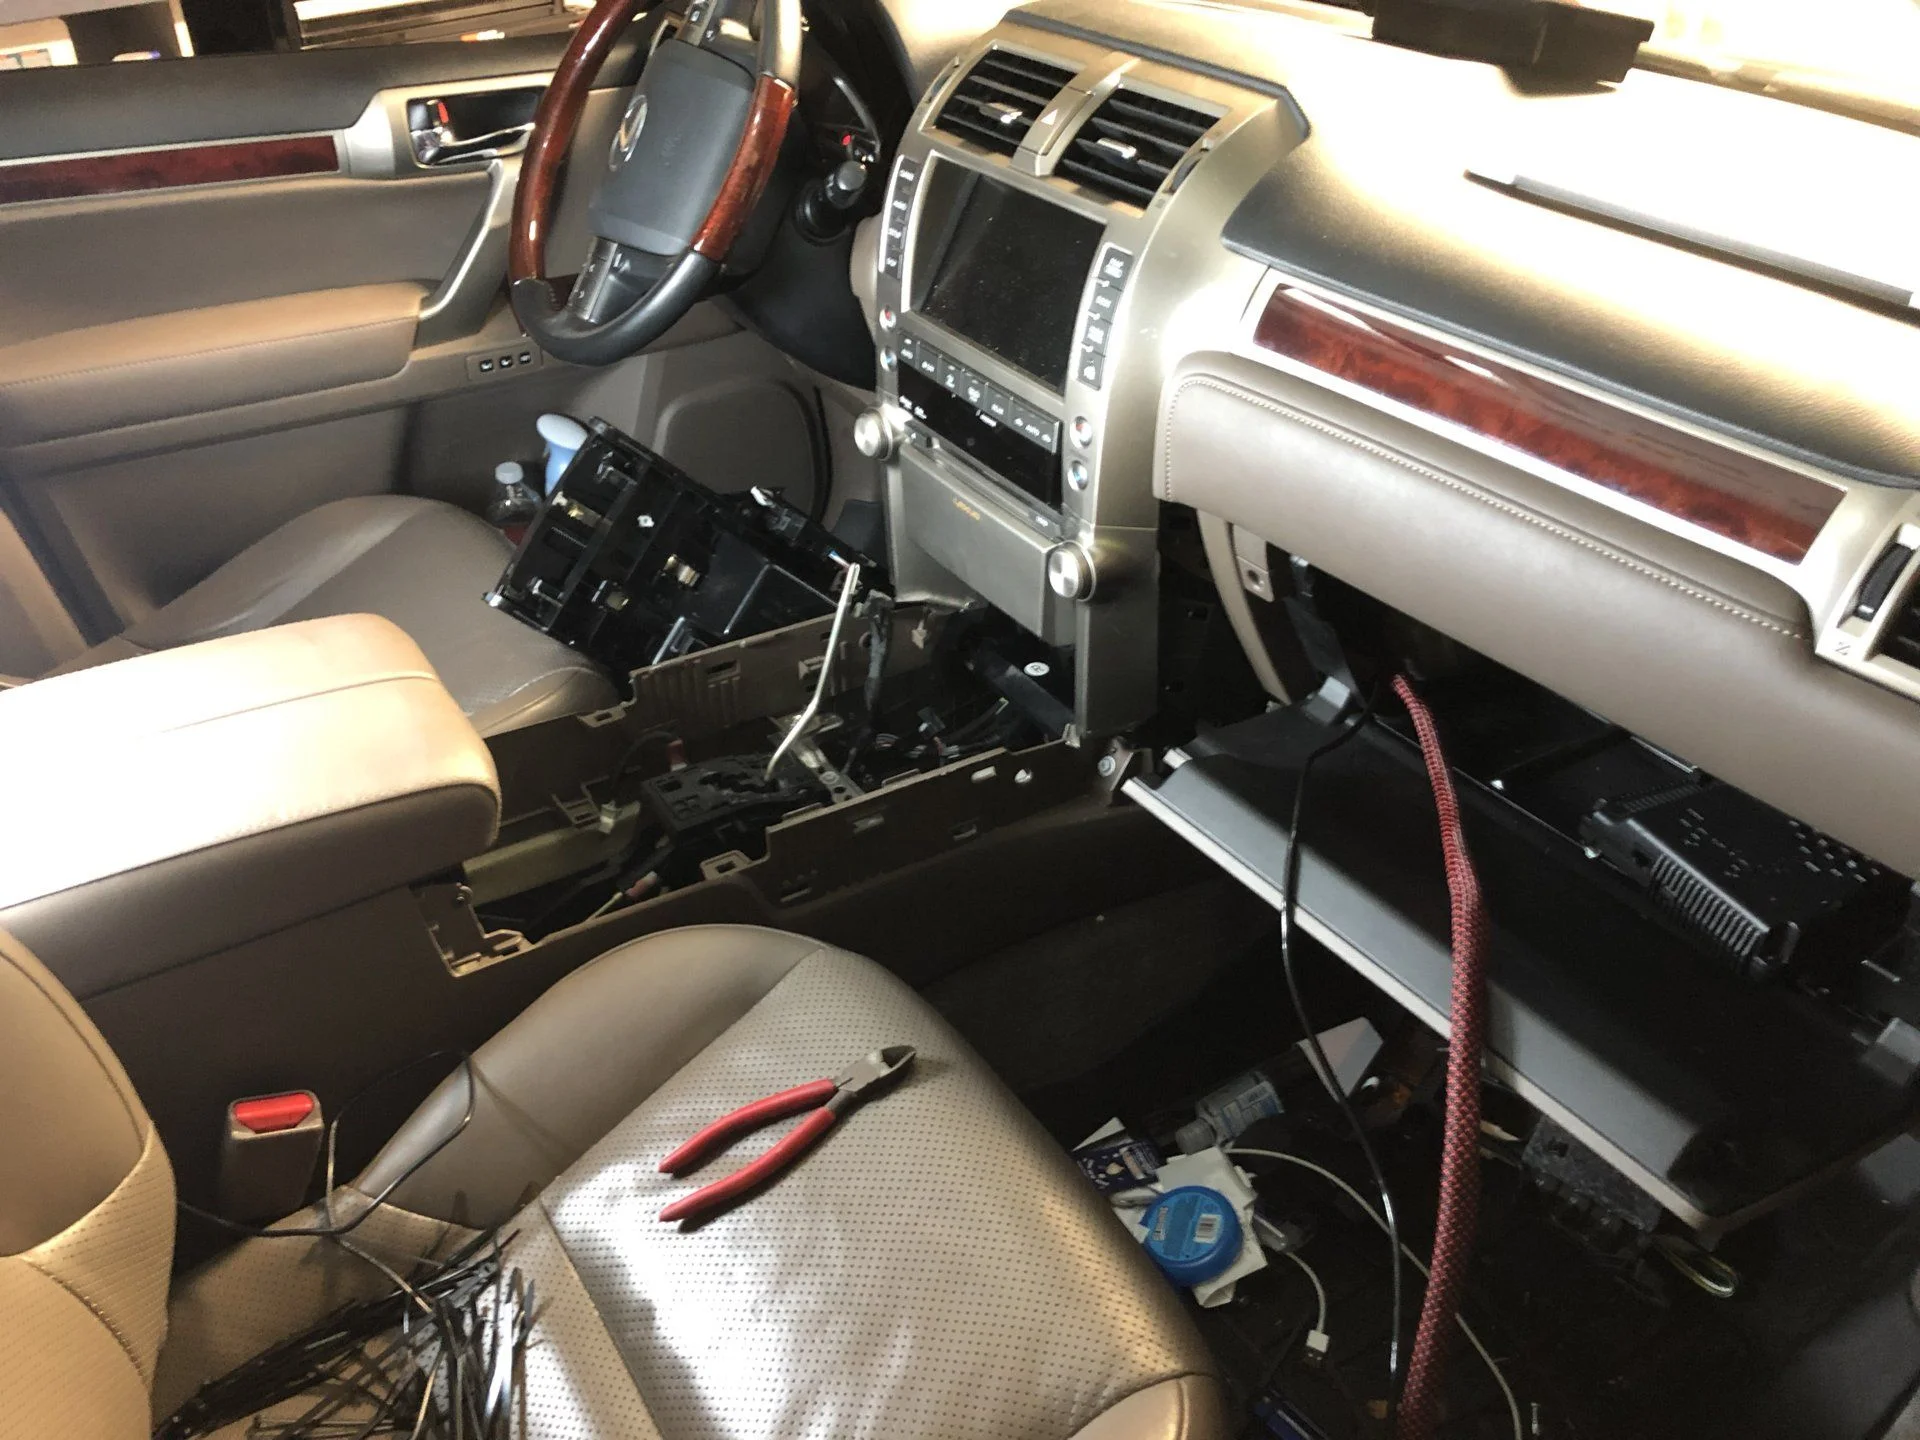
I did have to trim the plastic on the bottom of the door jams, it had pieces that fit into the channel that I ran the wires. It has clips that hold it into place so these were not serving any major function that I could find. I used a Dremel to cut them off.


One thing I didn't mention in the previous post was that I did remove the factory jack and that is where I mounted my relays for the lights on the roof. I did the math on amp draw for the lights and having the relays mounted under the hood and running to the back and onto the roof was to great of a distance. It made more sense to mount them in the back and use the 12awg wires as switch wires from the controller mounted in the engine compartment.


I did pull apart the center console and glove box to route all my wires through the cab of the vehicle. I mounted the Feniex Typhoon controller in the glove box and routed the hand set into the center console. I am actually re working this now and will update when I am done. I find it very inconvient to have the hand set in the center console and since I can't find a place to mount it I am changing it out to the model that has a light controller and hand set separate.


I picked up the fuse / relay panel with mounting bracket from shrockworks. Its made for a 5th gen T4R but it fits perfectly in the GX. This gave me 5 fused lines and 5 switched lines if I recall. I picked up a 8 circuit cable from Amazon that allowed me to pull one wire to the glove box for all of the switched wires from the controller mounted in the glove box.

This cable connects to the Feniex box and to the switch panel mounted in the engine compartment. The shrockworks bracket has the holes for mounting a blue sea breaker so the whole system can be disconnected at the press of a button. I did mount a ground stud on the inside fo the fender in the engine compartment to ground everything with out running everything to the battery.


Next I mounted the lights to the roof rack and mounted all of the wiring to the bottom of the rack. I did use one of the wires to ground the rack so when I got around to mounting an antenna it would have a good ground plane.

I used SO cord for the wiring so the wires would be protected from the weather and the UV sun light. Where I cut the sheathing back and it could be subjected to vibration I covered it with nylon wire protective sheath.


I cut a section of the drivers tail light out to allow the wiring to come down off the roof and enter through a rubber boot behind the drivers rear quarter panel. They were then connected to the relays.


Here are the results of the lights.


@HitchCrack
Thank you for sharing your wiring project, quite the undertaking but great end product.
Did you have to modify any skid plates or were they true bolt-ons?
 
The plug in the rear panel area, is that Trac outdoor plug? I bought the same one for my dual battery and thought it would be good enough. I'm not a fan of anderson plugs so I was looking for other solutions there.

Also thanks for sharing the shrockworks fuse block panel, I was close to pulling the trigger on the slee product but they have not tested it on the newer GX460s and could not confirm if it would fit.
 
@HitchCrack
Thank you for sharing your wiring project, quite the undertaking but great end product.
Did you have to modify any skid plates or were they true bolt-ons?

Everything was a true bolt on... Except for the transfer case skid this one required a little bit of modification to make it work. I could see if you didn't have access to a lift these mods could be a pain in the rear end.
 
The plug in the rear panel area, is that Trac outdoor plug? I bought the same one for my dual battery and thought it would be good enough. I'm not a fan of anderson plugs so I was looking for other solutions there.

Also thanks for sharing the shrockworks fuse block panel, I was close to pulling the trigger on the slee product but they have not tested it on the newer GX460s and could not confirm if it would fit.

I had to go look up the Trac plug, the one I had was a cheap 12v plug so that's probably why I had issues. Once I moved the fridge over to coming directly off the fuse block and lowering the low voltage cutoff I have not had an issue. I would think you would be good with the Trac plug.
 
Here are a few more shots from that weekend...


Here is a really cool shot that doesn't feature the GX but you can see it creeping around the corner. BTW that LJ was bad A$$!!


- HitchCrack
Have to admit HitchCrack, you do have a nice looking rig! Love all that trail porn you're posting!
 

Users who are viewing this thread

Back
Top Bottom