Fergytoy"s 1978 FJ40 frame off resto.

This site may earn a commission from merchant affiliate
links, including eBay, Amazon, Skimlinks, and others.

FJ40 Restoration 371.webp
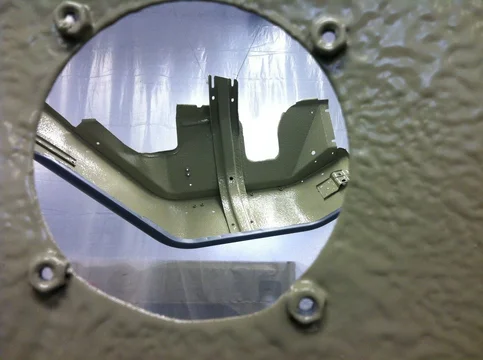
This grommet was sourced thru Toyota by measuring the holes and then locating a grommet on the spec sheet that would fit. This hole is on the drivers floor.
FJ40 Restoration 456.webp
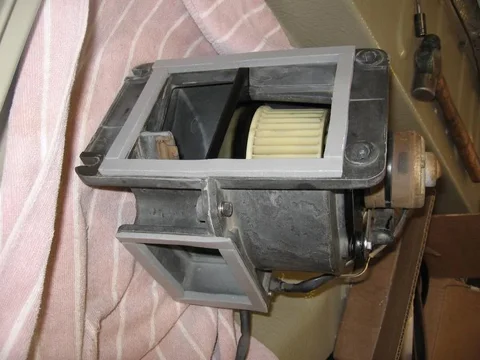
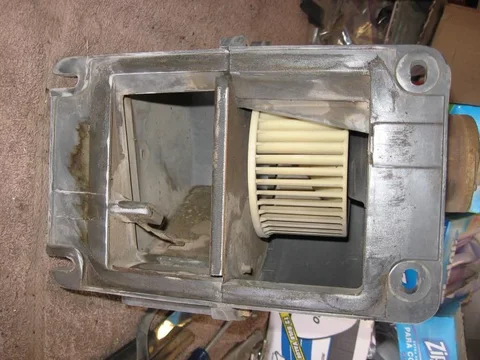
Blower unit prior to disassembly.

FJ40 Restoration 468.webp
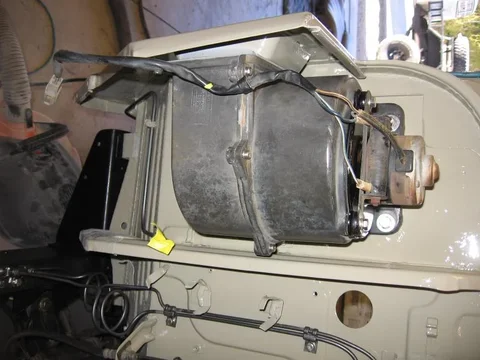
Blower unit reconditioned. Stripped rust and painted what I could. New weatherstripping seals sourced from Home Depot to seal the flap inside the unit just like it was originally and also on the intake and exhaust side. I was considering painting the blower housing but did not want to significantly change the OEM appearance.
FJ40 Restoration 469.webp
Bolted up with new stainless steel hardware and ready to go!

FJ40 Restoration 470.webp

FJ40 Restoration 371.webp


FJ40 Restoration 456.webp


FJ40 Restoration 468.webp


FJ40 Restoration 469.webp


FJ40 Restoration 470.webp
 
Last edited:
This is pretty much all thats left of things that need to be sandblasted before painting. The parts are things like the radiator shroud, radiator support, seat brackets, pedal bucket, etc. Should be back from the Sandblaster next week and ready for paint. :popcorn:
FJ40 Restoration 453.webp

FJ40 Restoration 453.webp
 
John...I might have a spare double grommet in decent shape. Will check and let you know.
 
Sorry, no. It's the one for the twin heater lines through the firewall.
 
Ok. I have a 2nd heater grommet coming in that I am gonna modify to make it work on the tub floor for the fuel lines. I saw a post from another Mud member about how he cut the heater grommet to make it fit so I figured I would do the same.
Thanks anyway!
 
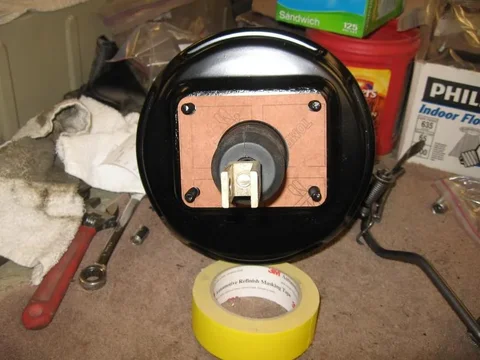
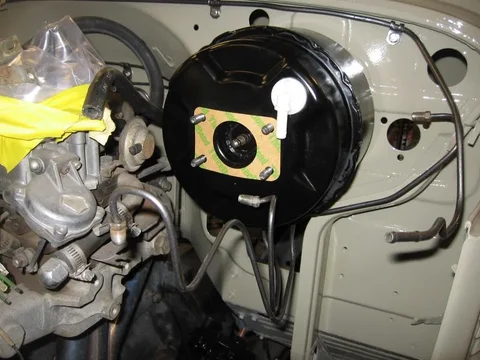
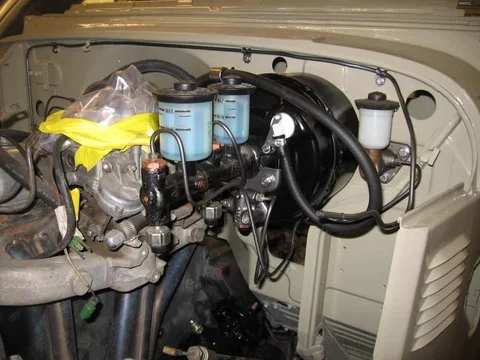
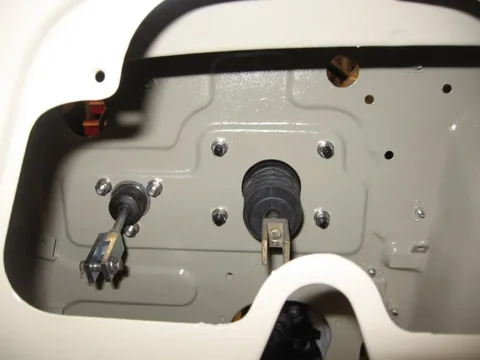
Found some more time to work on a few more things. The gasket between the brake booster and firewall came in today at Toyota. I also received the CruiserCorps gasket that goes between the master cylinder and the booster. Mounted up both units and tightened the brake lines. I also mounted the clutch master cylinder and had tried to source a gasket for it where it mounts to the firewall but Toyota did not list one. I decided to pull out my roll of gasket material and mark/cut a new gasket. I just don't like to mount up a metal to metal assembly like this without some type of gasket to help minimize the metal on metal contact.
I also sourced a new check valve from Toyota for the booster.

FJ40 Restoration 488.webp

FJ40 Restoration 489.webp

FJ40 Restoration 490.webp

FJ40 Restoration 491.webp

FJ40 Restoration 488.webp


FJ40 Restoration 489.webp


FJ40 Restoration 490.webp


FJ40 Restoration 491.webp
 
Won't be long before it's purring.


2008 FJ Cruiser expedition ready and overland trailer w RTT.
 
Started working on the wiring harness by cleaning it up and re-wrapping it. It is in pretty good shape with no apparent damage and all the connectors are in good shape. Bean stringing it back under the dashboard and through the firewall.
 
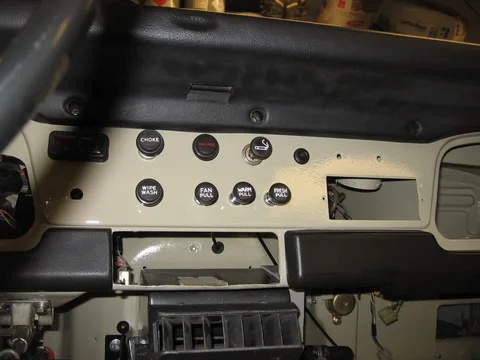
Once again I used the artists' pens to freshen up the dash knob. After filling in the small recessed lettering and letting it dry overnight, I used #220 grit sandpaper and lightly sanded the face of each knob to remove and excess paint from outside of the recesses. It worked really well and now the face of the knobs look like new.

FJ40 Restoration 501.webp


FJ40 Restoration 496.webp
 
Here you can see the dash knobs before sanding and after. I also got busy painting alot of the freshly sandblasted parts so I can begin reassembly on this batch. The heater core as I rebuild it with new seals and fresh paint.

FJ40 Restoration 495.webp


FJ40 Restoration 504.webp


FJ40 Restoration 505.webp


FJ40 Restoration 507.webp
 
Decided to start on the rest of the body work on the fenders, hood, aprons, windshield, etc. I had previously cut out and replaced all the rusted portions of the fenders and just needed to use filler on the patches. I first used the 3M fiberglass "short strand" filler directly onto the patches, sanded and then followed with the Evergold lightweight filler.
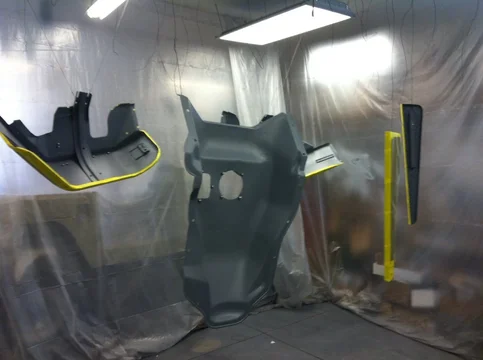
Pua came over and helped build the "paint booth" again. Additional anchor points were installed in the ceiling so that the body panels could be hung at a comfortable height for spraying. I am planning on priming everything tomorow.

FJ40 Restoration 514.webp


FJ40 Restoration 515.webp
 
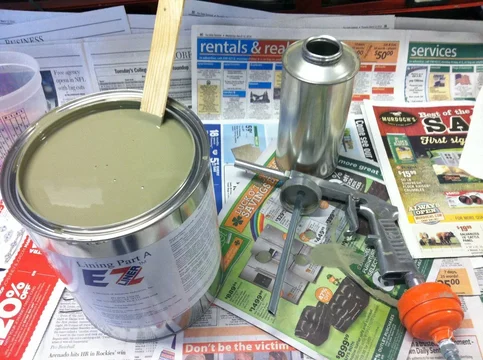
Everything else has been primed. A few small runs to wet sand out. Separated out the parts to be Ez-Lined and began to mask off the fenders and running boards. I lined the under side of the fenders as well as the running boards. I was indecisive about Ez-Lining the gas tank cover and then decided to do it. I also lined the top and bottom of the tranny hump cover.

FJ40 Restoration 519.webp


FJ40 Restoration 529.webp


FJ40 Restoration 524.webp
 
Worked on the 40 a few more hours after work tonite. The Ez-Liner is all dry. Taped it off so that the outside of the fenders and running boards are ready for the sealer. Used a scotchbrite pad to sand all the primer. I also had to wet sand a few primer runs from the front bib and windshield frame. Used 320 grit to remove the runs. The primer is nice and smooth. After sanding, I wiped everything down with wax and grease remover. All the body parts were then hung again and ready to be sealed tomorrow night with the PPG K36 sealer. My plan is to spray the finish coats of Dune Beige on Tuesday night when Rocky comes over again. Woohoo!!!!
 

Users who are viewing this thread

Back
Top Bottom