So I was having intermittent charging problems and went to have the alternator tested and was told the voltage regulator was bad. It started working again and I went to replace the alternator and found the charge wire was corroded and broke off. I’m going to upgrade to the 130 amp alternator and wanted to see what other people have done to rebuild the cable as it is not cheap to get from Toyota. I don’t know what gauge it is currently if anyone knows or what gauge they would recommend. Not interested in doing the biggest thing like 1/0 but either replace same size or upgrade just enough for the 130a. Are all years hundy have the same gauge? 2000 model.


Navigation
Install the app
How to install the app on iOS
Follow along with the video below to see how to install our site as a web app on your home screen.
Note: This feature may not be available in some browsers.
More options
Style variation
You are using an out of date browser. It may not display this or other websites correctly.
You should upgrade or use an alternative browser.
You should upgrade or use an alternative browser.
Charge wire corroded and broke at alternator
- Thread starter thetoyotaman
- Start date
This site may earn a commission from merchant affiliate
links, including eBay, Amazon, Skimlinks, and others.
More options
Who Replied?it won't be easy (you may have to remove the engine harness to do so) but you should be able to clean that up with sandpaper and solder it back together. You'll need a brazing torch and the appropriate solder & flux.
Shoot, that's a bummer.
Best I can help is with this link here. If you decide to run new wire, there's a formula for the length of the wire and amps which will let you know what gauge is needed.
>> Looks like at 4-10 feet of cable length between 150-200 amps they suggest 4 gauge wire.
What would it cost for some sort of OEM replacement? Do they have just that cable or is it the entire harness?
IIRC the main cable connecting the alternator (broke by the OP @thetoyotaman) is coming directly from the battery right? So would you not just get a 2 ga cable and replace it using the chard that @Mike NXP provided? Yes I am sure routing it back to the Battery would be a Pita.. but it could be done..
I dont think it would be very expensive to get it done.. you will not need anything more than 4-7ft cable. and why choose 2 ga cable? cause in this case bigger is indeed better.. as long as you can route the cable through which should be possible.
Go to a welding supply store and get those nice welding cables. Not sure about pricing but should not be more than $5-7 a ft max at 2022 pricing. Also make sure the wire is 100% copper and not copper-covered aluminum wire.
The slightly hard part is getting the correct connectors sizes - the connectors in the end. But I am sure someone has figured out what size those are and know where to get them.
IMHO I would not try to fix the existing wire...
I think this is part of the Big 3 kit that @Fourrunner makes...here's a similar thread: "The Big Three" Electrical Upgrade - https://forum.ih8mud.com/threads/the-big-three-electrical-upgrade.933117/
awesomeissquid
SILVER Star
The alternator charge wire is the one that you are asking about. From my records on the 2000 and 2003 years the OEM wire is about a 4-ga. It runs as part of a separate wiring bundle over the top of the radiator following the refrigerant lines. It is not part of the main wiring harness nor the starter wiring harness.
The OEM termination is a crimp end and not a solder. I would recommend a solid crimp here with a quality ring terminal. As an alternative to replacing the entire wire you could cut it back to a point where you no longer see corrosion and then use a high quality crimped butt splice to add new wire to replace that which was removed. You would still require the ring terminal at the end regardless, but it would mean less wiring.
I agree that replacing the full wire would be the best option and provide the best results (just a higher cost). Most that have done this abandon the old wire in place (just protecting the end to prevent a short from occurring) then run a new wire following the old routing.
At the battery is the bit of tricky part. The OEM wire connects into the fusible link within the box on the back of the positive terminal. Check out post #130-136 at the following link for more info from @AimCOtaco who had the same issue and might be able to provide more info if needed:
"The Big Three" Electrical Upgrade - https://forum.ih8mud.com/threads/the-big-three-electrical-upgrade.933117/page-7
Fourrunner
SILVER Star
I do make an upgrade to this wire harness. This harness uses something around a #4 awg cable. My upgrade replaces the wire with a #2 awg cable (tinned coated wire). It does require your harness be sent back to me to retrofit the harness. The harness has other wires running in the same loom. The other option is to abandon in place the bad alternator wire and zip tie the newer larger gauge wire with it. Let me know if I could help with either options. Here is a link to the thread.
 forum.ih8mud.com
UZJ100 Battery, Alternator and Ground Cable Kits - "Big Three Cable Kit"
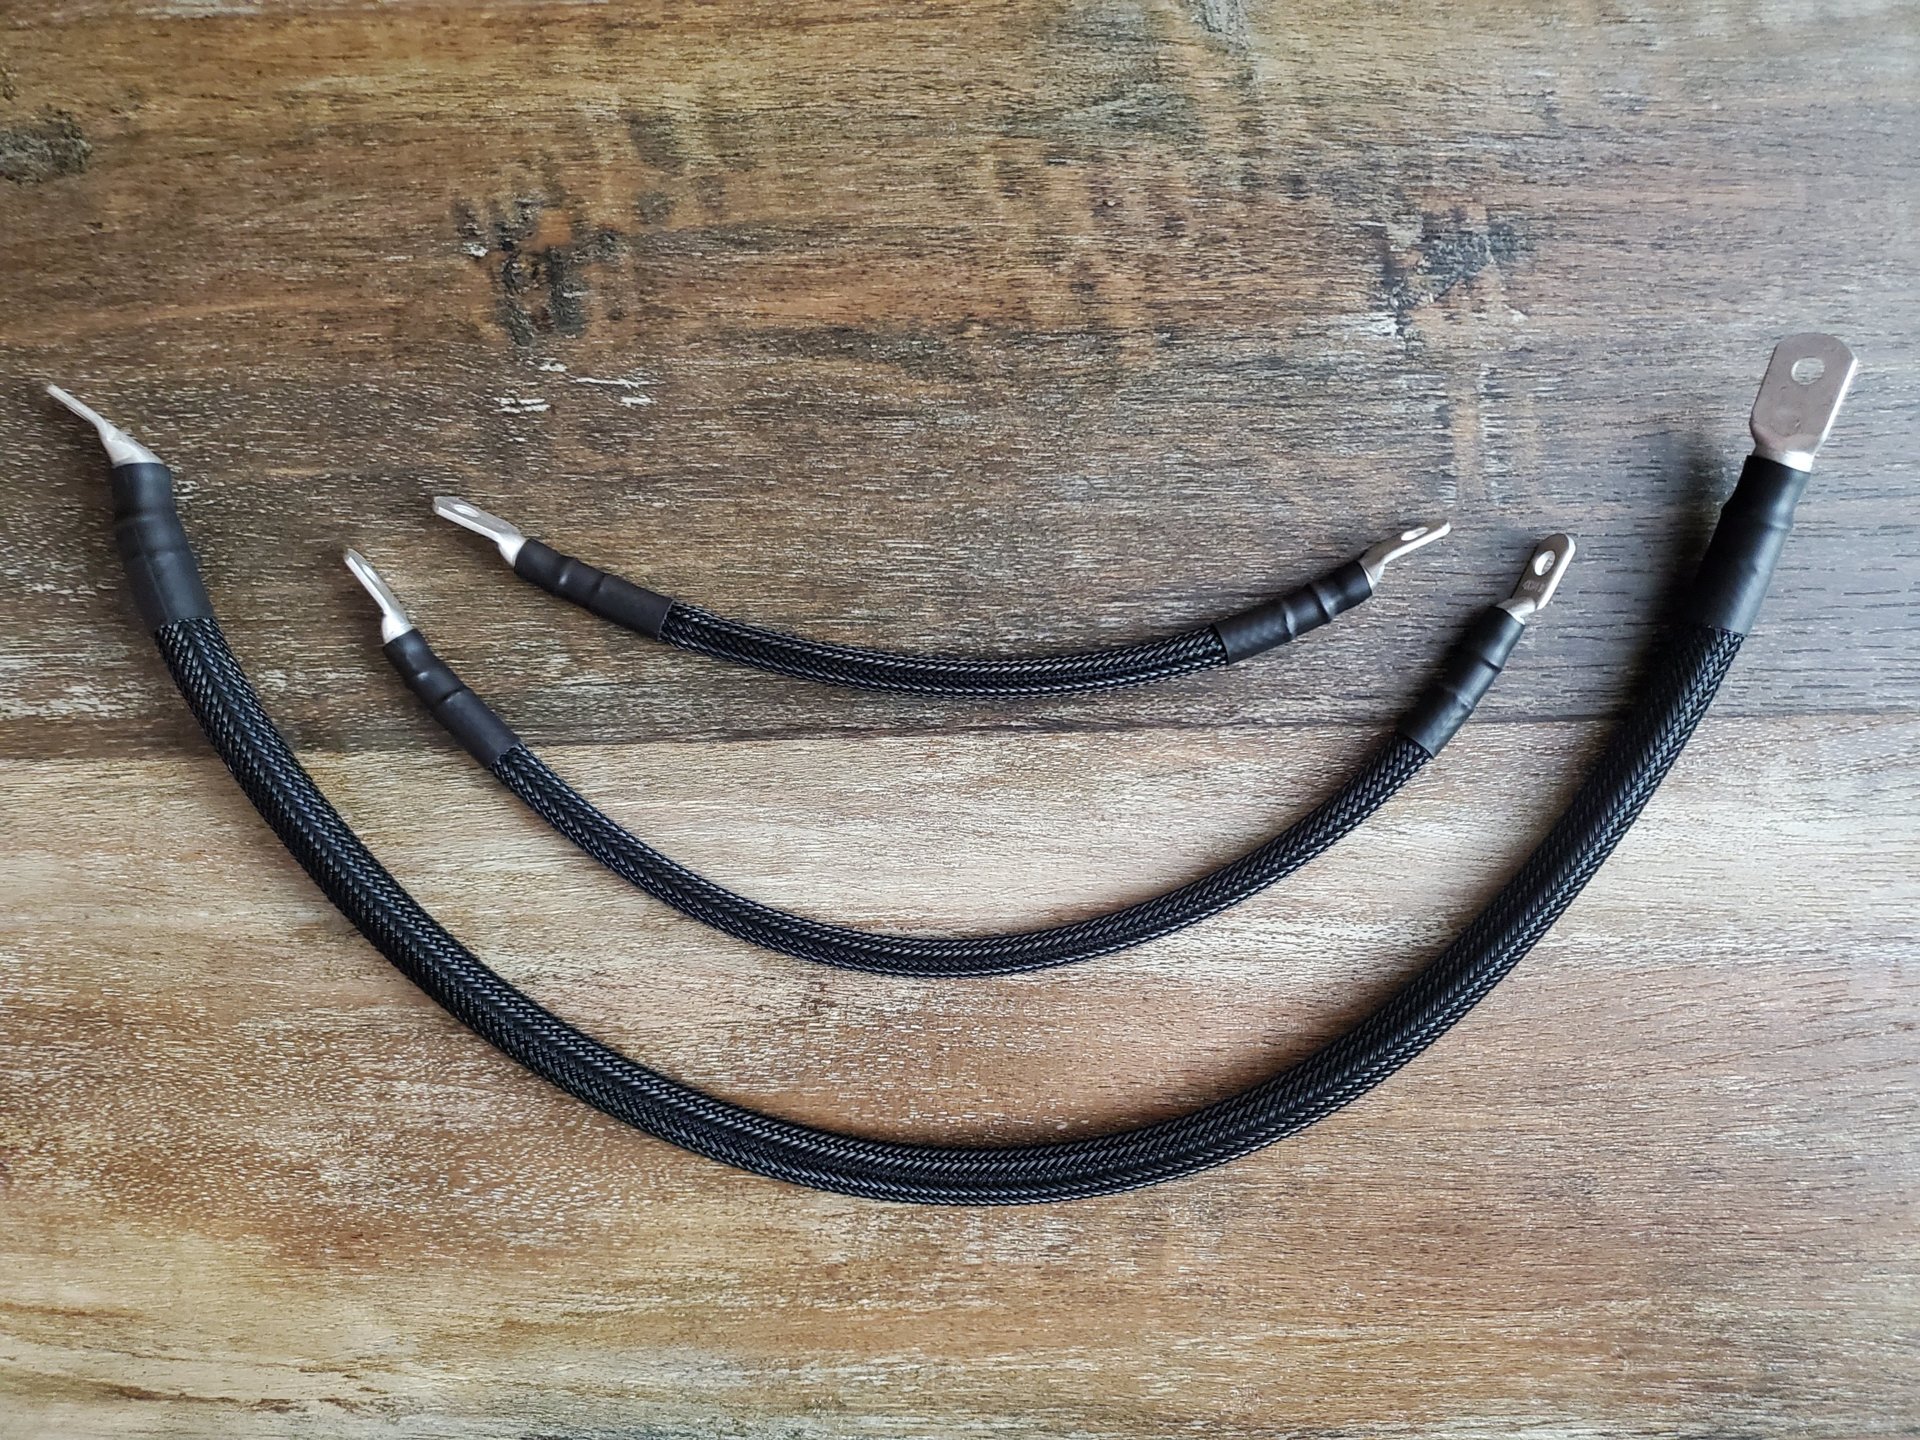
All cables are constructed from either 1/0 or 4 AWG tinned wire (marine wire). Wire is very flexible and jacket is resistant to moisture, oil, chemicals, and excellent abrasion resistance. Joints are sealed using mil spec heavy duty adhesive lined heat shrink to prevent corrosion. Big Three -...
forum.ih8mud.com
hoser
SILVER Star
The original terminal has a bit of detail that is nice. Locks the terminal in a right angle with the alternator. Prevents the terminal from loosening and/or grounding the terminal. Would be difficult to find a replacement terminal like that. But if you wanted that feature, I suppose you use the original terminal OVER the new terminal like a washer (cut off excess) and it'll work, granted the 'prongs' are long enough.
Completely unnecessary as most other manufacturers use a standard lug terminal but maybe this is why we buy Toyota.


Completely unnecessary as most other manufacturers use a standard lug terminal but maybe this is why we buy Toyota.
Fourrunner
SILVER Star
The terminals I use don't have that anti-rotational/alignment tabs unfortunately. I could take a look. The disadvantage to this type is that I believe the wire strands of the cable are exposed to the elements. Pros and cons I guess.
- Thread starter
- #10
The charge cable is no where near a 4 gauge from the factory. It's small. Actually, 2 wires. What I don't understand is why they are so small compared to the chart recommendations. I typically make my own stuff and this is a good time to invest in a crimper if anyone has an economical one they reoommend. But I like those options. I was just trying to understand why they are so small from the factory and if the chart is really necessary to go by or correct. And why did it corrode at the alternator?
So I was having intermittent charging problems and went to have the alternator tested and was told the voltage regulator was bad. It started working again and I went to replace the alternator and found the charge wire was corroded and broke off. I’m going to upgrade to the 130 amp alternator and wanted to see what other people have done to rebuild the cable as it is not cheap to get from Toyota. I don’t know what gauge it is currently if anyone knows or what gauge they would recommend. Not interested in doing the biggest thing like 1/0 but either replace same size or upgrade just enough for the 130a. Are all years hundy have the same gauge? 2000 model.View attachment 3145338View attachment 3145340
Hello,
Did you solve the issue? What do you mean by the “130A” alternator? I could only find the 80 or 120 options.
Thanks,
Alex.
- Thread starter
- #12
Yes. I cut off the bad end off the cable, crimped on a new terminal, and used the anti rotating end off the Toyota connector on top of the new when I bolted it down and all is good. In the US for the 2UZ-FE there was the option of 80, 100, or 130A over the years. I simply bolted the later US 130A alternator from the 2003-2007 years and repined the newer style connector as mine was brittle and had to be replaced anyways. Working great.
Yes. I cut off the bad end off the cable, crimped on a new terminal, and used the anti rotating end off the Toyota connector on top of the new when I bolted it down and all is good. In the US for the 2UZ-FE there was the option of 80, 100, or 130A over the years. I simply bolted the later US 130A alternator from the 2003-2007 years and repined the newer style connector as mine was brittle and had to be replaced anyways. Working great.
The only thing I would have added was a little bit of silicone grease on the terminal that way it is even protected further from being corroded. Also you can put the silicone grease on the connector for the alternator the three or four pin connector.
Thanks for the reply and the tip with the grease. Do you remember the code for the alternator?The only thing I would have added was a little bit of silicone grease on the terminal that way it is even protected further from being corroded. Also you can put the silicone grease on the connector for the alternator the three or four pin connector.
Thanks.
Thanks for the reply and the tip with the grease. Do you remember the code for the alternator?
Thanks.
@Lupu88 so here is the denso part number 210-1099C for the 130A alternator. However the older 80A or 100A alternators have a 3 pin connector.
The 130A or higher alternatora have a 4 pin conversion you need to make or buy to connect it properly. I have a post on this subject 3 to 4 pin but I am out and cannot link it at the moment.
- Thread starter
- #16
I also used industrial heat shrink on the new connector.The only thing I would have added was a little bit of silicone grease on the terminal that way it is even protected further from being corroded. Also you can put the silicone grease on the connector for the alternator the three or four pin connector.
Similar threads
Users who are viewing this thread
Total: 1 (members: 0, guests: 1)