Changing Removing Replacing Rear Shocks with Pictures (1 Viewer)

This site may earn a commission from merchant affiliate
links, including eBay, Amazon, Skimlinks, and others.

Hornd

SILVER Star
Joined
Dec 18, 2013
Threads
66
Messages
2,811
Location
Toledo, OH
Here are my observations since others may benefit:
Spray all bolts/nuts days before starting with PB Blaster, don't be afraid to repeat.
Hit top nuts with propane torch and quick shot of PB blaster before torquing them loose. Do this several times increasing torch time each time. If they do not loosen, do not snap them off! Instead cut the shock piston shaft with angle grinder and cutting wheel or sawzall.

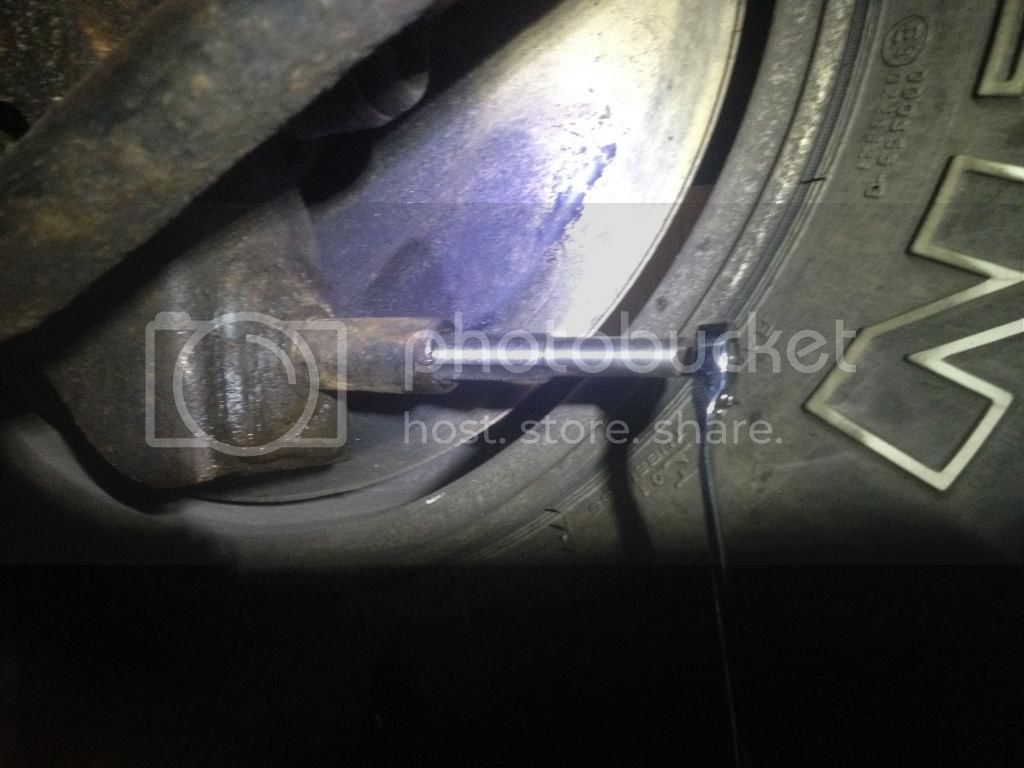
If you do get bolts out of top or bottom, run a die on the threads. Top bolts are M10x1.25 (Common) and Bottom Sleeve is M12x1.25 Tap (hard to find), Bottom bolt is M12x1.25 (hard to find). Turn the tap with a gear wrench as it is tight swing (see pic). I heated the crap out of the bottom shock bolt before torquing it and it helped a ton, I could not budge them before heat. Be patient.

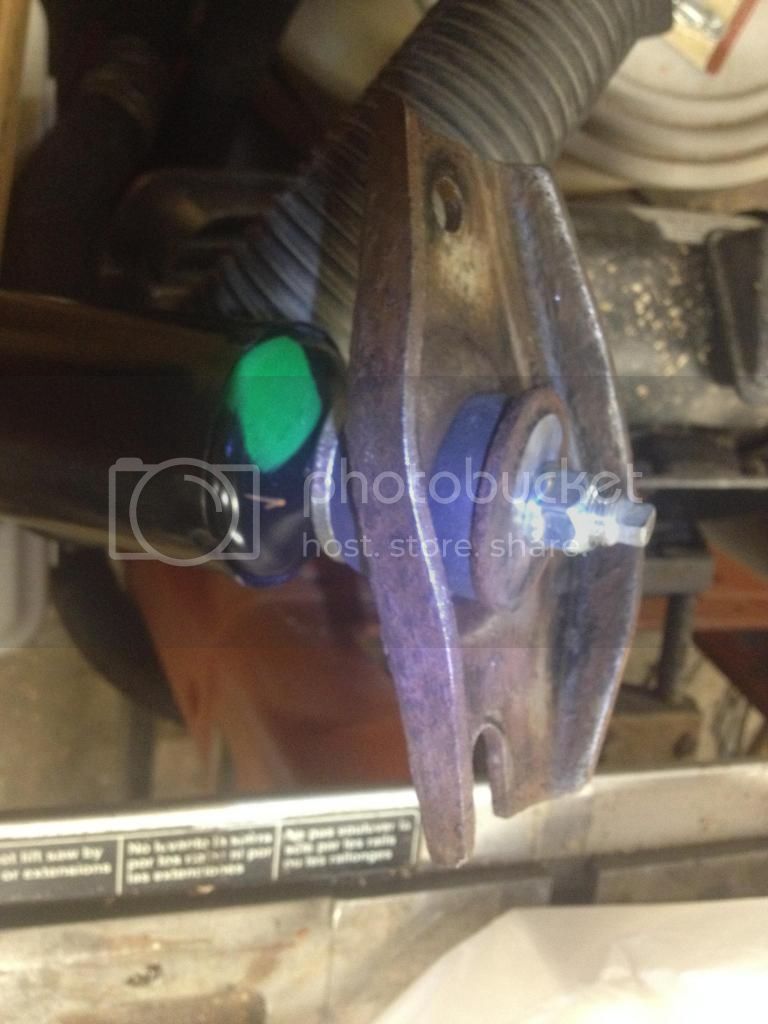
I found a Metric Heavy Duty washer that will work in place of the bushing washers (see pics) and they cost $1.60 instead of waiting and paying for the OEM washers. They serve a simple purpose (squish bushing) and are Grade 8, so deviating from OEM should not cause Mr T to show up at your door.

Use a brass rifle brush to clean debris out of bolt holes.

Tightened the bushings till they slightly bulged and 3 threads were visible above nut.
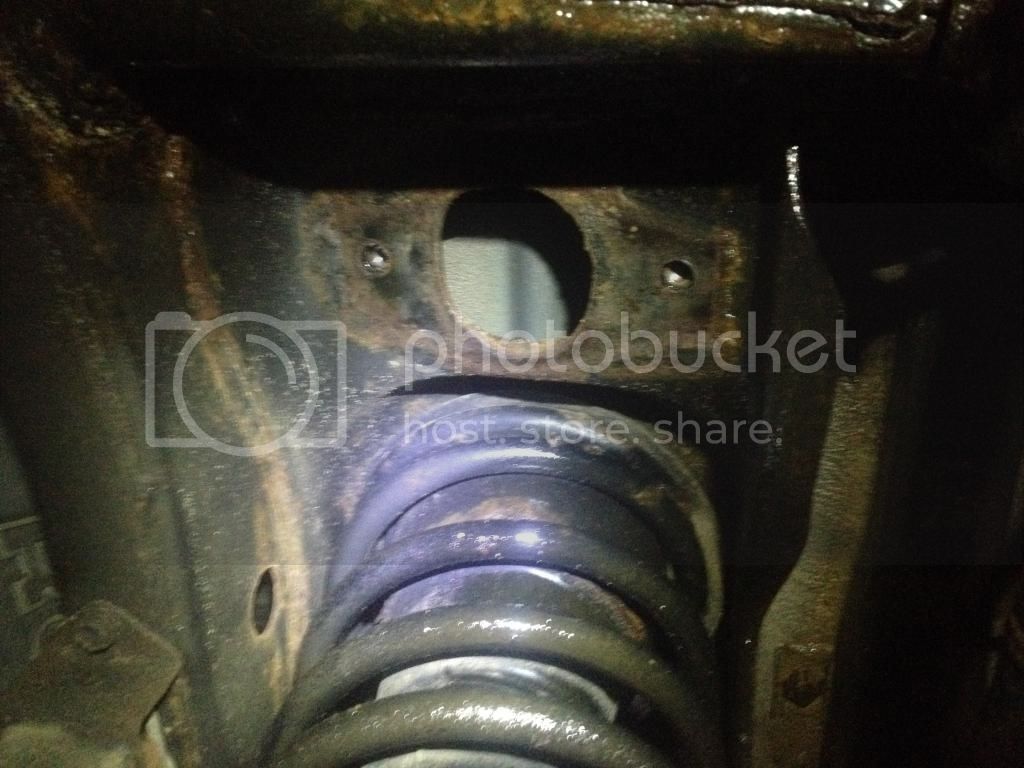
Don't put bracket on upside down (Flat side must fit against truck, slotted hole faces wheel). Bracket is upside down in my pic.

It was very satisfying doing this job, but dirty and time consuming.

Drive on ramps make getting under truck easier, but you will still be working on your back. I use a junk fleece coat for dirty work. Lay a piece of cardboard down, to make sliding underneath easier and mess cleanup quick.

IMG_2587_zps7d56847a.jpg

IMG_2589_zpsc7136376.jpg

IMG_2588_zps4589dafa.jpg

IMG_2592_zps7ed330ee.jpg

IMG_2593_zpsdd630388.jpg

IMG_2595_zpsbb1ec8f6.jpg
 
Last edited:
Nice work! I guess there is one thing I love about commifornia: Took me about a 10th of what it took you it seems..
 
Great write up!

First time I did it the shock was a pain to get back onto the lower bolt. Second time around i compressed the shock first to get under the frame and get the eye onto the lower stud, I then used my weight pulling down on the shock to get the top lined up.......that took less than a minute vs a hour of struggling.

With no rust rear shocks can be changed out in less than an hour with beer break.
 
Nice write-up.

Those lower rear shock mounts can be a bitch. I had a bolt break off and it brought what was a smooth project, to a grinding halt. Heat and PB blaster will certainly help those folks living in the rust belt. Also, I used a generous helping of anti-seize on all the bolts to avoid that issue down the road.

I was wondering why they did it this way and now I know, as opposed to using a thru bolt and nut. The threads are entirely enclosed in that tube so they can not get damaged. If one did not know to use heat and penetrate they would be in for a long struggle. I would have broke mine had I not taken my time.
I put never-seize on everything I put back together, also used some 80 grit to clean up those posts. The bushing trap moisture on the threaded posts.
Good luck finding a M12x1.25 Die to run on the bottom bolts. I had to order mine. Prolly should have just got new bolts.
 
Great write up!

First time I did it the shock was a pain to get back onto the lower bolt. Second time around i compressed the shock first to get under the frame and get the eye onto the lower stud, I then used my weight pulling down on the shock to get the top lined up.......that took less than a minute vs a hour of struggling.

With no rust rear shocks can be changed out in less than an hour with beer break.

With Pneumatics and good hardware it would be a 15 min job. I thought about compressing mine and tying off, but was able to compress while on the truck.
 
Good luck finding a M12x1.25 Die to run on the bottom bolts. I had to order mine. Prolly should have just got new bolts.

When I did mine two years ago, we managed to find a few at Napa and another auto parts store.
 
I disconnected the rear sway bar, put the frame on 6 ton jack stands at full extension, and let the axle sag. By the time i was done the pumpkin was an inch off the ground.

But one of the sway bar bracket bolts did break off, and i had to drill it out, and tap the frame nut to accept an m10. Yeah it was that stuck.
 
put anti-seize on it when you reassemble/install.

I just did shocks the other day, luckily mine came right out with an impact. All hardware had anti-seize on it from 10yrs ago when shocks were installed.

Cheers
 
I bought new shocks and all the hardware from the dealer. My PO used some monroe shocks for replacement and chucked the old bushings, etc. Everything was rusty, so the new hardware was a must. I had 1 bolt that broke and I had to drill it out. Might have buggered the threads doing it, but I'll fix that if I have to later.
Nice write-ups and good pictures!
 
With most of these trucks having close to 200K on the tickers, the odds of us needing to replace shocks again are unlikely.
I'm driving mine off a pier and using it as my coffin.
Might be a while since I just turned 33.
 
1) Compressing the Shock: I used a jack and jack stands to push the frame up. I have two FZJ80s, and the first one I did without jacking up the frame, and it was a bear to compress the shocks. The second one was really easy.

2) Putting penetrating oil on the upper bolts. I note that the upper bolts pass through the mounting plate. I was able to put a really long spray extension on my aerosol can of Aerokroil and hit the end of the bolts from the TOP. This helped a ton.

3) For the upper bolts, I used a 6-point 14mm socket and a long extension on a 1/2" ratchet. I used a ton of Aerokroil penetrant, and very slowly turned the bolts. They came out with some persuasion. I didn't use heat.

4) I bought new upper bolts from Ace hardware, using the metric equivalent of "Grade 8" hardened bolts. I slathered a ton of antisieze on them before reassembly. The threads were fine. (they don't salt the roads here in Oregon).

Good luck!
 
Another thing when you have the potential for rusty or just pain in the a*s bolts is to try tightening them first. You should hear a slight 'ping' sound and you are good to go.
 

Users who are viewing this thread

Back
Top Bottom