Build: 40th Anniversary Restoration (1 Viewer)

This site may earn a commission from merchant affiliate
links, including eBay, Amazon, Skimlinks, and others.

Joined
Nov 16, 2011
Threads
59
Messages
692
Location
Birmingham, AL
Hi all, I just picked up a one-owner, no rust, originally purchased a few miles from me and has been here since 1997, 40th Anniversary Land Cruiser today.

Pretty excited about it. Cosmetically it is really rough, but mechanically it’s sound. Excited to begin the restoration process.

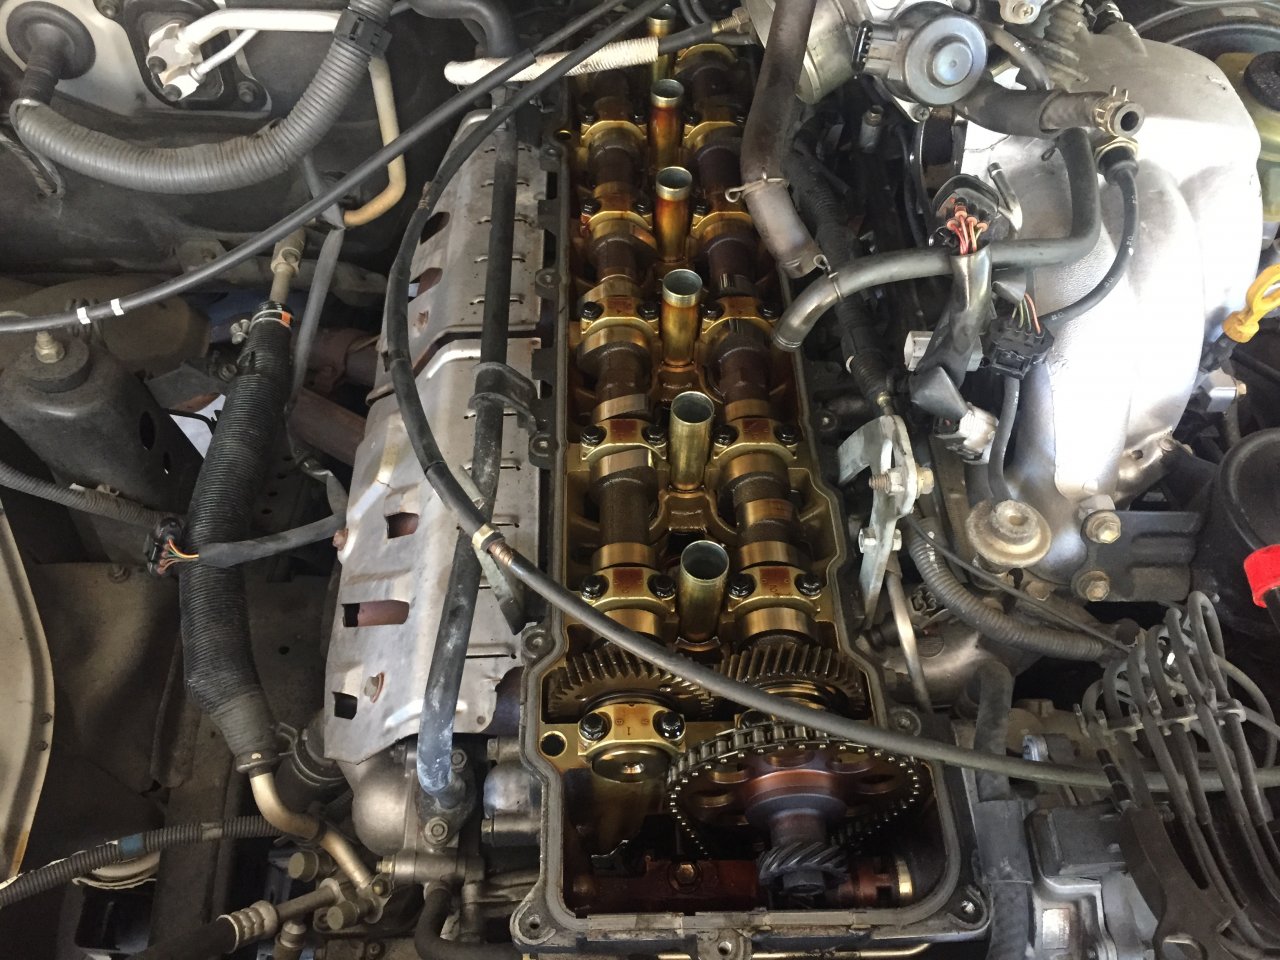
A few pics from just after I snagged it below and I’ll post some from after I cleaned the exterior today here shortly. I had a 96 a few years ago that I built up, but sold it to race KOH. Glad to be back in the 80 Series family.
Prior build thread:

IMG_0664.jpeg


IMG_0667.jpeg


IMG_0665.jpeg


IMG_0660.jpeg


IMG_0661.jpeg
 
Last edited:
Here are a few pics from after I pressure washed it. Much more cleaning to go, but at least we now know more about what all I’ll need to do for the restoration. And yes, it’s crazy, the D Light works (!!!). And the mirrors were solid until the pressure washer got the drivers side and made it shaky. So, adding that repair to the list now! 😂

IMG_0683.jpeg


IMG_0682.jpeg


IMG_0686.jpeg


IMG_0685.jpeg


IMG_0684.jpeg
 
Amazing to see the undercarriage in this condition. Will be awesome to work on without rust or becoming saturated in oil every time we get out a wrench!

IMG_0677.jpeg


IMG_0687.jpeg


IMG_0688.jpeg


IMG_0691.jpeg


IMG_0692.jpeg
 
A decade ago the engine started acting up (sputtering and redlining although all electrical was fine) so they spent $6K putting in a low mileage (50K) engine back at 250K miles. The cruiser now has 290K, but only 90K on the engine. They maintained it on schedule always at either Toyota or another reputable shop downtown throughout. They drove it only a few thousand miles annually the past 10-years since the engine replacement.

Progress so far:
- Pressure washed the exterior
- Initial round 1 cleaning of the interior
- Unclogged the sunroof drains
- Removed the factory roof rack (it was missing 2 trim and 2 bolts) and filled the holes with silicon temporarily for now.
- Replaced burnt out / broken bulbs and adjusted some interior lights. All work now.
- Greased the window runs and all windows go up (slowly) and the sunroof slides great.

List of Initial Restoration Items:
- Either repair or replace the Passenger Front Fender Flare (3 upper plastic mounts were torn off, but end plug mount holes are there)
- Figure out why the door locks aren’t working (Drivers side tries to work, but just not enough juice and the others don’t even try)
- Key only works in ignition and doesn’t work on any of the 5 door locks
- Needs new hood struts
- Needs new battery
- Needs new headlight and corner bulbs
- A/C needs to be recharged
- Passenger Front Door Open indicator doesn’t trigger the interior lights to come on (all 4 other doors do)

Exterior Work:
- Clear coat is clearly failing
- Needs PDR work in 10ish areas
- Black exterior window seals all the way around are definitely shot (chrome is bleeding through or fully exposed with black flaking off or already gone)
- Passenger Front Door 40A trim is warping
- Weld up exhaust leak at Muffler
- Headlights had moisture in them so I removed the clear plugs but one broke into multiple pieces so needs replacing
- Windows are still slow but they all work
- Probably remove the damage multiplier brush guard (although my wife likes it…)
- Seals where fender flares meet body are failing (are there replacements out there?)
- Wheel center caps and spare tire are missing
- Mirrors were solid, but pressure washer caused the drivers one to go “shaky”
- New 40th Anniversary exterior badges
- Missing 2/4 roof rack trim/spacer things

Interior Work:
- Much More cleaning!!!
- New leather seat upholstery (is Mosley still doing their sets?)
- New carpet (supposedly Toyota still sells it?)
- Drivers door latch/rod that holds door open is completely missing (I need one!)
- Fuse Cover Plate tab broken off
- Sunroof Surround Trim completely fell apart
- Rear view mirror trim missing
- Passenger rear step plate missing
- Some tabs surrounding radio trim area are broken (maybe someone tried to steal the radio way back when?)
- Front seats need new forward/backward gears (who sells these now?)
- Add cup holder to pocked above radio (the pocket is missing, so why not!)
- Black trim “blank” above radio won’t stay in (I'll probably replace with CDL Switch)
- Needs remote lock/unlock or security system
- Shifter and Parking Brake Leather Boots
- Steering wheel leather + black shifter leather
- Fix sagging Bungee Cords

Future Upgrades:
- We’re going to baseline it and enjoy it for a bit before we decide where we want to go next.
 
Last edited:
A bit more progress before we leave to go out of town for a week+.
- Fixed 4/5 of the door locks. Electrical was unplugged likely from when someone removed the TDS. Drivers lock still doesn’t work well, so I’ll have to remove the door panel to inspect later on.
- Also put air in the tires, filled the tank with fresh gas, checked all fuilds and air filter (all good)and will be storing her in the garage for the week here shortly.

Needs a new battery and hood struts ASAP 😃. Also noticed a pretty decent vibration from Drivers from b/w 35-45mph now that the tires have air in them.

My youngest son wants to name her Rhino, but my daughters haven’t weighed in yet so that’s also on the TBD list.

IMG_0698.jpeg
 
Hi all, I'm now to the stage where I need to source some parts and advice on this build. Any help is appreciated:

Parts Needed:
  1. Front Passenger Fender Flare (ideally 40thA Antique Sage Pearl): Mine is missing the 3 Plastic Tabs in the middle.
  2. Roof/Luggage Rack Molding/Spacers between the roof and the rack: I’m missing 2/4 pieces.
  3. Drivers Front Door Checker/Catch Thing: It’s missing completely and the door won’t stay open of course.
  4. Fuse Cover Trim: 1 of 2 Tabs is Broken Off.
  5. Sunroof Trim/Garnish: It fell apart in my hands. Has anyone 3D Printed these yet? If not, I may just leave them off.
  6. Rear View Mirror Trim: Mine is gone and I can see the bolts holding the mirror on.
  7. Passenger Rear Step Plate Trim: Passenger side is missing, plus hardware on both sides.
  8. Drivers Rear Door Ashtray/Gum Wrapper Storage Thing with Door: The door is gone and the cubby is broken.
Advice Needed:
  1. Steering Wheel Leather + Padding Redo: Is Craft Customs the Best Option?
  2. New Carpet Kit: Stock Interiors Ultra Plush with Mass Backing in 8655 Sandstone?
  3. Fender Flare Pad Seals: OEM on Ebay vs. Discount Toyota Websites?
  4. Need 40A Badging for Front Fenders: James Dean Creations vs. Overland Metric?
  5. Black Exterior Weatherstrip Door Seals have Chrome bleeding through: Ebay vs. Discount Toyota Websites?
  6. New Headlight Bulbs: HID or LED (I’ll rotate OEM housings down, but can’t afford a retrofit now)?
  7. Neither Front Seats go Forward/Backward: Is Gamiviti Gears + Caps still the best option?
  8. Remote Lock/Unlock and Security: I have a Black Box by Drivers Fuse Area and the Red Push Light. I bought 2 Remotes that I hope to be able to program!
Thanks!
 
Last edited:
Next Up: Does anyone have a lead on a set of Factory Locking 80 Series Axles, Wiring to connect into the 97 Wiring (which I'm told is already mostly there minus the part from the body to the axle), locker control box, and locker switch.

What's my best bet on finding a set? Each time I see a salvage 80, the axles are spoken for. I did make this post in the Classifieds - Parts section too:

Any ideas are appreciated!
 
Looking good!

- Steering wheels - I've heard good things about Craft Customs. I've also seen refurbished steering wheels for sale on eBay from Saudi Arabia that look nice. I redid my own steering wheel with a Loncky kit from Amazon.
- Flares - you can still buy them new from Toyota, but they'll be unpainted. I just picked up a complete set.
- Axles - Any reason you only want OEM lockers? Since you already have the full float axles, if you're looking for a clean OEM look you can get Eaton/Harrop E-lockers and wire them into an OEM locker switch that works with the OEM lockers lights in the cluster. Easier and just as clean IMO

Otherwise you can check with Japanese Auto Parts and Wrecking, they're local to me and specialize in Land Cruisers. Last time I was there they were taking axles off an 80 and packing them up to ship to CA. No idea if they have locked axles though. Best way to get a hold of them is to call

Thanks for all the comments.
- I’ll check out EBay for the steering wheel. craft Customs quote was $$$ including shipping!

- How much were the fender flares each unpainted? Do you have the part numbers?

- I really want to keep it all OEM if I can. But if it’s just too much $$$, then Eaton would work for sure. But I’m a stickler for keeping things authentic and assumed I could sell the non-locking axles for a decent amount to help offset costs maybe. But I’m just now digging into the axle swap stuff!
 
Passenger fender flare: 5308760906

Check out this parts diagram:

It's about $200 for the flare internationally, but then shipping can be as much as $200. You would have to shop around in the US but it looks like it's similar pricing, $350-400. Since I bought a full set of flares and about 40 other parts I just bit the bullet on shipping.
 
Still searching for Factory Locked Axles, but if anyone a) has any leads on a used Fender Flare (ideally in Antique Sage Pearl from a 40th Anniversary cruiser) or b) has any ideas on how to find/re-create the 3 plastic tabs I'm missing from my current fender flare, please DM me. I'd love to find one this way before I order a brand new one that has to be painted. Thanks!

I also posted my search in the Classifieds - Parts section.

IMG_0686.jpeg
 
@Charles4x4 ,

This section of the forum is for technical discussion only. All of your recent posts should be located in the "Classifieds" section as WTB - Wanted To Buy.
 
@Charles4x4 ,

This section of the forum is for technical discussion only. All of your recent posts should be located in the "Classifieds" section as WTB - Wanted To Buy.
This is a build thread. Part of the build is that I have to find parts and ask for advice. I’ve done quite a few build threads before.

As parts start rolling in, I’ll be documenting the installs and pics.

For example, in the fender flare post above, I’m asking for technical advice on possibly fabricating 3 new plastic tabs I can adhere on instead of replacing the fender flare entirely.

Hope this helps clarify my intentions. Feel free to check out my other build threads on both iH8MUD and YotaTech.
 
Last edited:
I've seen a few flare fixes on the forum over the years and one of my favorites was from martinakl and followed this process:
  • epoxy chain link to the inside of the flare where the mounting tab used to be
  • run a zip tie around that chain link and then through the mounting hole in the metal fender
  • put a small dowel or similar through the zip tie on the inside of the metal fender
  • once the flare is positioned/mounted tighten the zip tie to pull the flare snug against the metal fender
An example of this option:

I'd probably use a single chain link with some lightweight glass cloth strips run through it and fanned out at different angles, etc. to spread out the bonding area and reinforcing the epoxy. My take on epoxy to plastic is that you want a large bonding area and a flexible layup so a few (at most) layers of lightweigh/finish cloth spread out over a larger area is better than a small spot of thick/stiff layup. If the epoxy/glass is stiffer than the plastic then you will get de lamination if the plastic flexes and shrinks/expands more than the epoxy through temperature cycles. This application may be pretty forgiving though and would be easy to repair if a link comes loose.
 
Last edited:
I've seen a few flare fixes on the forum over the years and one of my favorites was from martinakl and followed this process:
  • epoxy chain link to the inside of the flare where the mounting tab used to be
  • run a zip tie around that chain link and then through the mounting hole in the metal fender
  • put a small dowel or similar through the zip tie on the inside of the metal fender
  • once the flare is positioned/mounted tighten the zip tie to pull the flare snug against the metal fender
More info on this option:

Now that’s a good one! Gonna try to do with plastic first, but this is a solid Plan B! Much appreciated!
 
Looks like a great project, keep the updates coming!
 
I'm flareless at the moment, but I wonder if a plastic chain might be another option for that hack at the above link instead of metal chain. Metal seems like it could damage paint and expose it to corrosion.
 
This is a build thread. Part of the build is that I have to find parts and ask for advice. I’ve done quite a few build threads before.

As parts start rolling in, I’ll be documenting the installs and pics.

For example, in the fender flare post above, I’m asking for technical advice on possibly fabricating 3 new plastic tabs I can adhere on instead of replacing the fender flare entirely.

Hope this helps clarify my intentions. Feel free to check out my other build threads on both iH8MUD and YotaTech.
The fender flare repair can be done with Home Depo/ JB Weld 2 stage epoxy.
I also re-enforced the non broken tabs. Turned out awesome, did a little washing , scuffing and sanding prior to epoxy. I also applied uPal Raptor liner to the flare outside surface. The 80 should have came stock with black fender flares, looks so much better (In my opinion)

This is what I used,
J-B Weld 0.85 oz. Plastic Bonder Epoxy 50133H - The Home Depot - https://www.homedepot.com/p/J-B-Weld-0-85-oz-Plastic-Bonder-Epoxy-50133H/303710788
 

Users who are viewing this thread

Back
Top Bottom