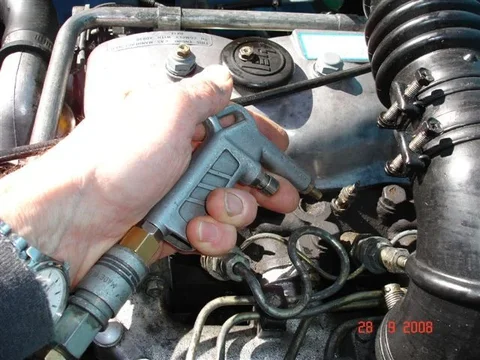
Okay folks. The weather here is lousy and has been like that for weeks on end now. It just won't stop raining and its freezing cold to boot. So I thought I'd start a thread here that I'll add to (as I go) over the next month or whatever.
I've been intending to fit new glow plugs and reconditioned injectors as part of "routine maintenance" on my 2977cc B diesel. It has done 240,000kms without ever having the head off and with nothing more than regular oil and filter changes and a couple of tappet checks/adjustments. What's more, I've owned it for the last 27 years so I know it has always been maintained regularly and has never suffered any overheating dramas.
As far as I can tell, it starts and runs now in exactly the same way (if not better) as it did when I first bought it back in 1981. But then of course wear causes very subtle changes and also spreads them out over a long length of time. - So I am no doubt talking sh#t here. - It is quite possible that it is slightly more rattly and smokey but I just haven't noticed. (But I don't think so.) However I will concede that I do get an annoying "whiff" from the blowby pipe occasionally. And this is particularly likely straight after I've done an oil change. I suspect it has something to do with "gases/fumes coming off virgin oil" as it is heated for the first time but then again - I'm probably talking dribble. It is rather a sickly/unpleasant smell. But I never notice it while driving. Only when the engine is idling and there is very little wind around (and as I say - usually only after an oil change too).
Anyway - I thought it would be a good to go really "anal" here (cos I'm good at that) and record lot of figures/statistics - Even going so far as to do things like measuring the idling rpms before and after fitting the reconditioned injectors. And perhaps even taking a video of "before" and "after" to see if there is any difference in engine sound.
Edit 7 September - Forgot to mention "oil usage" which is relevant here. I've never noticed any change in this over the last 27 years. I have always been able to go from one oil change to the next (traditionally - 7000kms) without topping up the oil inbetween. However - It is usually about 1 liter (1 quart) low at that oil-change stage so I occasionally top it up by this amount (if I notice it is low) prior to changing the oil. This has got a bit more complicated recently though because I'm not covering much mileage. Nowadays I'm changing the oil annually with as little as 2000km travelled - So now I certainly don't ever need to top up between changes.
So I've started by getting the gear ready to do the compression and leakage testing.
I'd like to thank Amaurer for his thread that got me interested in the HarborFreight (made-in-China) stuff. I landed both their compression tester and leakage tester here in NZ (I seem to remember I ordered it from California) for just $150NZ while an inferior leakage testing set by itself (which appears to be made by the same Chinese manufacturer but without a branding name) retails here for $300!
The HarborFreight gear is not anywhere near the standard of the "Snap-On" brand but I could never justify buying that. (About $800NZ for the leakage tester alone?) And I believe the HF gear will be entirely adequate (read "accurate enough") for the limited use it will get from me and probably better than the average standard of most tools/equipment sold in this country (where you have to really search to find quality). Crikey - I'll probably use it only this once!
Anyway - Photos:
Here the fancy advertising cardboard they came in:

And here are the sturdy plastic cases:

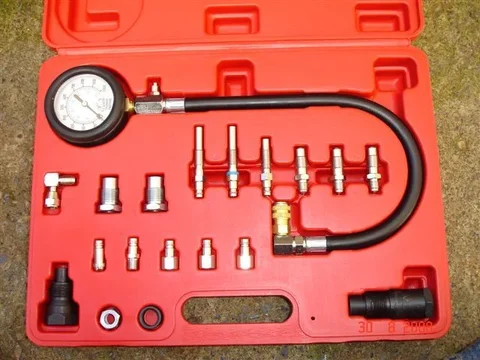
And here is the compression tester (The fitting with the blue zip-tie is the one that matches my glowplug sizing):


I've been intending to fit new glow plugs and reconditioned injectors as part of "routine maintenance" on my 2977cc B diesel. It has done 240,000kms without ever having the head off and with nothing more than regular oil and filter changes and a couple of tappet checks/adjustments. What's more, I've owned it for the last 27 years so I know it has always been maintained regularly and has never suffered any overheating dramas.
As far as I can tell, it starts and runs now in exactly the same way (if not better) as it did when I first bought it back in 1981. But then of course wear causes very subtle changes and also spreads them out over a long length of time. - So I am no doubt talking sh#t here. - It is quite possible that it is slightly more rattly and smokey but I just haven't noticed. (But I don't think so.) However I will concede that I do get an annoying "whiff" from the blowby pipe occasionally. And this is particularly likely straight after I've done an oil change. I suspect it has something to do with "gases/fumes coming off virgin oil" as it is heated for the first time but then again - I'm probably talking dribble. It is rather a sickly/unpleasant smell. But I never notice it while driving. Only when the engine is idling and there is very little wind around (and as I say - usually only after an oil change too).
Anyway - I thought it would be a good to go really "anal" here (cos I'm good at that) and record lot of figures/statistics - Even going so far as to do things like measuring the idling rpms before and after fitting the reconditioned injectors. And perhaps even taking a video of "before" and "after" to see if there is any difference in engine sound.
Edit 7 September - Forgot to mention "oil usage" which is relevant here. I've never noticed any change in this over the last 27 years. I have always been able to go from one oil change to the next (traditionally - 7000kms) without topping up the oil inbetween. However - It is usually about 1 liter (1 quart) low at that oil-change stage so I occasionally top it up by this amount (if I notice it is low) prior to changing the oil. This has got a bit more complicated recently though because I'm not covering much mileage. Nowadays I'm changing the oil annually with as little as 2000km travelled - So now I certainly don't ever need to top up between changes.
So I've started by getting the gear ready to do the compression and leakage testing.
I'd like to thank Amaurer for his thread that got me interested in the HarborFreight (made-in-China) stuff. I landed both their compression tester and leakage tester here in NZ (I seem to remember I ordered it from California) for just $150NZ while an inferior leakage testing set by itself (which appears to be made by the same Chinese manufacturer but without a branding name) retails here for $300!
The HarborFreight gear is not anywhere near the standard of the "Snap-On" brand but I could never justify buying that. (About $800NZ for the leakage tester alone?) And I believe the HF gear will be entirely adequate (read "accurate enough") for the limited use it will get from me and probably better than the average standard of most tools/equipment sold in this country (where you have to really search to find quality). Crikey - I'll probably use it only this once!
Anyway - Photos:
Here the fancy advertising cardboard they came in:

And here are the sturdy plastic cases:

And here is the compression tester (The fitting with the blue zip-tie is the one that matches my glowplug sizing):

Last edited:


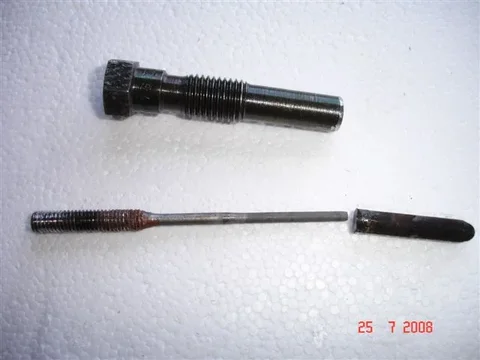
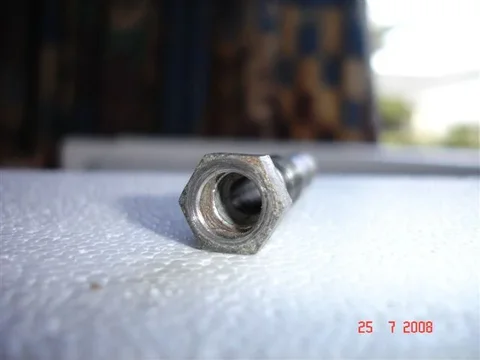
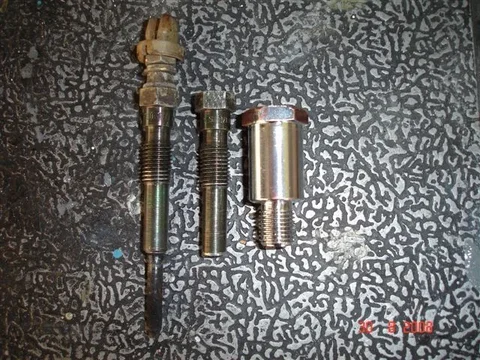
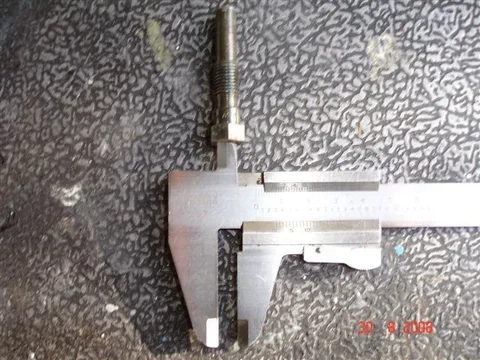
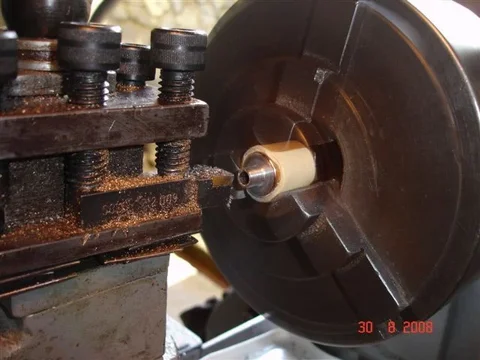
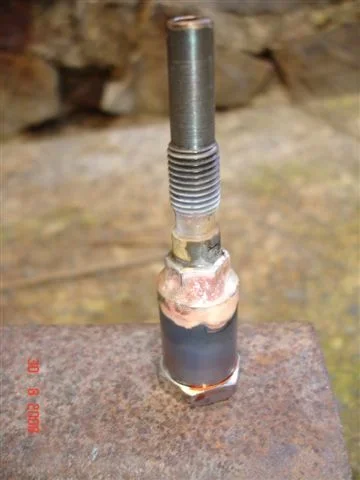
 's car. (Hey - I wonder when I last changed those plugs?) This enabled me to choose the smaller fitting on the left (with the O-ring removed) for "bastardisation". (It is not really logical though - because I doubt I'll ever bother doing a leakage test on her car with the other fitting





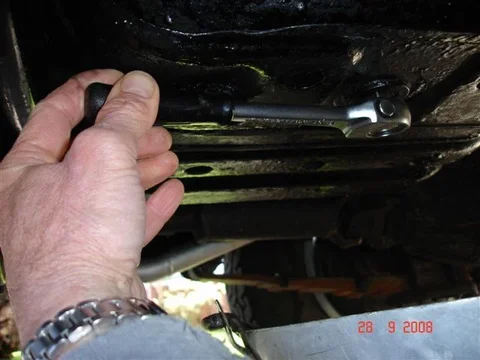
 . So I've been meaning to remove the drain plug on the fuel tank (which I do periodically) to drain any cr#p out.