Adding F/R lockers to 2003 Land Cruiser (1 Viewer)

This site may earn a commission from merchant affiliate
links, including eBay, Amazon, Skimlinks, and others.

So the indicator lamp holder is already there even for an LX? Also, as for the wiring, would I need to run an actual wire to the gauge cluster or is there a place I plug the plus wire that gets power when the locker is actuated.
Thanks for your help.

Depends on which year LC/LX you have. My 2000 didn't have front and rear locker indicators. Take a bright flashlight and check your dash
 
Have you managed to route the cables? I've just swapped my actuator for a new one, so I can snap pictures for you how the stock wiring is.
Could you plz post some pics? I am planning to install it on mine too
 
Depends on which year LC/LX you have. My 2000 didn't have front and rear locker indicators. Take a bright flashlight and check your dash
This was a great suggestion! I confirmed that my 98 LX does have the rear locker light in the dash (its right next to the center diff light).
Now if I could figure out how to plug into it so it comes on when the locker engages.
 
Soooo... I hope these are going to be helpful & let me know if I can give more.. The really tricky part IMO is the routing of the cables/breather under the protector cover to be just right. So what I'm trying to say, you really need the protectors to route the cables properly, as both the harness coming from the truck, and both the sensor & actuator connector snaps in place on the protector itself (there are tabs / holes for these).

This truck is a 2000/8 EUR Land Cruiser HDJ100 with factory fitted RR lock & AHC, or in other words a
"HDJ100L-GNPEZW" - "VX EUR LHD 1HDFTE ATM 4FC"

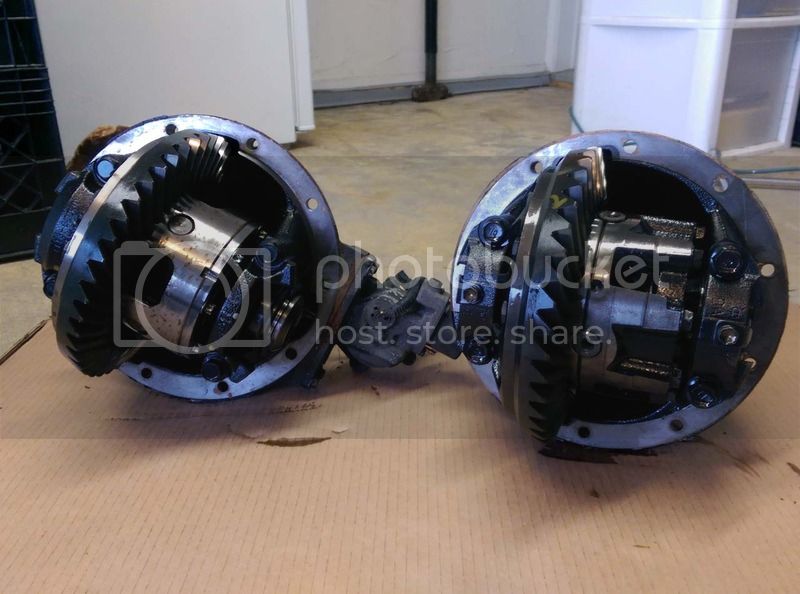
The parts seen in the pictures:

41467-60060 - PROTECTOR, DIFFERENTIAL LOCK CYLINDER - this is the large protector that covers the actuator and the connectors snap onto

41467-60050 - PROTECTOR, REAR DIFFERENTIAL LOCK ACTUATOR - this is the smaller protector that covers the sensor

94184-61001 - NUT - 2x - these are the nuts that hold the small protector onto the support (they go onto the stud in the support and sandwich the protector between the supports nut and this nut) - 36Nm is the torque value (14mm hex).

91651-B0814 - BOLT,W/WASHER - This is the bolt that secures the large protector to the actuator from the top. 15Nm (12mm hex)

90179-08040 - NUT - 1x - This is the nut that secures the large protector to the stud in on the face of the actuator. 15Nm (12mm hex)

Anyway, here are some pictures:

Actuator with the cables hanging loose:
Note that the breather end is still capped off on the actuator side (this is how they ship it), and the small nylon hose should be slipped into the actuator side (where it is now capped off) hose around 1.5cm deep - as per the manual.

Also notice, that on the sensor connector the arrow is pointing directly to a little clip - that is where it attaches to the actuator protector - the actuator connector is "the right side up) on the picture, so the sliding part is not visible (where it should attach to the protector)

2015261


Anyway, picture number 2: This is the (broken) cable tie clip that I can not source, and is right above the attachment point of the rear right (PS) upper control arm - and below the ABS sensor wiring clip. This is the first point where the harness is clipped to the frame (comming from the actuator protector)

2015269


Same thing, but a bit blurry & with a temporary zip-tie fixing the harness to place. Once again this is the first point where the harness comming from the actuator protector is "tied" to.

2015271


Okay, here is the tricky part - and unfortunatelly a bit blurry and the connectors themselves are not visible. But one important part is, and that's the "S" shaped plastic thingy that snaps onto the protector with 2 tabs & this is how the harness gets secured to the protector (and ultimately to the axle) - The same zip-tie (uncut yet) & UCA bolt is visible here as well

2015273


"S" plastic thingy again:

2015274


TBC...
 
Last edited:
Again blurry, but this is lying on my back and taking the photo right above myself. Here you can see where the harness goes above the chassis (frame):

2015276


As you can see the harness goes above the frame rail where the UCA's are bolted to. Looking from the right rear wheel well:

2015278


I think it then goes to the other side of the truck (left side) and enters the cabin somewhere near the left rear corner after - I think connecting to a larger harness. I'll try to trace it for you guys, but it's impossible to take pictures of those tight areas.

I know this is not too much or helpful, but might be good for someone in the future.

EDIT: Also here is a picture of the "S" thingy upclose - I had to take it apart partially to fix a broken wire. If my hand would be the left side of actuator protector, than this is how it is snapped onto it (there are two clips on the back). It's the right way up in the picture as well

2015280


I'll take a very wild guess and say that the P/N for the "S" thingy is: 82712-60150 - but this really is just guessing.

I'll take an even wilder guess and say that the harness (that somewhere connects to the a bigger harness at the rear left) - so the one that has the diff lock actuator & sensor connector & the breather is: 82164-60171, 82164-60201 if you have TEMS

Also just found this - will give an idea about the harness & routing:

 
Last edited:
@sdnative thanks for the write up. I am about to acquire a locked rear from an LC for my 98 LX. Two questions:
1) Did you ever figure out the wiring issue that was causing the locking ECU to drain your battery?
I haven't investigated further.
2) Do you have any way to indicate the rear locker was actually engaged (I assume your truck doesn't have the rear locker indicator in the dash)?
Yes I added a light to the blank panel next to the locker switch.
Thanks a bunch.
 
Yes, if you are only swapping the third then you will need the passenger side drove axle too.
I just swapped the whole rear (axle housing, both axles and the third) from a 99 LC to my 98 LX. That way I didn't even need to open the axle housing up.
 
Time to pull the third. It is pretty heavy so I was trying to figure out how to do this without damaging anything, dropping it on the garage floor or crushing myself. I came up with this rudimentary jack support. There were a couple issues but it got the job done.

IMAG1905.jpg


Third out. Side by side comparison between the 1999 and 2003

IMAG1908.jpg


IMAG1909.jpg


IMAG1910.jpg


IMAG1911.jpg


Old studs removed and surface cleaned.

IMAG1913.jpg


Detail of what material needs to be removed

IMAG1915.jpg


IMAG1917.jpg


IMAG1918.jpg


IMAG1920.jpg


IMAG1923.jpg


IMAG1926.jpg
What method did you use to remove the studs?
 
What method did you use to remove the studs?

Tightened two nuts against each other tightly (make sure the flats align) then remove with wrench or socket.

Reverse this process to install the new ones if needed.
 
Thanks for documenting this. I'm in the process of looking for a locked axle, I don't know if I will just look for a locked 3rd and install myself or not. So if you go that route (without the donor axle) I would need to buy a new passenger side axle shaft, and the new studs (obviously all the wiring as well)?

I've found most of the ebay listings for "locked" axles are completely wrong. They will show a 1999 LX and say it's a locked rear axle. Or even a Land Cruiser, but they won't show the switch on the dash. I think a lot of these junyards see the center diff switch and just throw the axle up as a "locked rear"
 
If you have a 98-99 I would keep looking for a locked donor axle and swap the whole thing in. Gear ratio is the same at 4.30.

For 2000+ you need to consider the brake line differences due to ATRAC. As I understand it all the brake line hardware can be obtained to allow a 98-99 donor axle to be bolted into a 2000+ but have not confirmed.

Another way to approach the 2000+ is to fit the third member and PS axle shaft into your existing housing. This way you would not need to touch the housing, brake lines, etc. This does require cutting a notch in the axle housing as shown in this thread. Pros and cons of each method are discussed in this thread as well.

Keep in mind if swapping a 98-99 locked axle or third into a 2003+ you will have to do something about the mismatched gear ratios (i.e. regear front to 4.3, regear rear to 4.1 or regear both to something else).

Locker ECU and switch would be good if you can get them. There are more and more 100 series in the parting section of MUD. Keep an eye out there.

It is unlikely that you will be able to get the harness from the donor truck. Generally they are not in good shape and there are branches going to other systems. Best to make your own. Lots on info in this thread.

This is very important and I can't stress it enough: Cutting the notch in the housing can be very dangerous, especially with the axle still in the truck. Tight quarters + high speed cutting wheel = BAD. Be carefull!
 
The 2000+ ATRAC line differences is really a non-issue. There is literally one bracket that is different from what I recall and really its an extra bracket at that. Can be cut with tin snips. I've seen this specific concern brought up so many times, it really isn't an issue and should be put to rest as it might discourage people, when really it isn't something to be concerned. I have an axle swap on my 01 from a 99. I try to encourage everyone to do the swap over the cutting of the pumpkin because its so easy in comparison. You can bolt on and ride.

I cannot fathom doing all that work! my axle swap took less than a few hours by my self. Bolt off bolt on, bleed brakes and off you go.

you can see the process on my build thread if you are curious. This way is just another way to do it.
 
Last edited:
The 2000+ ATRAC line differences is really a non-issue. There is literally one bracket that is different from what I recall and really its an extra bracket at that. Can be cut with tin snips. I've seen this specific concern brought up so many times, it really isn't an issue and should be put to rest as it might discourage people, when really it isn't something to be concerned. I have an axle swap on my 01 from a 99. I try to encourage everyone to do the swap over the cutting of the pumpkin because its so easy in comparison. You can bolt on and ride.

I cannot fathom doing all that work! my axle swap took less than a few hours by my self. Bolt off bolt on, bleed brakes and off you go.

you can see the process on my build thread if you are curious. This way is just another way to do it.

Like for like, I'd agree with you. But if all you can find is a super crusty tetanus-coated donor...
 
Like for like, I'd agree with you. But if all you can find is a super crusty tetanus-coated donor...


This is certainly true. A clean donor is what you want. I had to clean mine up
 
I cannot fathom doing all that work! my axle swap took less than a few hours by my self. Bolt off bolt on, bleed brakes and off you go.

you can see the process on my build thread if you are curious. This way is just another way to do it.

How hard was it to bleed the brakes? You have to use techstream with this system don't you? I've only done it on motorcycles, and even then it was kind of a pain in the ass.

I've found a locked third member on Ebay that looks to be in good shape, but the guy wants about the same price as what an entire axle is going for.

One guy wouldn't show me pictures of the axle until I paid for it (and they pulled it off the truck), then he said if I didn't like what I saw they would refund the money (hmmm, not so sure about that)

No you don't need techstream. there are several threads on here on how to do it, its not much different that the old fashion way of bleeding brakes.
 
1) Did you ever figure out the wiring issue that was causing the locking ECU to drain your battery?
I haven't investigated further.
2) Do you have any way to indicate the rear locker was actually engaged (I assume your truck doesn't have the rear locker indicator in the dash)?
Yes I added a light to the blank panel next to the locker switch.

I'm doing it the same way, with all the factory bits. Did you happen to write anything down as far as wiring? I've got 9 of the 10 pins accounted for in the ECU (I think), but can't quite work out what to do with the purple/white wire on Pin 10.

IMG_0434 (1).jpeg
 
See post 56. I believe pin 10 is for the speed interlock safety, meaning the lockers won't engage above a certain speed. I did not connect that pin and everything seems to work ok, just need to be careful not to turn the dial while moving.

What EWD is that? The locker ECU diagram looks different that the one I was referencing. For instance mine shows 4 diodes pointing away from the center box (I assume an IC of some type). Yours shows 3 pointing away and one pointing towards. There are also differences in the depiction of the open and close relays.
 

Users who are viewing this thread

Back
Top Bottom