Builds A Re-Build of 2004 78 Series Troopy 1HD FTE (2 Viewers)

This site may earn a commission from merchant affiliate
links, including eBay, Amazon, Skimlinks, and others.

Joined
Aug 16, 2006
Threads
21
Messages
466
Location
Cape Town - South Africa
In collaboration with tmarx I managed to buy a well kept and maintained 2004 78 Series Troopy that has the OEM 1 HD FTE turbo diesel motor fitted.

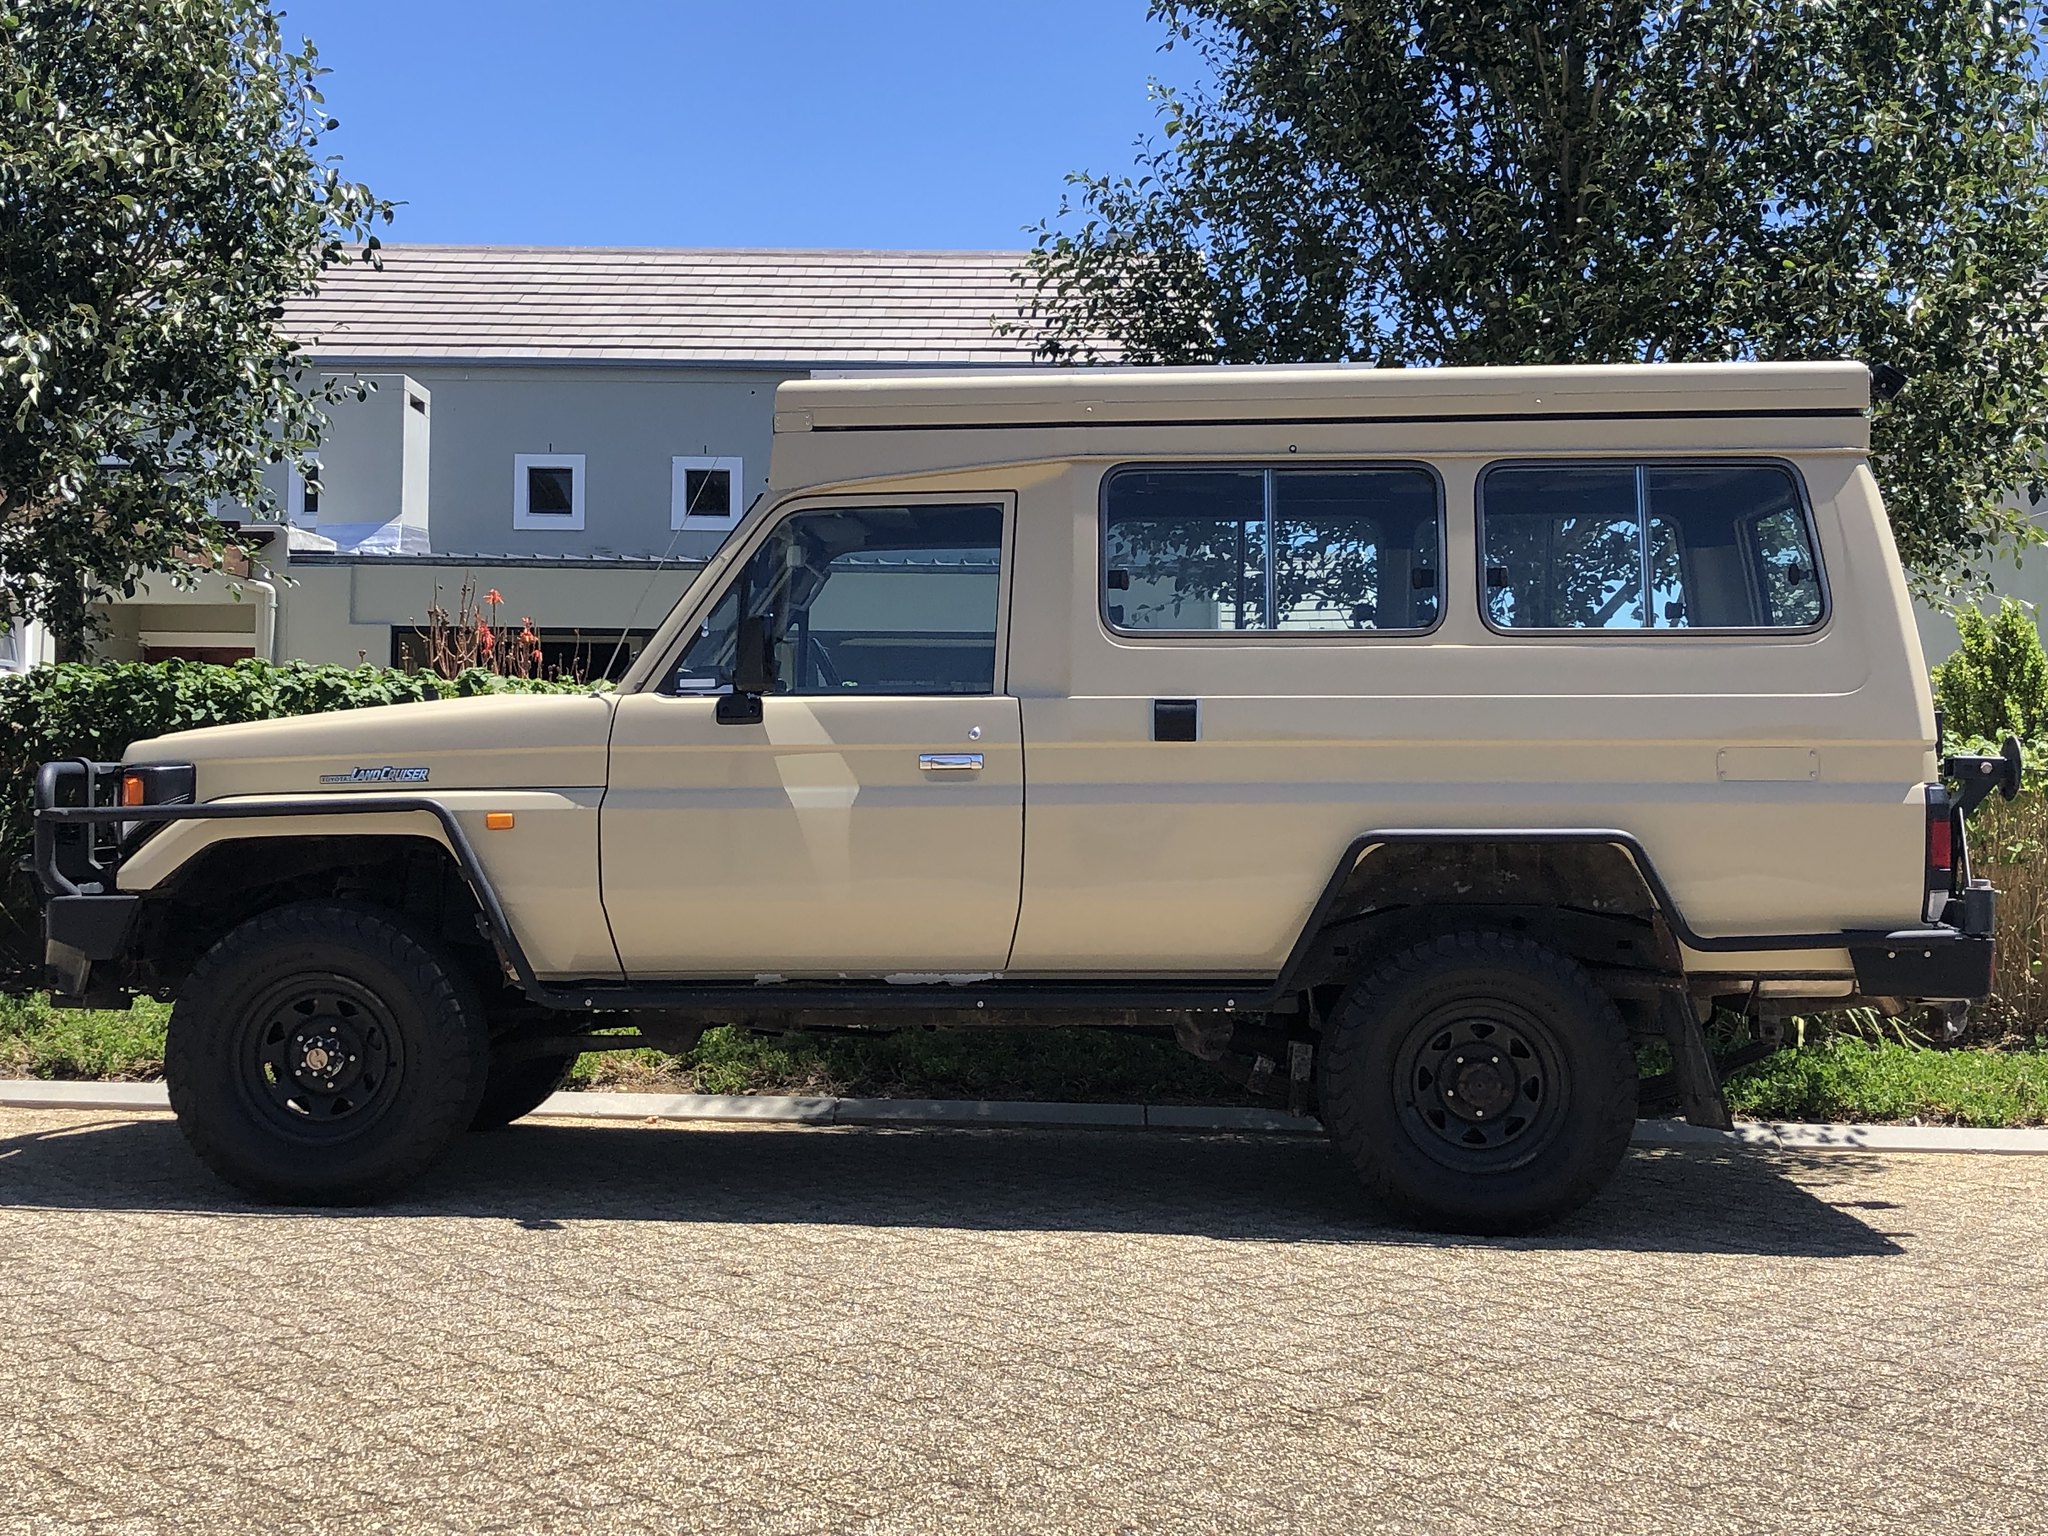
This is the Troopy as it was bought.
51973860856_1e93557350_h.jpg


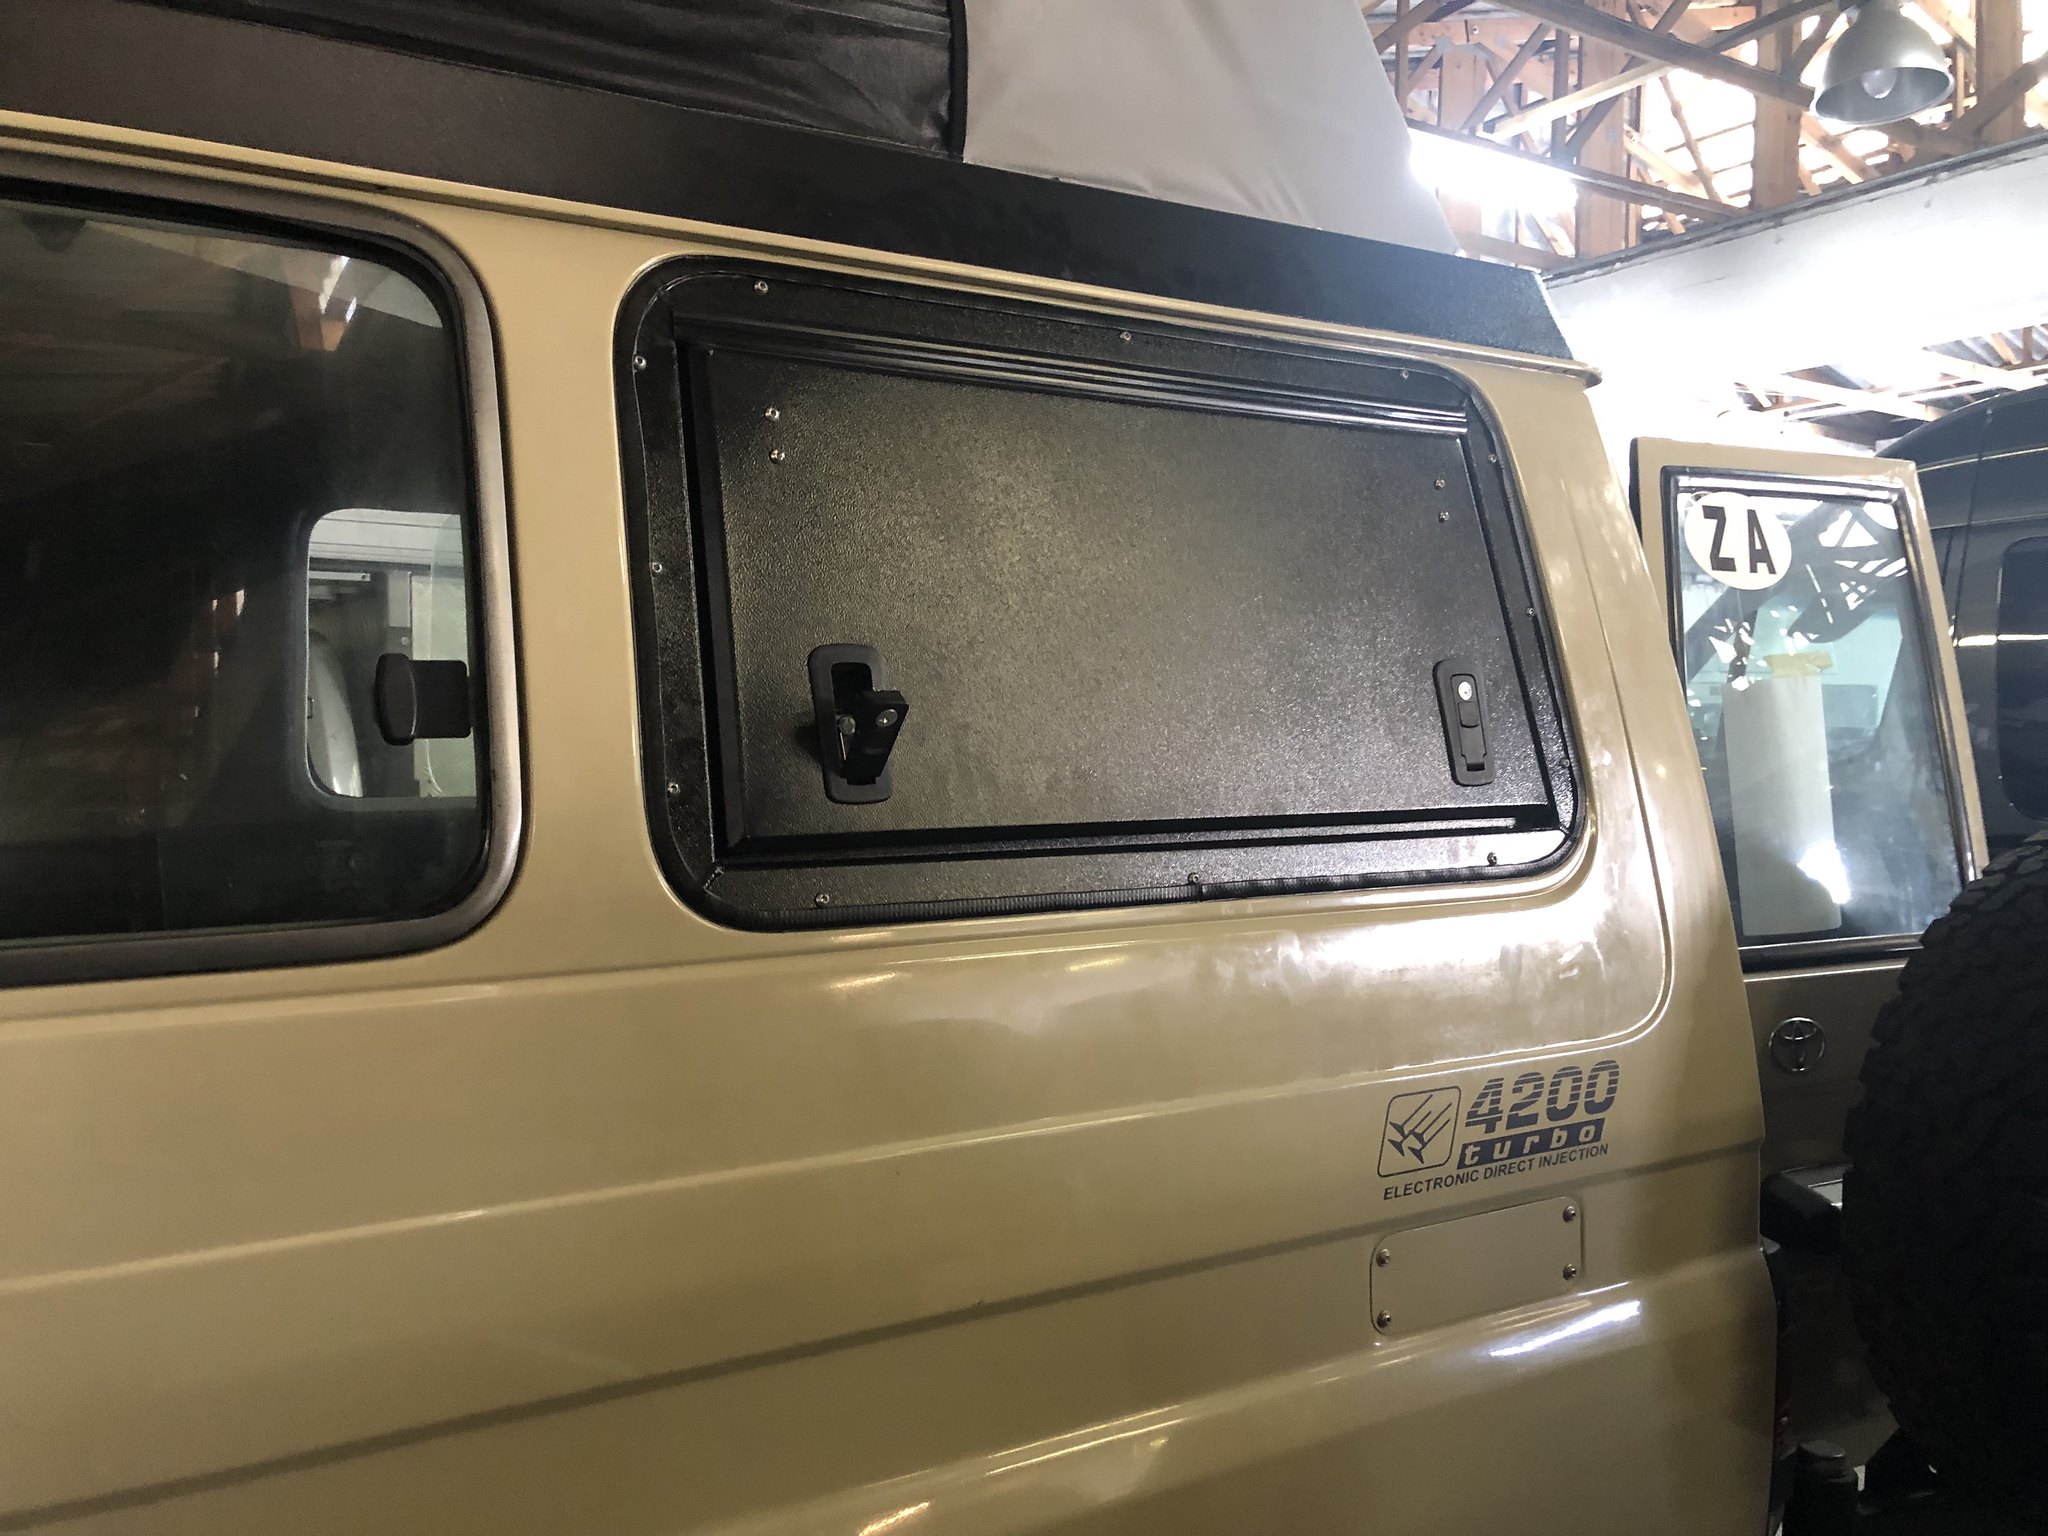
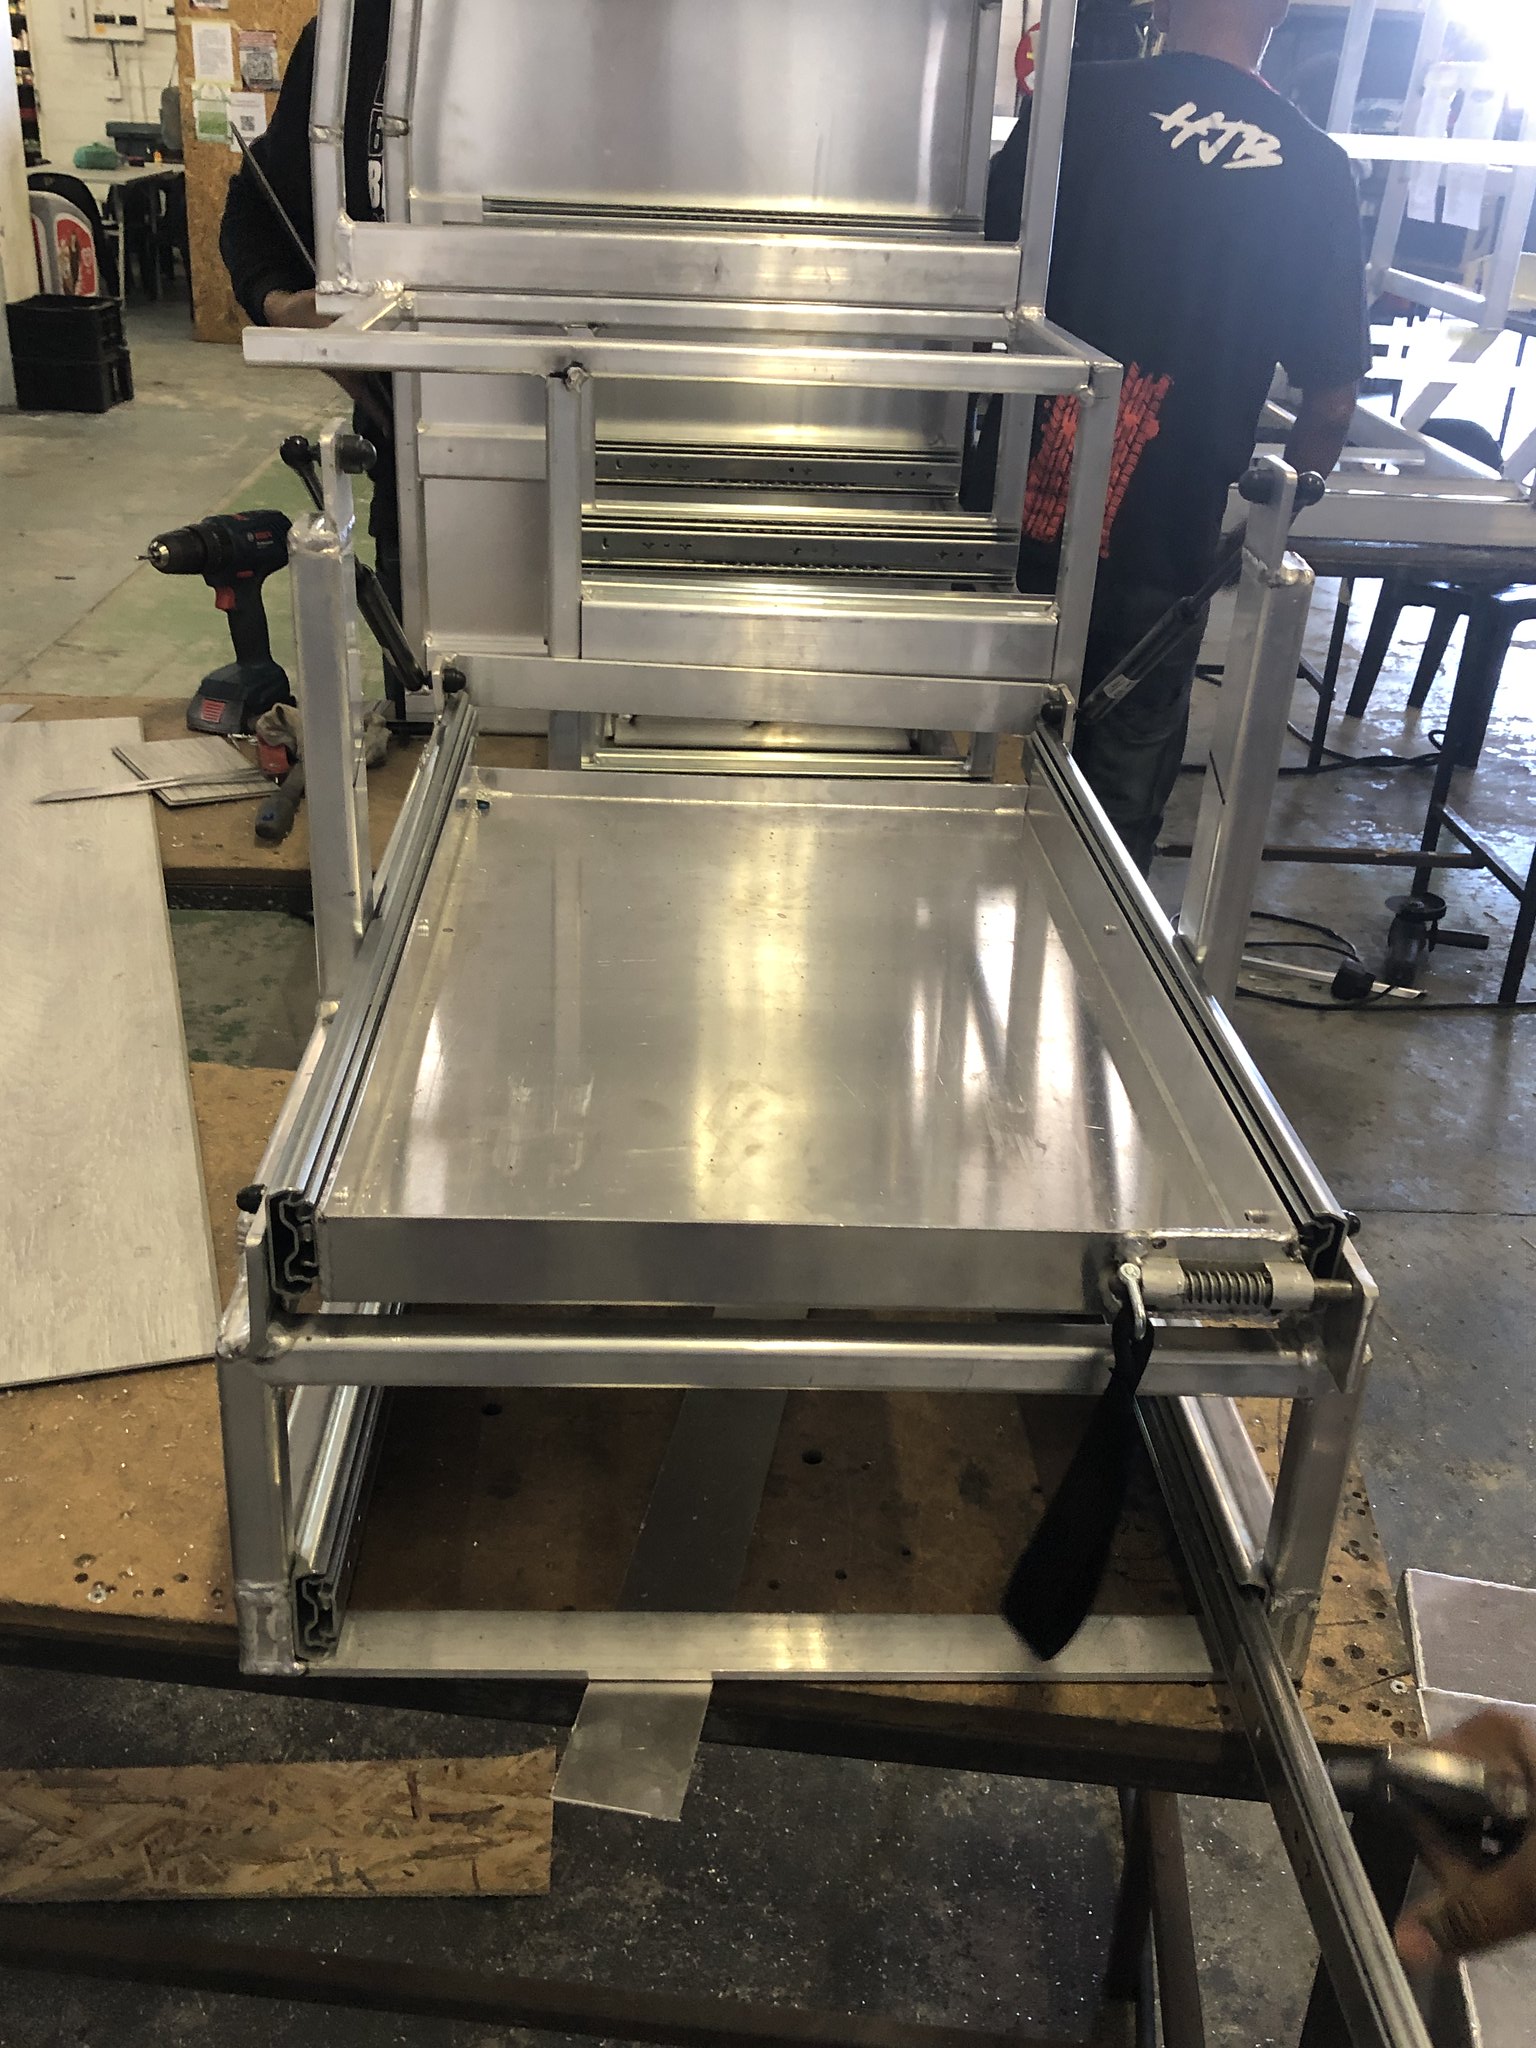
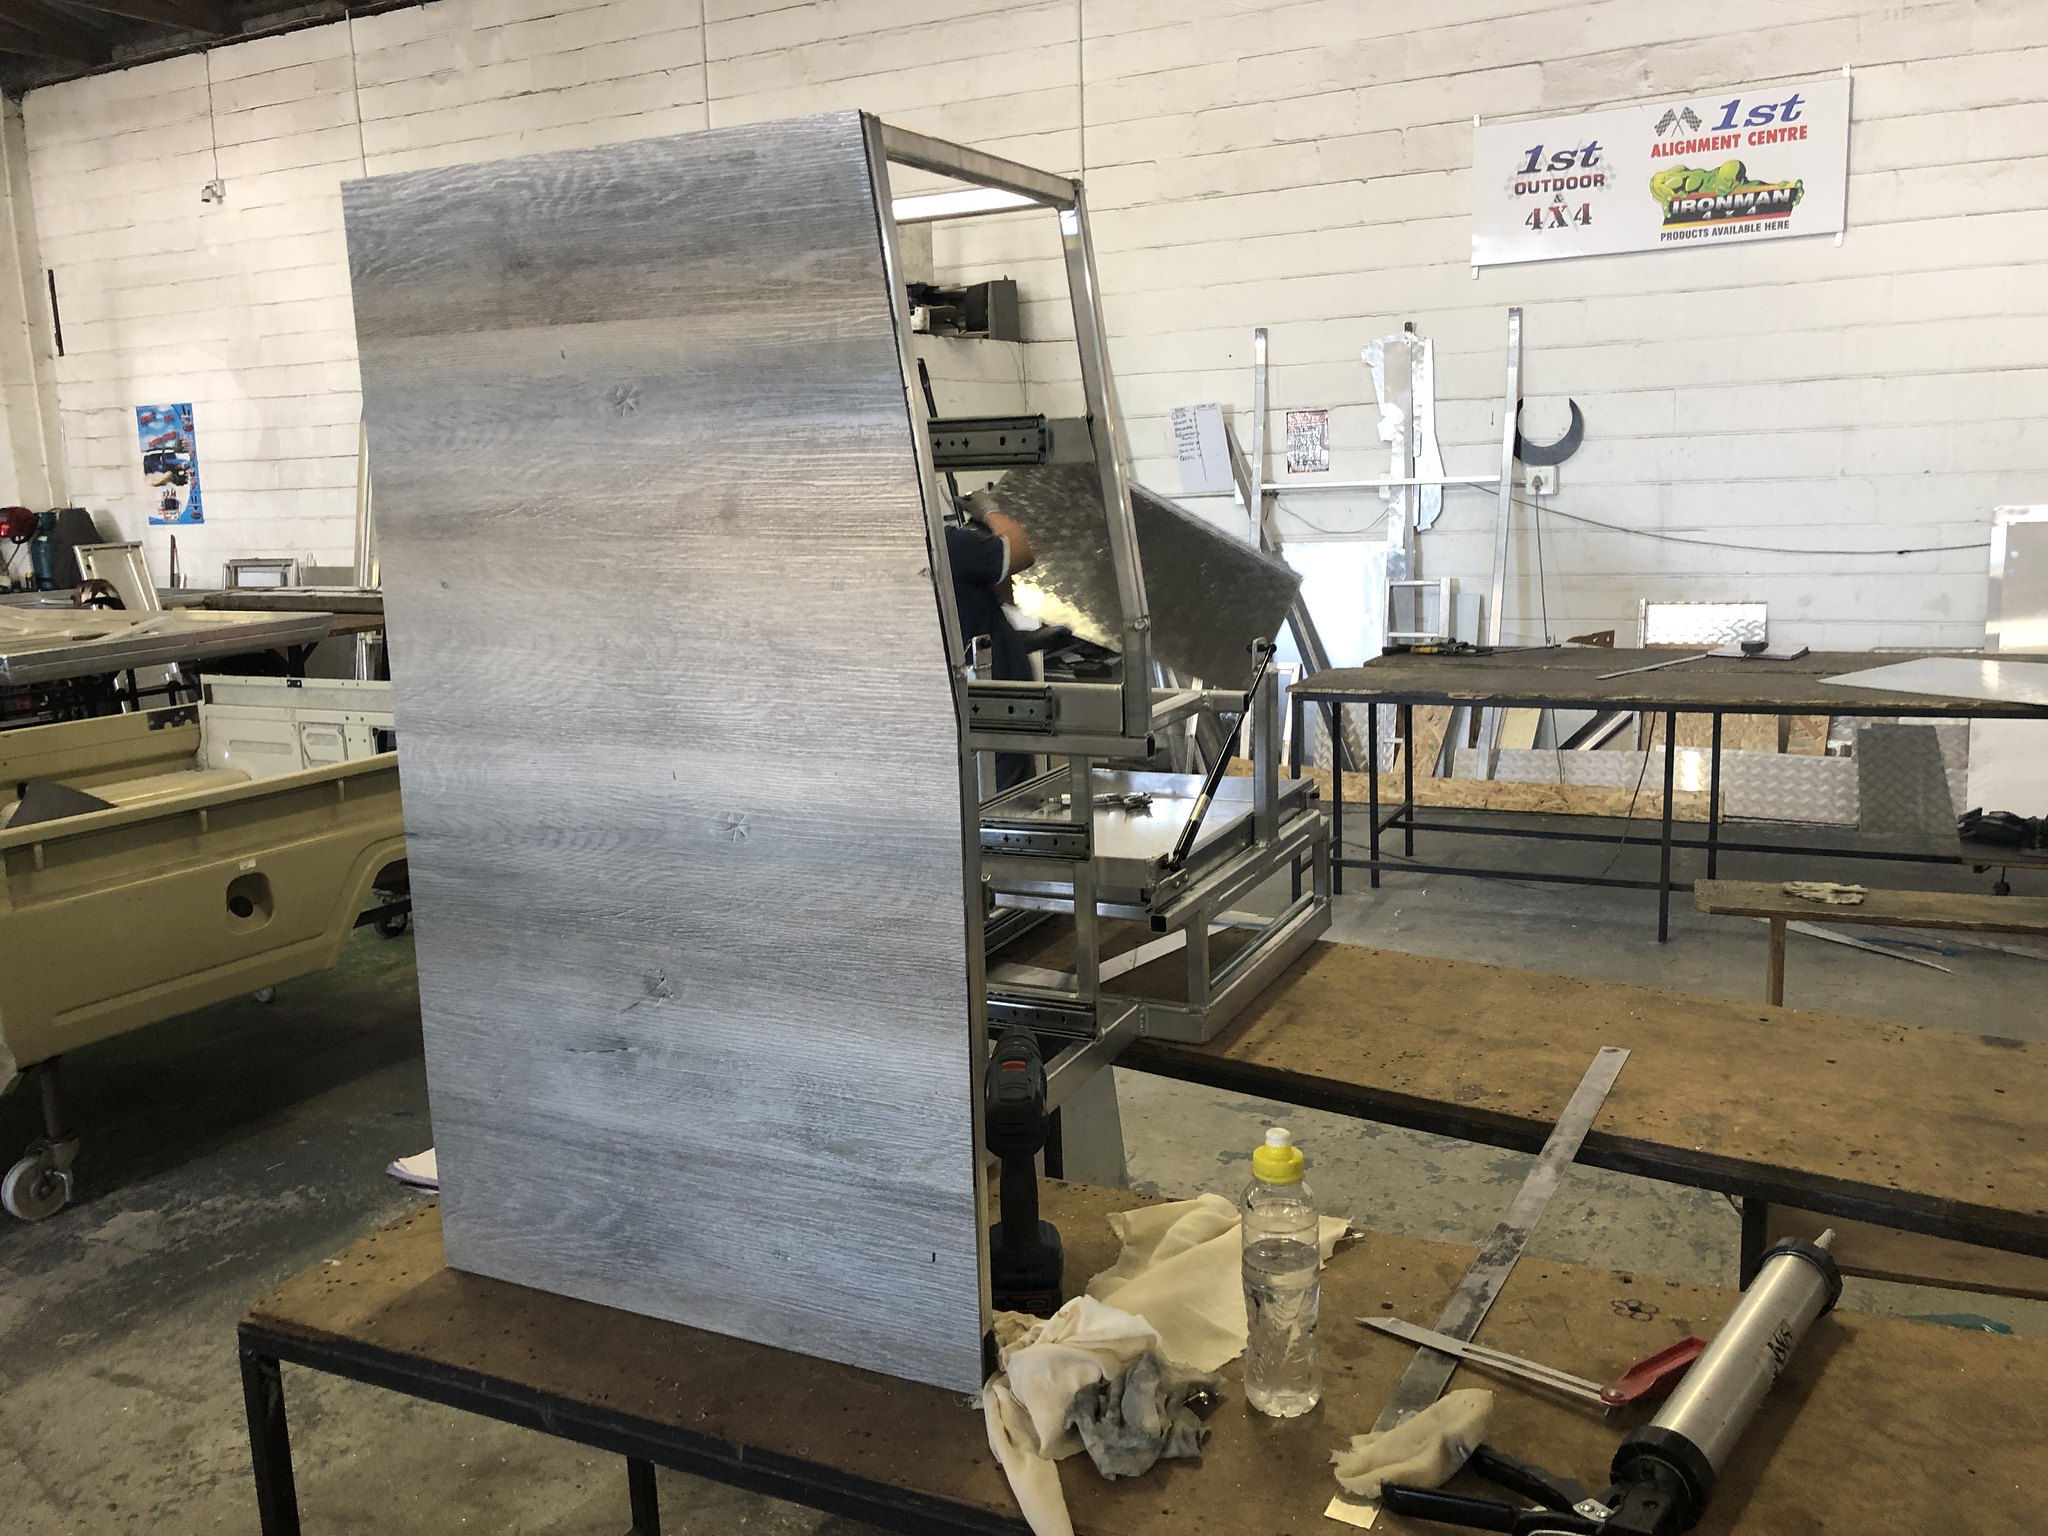
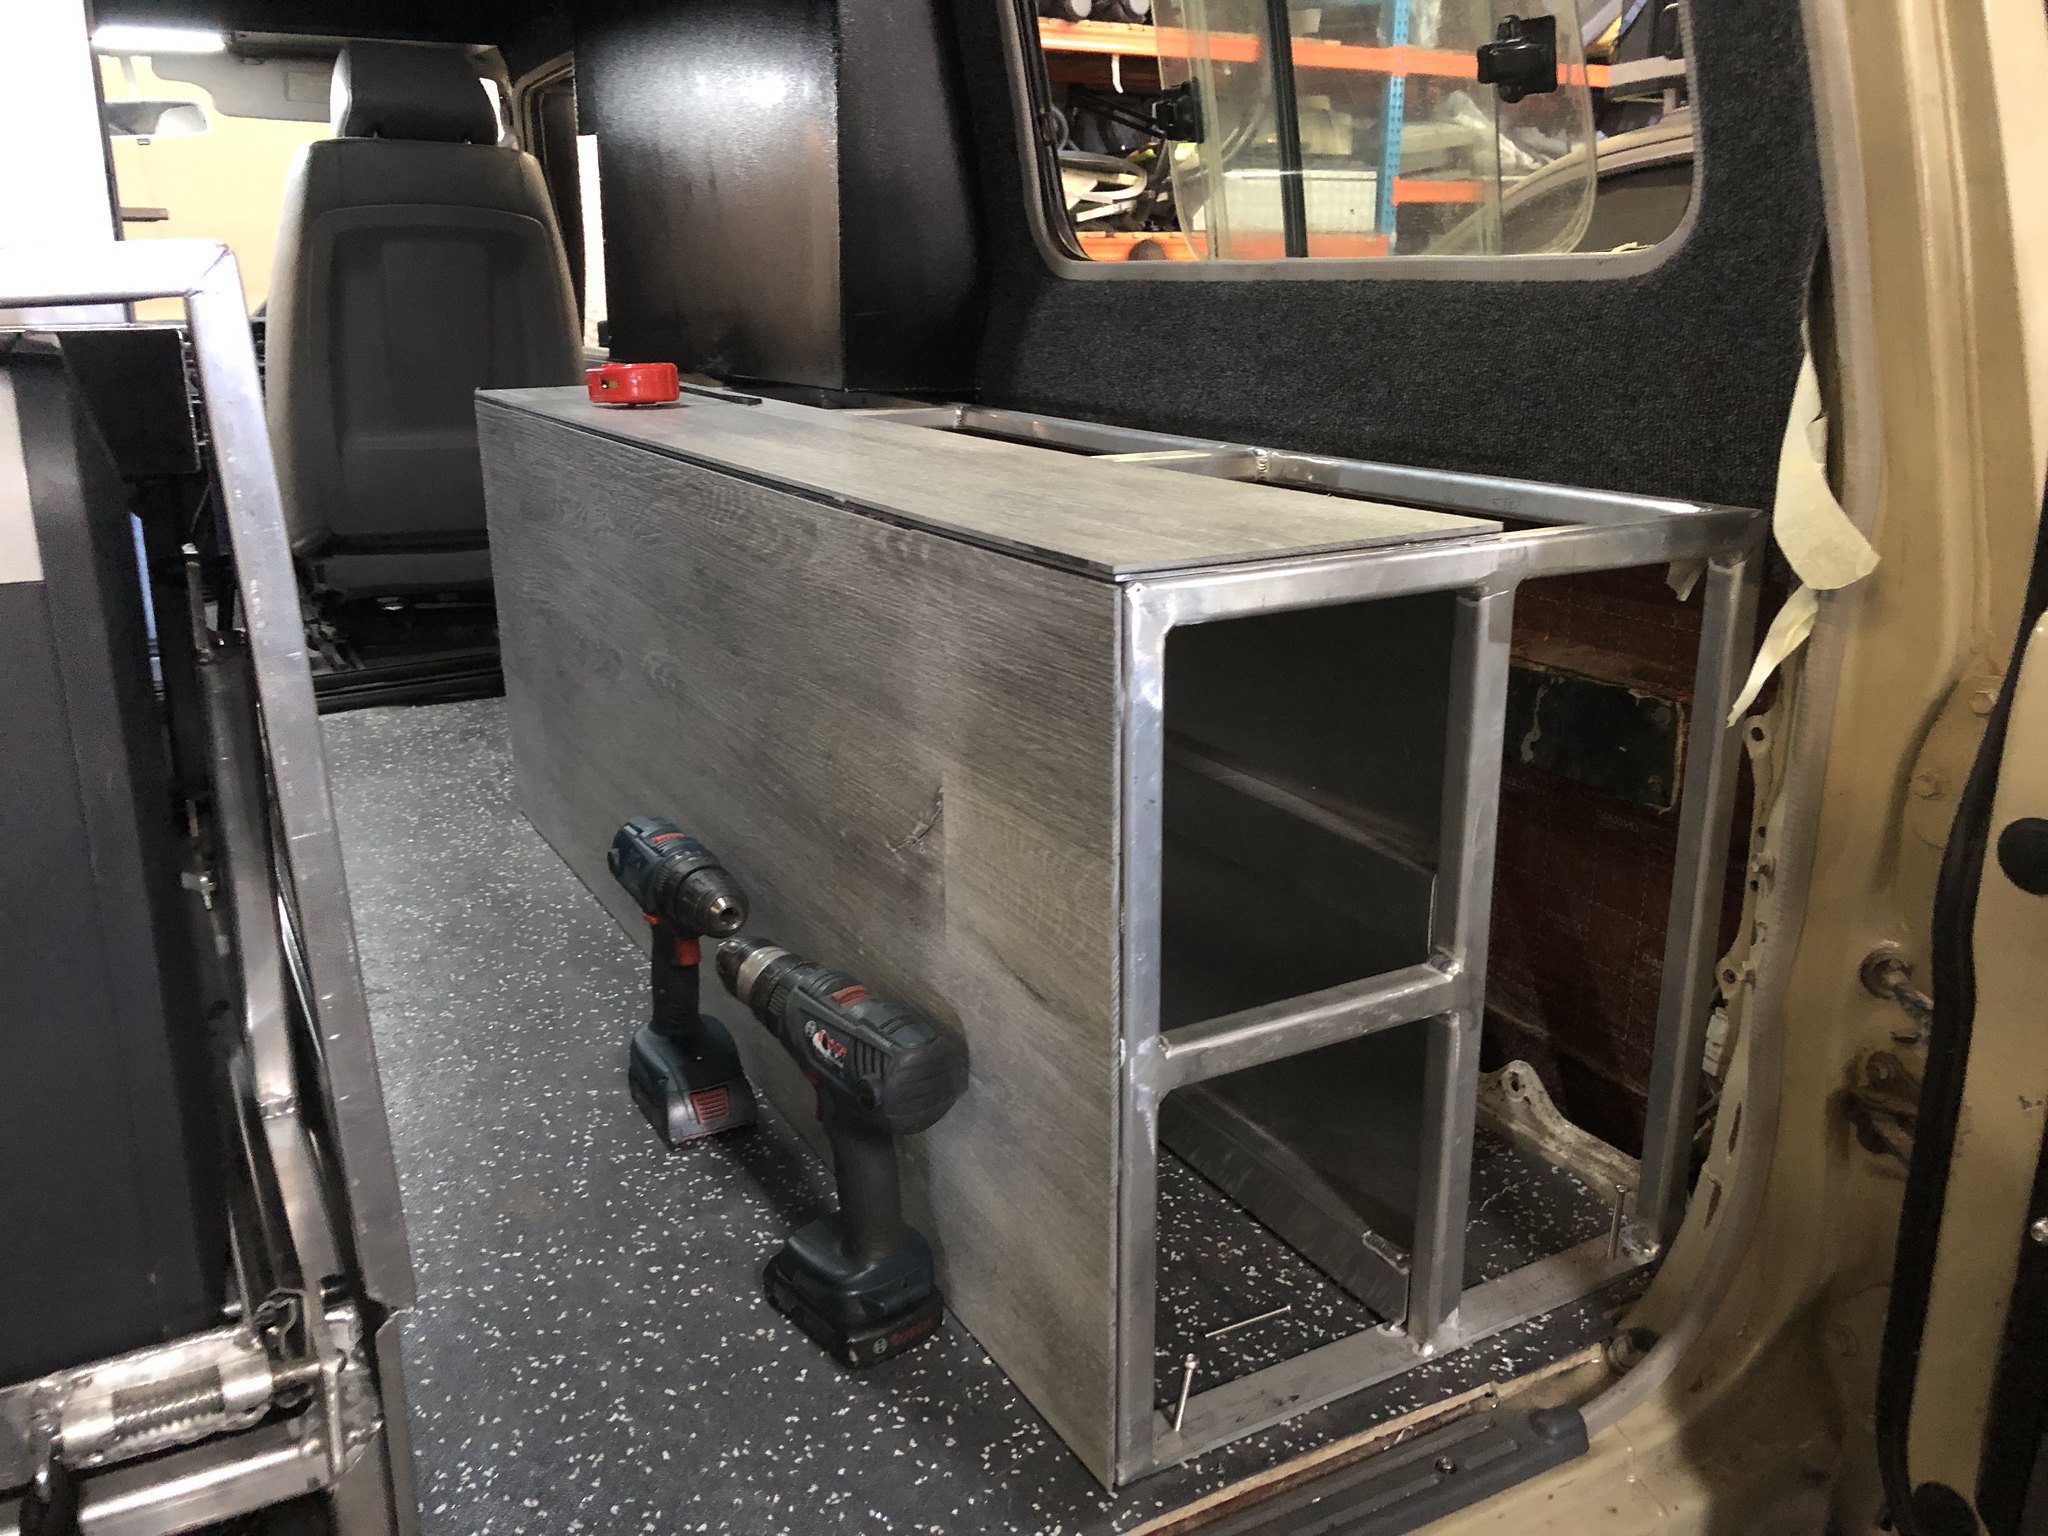
But in all honesty i wasnt completely happy with the "looks" of the Alu-Cab pop top conversion, to me it was just fugly, so i got it into my head to change it to the Alu-Innovations pop top RTT and at the same time have a host of other alterations and modifications done.

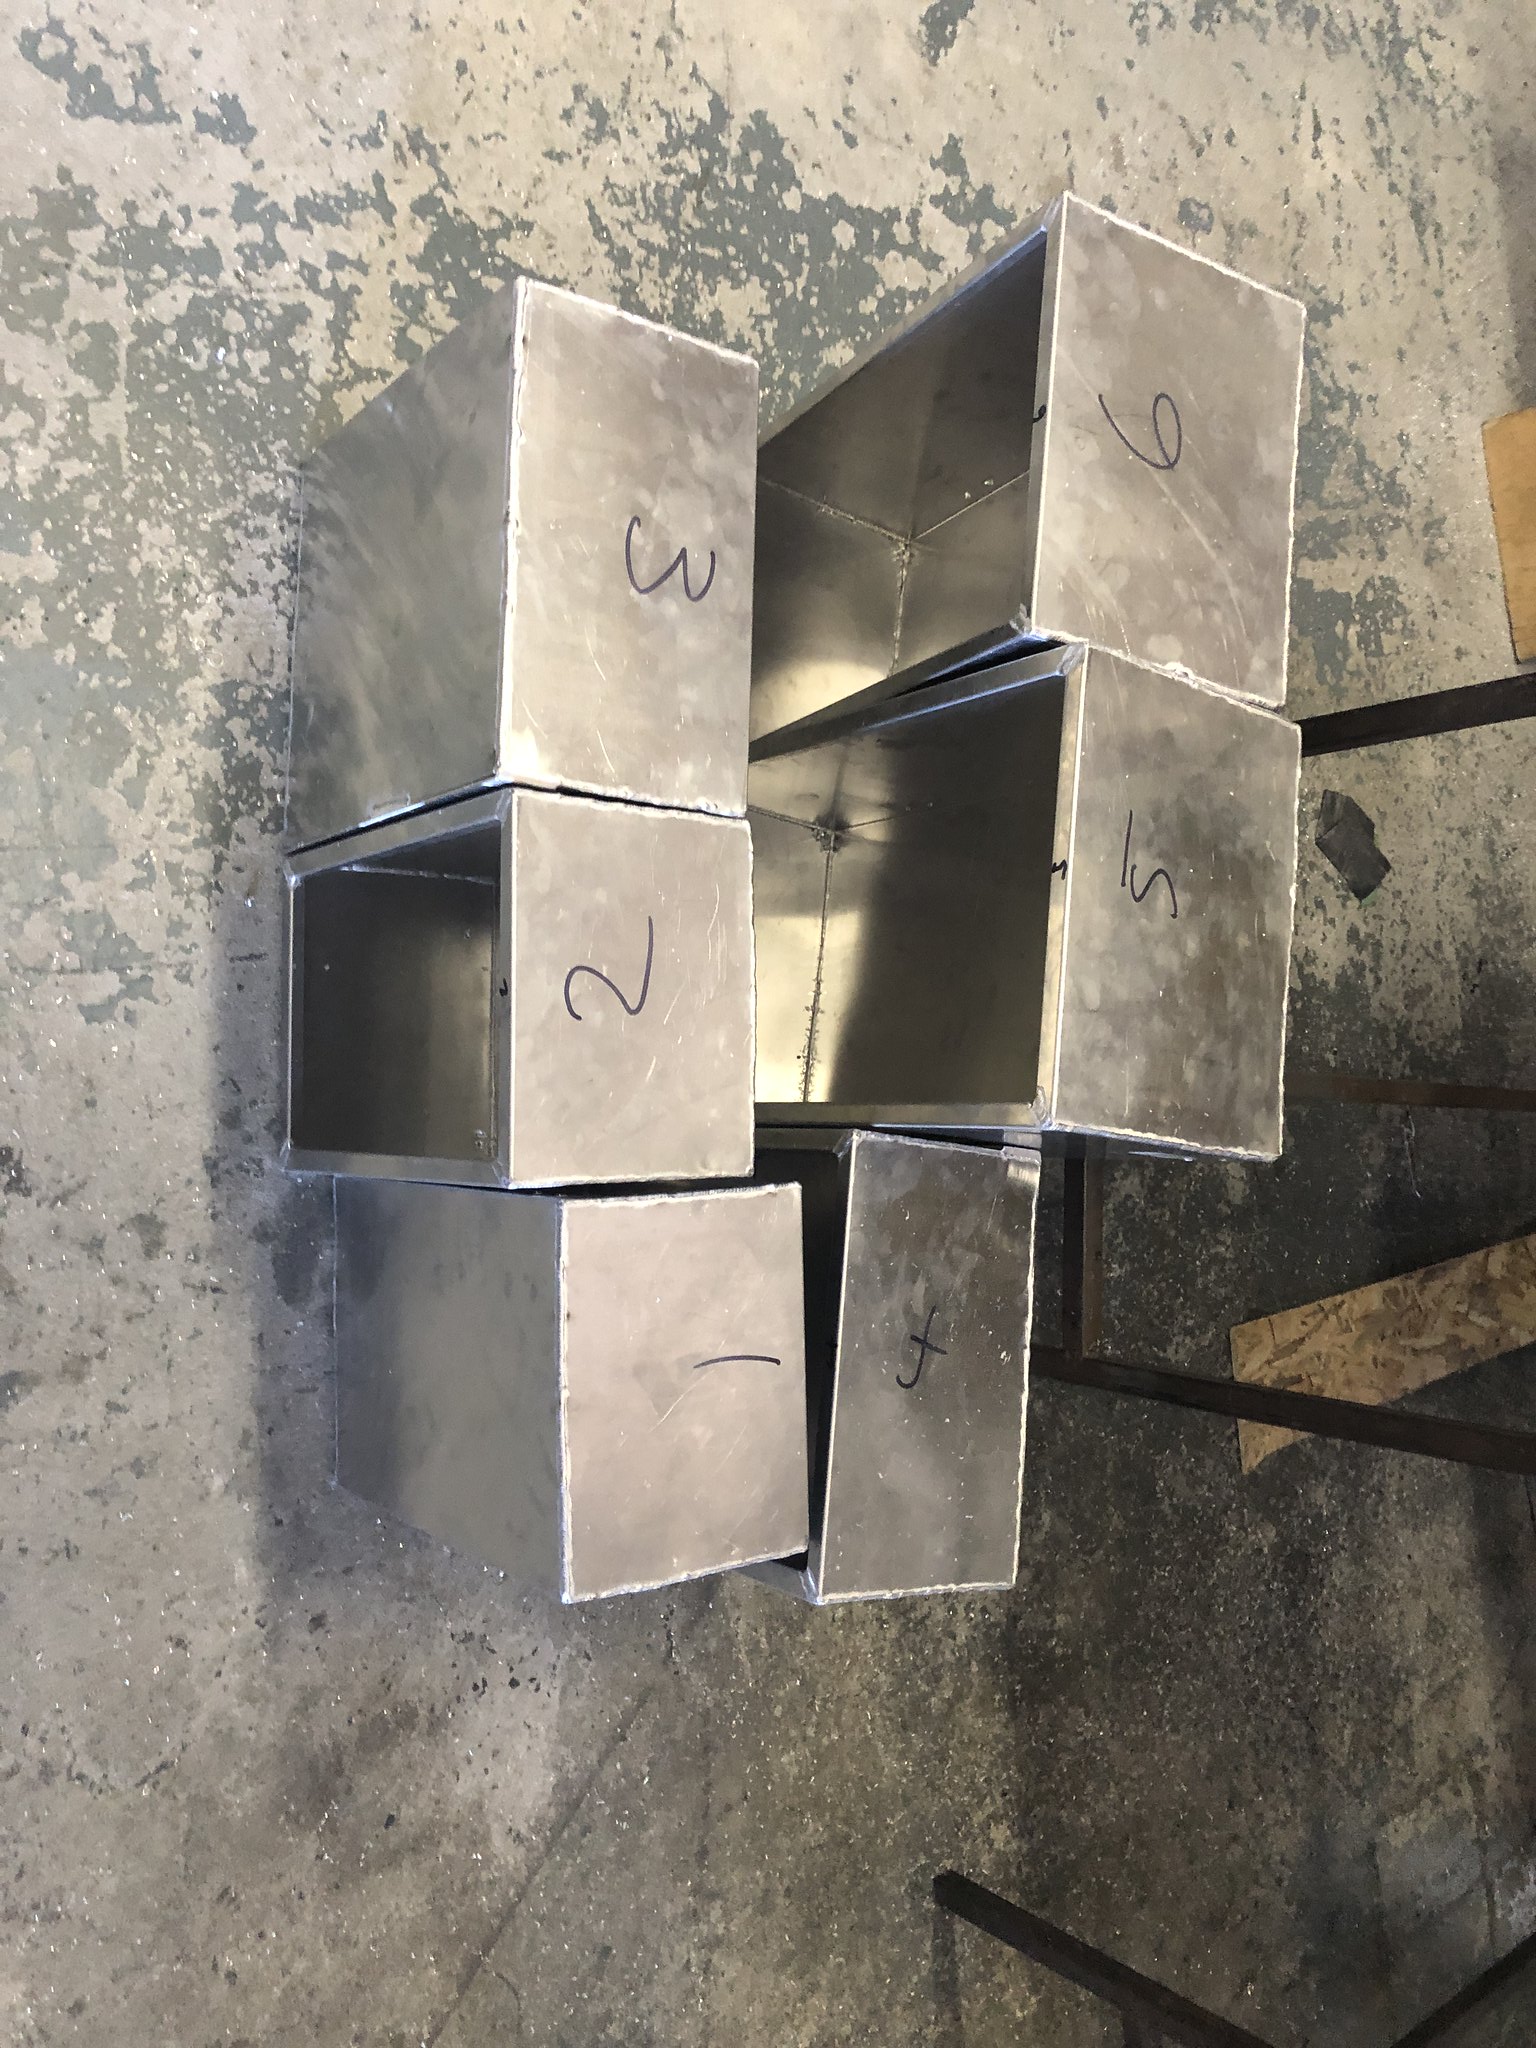
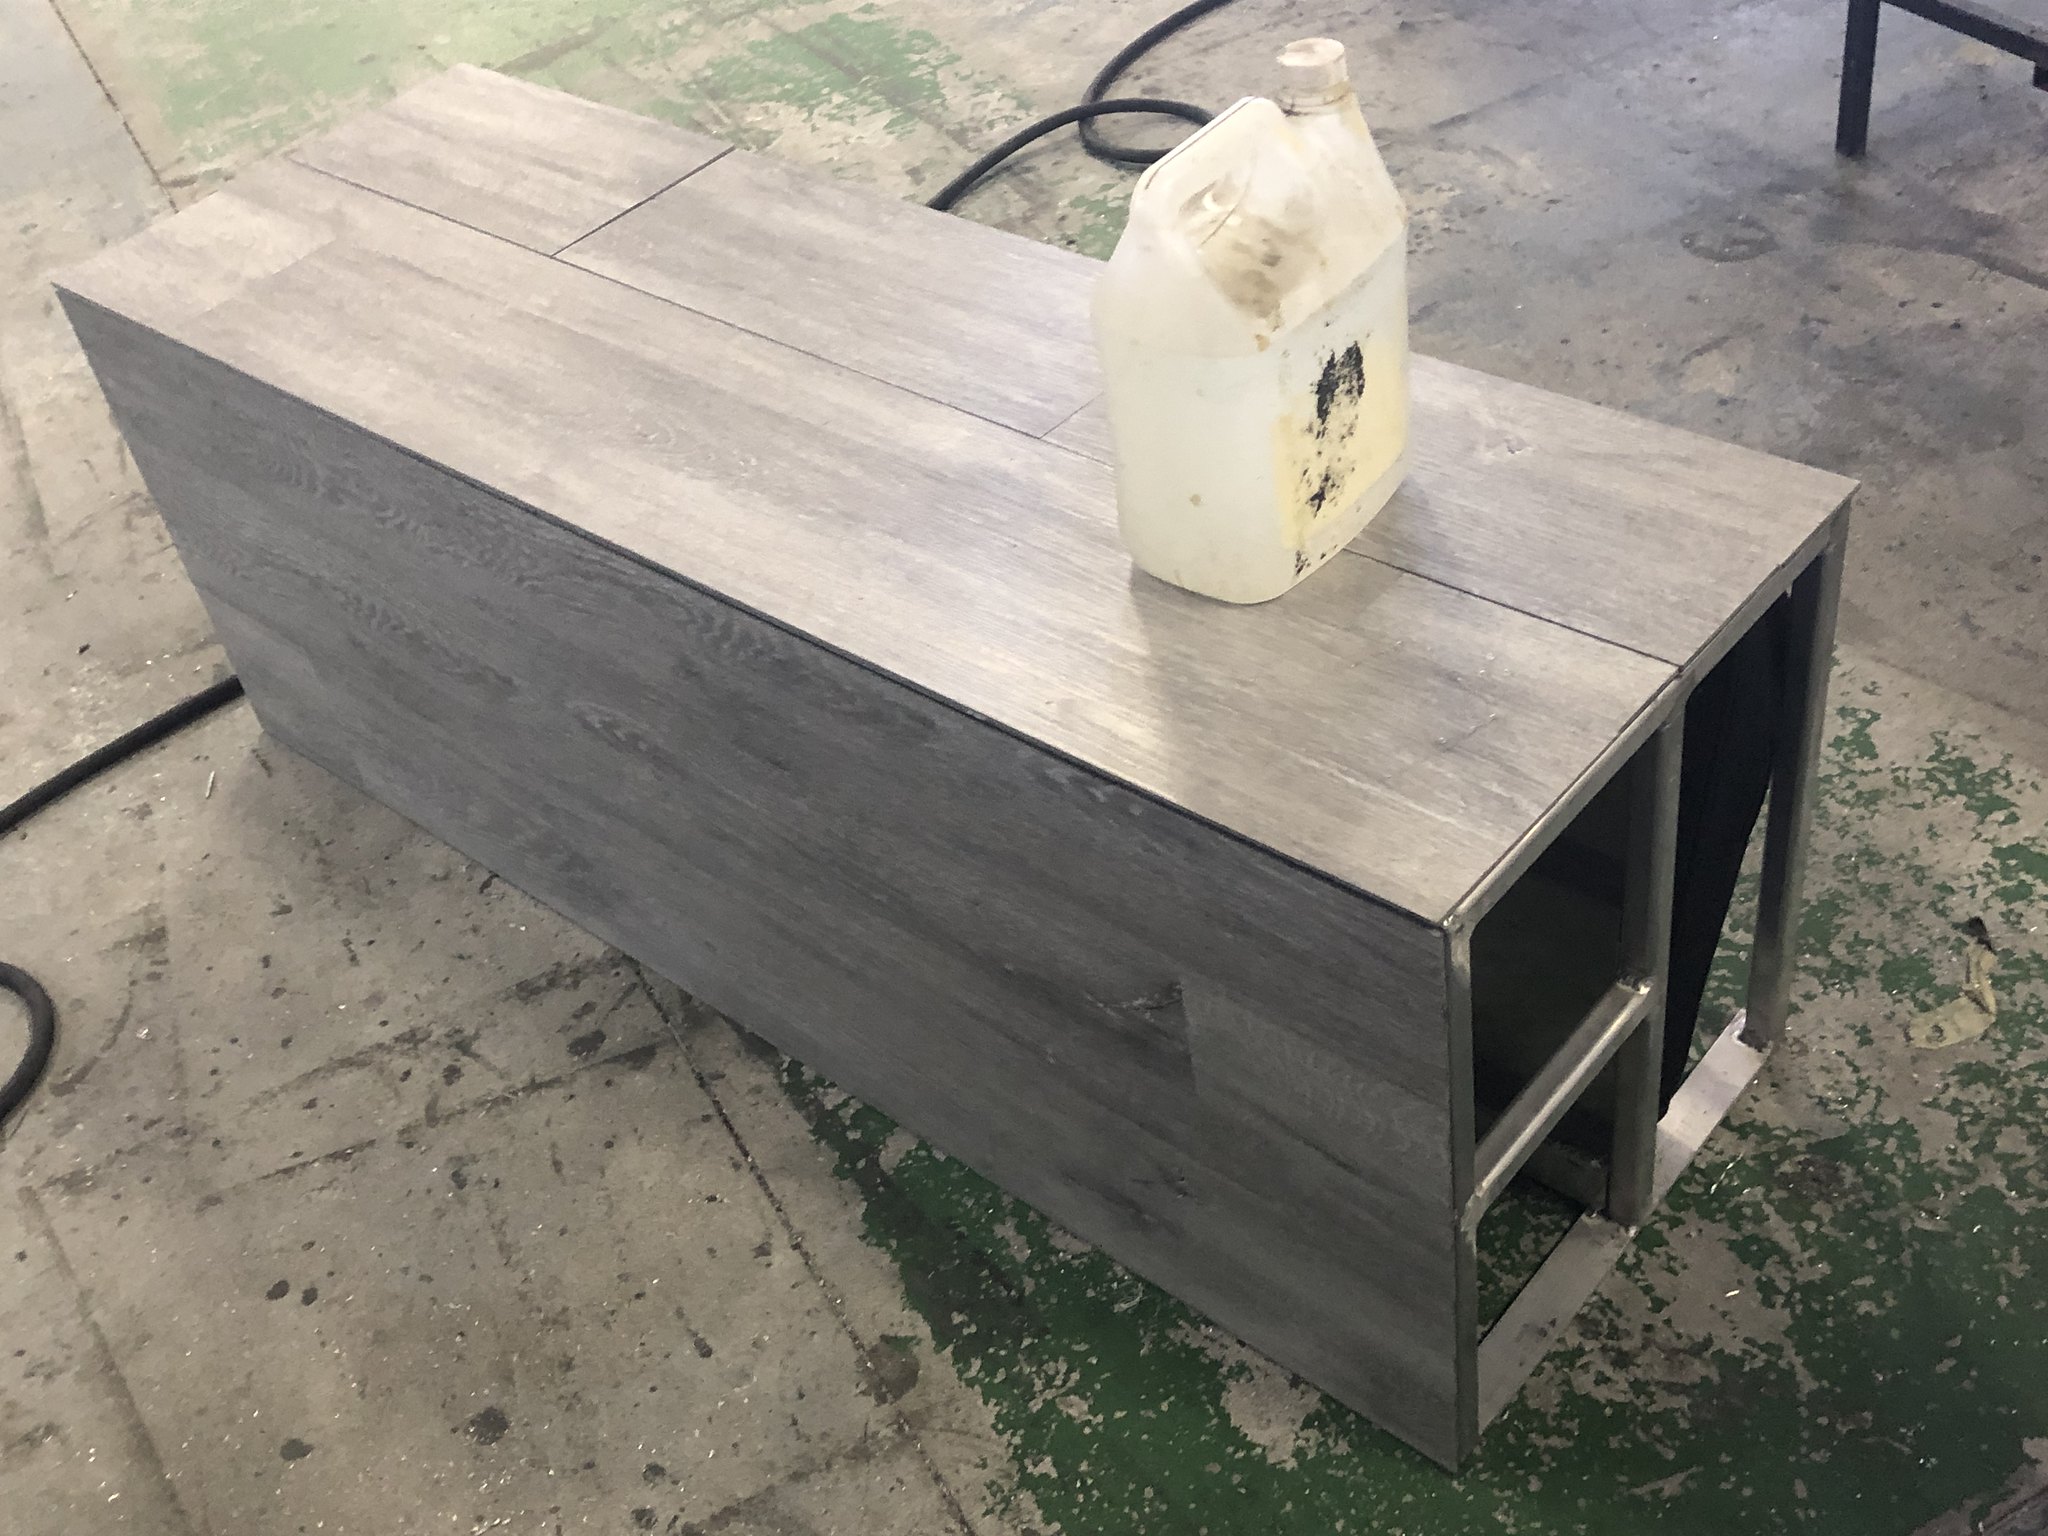
Prior to taking up my booking at Alu-Innovations i did some small bits n pieces my self.

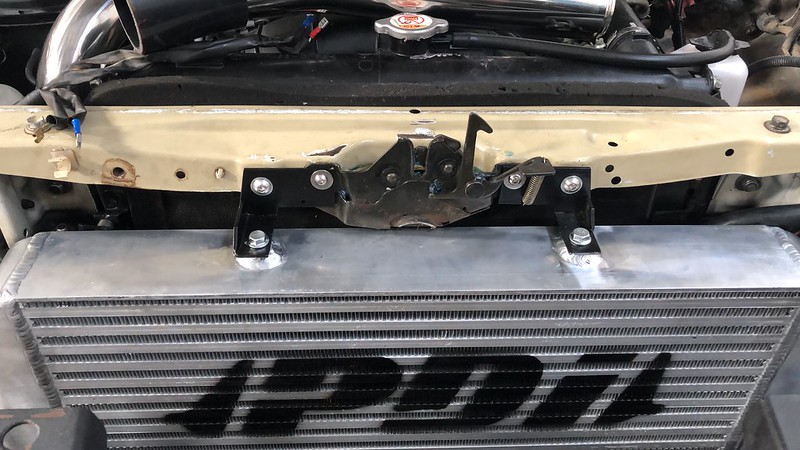
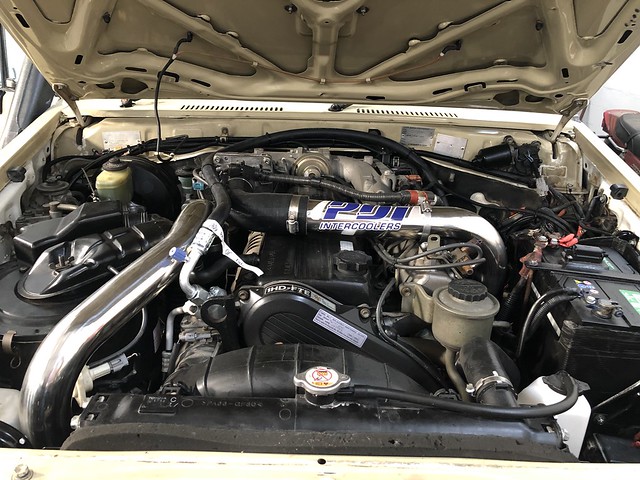
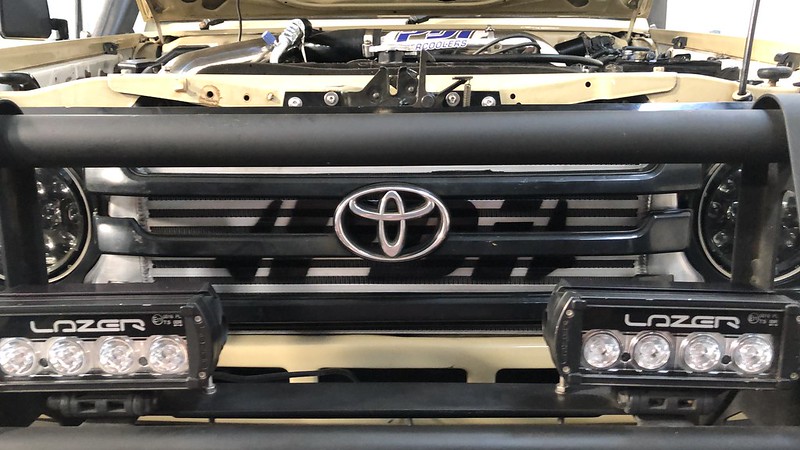
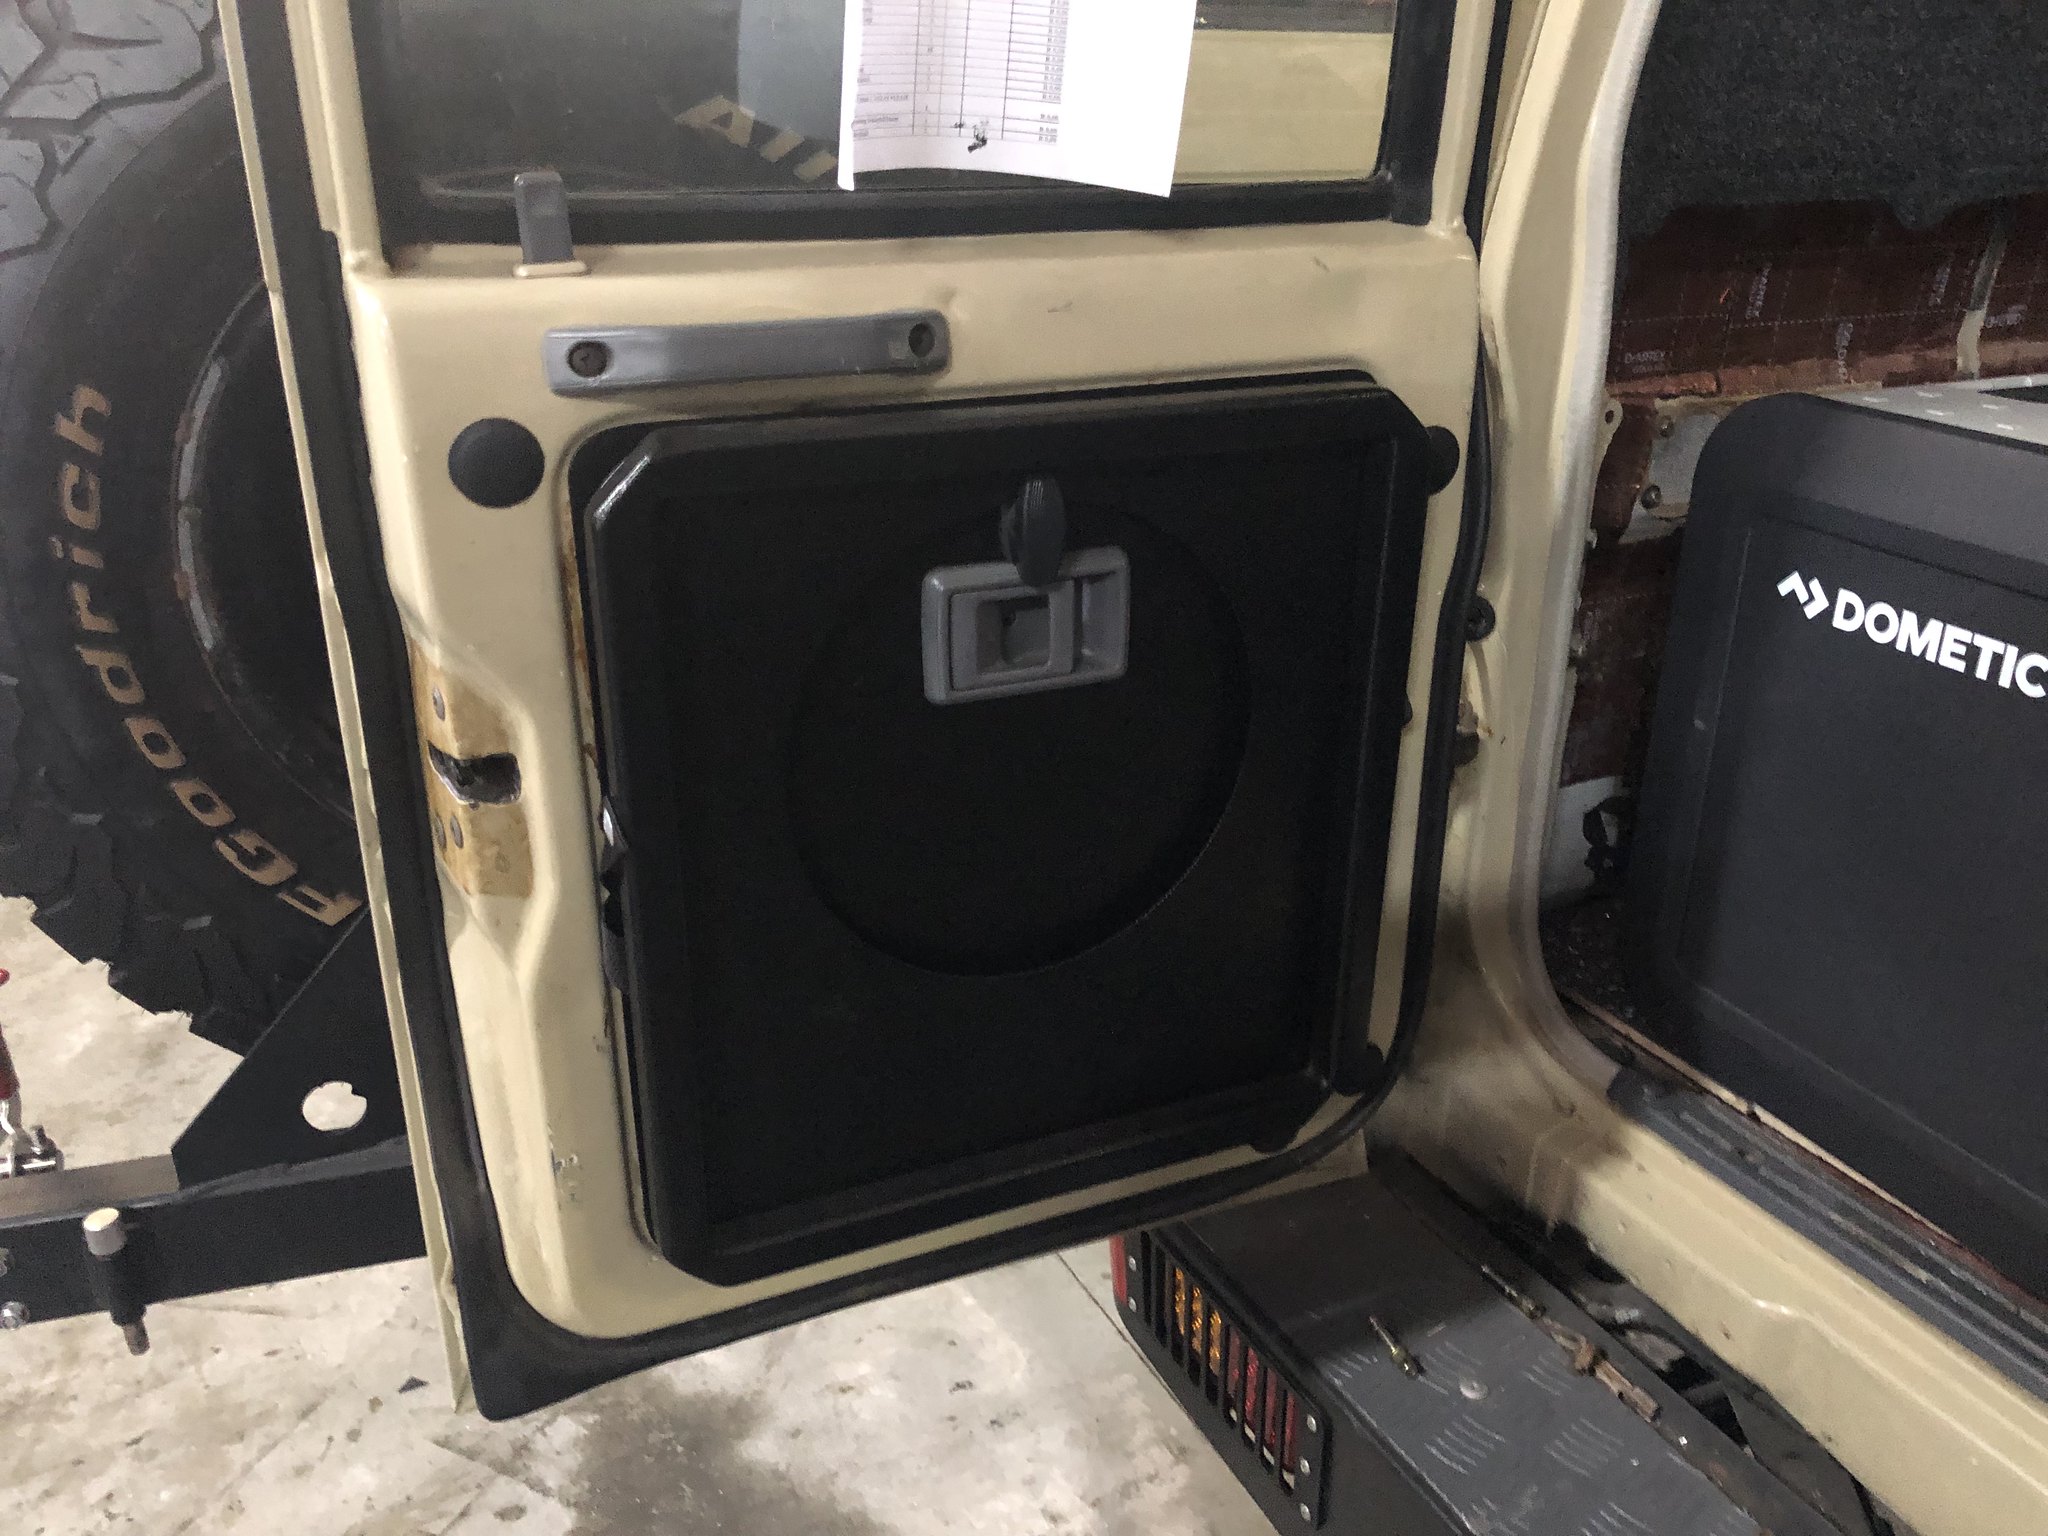
I just had to remove the fugly side plumbing - done

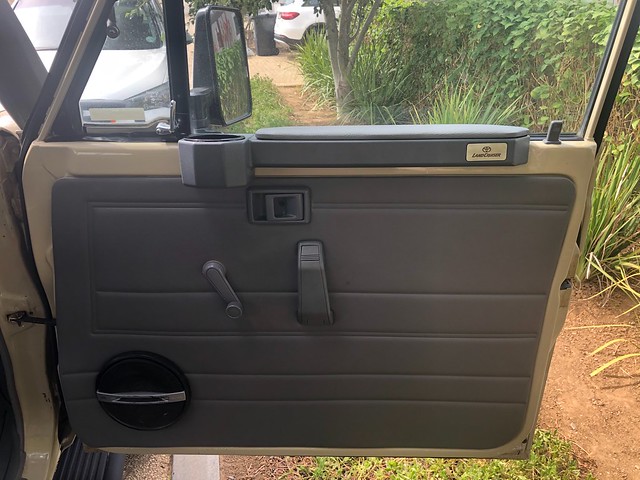
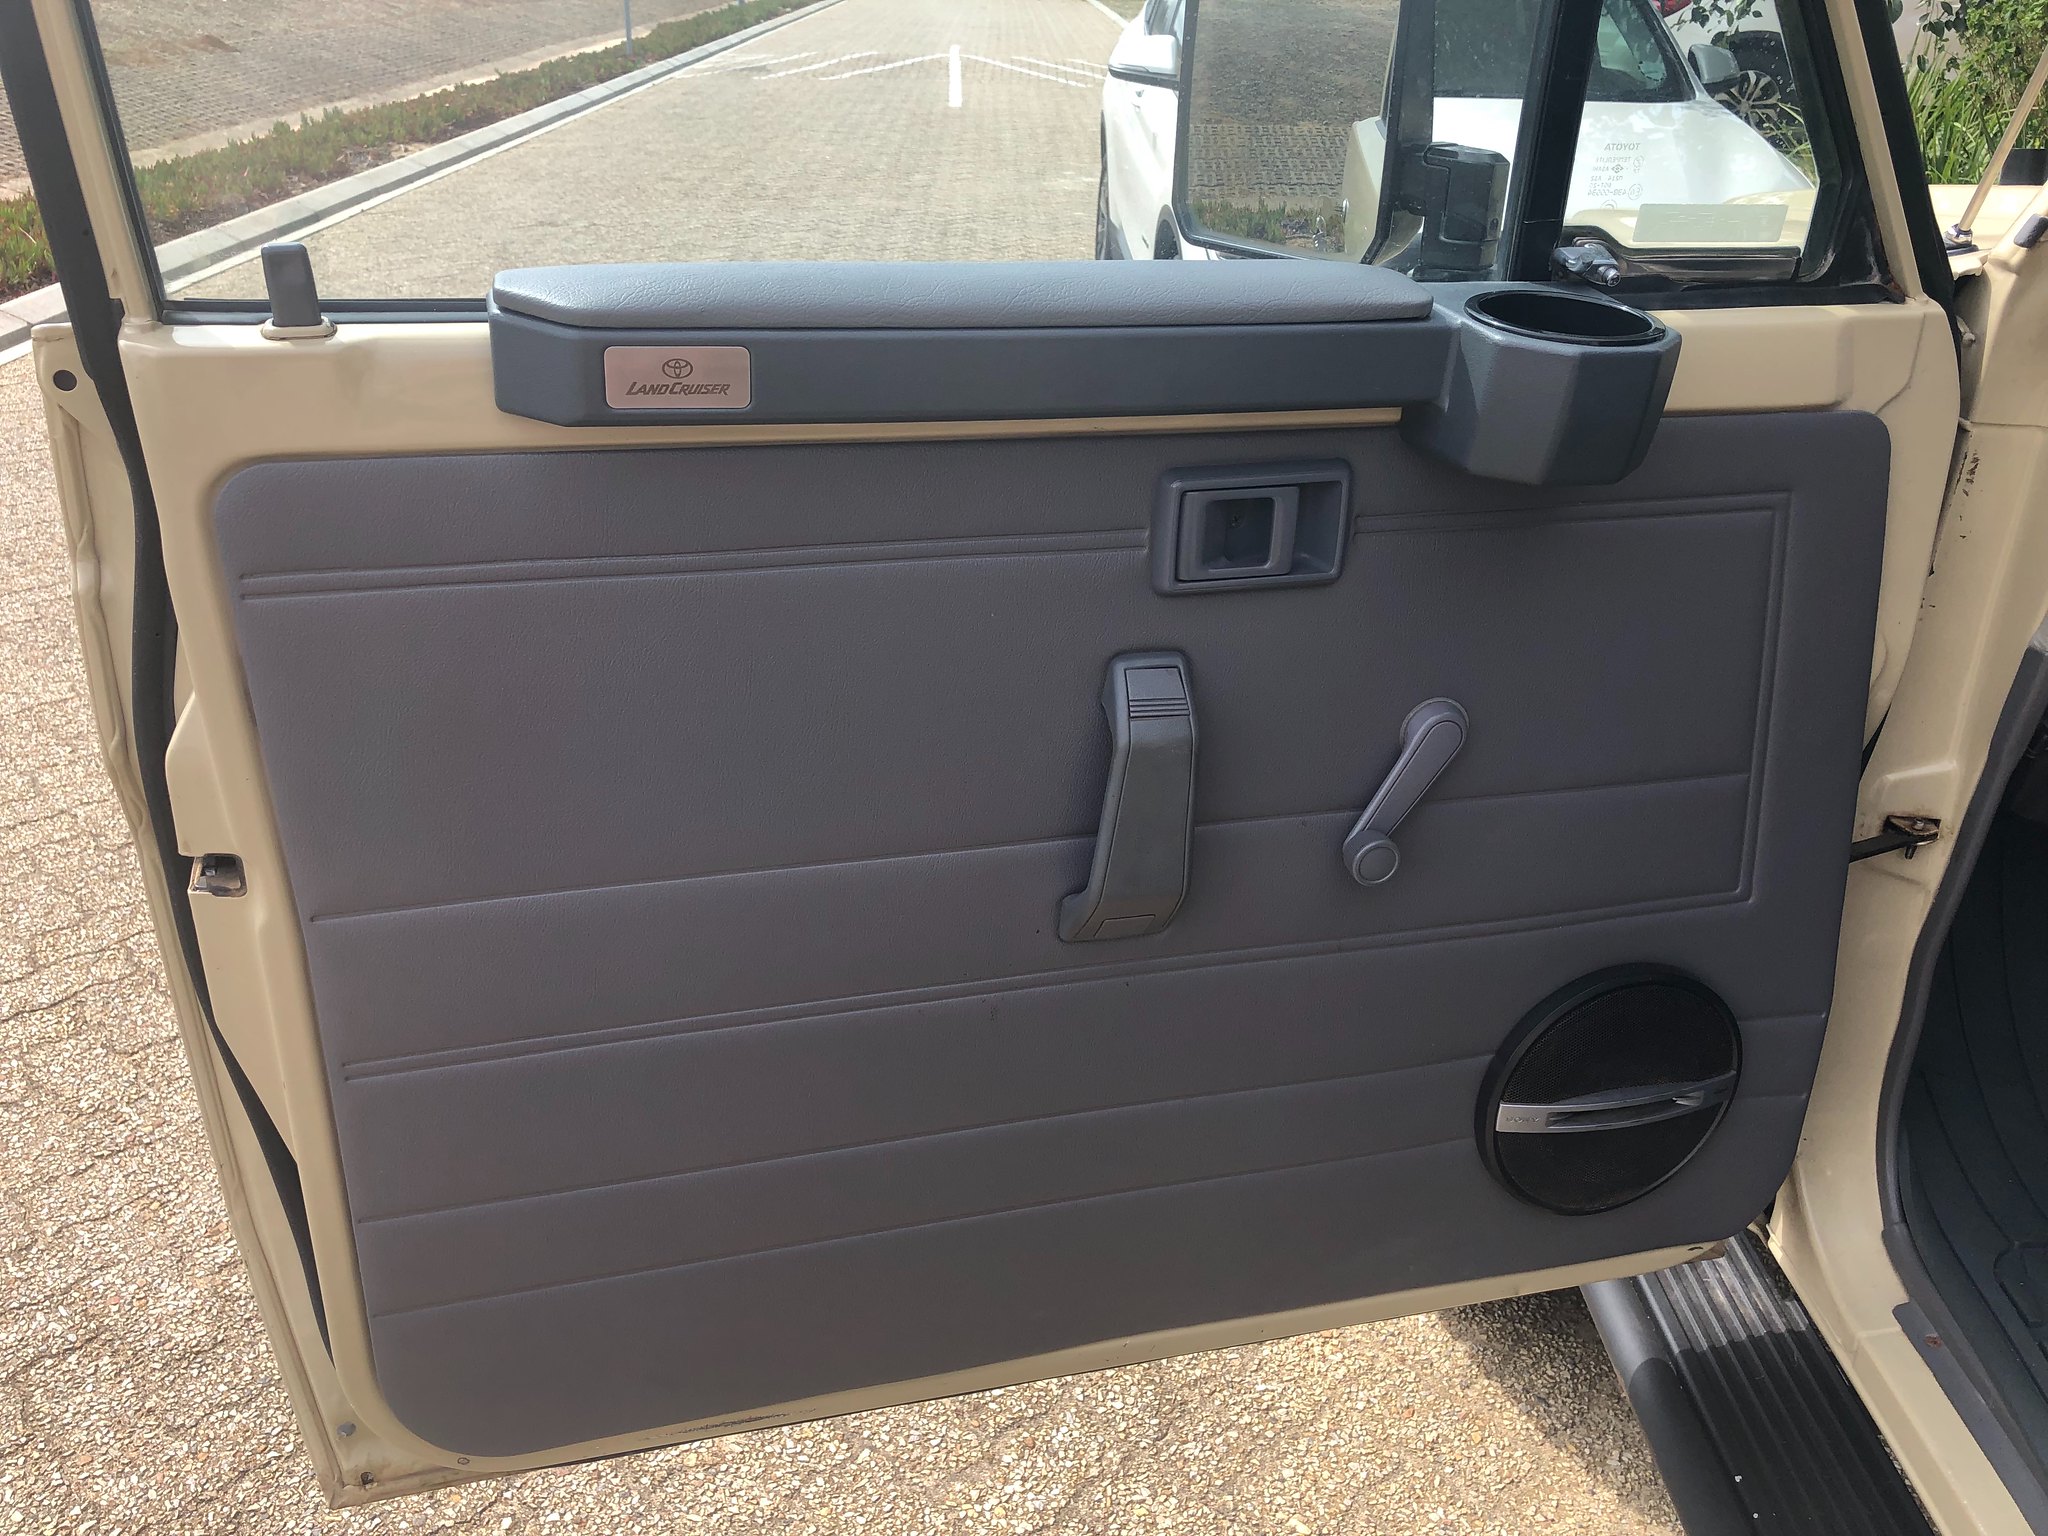
1st off I fitted some arm rests
51973955088_a14851bbac_z.jpg

51974169054_c7293754f1_k.jpg


Then I decided to fit LED rear lights and front indicators.
720p.mp4


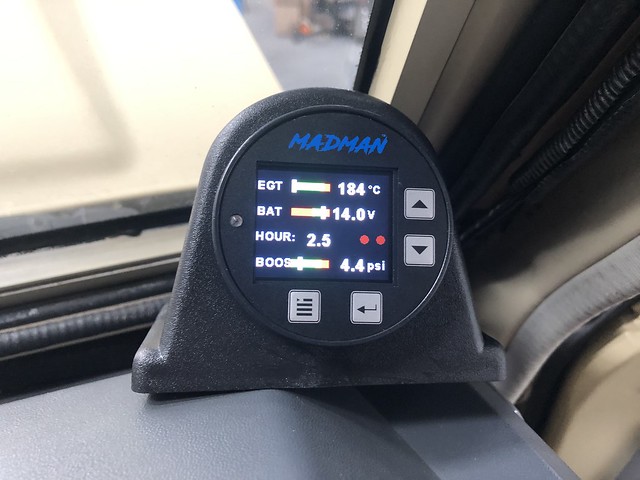
next to do was to fit an EGT and EMS system,
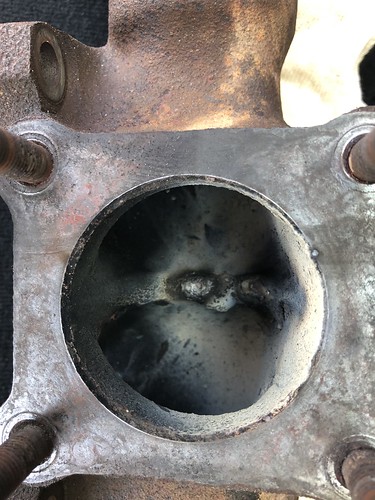
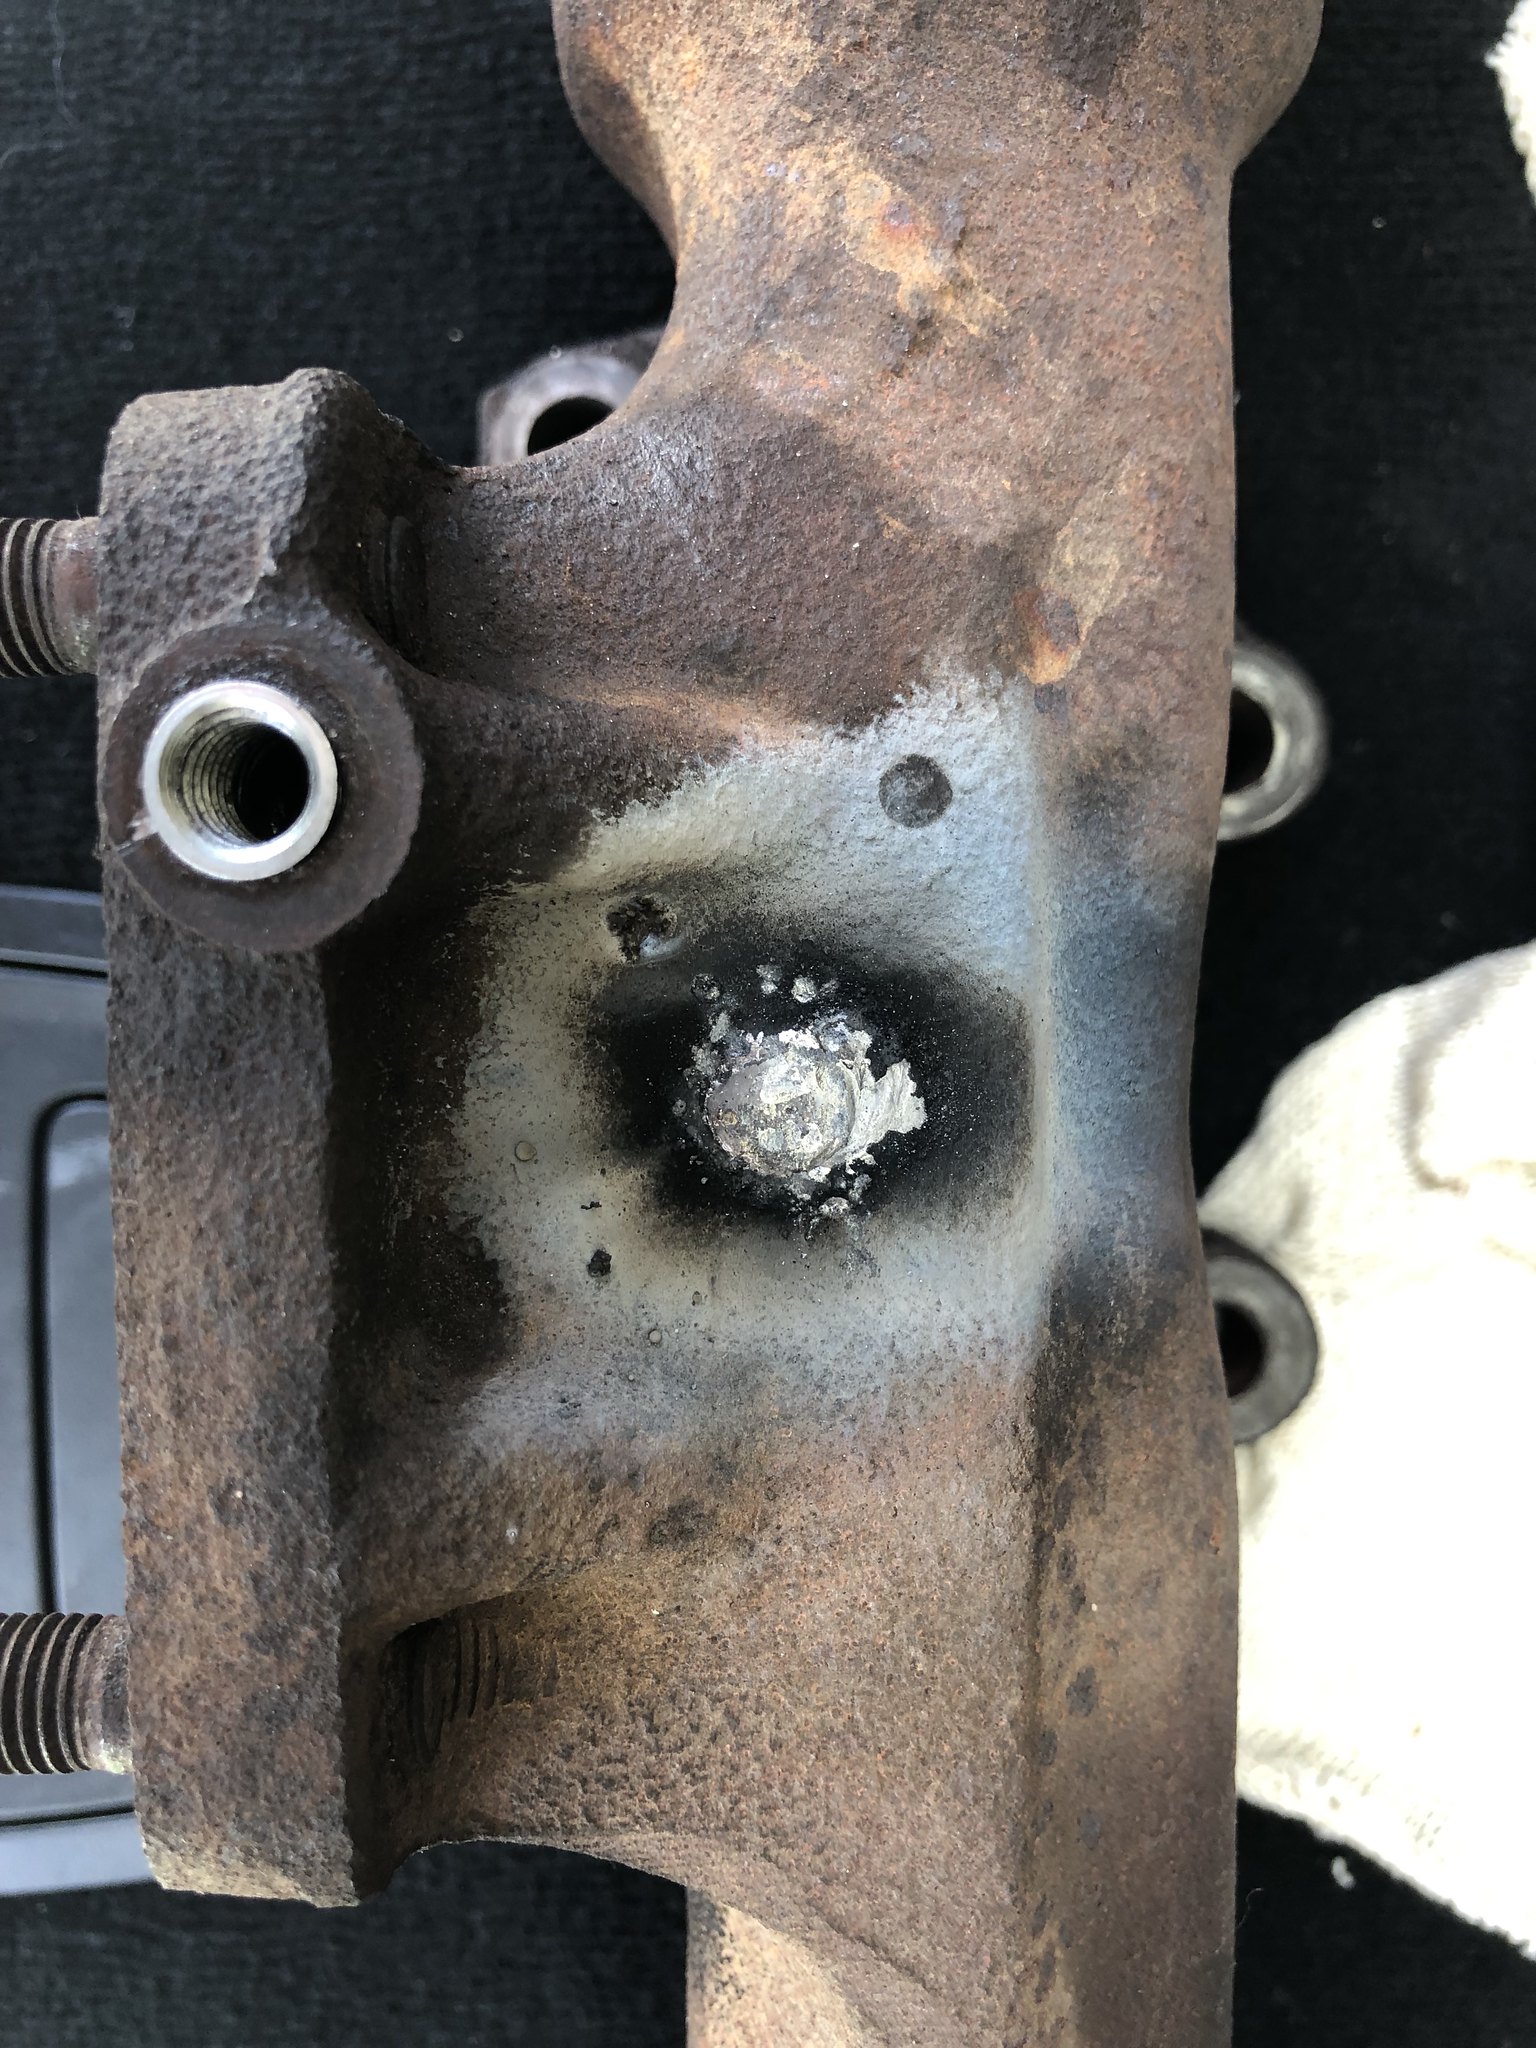
This turned into a bit of a mammoth task as the position I chose to drill for the thermocouple just happened to have a reinforcing rib which eventually broke the drill bit and the broken piece fell into the turbo. So off came the turbo and exhaust manifold.
51972855697_5fd478f251.jpg


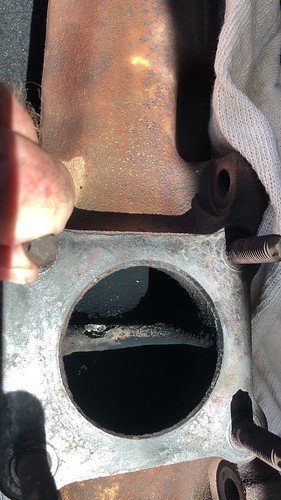
The offending hole then had to be welded closed.
51974146174_c1514f945e.jpg

51972855747_7459081eda_k.jpg


The EGT gauge working
51973860626_4dbc7f4f21_z.jpg
 
Then it was time to fit the PDI front mount intercooler from the Antipodeans
51974145979_f3c18befbc_c.jpg

51973860746_541dac318b_z.jpg

51973933063_56298b8075_c.jpg


Then it was fitting the catch can.
51973933063_56298b8075_c.jpg


Also had a friend make up some OEM stickers for the rear
51974146454_b2786375d8_z.jpg


Then it was off to Alu-Innovations where the Troopy got a real good hair cut.
BTW the trucks original owner was a Photographer, and he had a flip down windscreen fitted, which I was determined to return to stock.
51973860281_5a7c108de4_z.jpg

51973933213_c4f12de99f_z.jpg

51974420790_01798d81a6_k.jpg


In the meantime work has been progressing albeit slowly.
Most of the modifications requested, the manufacturing process has commenced and partly completed with lots awaiting powder coating and finishing prior to fitment. The OEM windscreen and weatherstrip is on order.
Now Troopy has a new hair style
52015924672_35e55ca493_z.jpg

52017211989_f171944a21_z.jpg


I managed to find a set of good condition grey leather BMW 3 series seats which have now been fitted, and the seat + seat and half has been redstributed.
52016960891_cf3b712fac_z.jpg


I will update as the work progresses.
 
Apologies about the pics - dunno what the hell flickr was doing
 
Nice work, and thanks for posting! Beautiful rare truck.
What went into removing the old roof conversion? Did they need to cut again? Heat gun?
 
Yes, the original AluCab Hercules Pop top roof conversion had to be cut off, using a "Nibbler". The biggest task was to remove all the Sikaflex adhesive.
But the fugly roof is gone and the better looking Alu-Innovation pop top is on.
Now just to get all the other fit out done.
 
Cut a huge chunk out of the side of the troopy to fit a pull out fridge slide

52044824204_5fac5d0c99_b.jpg


52043595247_3f10e03cff_b.jpg
 
UPDATE PICS

The inside sides of the Troopy have been carpeted, The bathroom Gull Wing has been fitted, The Kitchen unit Gull Wing has been fitted, The rhs rear door drop down coffee station is in, the lhs rear door drop down wash-up basin is in.
And the final touches to the side pull out fridge slide are being done before it goes to panelklapper for repainting.

Pull out fridge slide
52072755390_06768bb293_k.jpg


LHS Kitchen unit Gull Wing
52071230082_7bd888b515_k.jpg


RHS Shower cubicle Gull Wing
52072505639_e8cb8c9c8b_k.jpg


Sides of interior have been carpeted
52072754555_78b8bcc374_k.jpg


52072280403_a3806b0def_k.jpg


LHS Rear door drop down wash-up station
52072280536_8311468281_k.jpg


RHS Rear door drop down coffee station
52071228962_a42f788071_k.jpg


52071228457_636322423e_k.jpg
 
What an awesome truck! looking forward to seeing the progress
Cutting a big hole in the side i think i would have opted for a 3rd door conversion, over just a pull out fridge. beggars cant be choosers though
what else is on the "TO DO" list?
 
On the TO DO list,.,.,.,.,.
2 x 30Ltr stainless steel water tanks, with pumps and level guages. 1 mounted in each side panel of the vehicle. Youll notice that the reinforcing steel ribs on the inside of the side panels have been removed to facilitate fitment.
I have removed the old ARB air pump and replacing it with a 340Ltr/min Military Spec Nardi air pump that will feed into a 30Ltr under chassis mounted air tank.
Victron 12/12 - 30A DC DC charger, Victron MPPT 100/30. 13V 220AH Lithium Ion battery. Victron Smart 702 Battery monitor. Victron 12V 230V 800W pure sine wave inverter. 3 x 135W semi flexible solar PV panels.
Interior cupboards and drawers down left and right hand side
2nd drop down 45Ltr fridge slide on left rear. 8Ltr centre console fridge.
QuickPitch 270 Degree awning. QuickPitch en suite shower cubicle with 6ltr propane water heater. Propane gas bottle mounted on rear door
Set of injection moulded wheel flares. Window tinting, Mosquito net for rear opening.


In the longer term = change 2nd and 5th gear to longer ratio, change tyres to MT 285/75 x 16 (33 inch). UNICHIP 5 stage tuning chip with electronic boost controller
Recover the grey leather BMW seats
 
Some Update Pics

2nd Fridge slide (Drop down) and Kitchen Box installed. Frame for the other drawers still to be made.
Inbetween the 2 fridge slides there will be a cabinet of drawers extending up to just below the roof line.
52079787386_d78b1dd217_k.jpg


Frame for drawers and side cavity boxes
52079793613_7200d8b9a3_k.jpg


The Freezer pull out slider with drop down door
52080271735_58a227920b_k.jpg


Shower cubicle box
52080018349_613452bf4f_k.jpg
 
Both the Gull Wings and Drop Down tables are custom made, But the company that makes them, now keeps them in stock for the two standard rear doors and windows. The two front windows are the same, but the the two rear are different, there is a LHS and RHS.
The gull wings also have optional interior mounted boxes that makes the space more useable. or they can just be used for side access to the rear.
 
Small Update

Frames for cupboards and drawers are being finalised.

52112174836_06106ee00f_k.jpg


52112207733_8b13f3a65a_k.jpg
 
UPDATE:

The 2 x 30Ltr water tanks are going in, one already fitted. The side of truck has been drilled for the water tank fillers
The left hand side drawer unit frame and drawers are done, the drawers internally are being carpeted.
Shelf over rear fridge needs to be attached and covered.

Progress is being made albeit at a snails pace.

52134912017_9ac41ce8f1_k.jpg


52136431045_7882e0523a_k.jpg


52136431200_c2d2064bea_k.jpg


52135935696_a83262ff5a_k.jpg


52136431095_fe3ee750c1_k.jpg


52136431225_0cfc6f659c_k.jpg


Left hand side water tank
52136173284_59c6c16404_k.jpg


52136426780_c05ddcd105_k.jpg


52135931991_65c092731f_k.jpg
 
Nice Job mate and good luck on your modification, Good choice Aluminum cabinet wondering how much Weight you have added by your cabinet ? What will be panels? ply wood or Aluminum? Im fabrication my cabinet fully aluminum too,
Just wondering why you chopped off your Alucab roof? any issue with it? such expensive change
 
The aluminium frames are surprisingly light (1.6mm wall thickness) so far the heaviest components are the HD ball bearing drawer sliders, they are much heavier than expected.
The paneling on the aluminium frames are PVC Clic-Loc flooring planks, available in multiple colours and wood like patterns, they are thin (+/- 3.5-4.0mm), light weight and not susceptible to water and moisture (cos PVC) also, they clic together nicely so you dont see any seem joints, added bonus is theyre very easy to cut with a DIY circular saw.

I chopped off the AluCab Hercules (Gen1) pop top (it was one of the very 1st ones they made) cos it was just FUGLY (the front was too vertical and looked too big for the profile of the truck) and also it had started separating from the vehicle roof at the front RHS.

PS I also removed the fugly plumbing pipes down the sides of the truck
51973860856_ba6fbf6da2_k.jpg
 
Last edited:
UPDATE PICS:

Ive been in Middle East and Europe for the past 2 ½ weeks so I was quite anxious to see how much progress has been made on Troopy while Ive been away

What cant be seen in the pics is - all the side and rear windows have been tinted, and I decide to add an additional 40Ltr water tank under the chassis (to supplement the 2 x 30Ltr side mount tanks)

90% of the wiring has been installed for all the power points (12v and 220V) as well as water pumps and air compressor.
1 x MPPT100/30; 1 x DC-DC charger Orion 12-12/30; 800W pure sine wave inverter; 1 x 220V-12V battery charger compatible with Li Ion: Shunt for Victron Smart Battery Monitor.
52181785154_973321bbbb_c.jpg


The drawer for underneath fridge has been done, just needs its laminate front
52181784944_b61819b970_c.jpg

52181785369_7d59d79264_c.jpg


Most of the drawers have been covered in laminate
52182025210_1a2acae3cc_c.jpg


These 2 Drawers are surprisingly cavernous (1.35mtr long) Im surprised how much they will hold
52181536521_efc609c78d_c.jpg


Power point installed into the Kitchen box
52181536376_22fb79dd79_c.jpg


The additional drawers
52181785044_8918541bd5_c.jpg

52181784944_b61819b970_c.jpg


Cover and shelf for the rear fridge
52180513017_625d48feb2_c.jpg
 
A Few Update Pics

Its starting to come together now.

Main storage unit with 6 drawers
52194663932_119dc515fe_z.jpg


Carpeted cover for drop down fridge slide
52196161215_131c792c3e_c.jpg


The two grocery / food drawers. The side cavity is for the 2 x Front Runner fold up chairs.
52195934044_c9bc92d8db_c.jpg


The drawer under fridge for gas cooker and Mandela Microwave.
52195934079_6968333e04_c.jpg


2 x 220V socket outlets, 1 fed direct from shore power, and the other fed from Inverter
52195672266_71f63bddf9_c.jpg


Fridge in slide
52194664297_2be7f89c68_z.jpg


Electric windows installed.
52195934329_e80154e2a7_c.jpg
 

Users who are viewing this thread

Back
Top Bottom