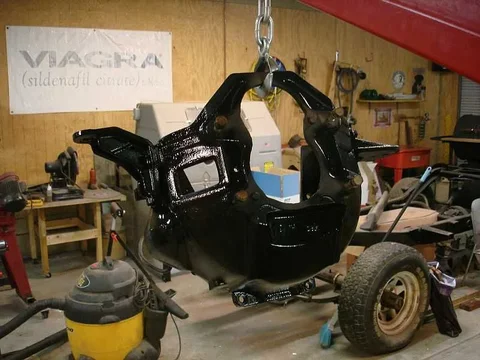
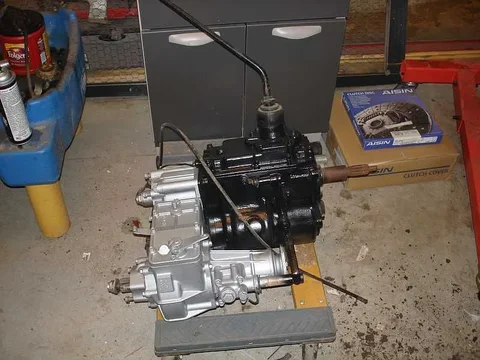
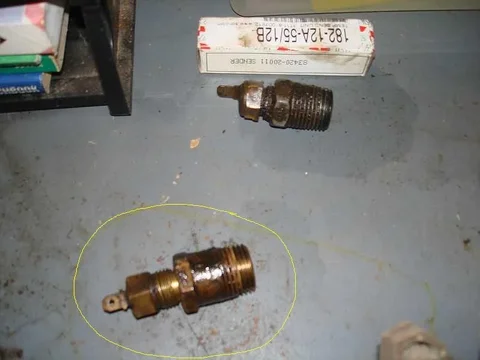
looking very nice mate
Navigation
Install the app
How to install the app on iOS
Follow along with the video below to see how to install our site as a web app on your home screen.
Note: This feature may not be available in some browsers.
More options
Style variation
You are using an out of date browser. It may not display this or other websites correctly.
You should upgrade or use an alternative browser.
You should upgrade or use an alternative browser.
75 FJ40 Restoration
- Thread starter Cuerno Largo
- Start date
This site may earn a commission from merchant affiliate
links, including eBay, Amazon, Skimlinks, and others.
More options
Who Replied?That frame looks awesome! You shouldn't have to worry about rust for the next 30+ years. Since I'm in SC, it's nice to know that there is a place here who will do that kind of work. Thanks! Good luck with the build.
Hey man I am passing through Mt.Pleasant next weekend. Could I take a look at your cruiser? I am going hunting outside of Avery and you're on the way. I have my Freeborn Red 1/75 completely apart and am getting ready to either blast or dip the frame. I actually can't decide and don't know who could do it in TX, if at all.
I am in Dallas and don't want to drive the frame to SC.
Anyway, drop me a PM if that is cool with you. I'd love to see your work so far. Saturday work?
I am in Dallas and don't want to drive the frame to SC.
Anyway, drop me a PM if that is cool with you. I'd love to see your work so far. Saturday work?
- Thread starter
- #44
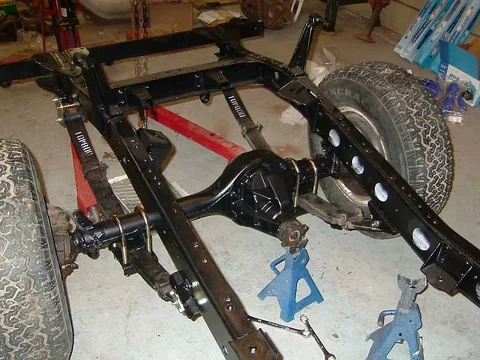
Last week I installed my BDS 4" lift and CCOT greasable anti-inversion shackles and greasable pins. Here are some pics.
My help for the front.

Front installed. It was difficult getting the front shackles on due to the arch of the BDS springs and the fact there was no weight on them. One pin of the shackle now pushes against the hanger with a good deal of pressure, but I am assured that this will correct with weight of the engine/body, and with the springs "breaking in"

Another front pic.


My help for the front.

Front installed. It was difficult getting the front shackles on due to the arch of the BDS springs and the fact there was no weight on them. One pin of the shackle now pushes against the hanger with a good deal of pressure, but I am assured that this will correct with weight of the engine/body, and with the springs "breaking in"

Another front pic.

- Thread starter
- #45
- Thread starter
- #46
Sporin
Site Addict
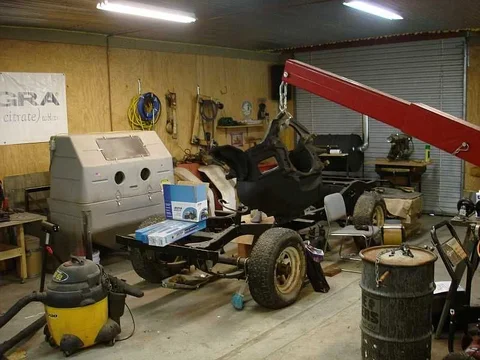
I envy your shop space... someday... 
- Thread starter
- #48
Thanks. It was an old 1940's diary barn that I converted to my shop.
I just realized from this thread resurrection that I have not made any progress on my cruiser in almost a year.
I've got to get to work. I recently obtained Poser's rear disk brake kit so I guess that is next.
I just realized from this thread resurrection that I have not made any progress on my cruiser in almost a year.

I've got to get to work. I recently obtained Poser's rear disk brake kit so I guess that is next.
Sporin
Site Addict
Don't feel bad, I've had my Piggie since May and it's still not on the road and I bought it in "road-ready" condition.
- Thread starter
- #50
Time for his thread to go back up to top.
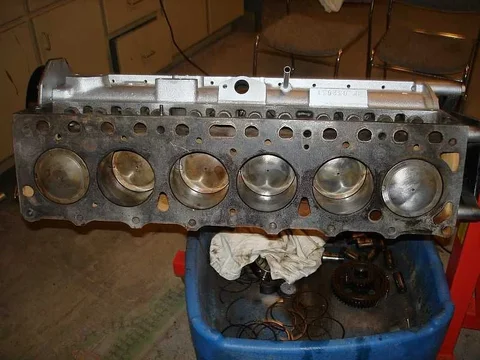
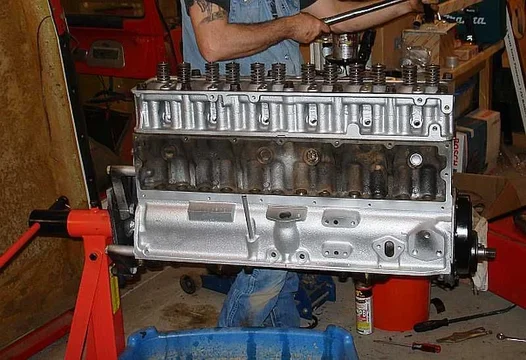
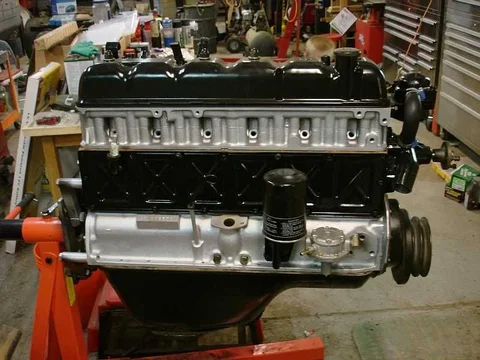
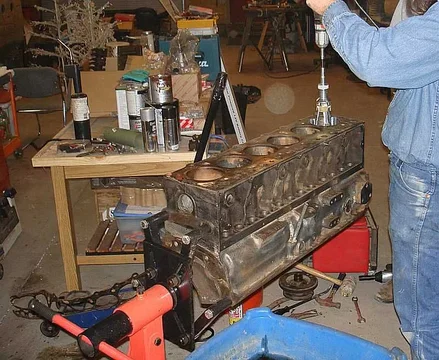
Been working in small bursts of activity. Last major undertaking was engine rebuild. All parts for that came from CDan.
This sure has taken me a lot longer than I planned, but now that the engine is built, it seems that a weight has been lifted and the rest will go faster.
I guess time will tell. It might be another year before I post more progress.


- Thread starter
- #51
- Thread starter
- #52
- Thread starter
- #53
- Thread starter
- #54
- Thread starter
- #55
Your build looks good so far. Glad to see u are making progress. Sounds like the timetable I have followed.
Cuerno Largo
Just an observation; check the pulley alignment on the water pump - it looks as if you have the "long" water pump instead of the short
Just an observation; check the pulley alignment on the water pump - it looks as if you have the "long" water pump instead of the short
- Thread starter
- #58
 I'll definitely look at it tonight.
 I have the old one somewhere that I took off long ago, just have to find it and compare. Seemed to line up alright when I mocked up the fan and pulley.
Thanks for the spot.
Looks like progress! Those BDS springs and shackles look great. I need to start saving.
TK
TK
- Thread starter
- #60
Similar threads
- Replies
- 6
- Views
- 697
Users who are viewing this thread
Total: 1 (members: 0, guests: 1)


